 15
15
Thermaltake Level 20 RS Review - For Fans of RGB and Liquid Cooling
Temperature & Noise Testing »Test System
| System Parts for Case Reviews | |
|---|---|
| Processor: | Intel Core i5-9600K |
| Motherboards: | ATX: MSI Z390 GAMING EDGE AC MATX: Z370M GAMING EDGE AC Mini-ITX: MSI Z370I GAMING EDGE AC Provided by: MSI |
| Graphics Card: | ATX/mATX: Palit GeForce RTX 2080 Gaming Pro OC ITX: EVGA GTX 1650 SC Ultra Black 4 GB |
| Memory: | 16 GB XPG GAMMIX D30 DDR4 2666 MHz CL16-18-18 1.20 V 16 GB XPG SPECTRIX D60G DDR4 3000 MHz CL16-18-18 1.35 V Provided by: ADATA |
| HDD: | Western Digital 320 GB 7200 RPM |
| SSD: | ITX: ADATA SX6000 Pro M.2 256 GB mATX: ADATA GAMMIX S11 Pro M.2 256 GB ATX: ADATA SPECTRIX S40G M.2 256 GB ADATA XPG SX850 256 GB ADATA Ultimate SU630 240 GB ADATA Ultimate SU750 256 GB Provided by: ADATA |
| Power Supply: | Fractal Design ION+ 750W 80 Plus Platinum Provided by: Fractal Design |
| Cooling: | be quiet! Dark Rock 4 be quiet! Dark Rock Slim be quiet! Shadow Rock LP Provided by: be quiet! |
Assembly
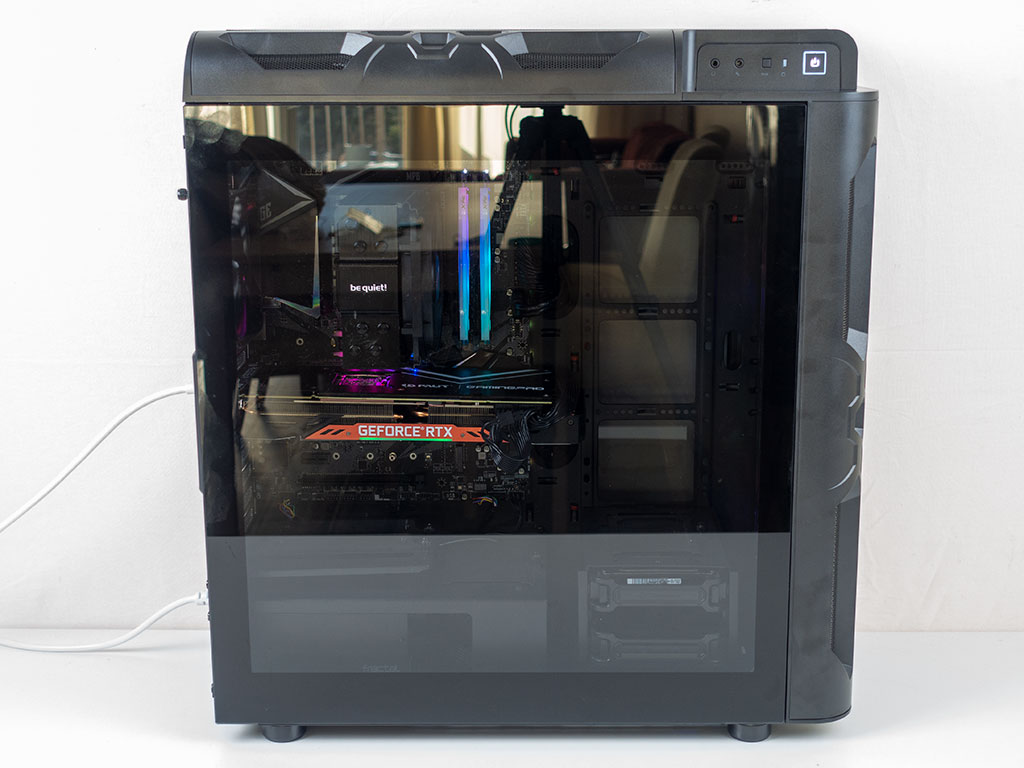
Installing a motherboard within the Thermaltake Level 20 RS is done by traditional means, with the use of spacers and supplied screws. There is lots of space around the edges of the board, so you should have no issues connecting everything. You may install a CPU cooler of up to 172 mm in height, which means even the bigger units will fit. On top of that, GPUs of up to 400 mm will also easily fit without taking the HDD cages into consideration.
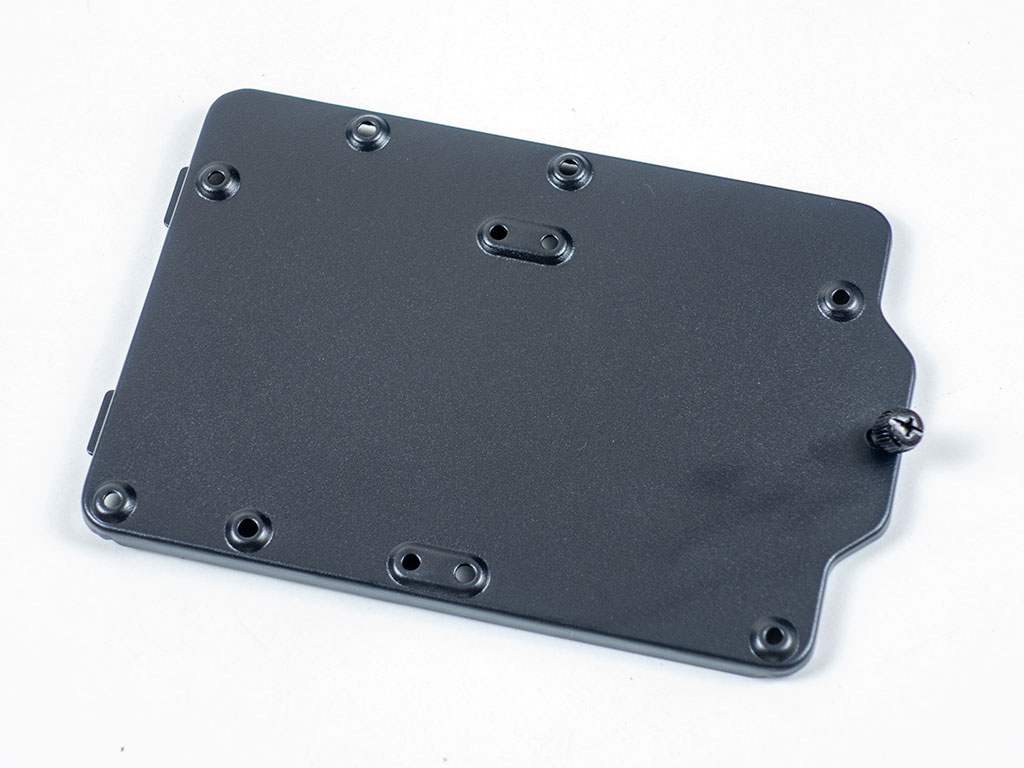
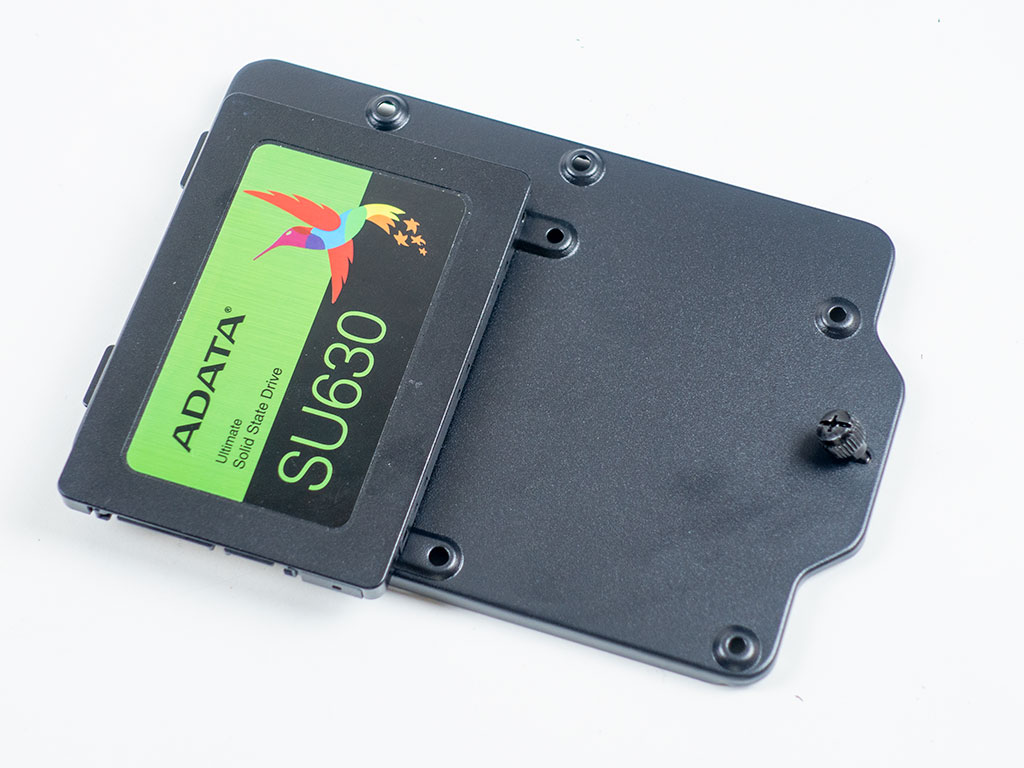
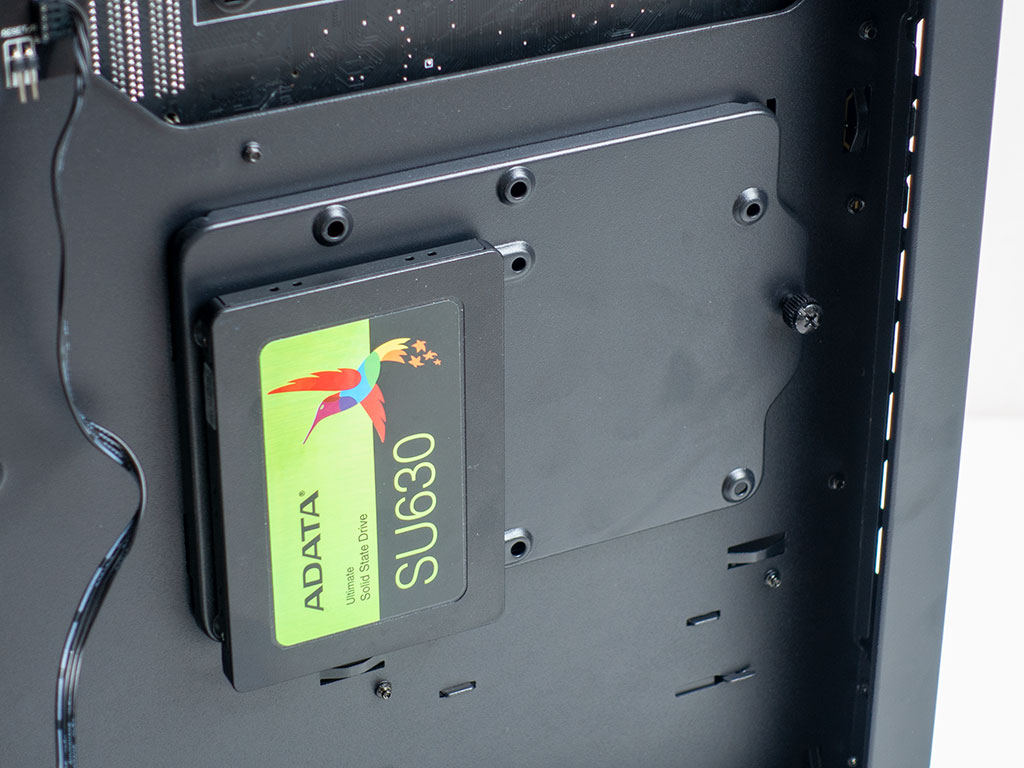
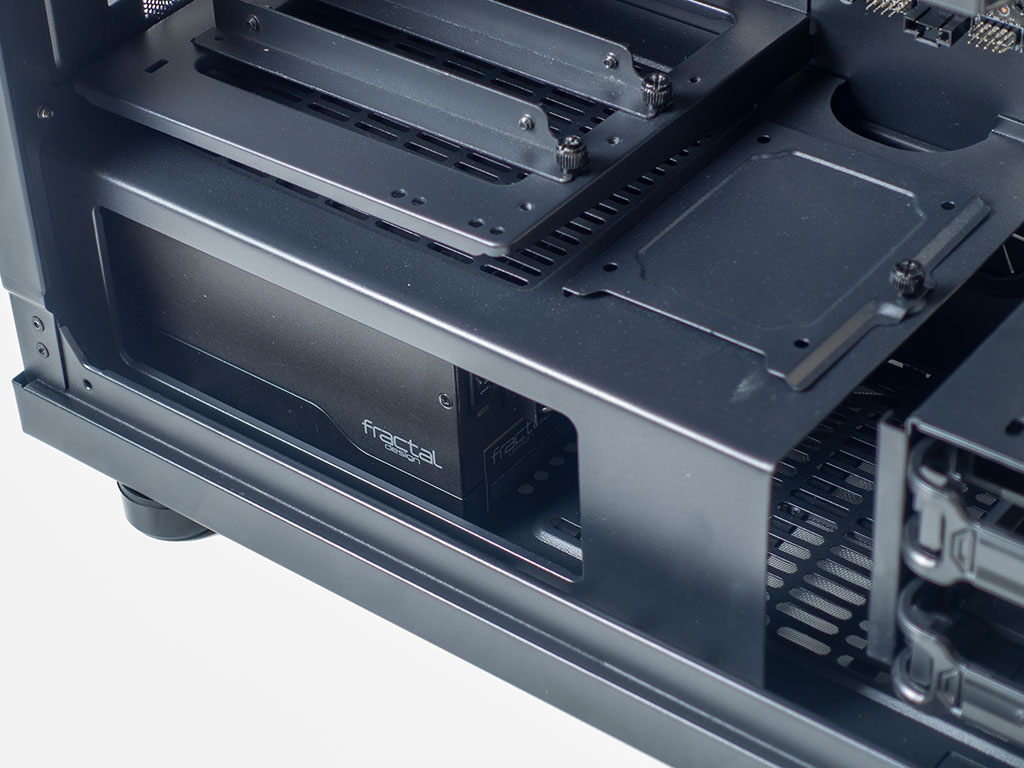
To install an SSD, pick between the plastic tray, single metal plate, or larger dual plate on the rear of the case. You will use the same screws to secure it in place regardless of which option you pick. In our review, we used the rear plate—for assembly, it can simply be removed and put back in place once filled.
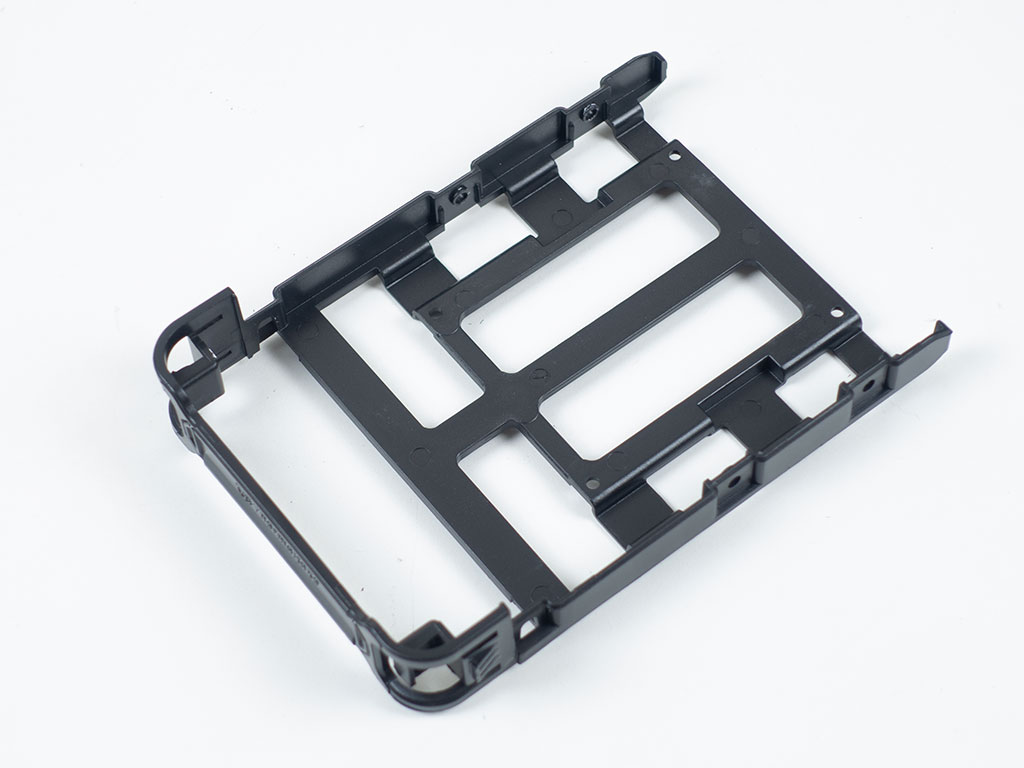
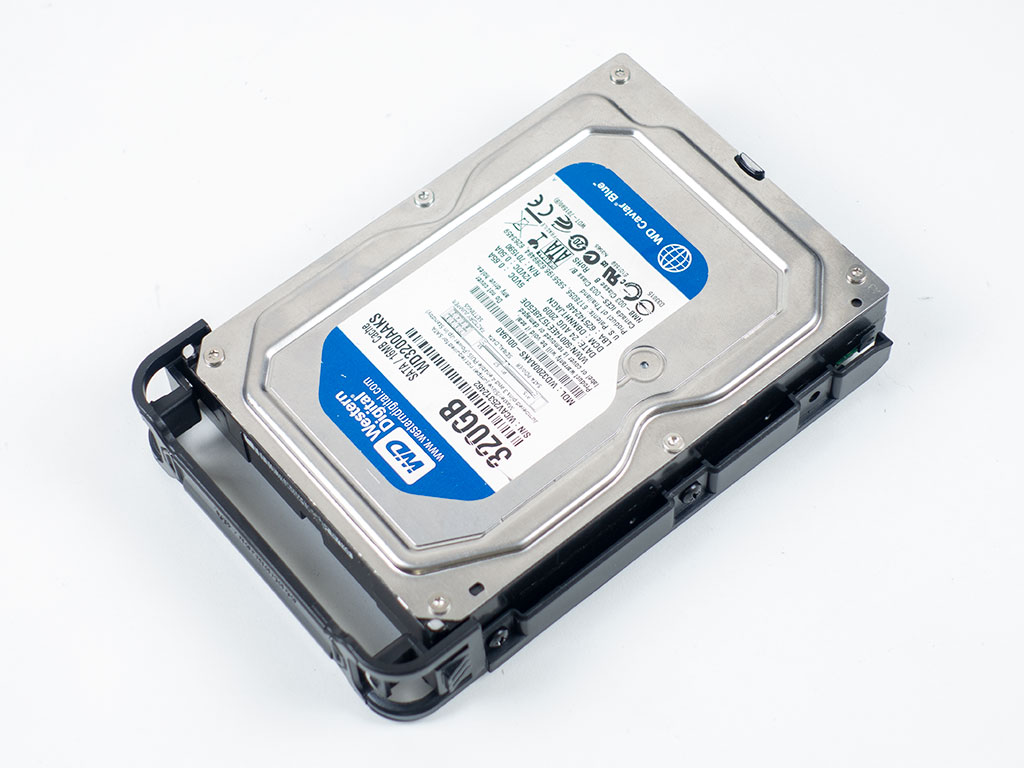
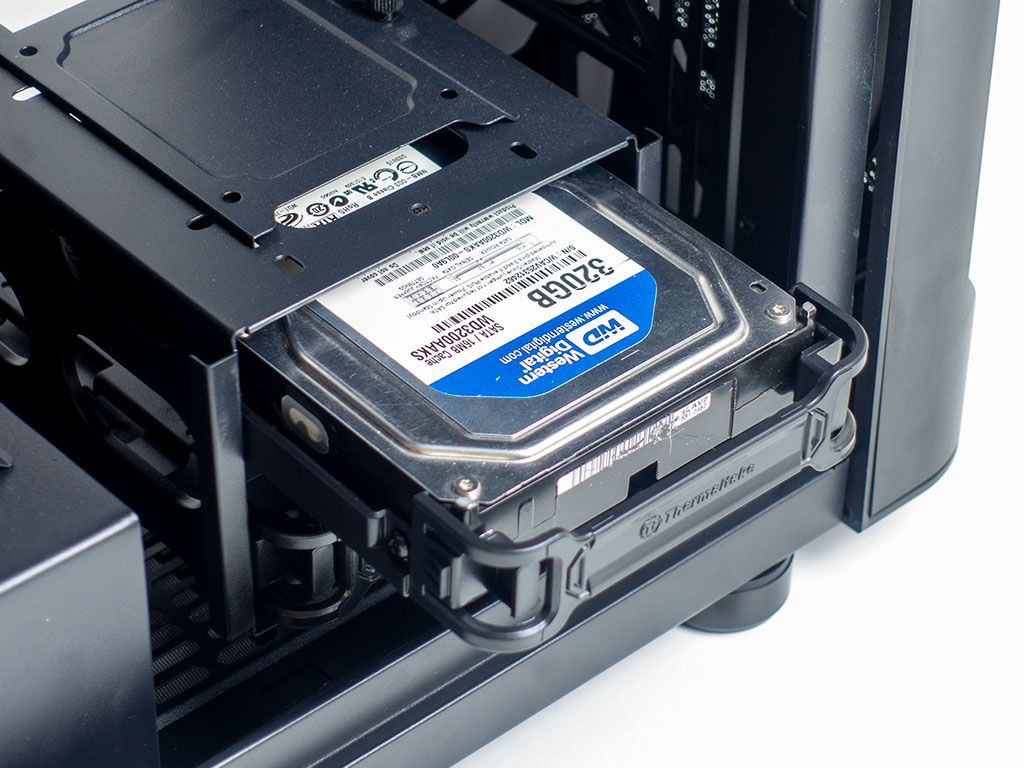
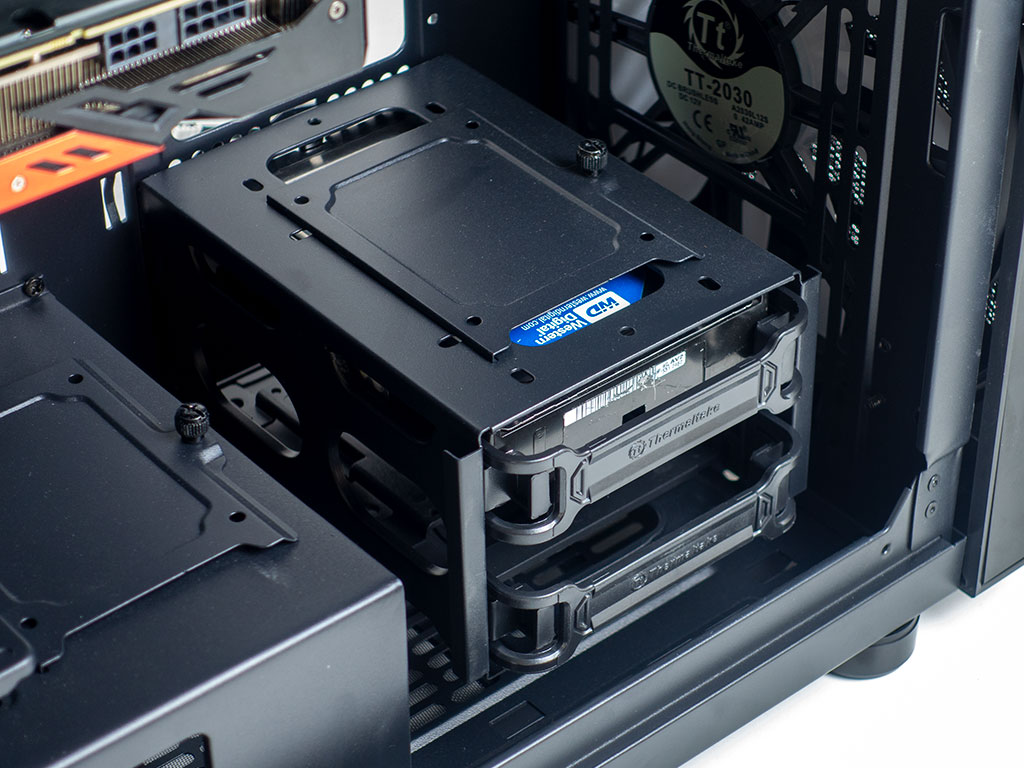
Adding 3.5" drives does not take any tools or screws. Simply pull the plastic trays out and snap a drive down. With that done, slide it back in until the filled unit clicks into place.
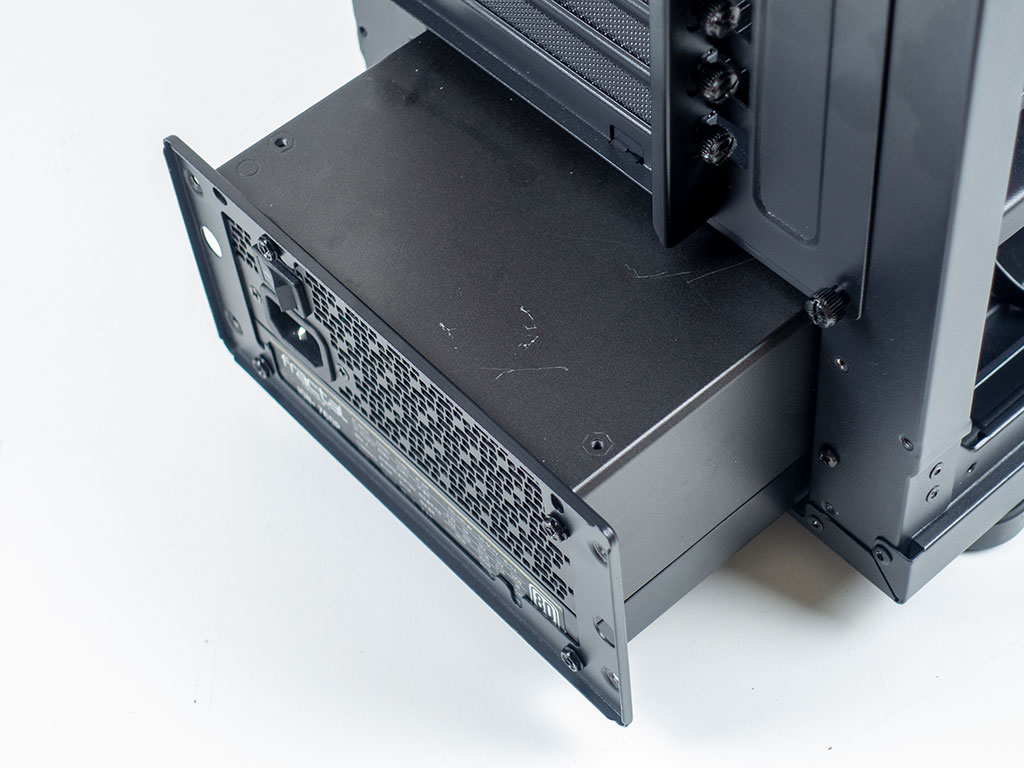
Thanks to the large opening in the back, you may easily slide your PSU into the case by mounting it on the frame first. Thermaltake allows for units of up to 220 mm without issue, which is more than enough for even the most powerful variants.
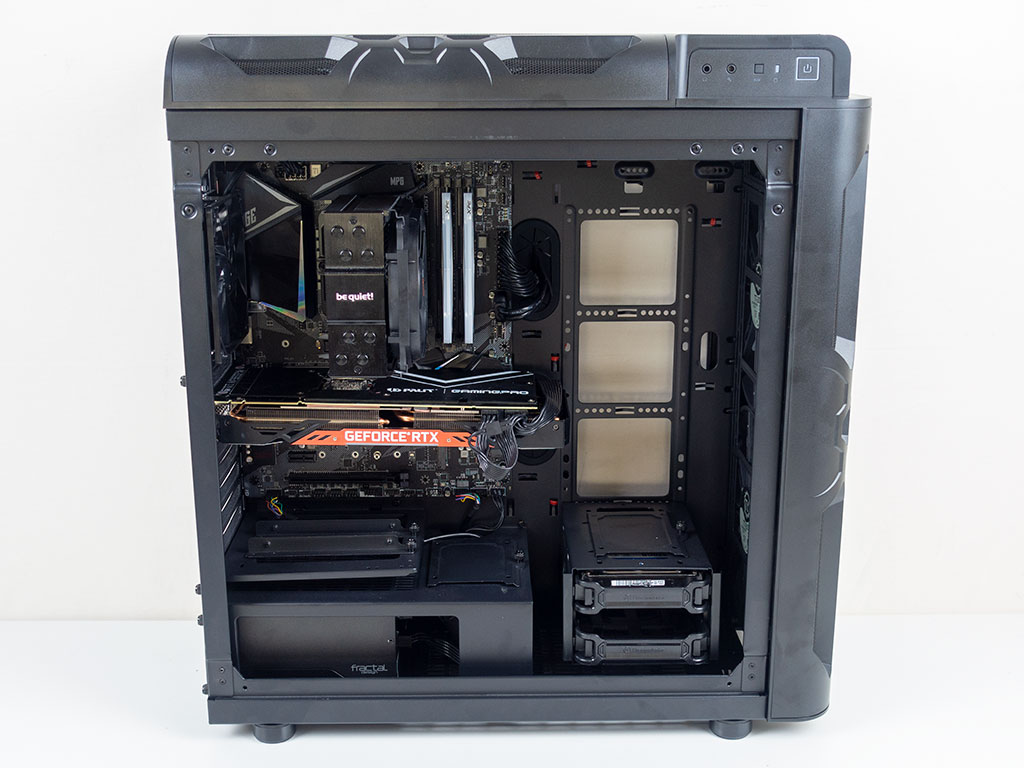
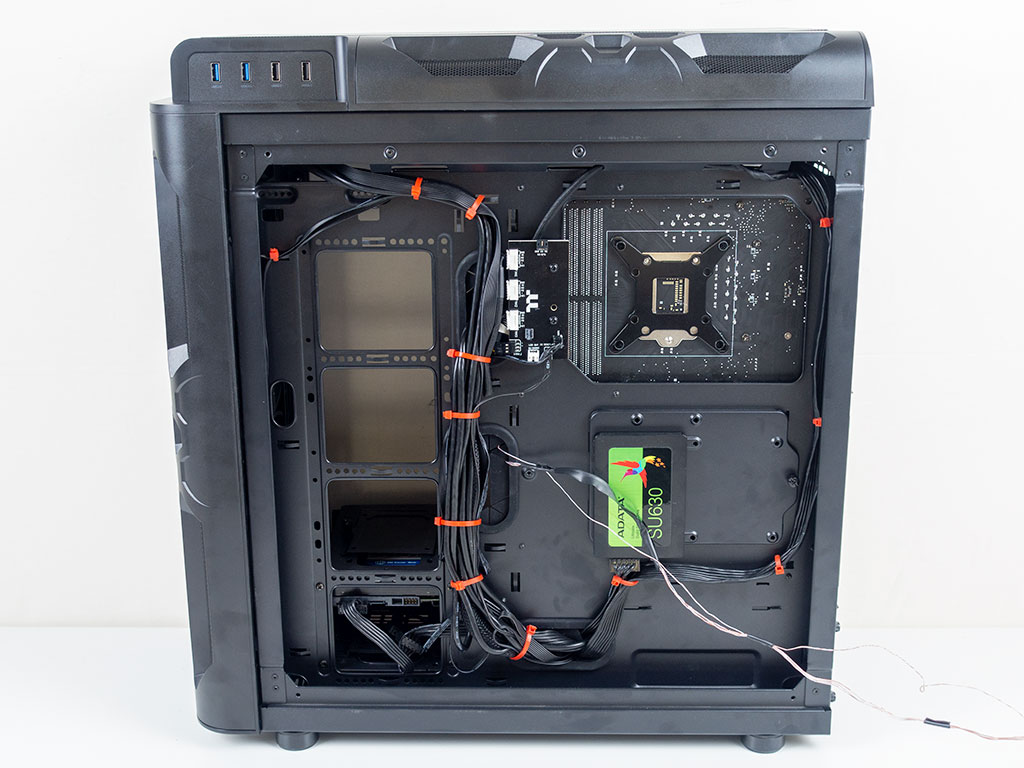
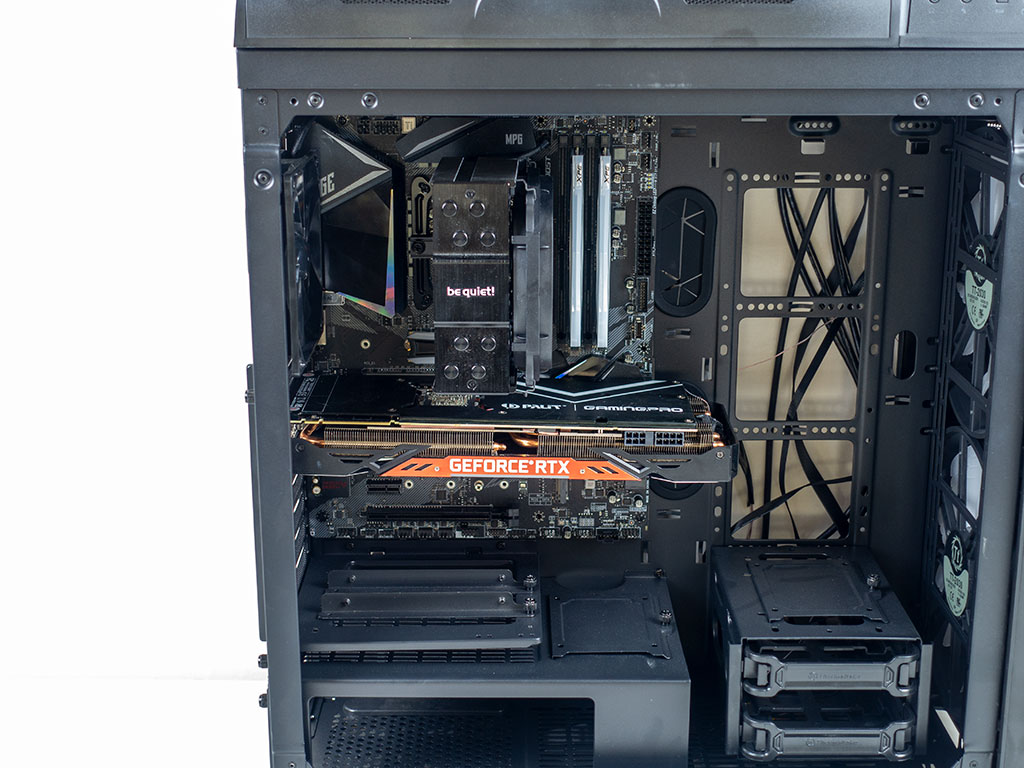
Once everything is assembled, the interior looks nice and clean because of well-placed cable-routing holes. As you can see, I made sure no cables are visible across the openings above the hard-drive cage. Even the rear looks rather clean because of some well-situated cable hooks. As there is plenty of space, you should run into no issues with closing the side panel even with a bit of a cable mess.
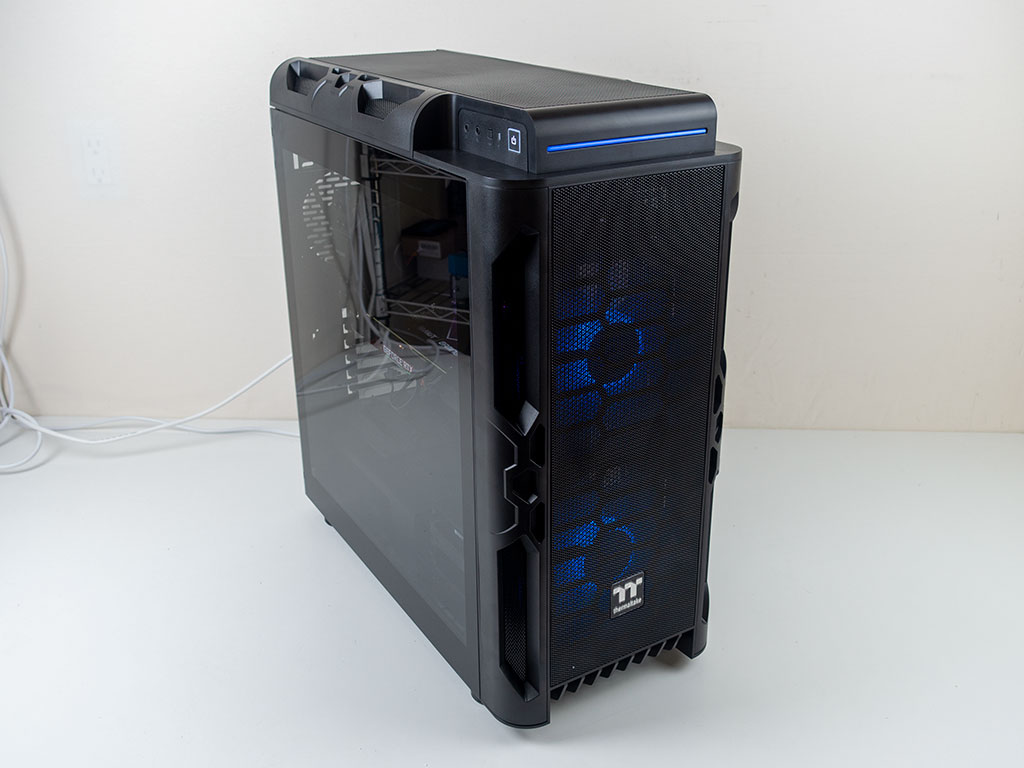
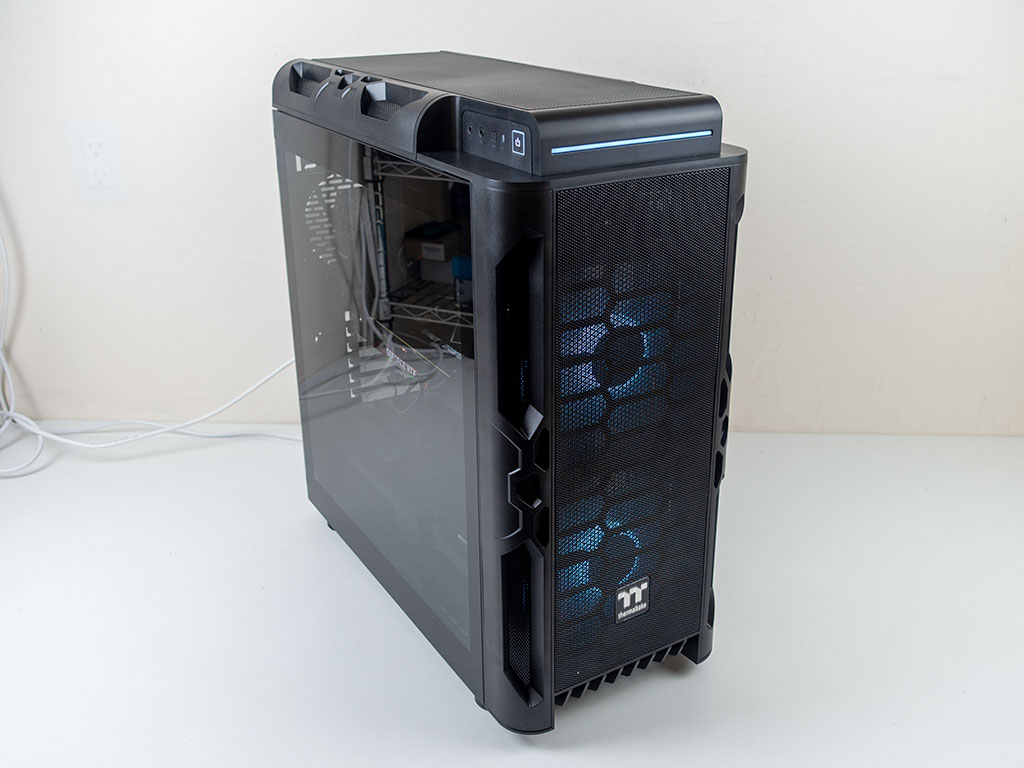
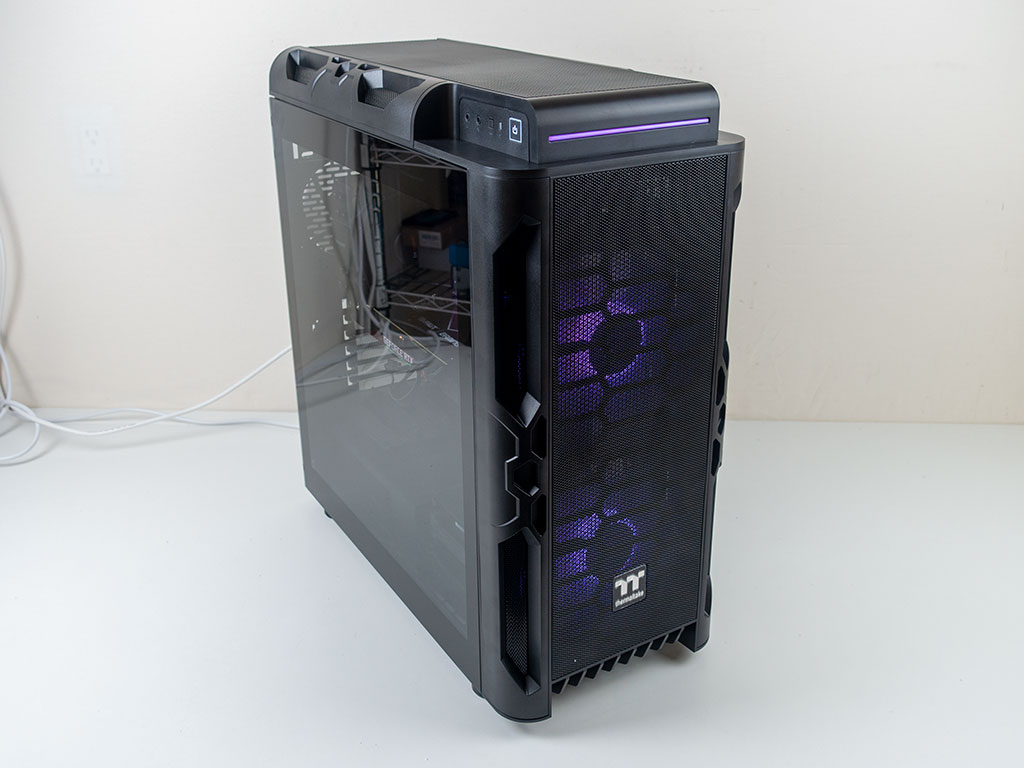
Finished Looks
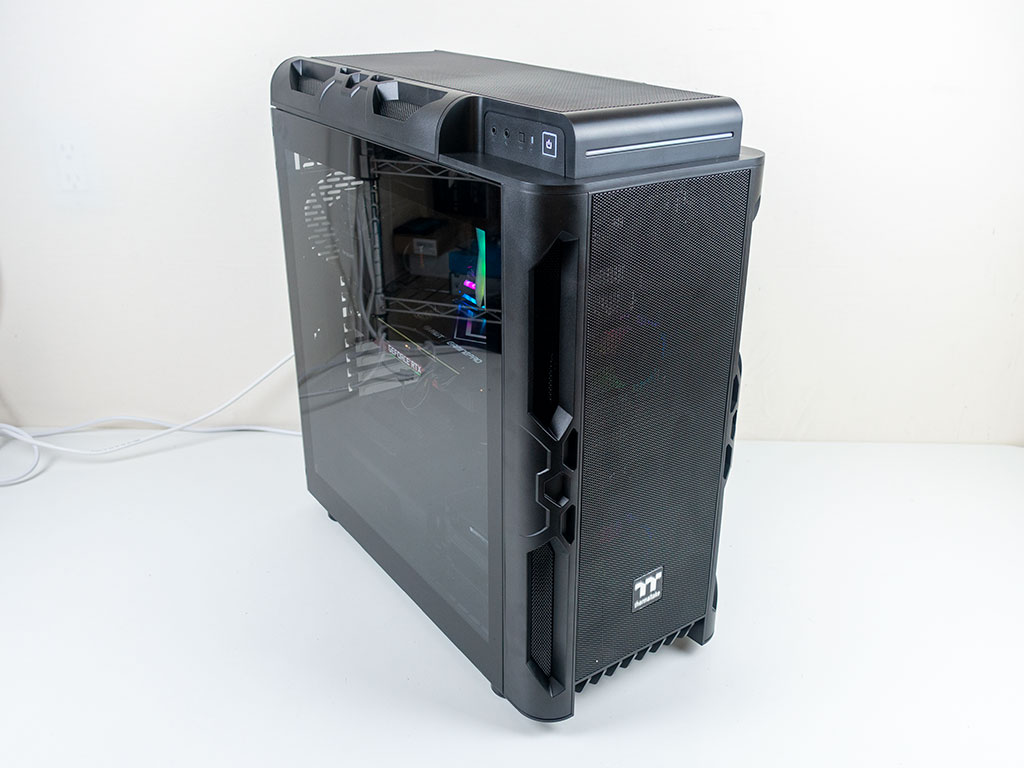
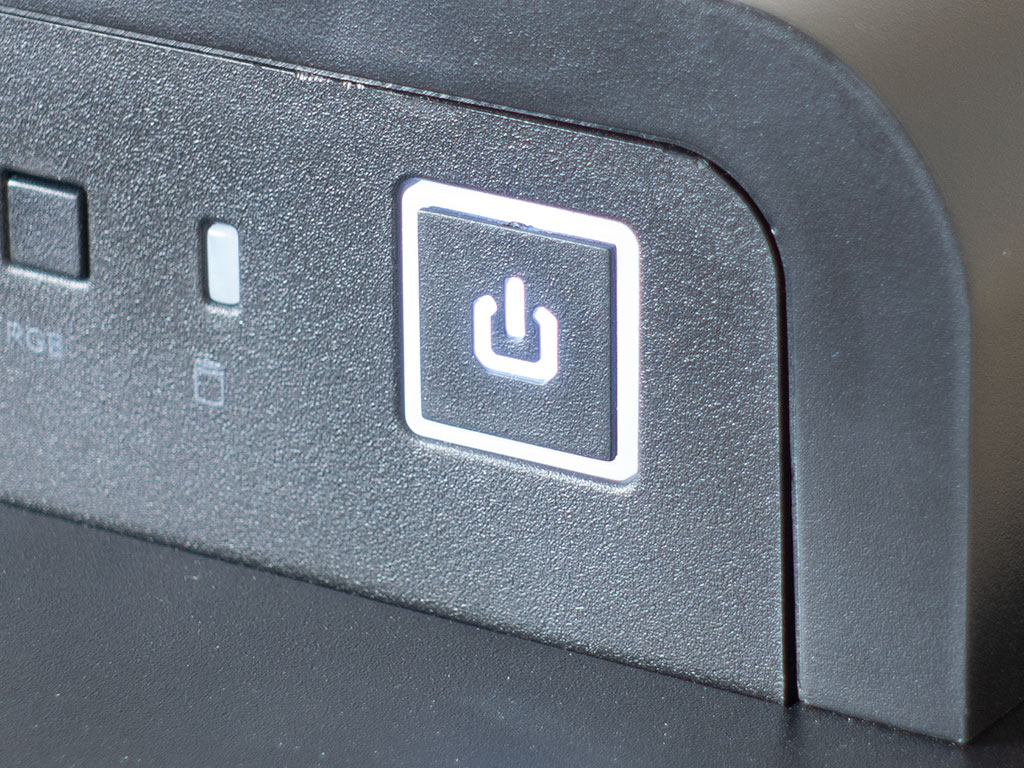
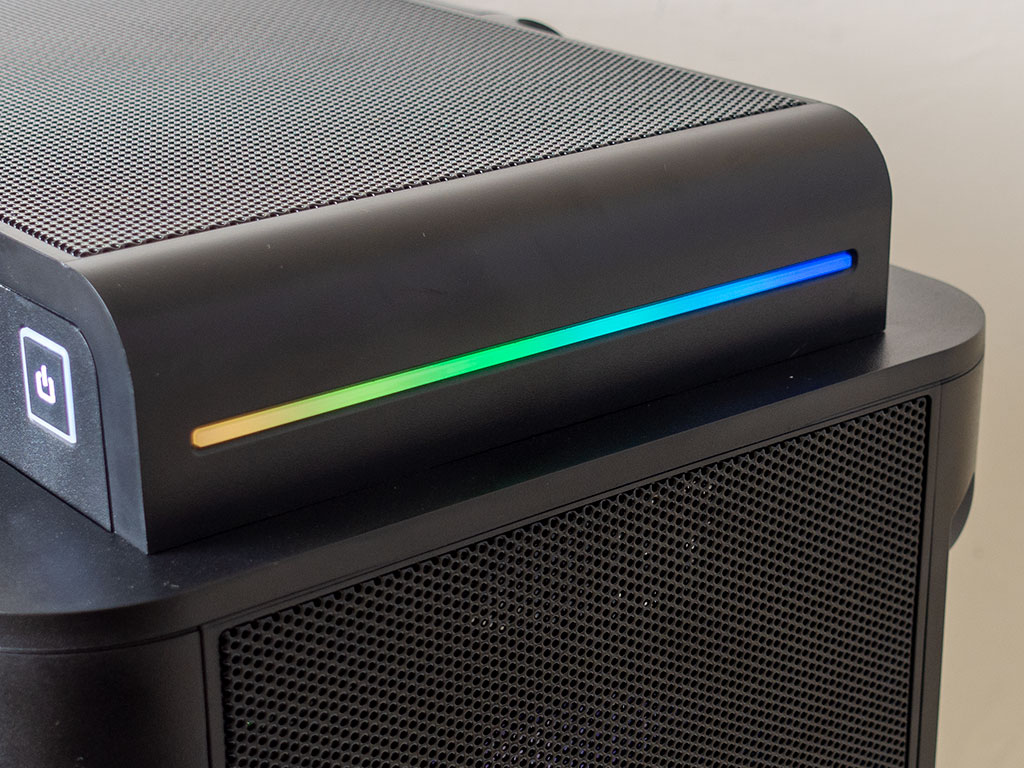
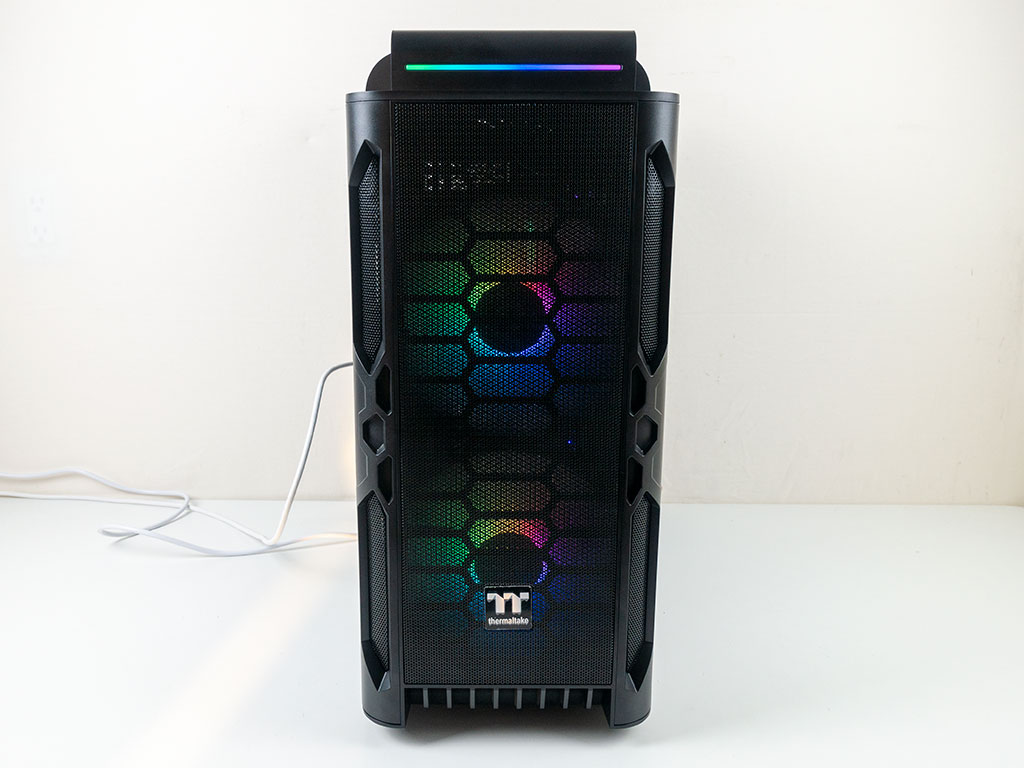
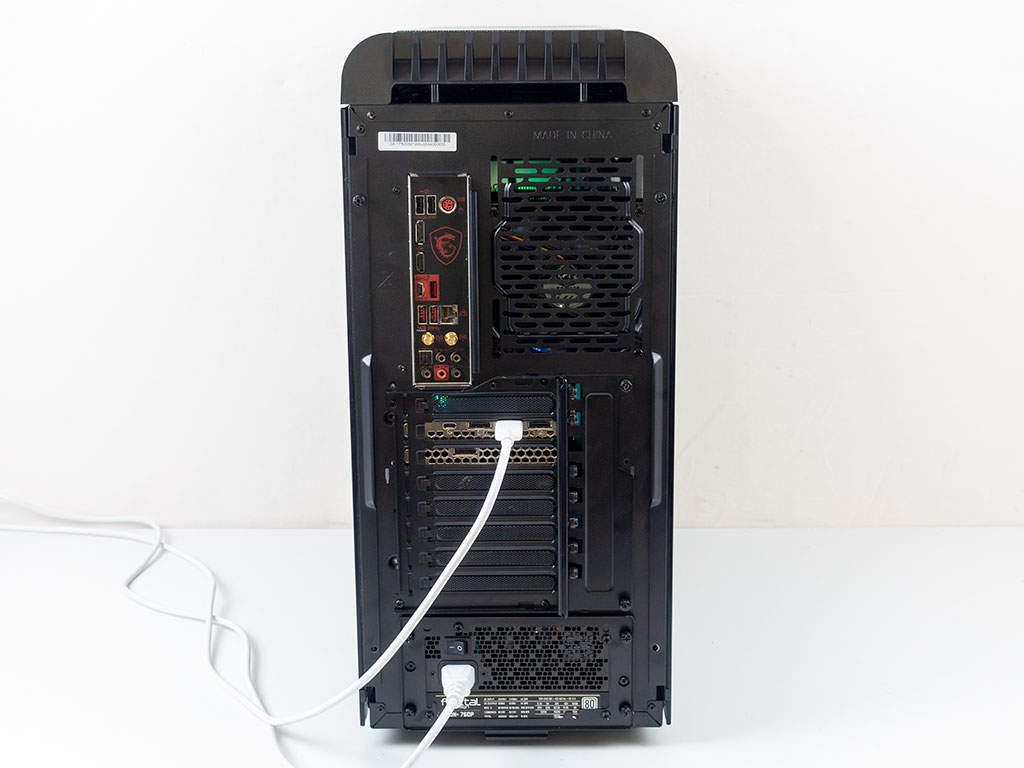
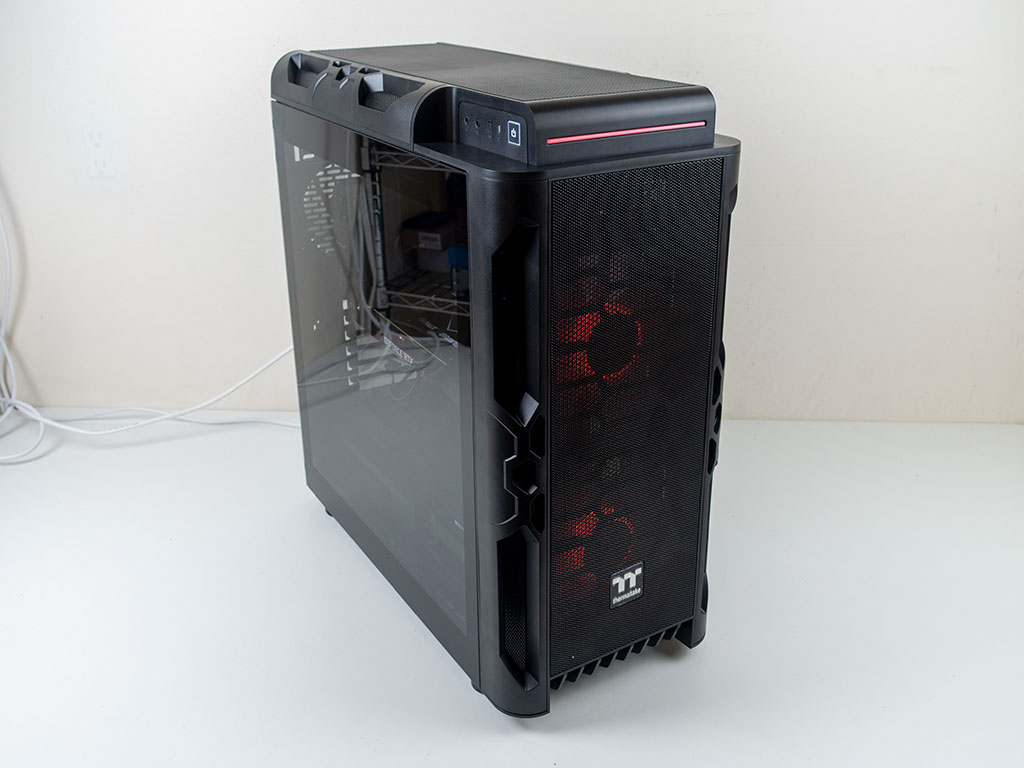
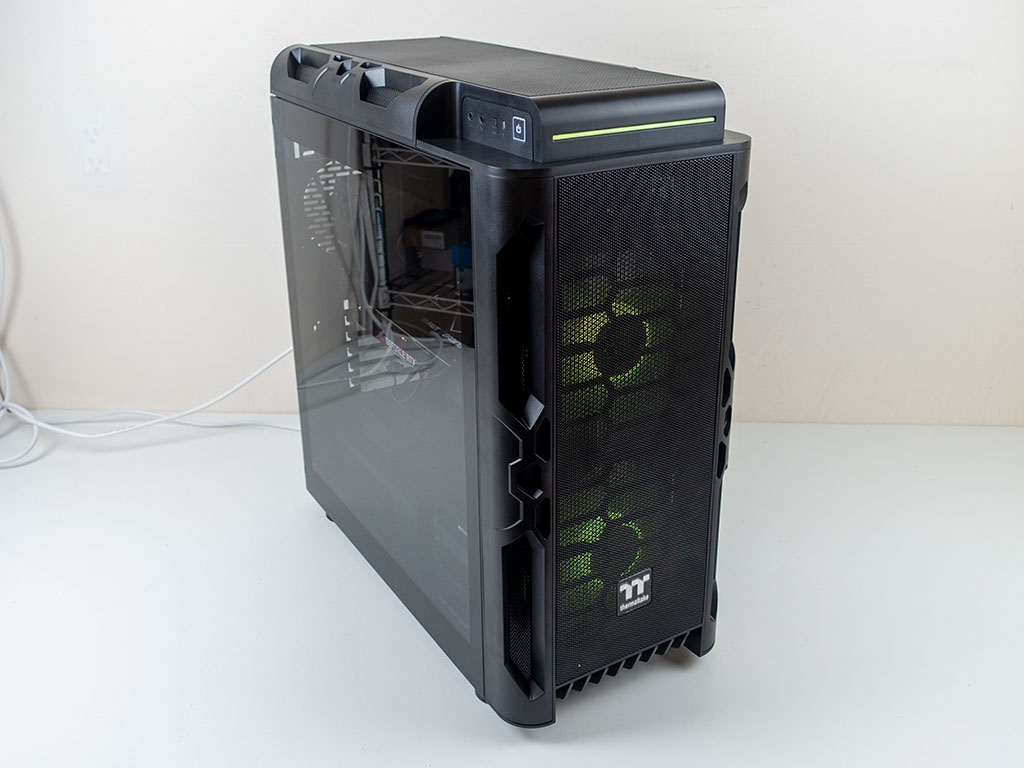
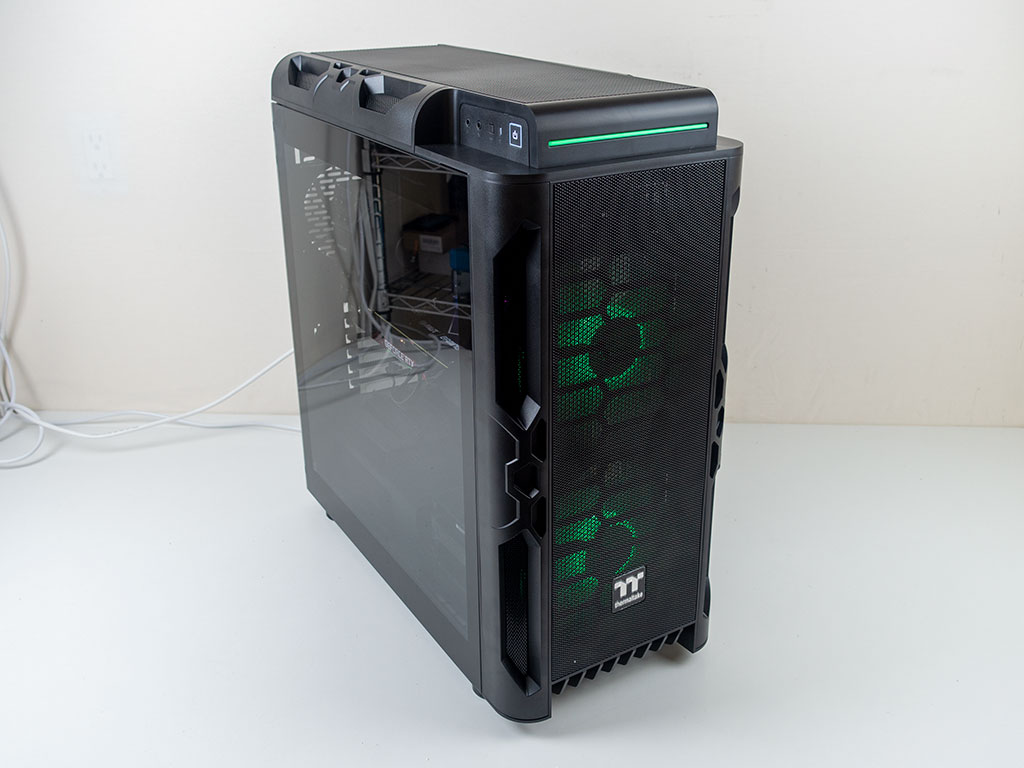
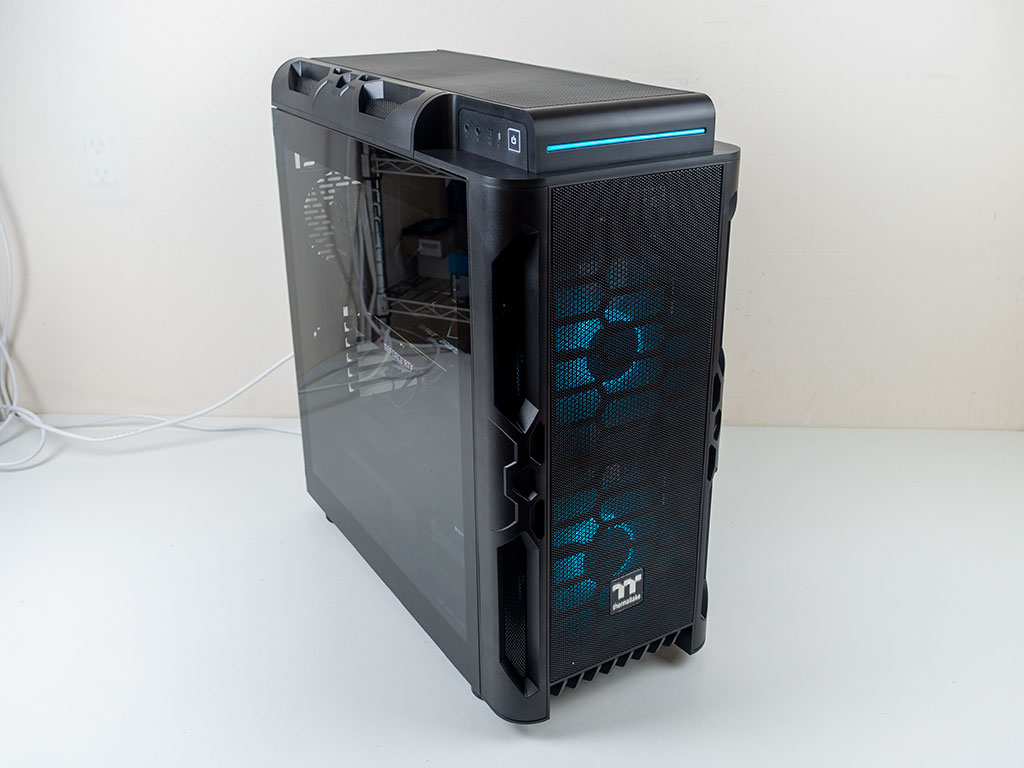
Once turned on, the two fans emit a gentle glow, while the little strip in the top of the chassis does the same, with both elements in-sync. In the rear, everything is where you would expect it. Even setting the system up vertically should be fine.
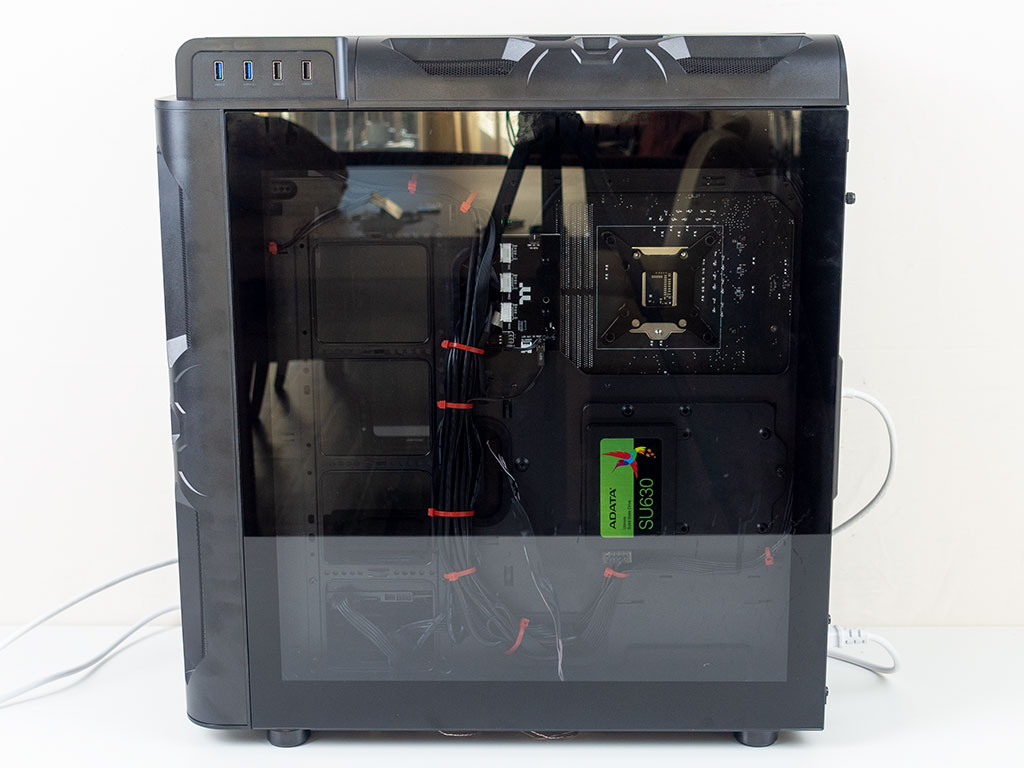
As both sides of the Thermaltake Level 20 RS are made out of glass, it is important to keep things clean. I would have liked to see Velcro strips, as that would add to the cabling behind the motherboard tray nicely, but things are clean enough—there is no urge to hide it all behind a steel panel instead.
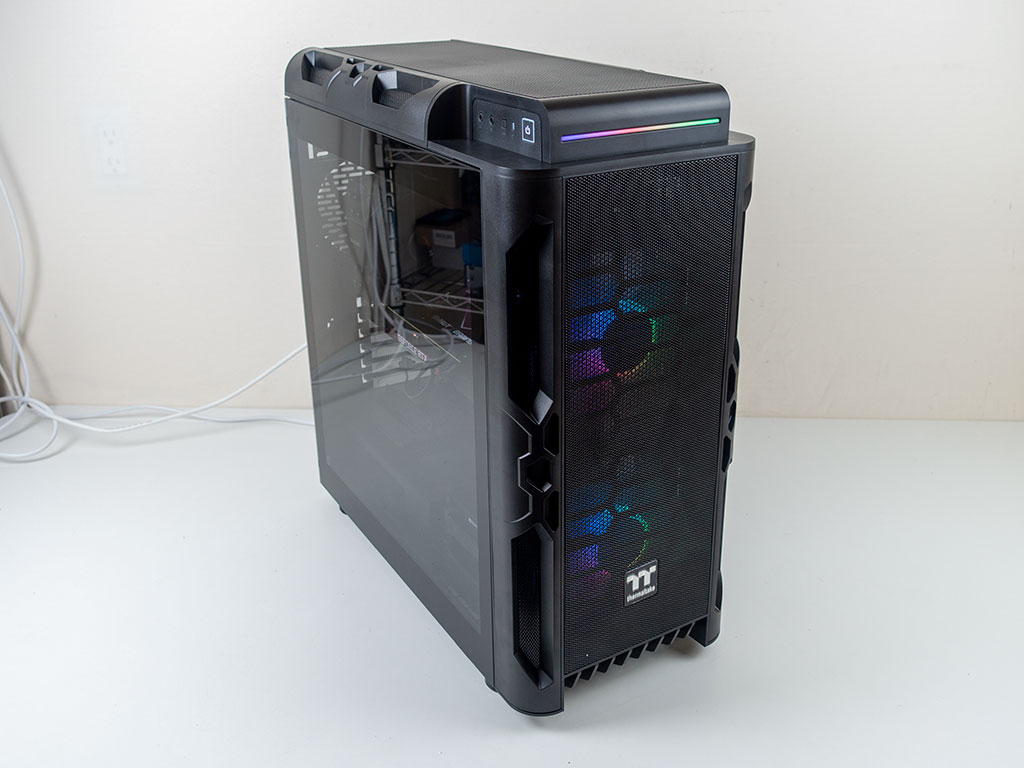
The lighting elements in the Level 20 RS are a bit on the dim side, so your internal RGB components will likely be more potent. You may toggle through loads of multi-color animations and single-color settings, and can settle on individual solid colors as seen below.
Feb 28th, 2025 07:08 EST
change timezone
Latest GPU Drivers
New Forum Posts
- Authenticode fails for GPU-Z 2.63.0 (15)
- What local LLM-s you use? (84)
- What is your comfortable price range for a graphics card? (14)
- Free Games Thread (4503)
- Weird electrical vibration on left side of laptop. (27)
- Opinions on the drive config for new build please (33)
- Looking for Palit 5090 Gamerock OC BIOS (3)
- How to setup my 9800X3D on this Asus X670E board properly (6)
- Windows 11 General Discussion (5730)
- It's happening again, melting 12v high pwr connectors (956)
Popular Reviews
- Montech HyperFlow Silent 360 Review
- ASUS GeForce RTX 5070 Ti TUF OC Review
- Gigabyte X870 Aorus Elite WiFi 7 Review
- Corsair Xeneon 34WQHD240-C Review - Pretty In White
- AMD Ryzen 7 9800X3D Review - The Best Gaming Processor
- be quiet! Pure Base 501 DX Review
- MSI GeForce RTX 5070 Ti Ventus 3X OC Review
- MSI GeForce RTX 5070 Ti Vanguard SOC Review
- ASUS ROG Harpe Ace Mini Review
- Corsair Virtuoso MAX Wireless Review
Controversial News Posts
- NVIDIA GeForce RTX 50 Cards Spotted with Missing ROPs, NVIDIA Confirms the Issue, Multiple Vendors Affected (498)
- AMD Radeon 9070 XT Rumored to Outpace RTX 5070 Ti by Almost 15% (304)
- AMD Plans Aggressive Price Competition with Radeon RX 9000 Series (274)
- AMD Radeon RX 9070 and 9070 XT Listed On Amazon - One Buyer Snags a Unit (255)
- NVIDIA Investigates GeForce RTX 50 Series "Blackwell" Black Screen and BSOD Issues (244)
- AMD Mentions Sub-$700 Pricing for Radeon RX 9070 GPU Series, Looks Like NV Minus $50 Again (242)
- Edward Snowden Lashes Out at NVIDIA Over GeForce RTX 50 Pricing And Value (241)
- AMD Radeon RX 9070 and 9070 XT Official Performance Metrics Leaked, +42% 4K Performance Over Radeon RX 7900 GRE (189)