 0
0
Thermaltake Mozart IP Review
Media Lab & iPod Dock »Installation
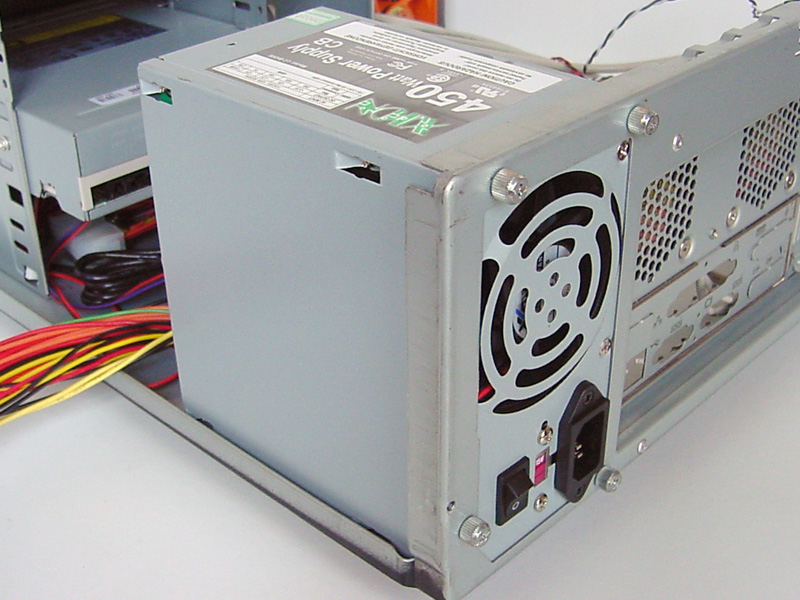

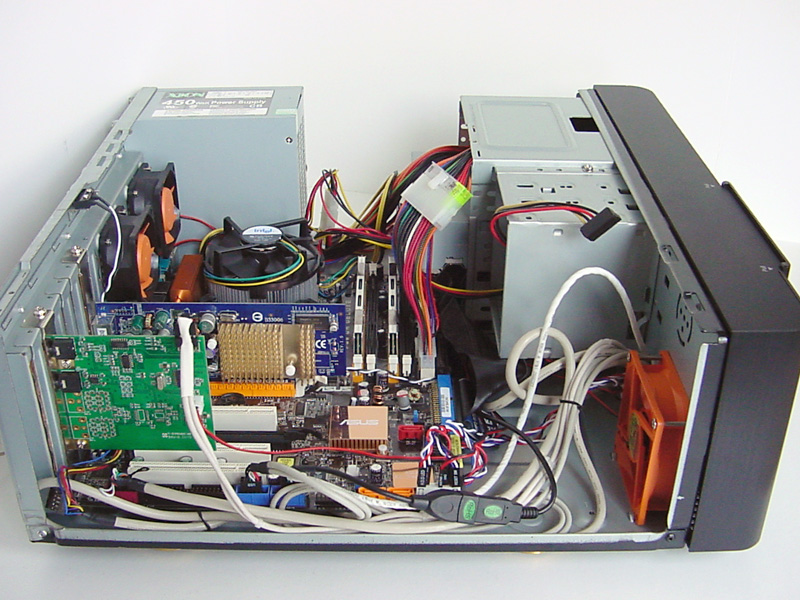
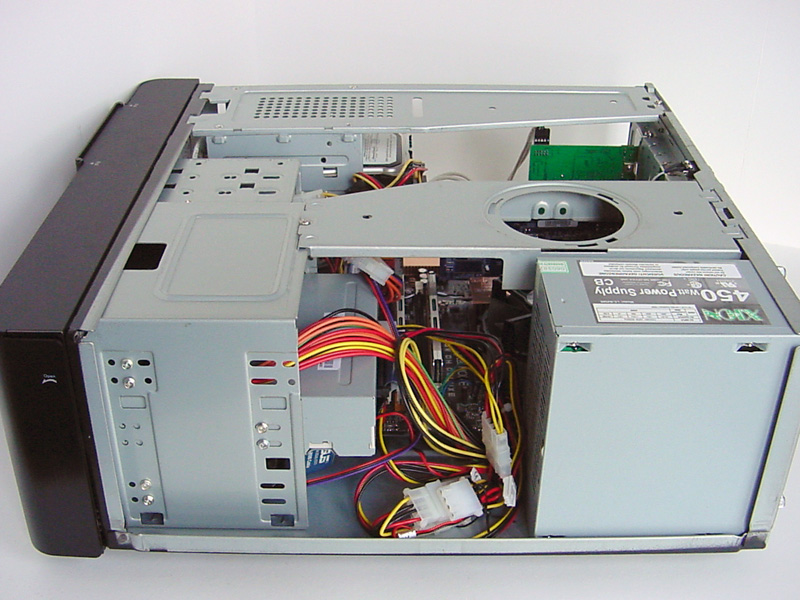
To start the installation I added the power supply. The Thermaltake website states the Mozart IP uses a PS/2 style power supply, but the PS/2 design is compatible with the standard ATX format. In fact, the manual shows an 850 Watt ToughPower unit installed. The next step involved clearing the wiring out of the way and preparing to install the motherboard. One thing to note is that the center standoff comes pre-installed; it has threads on both ends and uses a knurled nut to secure the board instead of a regular screw. Because it has threads on both sides, extra care should be taken to prevent the standoff from scratching the back of the motherboard as it is slid into place. Also, installing the optical drive before installing the motherboard will prevent access to the top right screw on a full-sized ATX board.
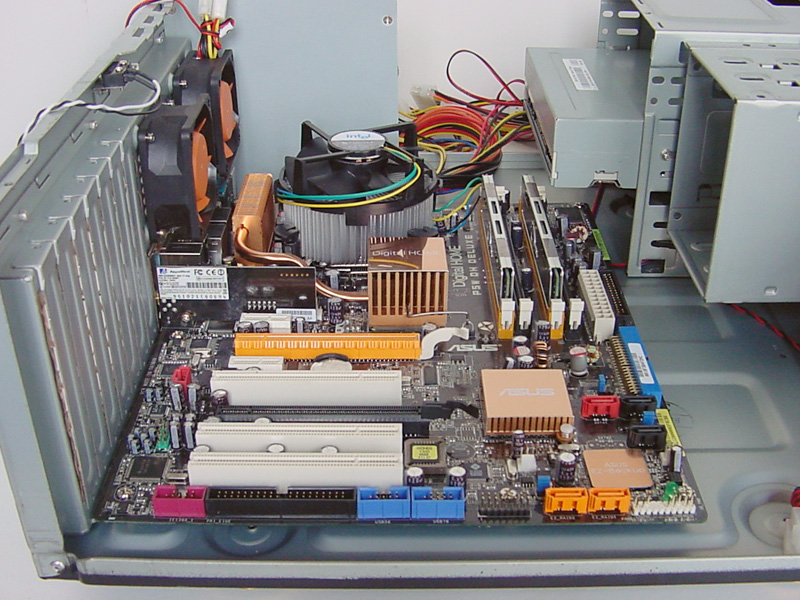
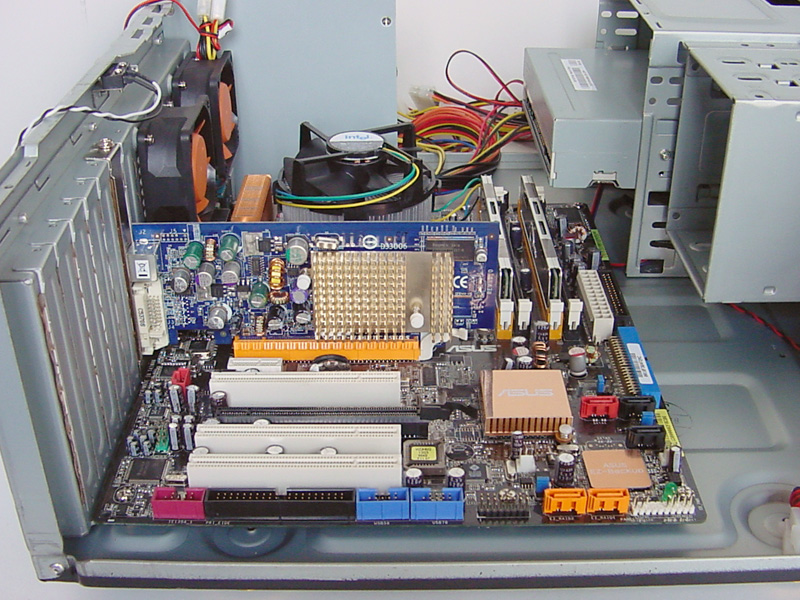
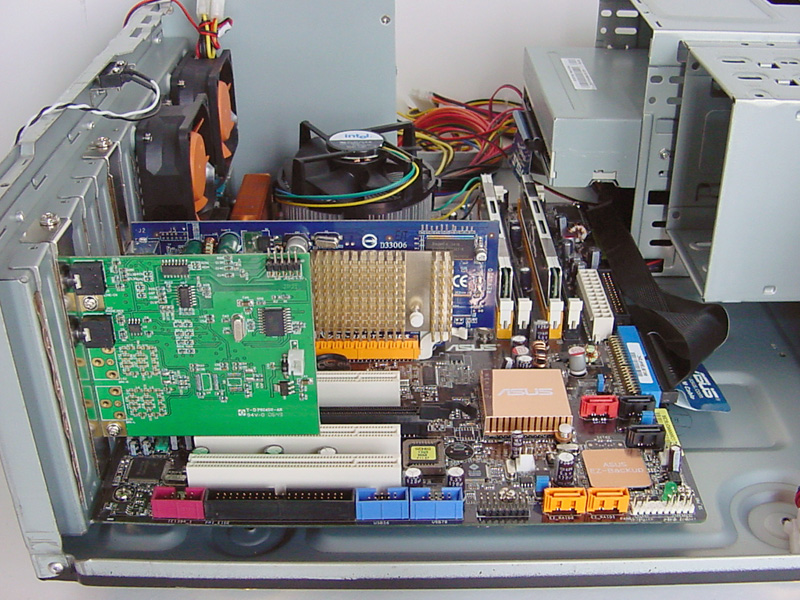
With the motherboard secured, the video card and audio switching card were then installed.

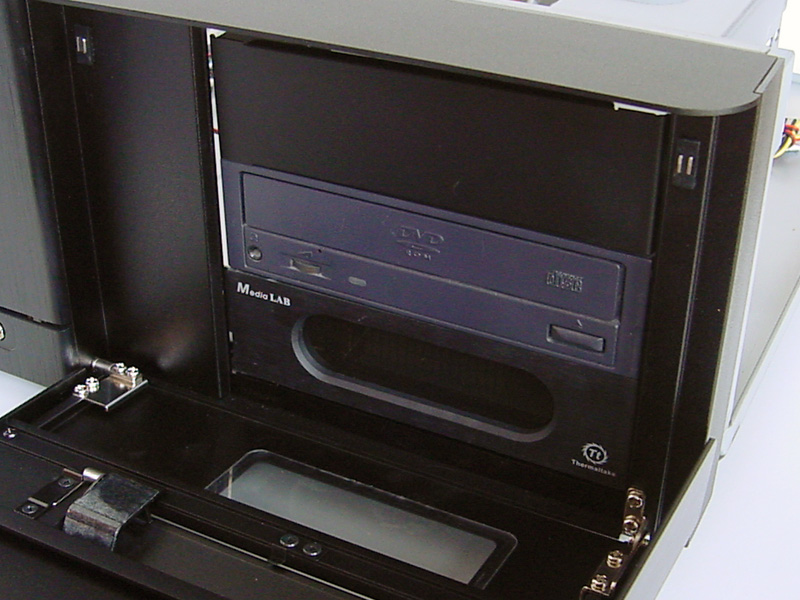
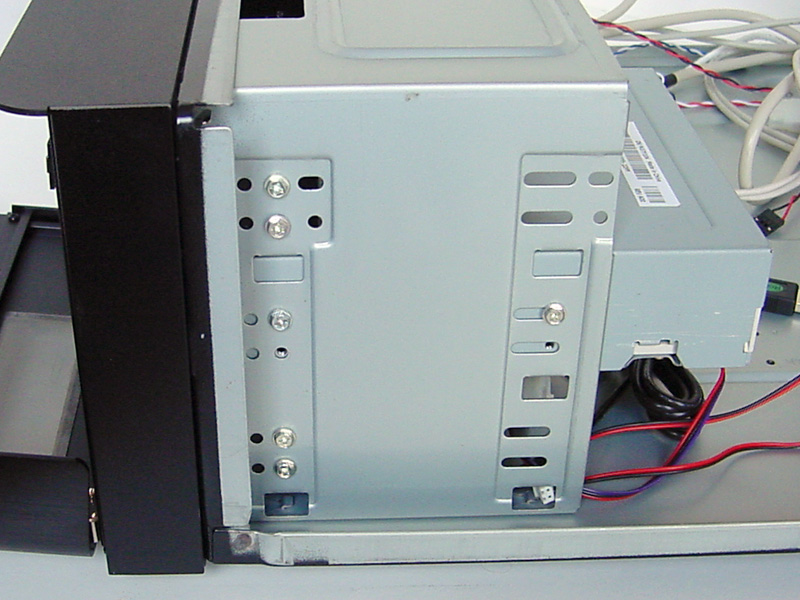
To install the optical drive in the middle 5.25" bay, the cover had to be removed by unscrewing four screws. Unfortunately, this meant removing the 3.5" bays in the center of the case to allow access to the other side. With the drive inserted and lined up correctly it was secured with four screws. The Mozart IP does not have tool-less bays for drives. This may be inconvenient for installation, but in an HTPC case it helps to reduce any extra rattles by holding the drives more tightly.
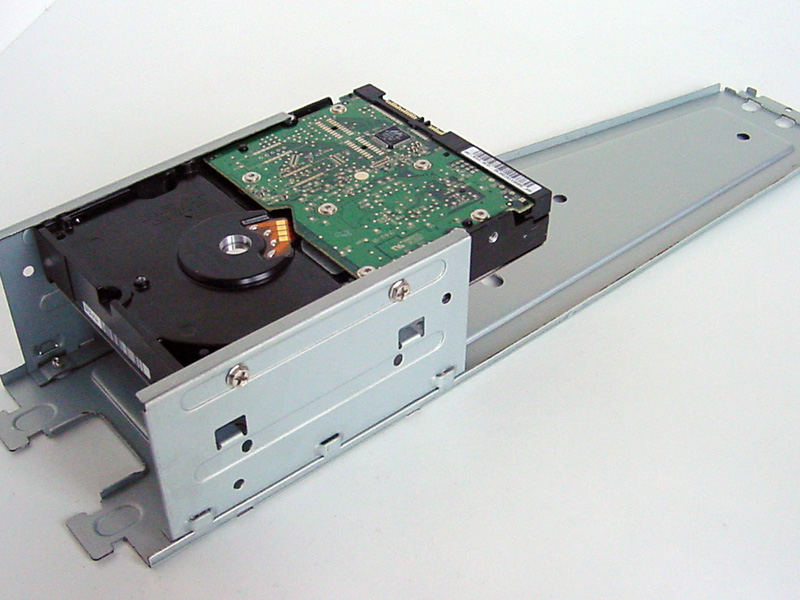
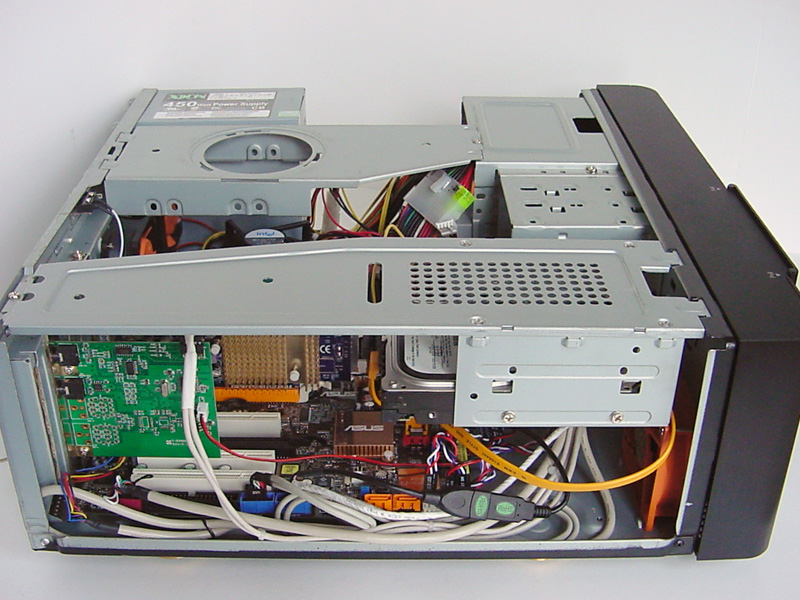
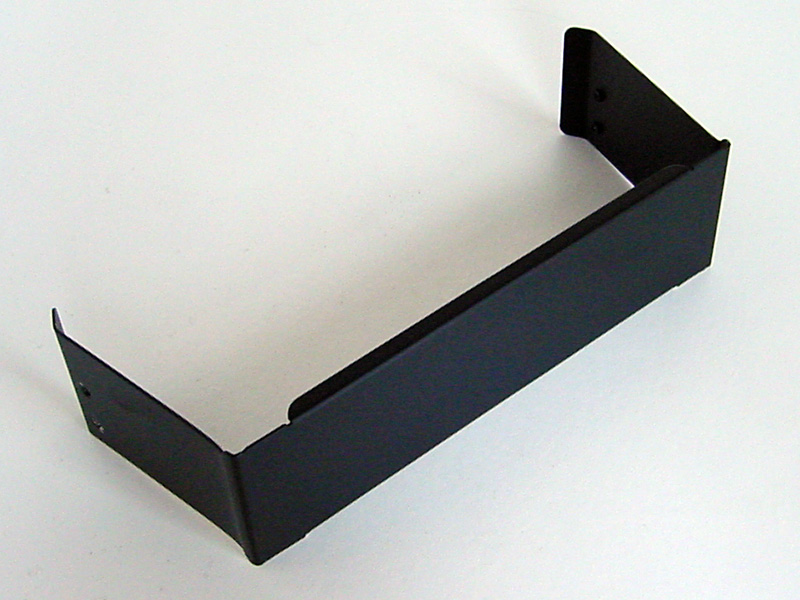
With most of the components installed the wiring was completed and arranged as best as possible. There are a lot of wires to deal with, some of which are extremely long, but there are ample places to hide the wires. Due to the height of the standoffs it is actually possible to hide many of the wires under the motherboard. Two extra connections that have to be made are for the audio switching card: one wire comes from the Media Lab display to provide power, and the other is a dual-USB like connector that supplies the internal audio connection. There is also one USB cable that connects to the motherboard to provide the USB connection for the iPod. The hard disk drive was installed in the lower bay on the support brace since it would be closest to the intake fan for cool air. The support was then fitted into place and secured with its screw, then the wires for the HDD were connected. The other support bracket was installed and secured, too.
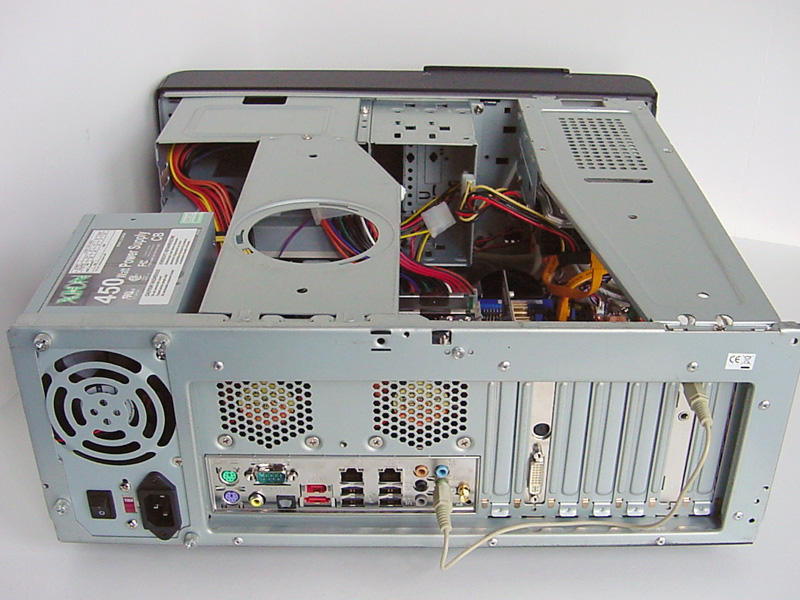
With all the internal wiring complete the next step was to plug in the external audio cable to the iPod audio card. The sound comes out of the Line Out port on the motherboard into the iPod audio card, then the speakers connect to the output from the audio card. This is one place the Mozart IP falls short, as Thermaltake did not take into account that many HTPC users will probably have 5.1 or higher speaker configurations. However, true high-fidelity users will not connect the audio to their speakers in this manor anyway, and opt to use the digital outputs from their sound card to connect to their stereo receivers or pre-amps. If this is the case, then these users may wish to use the iPod audio output as a different source on their pre-amp than their HTPC.
One issue I came across was with the height of the case: with the feet installed it was approximately 6.5" tall. Unfortunately, this was too large to fit into my entertainment center in either of the two possible locations for it. The only option left was to position the Mozart IP on top of the cabinet, but the height prevented the remote from working when I was in a seated position due to the infrared sensor not being aligned properly with the remote. Check for height restrictions in your current application before purchasing, and remember to add an inch or two extra for proper ventilation. If the Mozart IP is too large, you may wish to consider one of Thermaltake's other HTPC cases (like the Mozart SX) that provide most of the same features, but at the loss of the iPod dock.
Feb 5th, 2025 16:59 EST
change timezone
Latest GPU Drivers
New Forum Posts
- Bought new INTEL 1.5Tb SSD for 400$ - PCI SSD for my new PC (29)
- I find the lack of Battle Mage owners threads disturbing. My Onix Odyssey B580 arrived. (30)
- What are you playing? (22767)
- ASUS Dual GeForce RTX 4070 SUPER EVO OC Edition - stay away from this card, very hot and loud (25)
- 3D Printer Club (399)
- Are there videos or just more details on what parts of the games are used in the CPU, GPU, and game benchmarks? (0)
- Advice for migrating from Windows 11 to Linux (46)
- What's your latest tech purchase? (23075)
- New 8700g build for a client. (11)
- RX 580 Aorus with wrong vbios (0)
Popular Reviews
- Spider-Man 2 Performance Benchmark Review - 35 GPUs Tested
- Corsair Frame 4000D Review
- Kingdom Come Deliverance II Performance Benchmark Review - 35 GPUs Tested
- NVIDIA GeForce RTX 5080 Founders Edition Review
- Gigabyte GeForce RTX 5080 Gaming OC Review
- MSI GeForce RTX 5080 Vanguard SOC Review
- AMD Ryzen 7 9800X3D Review - The Best Gaming Processor
- ASUS GeForce RTX 5080 Astral OC Review
- NVIDIA DLSS 4 Transformer Review - Better Image Quality for Everyone
- Cooler Master X Silent Edge Platinum 850 W Review - Fully Passive PSU
Controversial News Posts
- NVIDIA 2025 International CES Keynote: Liveblog (470)
- AMD Debuts Radeon RX 9070 XT and RX 9070 Powered by RDNA 4, and FSR 4 (349)
- AMD Radeon 9070 XT Rumored to Outpace RTX 5070 Ti by Almost 15% (283)
- AMD is Taking Time with Radeon RX 9000 to Optimize Software and FSR 4 (256)
- AMD Denies Radeon RX 9070 XT $899 USD Starting Price Point Rumors (239)
- Edward Snowden Lashes Out at NVIDIA Over GeForce RTX 50 Pricing And Value (235)
- AMD Radeon RX 9070 XT & RX 9070 Custom Models In Stock at European Stores (226)
- New Leak Reveals NVIDIA RTX 5080 Is Slower Than RTX 4090 (215)