 6
6
Titan Army P32A2S2 Review - Large Panel, Manageable Resolution
Picture Quality, Uniformity & Calibration »Controls and OSD
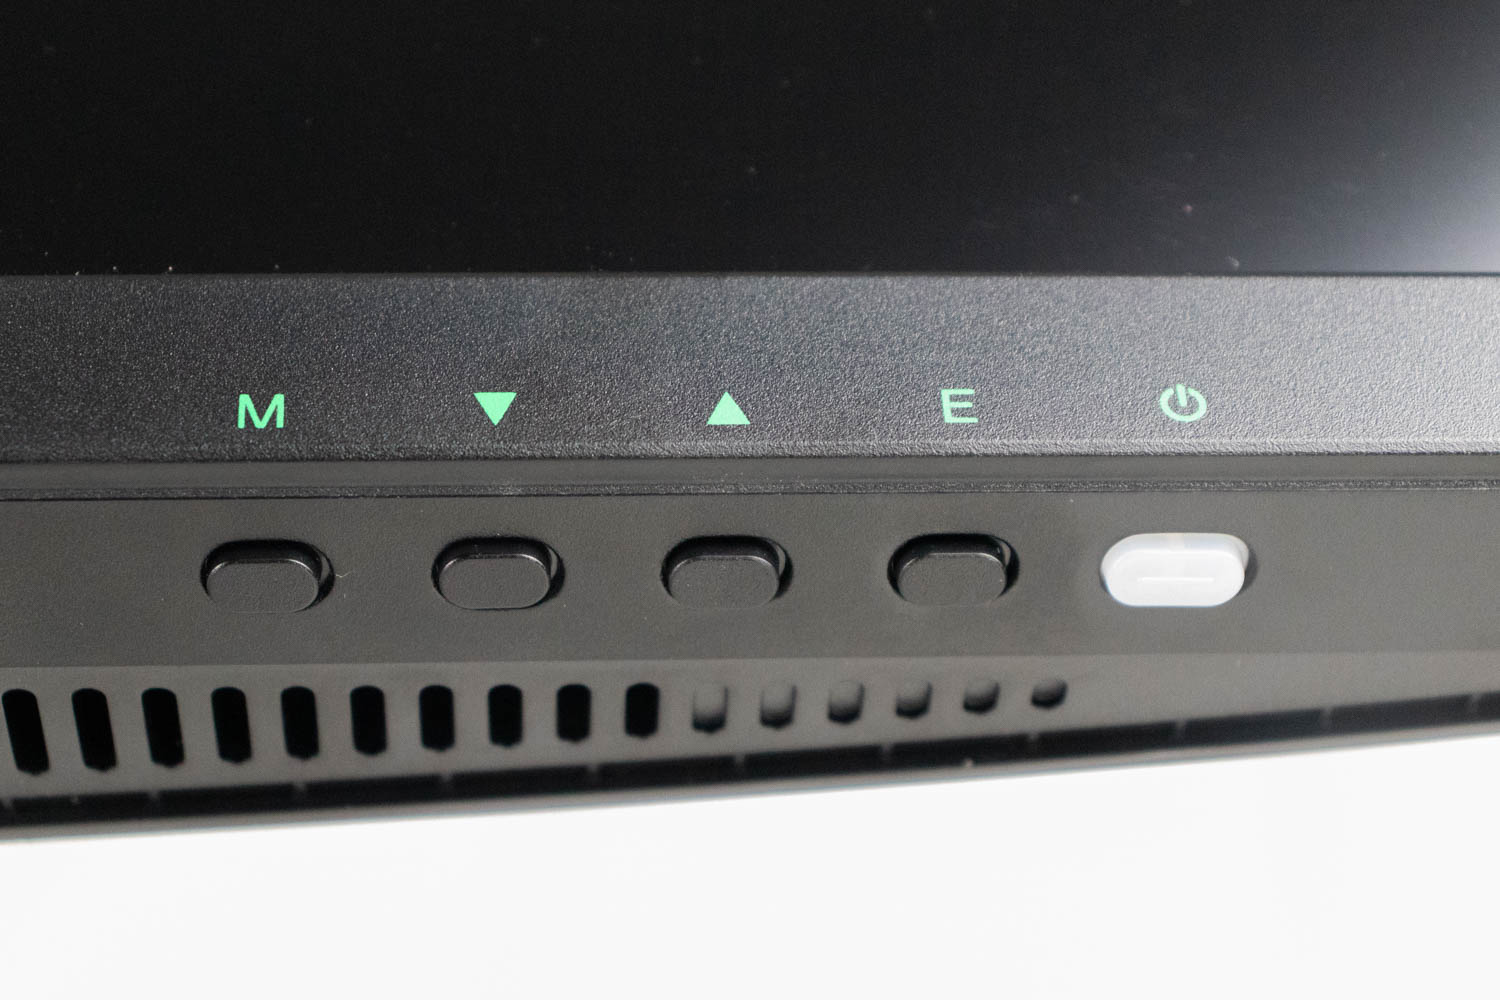
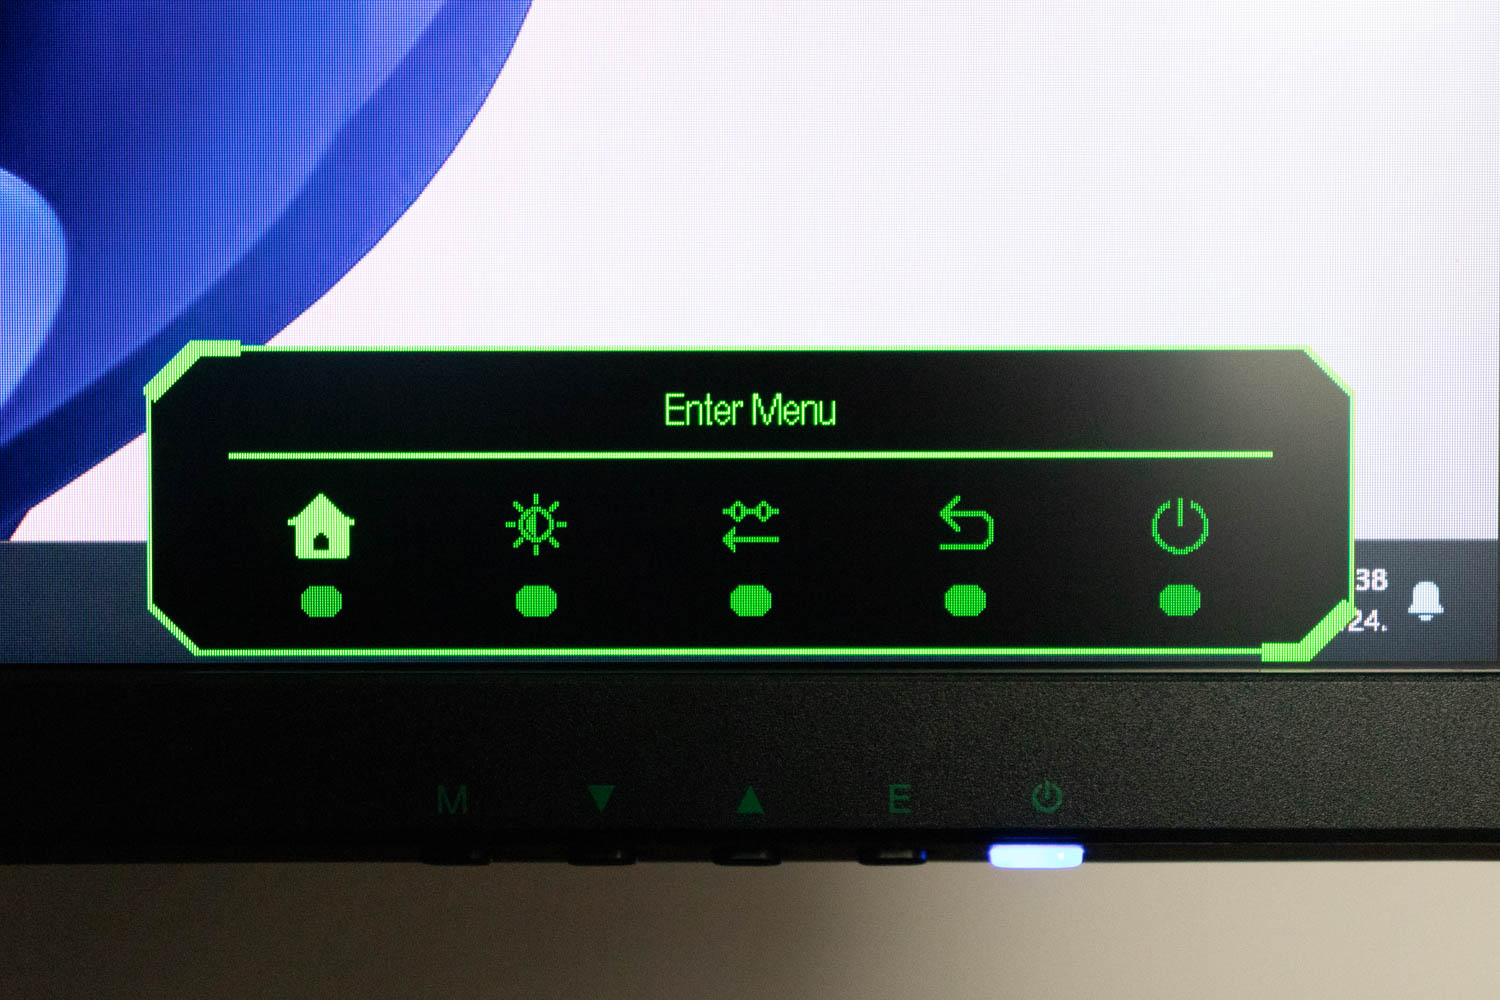
The physical buttons at the bottom-right edge of the panel are used to launch and navigate the on-screen display. Pushing any of the buttons brings up the quick menu, where you can jump straight into adjusting the brightness and choosing inputs, or open the OSD's main menu. The overall button layout is acceptable, primarily because their functions stay consistent within the OSD, but the OSD itself isn't intuitive. More on that in a moment.
The main part of the OSD is split into a total of eight sections: Picture Mode, Picture Settings, Game+, Game Illumination, Audio Settings, PIP/PBP, I/O Settings, and System Settings.
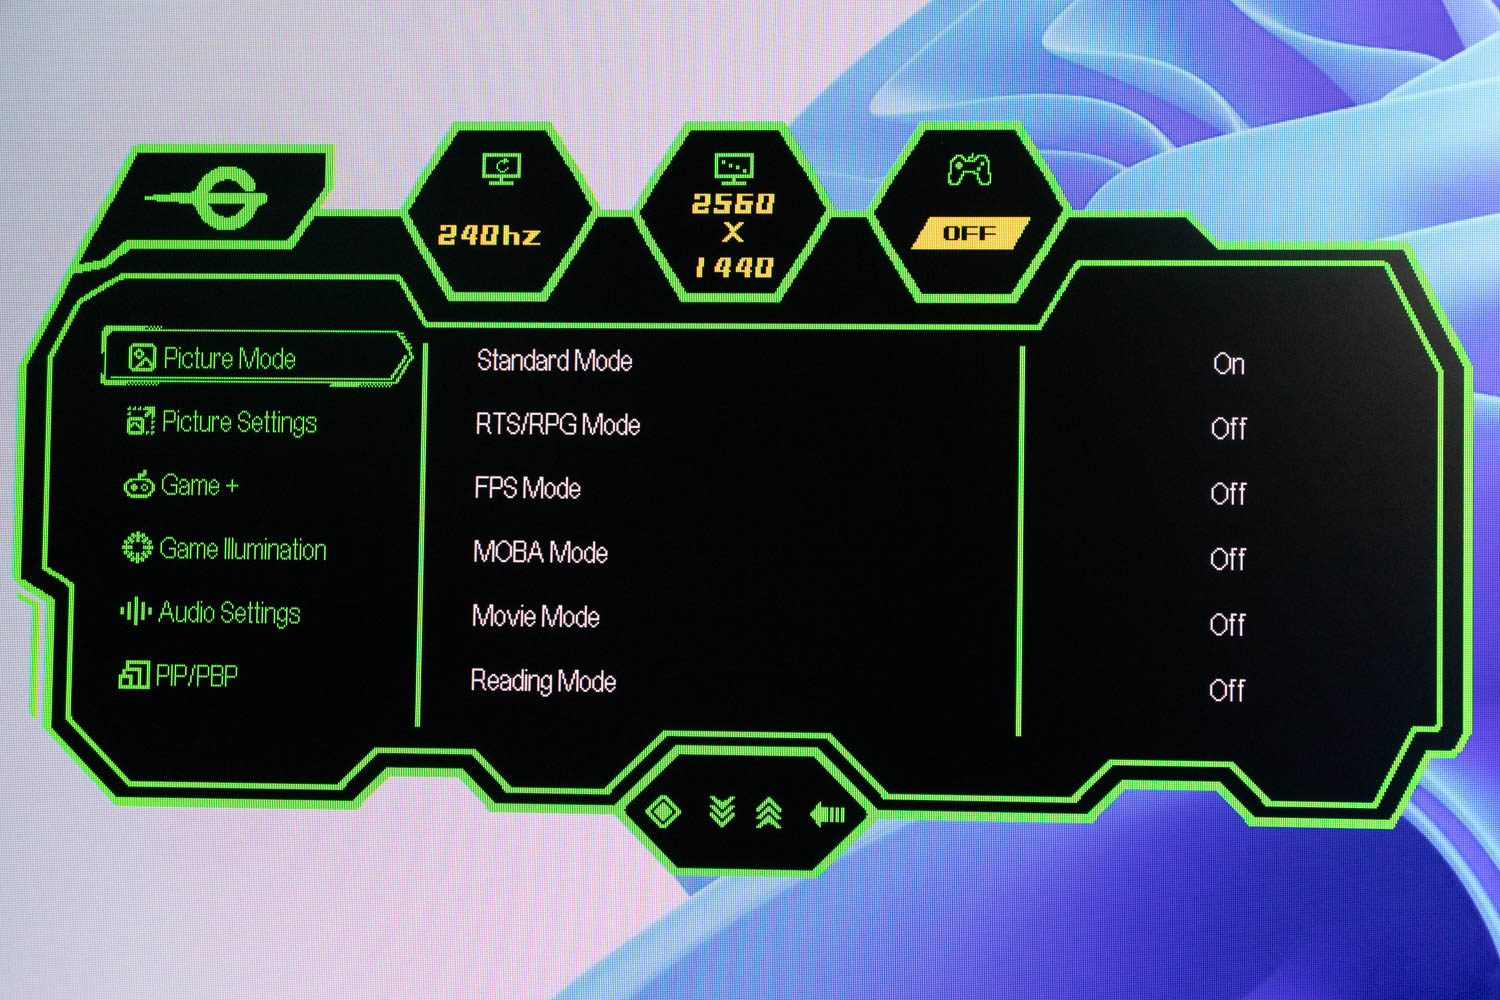
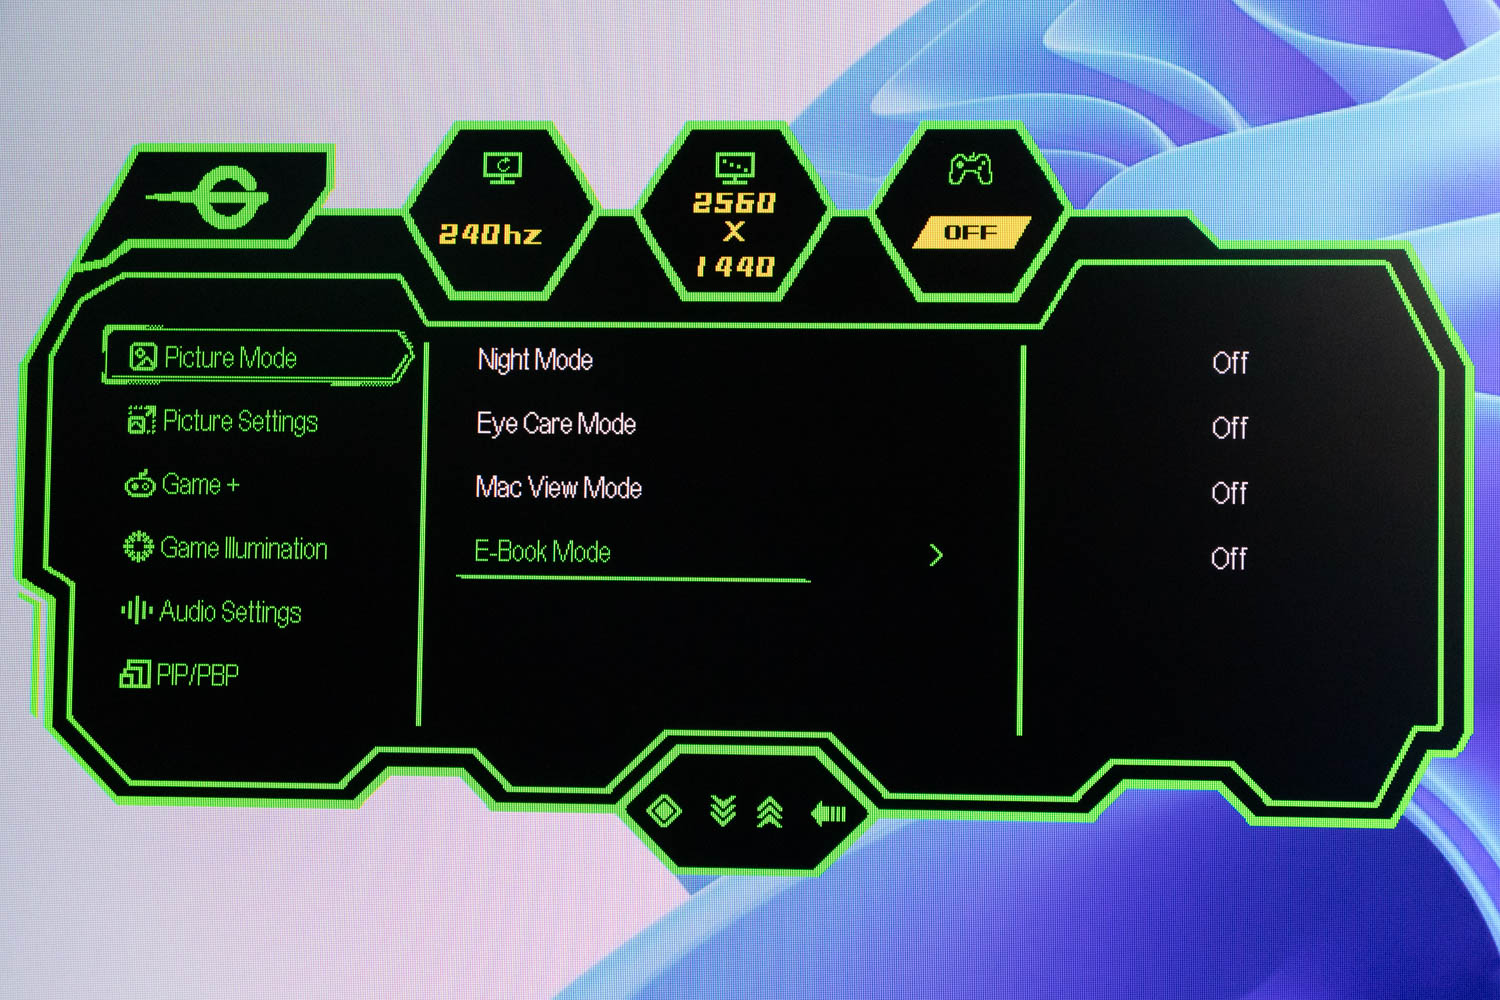
The Picture Mode menu contains a bunch of picture profiles. Each profile has an On/Off toggle, which is weird in itself, but what's even stranger is that after you toggle a profile On, you have to pick between two of its variants: Default and Custom. Should you want to adjust the settings related to gaming performance, such as overdrive level and black level (or Shadow Balance, as Titan Army calls it), you have to go with the Custom option and adjust the desired settings for the chosen profile.
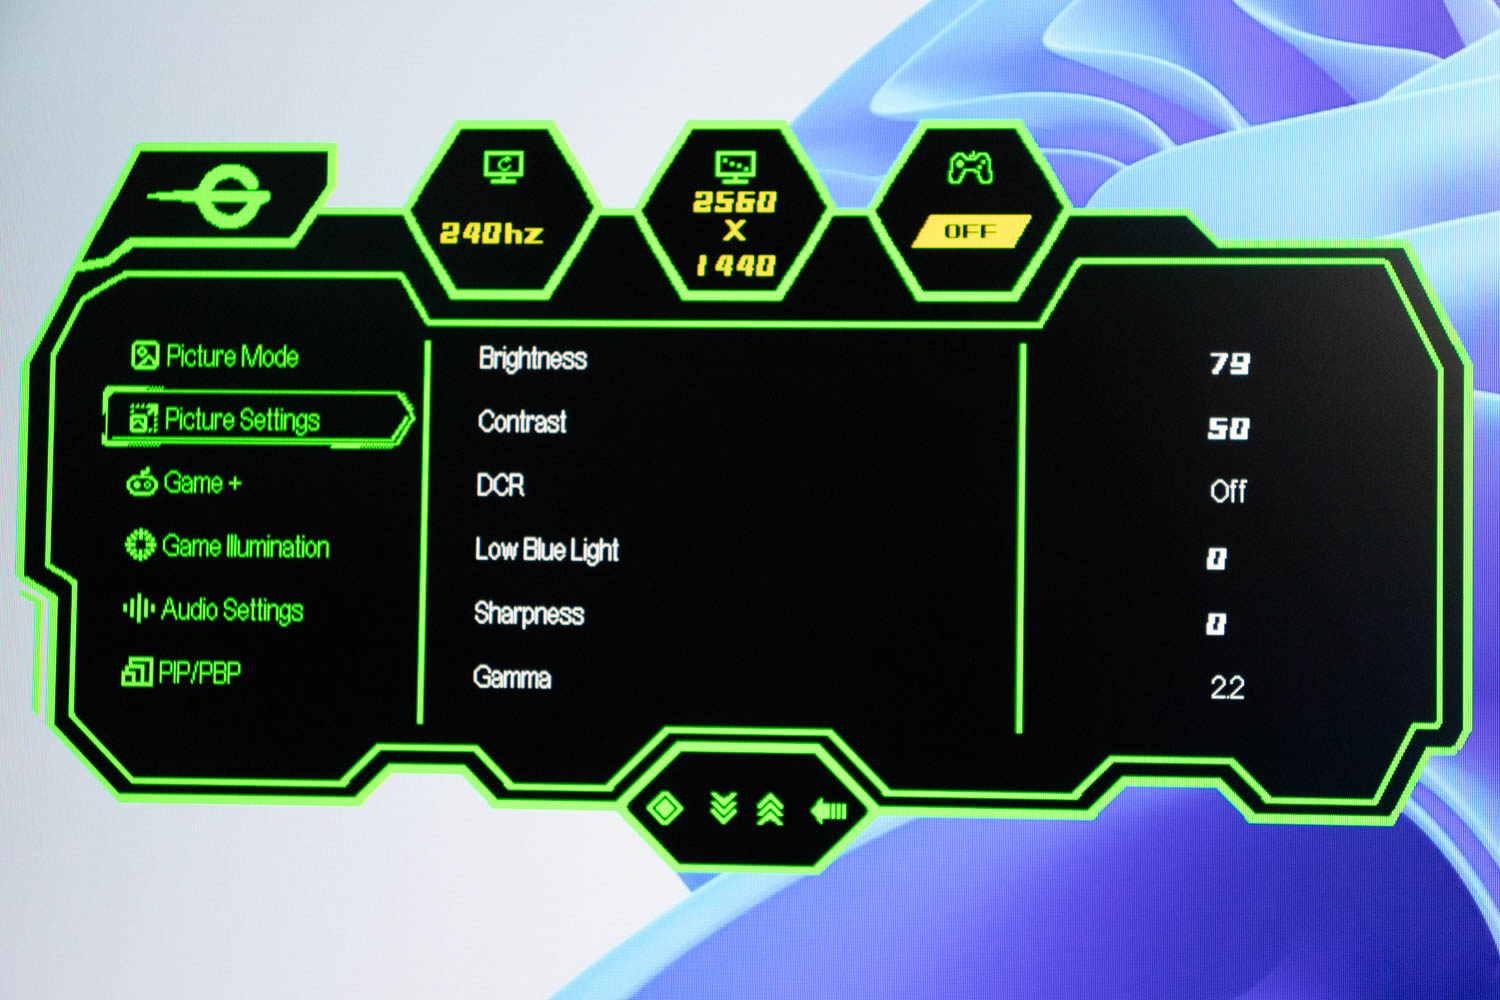
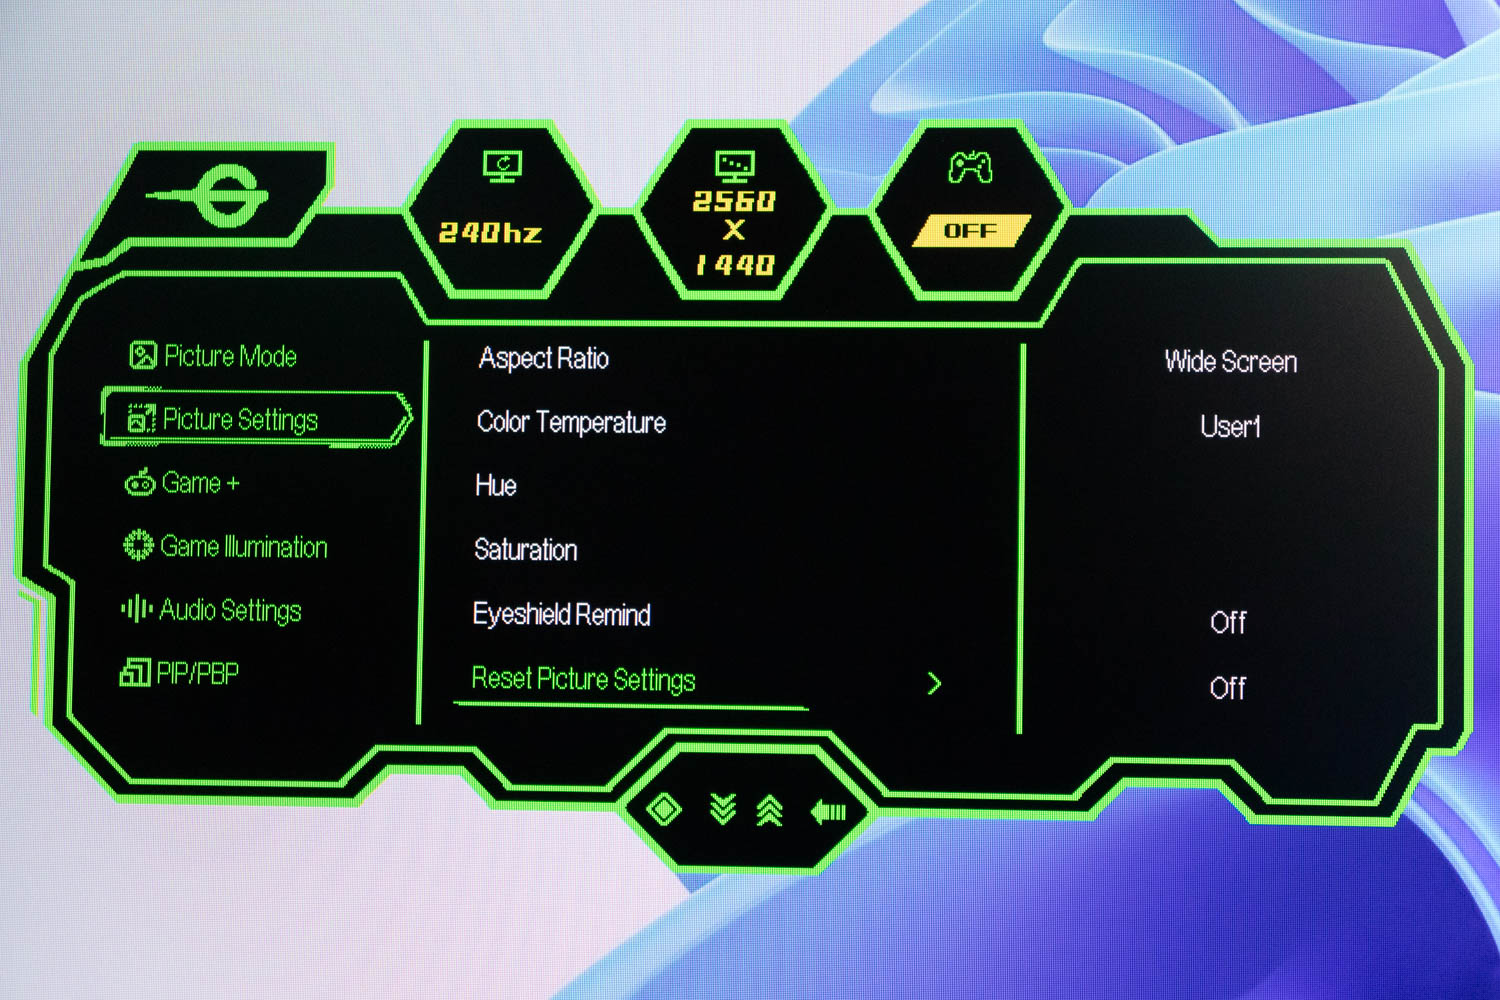
While expanding the aforementioned Custom menu will also let you adjust the brightness and select the color temperature, you can only scroll between the color temperature profiles. To actually adjust the ones that are configurable (User1, User2, and User3), you must dive into the Picture Settings menu and do that there. The good news is that these three profiles (they're the same until you alter them manually) offer a good RGB color channel balance with no changes to the individual channel gain. More on that in the picture quality section of this review.
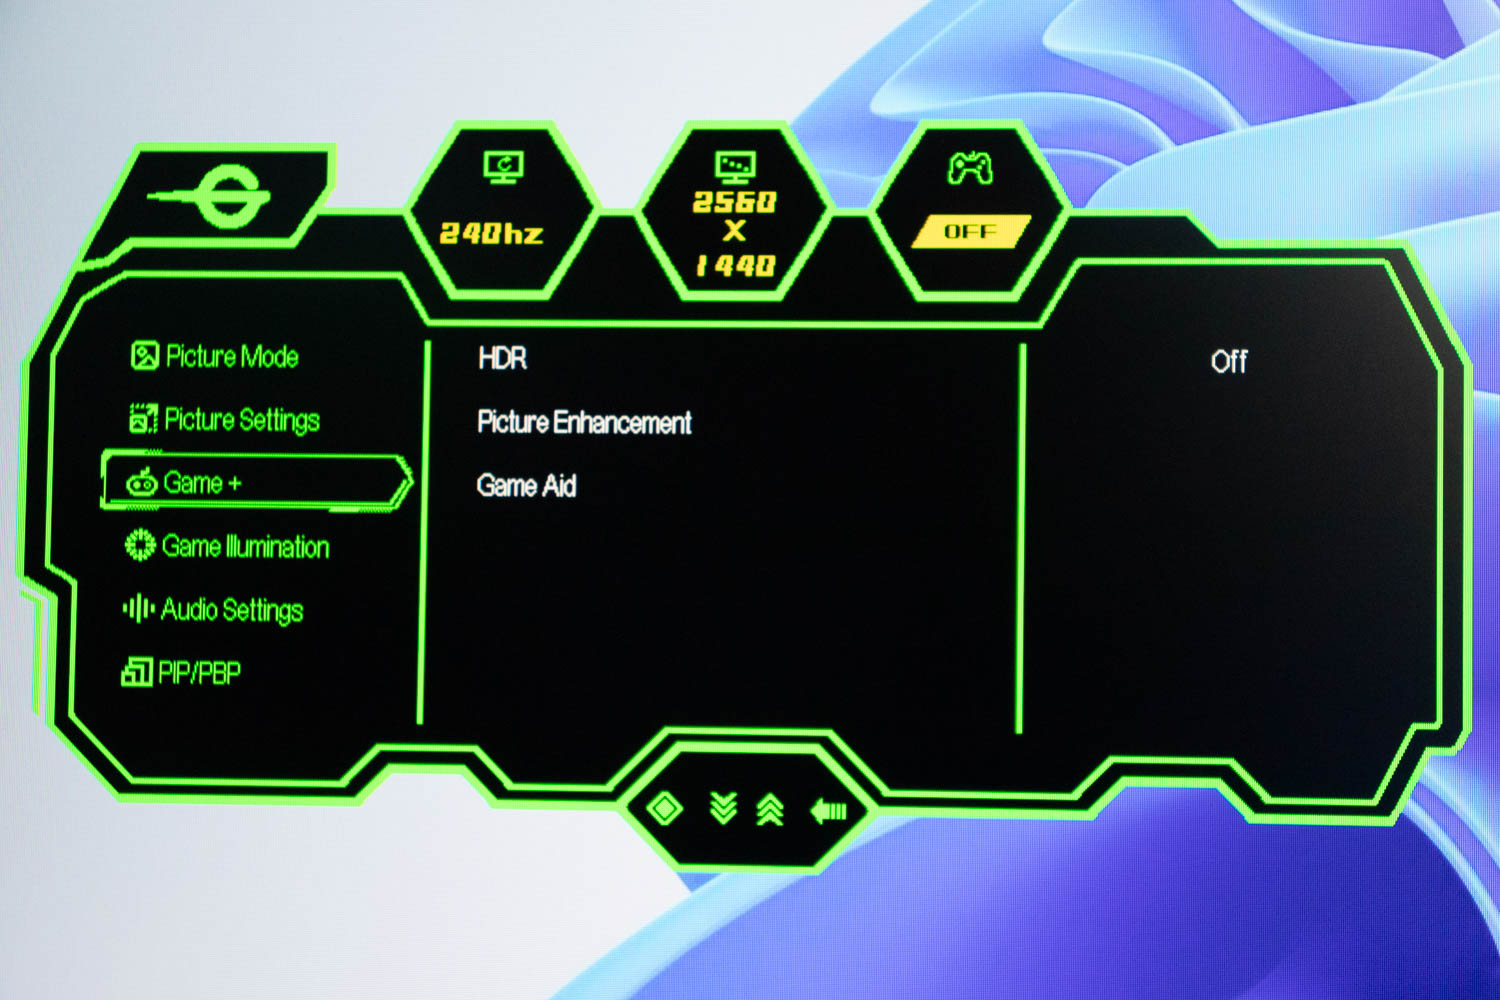
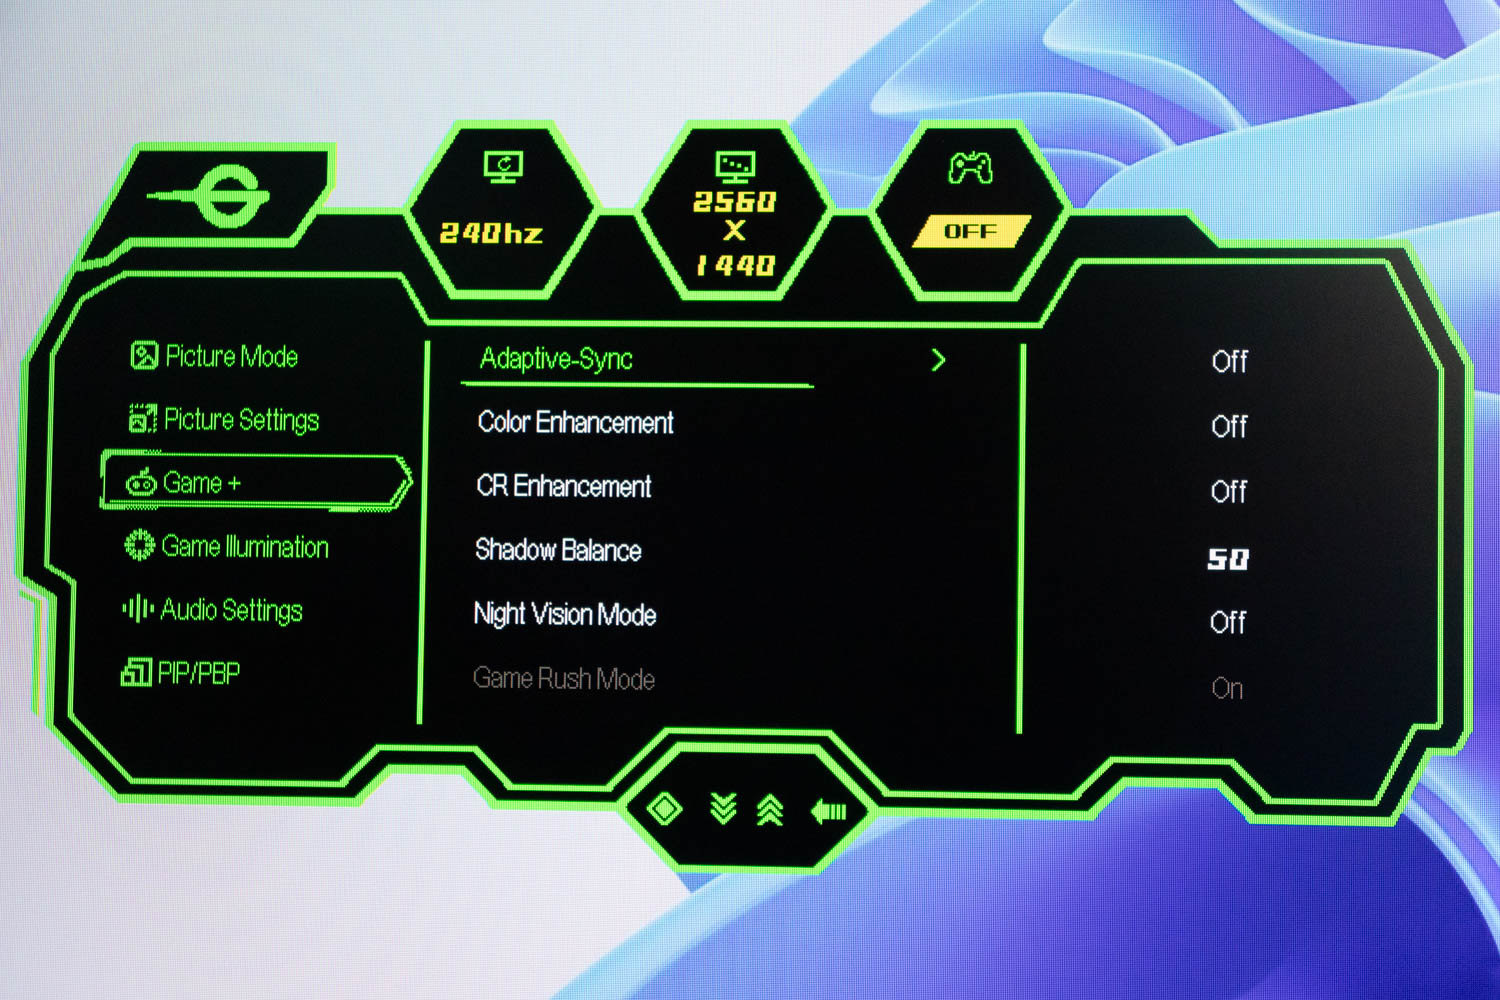
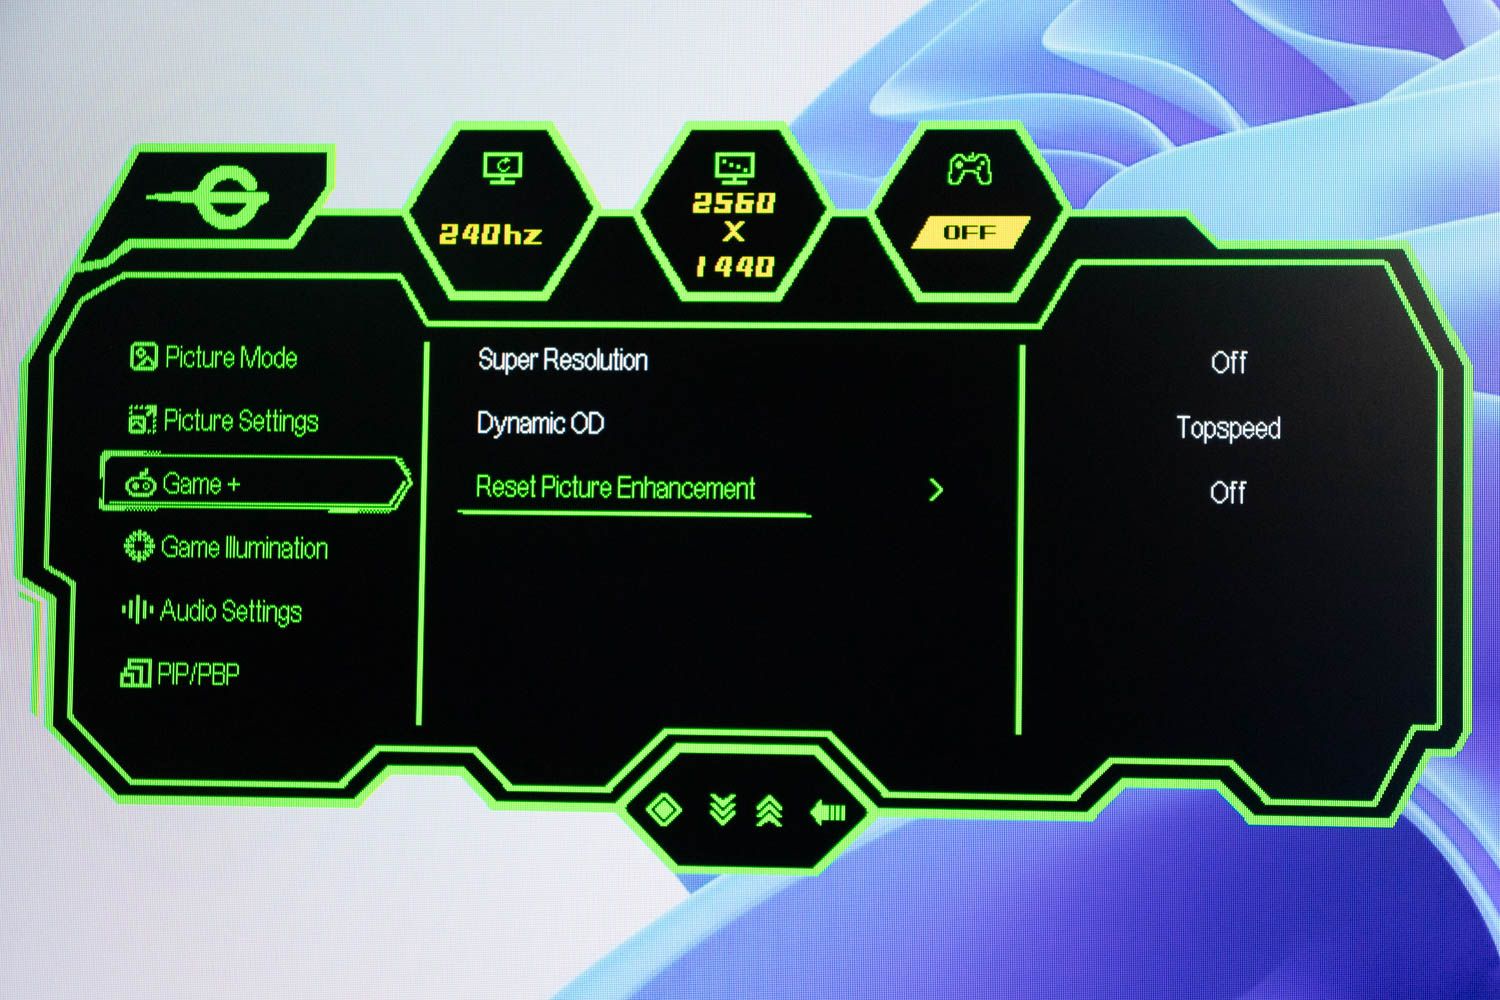
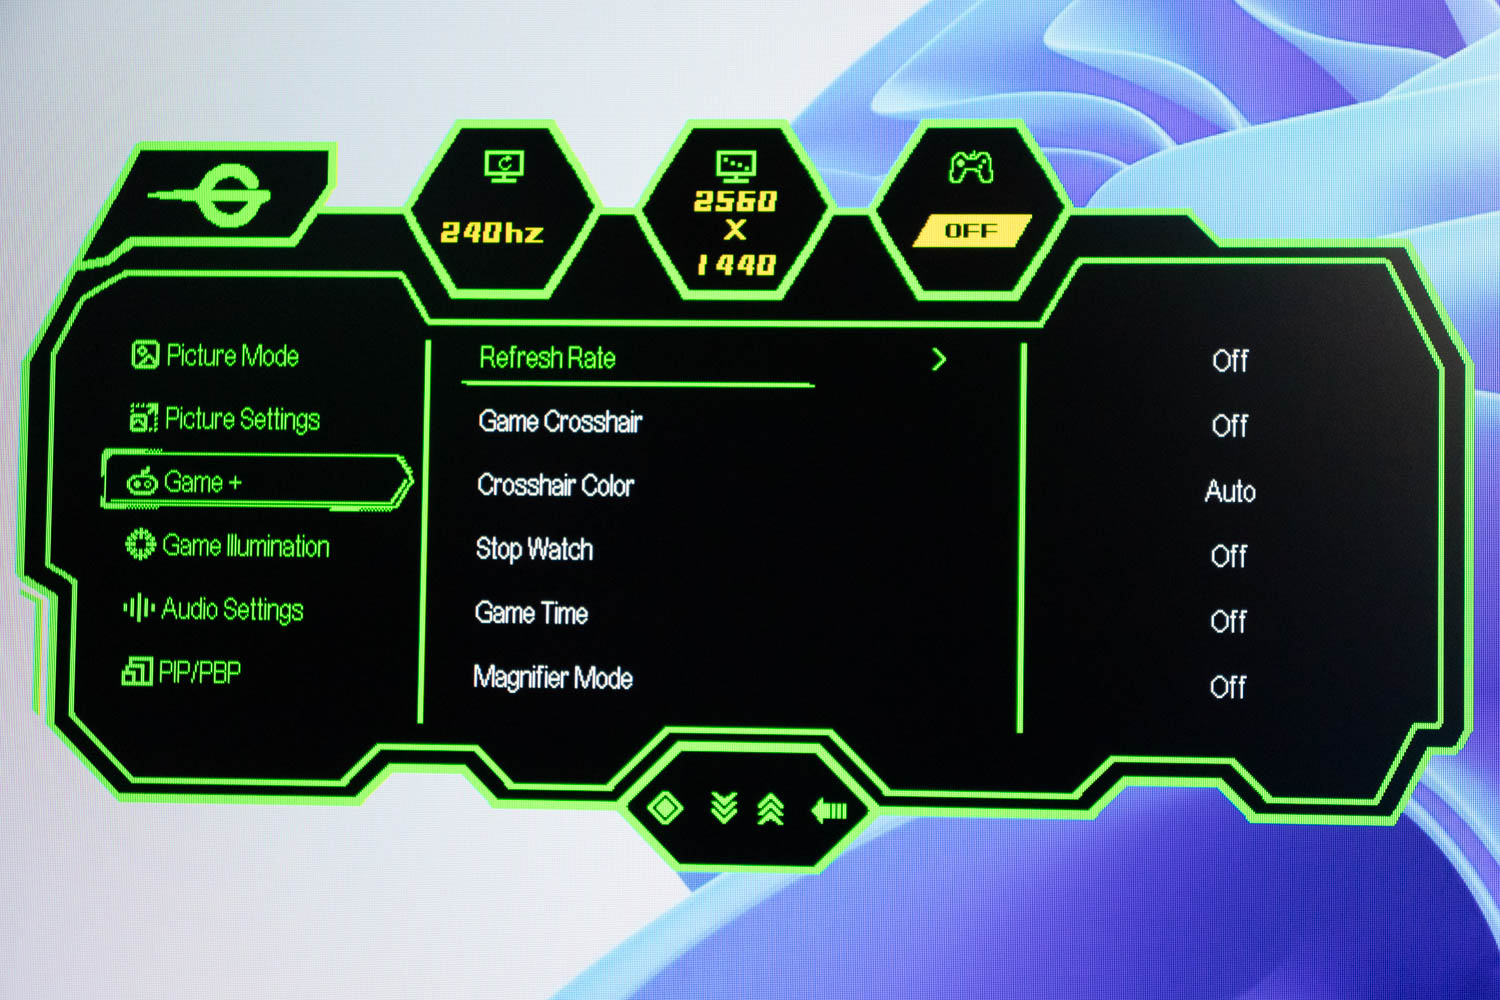
The Game+ menu has the pointless HDR toggle (the monitor lacks the technology or brightness to display HDR content properly, so let's forget about that) and two submenus: Picture Enhancement and Game Aid. The Picture Enhancement submenu lets you play with the black level, overdrive settings, adaptive synchronization, and several other contrast and color-altering modes, which are best left alone, assuming you're striving for the best achievable picture quality. The Game Aid submenu is where you'll find your virtual crosshairs, timers, and magnifiers.
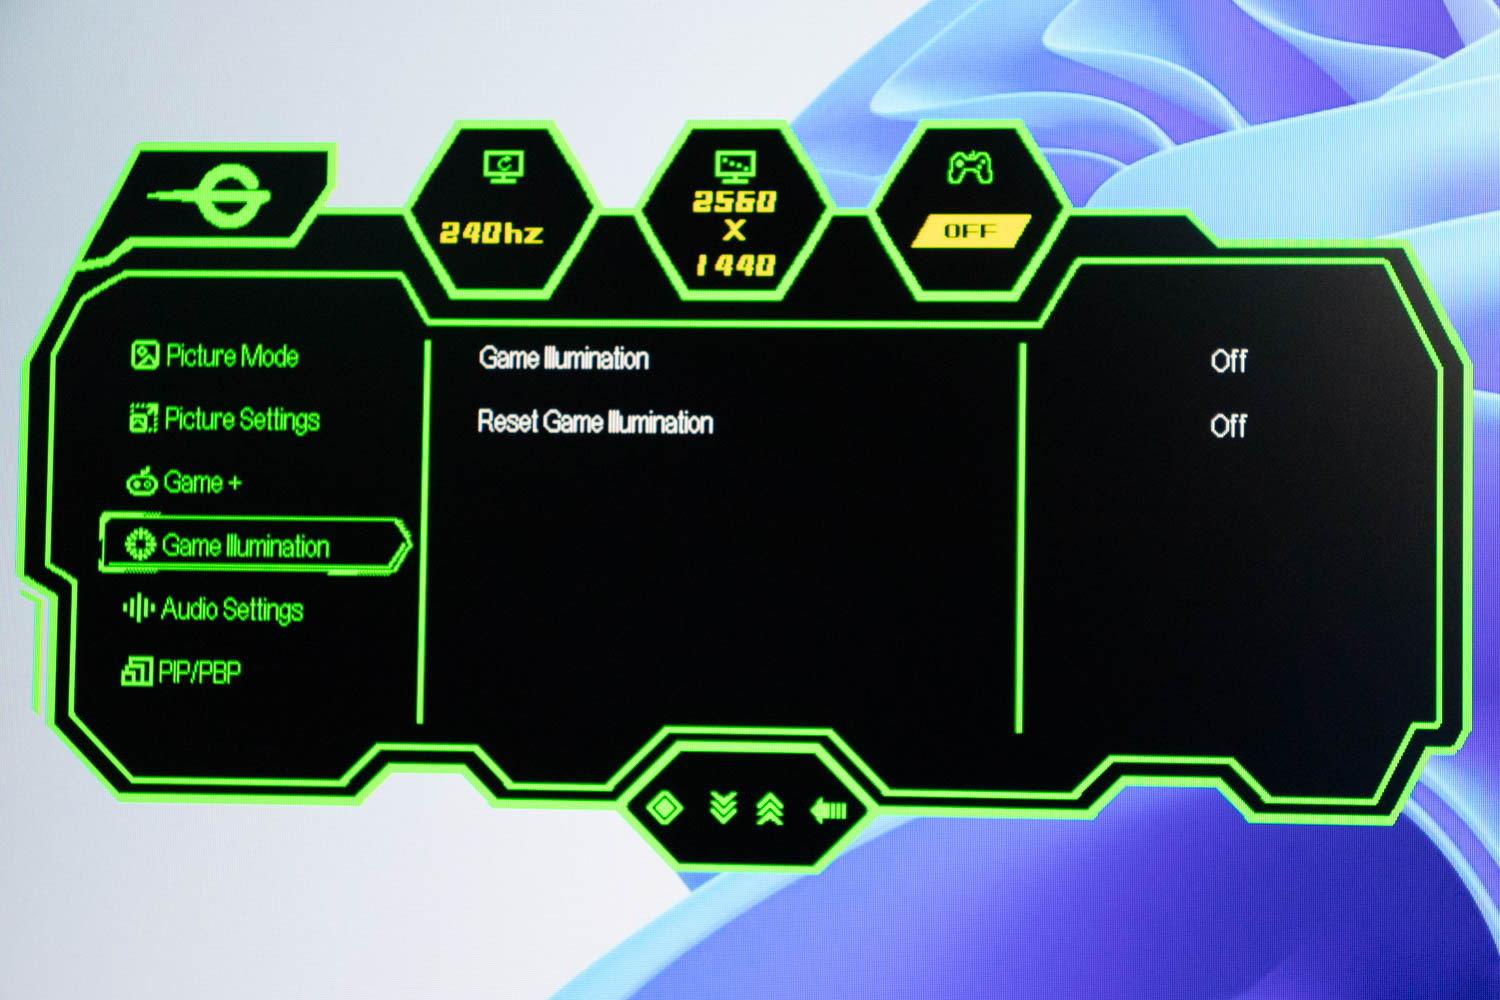
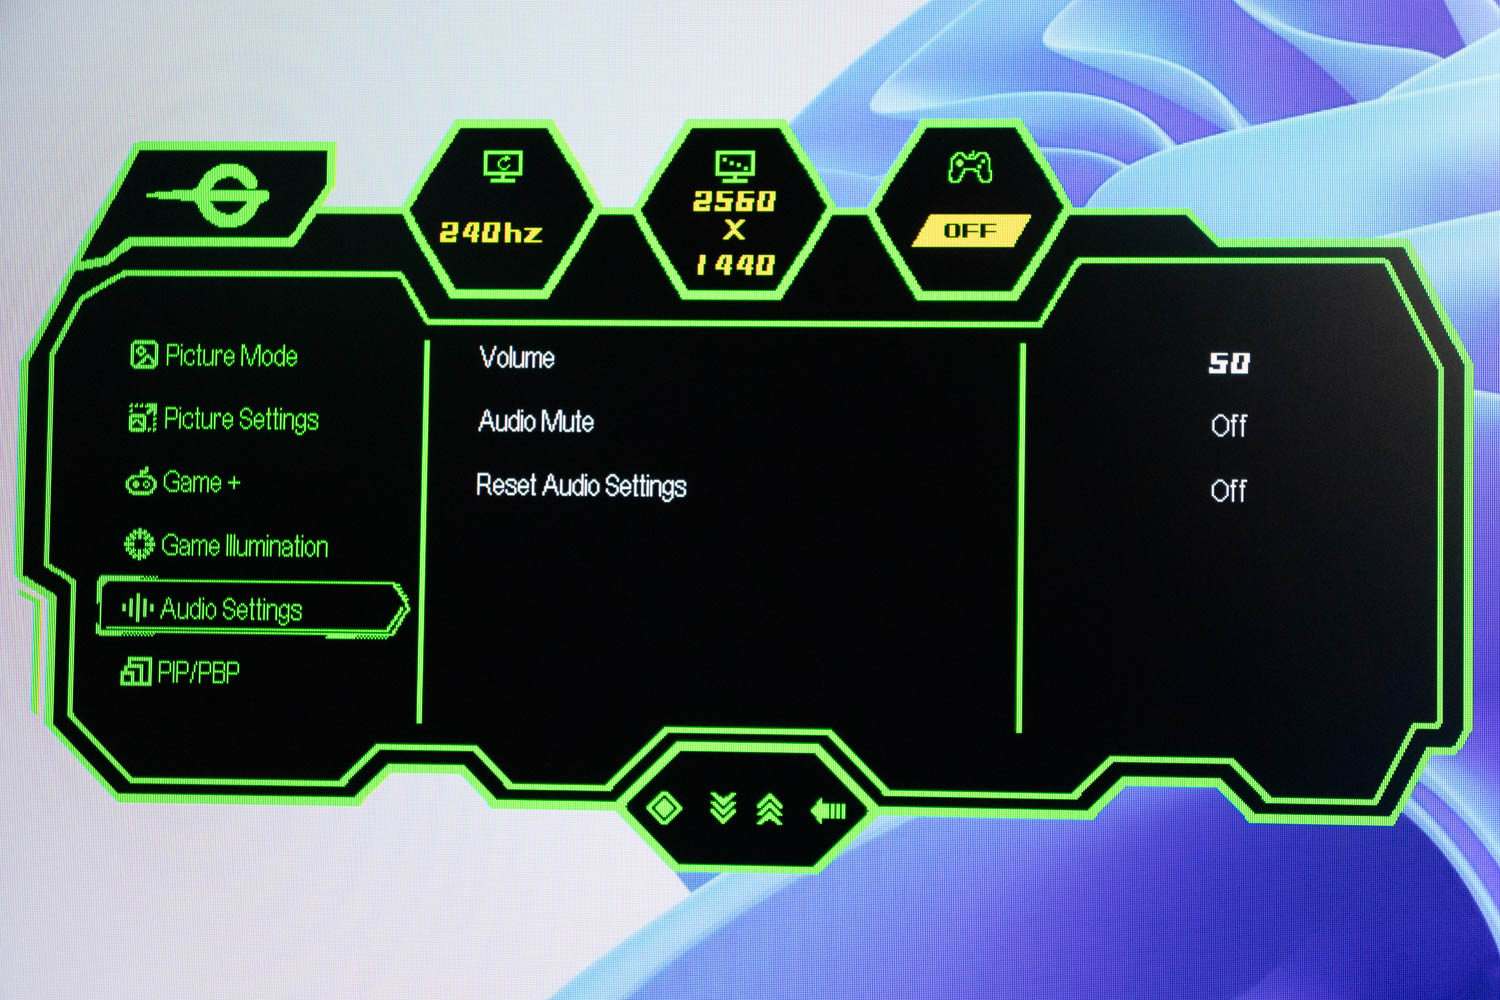
The next two menus enable you to deactivate the two red light strips on the back, and adjust the volume of the device connected to the audio output.
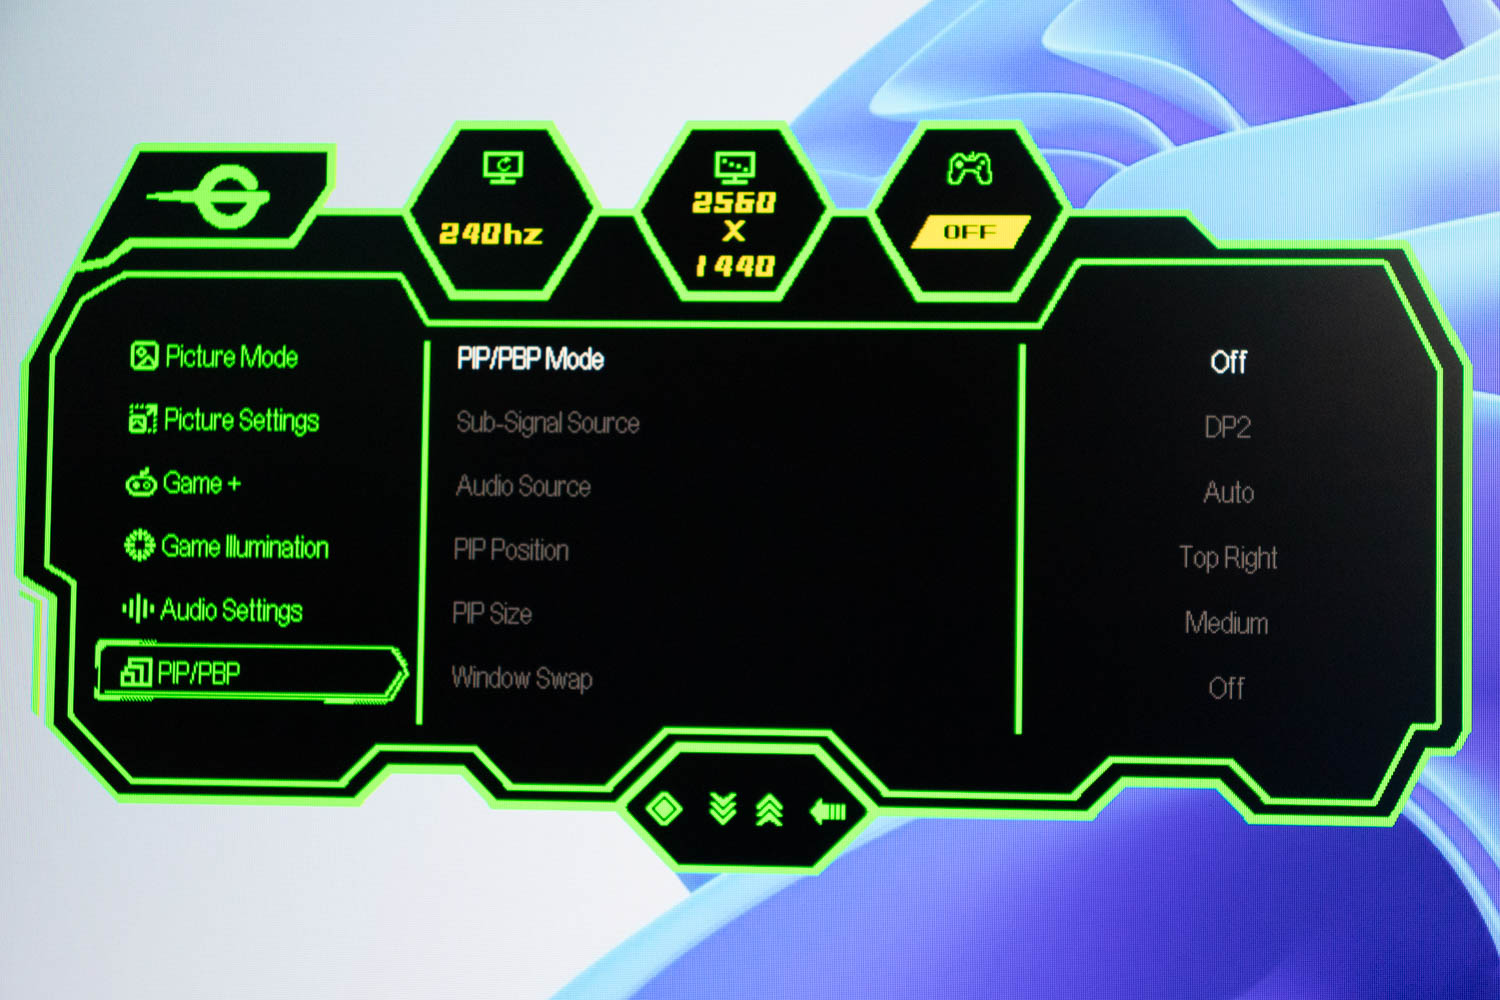
The PIP/PBP menu lets you activate picture-by-picture and picture-in-picture modes. When using PbP, you can have two input signals on each half of the screen. In PiP mode, you can select the size and position of the secondary window and pick which connected source is your preferred audio source. There's also an option to quickly swap video sources between the two PiP windows.
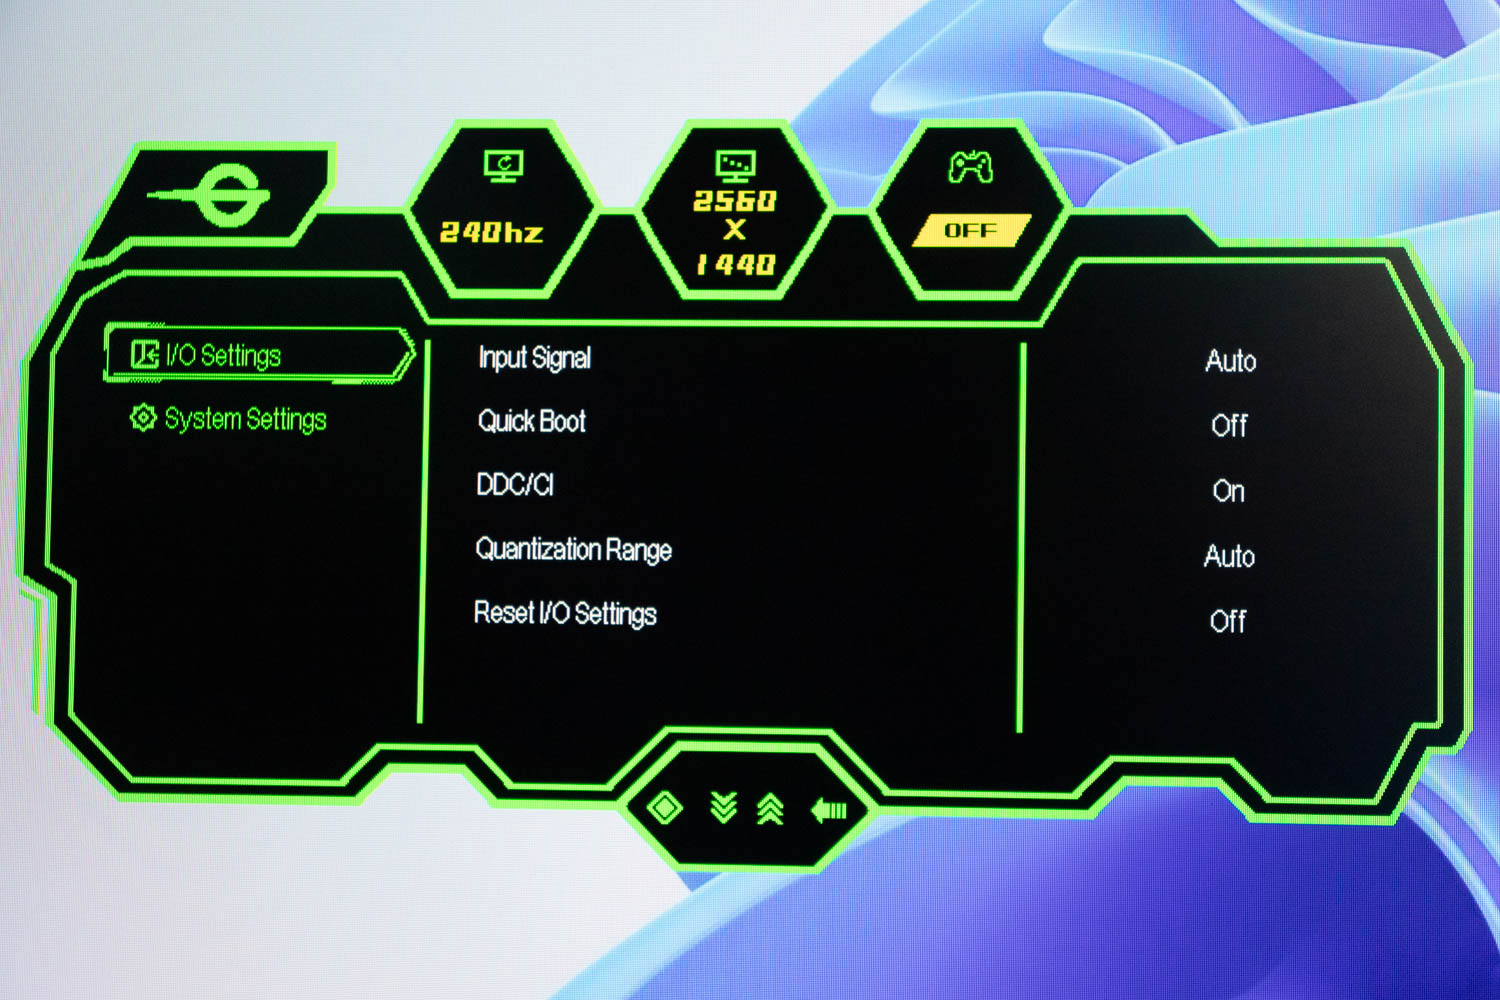
The I/O Settings menu is where you can select if the monitor detects the input signal and switches to the active video source automatically or manually.
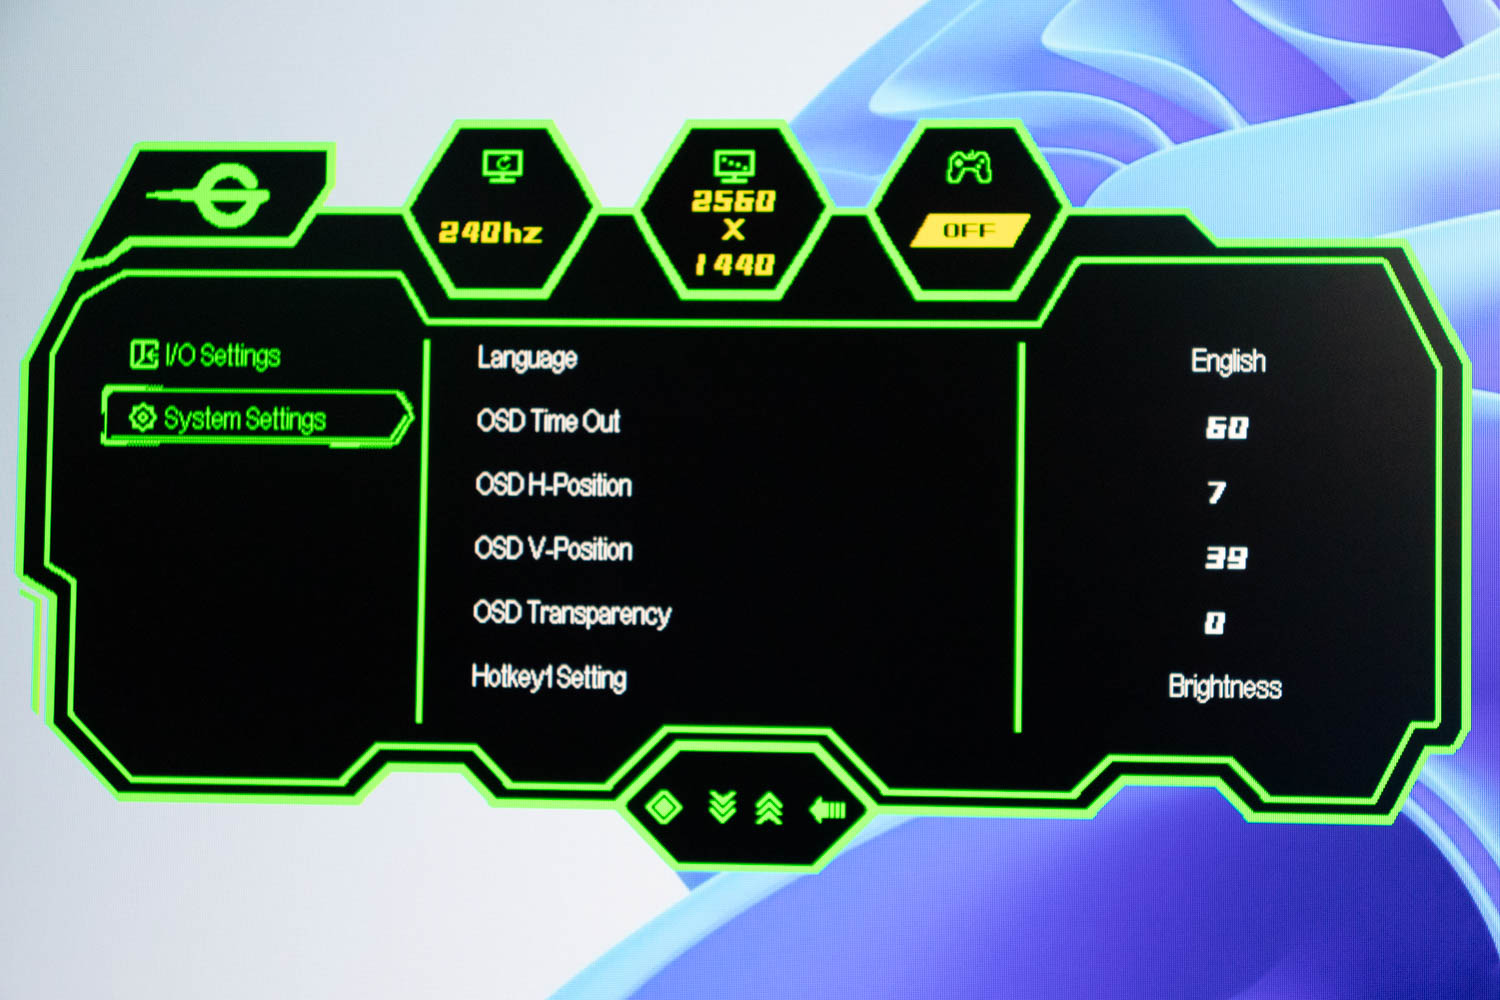
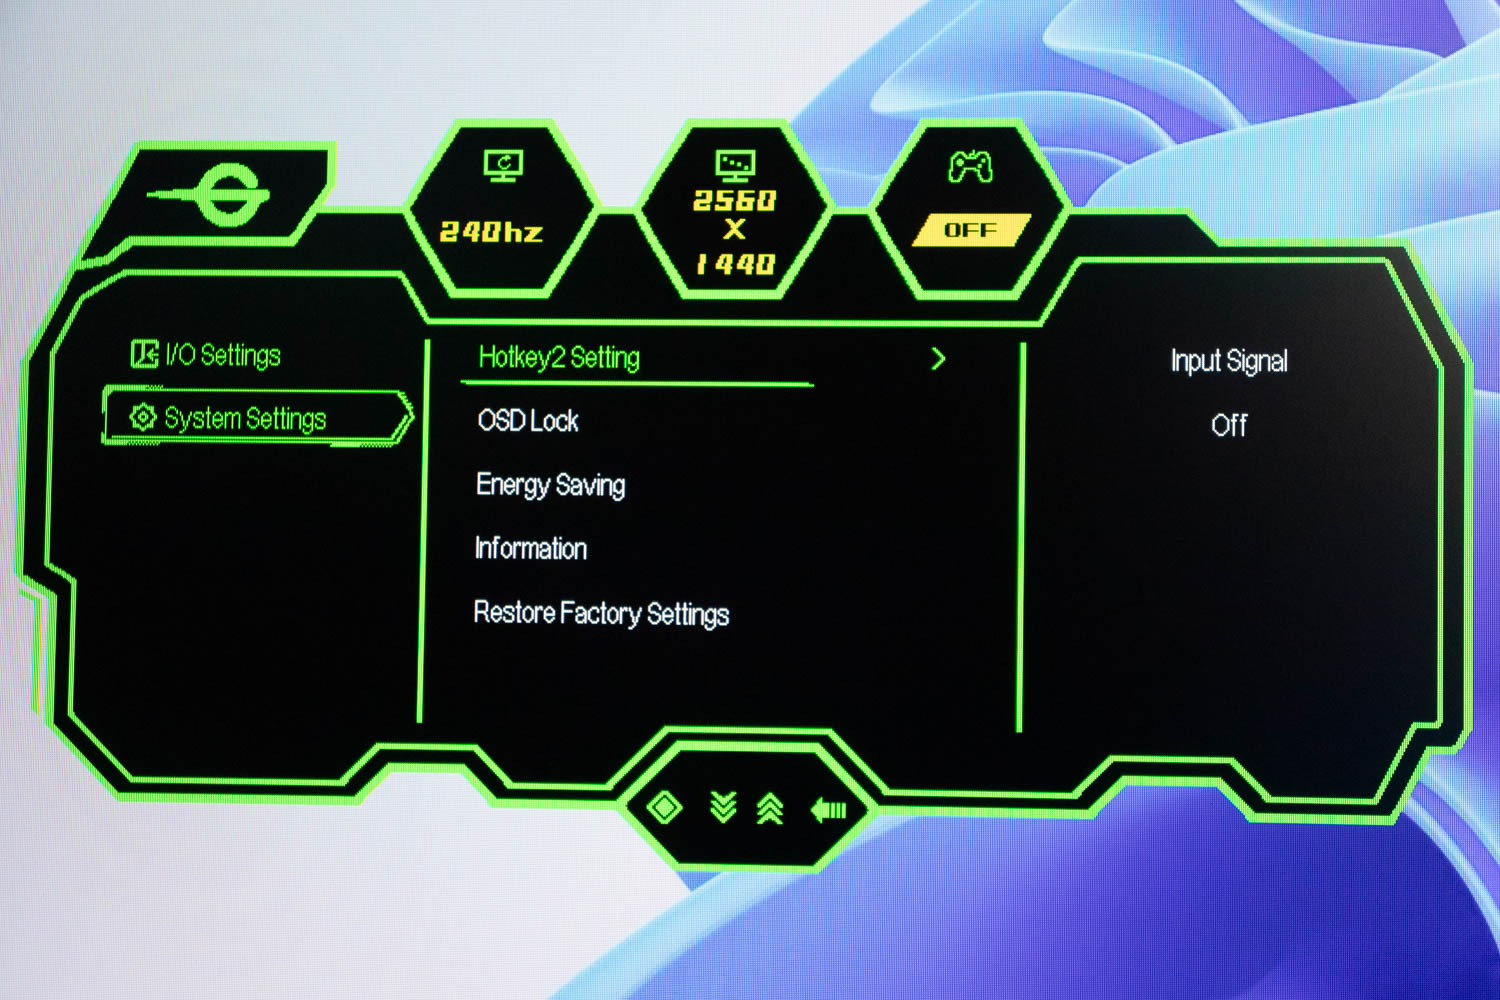
The final menu, called System Settings, contains everything else: OSD position, transparency and timeout settings, language selection, hotkey selection, and so on.
Feb 8th, 2025 12:19 EST
change timezone
Latest GPU Drivers
New Forum Posts
- RTX 3060 i5-10400 32gb ram become very slow after cleaning (17)
- UNDERVOLT LEGION PRO 5 16IRX8 has a i9 13900hx can you please help me and check the undervolt setting for me (1)
- Help choosing a GPU (23)
- Simple question about GPUs releases.... (21)
- The TPU UK Clubhouse (25693)
- Throttle Stop undervolting didn't change anything. (0)
- Last game you purchased? (663)
- 2022-X58/1366 PIN Motherboards NVME M.2 SSD BIOS MOD Collection (864)
- Rare GPUs / Unreleased GPUs (2028)
- RTX5000 Series Owners Club (71)
Popular Reviews
- Kingdom Come Deliverance II Performance Benchmark Review - 35 GPUs Tested
- Spider-Man 2 Performance Benchmark Review - 35 GPUs Tested
- Formovie Cinema Edge 4K UST Laser Projector Review
- Civilization VII Performance Benchmark Review - 35 GPUs Tested
- Kingdom Come: Deliverance 2 Handheld Performance Review
- ASUS ROG Harpe Ace Extreme Review
- Corsair Frame 4000D Review
- NVIDIA GeForce RTX 5080 Founders Edition Review
- ASRock Phantom Gaming B850I Lightning Wi-Fi Review
- AMD Ryzen 7 9800X3D Review - The Best Gaming Processor
Controversial News Posts
- AMD Radeon 9070 XT Rumored to Outpace RTX 5070 Ti by Almost 15% (286)
- AMD is Taking Time with Radeon RX 9000 to Optimize Software and FSR 4 (256)
- AMD Denies Radeon RX 9070 XT $899 USD Starting Price Point Rumors (239)
- Edward Snowden Lashes Out at NVIDIA Over GeForce RTX 50 Pricing And Value (235)
- AMD Radeon RX 9070 XT & RX 9070 Custom Models In Stock at European Stores (226)
- New Leak Reveals NVIDIA RTX 5080 Is Slower Than RTX 4090 (215)
- AMD's Radeon RX 9070 Launch Faces Pricing Hurdles (175)
- AMD Radeon RX 9070 XT Tested in Cyberpunk 2077 and Black Myth: Wukong (169)