 19
19
The Truly Ergonomic Mechanical Keyboard Review
Driver »Disassembly


One of the things I feel you might want to try out is the removal of the integrated wrist rest. It is fairly easy to do with nine Phillips head screws on the lower back that have to be removed. Once done, the two halves of the wrist rest come off, and you will notice the keyboard is now a lot easier to handle and move around if need be. A smaller desk space will appreciate this too. If you want to have the wrist rest, simply position the two halves back in place and screw them in.
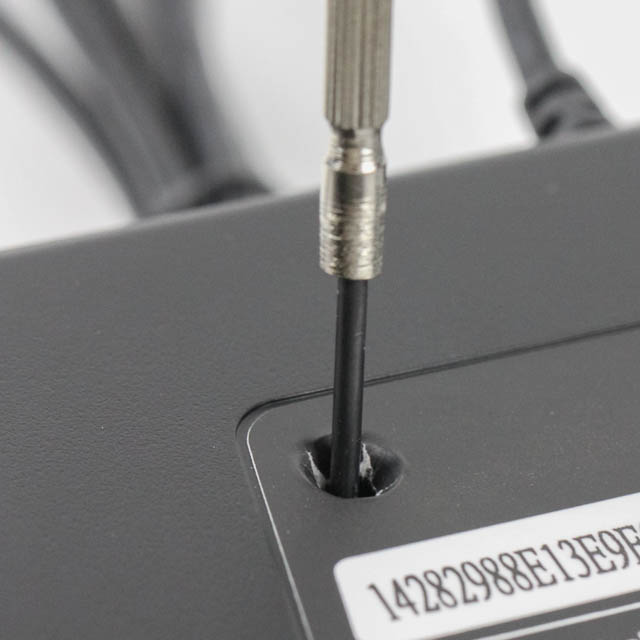


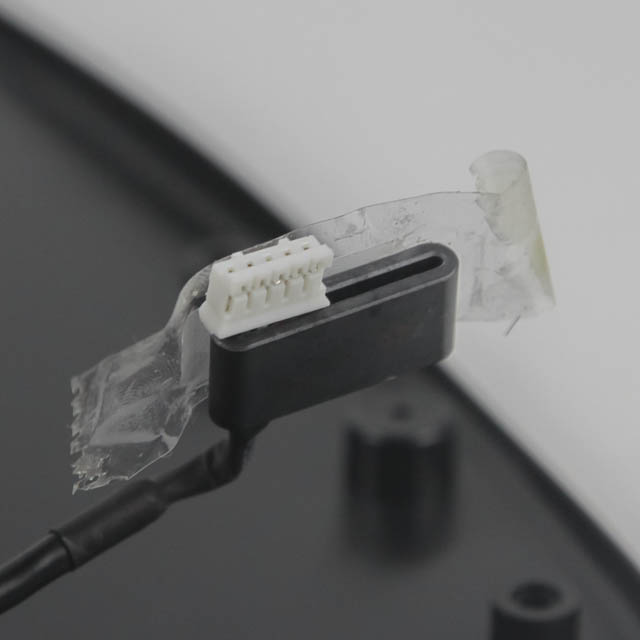
There are eight more screws that keep the actual keyboard together, two of which are easily found on the corners while two more are hidden underneath the label surrounding the dip switches. Once done, the top and bottom panels can be removed from the steel plate/PCB piece. Just make sure you remove the USB connector cable, which, interestingly, is on an adapter that has been taped to the PCB for extra measure.
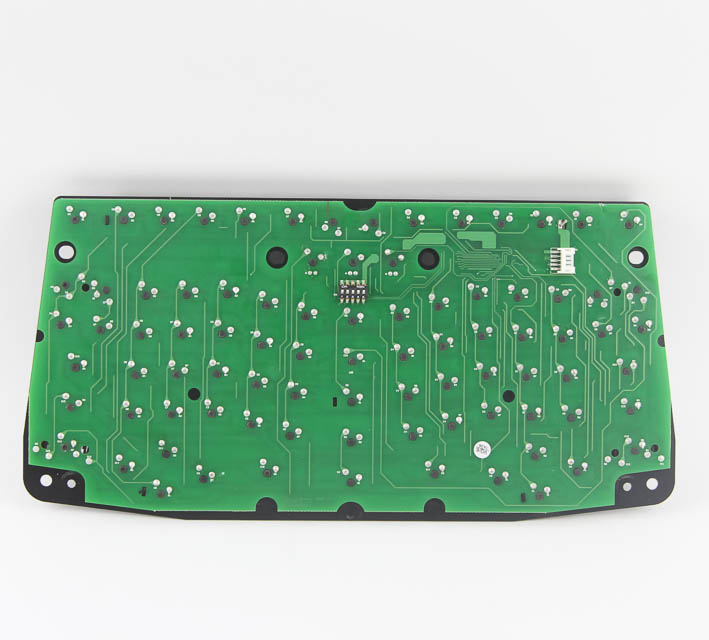
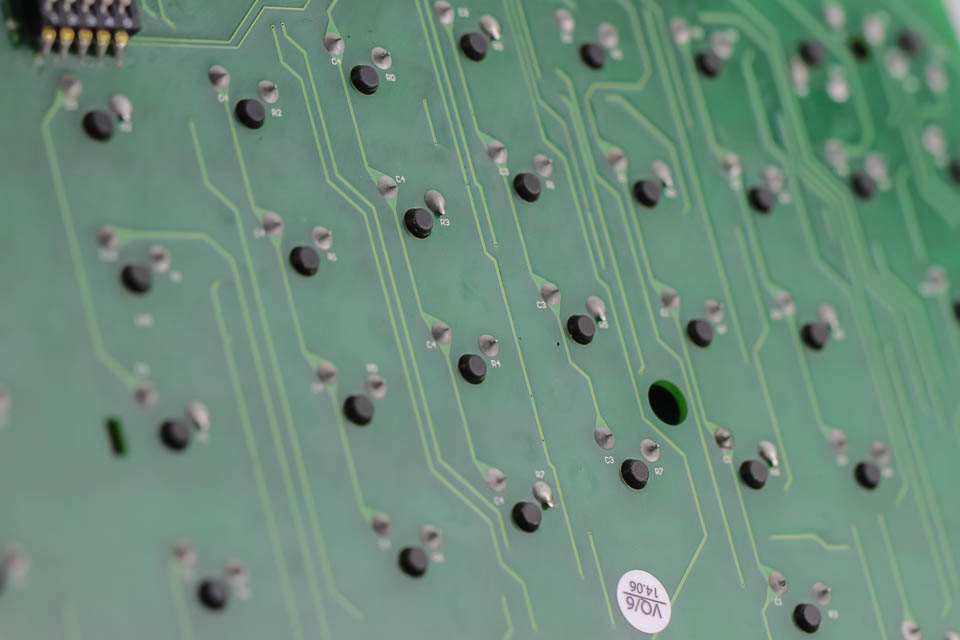
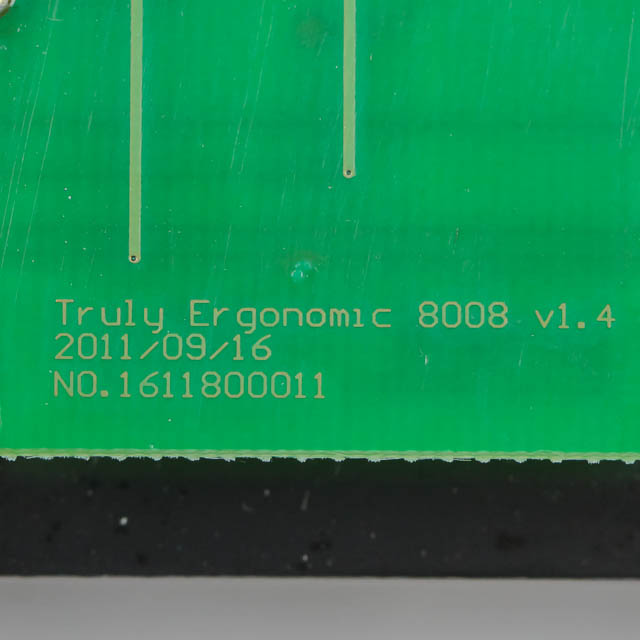
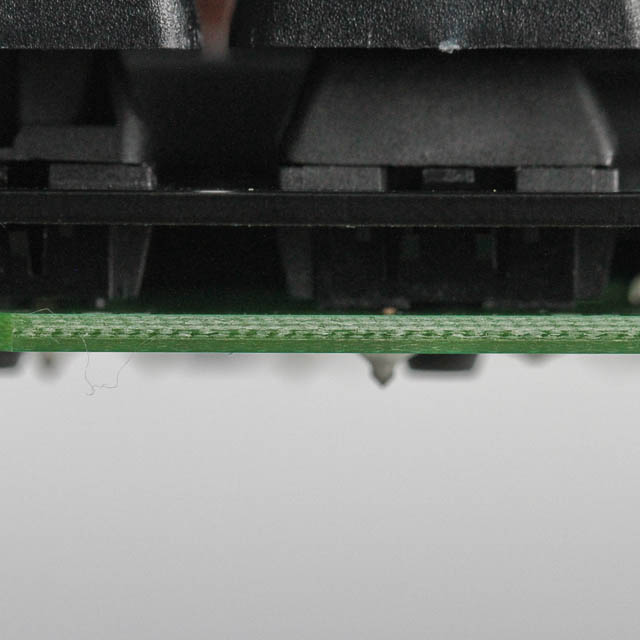
The actual PCB used was designed and certified in 2011, based on the date on it. This goes to show that the product has been in retail for years now, and has had some revisions on the top side (switches, for example). Solder quality is fairly good, and it helps that there are no LEDs to solder either. The PCB itself is a dual layer version, but you can see through it.

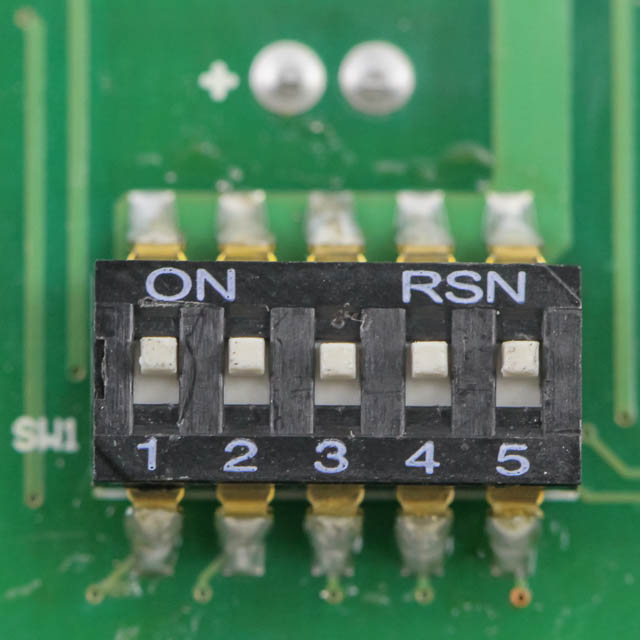
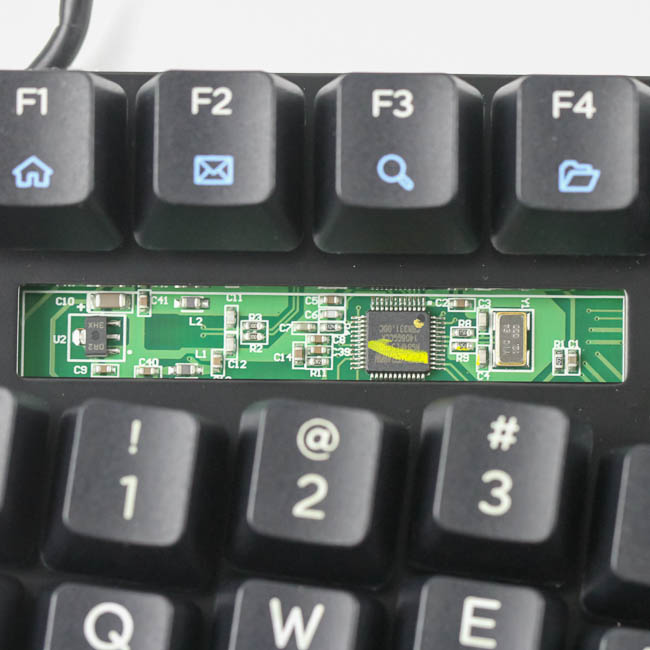
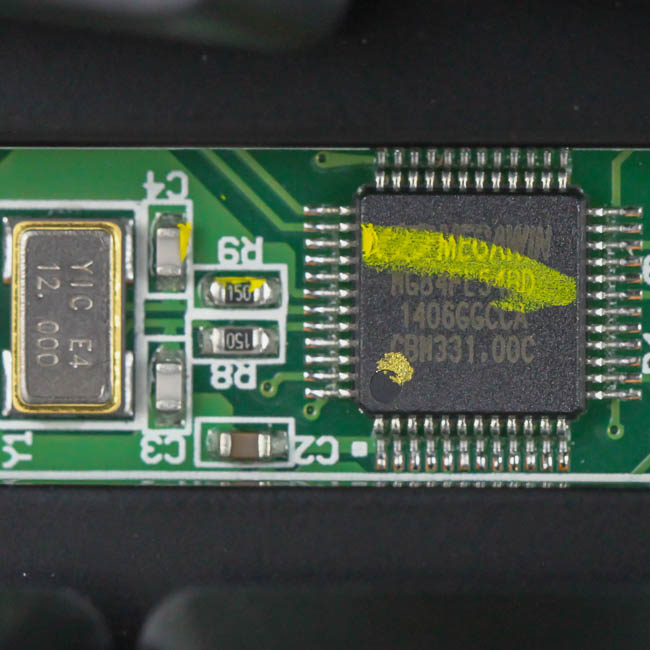
The USB connection feels solid, and the dip switches are well secured and don't feel flimsy when changed around. The actual controller is on the other side of the PCB, visible through a hole in the plate itself. Powering the keyboard is a Megawin MG84FL54BD 8-bit MCU with 16 KB of onboard flash memory to save and modify the firmware, which in turn controls the layout of the keyboard. There are also 256 bytes of internal scratch-pad RAM and 576 bytes of on-chip expanded RAM (XRAM) for any applications that require extra memory. Scroll to the bottom of this page and you will see that you need to access this and touch two of the small pins on it to do a reset of the MCU and erase any stored firmware.
Before we take a look at the driver, be advised that disassembly will void the warranty and that TechPowerUp is not liable for any damages incurred if you decided to go ahead and do so anyway.
Feb 3rd, 2025 13:42 EST
change timezone
Latest GPU Drivers
New Forum Posts
- RTX 5080 - premature review - it sucks (287)
- Dlss4 + 4090 = lower max oc than with dlss3 (47)
- Have you got pie today? (16574)
- QVL - Myth, Legend, Marketing/Advertising, what is your take? (89)
- Milestones (13975)
- Choosing the Perfect Motherboard to Complete My PC Build (3)
- GPU hotspot and Gpu tem differences (10)
- Wow YouTube is a Hog (34)
- WCG Daily Numbers (12752)
- TPU's Rosetta Milestones and Daily Pie Thread (2175)
Popular Reviews
- Spider-Man 2 Performance Benchmark Review - 35 GPUs Tested
- NVIDIA GeForce RTX 5080 Founders Edition Review
- MSI GeForce RTX 5080 Vanguard SOC Review
- ASUS GeForce RTX 5080 Astral OC Review
- Gigabyte GeForce RTX 5080 Gaming OC Review
- MSI GeForce RTX 5080 Suprim SOC Review
- NVIDIA DLSS 4 Transformer Review - Better Image Quality for Everyone
- ASUS GeForce RTX 5090 Astral OC Review - Astronomical Premium
- Galax GeForce RTX 5080 1-Click OC Review
- Palit GeForce RTX 5080 GameRock OC Review
Controversial News Posts
- NVIDIA 2025 International CES Keynote: Liveblog (470)
- AMD Debuts Radeon RX 9070 XT and RX 9070 Powered by RDNA 4, and FSR 4 (349)
- AMD Radeon 9070 XT Rumored to Outpace RTX 5070 Ti by Almost 15% (261)
- AMD is Taking Time with Radeon RX 9000 to Optimize Software and FSR 4 (256)
- AMD Denies Radeon RX 9070 XT $899 USD Starting Price Point Rumors (239)
- Edward Snowden Lashes Out at NVIDIA Over GeForce RTX 50 Pricing And Value (231)
- AMD Radeon RX 9070 XT & RX 9070 Custom Models In Stock at European Stores (226)
- New Leak Reveals NVIDIA RTX 5080 Is Slower Than RTX 4090 (215)