 8
8
Valkyrie VK02 Lite Review
Thermal Stress Test »Assembly
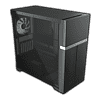
Installing a motherboard inside the VK02 Lite is pretty straightforward, using the pre-installed spacers and screws. As you can see, the ASUS BTF board fits perfectly fine once you remove the right cover blocking the opening on the motherboard tray. And, while it may be weird that some of the connectors poke through the rubber grommets, all of them are actually perfectly accessible.
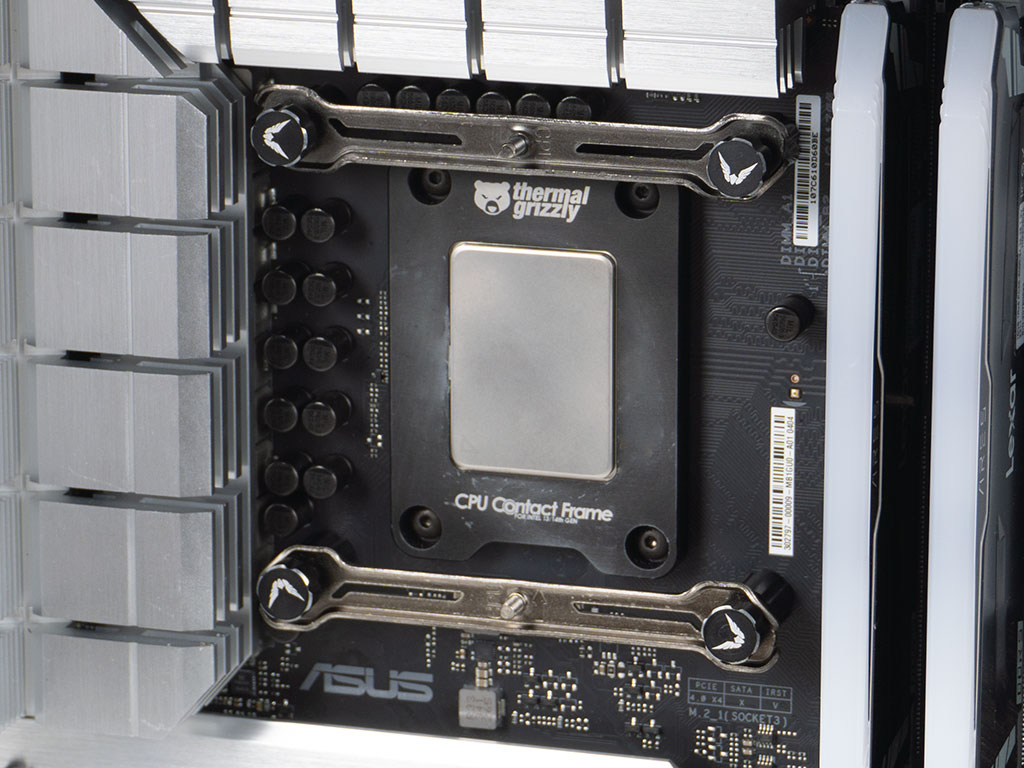
This is also the moment where we switched over from our usual AIO to the supplied V-Lite 360. Preparing the CPU socket is a breeze and doesn't require any tools at all. The branded little cap screws are a pretty cool touch as well.
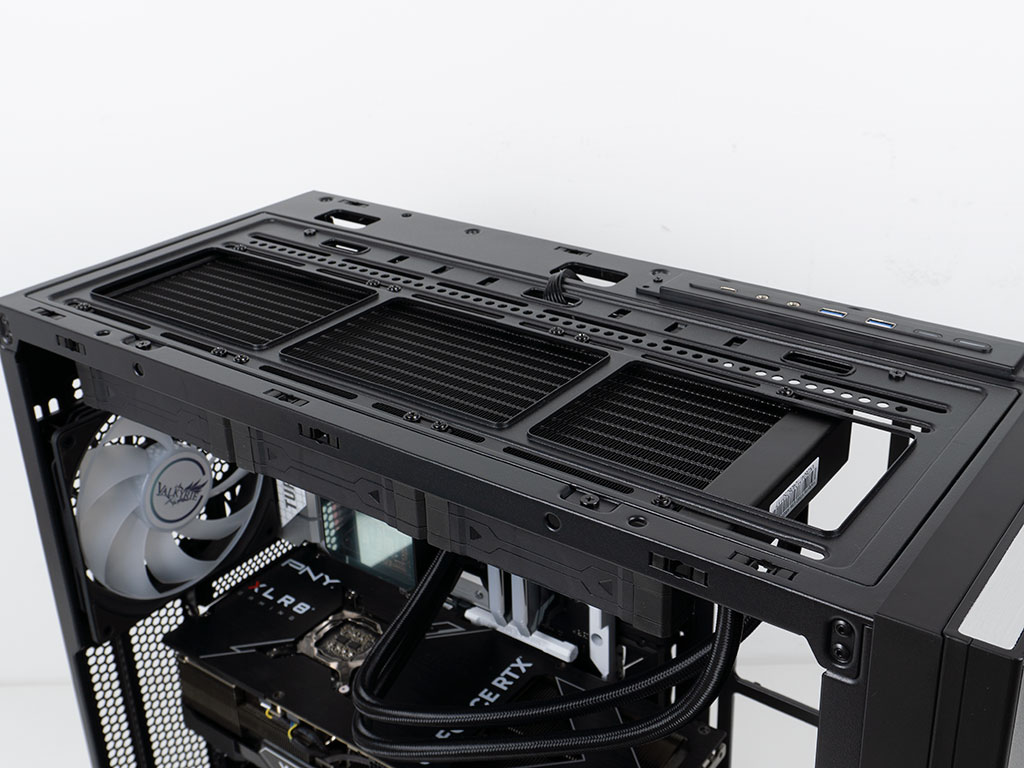
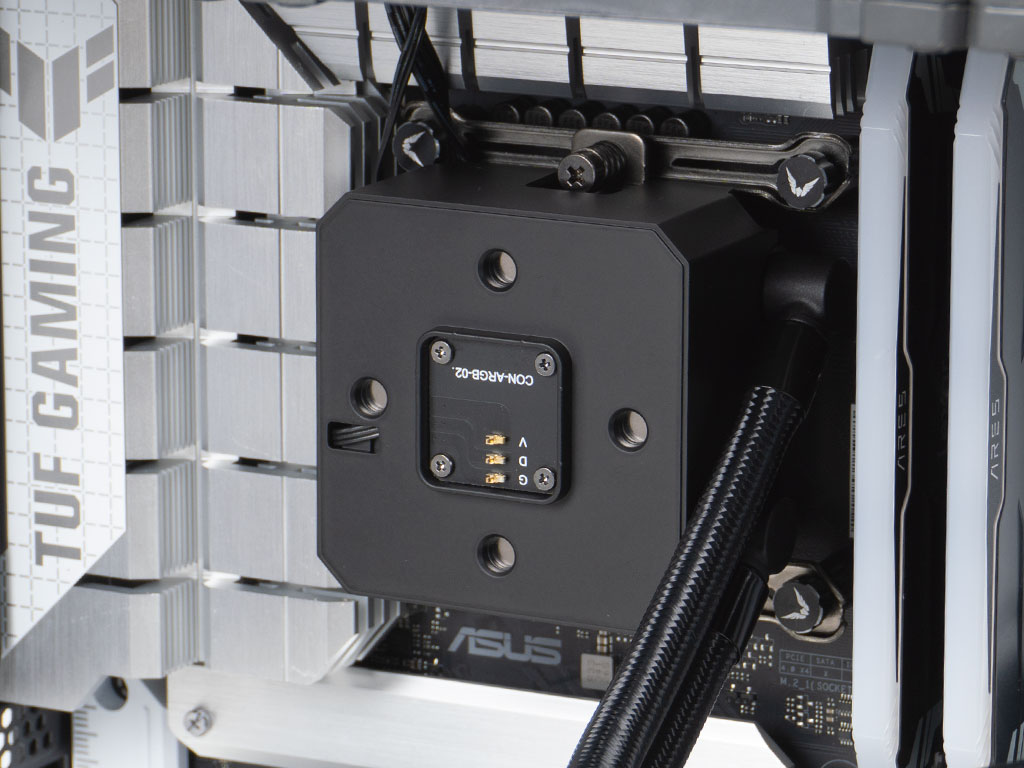
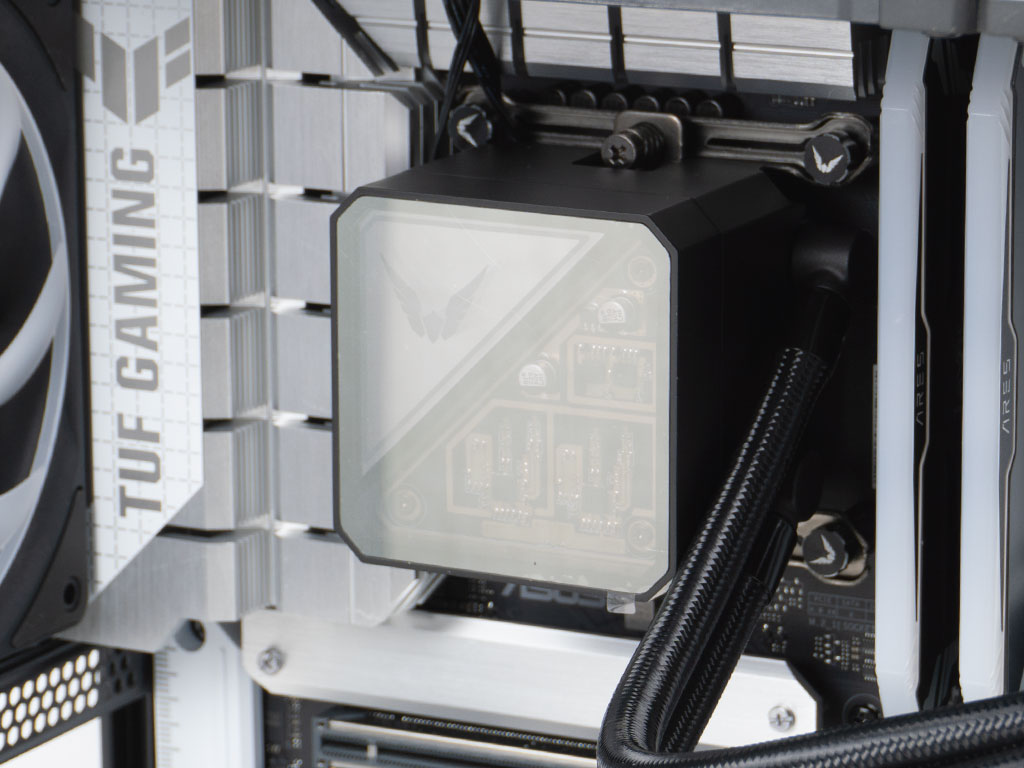
Installing the AIO in the ceiling of the VK02 Lite is a breeze, and we did not even have to remove the frame to do so. The PWM and ARGB wiring could also easily be routed up across the body and then down into the area behind the motherboard. With the CPU socket prepared, you may simply screw down the pump, put the black cover back on, and top it off with the visual cap. We left the protective film on it until the very end to ensure it doesn't get scratched during the remaining assembly steps.
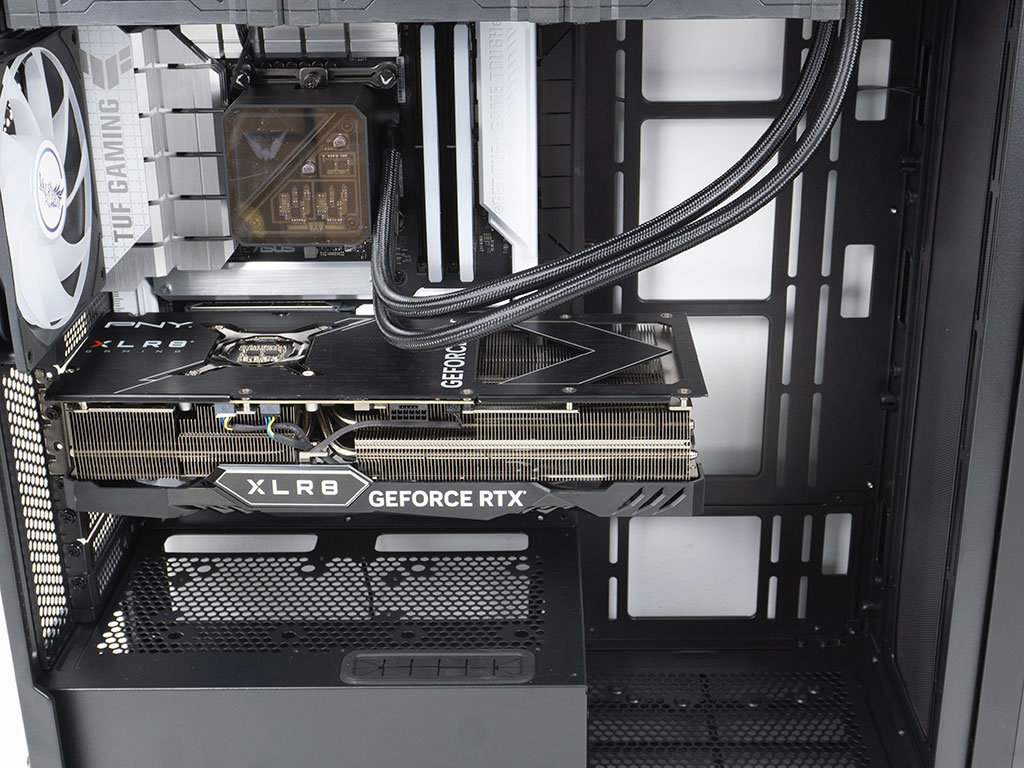
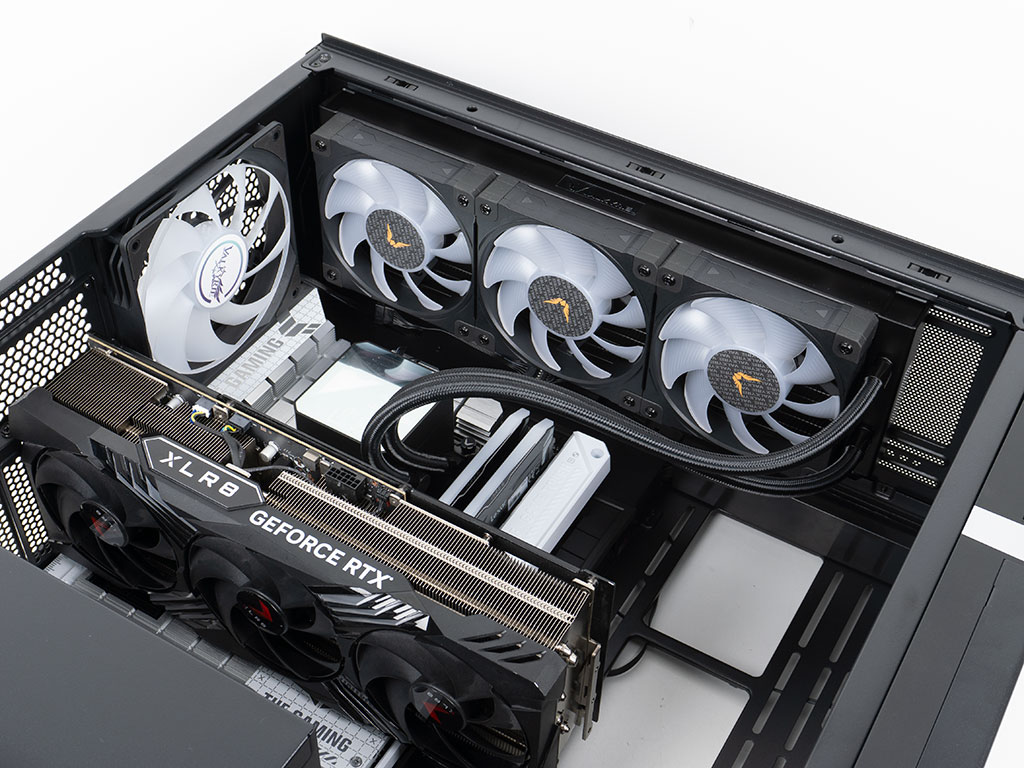
Adding a GPU to the mix is positively uneventful as well. The Valkyrie VK02 Lite provides more than enough room for even the biggest GPUs out there. With that in place, you can see that the pump and AIO clear everything nicely, with plenty of room to spare. This includes the top edge of the motherboard as well as the rear fan and side intake area.
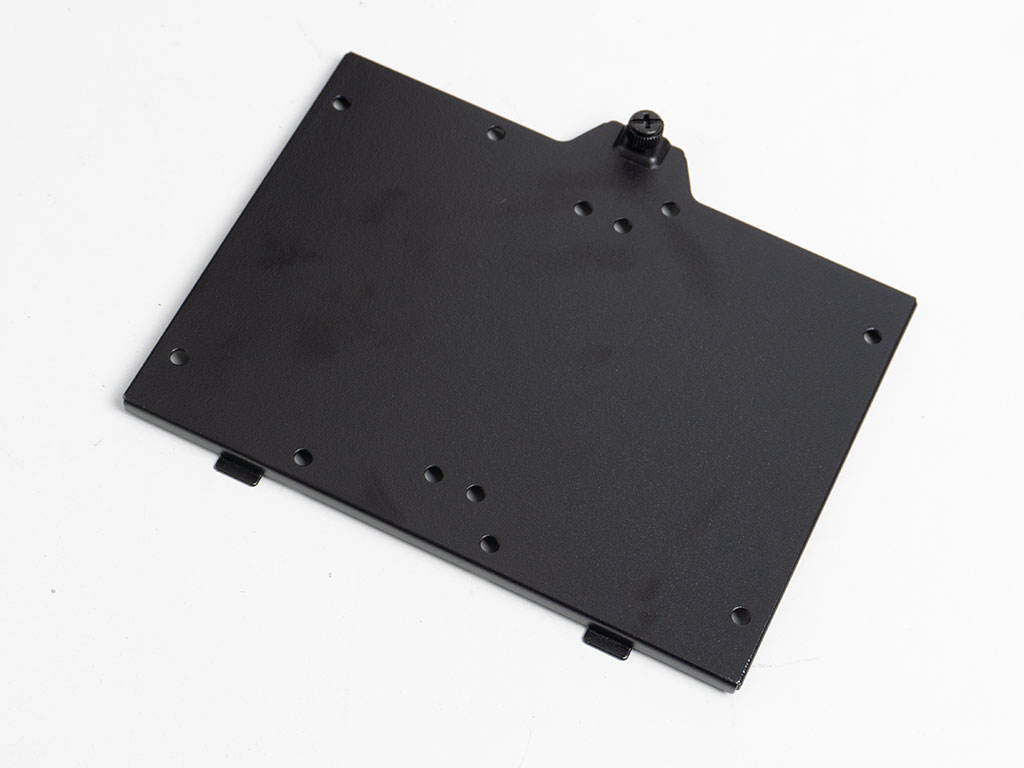
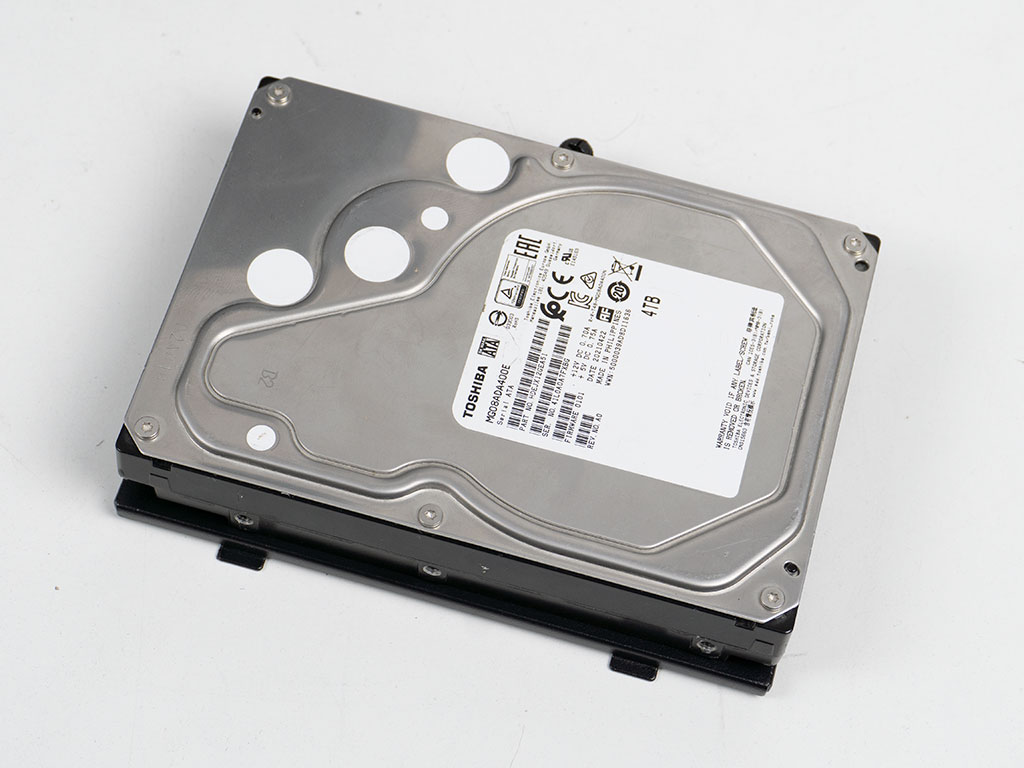
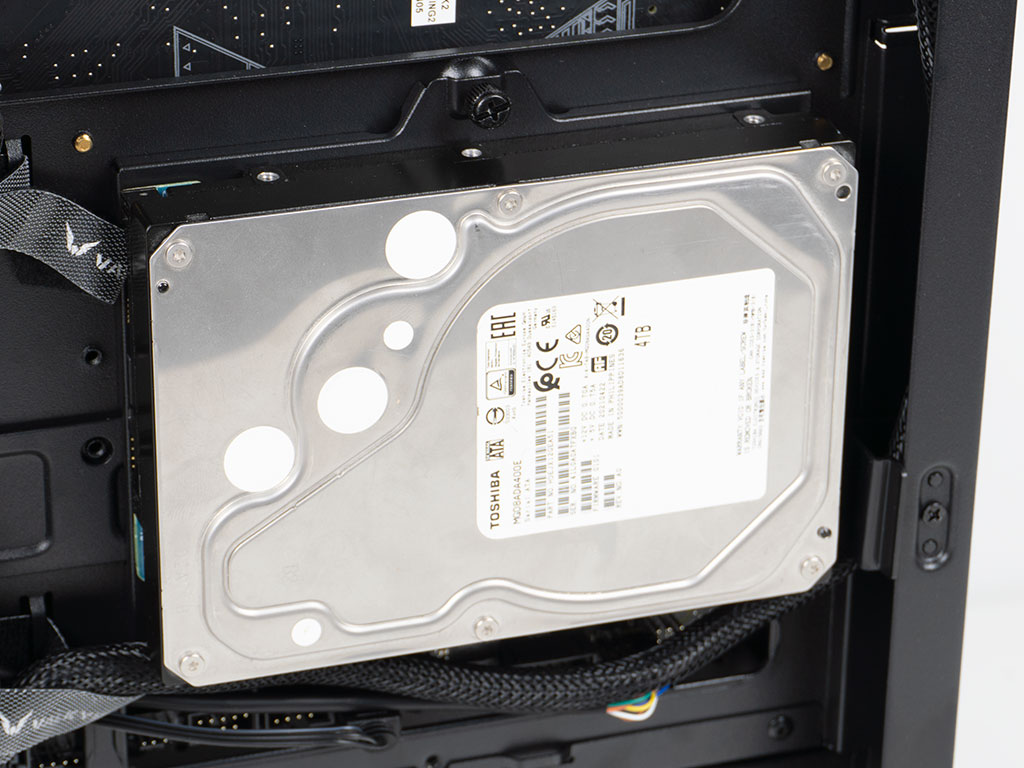
Adding a 3.5" drive unto one of the plates requires the use of a screwdriver and supplied screws. The drive connectors face to the left when the plate is put back into its place, so that all your cable wiring can be contained in the center nicely.
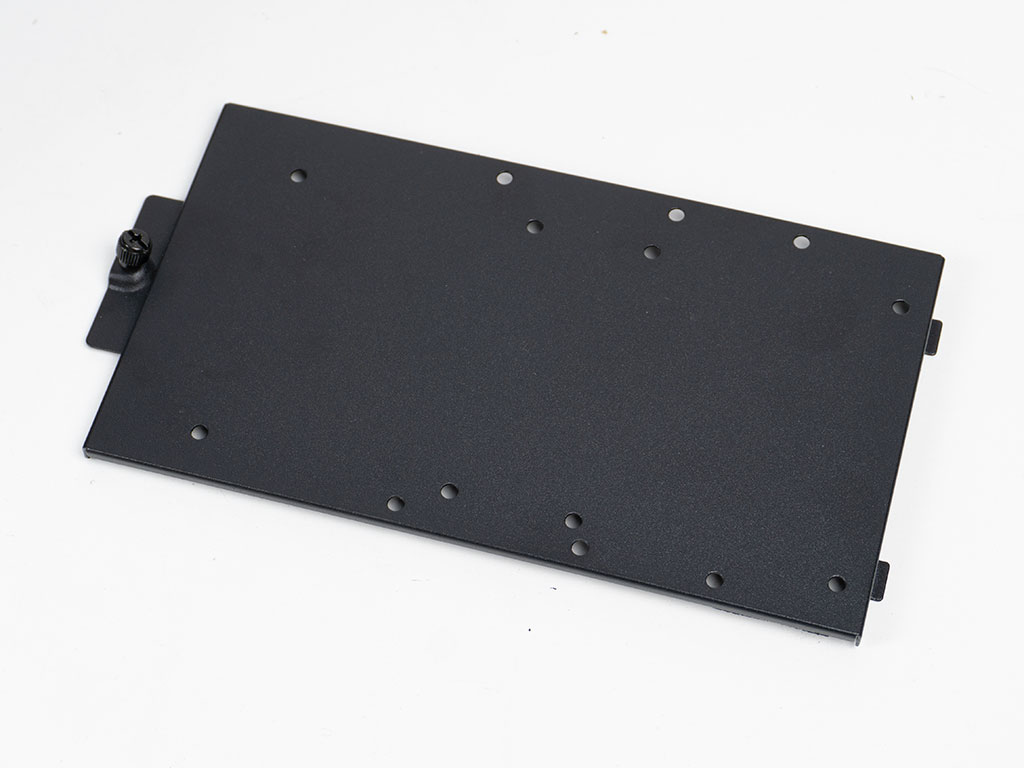
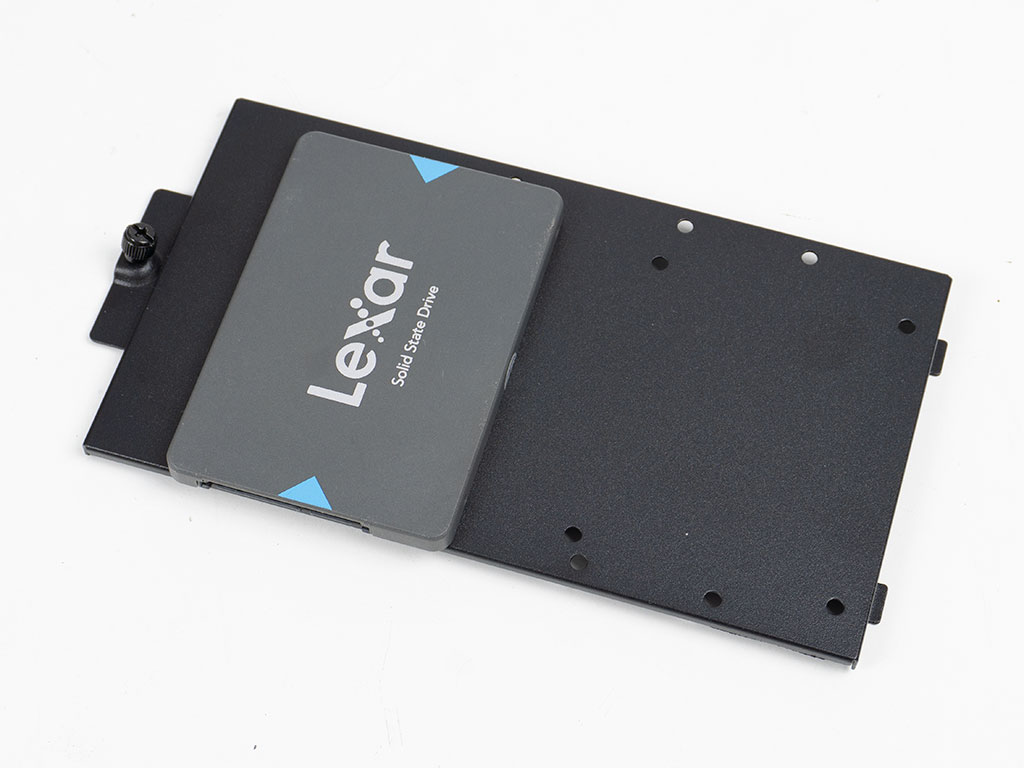
Similarly, adding a 2.5" variant to the second plate, you also have to use screws to pin it down. When employing these type of drives, the connectors face downward on the mounting plates.
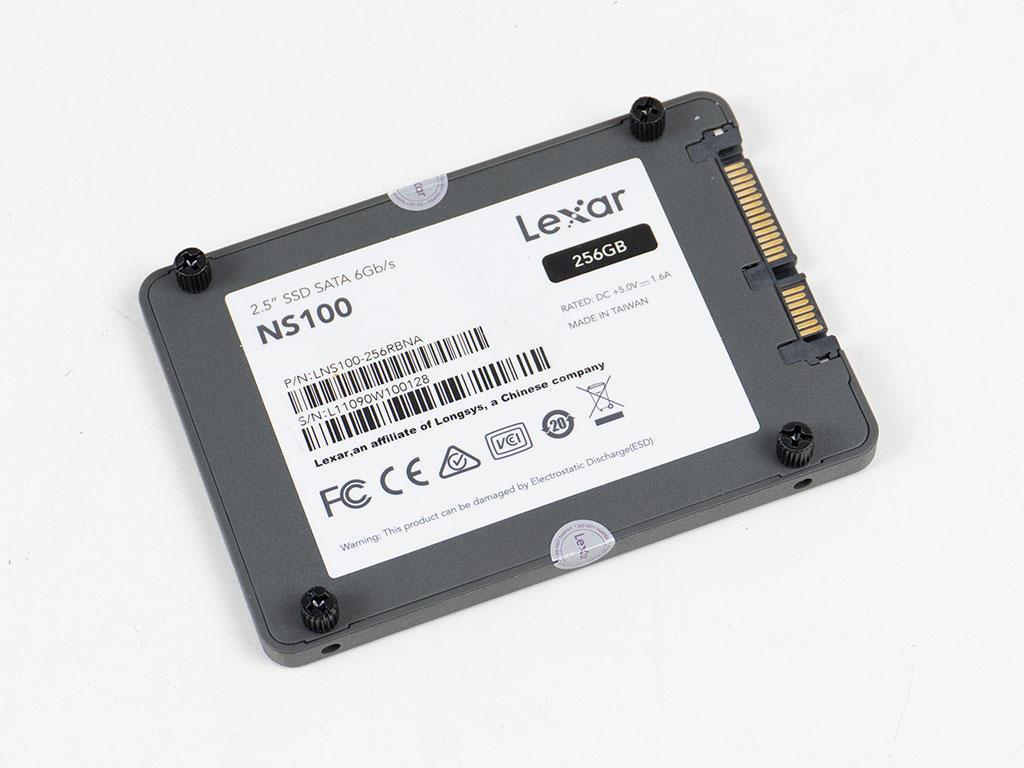
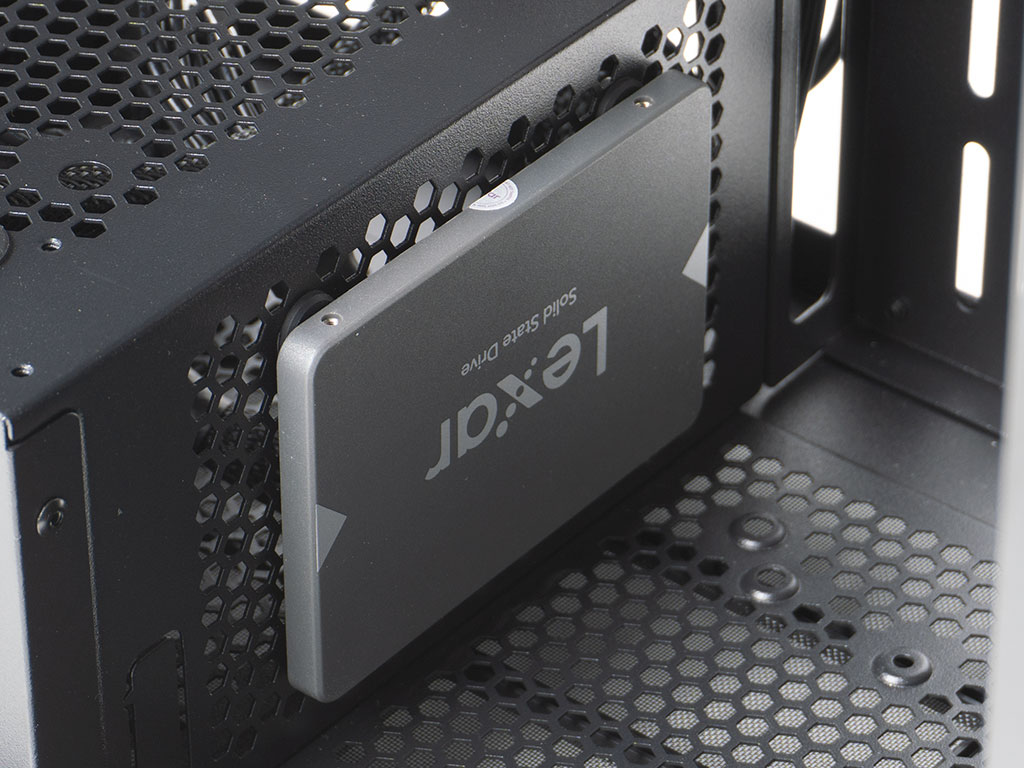
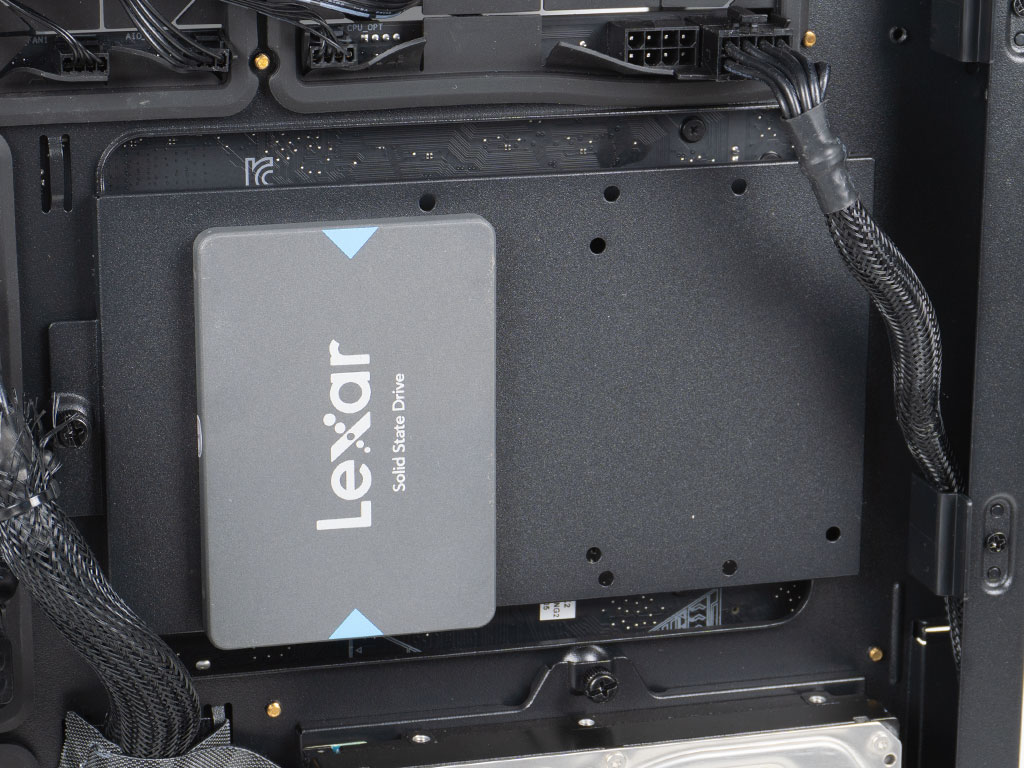
Naturally, as there is also the option to put drives on the shroud we went ahead and attached pin screws unto another SSD and pushed it into place. The rubber rings offer plenty of friction, so you know the drive won't shake loose on its own.

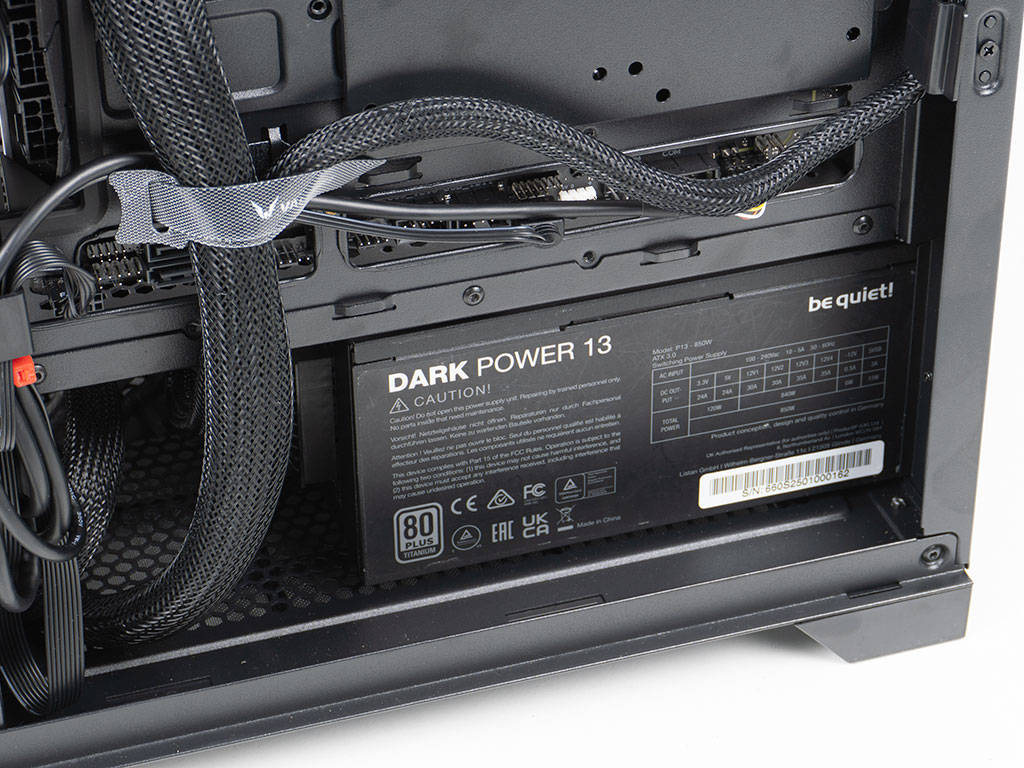
We did use the frame to insert the PSU from the back of the case, but there is actually enough clearance to simply slide it underneath the shroud from the side as well, thus skipping one step. The Valkyrie VK02 Lite can hold PSUs of up to 220 mm in length, so you should have no issue going for any of the high-capacity and high-efficiency units out there.
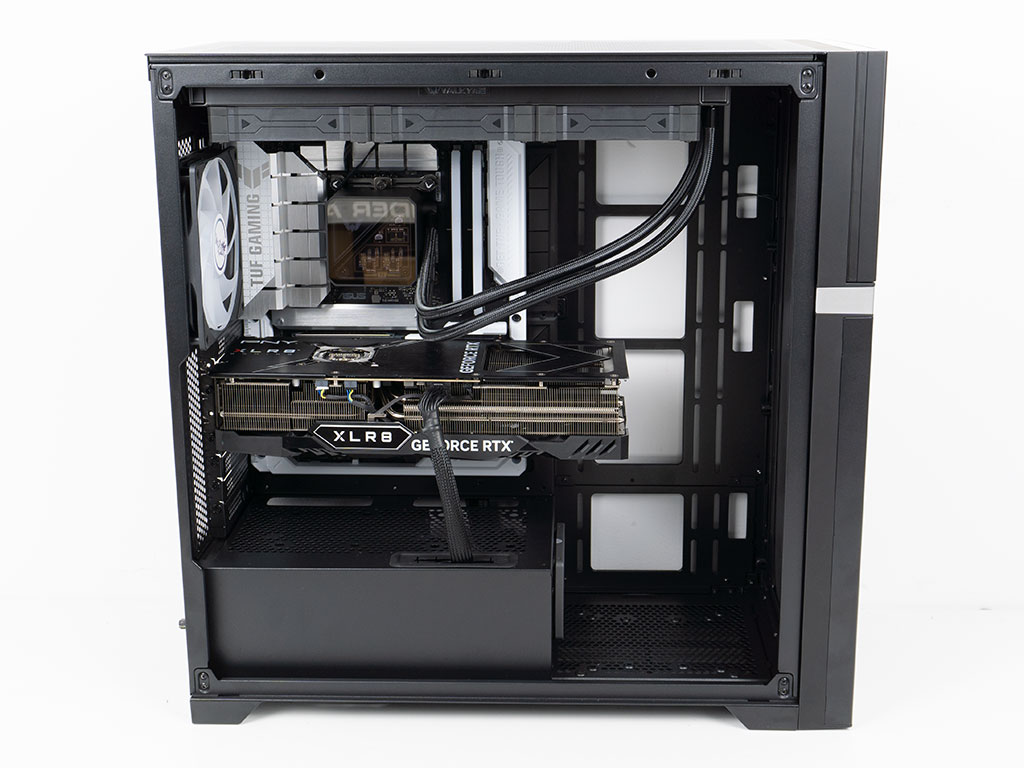
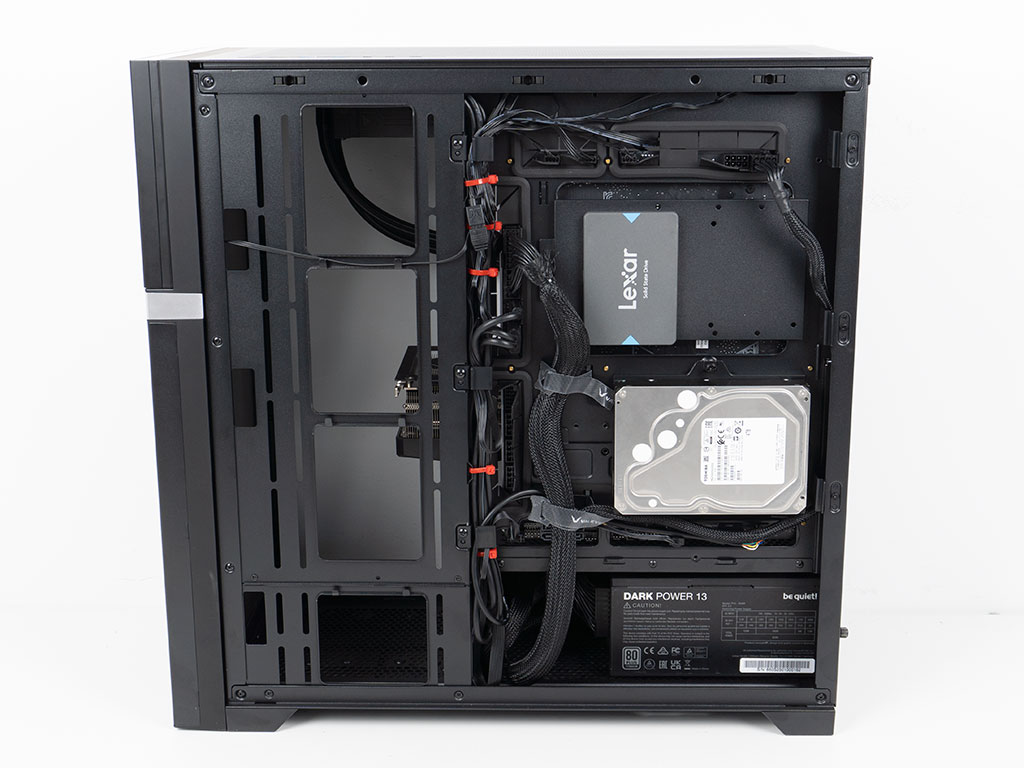
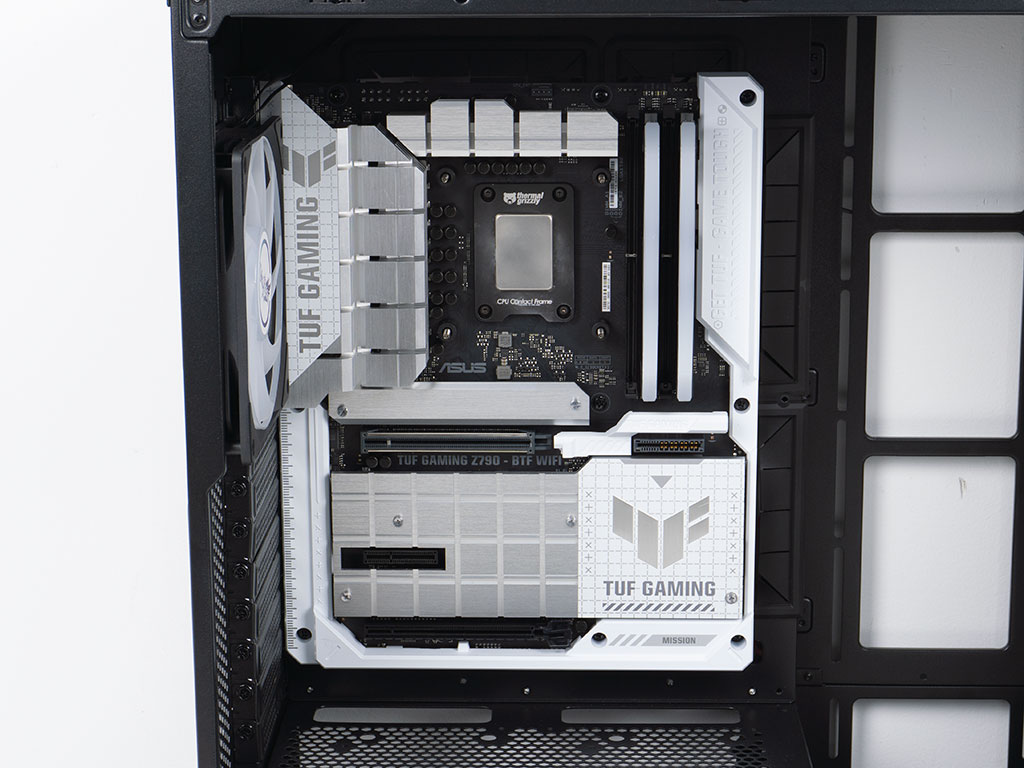
With everything installed, the Valkyrie VK02 Lite is perfectly clean on the interior. This is partially due to the fact that we did manage to install a BTF motherboard. For ATX variants, you will see wires coming out those openings on the shroud which lack grommets, unfortunately. In the rear the plastic clips along the edges helped immensely to keep the wire mess contained, but we also used a few zip ties to compact the cable tree and use the few hooks in that area to make sure it all stayed in place. While that is great, you will have to live with fan wiring from units installed in the front having to traverse the side intake bracket. There are a few slim channels for wires, but those don't work to well to keep them secure - just something to be mindful of.
Finished Looks
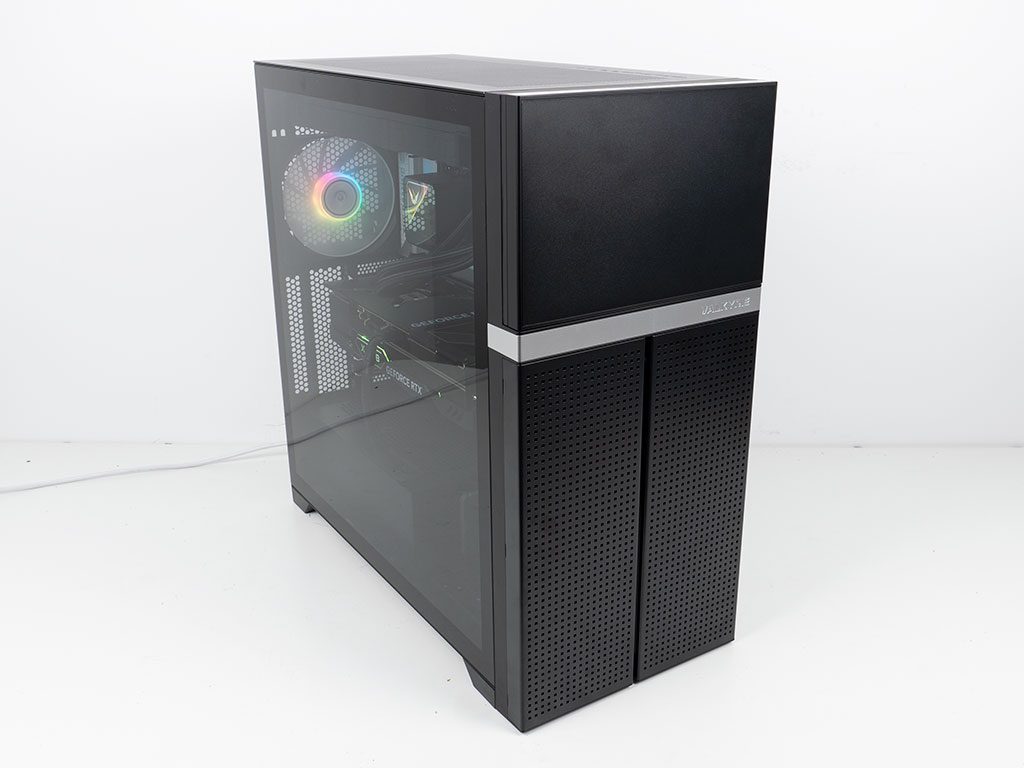

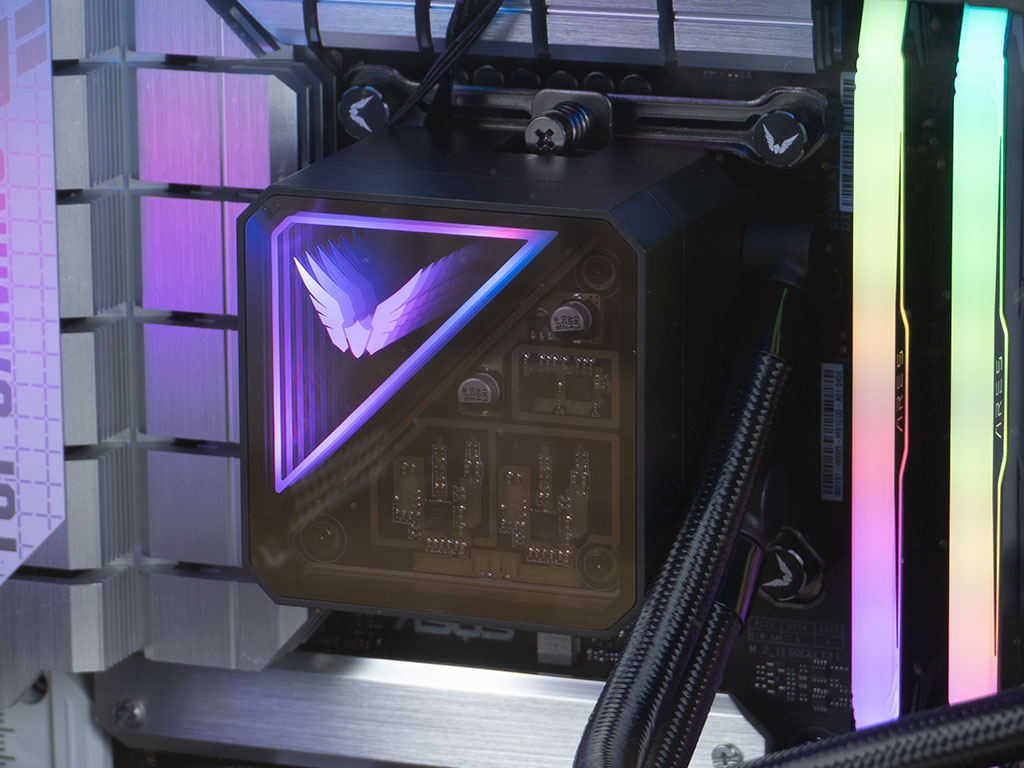
Turning the system on, the power LED in the button at the top lights up blue and all the interior components power up their ARB elements as well. The V-Lite 360 AIO pump cover looks really spiffy as well.
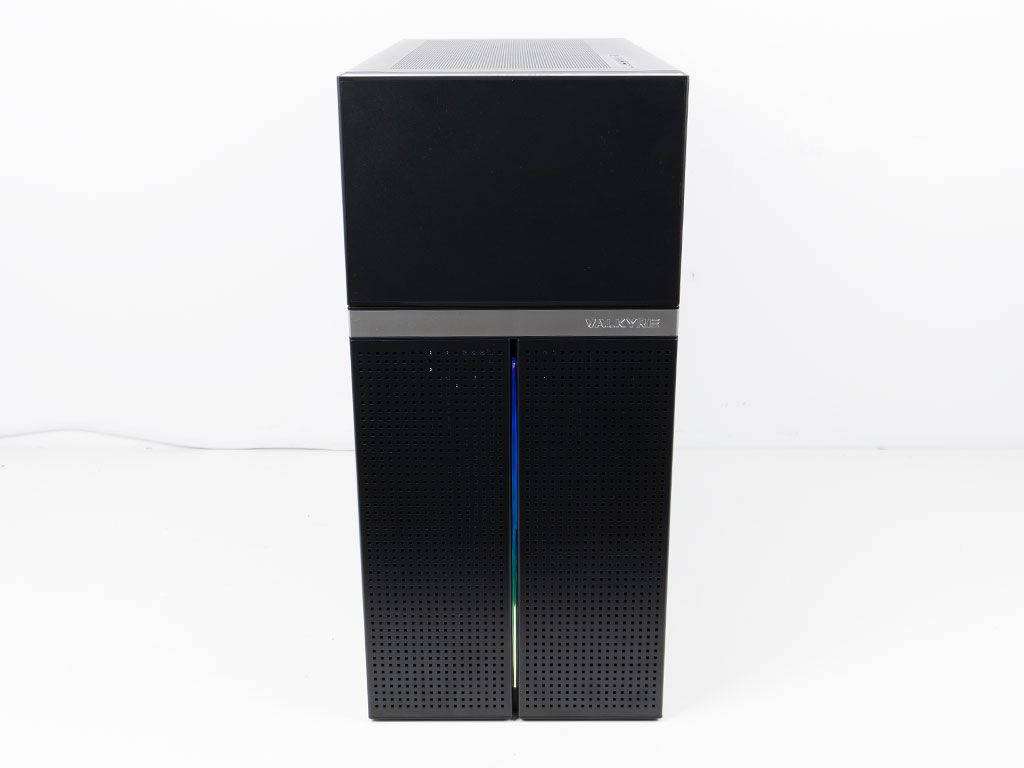

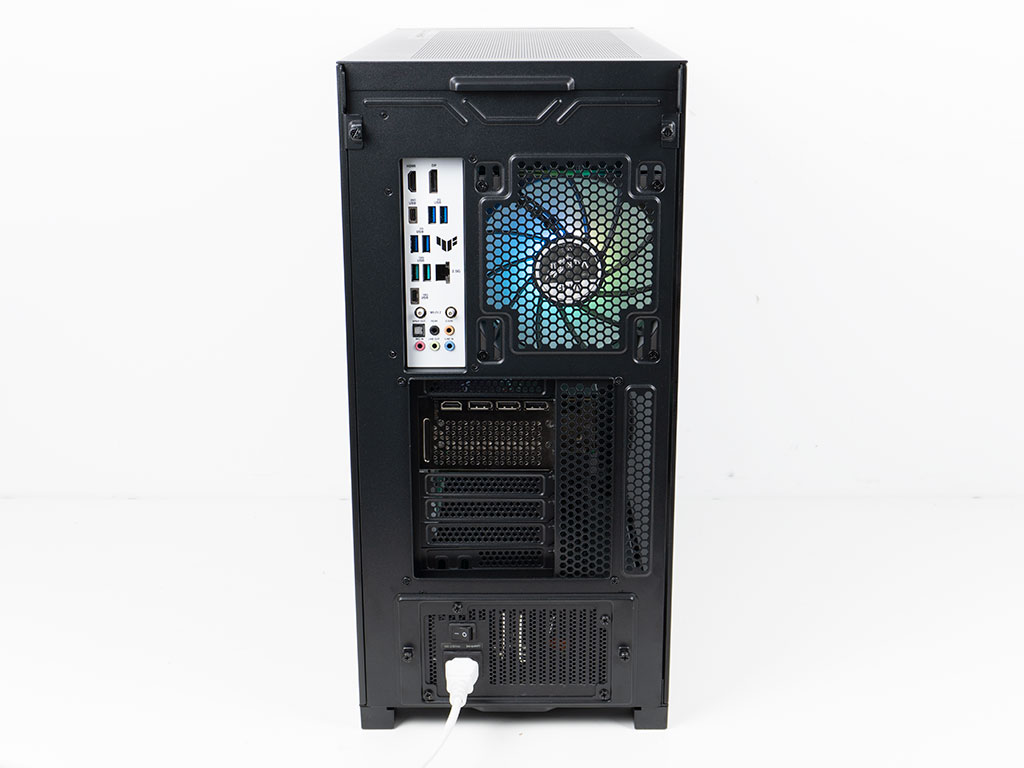
In the front, you can see that slim ARGB element embedded in the center, which really does give the otherwise very understated front something to look at. Thanks to the clear side panel, you can also see all your components perfectly and lastly, all the I/O and plugs in the rear of the chassis are exactly where you would expect to see them. Many modern cases offer hooks in this area of cases to allow for external cable management and the Valkyrie VK02 Lite does have a bit of surface area along the left edge where such a feature could have been considered.
Feb 23rd, 2025 15:23 EST
change timezone
Latest GPU Drivers
New Forum Posts
- Advice needed for buying a new PSU (15)
- TPU's Nostalgic Hardware Club (19990)
- Solidigm NVMe Custom Modded Driver for All NVMe Brands SSDs & Any NVMe SSDs (204)
- It's happening again, melting 12v high pwr connectors (892)
- March Benchoff - socket 754 AMD - PiFast (1)
- Sharing WiFi internet across the street (27)
- What's your latest tech purchase? (23199)
- EFI partition too small, can't update Windows 11 on laptop (8)
- Testing max ram overclock pn Ryzen 1700 (70)
- What local LLM-s you use? (61)
Popular Reviews
- MSI GeForce RTX 5070 Ti Ventus 3X OC Review
- ASUS GeForce RTX 5070 Ti TUF OC Review
- Ducky One X Inductive Keyboard Review
- Galax GeForce RTX 5070 Ti 1-Click OC White Review
- darkFlash DY470 Review
- MSI GeForce RTX 5070 Ti Vanguard SOC Review
- Gigabyte GeForce RTX 5090 Gaming OC Review
- MSI GeForce RTX 5070 Ti Gaming Trio OC+ Review
- Palit GeForce RTX 5070 Ti GameRock OC Review
- Fantech Aria II Pro Review
Controversial News Posts
- NVIDIA GeForce RTX 5090 Spotted with Missing ROPs, NVIDIA Confirms the Issue, Multiple Vendors Affected, RTX 5070 Ti, Too (432)
- AMD Radeon 9070 XT Rumored to Outpace RTX 5070 Ti by Almost 15% (302)
- AMD Plans Aggressive Price Competition with Radeon RX 9000 Series (271)
- AMD Radeon RX 9070 and 9070 XT Listed On Amazon - One Buyer Snags a Unit (247)
- Edward Snowden Lashes Out at NVIDIA Over GeForce RTX 50 Pricing And Value (241)
- AMD Denies Radeon RX 9070 XT $899 USD Starting Price Point Rumors (239)
- NVIDIA Investigates GeForce RTX 50 Series "Blackwell" Black Screen and BSOD Issues (218)
- New Leak Reveals NVIDIA RTX 5080 Is Slower Than RTX 4090 (215)