 11
11
Watercool Heatkiller V Pro RTX 4090 Strix/TUF GPU Block Review
Liquid Flow Restriction »Installation and Lighting
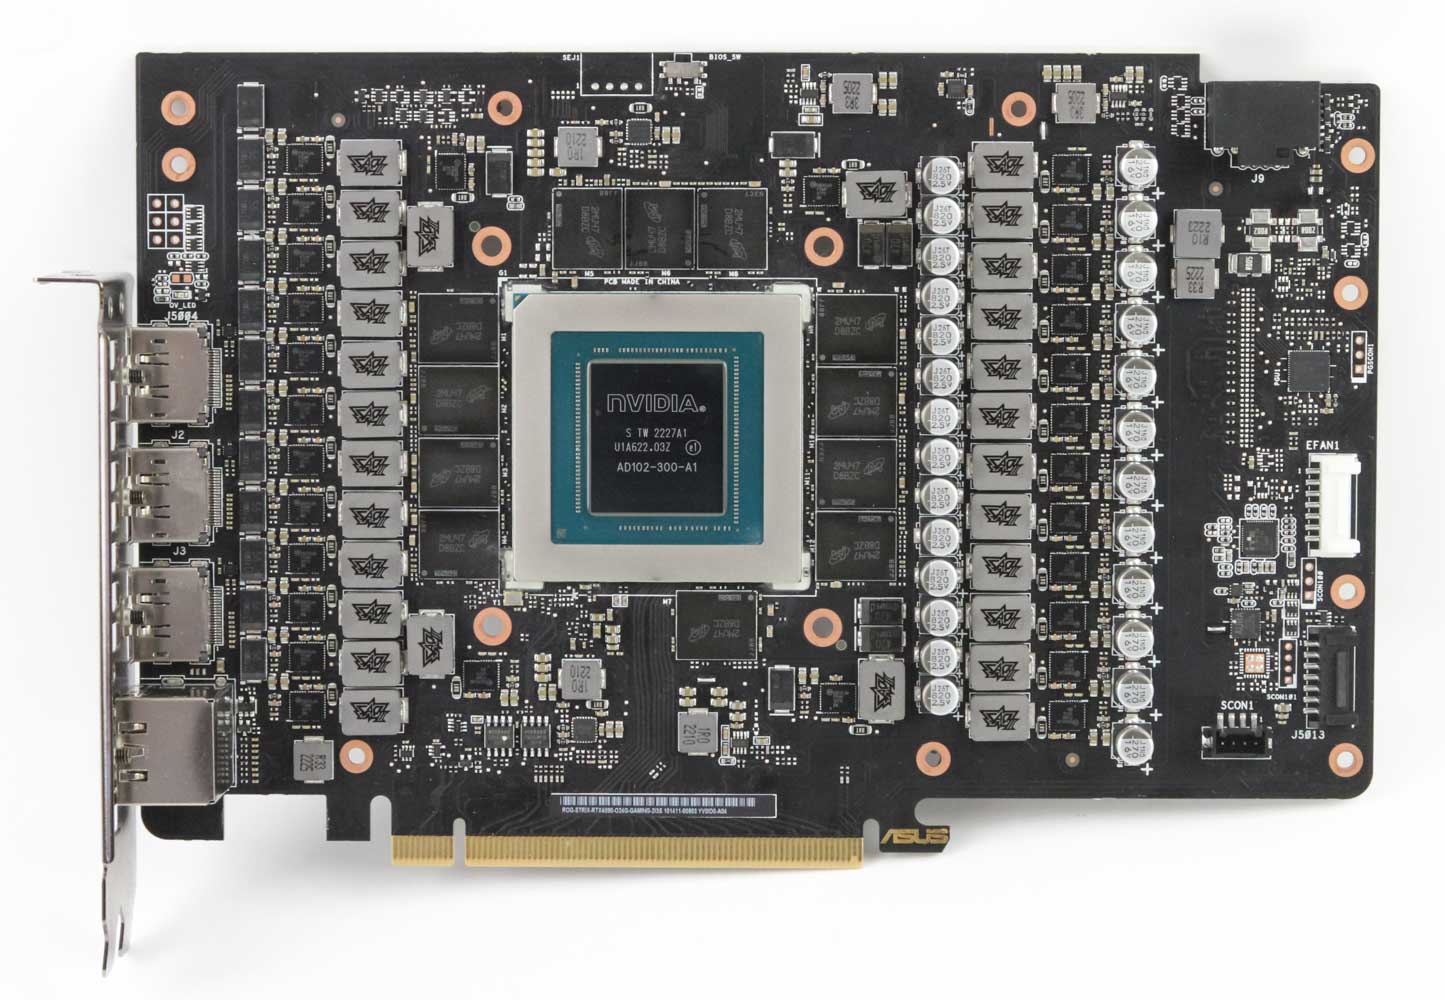
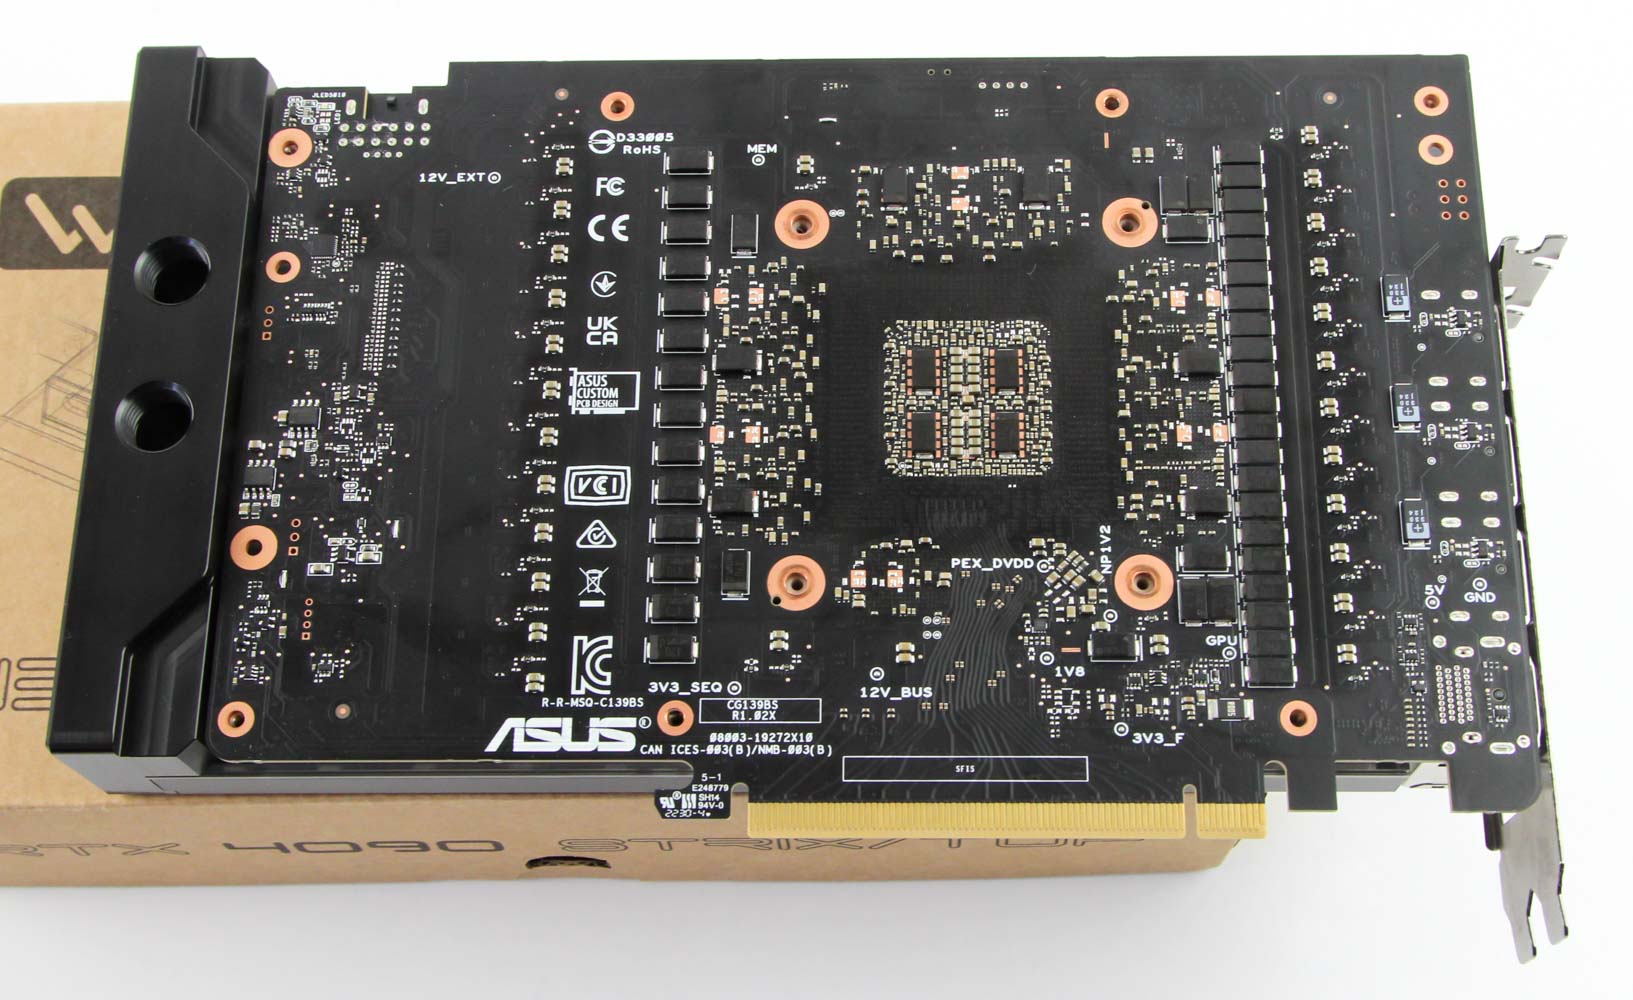
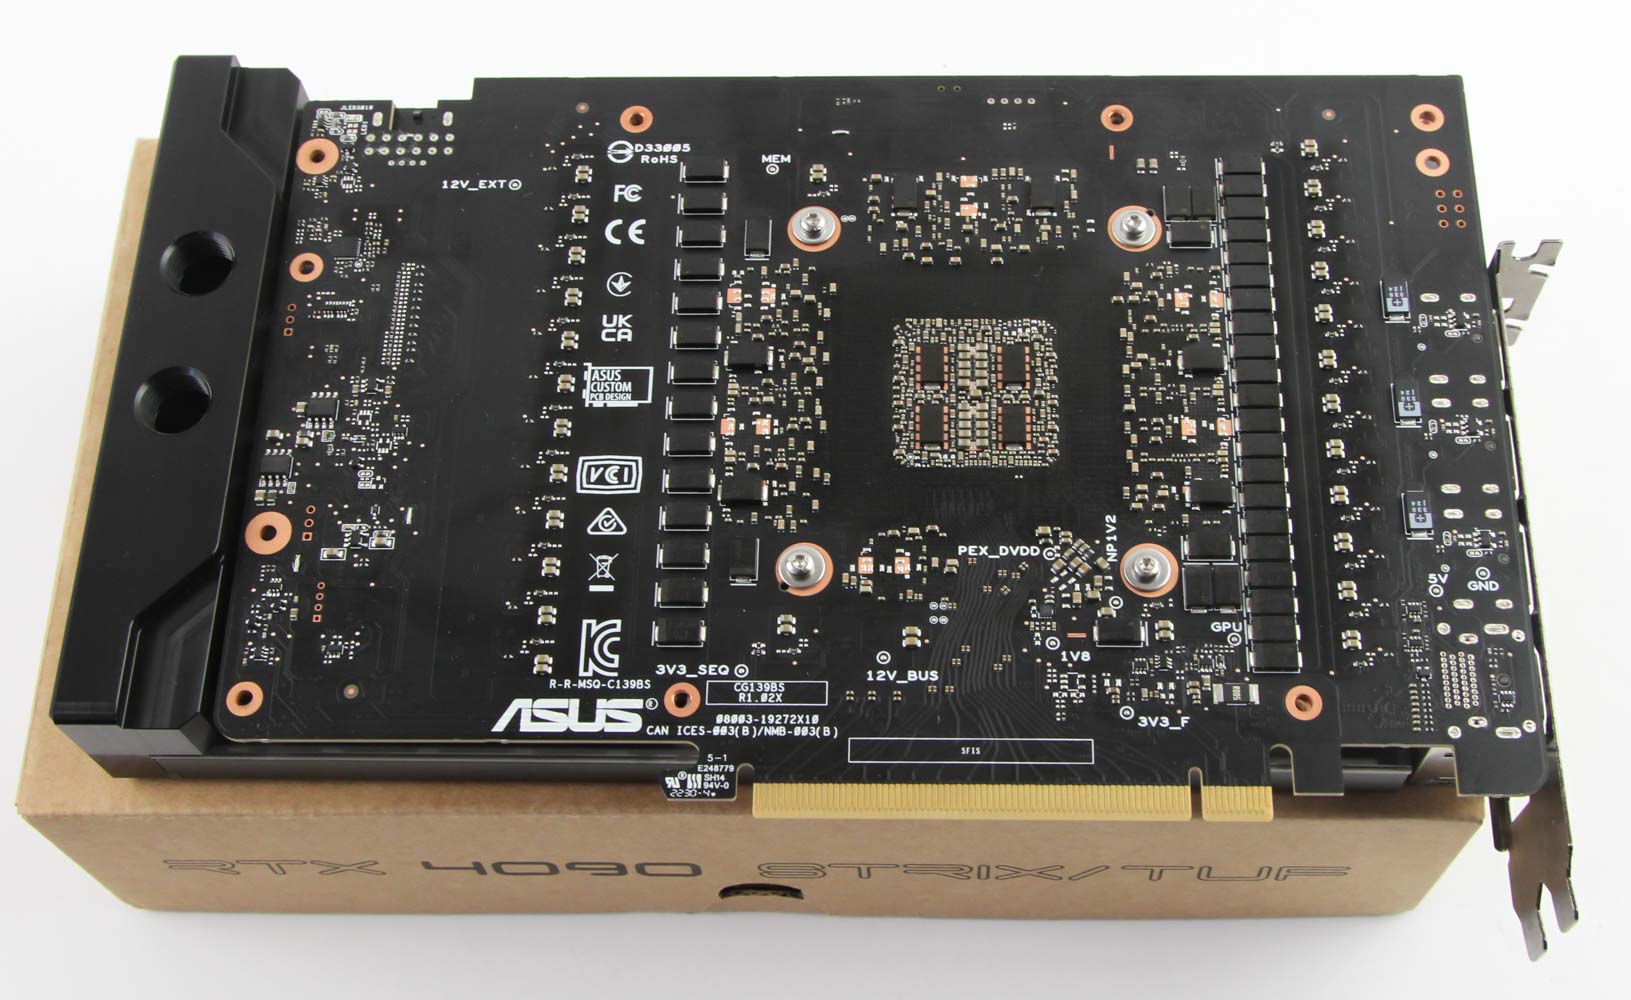
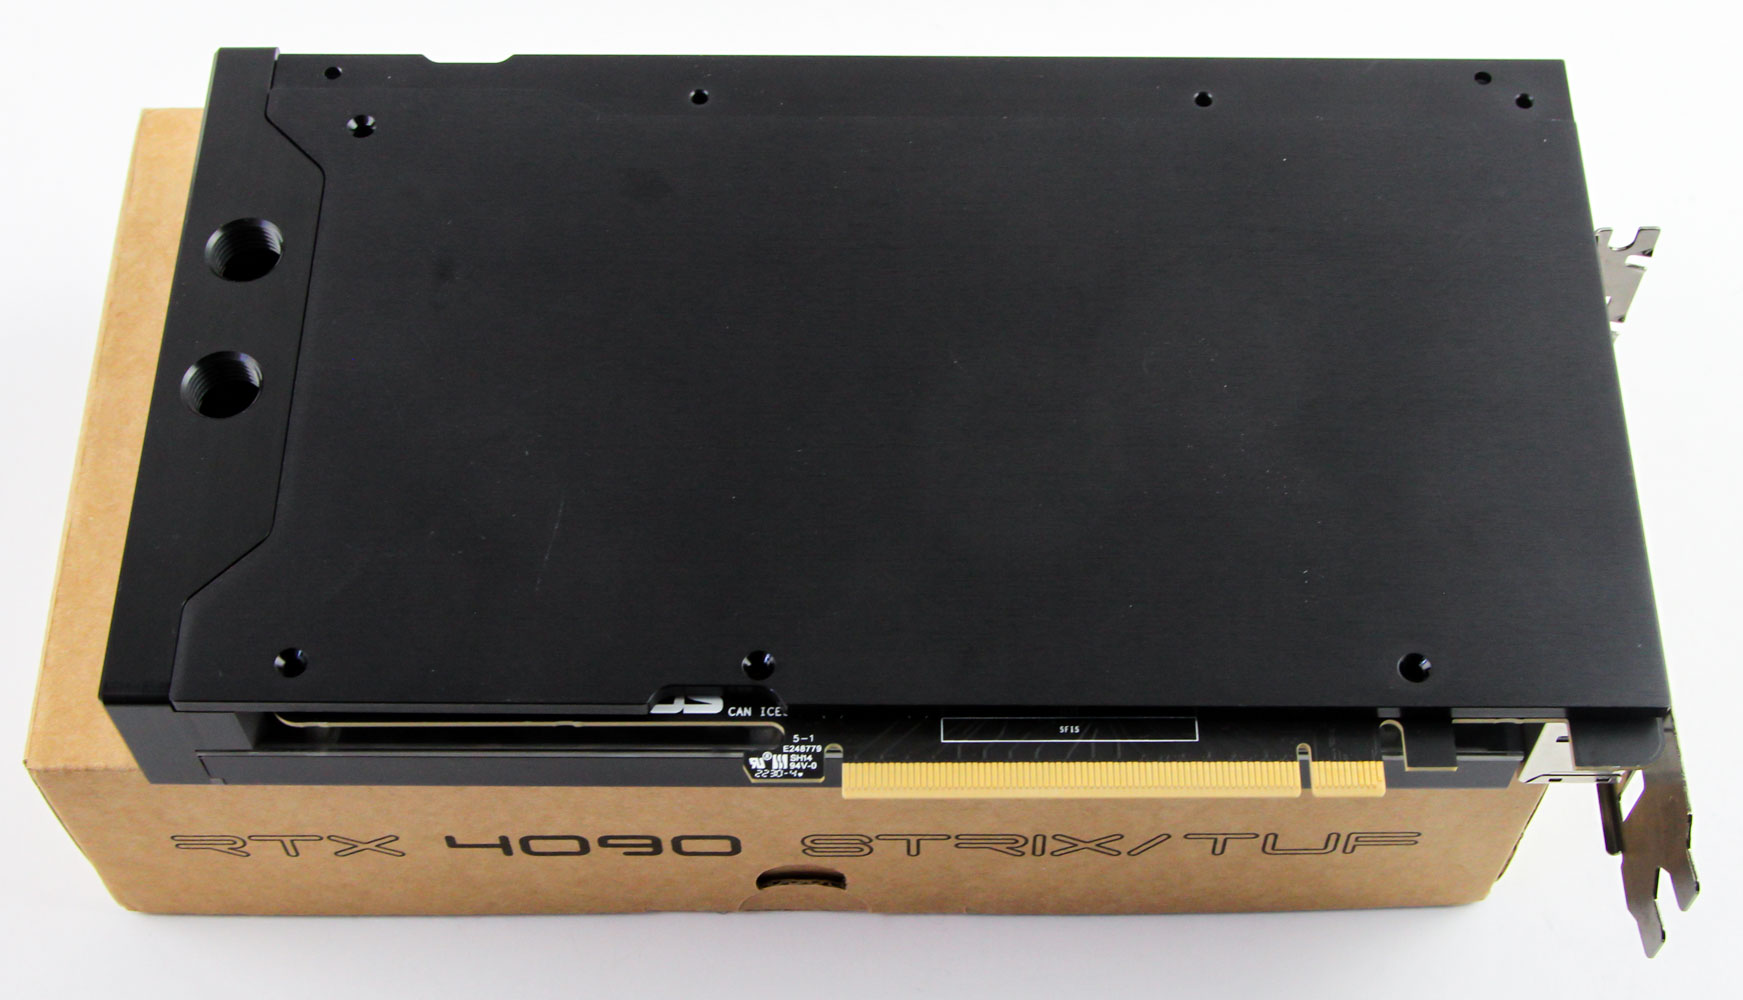
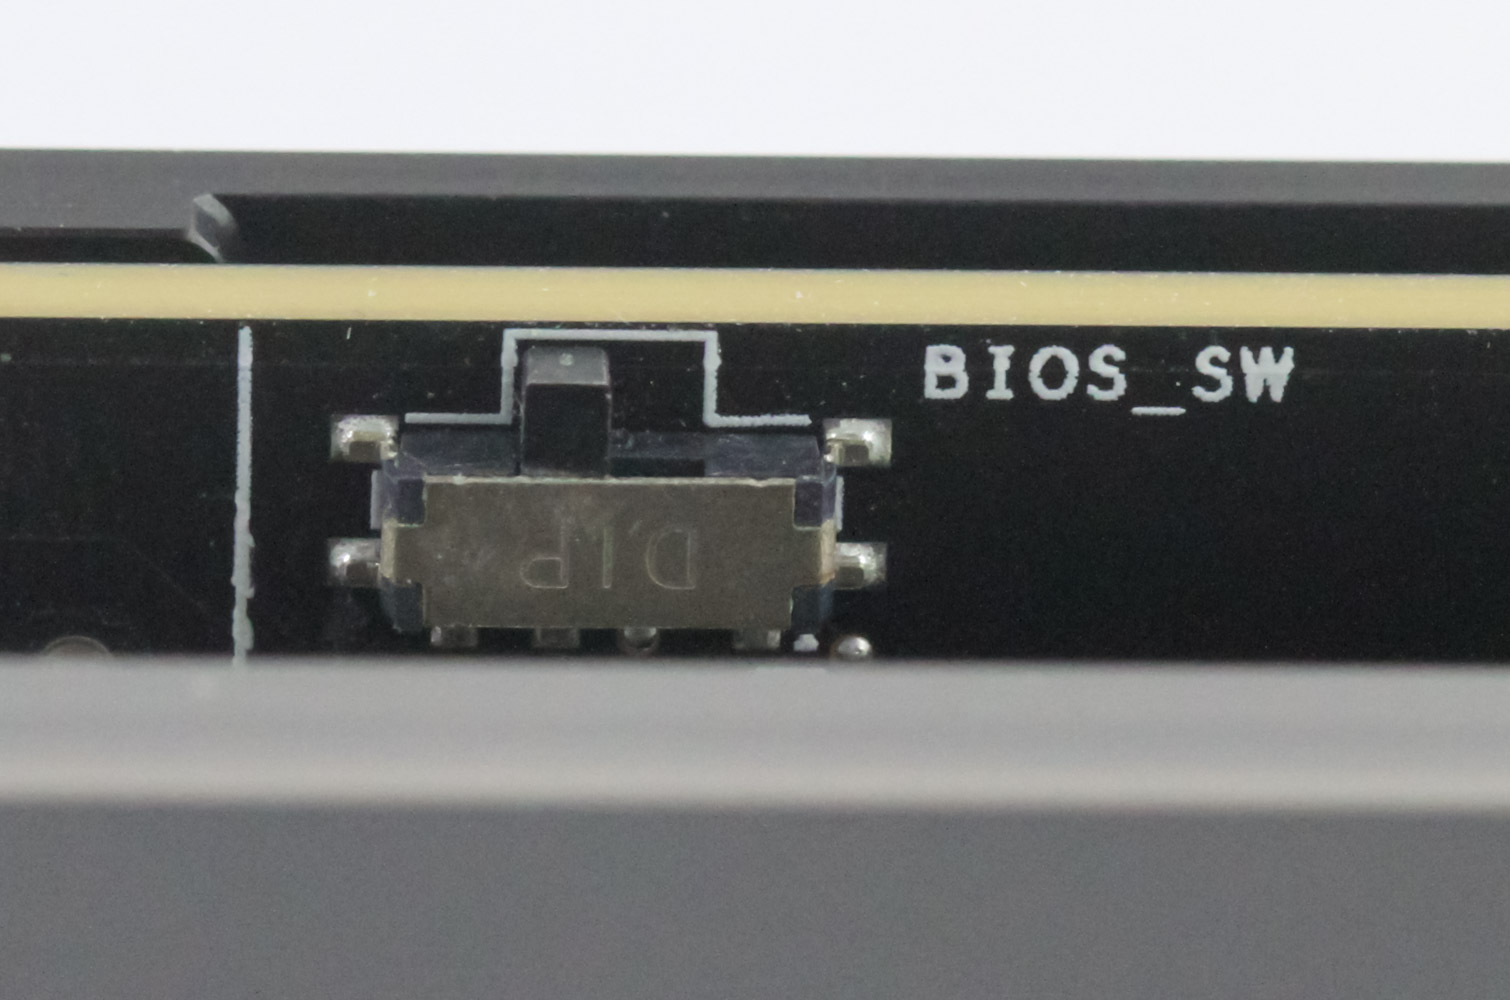
Installing the Watercool Heatkiller V Pro GPU block for your specific GPU begins with removal of the stock cooler. In this case, Watercool made it simple by shipping the PCB only and it's quite something else to behold in person. For those curious, we have a full review of the ASUS RTX 4090 Strix here. The next step is to remove the back plate from the block/backplate ensemble to allow for the cold plate to access the PCB. Apply thermal paste and make sure you have the correct thermal pads on the front before placing the block carefully on top of the PCB while aligning the holes around the GPU core with the four standoffs on the cold plate. Then carefully flip the whole thing over and use a box to avoid the GPU I/O cover from interrupting an otherwise flush contact. Now simply screw the block and PCB together using the four screws and washers—be sure to have the black, non-electrically conductive surface of the washers contacting the PCB—as seen above. Then you repeat the process with the back plate, including the thermal pads, and screw it in place using the same screws from earlier. Note that the wrap-around cover can still be removed after the GPU block is installed; this provides access to the BIOS switch should you wish to change it without having to remove the entire block which would be a pain.
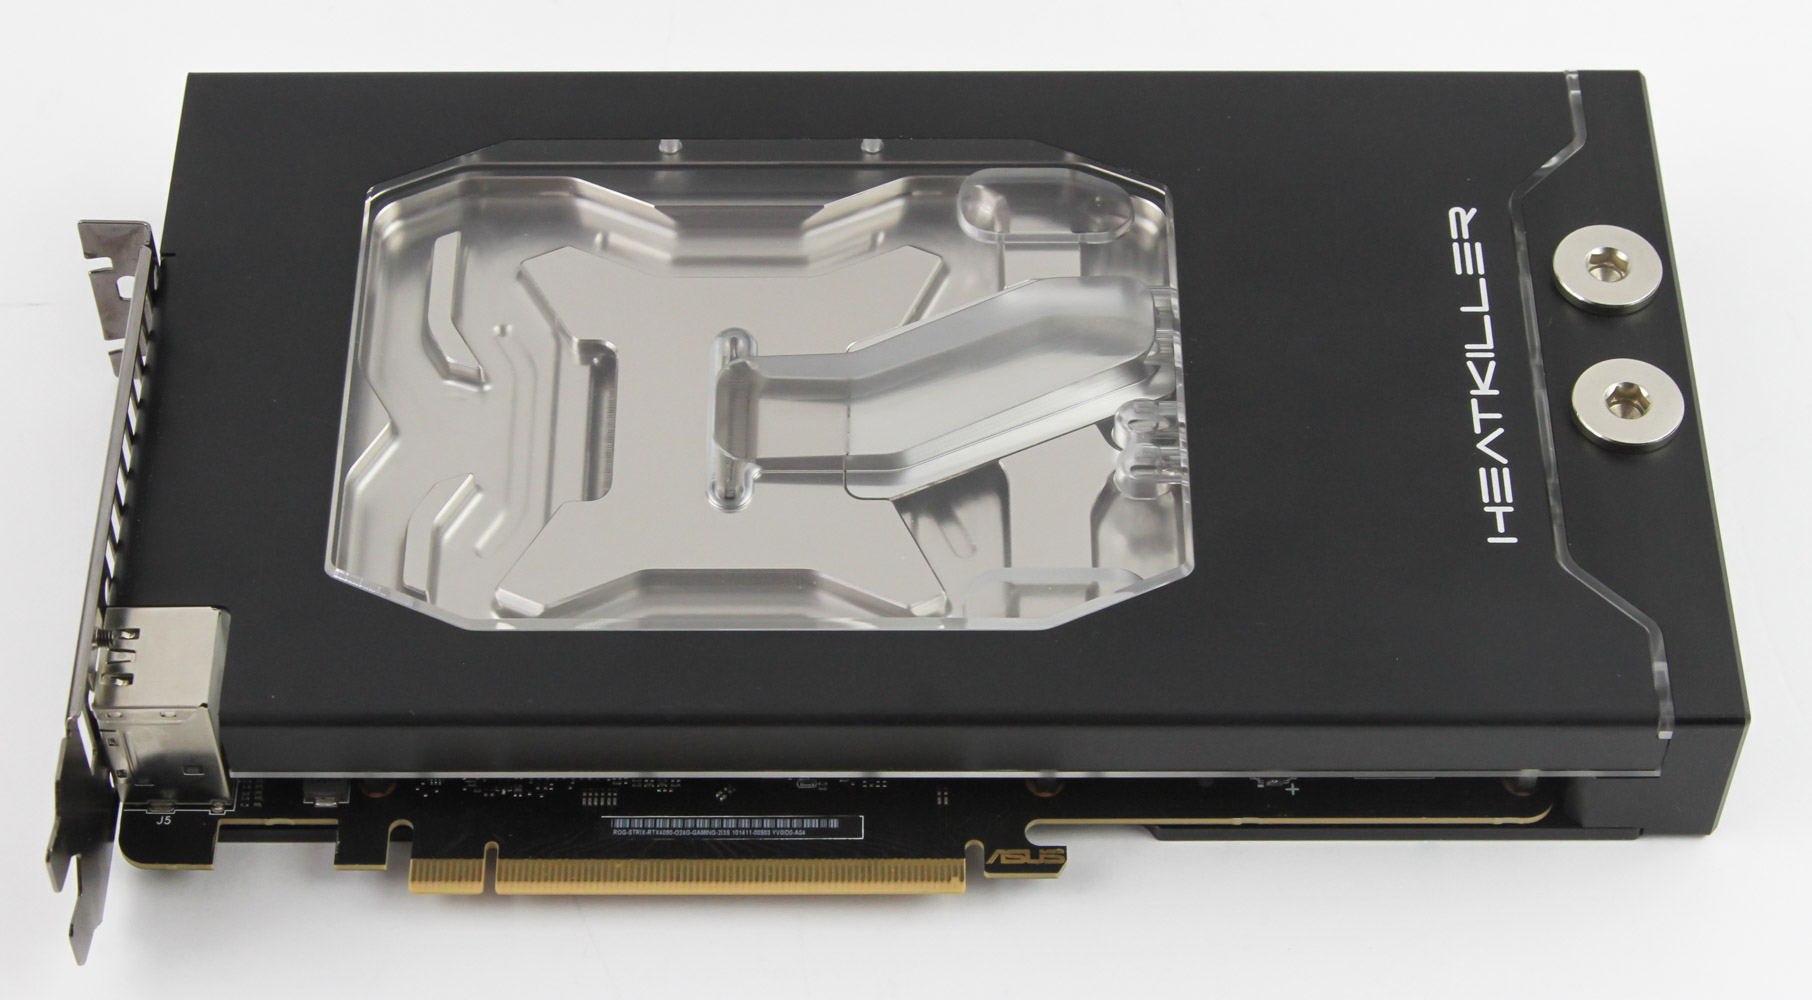
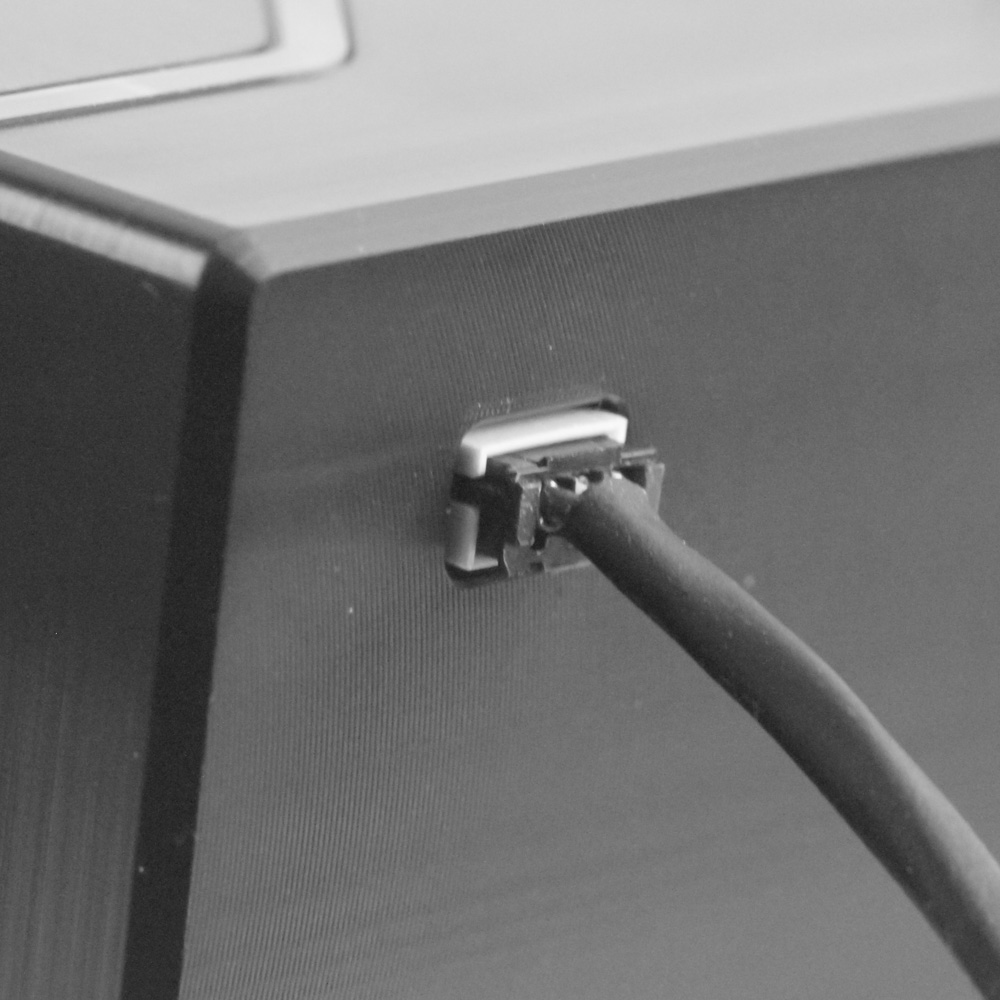
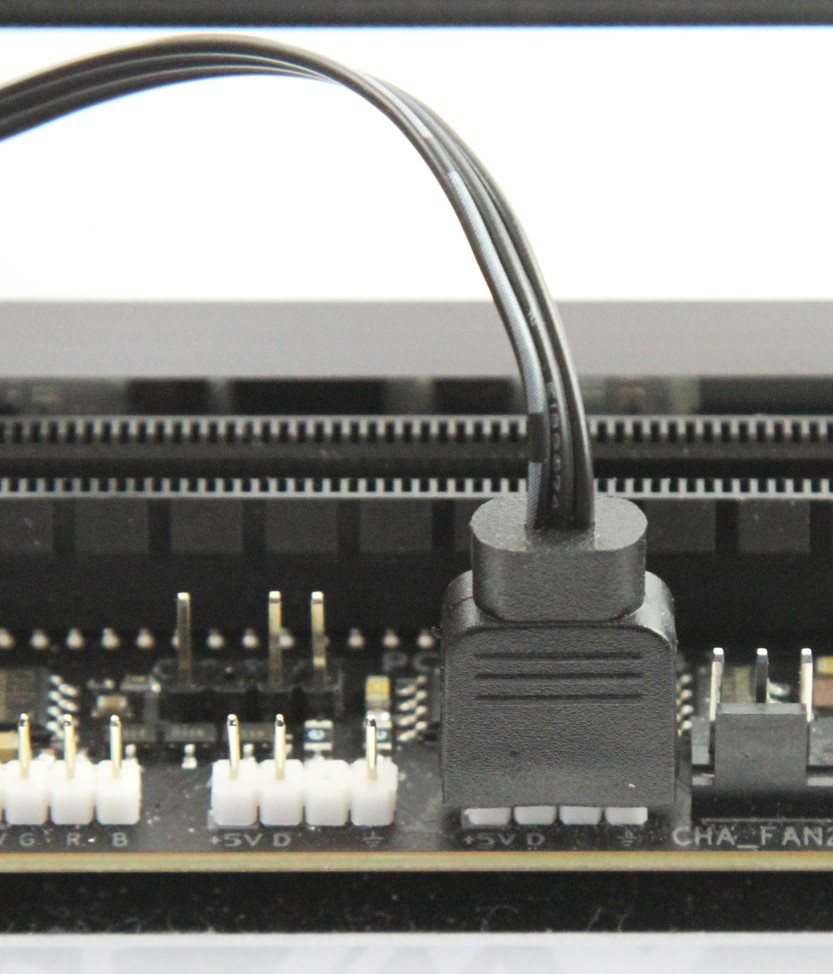
The finished product is quite heavy so do be careful and don't drop it! It also looks super clean with the sandwich-style design that has the backplate slot in well. I also appreciated the cutout for the cable connector as previously mentioned. If you are going to use colored coolant, the clear top will allow you to see it nicely. For those wanting to use the integrated RGB lighting, you have to plug in the provided cable with the smaller connector going to the port on the side near the I/O ports and the larger one headed to a standard 3-pin, 5 V ARGB header on your motherboard or other such compatible LED controller.

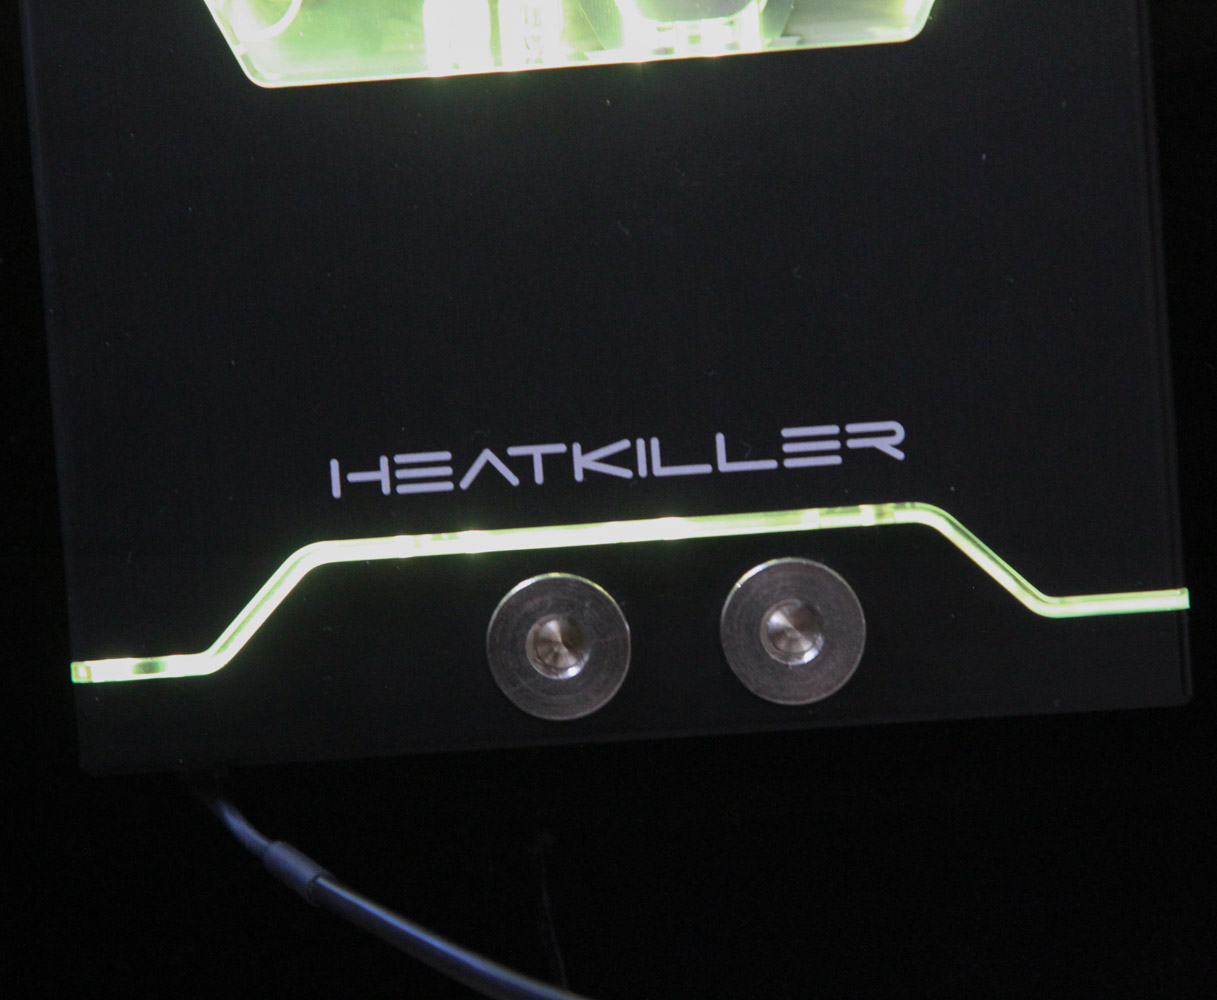
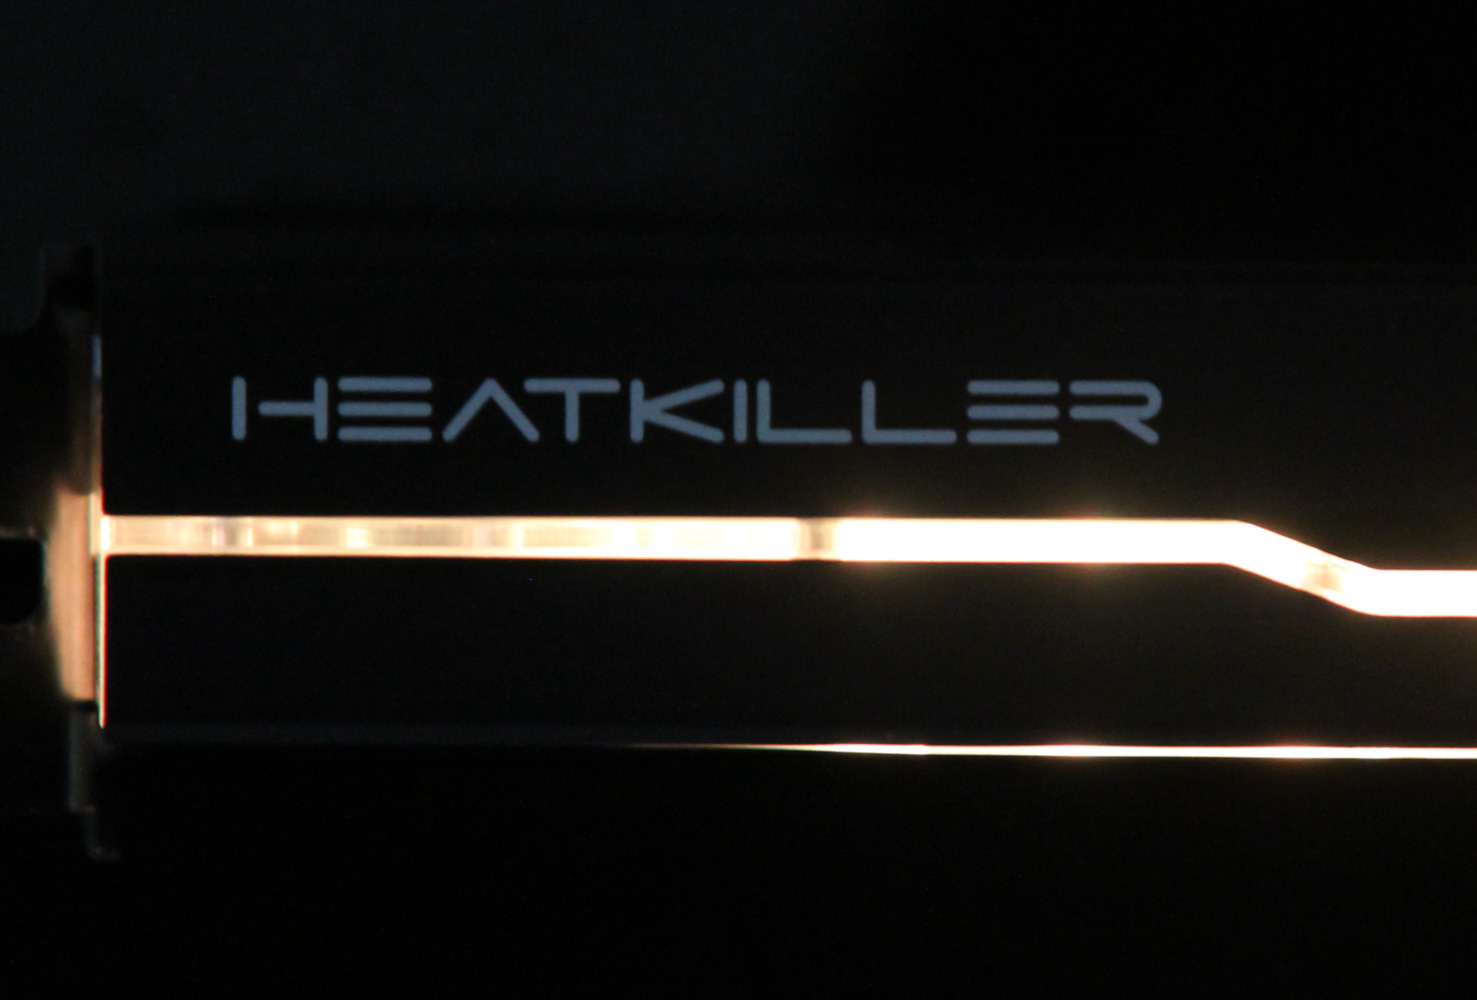
There are 12 ARGB LEDs in the Heatkiller V Pro block for the ASUS RTX 4090 Strix/TUF and this works out quite well despite all of them being in a single row at the bottom. The side cover also helps hide the discrete lighting locations and we end up with a fairly uniform, diffused lighting visible through the clear top as well as the accent lines cut into the side covers on the front and top alike. Seen above are some photos and videos showing you how the block would look lit up—please be aware I turned down the exposure since my camera isn't the best for videos, the block is more vibrant in real life.
Feb 6th, 2025 03:58 EST
change timezone
Latest GPU Drivers
New Forum Posts
- "Agentic AI: Redefining Autonomous Decision-Making" (1)
- what could be wrong with my hdd? (9)
- I find the lack of Battle Mage owners threads disturbing. My Onix Odyssey B580 arrived. (37)
- TOXIC AMD Radeon™ RX 6900 XT (18)
- What are you playing? (22779)
- Bought new INTEL 1.5Tb SSD for 400$ - PCI SSD for my new PC (38)
- anyone use thermalright 360 AIO? (5)
- 140mm Fan Question (34)
- ThrottleStop triggers Defender on svchost process (7)
- Dlss4 + 4090 = lower max oc than with dlss3 (66)
Popular Reviews
- Spider-Man 2 Performance Benchmark Review - 35 GPUs Tested
- Corsair Frame 4000D Review
- Kingdom Come Deliverance II Performance Benchmark Review - 35 GPUs Tested
- NVIDIA GeForce RTX 5080 Founders Edition Review
- Gigabyte GeForce RTX 5080 Gaming OC Review
- MSI GeForce RTX 5080 Vanguard SOC Review
- AMD Ryzen 7 9800X3D Review - The Best Gaming Processor
- ASUS GeForce RTX 5080 Astral OC Review
- Formovie Cinema Edge 4K UST Laser Projector Review
- NVIDIA GeForce RTX 5090 Founders Edition Review - The New Flagship
Controversial News Posts
- NVIDIA 2025 International CES Keynote: Liveblog (470)
- AMD Debuts Radeon RX 9070 XT and RX 9070 Powered by RDNA 4, and FSR 4 (349)
- AMD Radeon 9070 XT Rumored to Outpace RTX 5070 Ti by Almost 15% (285)
- AMD is Taking Time with Radeon RX 9000 to Optimize Software and FSR 4 (256)
- AMD Denies Radeon RX 9070 XT $899 USD Starting Price Point Rumors (239)
- Edward Snowden Lashes Out at NVIDIA Over GeForce RTX 50 Pricing And Value (235)
- AMD Radeon RX 9070 XT & RX 9070 Custom Models In Stock at European Stores (226)
- New Leak Reveals NVIDIA RTX 5080 Is Slower Than RTX 4090 (215)