 0
0
Spire X2 6019B Review
Assembly & Finished Looks »A Closer Look - Inside
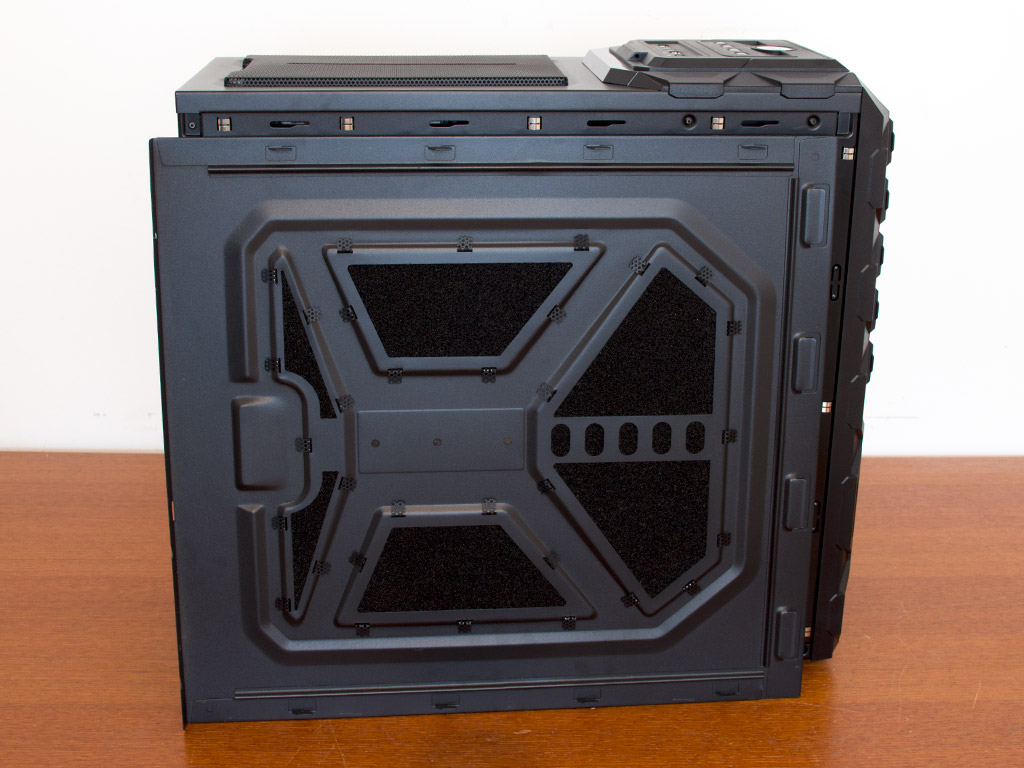
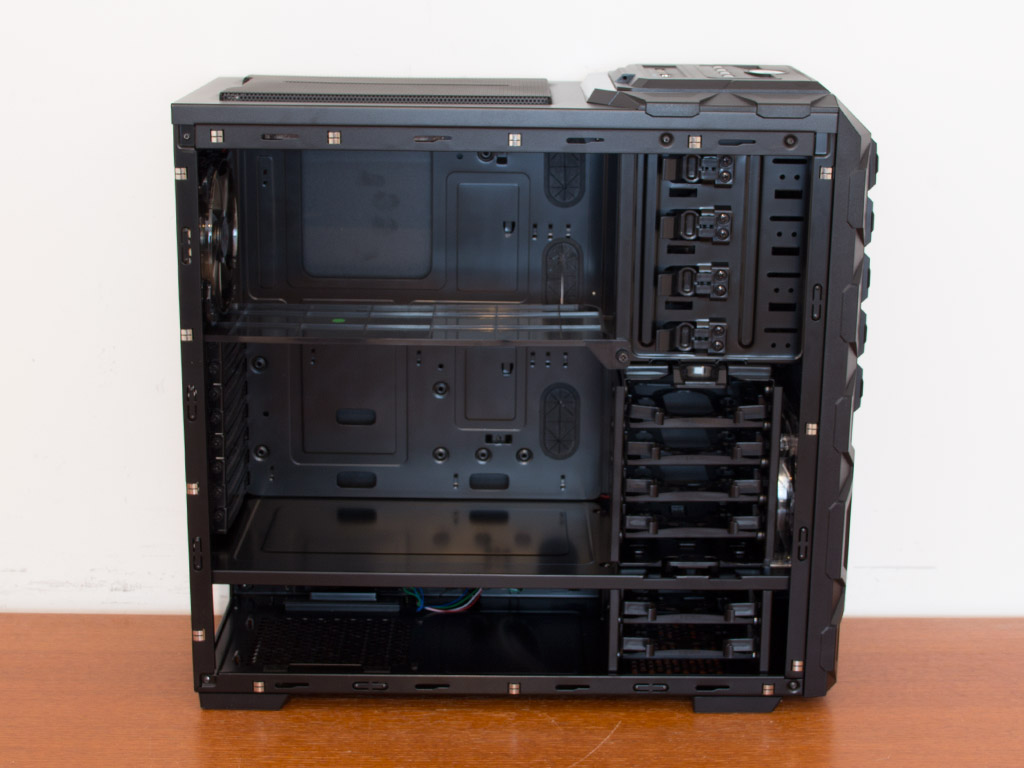
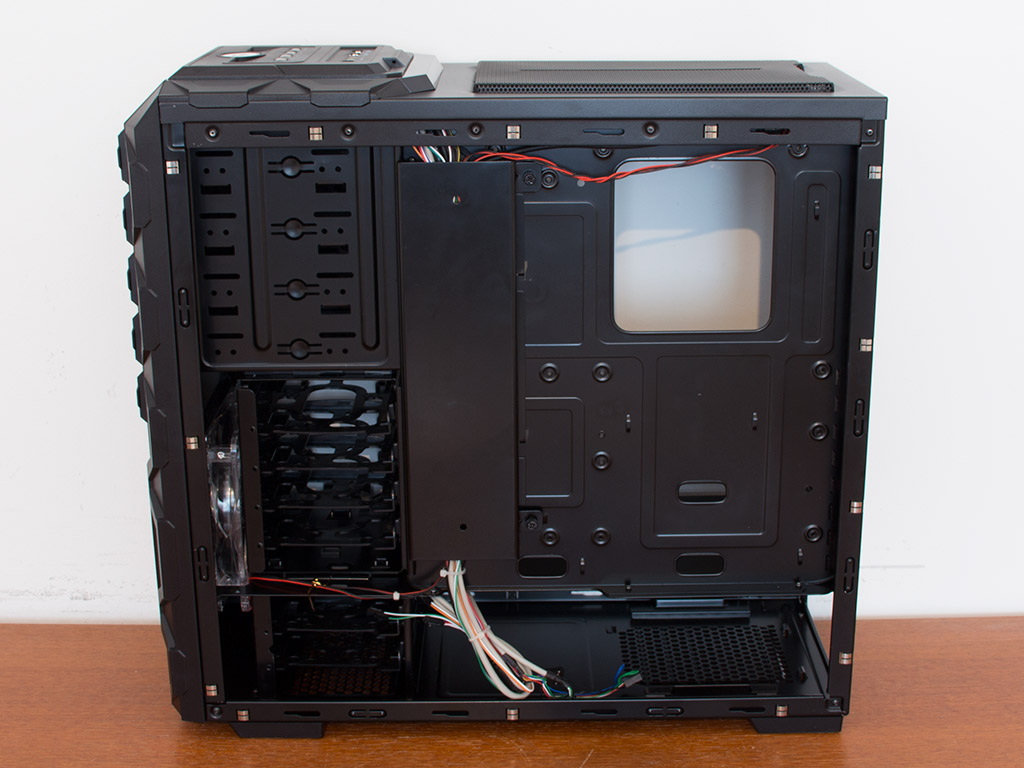
X2 has put a lot of effort into the side panel, as it features three separate air vents that are each covered by a dust filter. Even though these are not removable, it is nice to see such a protective layer in place. Taking a first look at the interior of the case, the 6019B bears a few surprises. First off, the PSU area is separated from the rest of the chassis, and X2 has also included a second divider within the motherboard area. This is pretty unique for a chassis of this size. Turning things around, we are surprised once more as there is some sort of cable duct here. There are loads of hooks to tie cables to, allowing for some excellent cable management. The opening around the CPU area of the motherboard tray is unfortunately rather small, so you will most likely not be able to use this hole to your advantage.
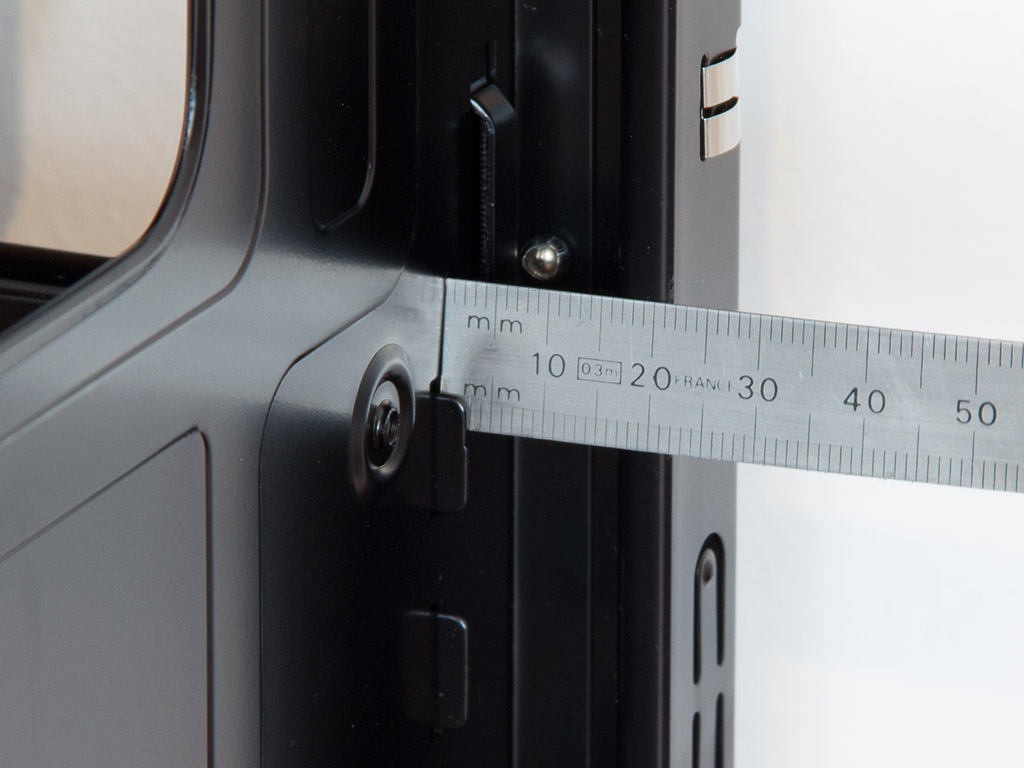
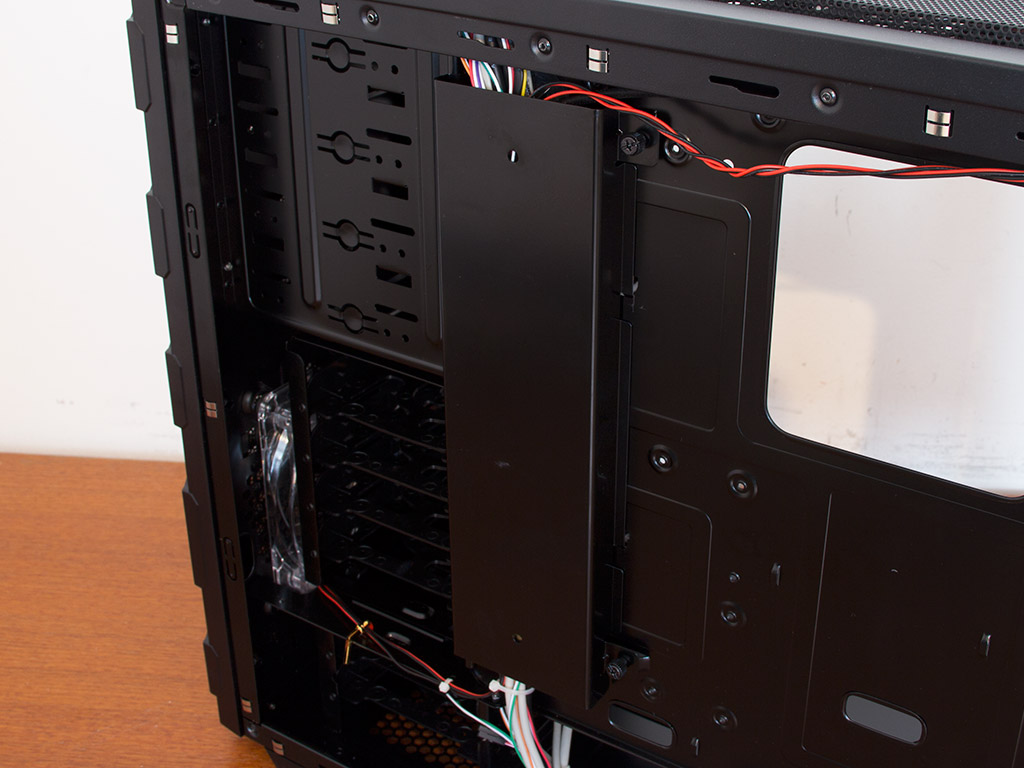

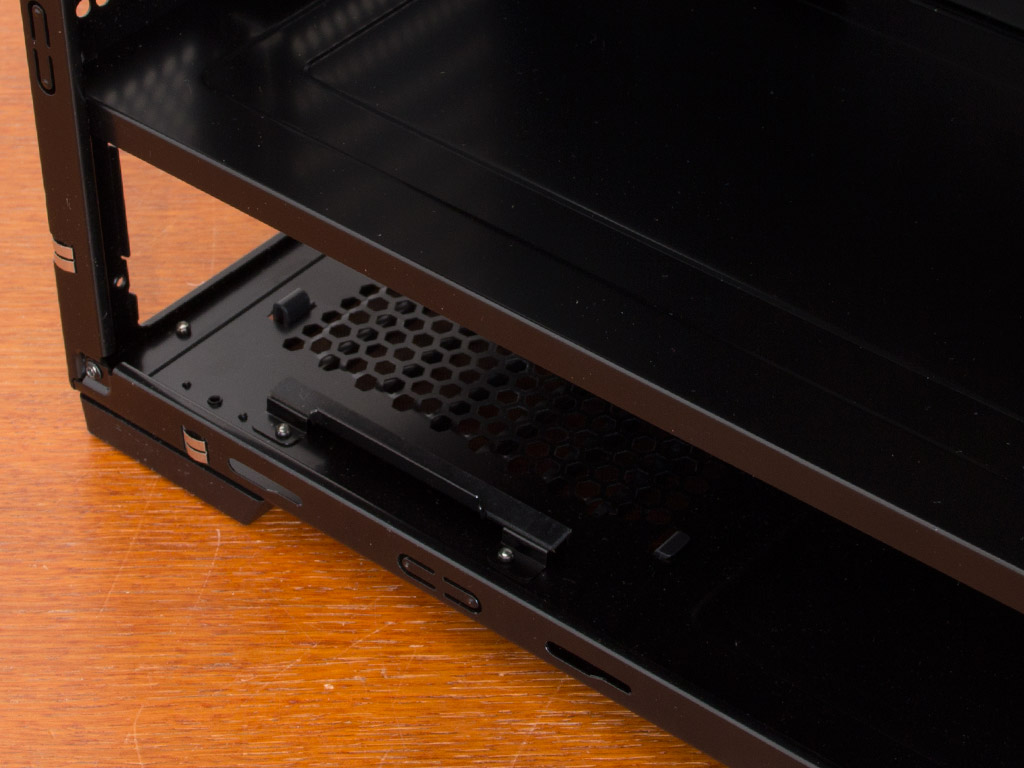
With 20 mm of space to work with, you should be alright--especially with the help of the solid metal duct. This contraption holds all the cables that run down the side of the motherboard tray. You may remove it, revealing the cable mess below. It is nice to see that X2 has pre-routed most of the cables already, saving you a bit of work in the end.
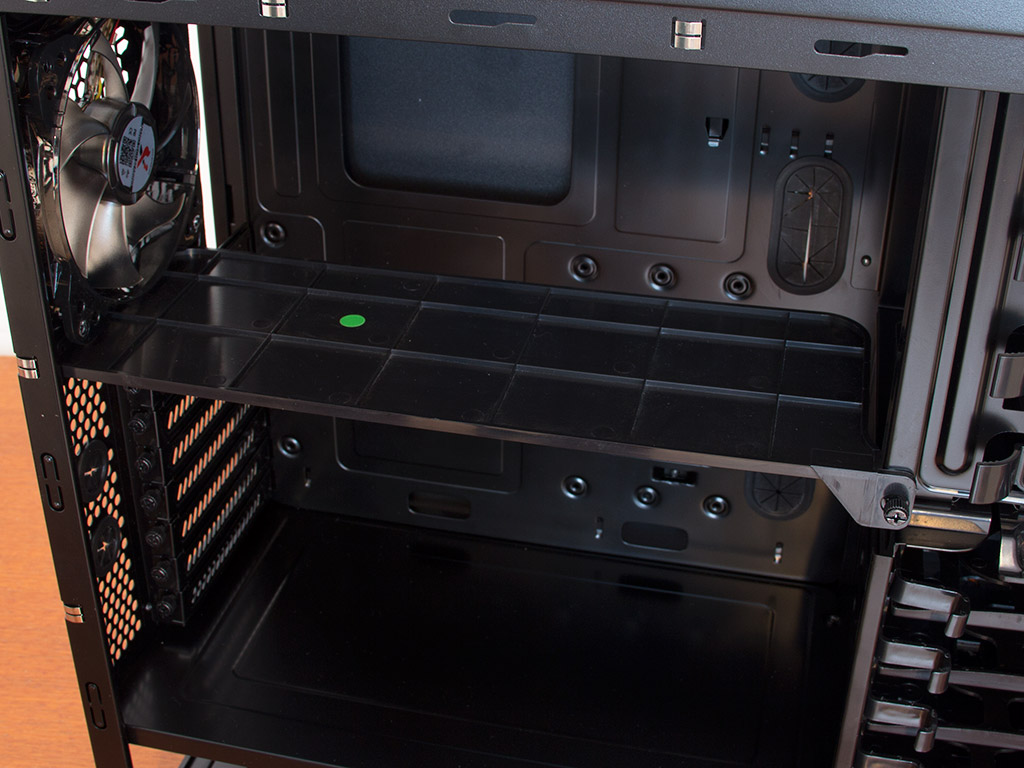
The inner divider is made of plastic and does not really look all that good. This bit will most likely collide with the CPU cooler, so you will probably have to remove it. It may be better for X2 to allow all their gaming cases to take this bit to then offer it as an accessory instead of including it, giving the user or even the distributor/reseller a slight price advantage to push final sales. Regardless, it is good to have in case you can utilize it.
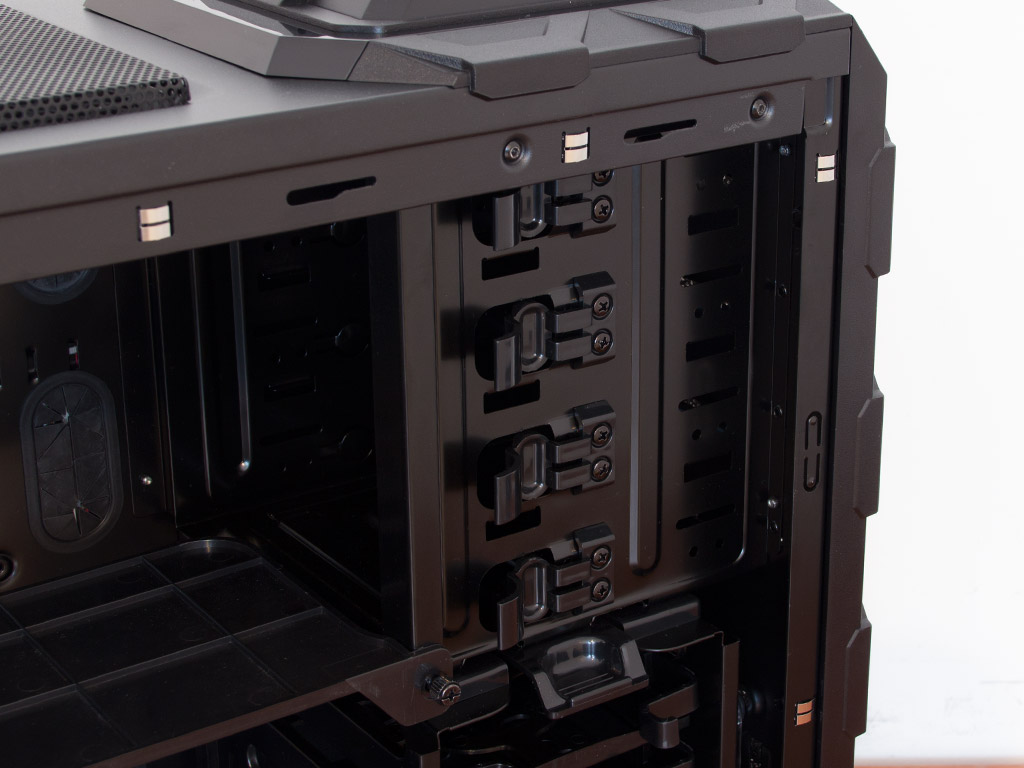
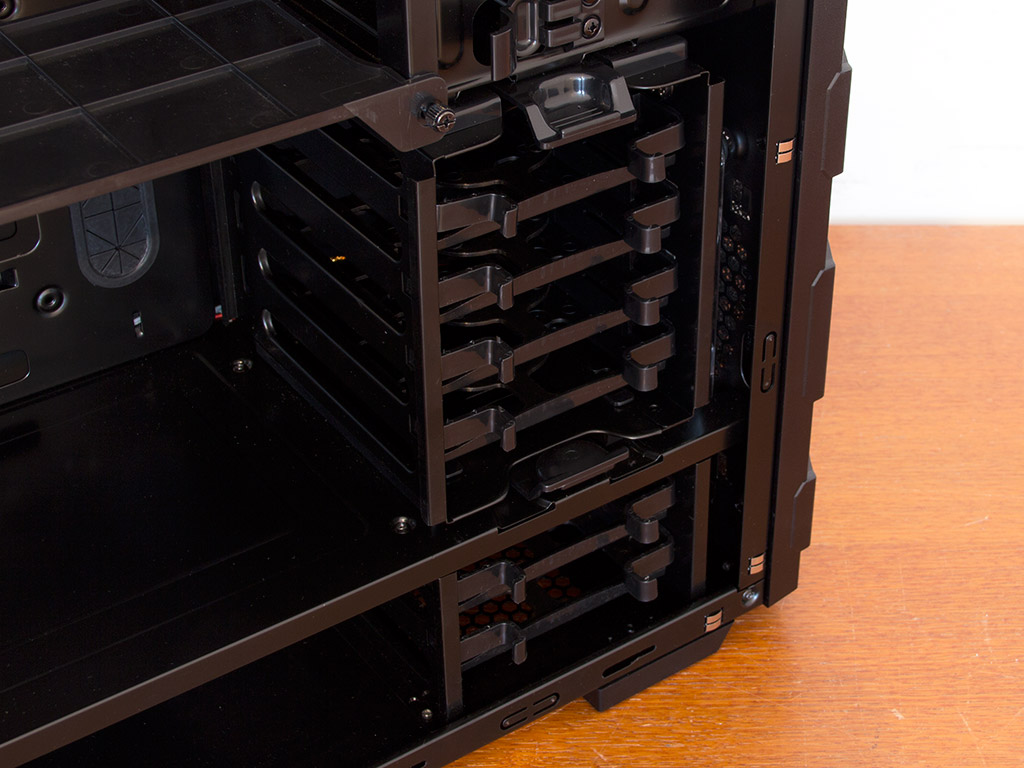
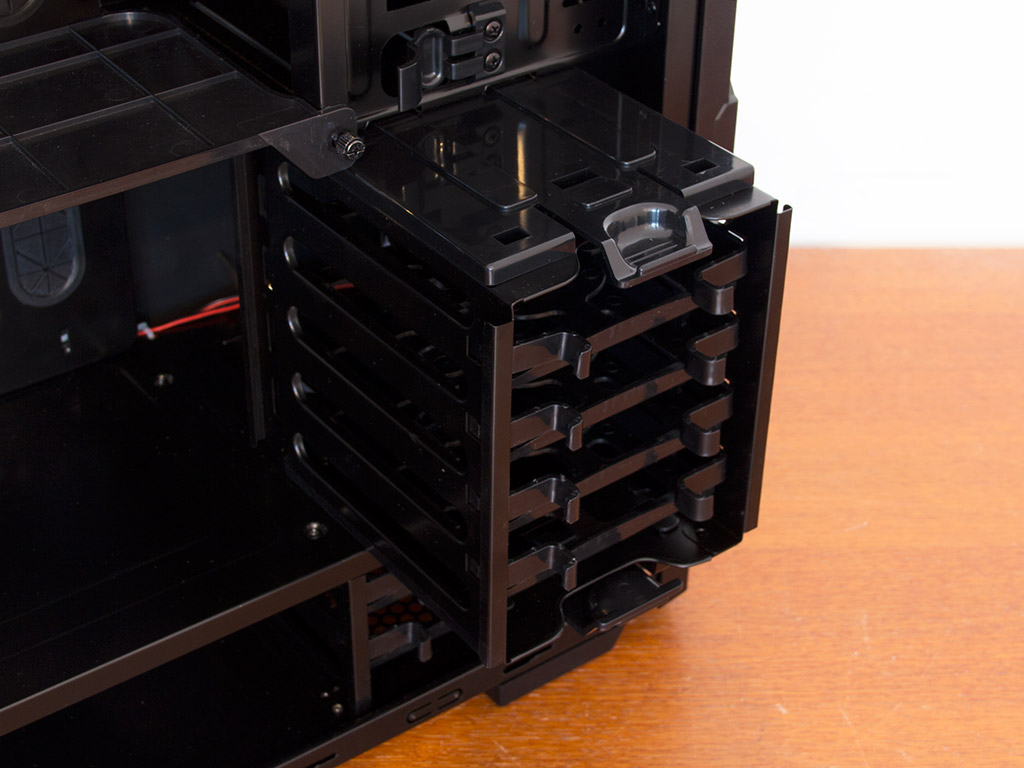

Taking a look at the front, the external drive bays come equipped with tension locks made out of plastic. While these look good and sturdy, tension locks do not tend to work well in general, allowing for too much play. We will see how these will fare later on. Below that are the six hard-drive trays. You may remove the top cage, which holds four of these, by simply pulling it out of the chassis. The overall construction quality of this element is once again excellent. These plastic clips hold very well and the unit slides out nicely when released. You will find a single 140 mm, LED-equipped fan in the front. It is there to cool the hard drives during operation. The lighting element may be turned off, as these units feature a separate lead just for that purpose.
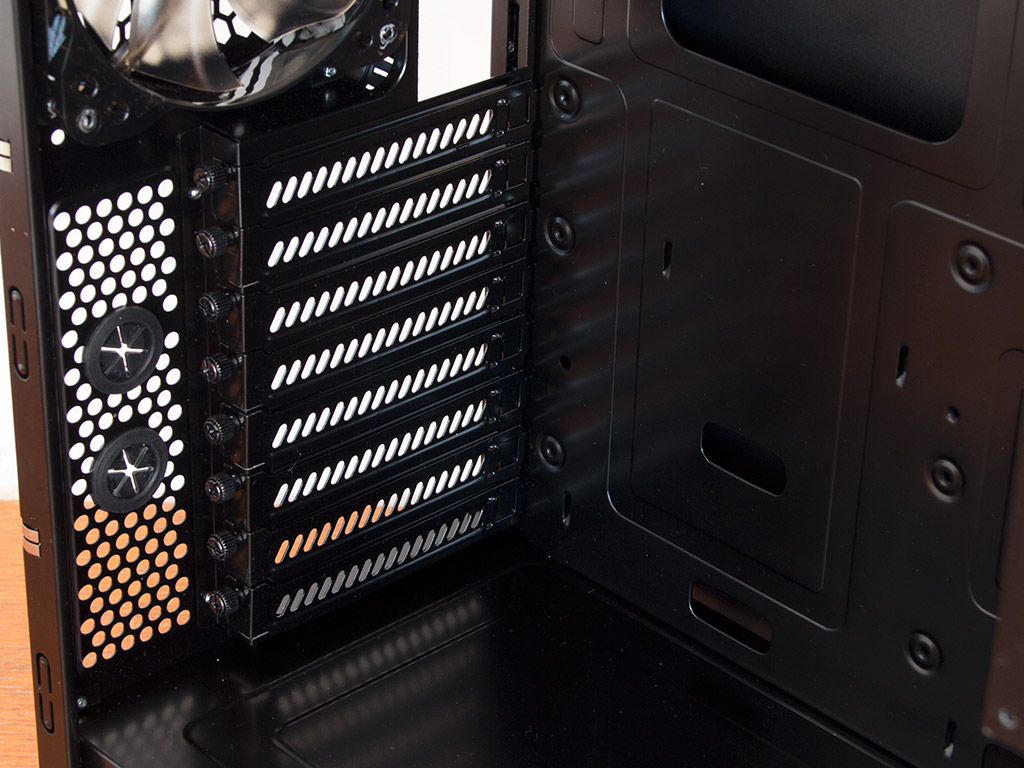
In the rear, the top is taken up by the aforementioned exhaust unit. It is plain and simple, lacking LEDs. It is, however, not a simple OEM fan, but, rather, of the kind Spire/X2 also sells individually. Below that are the eight motherboard-expansion slots, with each cover held in place by a thumbscrew for easy access. The PSU bay is hidden below the metal divider at the bottom. There are rails to guide the unit into place properly and X2 provides rubber strips to act as an anti-vibration measures if need be.

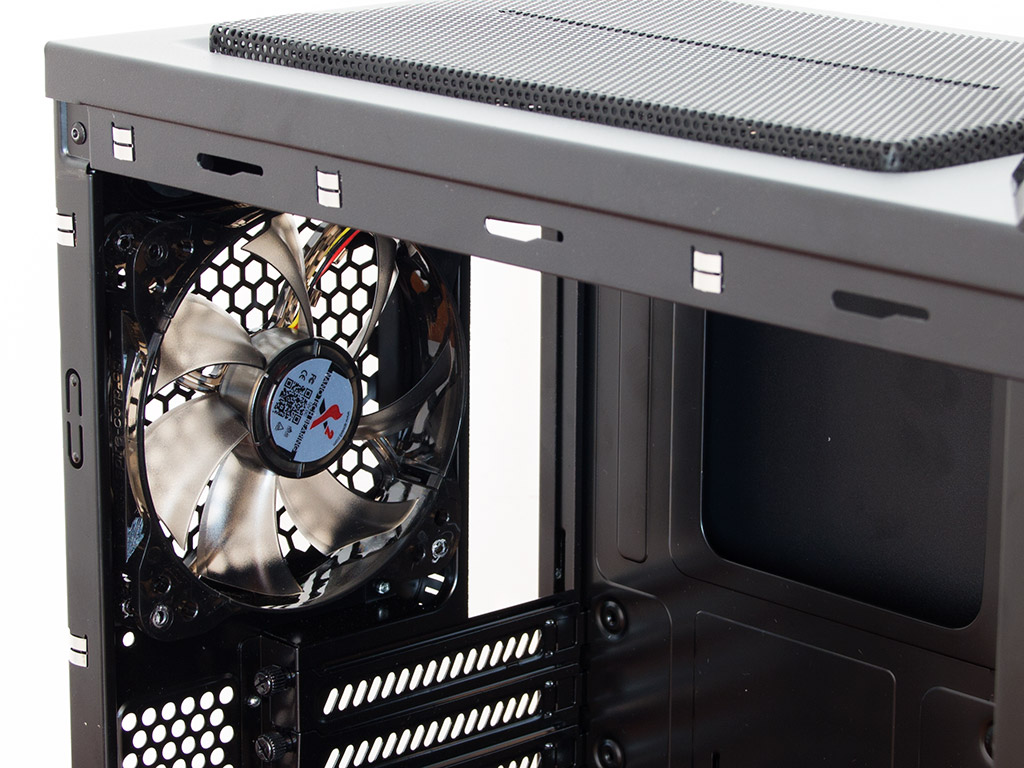
The third fan can be found in the ceiling of the chassis. Pushing air out the top of the chassis, it is an LED-equipped unit with a diameter of 140 mm. X2 has actually placed a grill on the inside of the fan as well, which is, in my opinion, a nice but unnecessary addition. Having three fans in all the right spots within the chassis is a good move from X2, though.
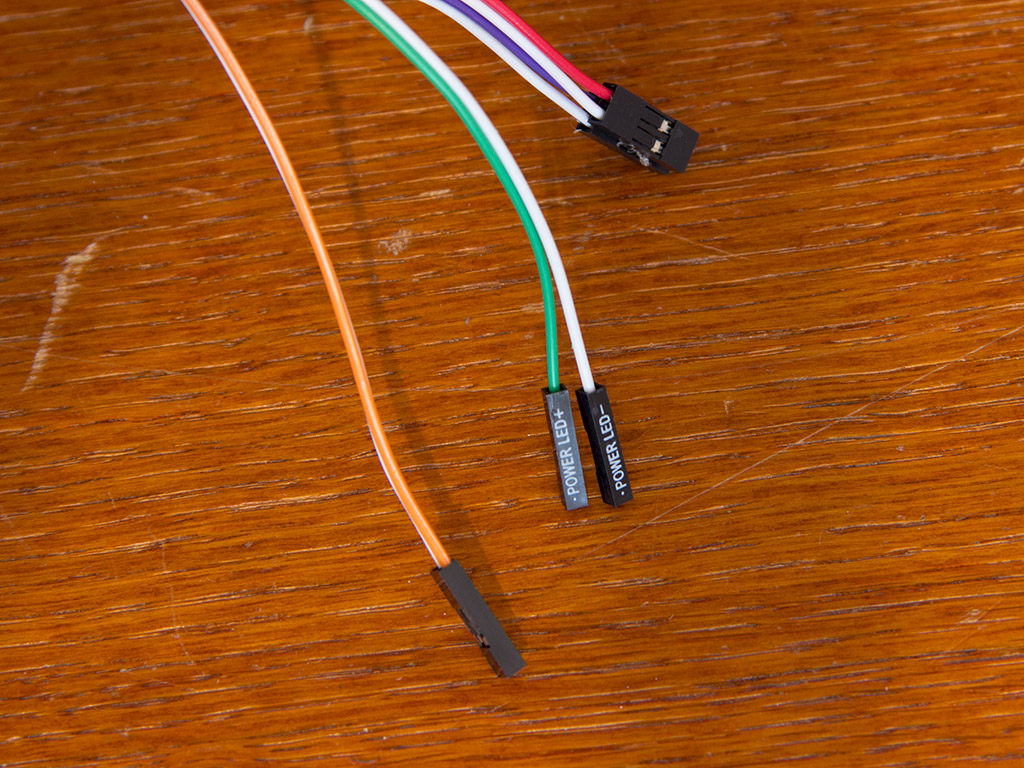
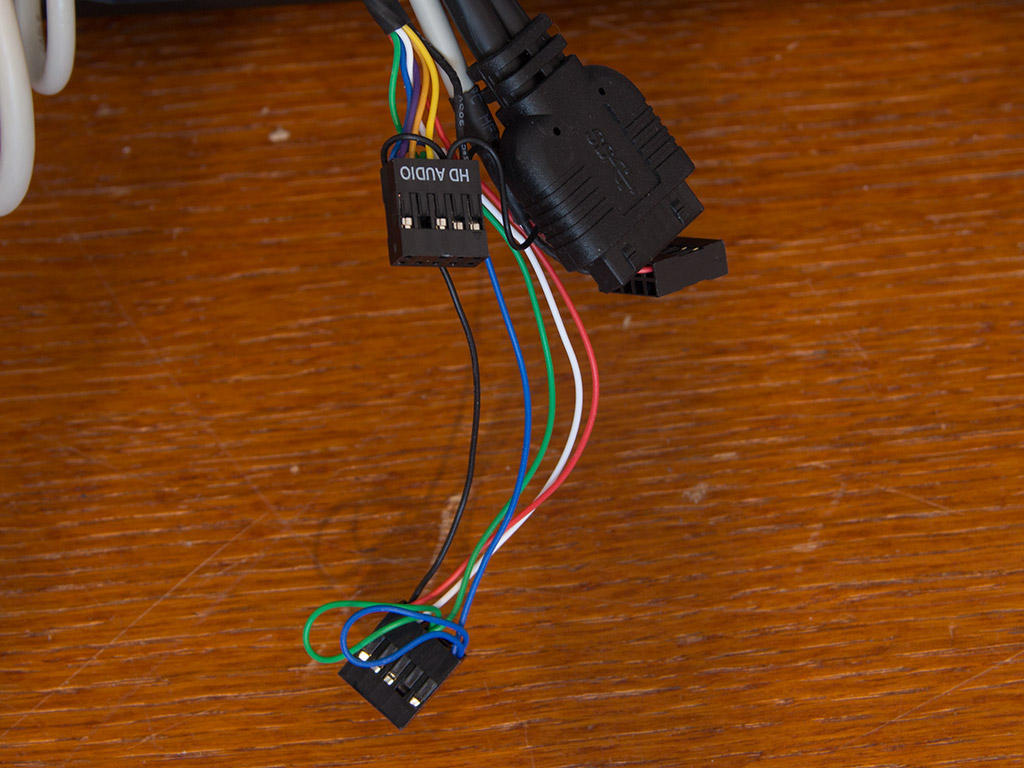
One gripe I do have are the colored cables within the chassis. X2 has taken a lot of time to add many details to the chassis only to then install gray and colored cables for both the case functionality and I/O. It would have been nice to see all-black cables instead. All the plugs on the cables are of the standard variety, so you should have no issue plugging them into your motherboard.
Apr 22nd, 2025 10:21 EDT
change timezone
Latest GPU Drivers
New Forum Posts
- Waterloop 24/7 or no? (0)
- Companies should be called out for this (66)
- To distill or not distill what say ye? (44)
- AAF Optimus Modded Driver For Windows 10 & Windows 11 - Only for Realtek HDAUDIO Chips (437)
- Gainward Phoenix RTX 5070ti Temperatures (16)
- Need thoughts on a quiet PC that's great for rendering, video editing and office work... (15)
- 5060 Ti 8GB DOA (140)
- TPU's Nostalgic Hardware Club (20269)
- Asus Rog Dominus Extreme. LGA 3647 Xeon. (6)
- What are you playing? (23418)
Popular Reviews
- ASRock X870E Taichi Lite Review
- ASUS GeForce RTX 5060 Ti TUF OC 16 GB Review
- NVIDIA GeForce RTX 5060 Ti PCI-Express x8 Scaling
- Palit GeForce RTX 5060 Ti Infinity 3 16 GB Review
- MSI GeForce RTX 5060 Ti Gaming OC 16 GB Review
- Sapphire Radeon RX 9070 XT Pulse Review
- Upcoming Hardware Launches 2025 (Updated Apr 2025)
- Sapphire Radeon RX 9070 XT Nitro+ Review - Beating NVIDIA
- Teevolution Terra Pro Review
- ASUS GeForce RTX 5060 Ti Prime OC 16 GB Review
Controversial News Posts
- NVIDIA GeForce RTX 5060 Ti 16 GB SKU Likely Launching at $499, According to Supply Chain Leak (182)
- NVIDIA Sends MSRP Numbers to Partners: GeForce RTX 5060 Ti 8 GB at $379, RTX 5060 Ti 16 GB at $429 (127)
- NVIDIA Launches GeForce RTX 5060 Series, Beginning with RTX 5060 Ti This Week (116)
- Nintendo Confirms That Switch 2 Joy-Cons Will Not Utilize Hall Effect Stick Technology (105)
- Nintendo Switch 2 Launches June 5 at $449.99 with New Hardware and Games (99)
- Sony Increases the PS5 Pricing in EMEA and ANZ by Around 25 Percent (85)
- NVIDIA PhysX and Flow Made Fully Open-Source (77)
- Windows Notepad Gets Microsoft Copilot Integration (75)