 24
24
Xigmatek Elysium Review
Assembly & Finished Looks »A Closer Look - Inside

Before we dive into the interior, let us take a quick look at the interior of the side panel. As you can see, the 200 mm fan is firmly attached to the side and features a 3-pin mainboard connector. The window is secured with plastic rivets. I would have liked to see more rivets used especially on the straight parts above and below the fan, but our sample was perfectly fine in appearance.
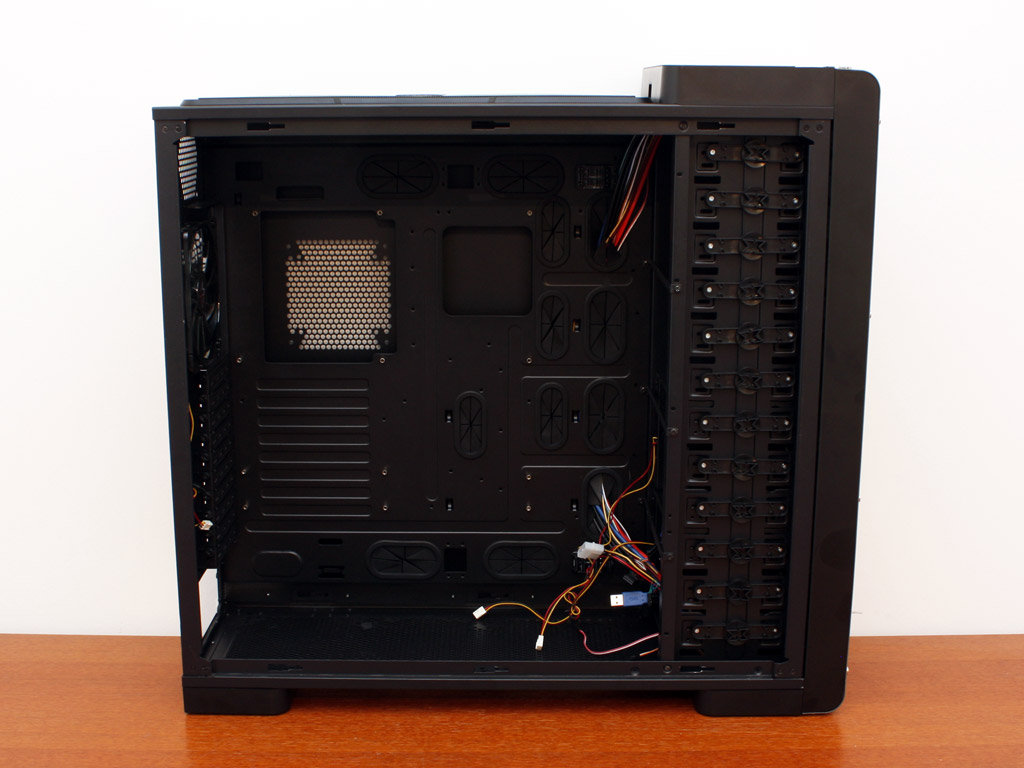
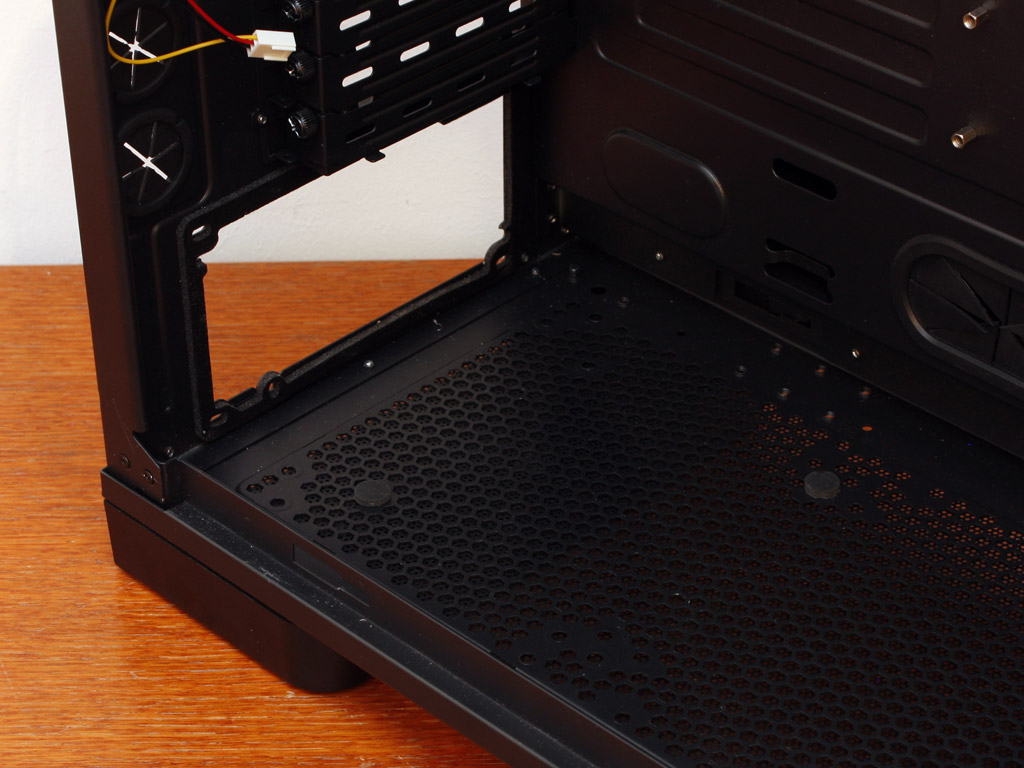
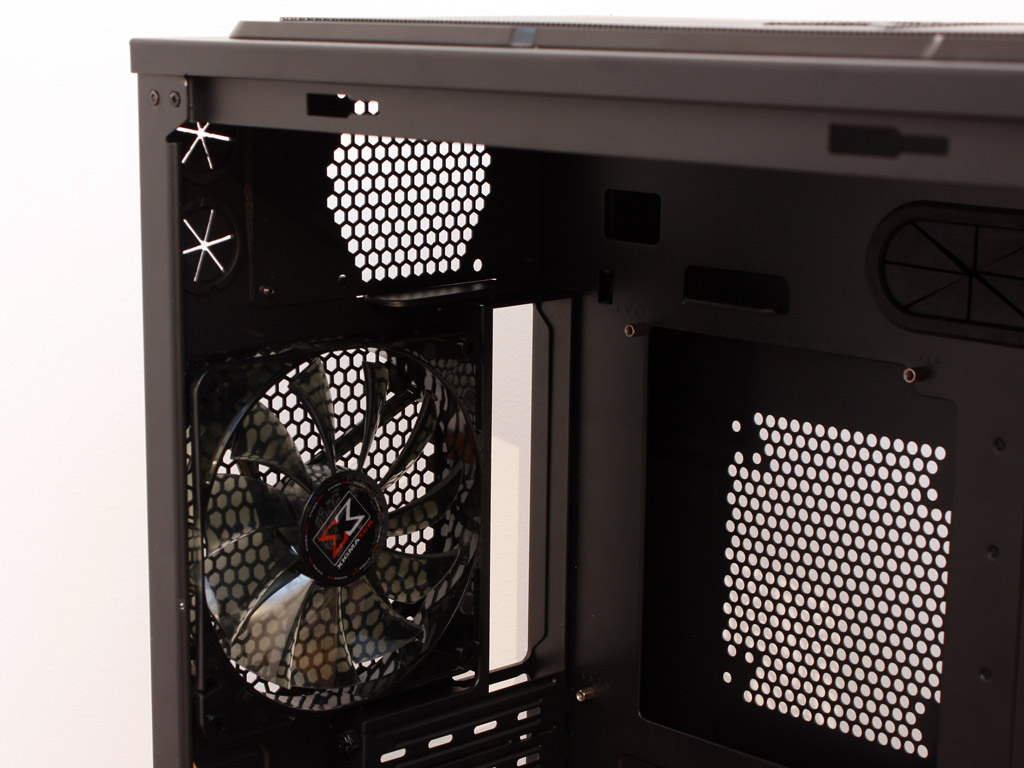
The first impression of the interior is "simple". Xigmatek has avoided any things like thermal compartments or out of the ordinary layouts. That said, it is still packed with a few very nice and unique aspects. The first one of these is the secondary opening in the mainboard tray. This gives you access to the second socket underside of the EVGA SR-2 so you can easily remove CPU coolers or water blocks without having to remove the entire mainboard. The Elysium is the only one of the three HPTX cases out there with this opening - pretty cool! A large number of smaller holes enable great cable routing possibilities, while plenty of space between the mainboard tray and side panel should allow you to hide most unwanted cables and keep the interior tidy.

As you can see, only the primary opening can be actively cooled and it is considerably larger to be compatible with a wide range of mainboards.
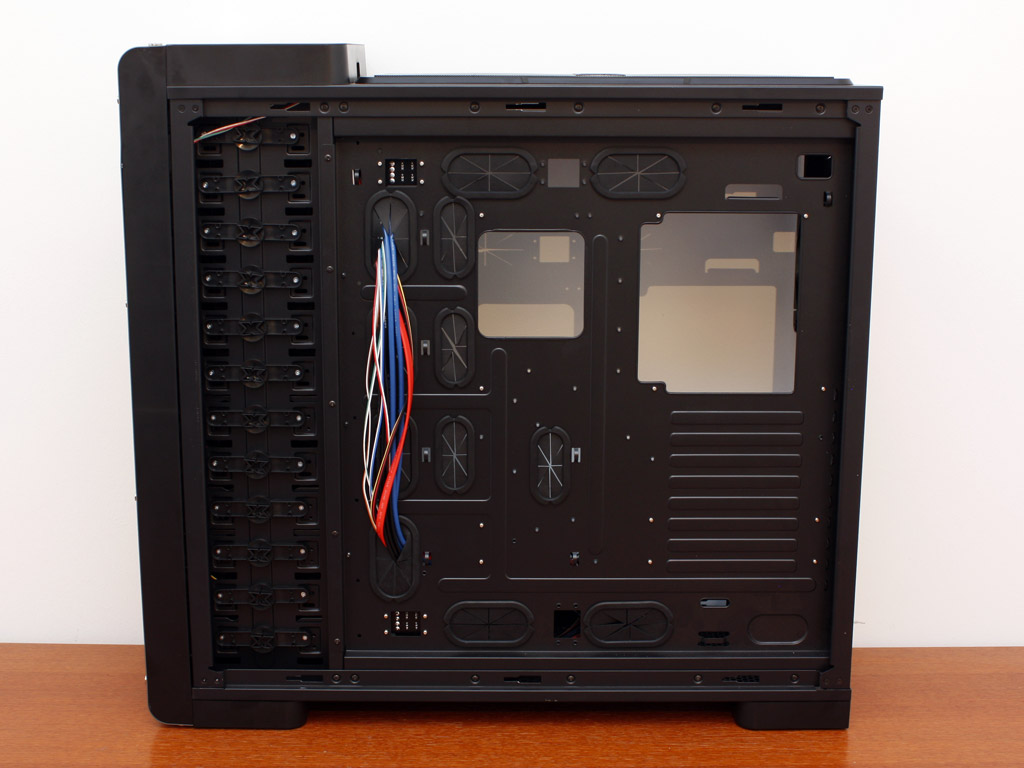
As mentioned before, the entire front of the chassis is filled with twelve 5.25 inch drive bays. To allow for hard drive installation, Xigmatek has included two 4-in-3 hard drive cages within the Elysium. These take up six bays but allow for eight drives to be installed. This leaves an additional six bays free for external drives.


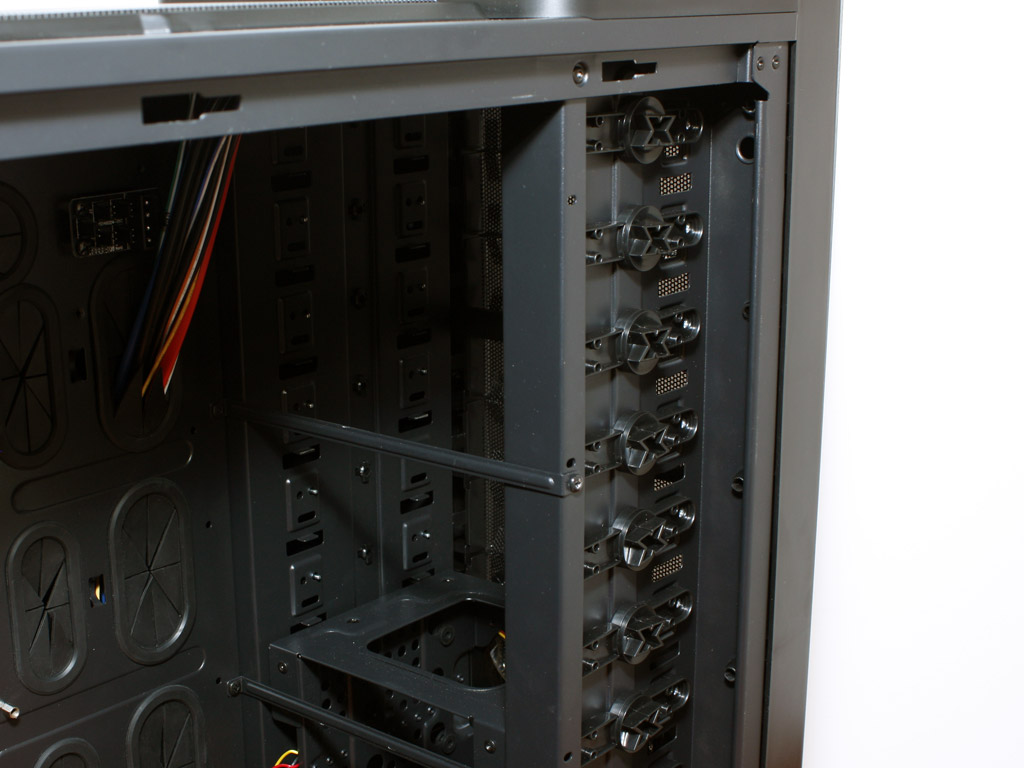
Each of the twelve bays has been equipped with plastic locks with metal pins. While these utilize the same principle found in many other cases from various manufacturers, Xigmatek has made sure, that these are sturdy and do not bend out of shape easily. Such a structure should also mean that the installed drives will be held adequately.
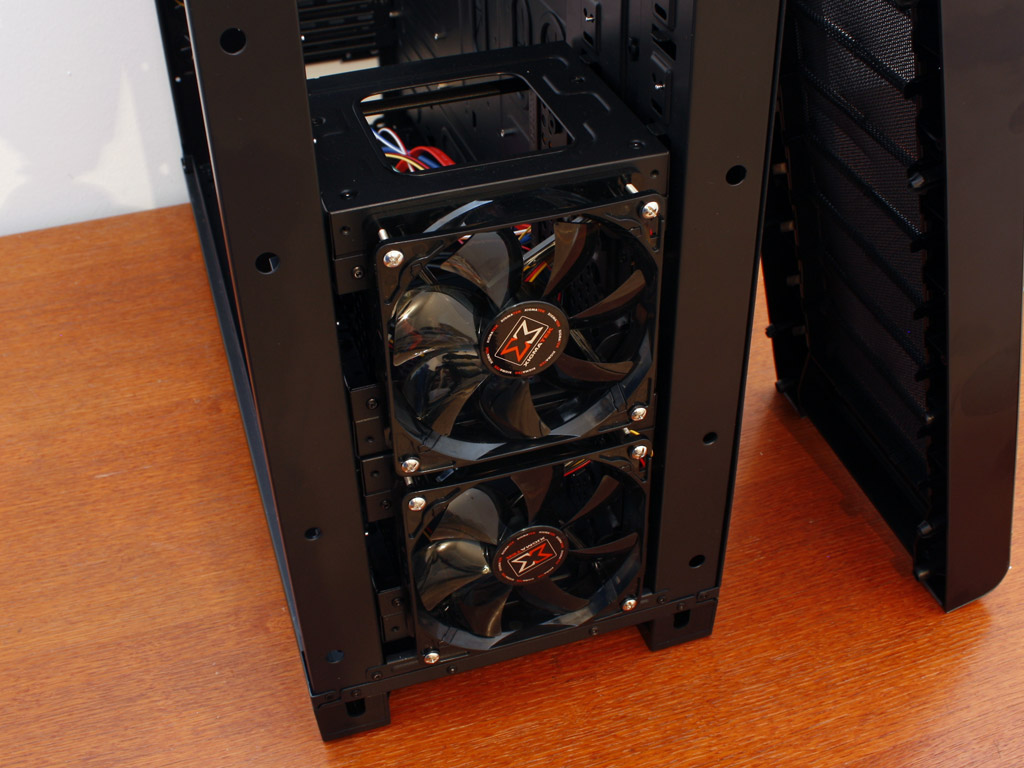

You may pull off the entire front of the chassis with a firm tug on the bottom. It reveals all the drive bays and the two hard drive cages. Xigmatek has placed them on the bottom half of the bays, but you are free to move them around as you see fit. The company also offers additional 4-in-3 bays as an optional accessory for those who want to install even more hard drives within the Elysium. All of these 3.5 inch bays are rubber lined, to kill any vibrations dead in their tracks. I only miss the fact that Xigmatek has not included a possibilty to install a 2.5 inch drive somewhere separately, as this would have been rather easy to implement. Luckily most SSDs offer a bracket so that you can install these small devices into a traditional 3.5 inch bay.

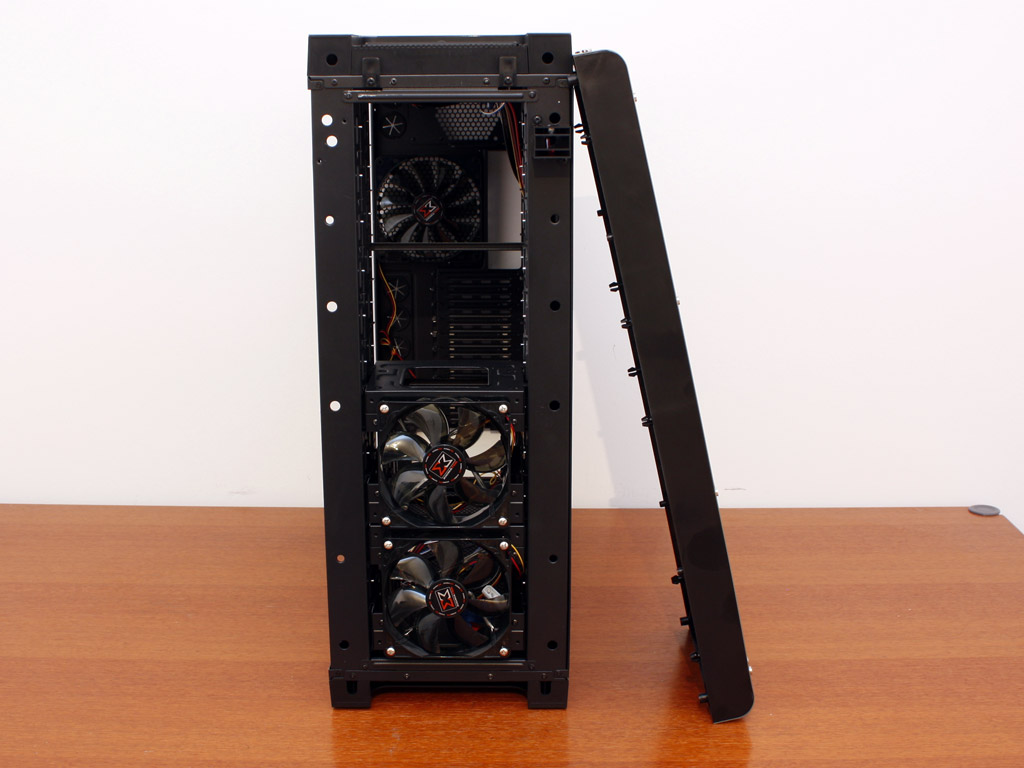
Taking a quick look at the back area, the afore mentioned, primary PSU bay is foam lined so that any vibrations of the power supply are not passed on to the case structure. Above that are the ten mainboard expansion slots, each protected by separate covers and held in place by thumb screws. The 140 mm fan is semi transparent and features white LEDs. This brings the total number of cooling units within the Elysium to four, all of which are equipped with white LEDs as we will see later on.
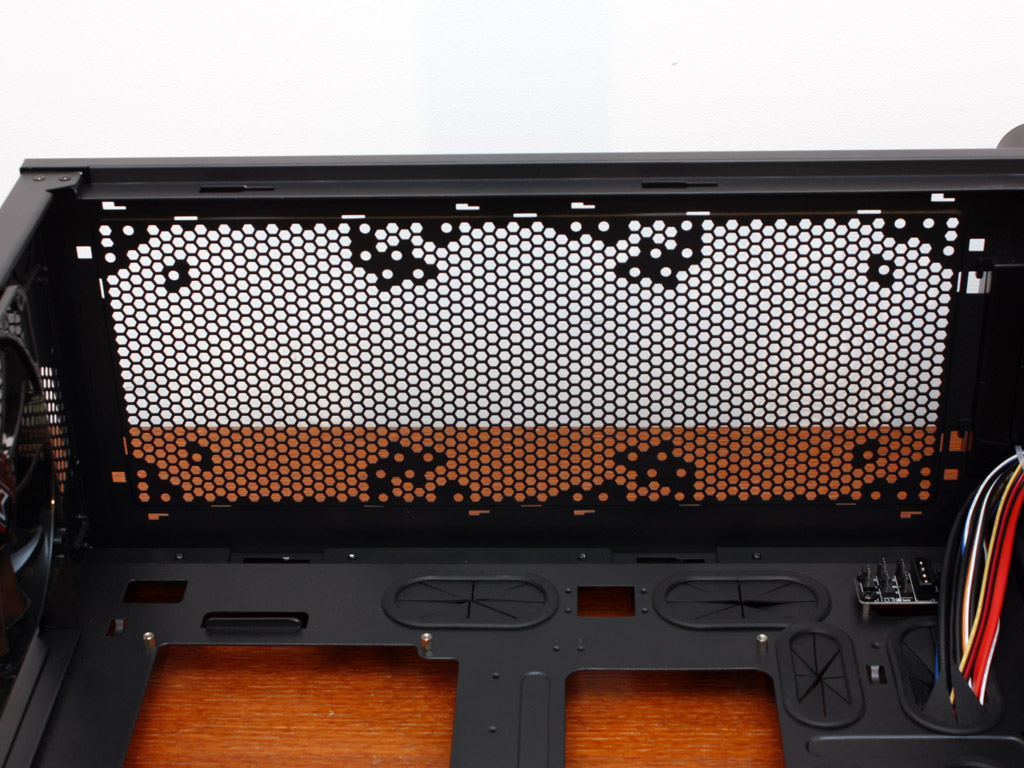
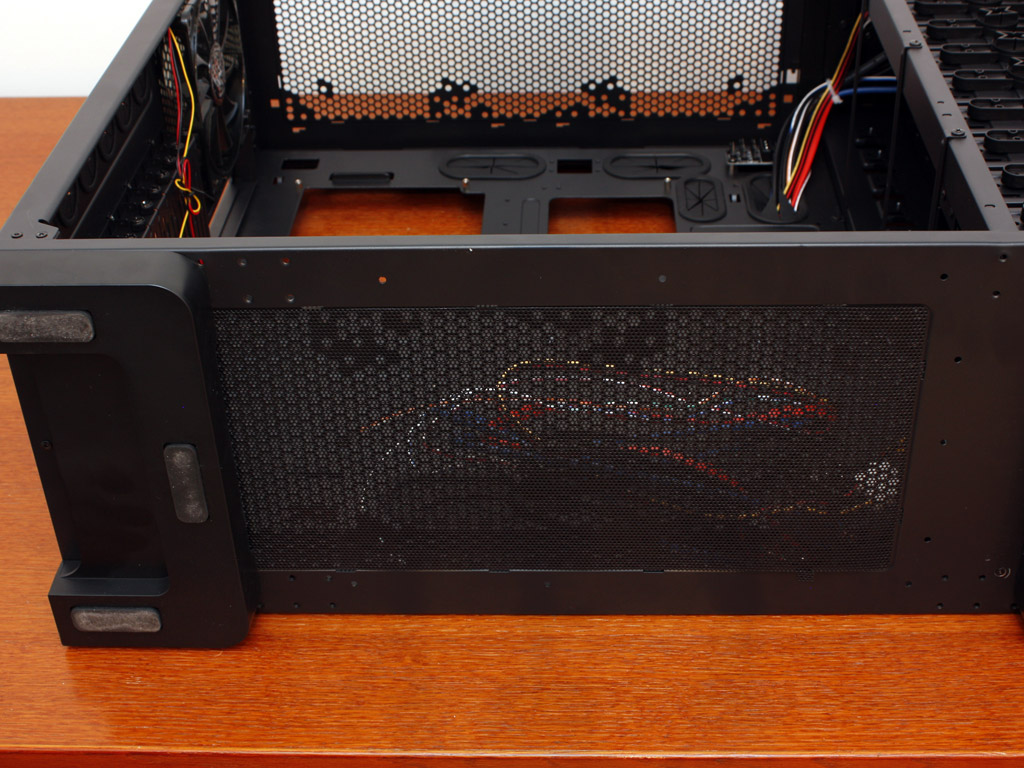
Taking a look at the top and bottom openings, Xigmatek allows you to install a slew of different fans within the Elysium thanks to plenty of mounting holes. Both the top and bottom may also be used to place a radiator in this area. Each space can hold up to three 140 mm fans, depending where you choose to install your power supply.
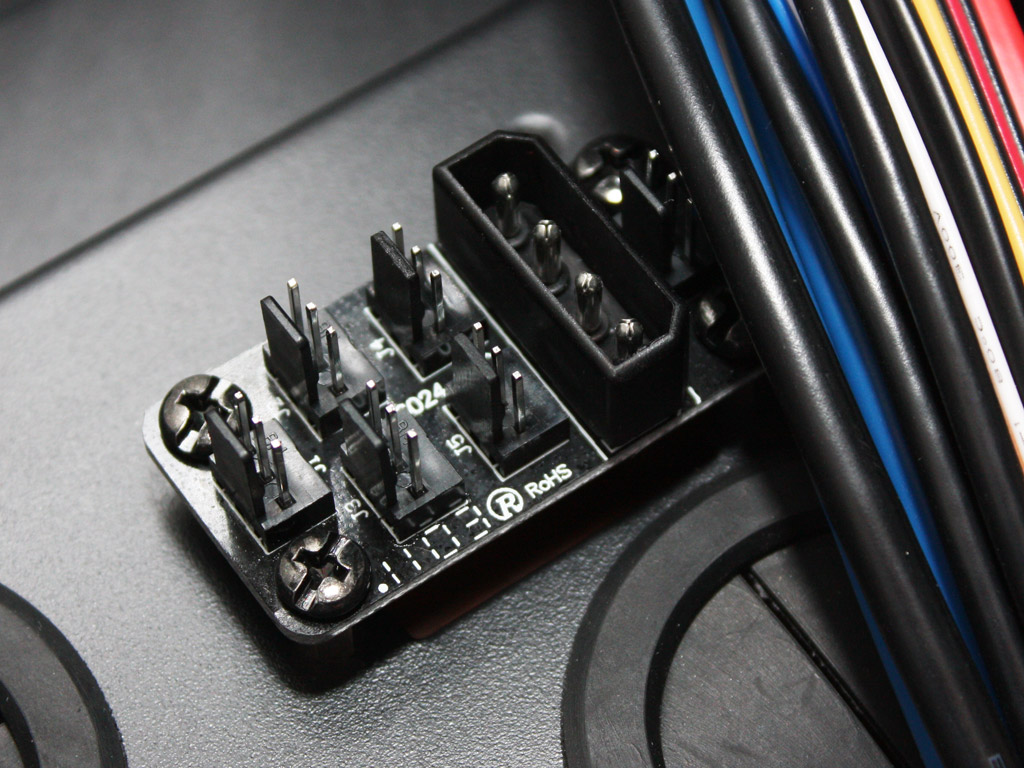
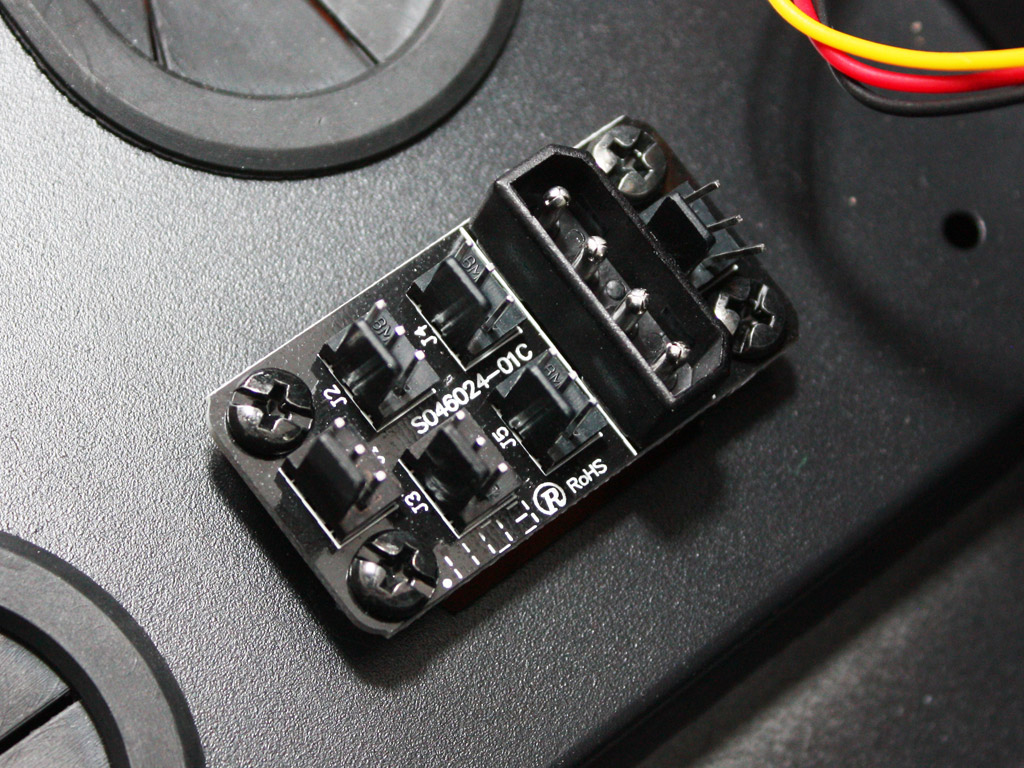
Another very cool and useful feature are the two small PCBs found in the top and bottom corner right behind the drive bays. These allow you to connect up to six fans on each of these printed circuit boards, while using only a single Molex connector. Such a small addition completely clears up the cable management issue when filling the Elysium with fans - well done Xigmatek!
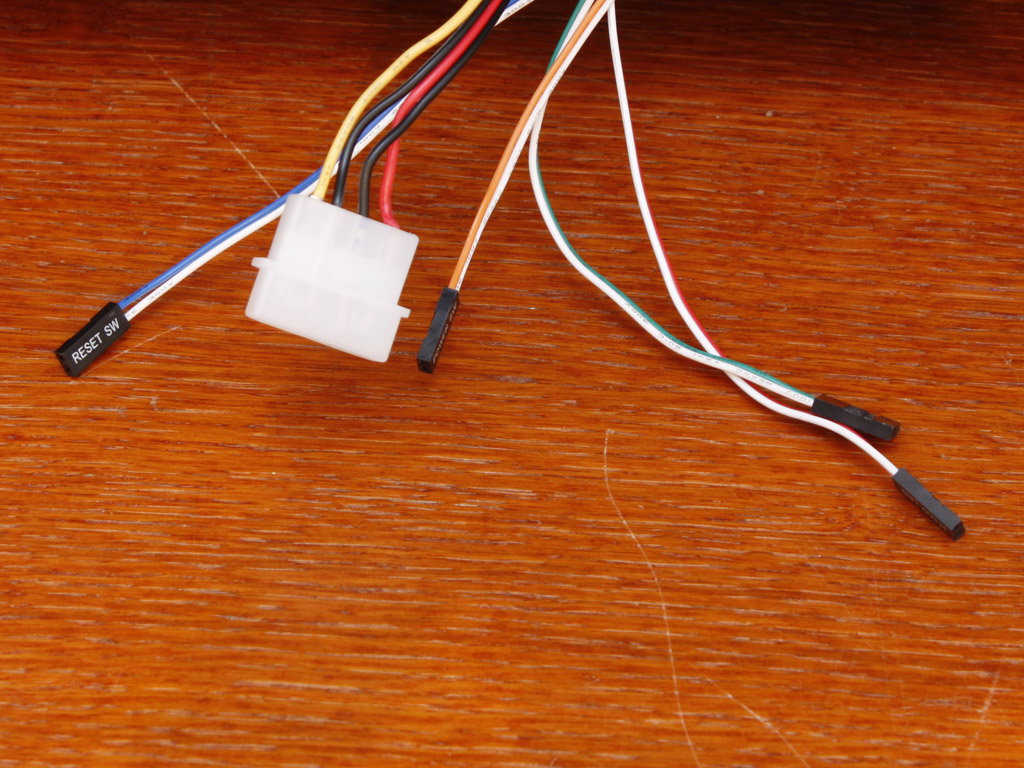
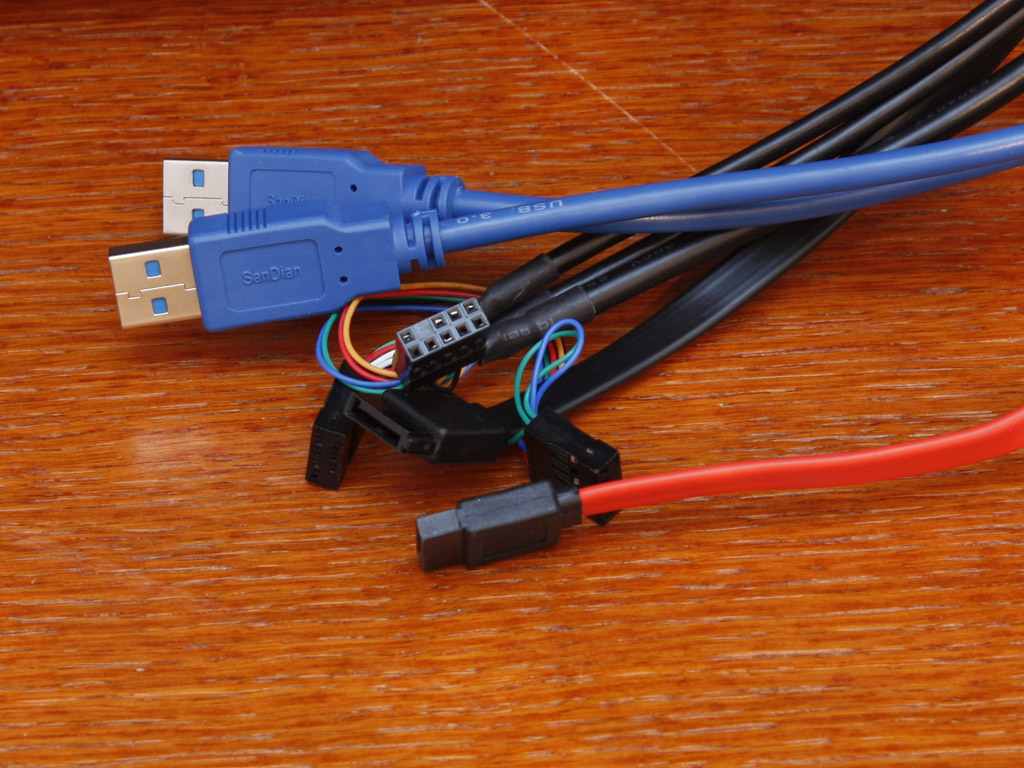
Before I dive into the assembly aspect, let us take a quick look at the cables. These are nothing out of the ordinary. A separate Molex connector powers the SATA hot-swap bay while the USB 3.0 cables are simple extensions which are intended to be routed through the back of the chassis to the mainboard. I would have liked to see an adapter to connect these to a tradtional USB 2.0 header as well.
May 3rd, 2025 20:13 EDT
change timezone
Latest GPU Drivers
New Forum Posts
- [TechSpot] Kuwait declares cryptocurrency mining illegal amid power crisis crackdown (3)
- Postulation: Is anyone else concerned with the proliferation of AI? (309)
- Random Colored Dots or Flickering Light Pixels in Some Games – GPU Fault or Just a Visual Bug? (7)
- Request for advice [Big Build] (39)
- 7900XT - Lower my GPU too constatly be running 500-600rpm (23)
- Question about CPU APM. (7)
- Do you use Linux? (611)
- Old NVIDIA GPU with torn branding sticker - what’s the brand? (2)
- AAF Optimus Modded Driver For Windows 10 & Windows 11 - Only for Realtek HDAUDIO Chips (467)
- Are the 8 GB cards worth it? (770)
Popular Reviews
- Clair Obscur: Expedition 33 Performance Benchmark Review - 33 GPUs Tested
- ASUS Radeon RX 9070 XT TUF OC Review
- ASUS ROG Maximus Z890 Hero Review
- Montech HS02 PRO Review
- NVIDIA GeForce RTX 5060 Ti 8 GB Review - So Many Compromises
- ASUS GeForce RTX 5090 Astral Liquid OC Review - The Most Expensive GPU I've Ever Tested
- Seasonic Vertex GX 850 W Review
- Upcoming Hardware Launches 2025 (Updated Apr 2025)
- ASRock Radeon RX 9070 XT Taichi OC Review - Excellent Cooling
- Team Group GC Pro 2 TB Review
Controversial News Posts
- NVIDIA GeForce RTX 5060 Ti 16 GB SKU Likely Launching at $499, According to Supply Chain Leak (182)
- AMD Radeon RX 9060 XT to Roll Out 8 GB GDDR6 Edition, Despite Rumors (129)
- NVIDIA Sends MSRP Numbers to Partners: GeForce RTX 5060 Ti 8 GB at $379, RTX 5060 Ti 16 GB at $429 (128)
- NVIDIA Launches GeForce RTX 5060 Series, Beginning with RTX 5060 Ti This Week (115)
- Nintendo Confirms That Switch 2 Joy-Cons Will Not Utilize Hall Effect Stick Technology (105)
- NVIDIA PhysX and Flow Made Fully Open-Source (95)
- Sony Increases the PS5 Pricing in EMEA and ANZ by Around 25 Percent (84)
- Parts of NVIDIA GeForce RTX 50 Series GPU PCB Reach Over 100°C: Report (78)