 5
5
Xigmatek Gigas Review
Assembly & Finished Looks »A Closer Look - Inside
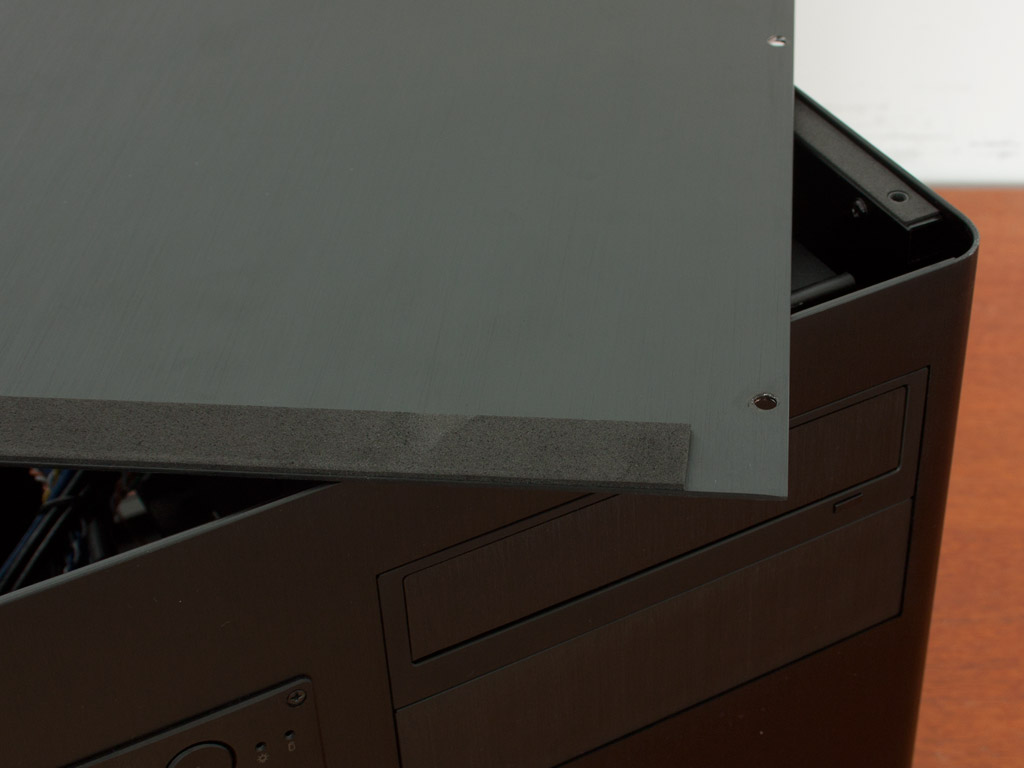
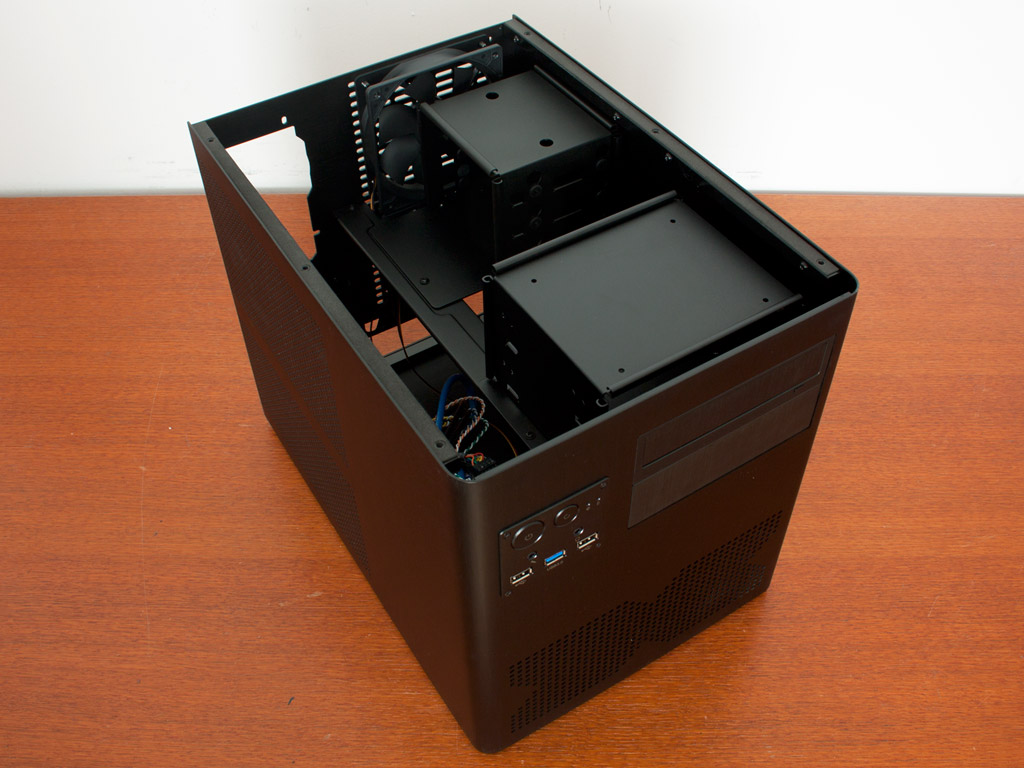
The top panel is held in place by six fairly large screws. These look a bit out of place and I think the use of a bit more elegant variants would have been wise. Xigmatek has lined the underside of the panel with foam, so that it does not end up vibrating. Most of the drive bays are located in the top half, which means that you will need to remove these to gain access to the mainboard area.
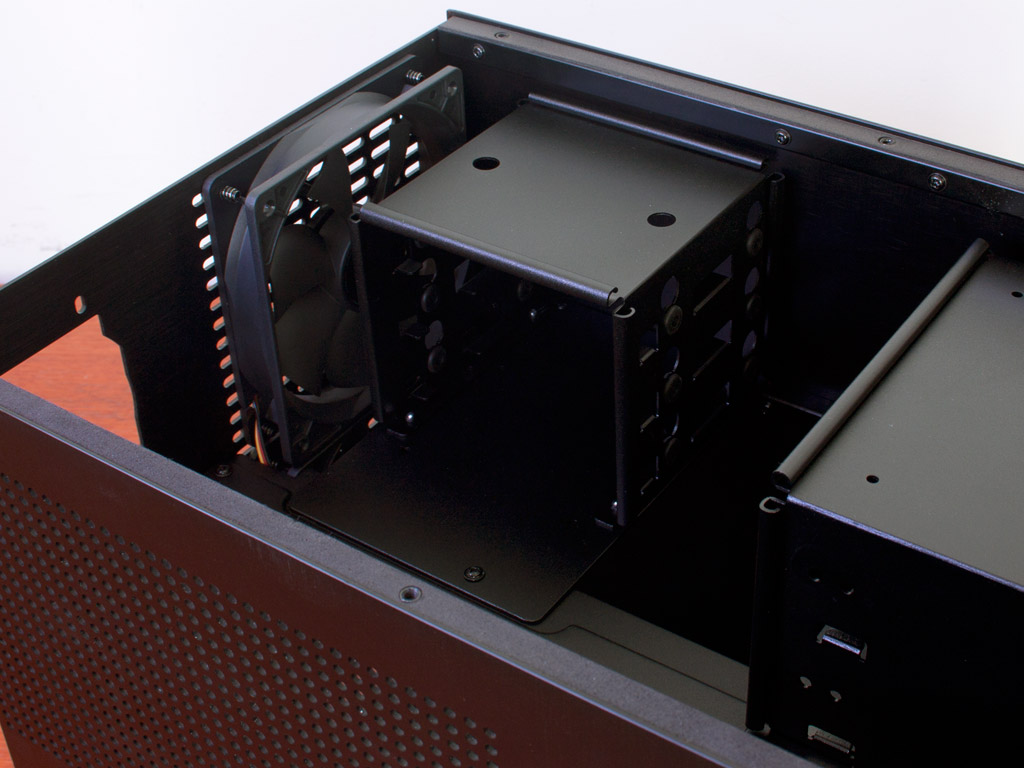
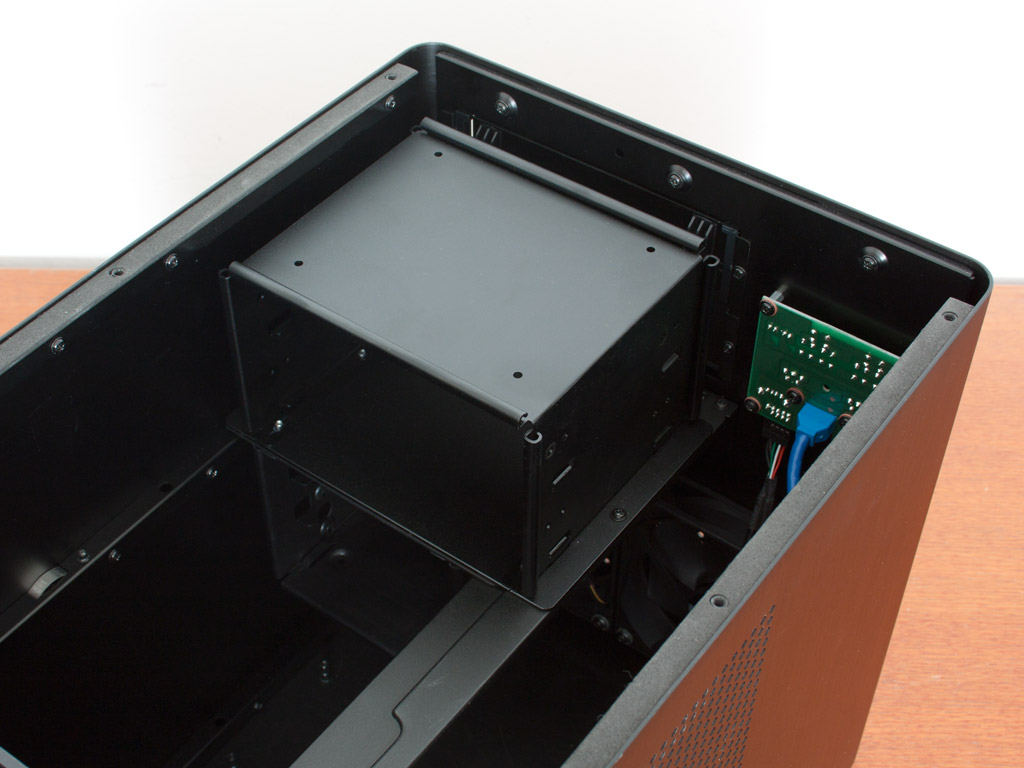
In the rear you will find the first of two hard drive cages. It can hold three 3.5 inch drives and utilizes rubber rings as an anti-vibration measure. You may install a 2.5 inch drive on the underside of this cage. In the front there are the two 5.25 inch drives. You will have to remove both to install drives in them. Below this larger cage is the second HDD variant for an additional three drives. This one may also hold a 2.5 inch drive.

Taking everything apart is actually quite easy. Xigmatek has made sure to employ as few screws as possible. A total of four screws is all that holds these parts in place securely.
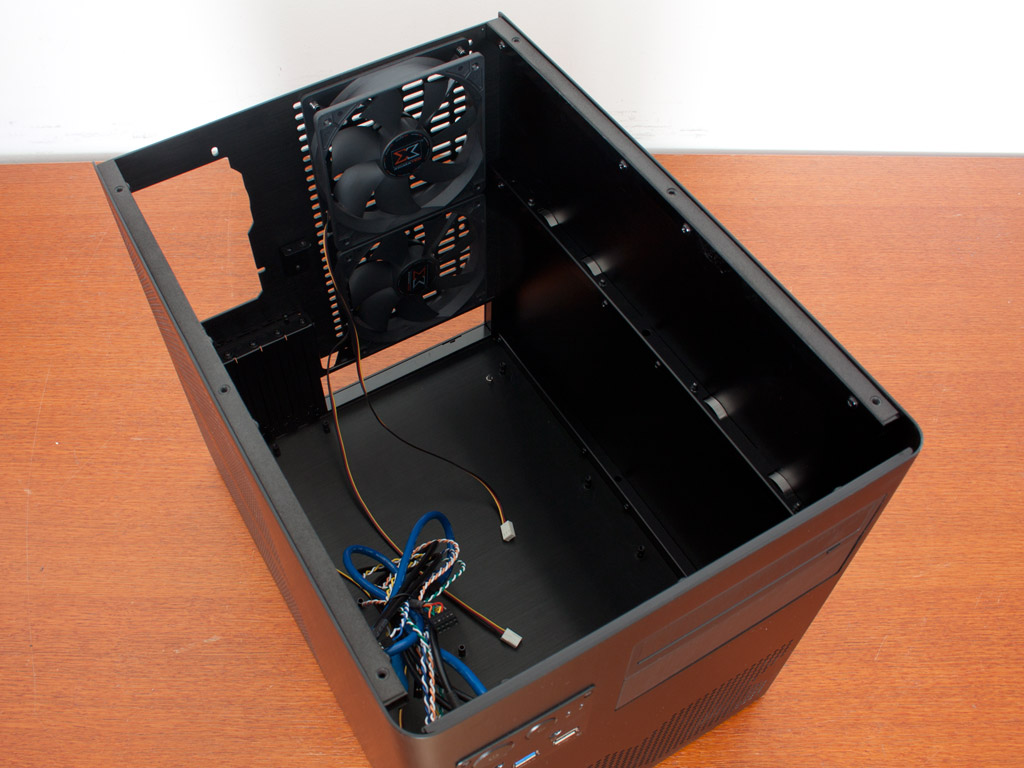
Once everything is apart, you may easily install a mATX board. Overall, the Gigas actually features a simple but effective interior layout.
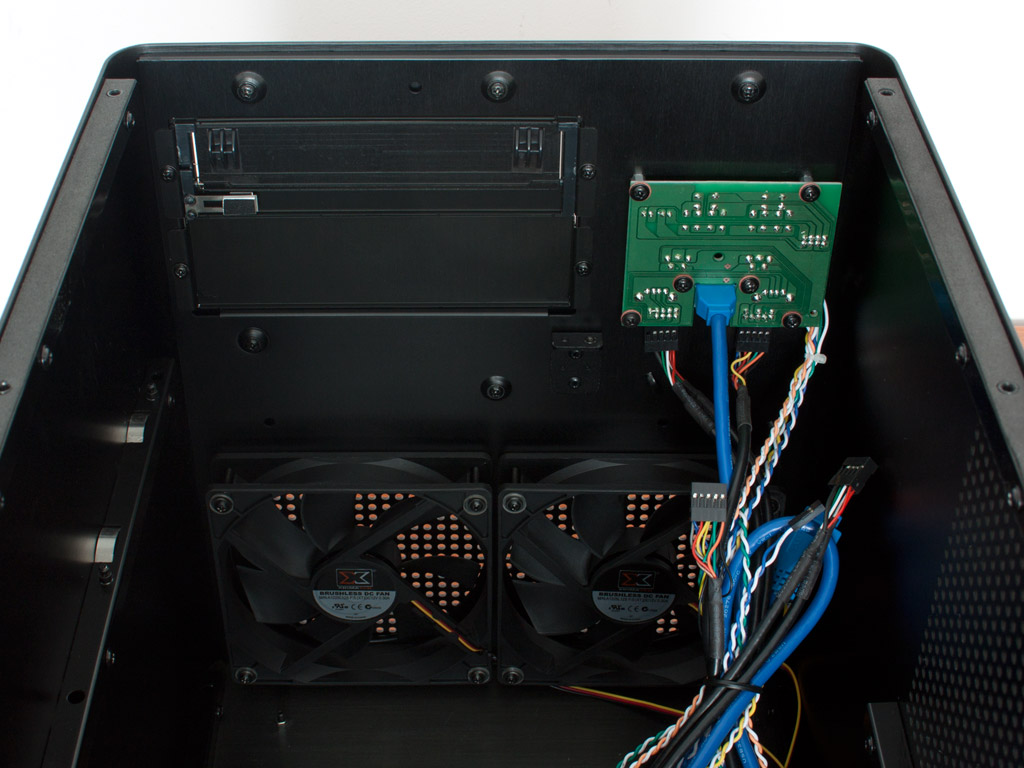
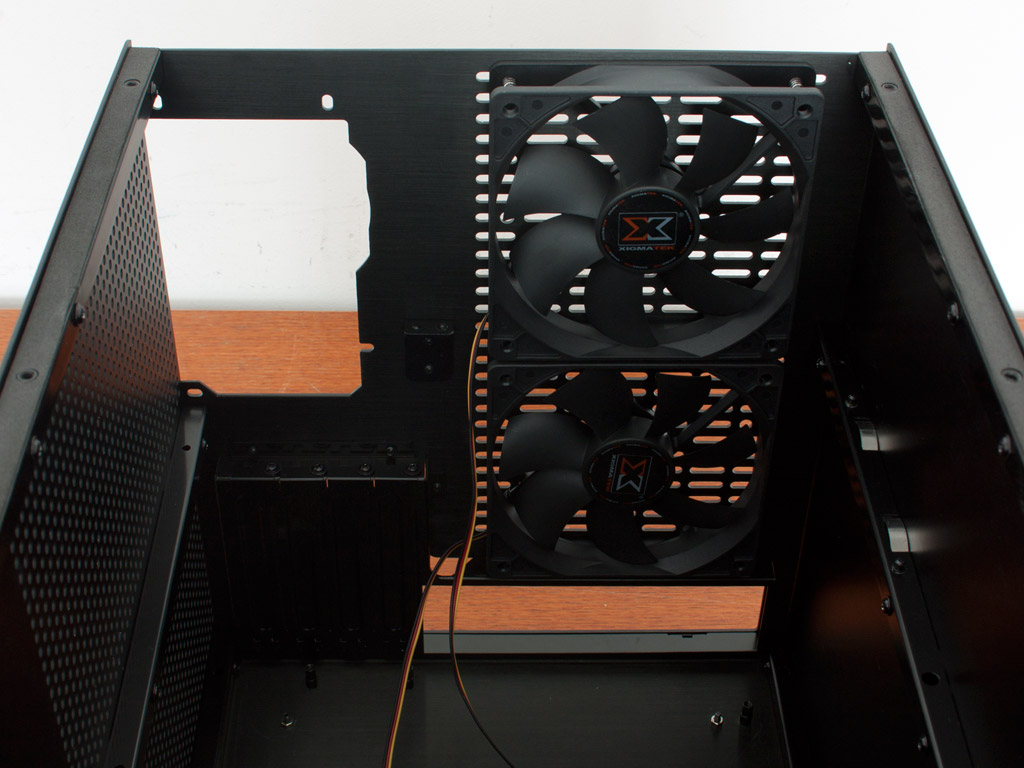
In the front are two 120 fans with 3 pin connectors. Unfortunately enough, there is no dust filter here, so these will suck in all the dirt from the front. The same type of fans can be found in the rear of the chassis, bringing the total to a whooping four. The two in the back push hot air out the back of the chassis.
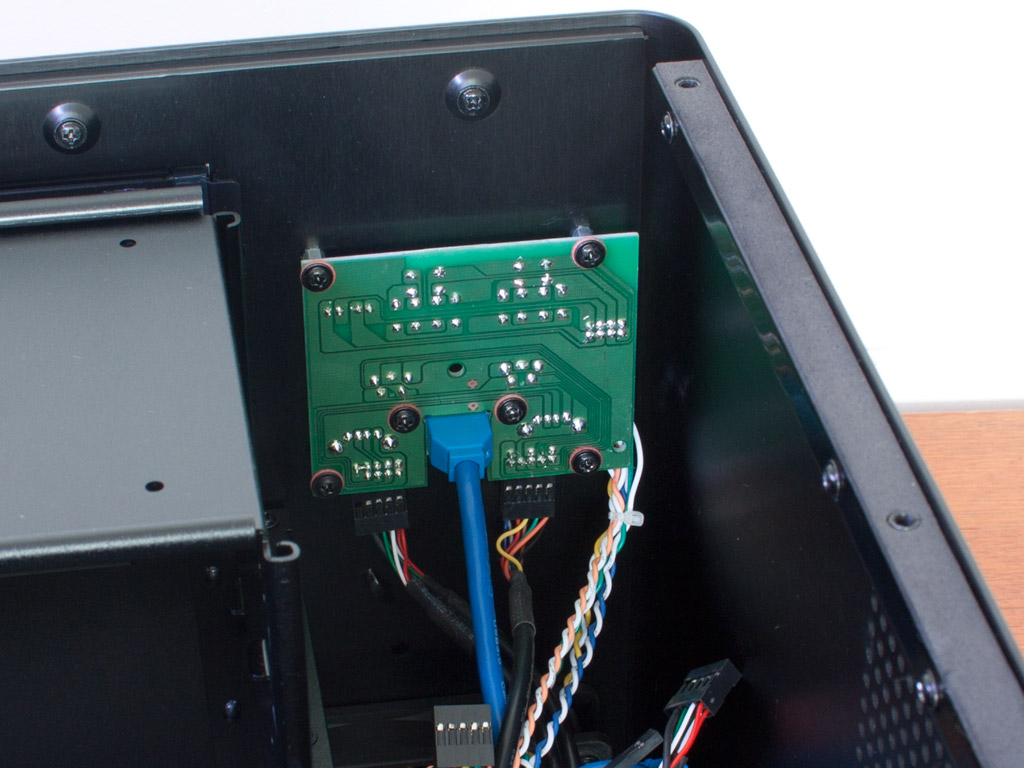
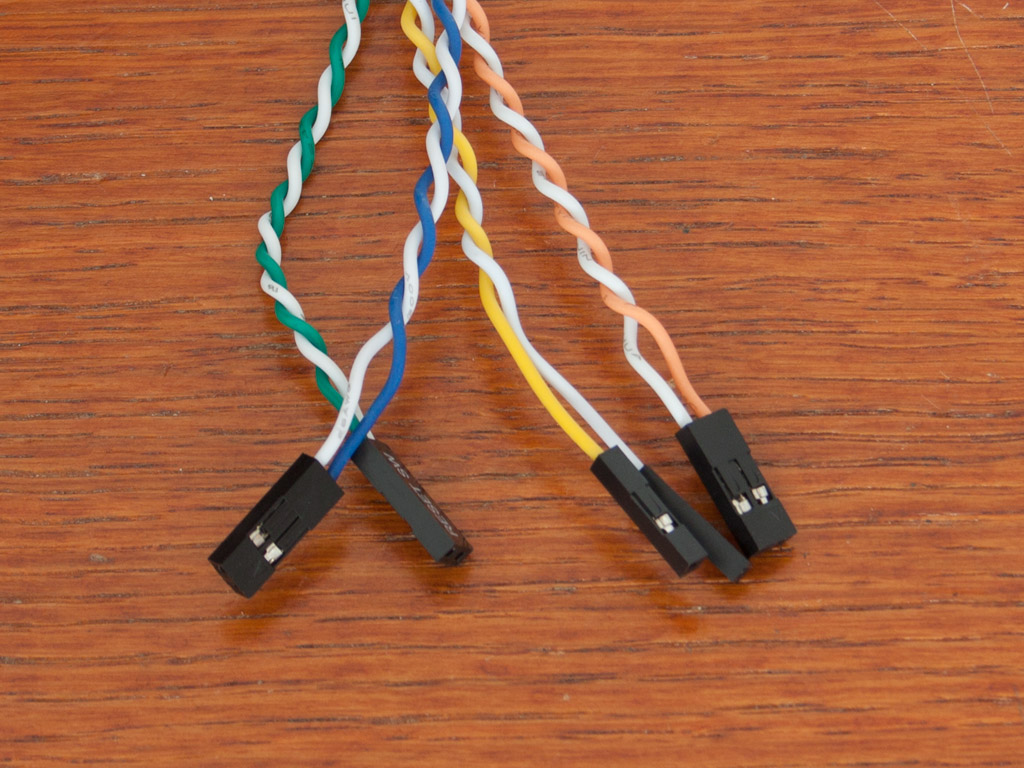
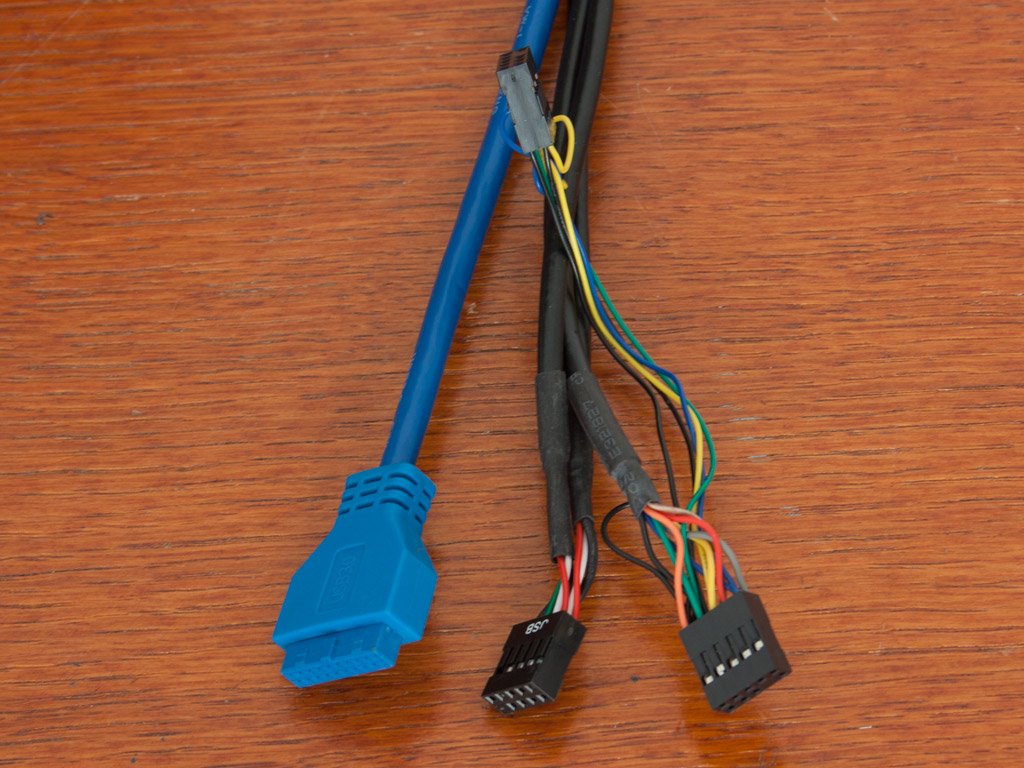
A PCB holds all the I/O and both the power and reset buttons. All the cables coming from these are of various colors. it would have been a nice touch to see all black and sleeved versions. Xigmatek has kept things standard in terms of connectors as well.
May 4th, 2025 18:43 EDT
change timezone
Latest GPU Drivers
New Forum Posts
- Are the 8 GB cards worth it? (834)
- RX 9000 series GPU Owners Club (633)
- Vertical mice in gaming (11)
- The TPU UK Clubhouse (26194)
- Request for advice [Big Build] (49)
- The TPU Darkroom - Digital SLR and Photography Club (4084)
- Have you got pie today? (16695)
- Technical Issues - TPU Main Site & Forum (2025) (171)
- Ai Crystal (4)
- Half Life 3 soon ? (8)
Popular Reviews
- Clair Obscur: Expedition 33 Performance Benchmark Review - 33 GPUs Tested
- ASUS ROG Maximus Z890 Hero Review
- ASUS Radeon RX 9070 XT TUF OC Review
- Montech HS02 PRO Review
- NVIDIA GeForce RTX 5060 Ti 8 GB Review - So Many Compromises
- ASUS GeForce RTX 5090 Astral Liquid OC Review - The Most Expensive GPU I've Ever Tested
- Seasonic Vertex GX 850 W Review
- Upcoming Hardware Launches 2025 (Updated Apr 2025)
- ASRock Radeon RX 9070 XT Taichi OC Review - Excellent Cooling
- Sapphire Radeon RX 9070 XT Nitro+ Review - Beating NVIDIA
Controversial News Posts
- AMD Radeon RX 9060 XT to Roll Out 8 GB GDDR6 Edition, Despite Rumors (129)
- NVIDIA Sends MSRP Numbers to Partners: GeForce RTX 5060 Ti 8 GB at $379, RTX 5060 Ti 16 GB at $429 (128)
- NVIDIA Launches GeForce RTX 5060 Series, Beginning with RTX 5060 Ti This Week (115)
- Nintendo Confirms That Switch 2 Joy-Cons Will Not Utilize Hall Effect Stick Technology (105)
- NVIDIA PhysX and Flow Made Fully Open-Source (95)
- Sony Increases the PS5 Pricing in EMEA and ANZ by Around 25 Percent (84)
- Parts of NVIDIA GeForce RTX 50 Series GPU PCB Reach Over 100°C: Report (78)
- Intel "Bartlett Lake-S" Gaming CPU is Possible, More Hints Appear for a 12 P-Core SKU (77)