 6
6
XPG Cruiser Review
Thermal Stress Test »Review System
| System Parts for Case Reviews | |
|---|---|
| Processor: | ATX: Intel Core i5-11600K mATX/ITX: Intel Core i5-10600K Provided by: Intel |
| Motherboards: | ATX: Gigabyte Z590 AORUS PRO AX ITX: Gigabyte Z590I Vision D Provided by: Gigabyte mATX: ASRock B560M Steel Legend Provided by: ASRock |
| Graphics Card: | Palit GeForce RTX 2080 Gaming Pro OC Provided by: Palit ZOTAC GAMING GeForce RTX 3060 Ti Twin Edge OC Provided by: Zotac |
| Memory: | 16 GB XPG SPECTRIX D50 3200 MHz 16 GB XPG SPECTRIX D60G DDR4 3000 MHz 16 GB XPG GAMMIX D20 DDR4 3200 MHz Provided by: ADATA |
| HDD: | Toshiba MG08ADA400E 7200 RPM SATA III Provided by: Toshiba |
| SSD: | ATX:XPG SPECTRIX S20G 500 GB mATX: XPG GAMMIX S50 Lite 1 TB ITX: ADATA Falcon 512 GB ADATA Ultimate SU800 512 GB ADATA Ultimate SU720 500 GB Provided by: ADATA |
| Power Supply: | ATX: Fractal Design ION+ 650W 80 Plus Gold SFX: Fractal Design ION SFX-L 650W 80 Plus Gold Provided by: Fractal Design |
| Cooling: | be quiet! Pure Loop 120/240/280/360 Provided by: be quiet! |
Assembly


Installing the motherboard inside the XPG Cruiser utilizes classic stand-offs and screws. The grommets for ATX boards are not right next to the board's edge, so slightly chubbier motherboards won't cover them, either. As you can see, the bottom edge rests right against the shroud, and there is plenty of room above the top of the Gigabyte Z590. Installing the GPU is as traditional of an experience as it will get, using a screwdriver and screws to hold it in place. In general, you should have no issues with potent pixel pushers, as the Cruiser is quite deep and thus offers plenty of leg room for such units.


Installing an SSD can be done outside of the case by detaching the mounting plate and screwing down the storage unit with provided screws. Once filled, simply put it back where you found it and pin it down with the white thumb screw.
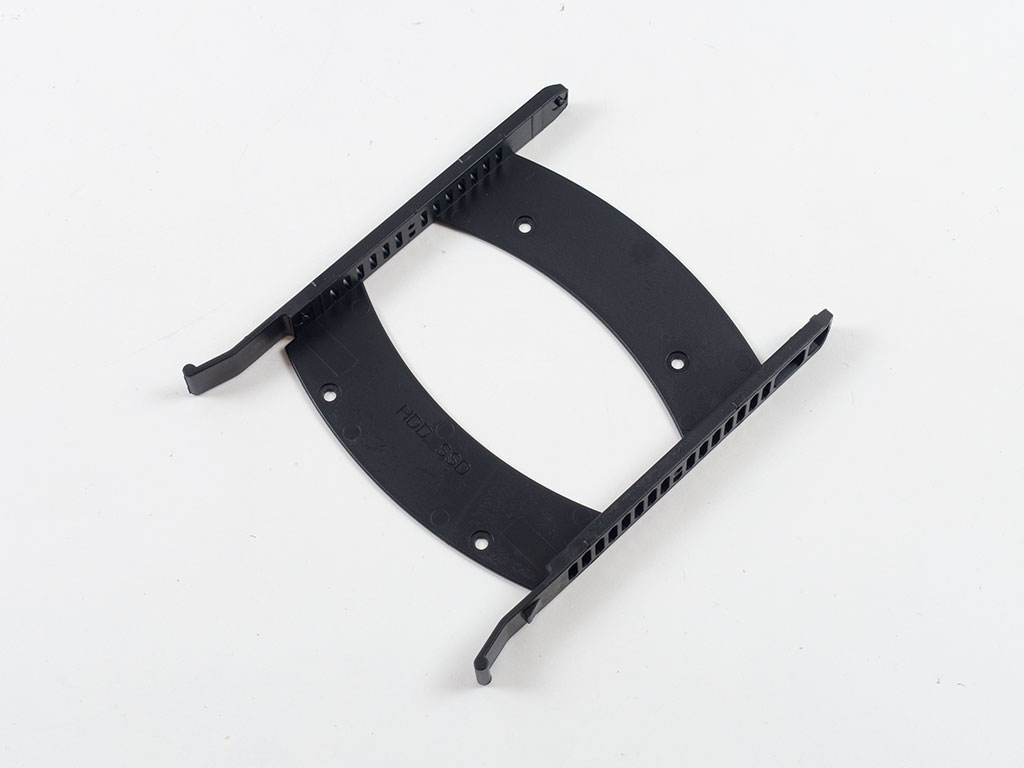
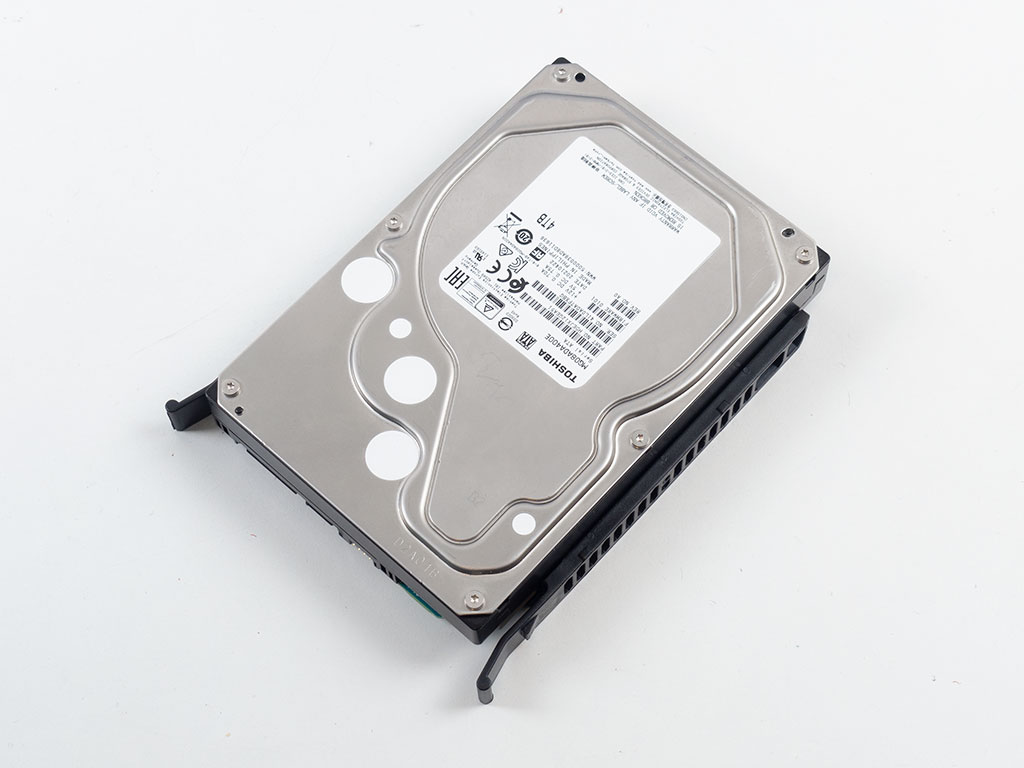

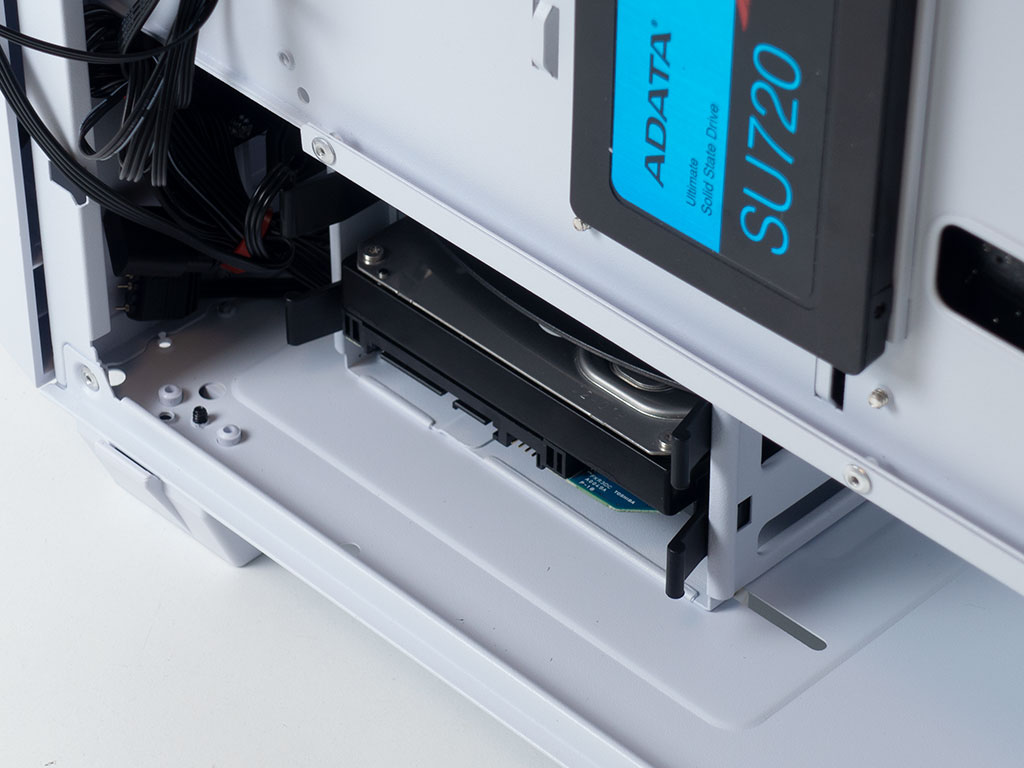
The trays employed in the XPG Cruiser are shaped in a way that minimizes the need for plastic while still working well. For 3.5" drives, assembly is tool-less, as you just clip the drive into place and slide the whole contraption back into the bay. If you do opt for 2.5" storage here, you will have to use screws to secure the drive to the plastic tray.
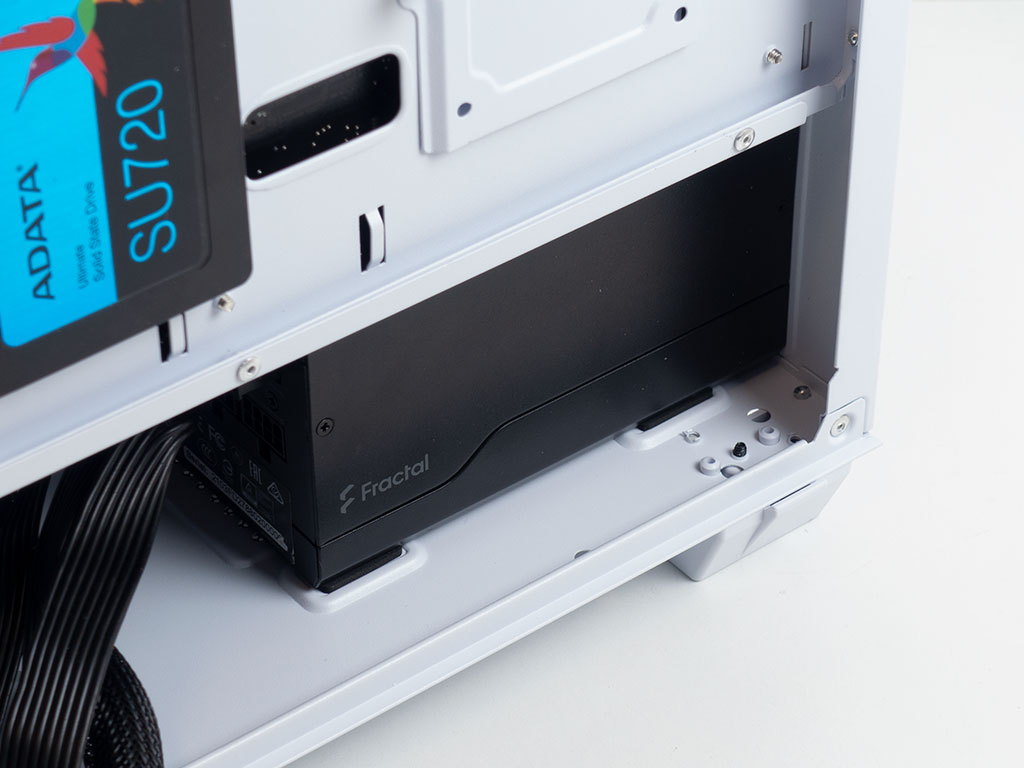
Adding a power supply means sliding it in underneath the shroud and screwing it down at the rear of the case. There is plenty of wiggle room, so even pre-routed cables to the motherboard won't get in the way. The XPG Cruiser has plenty of room for mainstream and slightly longer units, so all but the longest ones should be fine—no need to move the HDD cage over.
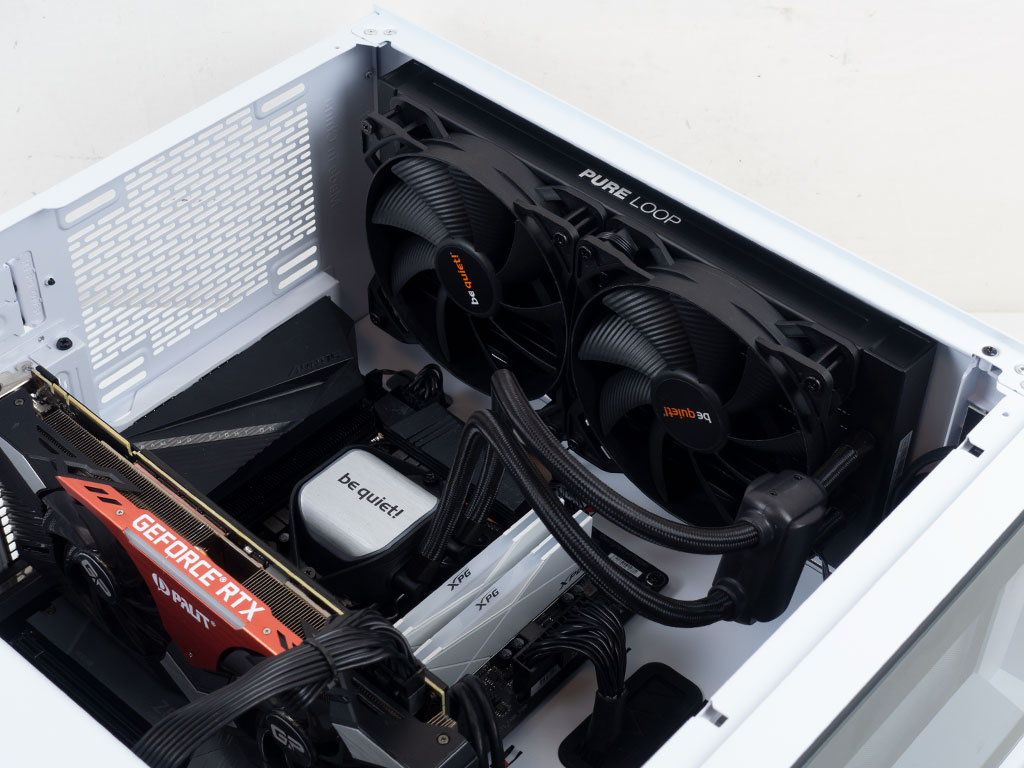
As the XPG Cruiser has fans in the front, we installed the 280 mm AIO into the ceiling of the case. As you can see, even with this variant here, there is still plenty of breathing room all around to get to cables, route them, and not have to worry about board components or memory getting in the way.
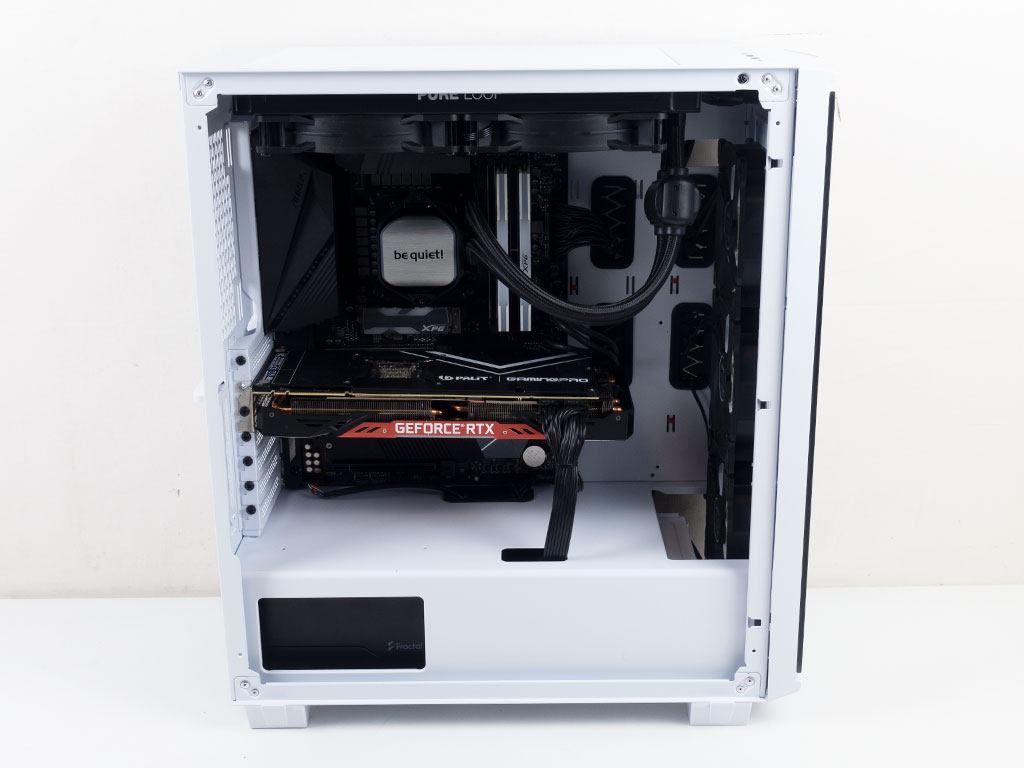
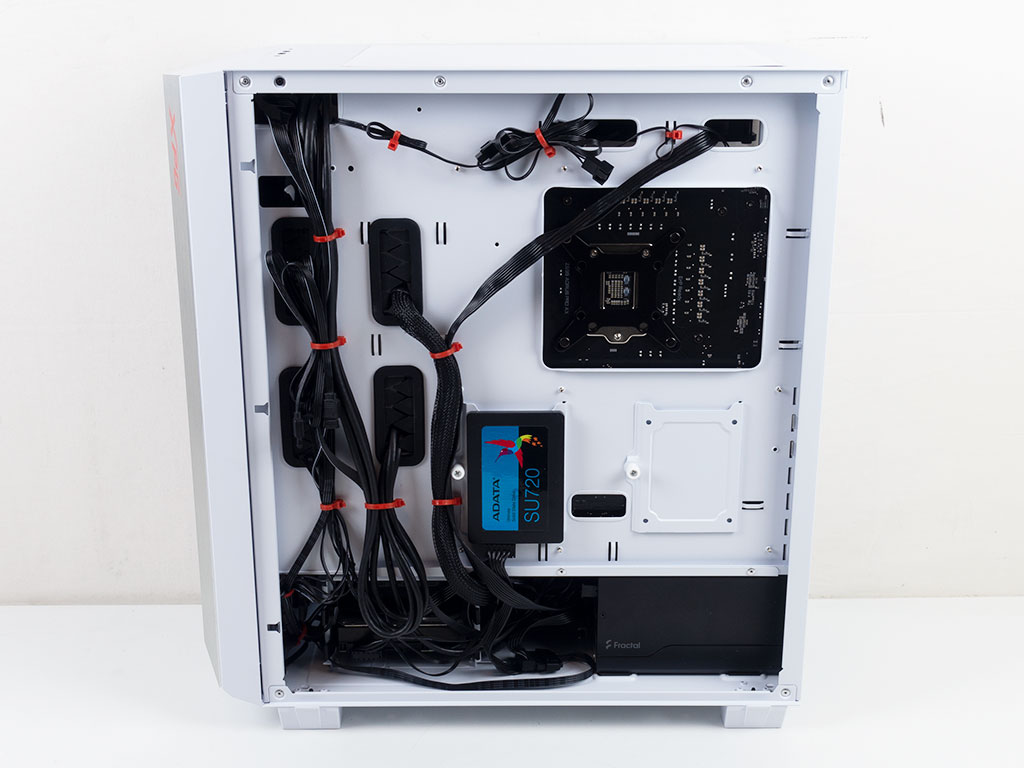
The interior of the finished product looks nice and clean because of the grommets and well-placed openings. On the backside, the cables are managed and held in place nicely with plenty of hooks, but we did have to spend some time minimizing the cable mess from the ARGB fans and fan controller, and finding a good way of hiding the excess.
Finished Looks
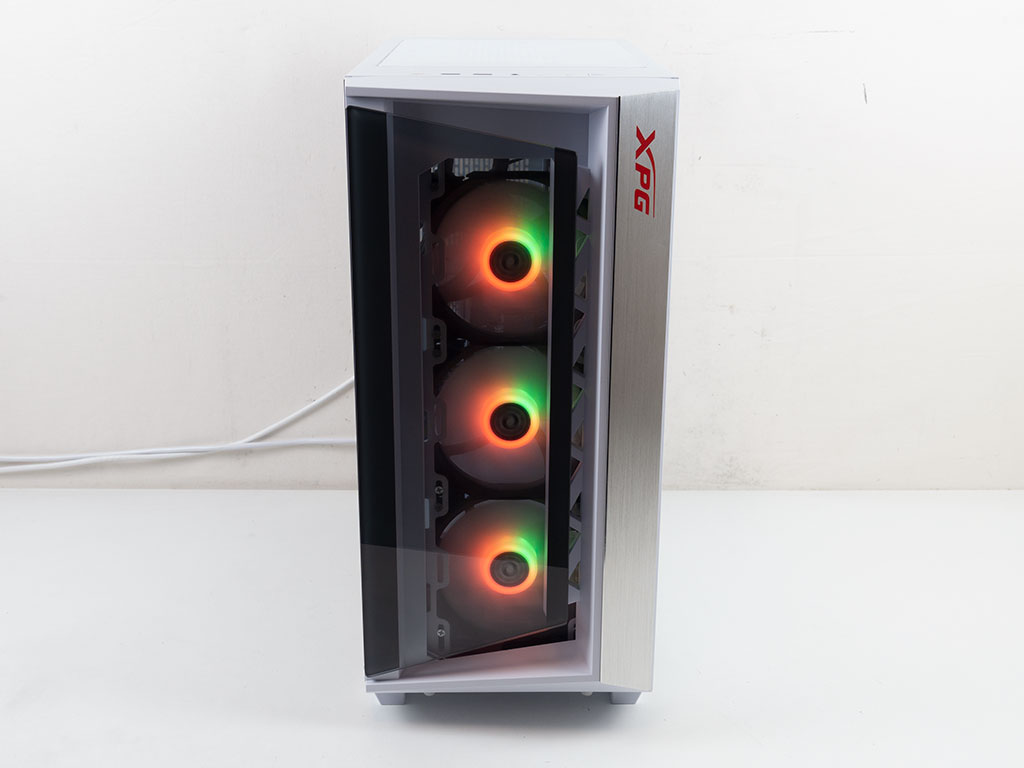
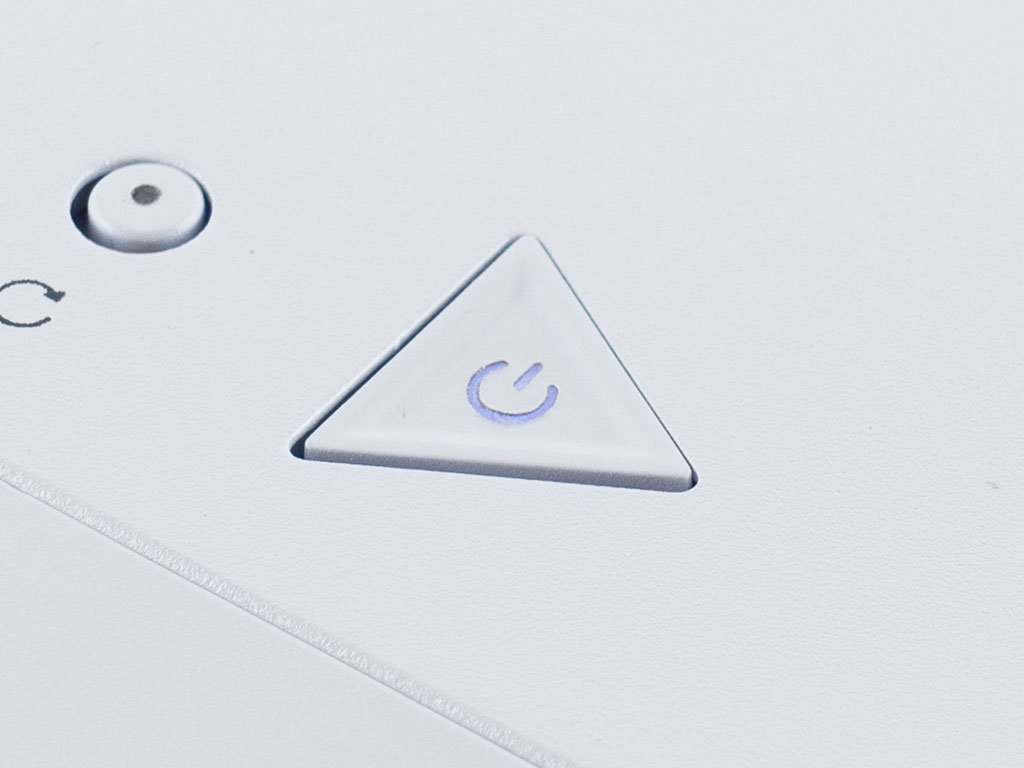
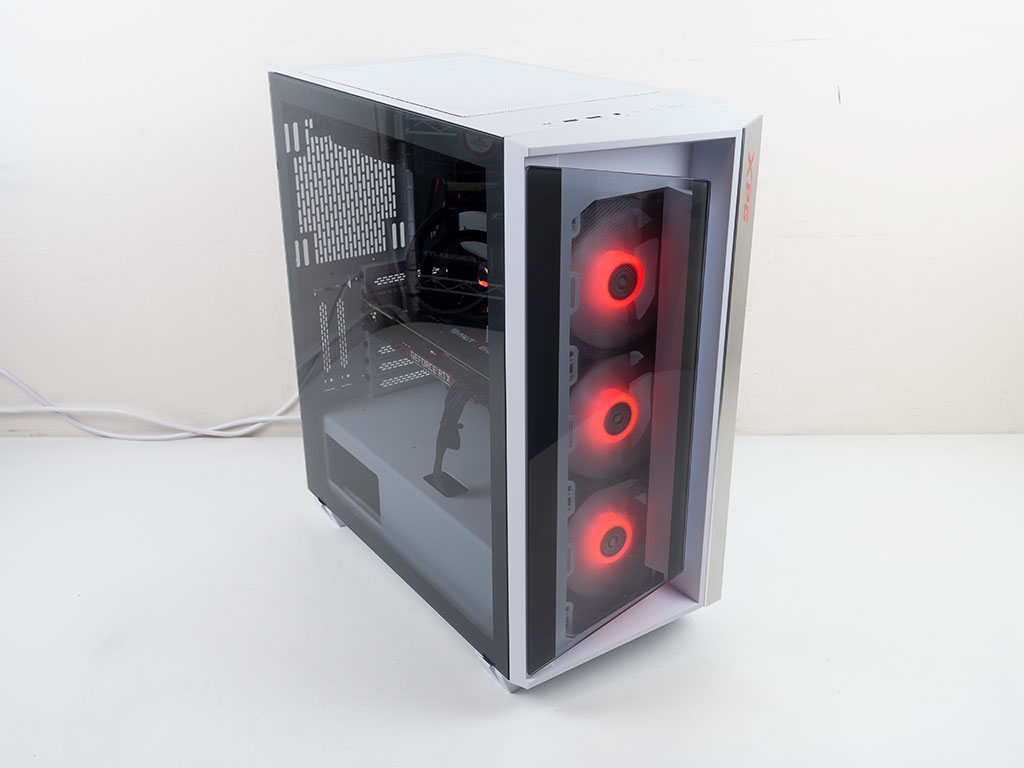
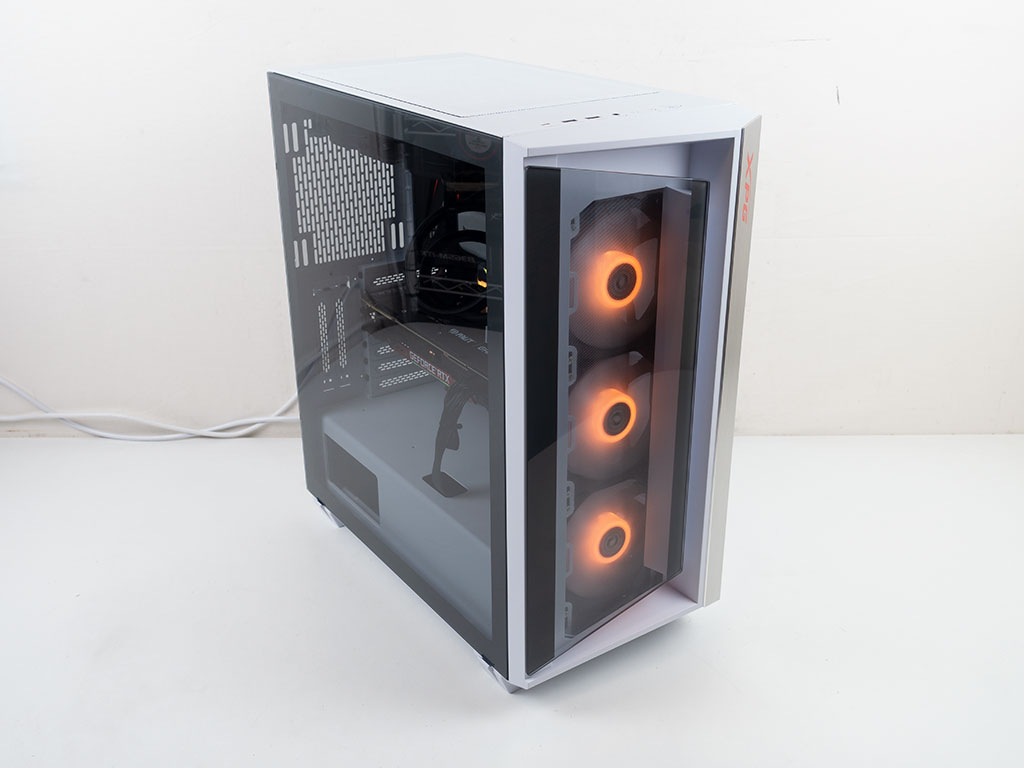
Powering the system on, you can clearly see the three fans spin up and turn on. There are plenty of animations to run through with the onboard controller, but oddly enough, a static rainbow setting isn't included. Thus, the picture above is of another multi-colored effect in action. The power button lights up with a white LED to let you know the system is powered on.
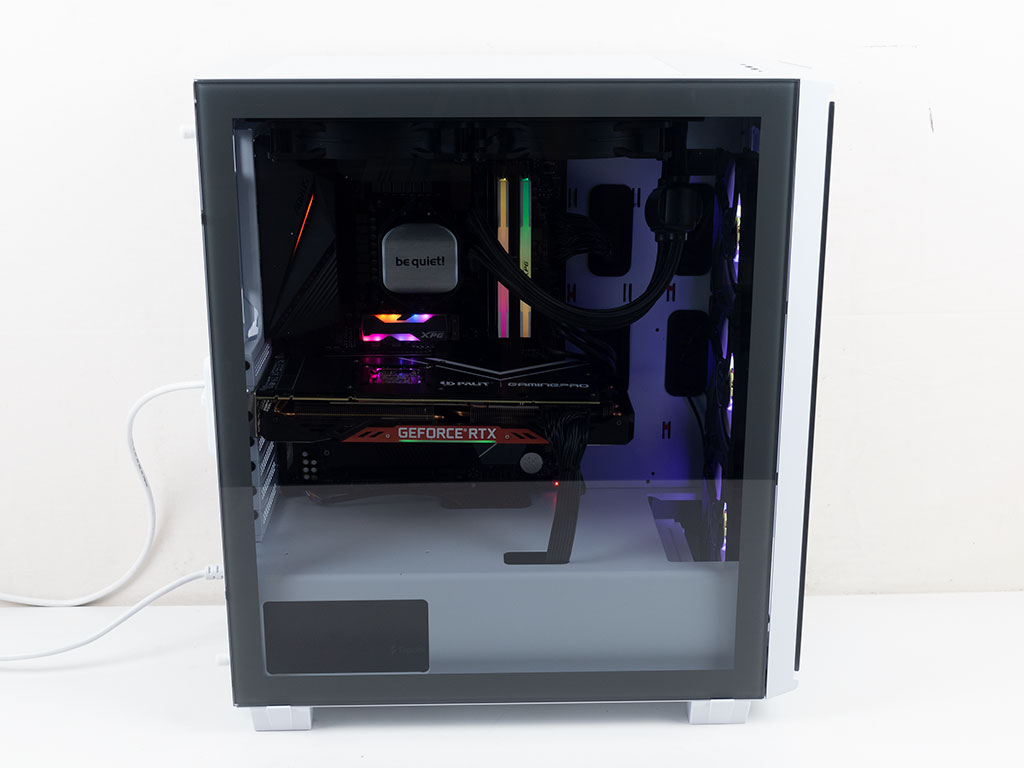
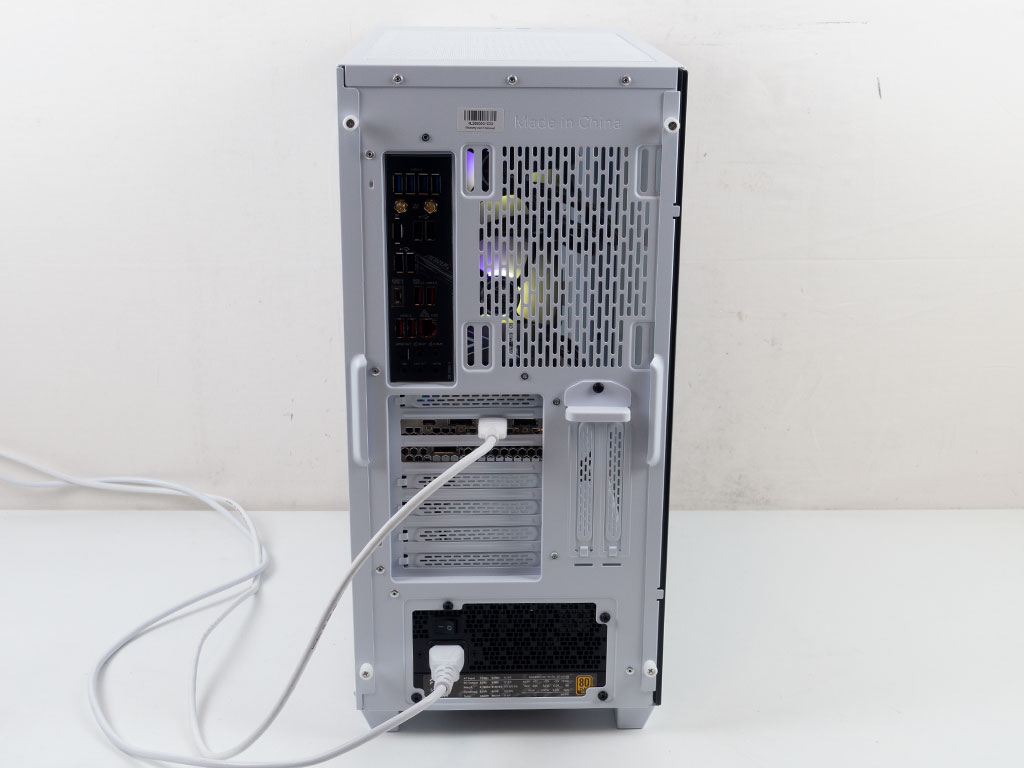
Thanks to the mostly clear glass side panel, and helped by the white interior of this version of the XPG Cruiser, you can see all the hardware components nicely. In the rear, everything is exactly where you would expect it from a tower chassis, and the illumination from the front fans is visible through the bare rear fan grille.
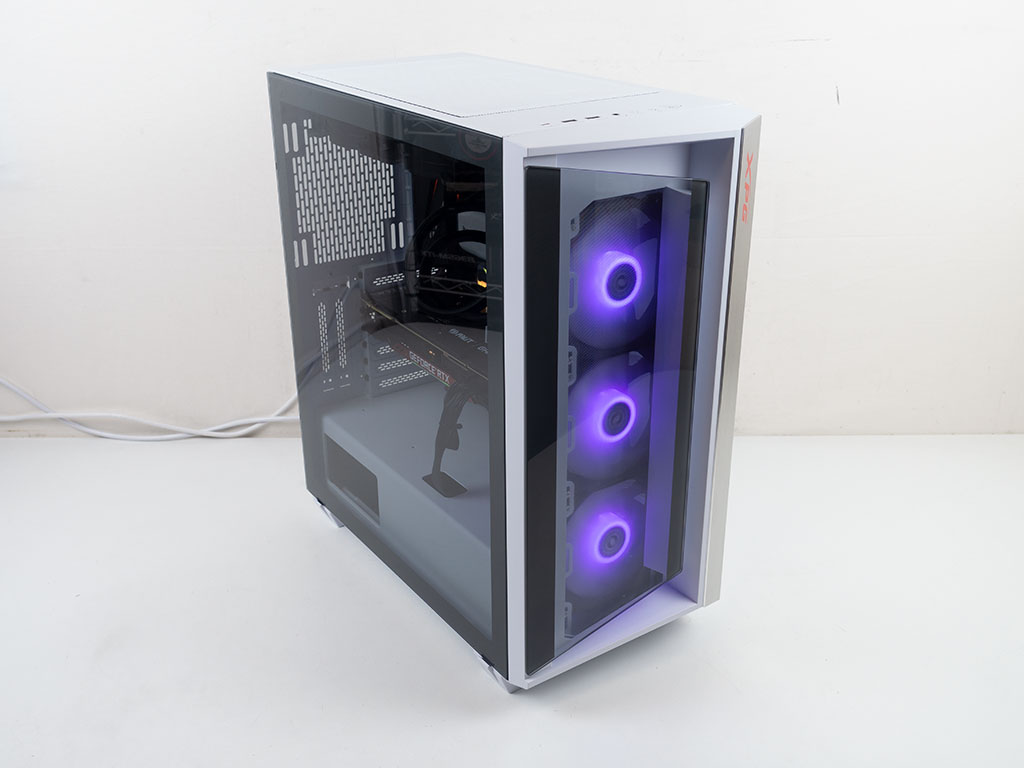
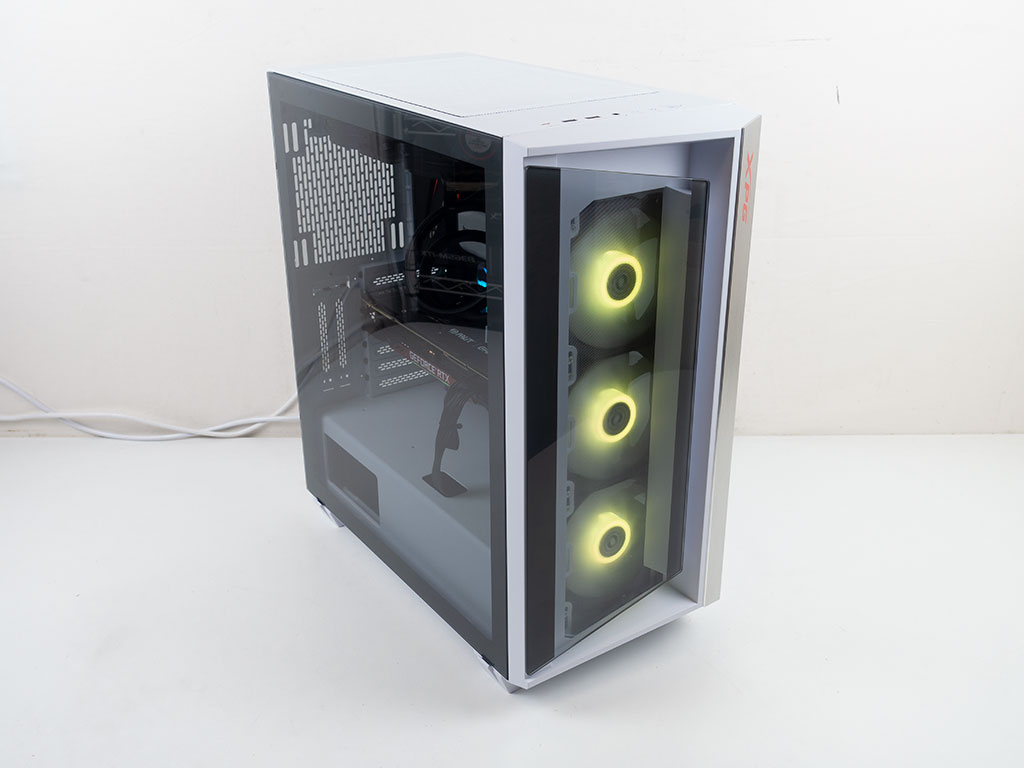
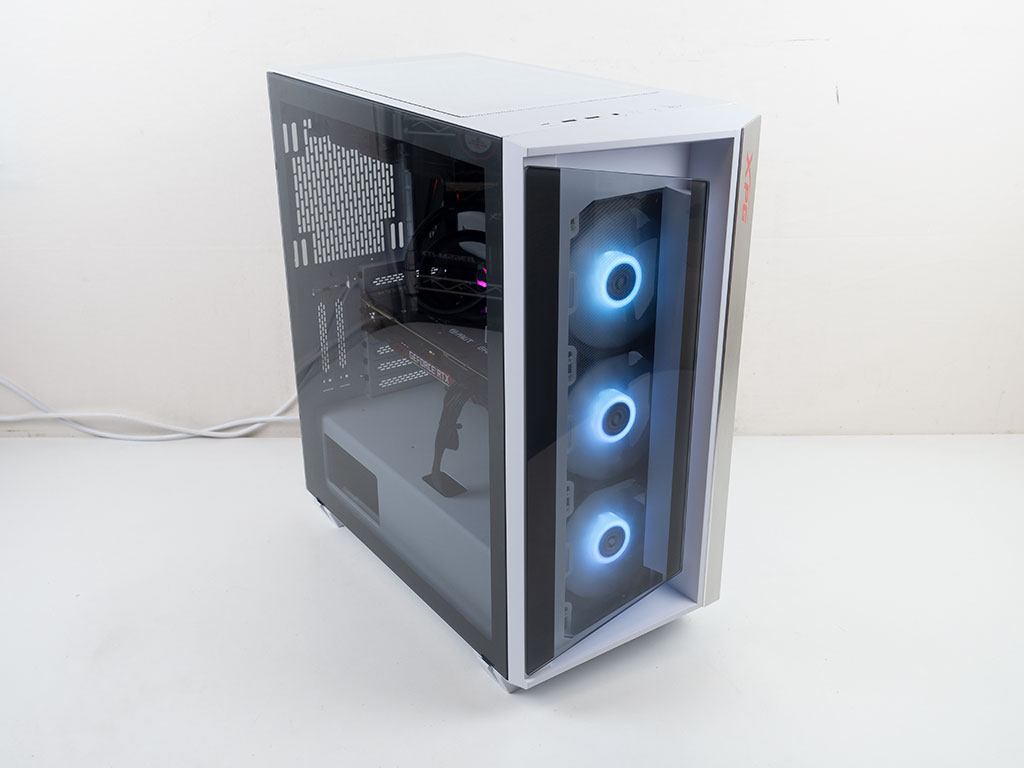
As the XPG Cruiser has a built-in ARGB controller, you may cycle through a set of multi and single-color animations or pick one of the following, solid colors shown below.


Mar 10th, 2025 19:26 EDT
change timezone
Latest GPU Drivers
New Forum Posts
- Nvidia's GPU market share hits 90% in Q4 2024 (gets closer to full monopoly) (775)
- I'm looking for a good tool to make the 3D scanning of my mini-pc using the photogrammetry and my Kinect 2. (54)
- Post Your TIMESPY, PCMARK10 & FIRESTRIKE SCORES! (2019) (271)
- AMD RX 7000 series GPU Owners' Club (1307)
- I need a BIOS for the "Rx580 8gb" chip 215-0876406 (6)
- Biostar RX 6700 XT OC BIOS (7)
- What's your latest tech purchase? (23278)
- Wherein lies the difference (2)
- USB hard disk box capacity limits (14)
- RX 9000 series GPU Owners Club (41)
Popular Reviews
- Sapphire Radeon RX 9070 XT Nitro+ Review - Beating NVIDIA
- XFX Radeon RX 9070 XT Mercury OC Magnetic Air Review
- ASUS Radeon RX 9070 TUF OC Review
- MSI MAG B850 Tomahawk Max Wi-Fi Review
- NVIDIA GeForce RTX 5080 Founders Edition Review
- NVIDIA GeForce RTX 5070 Founders Edition Review
- Corsair Vengeance RGB CUDIMM DDR5-8800 48 GB CL42 Review
- AMD Ryzen 7 9800X3D Review - The Best Gaming Processor
- ASUS GeForce RTX 5070 Ti TUF OC Review
- MSI GeForce RTX 5070 Ti Gaming Trio OC+ Review
Controversial News Posts
- NVIDIA GeForce RTX 50 Cards Spotted with Missing ROPs, NVIDIA Confirms the Issue, Multiple Vendors Affected (513)
- AMD Plans Aggressive Price Competition with Radeon RX 9000 Series (277)
- AMD Radeon RX 9070 and 9070 XT Listed On Amazon - One Buyer Snags a Unit (261)
- AMD RDNA 4 and Radeon RX 9070 Series Unveiled: $549 & $599 (260)
- AMD Mentions Sub-$700 Pricing for Radeon RX 9070 GPU Series, Looks Like NV Minus $50 Again (248)
- NVIDIA Investigates GeForce RTX 50 Series "Blackwell" Black Screen and BSOD Issues (244)
- AMD Radeon RX 9070 and 9070 XT Official Performance Metrics Leaked, +42% 4K Performance Over Radeon RX 7900 GRE (195)
- AMD Radeon RX 9070-series Pricing Leaks Courtesy of MicroCenter (158)