 4
4
XPG Defender Review
Thermal Stress Test »Review System
| System Parts for Case Reviews | |
|---|---|
| Processor: | ATX: Intel Core i5-11600K mATX/ITX: Intel Core i5-10600K Provided by: Intel |
| Motherboards: | ATX: Gigabyte Z590 AORUS PRO AX ITX: Gigabyte Z590I Vision D Provided by: Gigabyte mATX: ASRock B560M Steel Legend Provided by: ASRock |
| Graphics Card: | Palit GeForce RTX 2080 Gaming Pro OC Provided by: Palit ZOTAC GAMING GeForce RTX 3060 Ti Twin Edge OC Provided by: Zotac |
| Memory: | 16 GB XPG SPECTRIX D50 3200 MHz 16 GB XPG SPECTRIX D60G DDR4 3000 MHz 16 GB XPG GAMMIX D20 DDR4 3200 MHz Provided by: ADATA |
| HDD: | Toshiba MG08ADA400E 7200 RPM SATA III Provided by: Toshiba |
| SSD: | ATX:XPG SPECTRIX S20G 500 GB mATX: XPG GAMMIX S50 Lite 1 TB ITX: ADATA Falcon 512 GB ADATA Ultimate SU800 512 GB ADATA Ultimate SU720 500 GB Provided by: ADATA |
| Power Supply: | ATX: Fractal Design ION+ 650W 80 Plus Gold SFX: Fractal Design ION SFX-L 650W 80 Plus Gold Provided by: Fractal Design |
| Cooling: | be quiet! Pure Loop 120/240/280/360 Provided by: be quiet! |
| Thermal Paste: | Arctic MX-5 Thermal Compound Provided by: Arctic |
Assembly
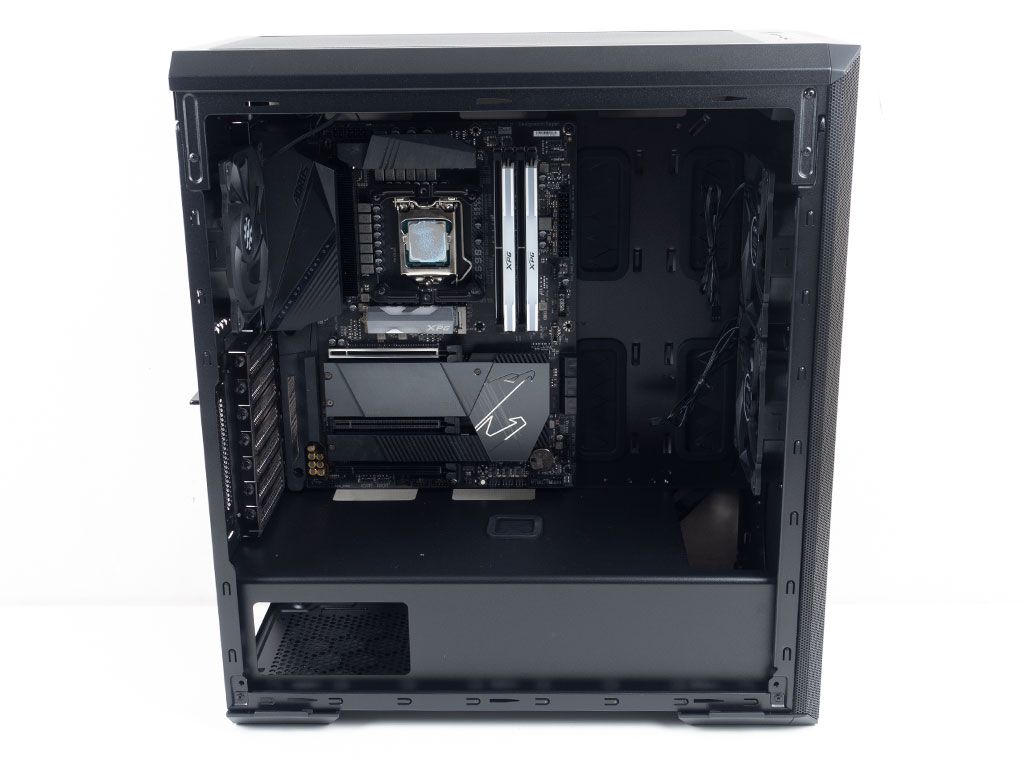
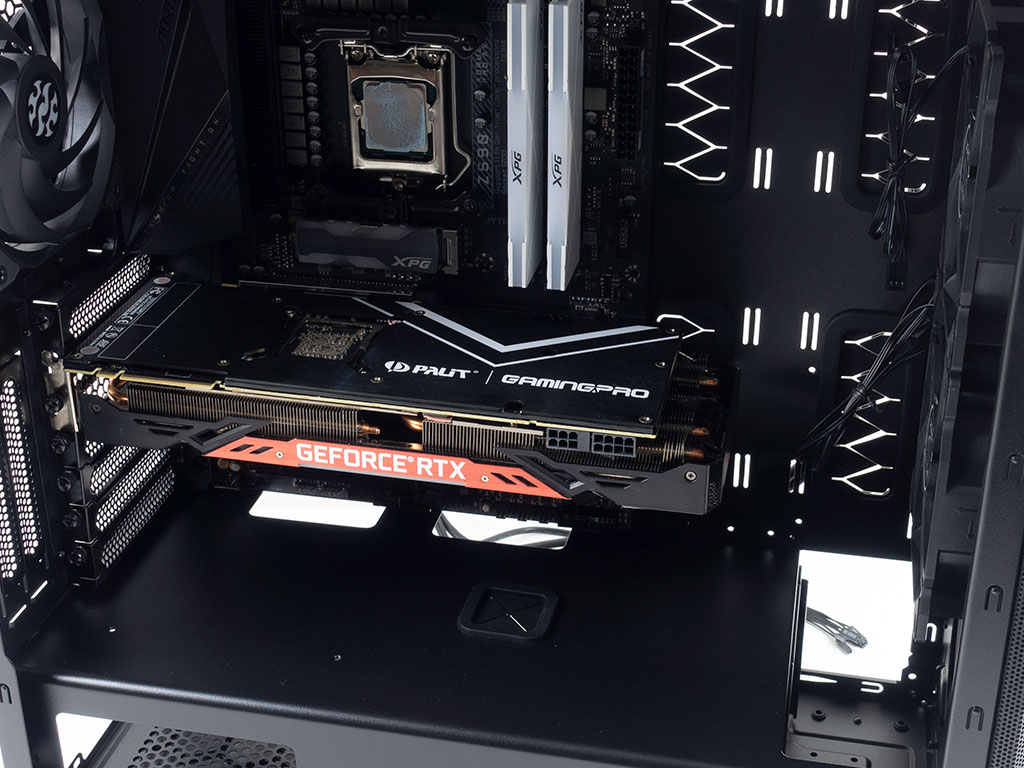
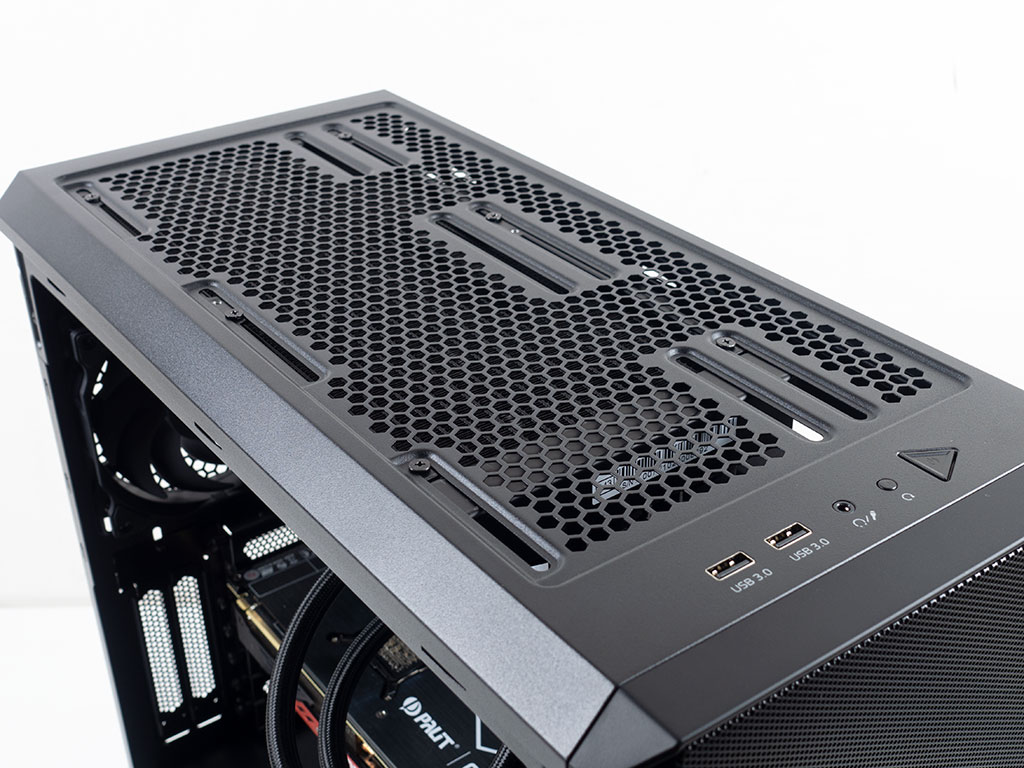
Installing a full-size ATX motherboard is done by traditional means, with spacers and screws. XPG ensured that there are plenty of openings, perfectly situated around it for easy cable-routing. There is loads of space for E-ATX boards, and the grommets towards the front will line up nicely as well. Long GPUs will easily fit, especially if you do not plan to put a radiator into the front of the XPG Defender. However, even with one, your maximum should be a solid 320–330 mm.
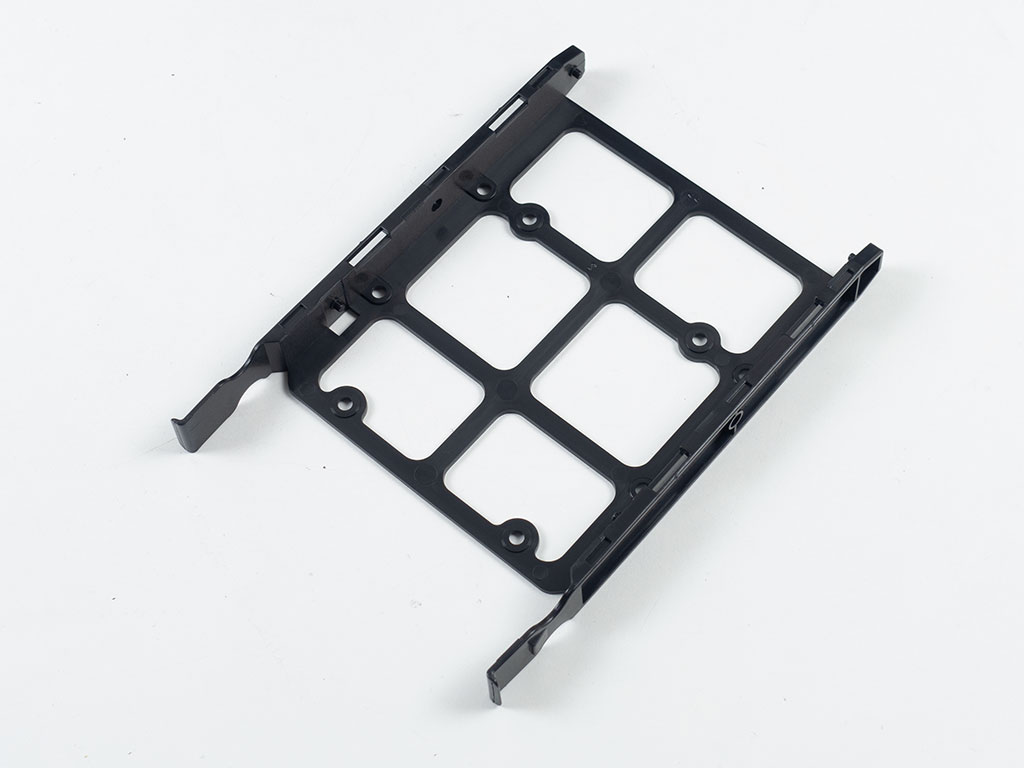

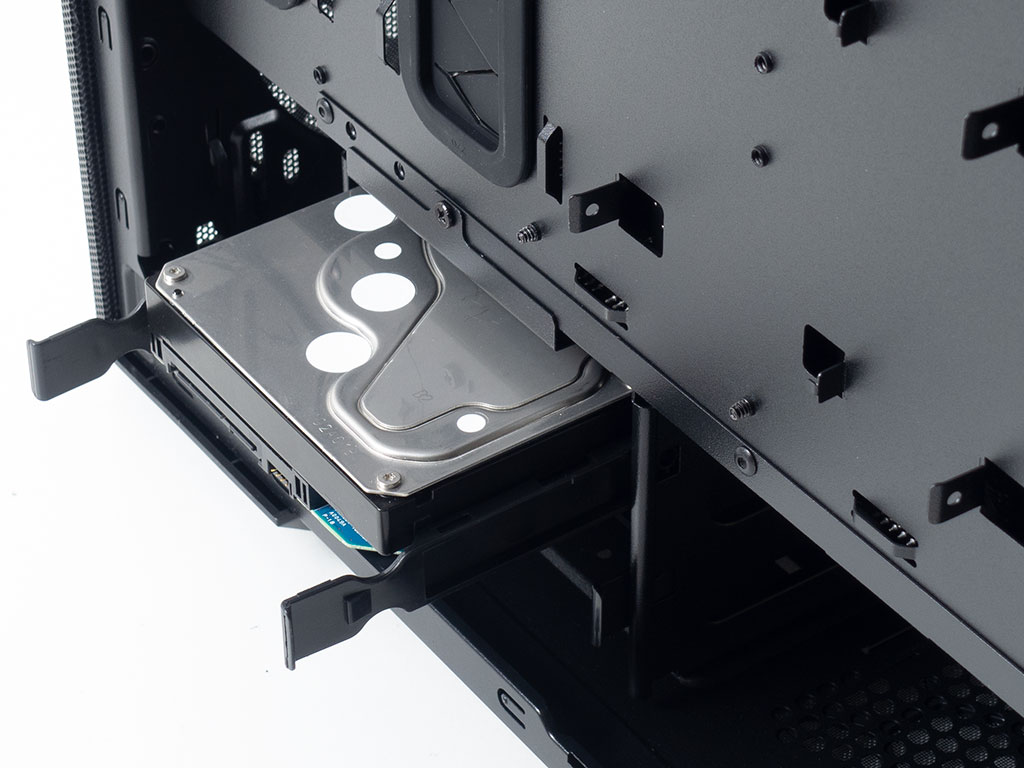
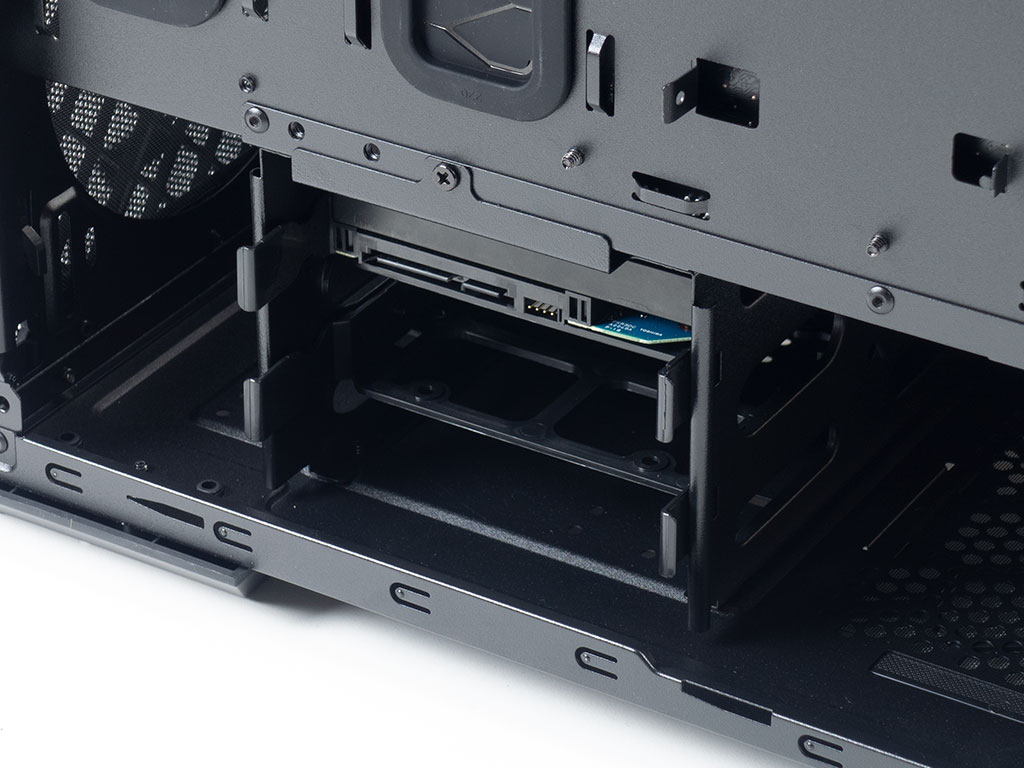
Adding a 3.5" drive doesn't take any tools as you simply fill the plastic tray with a drive and hold the storage unit in place with embedded pins. Once filled, slide it back into the cage underneath the shroud until it snaps into place.
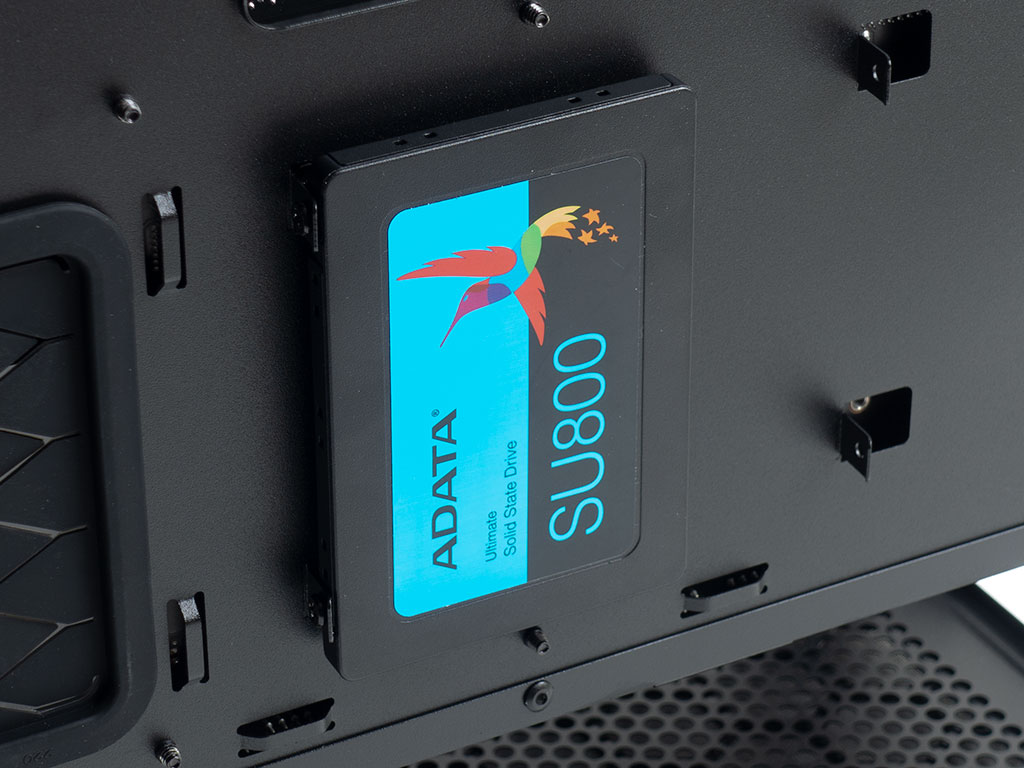
Adding SSDs is simple and works well, but you won't get any anti-vibration measures. That said, this simple way of mounting drives works just fine, and odds are you will never install a mechanical 2.5" drive here. However, it simply is not what the rest of the market offers.
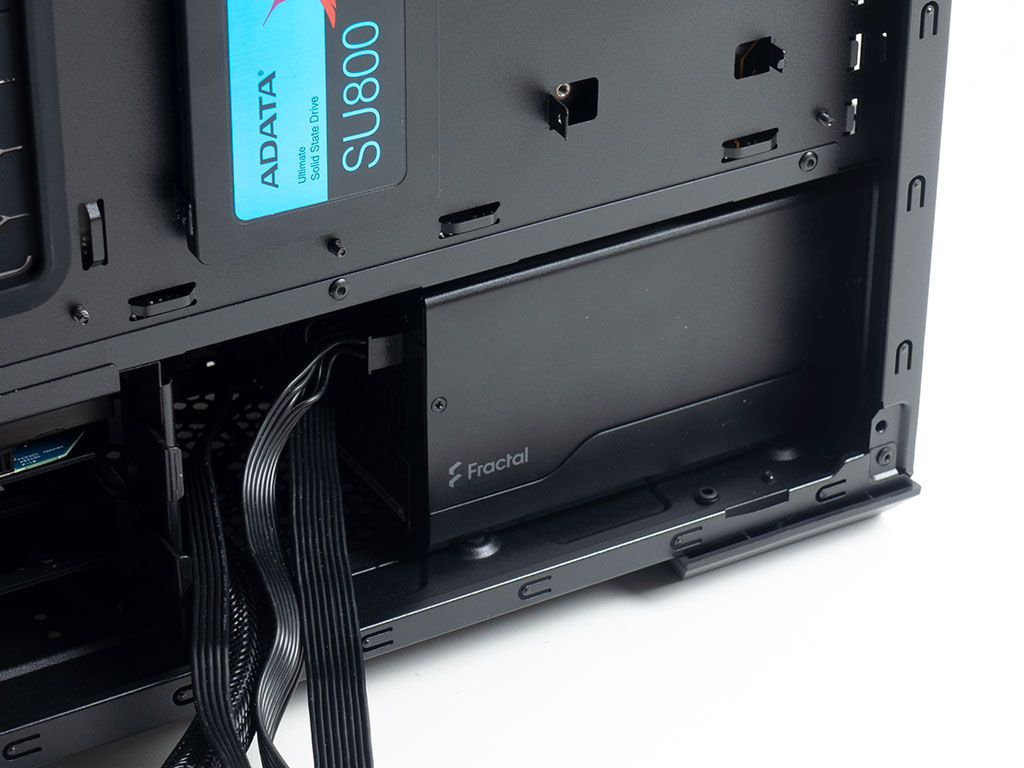
Installing the PSU is pretty straightforward as well. There is plenty of room to slip it into place, and traditional screws are used to secure it as a last step.
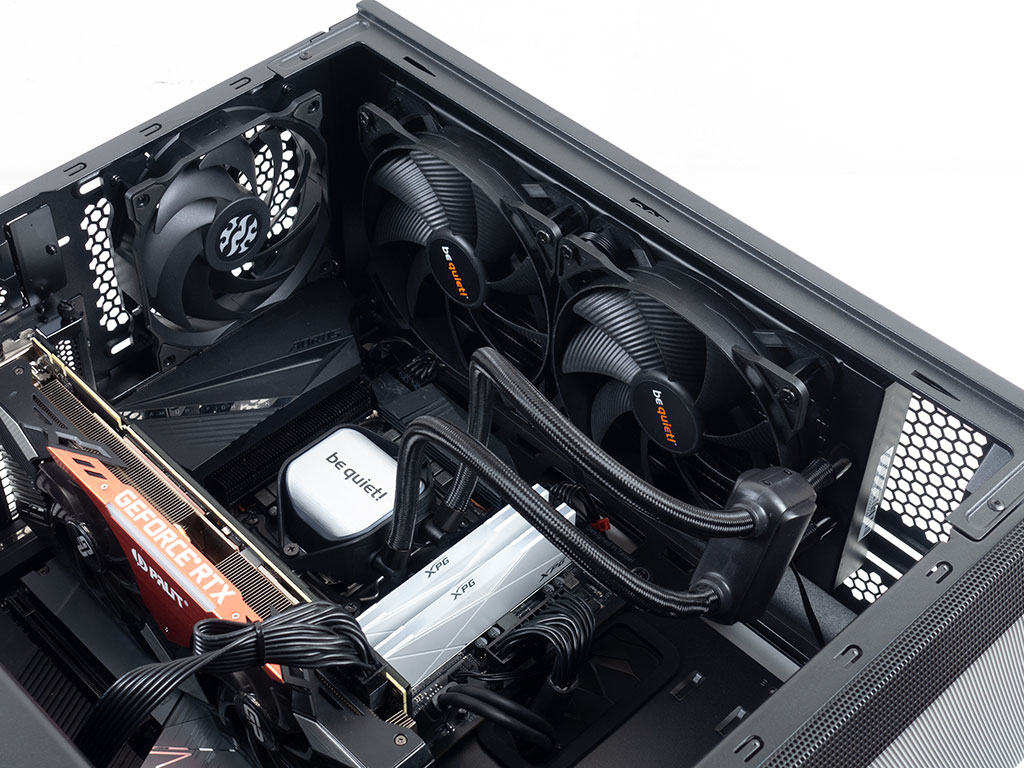
Adding an AIO, even if 280 mm long, is a breeze thanks to the room above the motherboard. Simply secure it to the ceiling of the XPG Defender with screws, and sliding it as far back as possible still leaves enough room for the rear fan. That means there is room in the front for a second radiator of up to 360 mm. The XPG Defender Pro offers the same flexibility, but we were still focusing on air-cooling when that unit was reviewed.
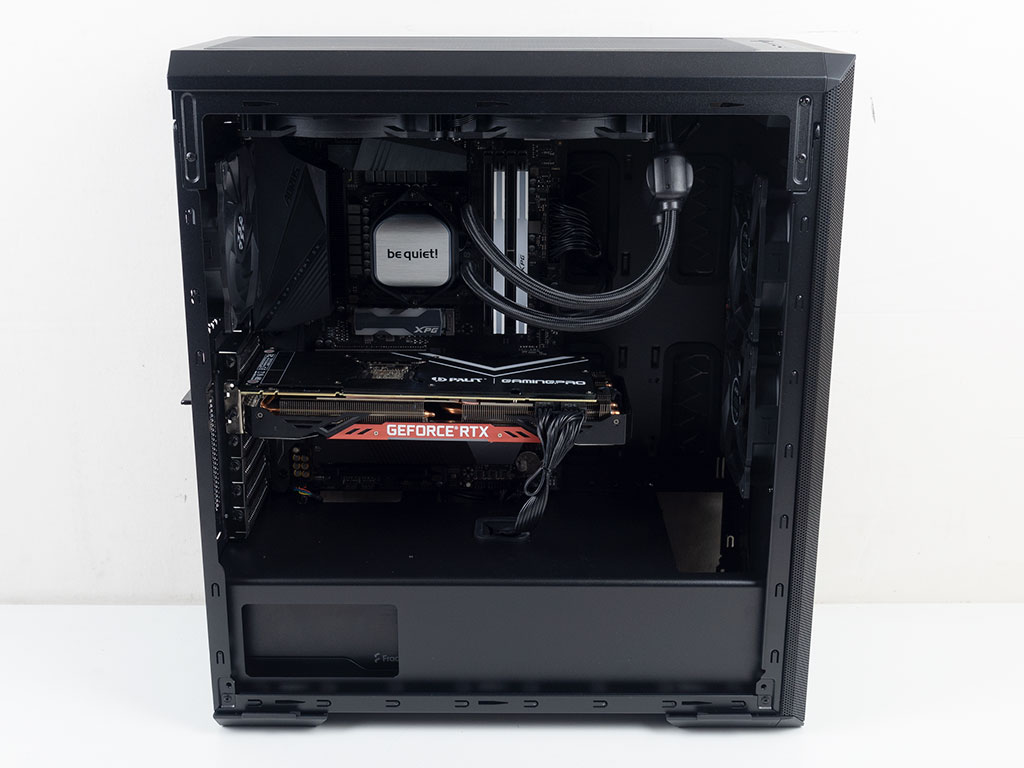
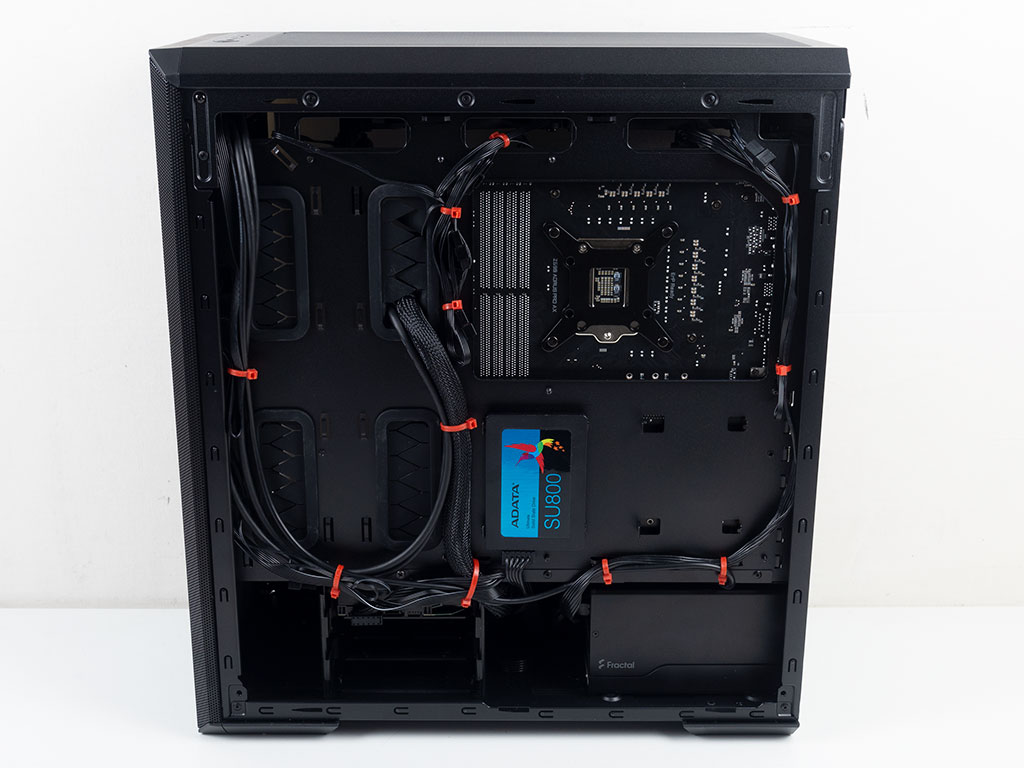
With everything installed, the interior of the XPG Defender looks really nice and clean because of the grommets and central opening in the shroud. Considerable time was also spent cleaning up the back of the chassis, and the results are great, so you should really invest the effort there. The fans within the chassis may be daisy-chained if you happen to have fewer than three available headers on your motherboard, which makes cable-routing a little easier as well.
Finished Looks
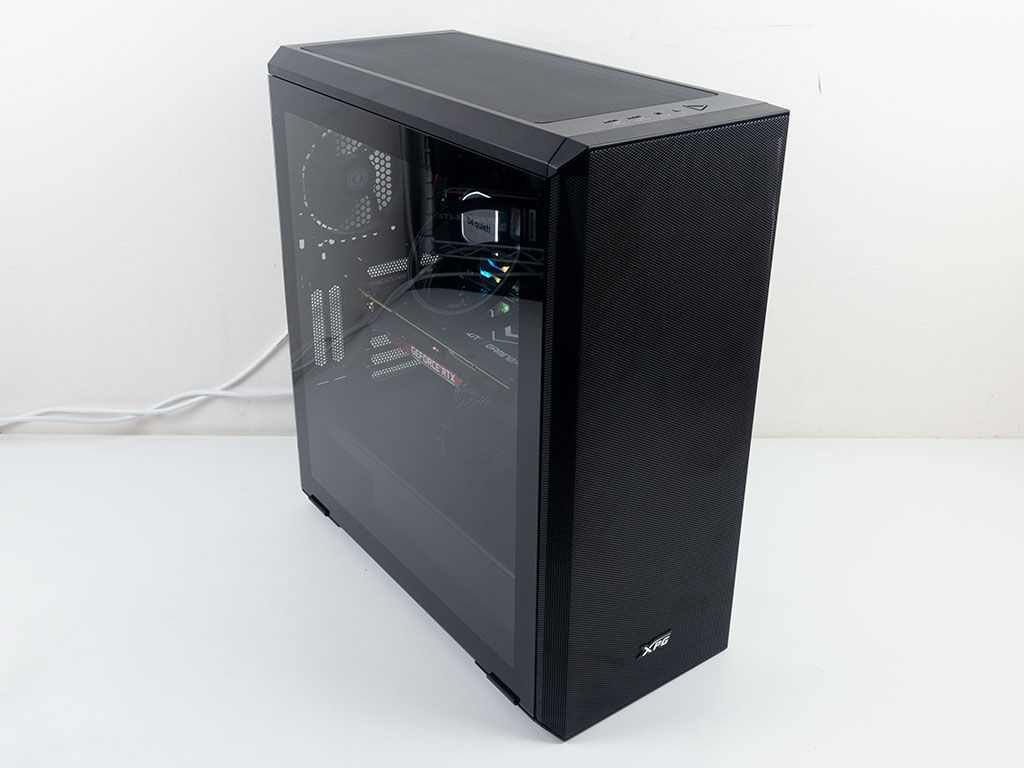
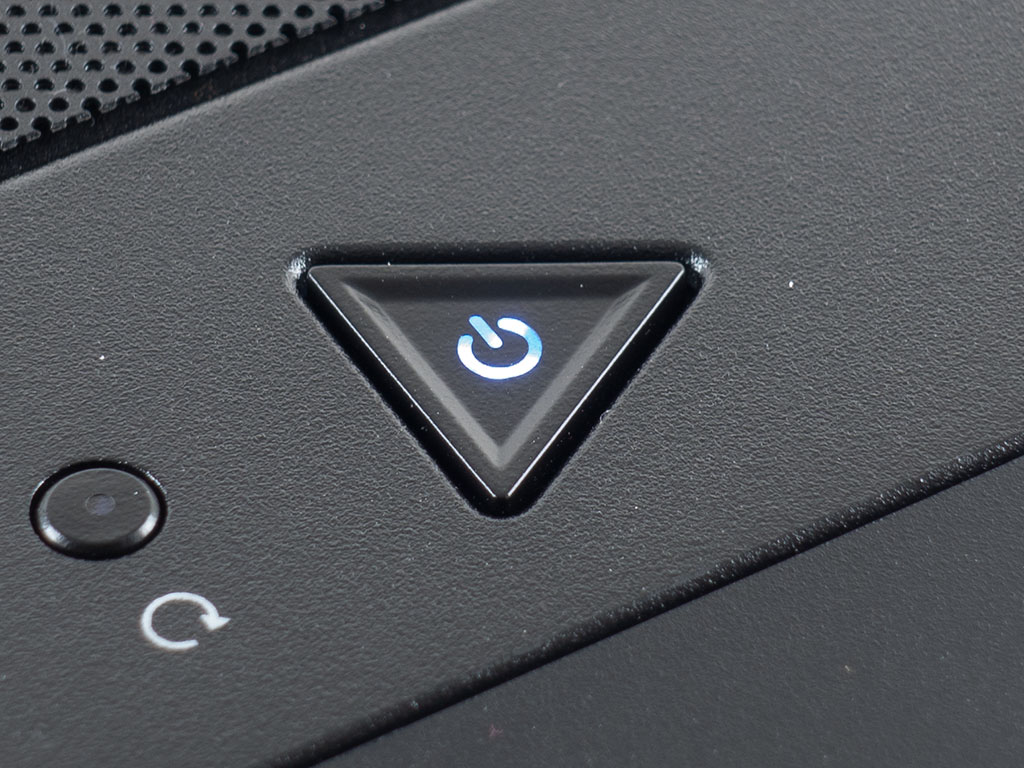
With all the panels in place, the XPG Defender comes together nicely. A white power LED button will let you know that your system is powered on.
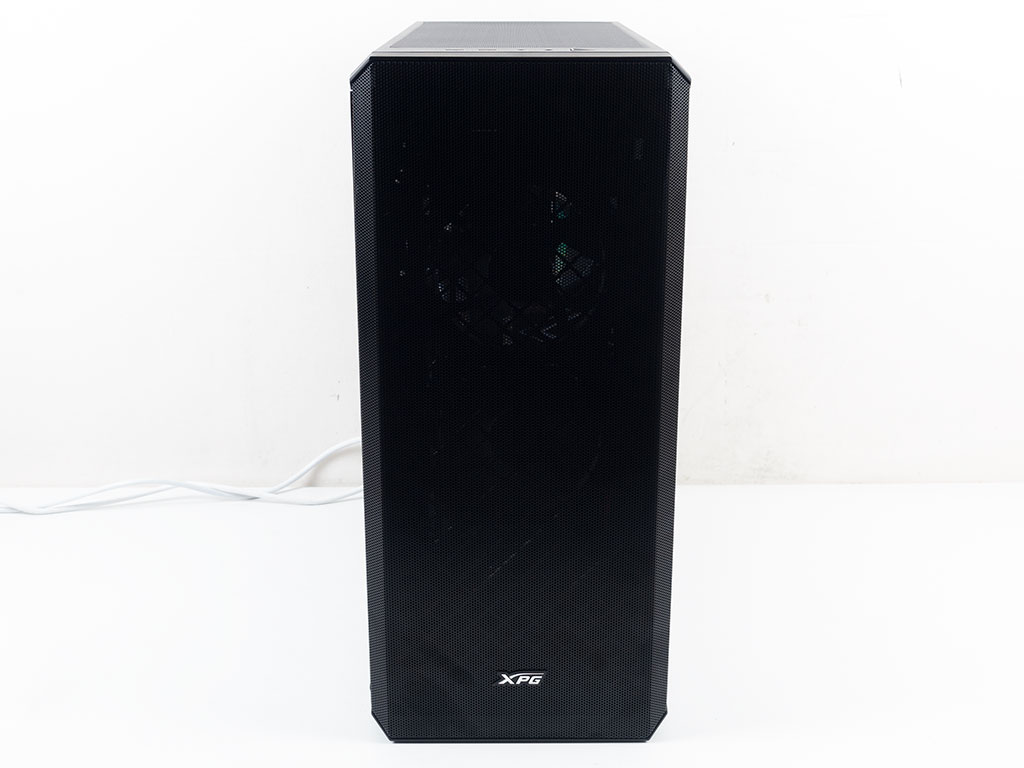

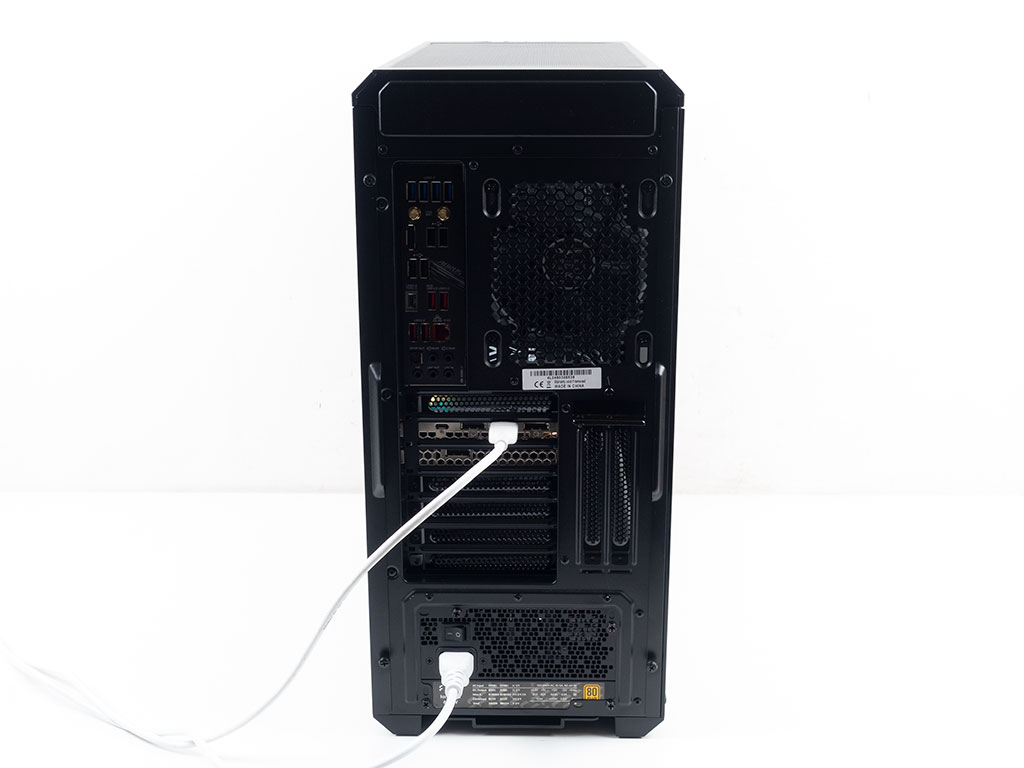
In the front, things are quite understated, as the Defender does not feature any ARGB lighting. But look closely and you will be able to see through the front and into the case, as the ARGB lighting of the memory shines through ever so gently. Thanks to the clear glass window, you can easily show off all your hardware, while all the connectivity in the rear is exactly where you would expect it.
Mar 10th, 2025 19:08 EDT
change timezone
Latest GPU Drivers
New Forum Posts
- Post Your TIMESPY, PCMARK10 & FIRESTRIKE SCORES! (2019) (271)
- AMD RX 7000 series GPU Owners' Club (1307)
- I need a BIOS for the "Rx580 8gb" chip 215-0876406 (6)
- Biostar RX 6700 XT OC BIOS (7)
- Nvidia's GPU market share hits 90% in Q4 2024 (gets closer to full monopoly) (774)
- What's your latest tech purchase? (23278)
- Wherein lies the difference (2)
- USB hard disk box capacity limits (14)
- RX 9000 series GPU Owners Club (41)
- Gaming PC instabiliity (22)
Popular Reviews
- Sapphire Radeon RX 9070 XT Nitro+ Review - Beating NVIDIA
- XFX Radeon RX 9070 XT Mercury OC Magnetic Air Review
- ASUS Radeon RX 9070 TUF OC Review
- MSI MAG B850 Tomahawk Max Wi-Fi Review
- NVIDIA GeForce RTX 5080 Founders Edition Review
- NVIDIA GeForce RTX 5070 Founders Edition Review
- Corsair Vengeance RGB CUDIMM DDR5-8800 48 GB CL42 Review
- AMD Ryzen 7 9800X3D Review - The Best Gaming Processor
- ASUS GeForce RTX 5070 Ti TUF OC Review
- MSI GeForce RTX 5070 Ti Gaming Trio OC+ Review
Controversial News Posts
- NVIDIA GeForce RTX 50 Cards Spotted with Missing ROPs, NVIDIA Confirms the Issue, Multiple Vendors Affected (513)
- AMD Plans Aggressive Price Competition with Radeon RX 9000 Series (277)
- AMD Radeon RX 9070 and 9070 XT Listed On Amazon - One Buyer Snags a Unit (261)
- AMD RDNA 4 and Radeon RX 9070 Series Unveiled: $549 & $599 (260)
- AMD Mentions Sub-$700 Pricing for Radeon RX 9070 GPU Series, Looks Like NV Minus $50 Again (248)
- NVIDIA Investigates GeForce RTX 50 Series "Blackwell" Black Screen and BSOD Issues (244)
- AMD Radeon RX 9070 and 9070 XT Official Performance Metrics Leaked, +42% 4K Performance Over Radeon RX 7900 GRE (195)
- AMD Radeon RX 9070-series Pricing Leaks Courtesy of MicroCenter (158)