 7
7
XPG Starker Air BTF Review
Review System Setup »A Closer Look - Inside

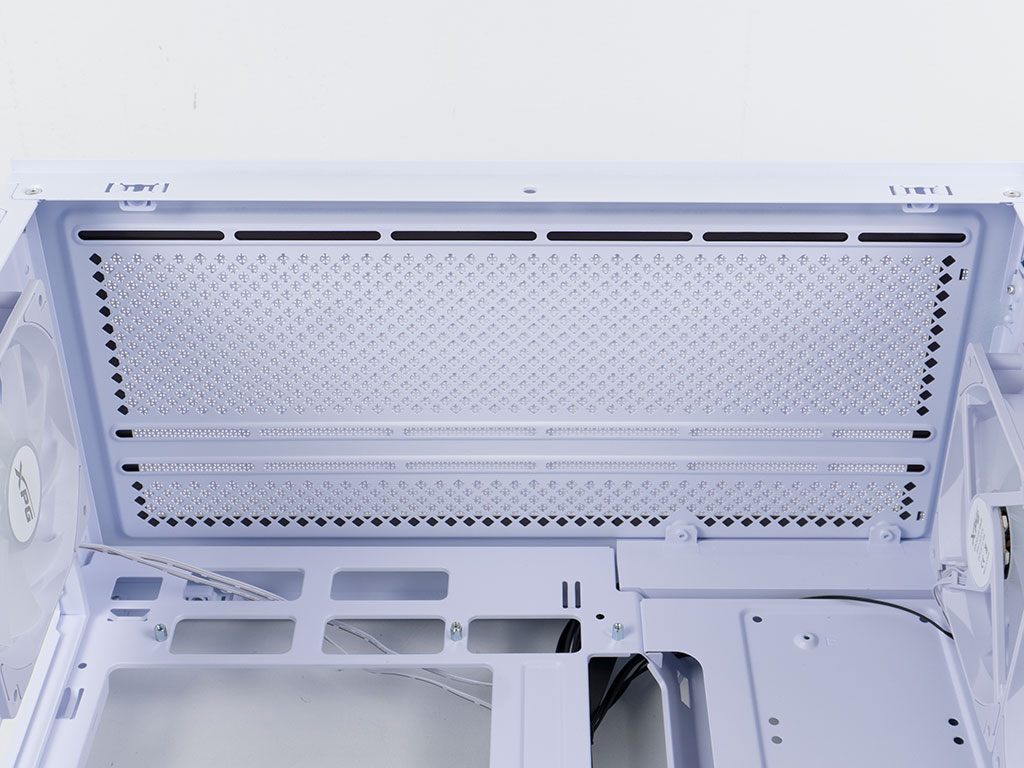
As the name implies, the XPG Starker Air BTF is capable of accommodating microATX and ATX boards with the reverse connector layout. It would have been nice to see grommets on the cable routing openings at the top of the case as well as those on the shroud. That said, you will find one on the opening for your GPU power cable, so at least this highly visible one looks great. The shroud is vented across the majority of its surface, and you may even install two 120 mm fans unless you are opting for a vertical GPU. XPG has also placed a cover on the larger opening in the front of the case, to close the gap when only using fans instead of liquid cooling in the front. This little detail is a nice touch for sure!
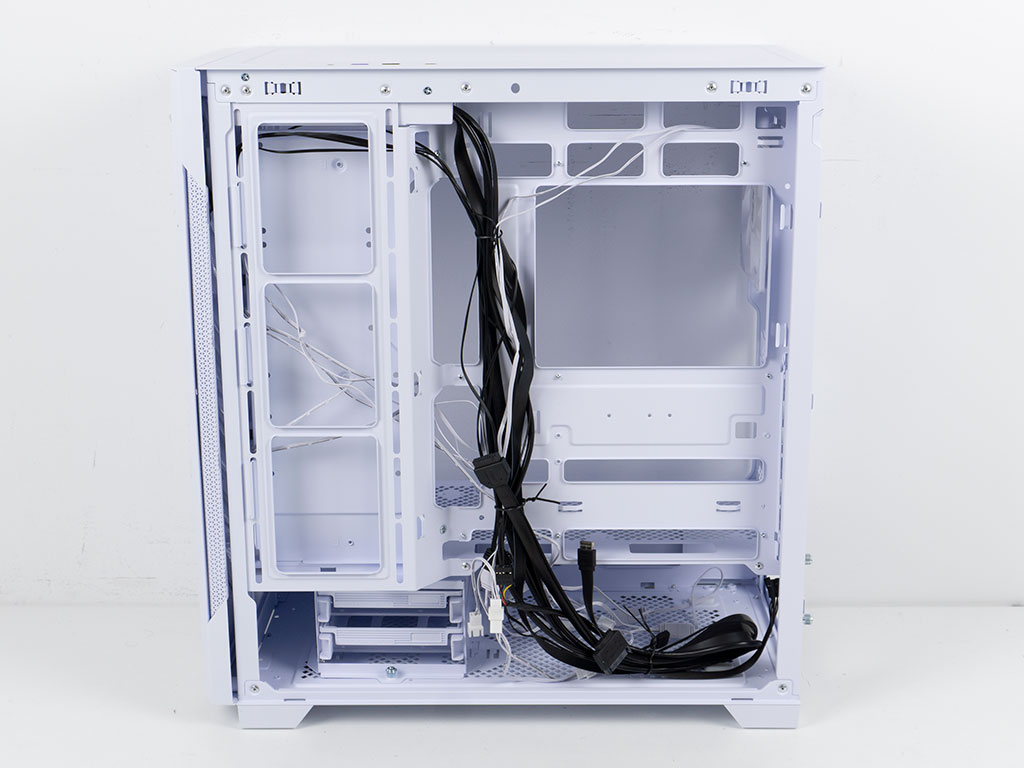
On the backside, we are actually greeted by black I/O cables which seems a bit of a contrast to the otherwise all white or silver elements. Also, oddly enough, those cables are extremely long for no apparent reason. XPG could easily trim 15-20 cm off, and it would be just fine.
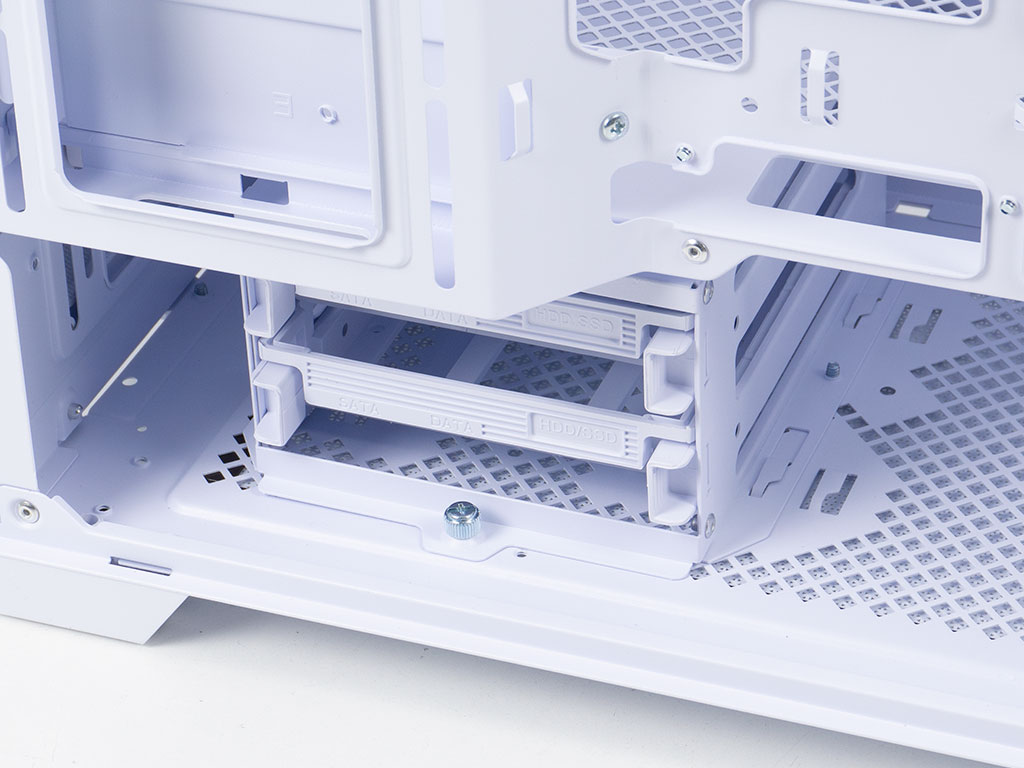
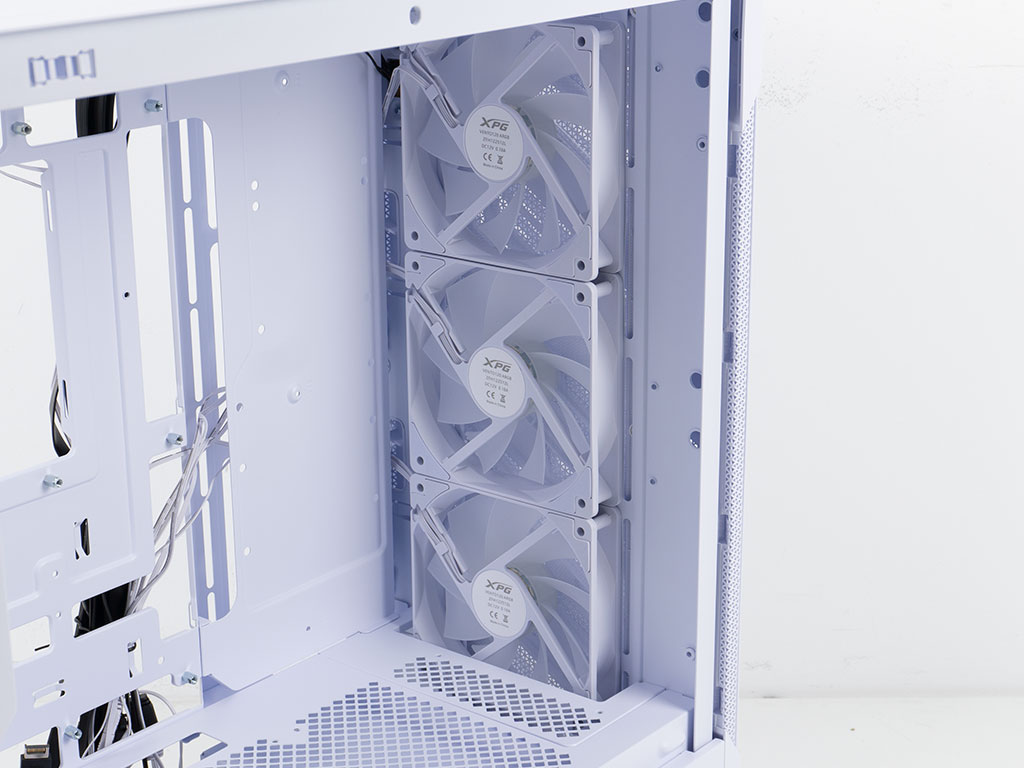
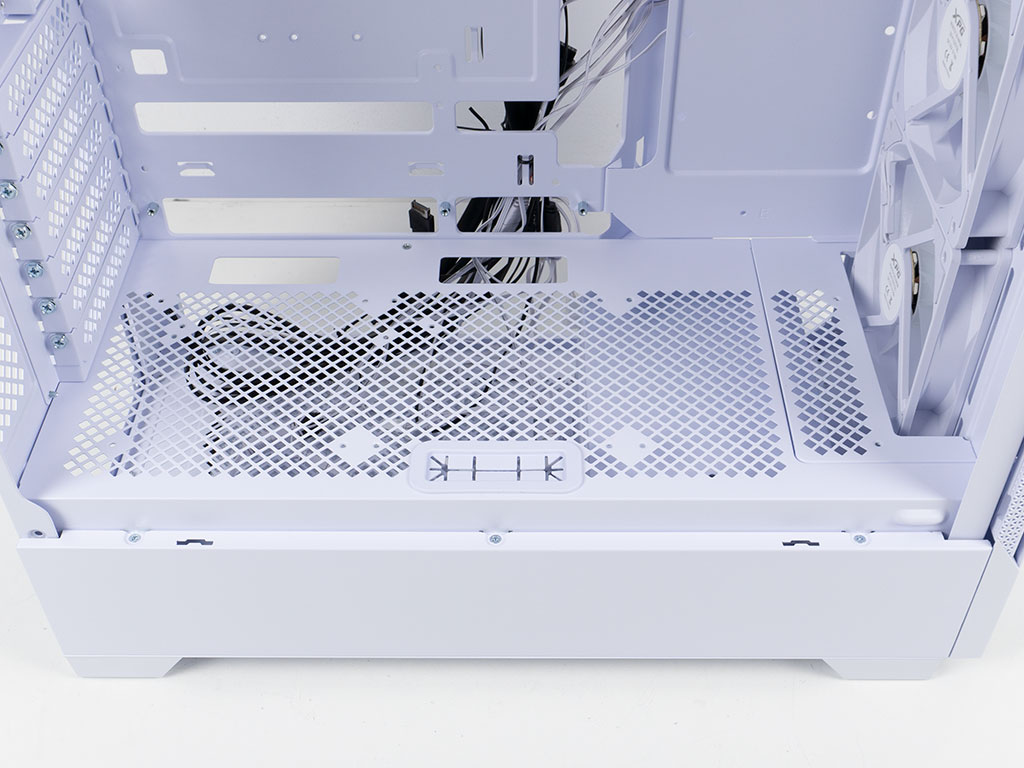
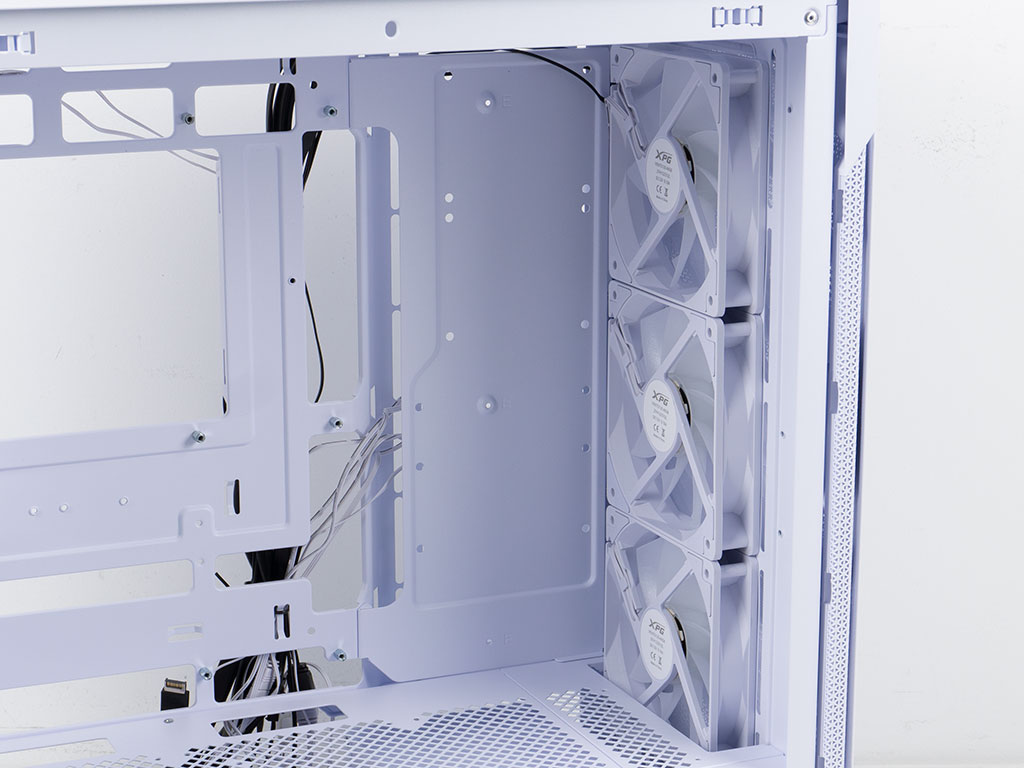
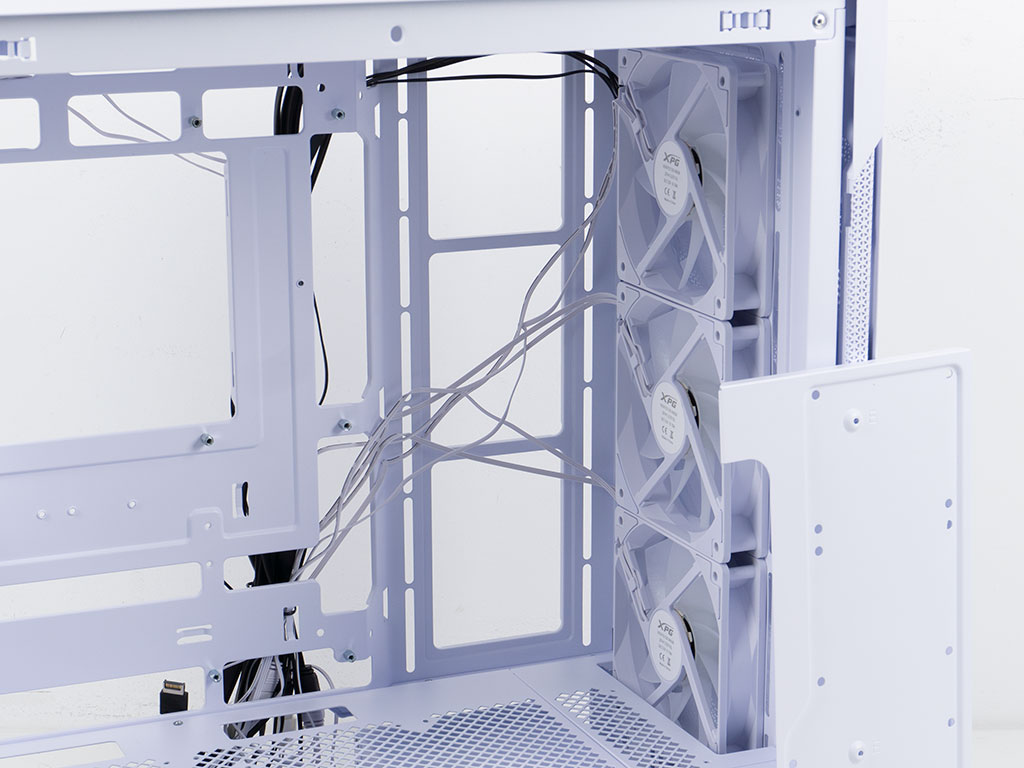
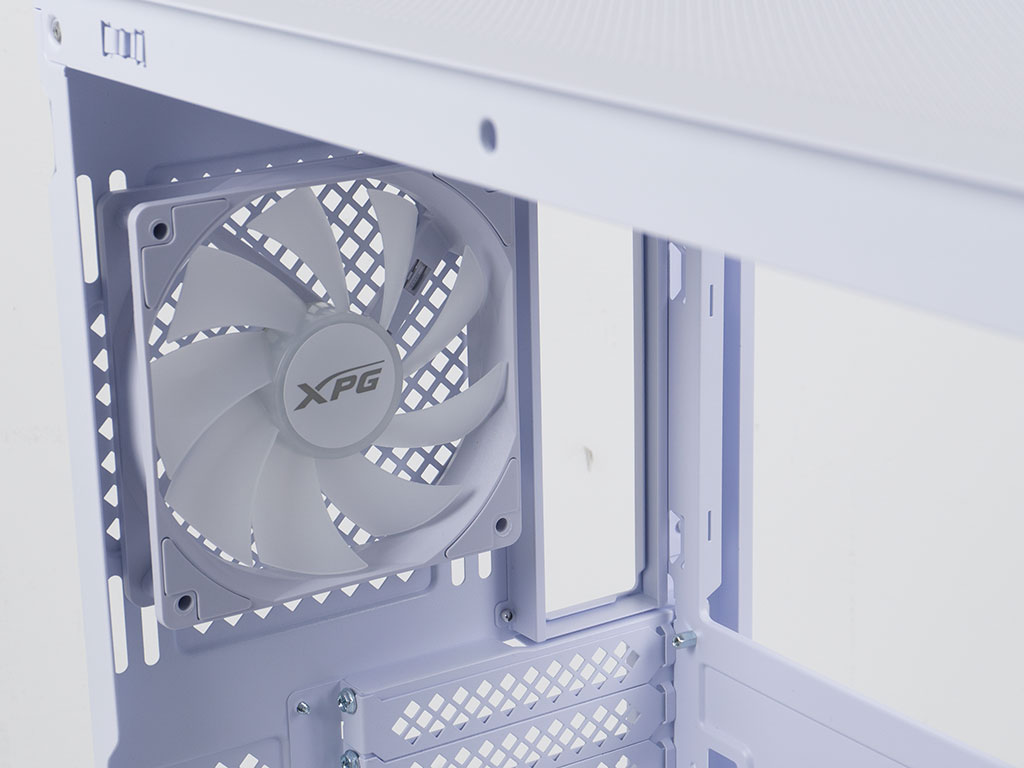
Underneath the shroud in the front there is a HDD cage with two OEM style plastic trays, which can accommodate two 2.5 or 3.5" drives. Above that there are the three ARGB equipped intake fans with all white wiring, frame and labels.
To allow for E-ATX boards to fit, XPG has placed a cover on the side fan mounting position. It provides the base for the additional motherboard stand-offs and XPG has done a great job to also add three more storage mounting possibilities in the form of two 2.5" and one 3.5" to it. The downside is the tricky cable management for EATX boards as there is only a small gap at the front edge of the case behind the fans to route things.
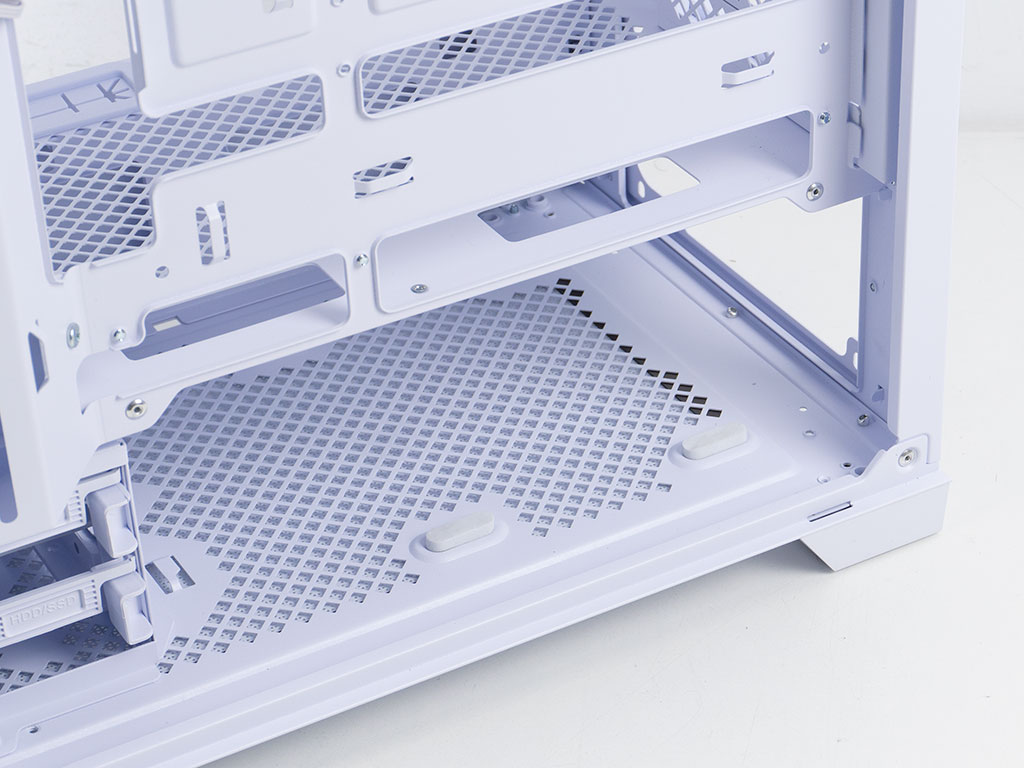
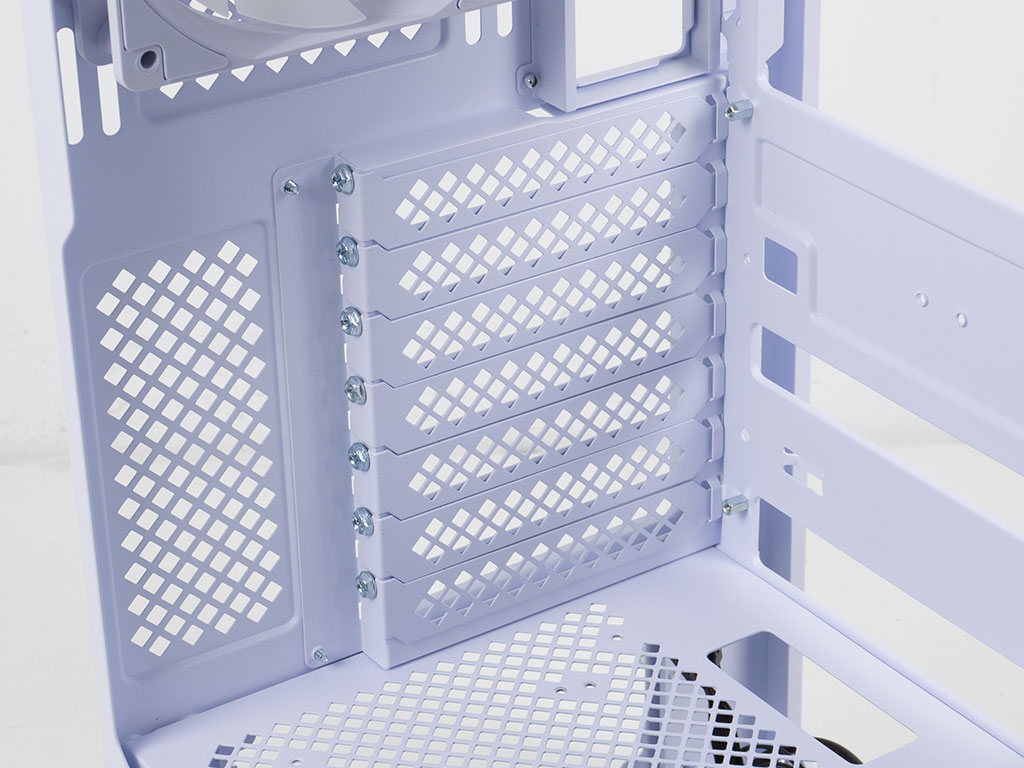
The PSU bay is straight forward with four foam pads for your unit to rest on. Above that the expansion slot covers are held in place by classic, silver screws and the fan in the rear is of the same model as the three in the front of the XPG Starker Air BTF.
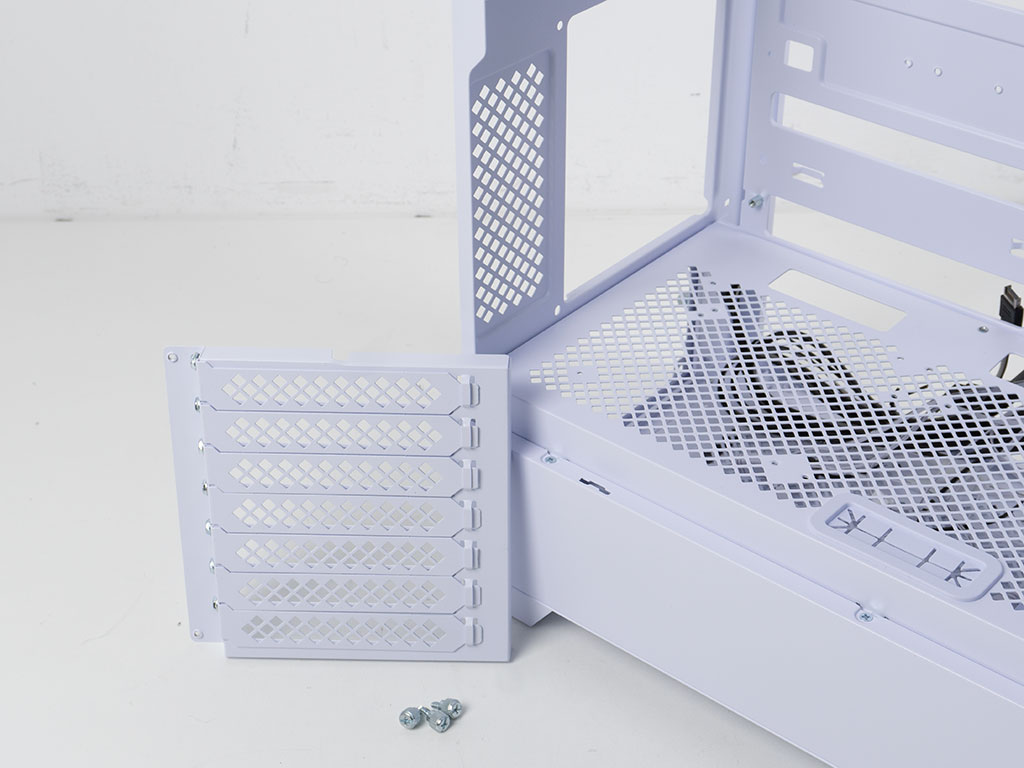

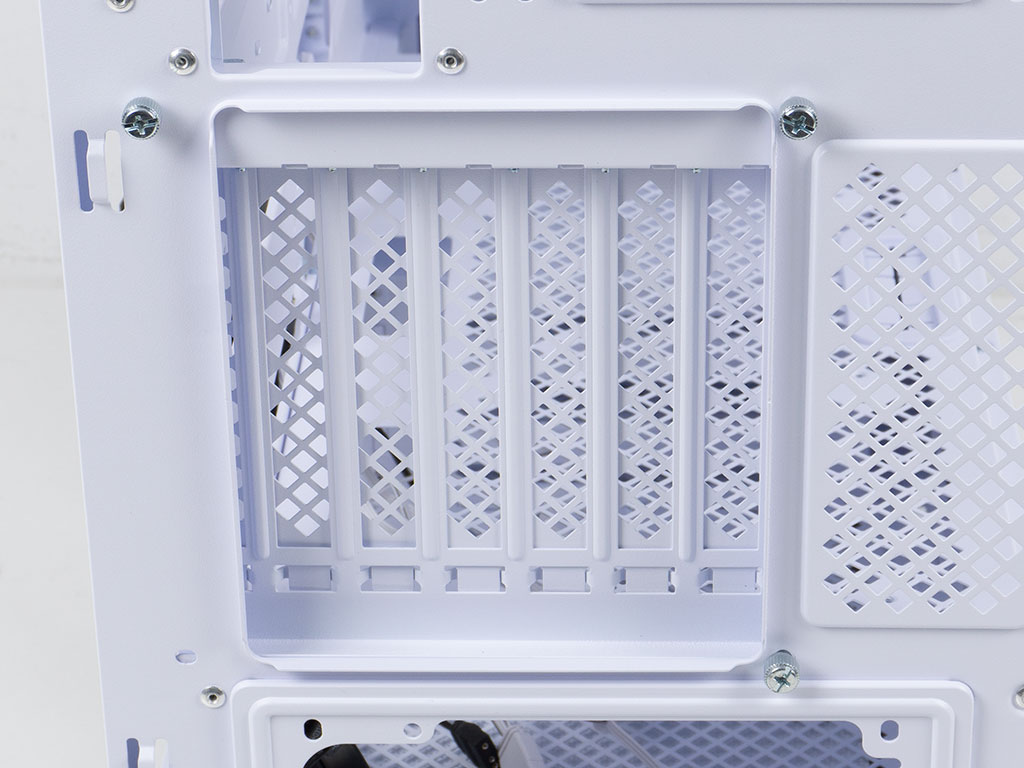
To convert the horizontal expansion slots, you simply have to unscrew the three thumb screws, rotate it 90° and then slide it back into place. At this point the mounting locations for the three thumb screws differ likely, but the result is a perfectly useful vertical expansion slot setup. The implementation to go from horizontal to vertical setup is well-designed and as easy as it gets.
In the ceiling, you can see how close things are in the front and back, so those installing 360 mm AIOs will find little to no wiggle room in the rear and or front. Luckily, you can move the fans down a bit and should still be able to squeeze one in. This is something we will certainly try to do.
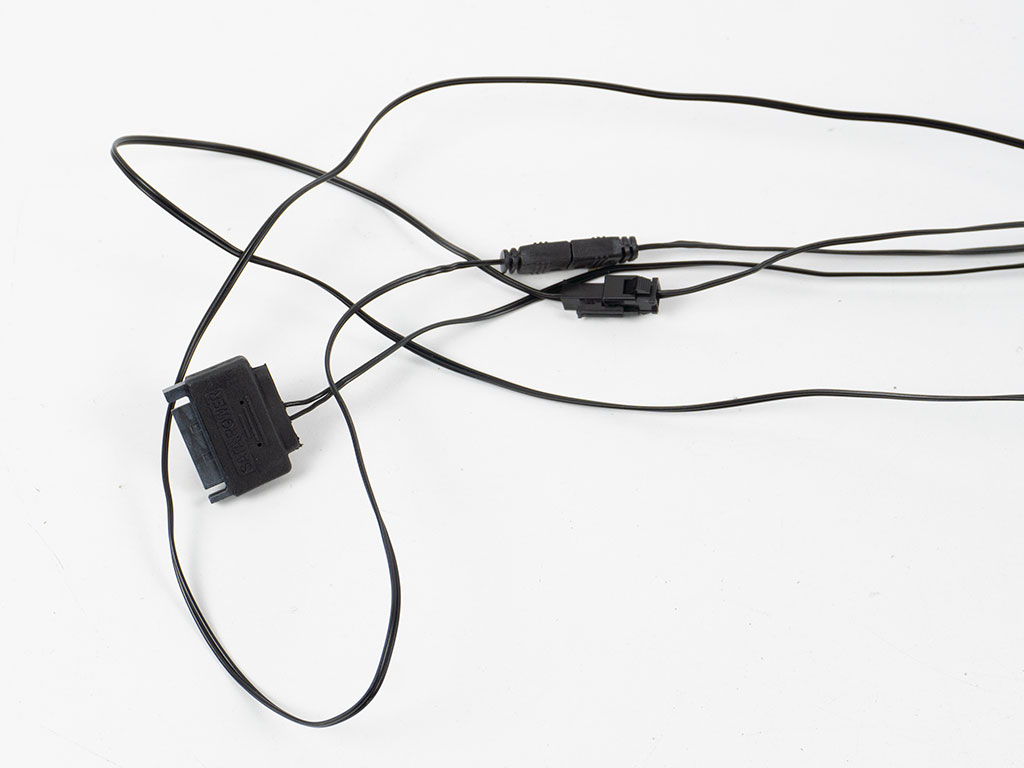
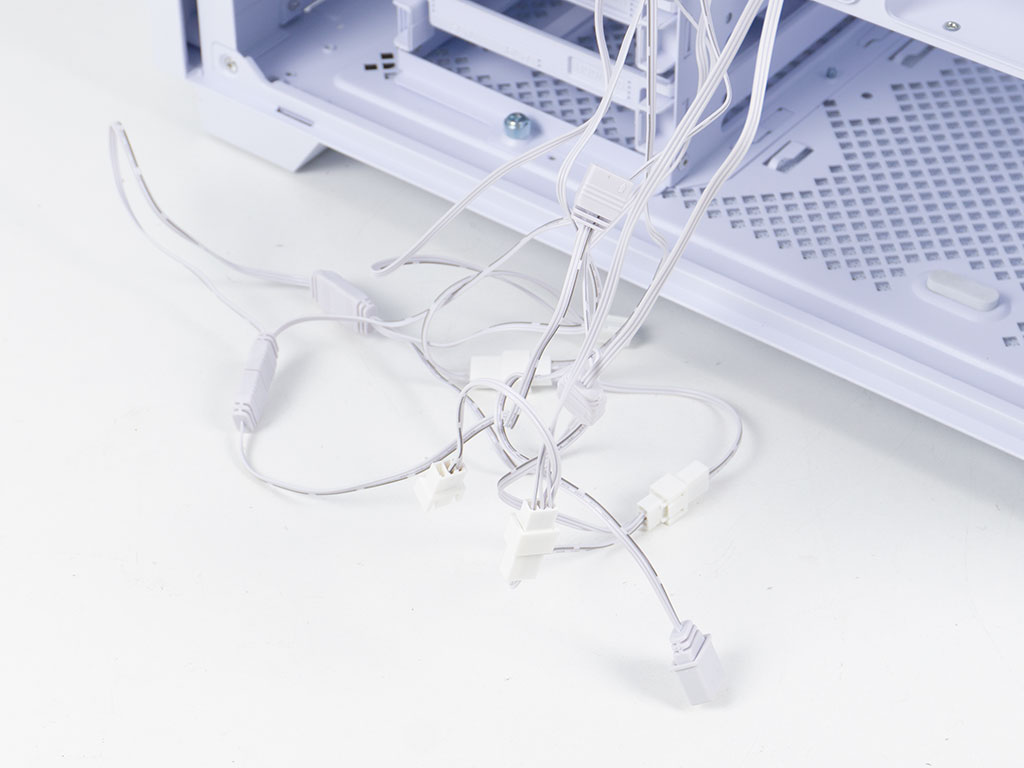
While there is no dedicated PCB for the ARGB elements, the case still has a fully-functional controller installed. It utilizes SATA to power all of them. There is quite the cable mess left by the factory, so you will have to spend a considerable amount of time to rewire everything. To make things worse, the factory does some odd things, like connecting the input and output headers for the ARGB controller - possibly to protect the exposed pins during shipping. Unfortunately, the XPG Starker Air uses RPM based fans, where we would expect PWM variants these days.
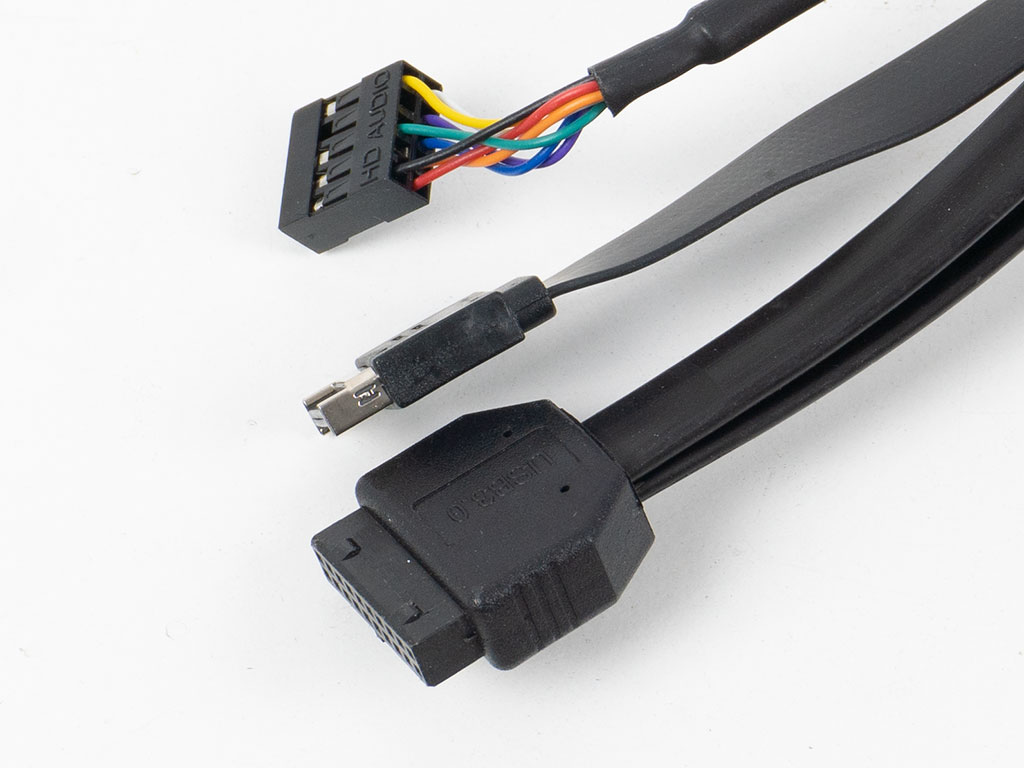

The IO connectors for USB and audio are traditional and on a positive note, both USB variants sport flat-band cables. The header connectors are still of the old-school individual kind, while we see more and more cases move to a unified one instead.
Mar 12th, 2025 01:55 EDT
change timezone
Latest GPU Drivers
New Forum Posts
- Post your Old CDs & FDs, from back in the day thread. (53)
- How's your old spinner holding up? (41)
- Cant Enable Resizable Bar (3)
- What are you playing? (23135)
- Nvidia's GPU market share hits 90% in Q4 2024 (gets closer to full monopoly) (852)
- intel 1700 with high speed ram,memory (51)
- Mismatched Memory Speeds for upcoming CPU Reviews? (98)
- Packet Loss after updating to windows 11 (3)
- Looking for suggestions on a vertical gaming mouse? (2)
- [Intel AX1xx/AX2xx/AX4xx/AX16xx/BE2xx/BE17xx] Intel Modded Wi-Fi Driver with Intel® Killer™ Features (291)
Popular Reviews
- XFX Radeon RX 9070 XT Mercury OC Magnetic Air Review
- AMD Ryzen 9 9950X3D Review - Great for Gaming and Productivity
- Sapphire Radeon RX 9070 XT Nitro+ Review - Beating NVIDIA
- ASUS Radeon RX 9070 TUF OC Review
- MSI MAG B850 Tomahawk Max Wi-Fi Review
- AMD Ryzen 7 9800X3D Review - The Best Gaming Processor
- NVIDIA GeForce RTX 5070 Founders Edition Review
- Dough Spectrum Black 32 Review
- Corsair Vengeance RGB CUDIMM DDR5-8800 48 GB CL42 Review
- XPG Starker Air BTF Review
Controversial News Posts
- NVIDIA GeForce RTX 50 Cards Spotted with Missing ROPs, NVIDIA Confirms the Issue, Multiple Vendors Affected (513)
- AMD Radeon RX 9070 and 9070 XT Listed On Amazon - One Buyer Snags a Unit (261)
- AMD RDNA 4 and Radeon RX 9070 Series Unveiled: $549 & $599 (260)
- AMD Mentions Sub-$700 Pricing for Radeon RX 9070 GPU Series, Looks Like NV Minus $50 Again (248)
- NVIDIA Investigates GeForce RTX 50 Series "Blackwell" Black Screen and BSOD Issues (244)
- AMD Radeon RX 9070 and 9070 XT Official Performance Metrics Leaked, +42% 4K Performance Over Radeon RX 7900 GRE (195)
- AMD Radeon RX 9070-series Pricing Leaks Courtesy of MicroCenter (158)
- AMD Radeon RX 9070 XT Could Get a 32 GB GDDR6 Upgrade (100)