 6
6
Zalman HD135 HTPC Case Review
Finished Look & Problems »Installation
The installation is a bit more complex than your average case, so you should bring a good amount of time. Don't rush things.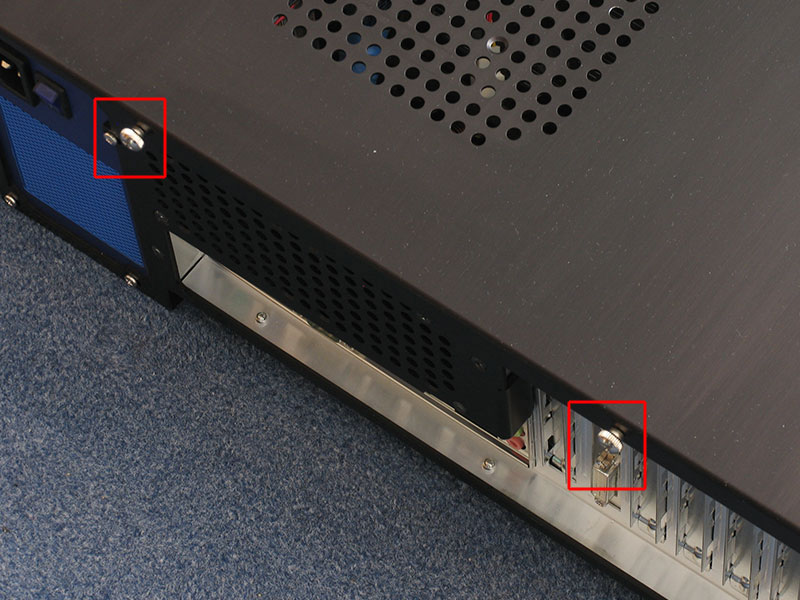
You start the installation by removing two thumb screws on the backside. When the case top is removed, you can easily get to everything, the whole inside has a very cleaned up look and feel.
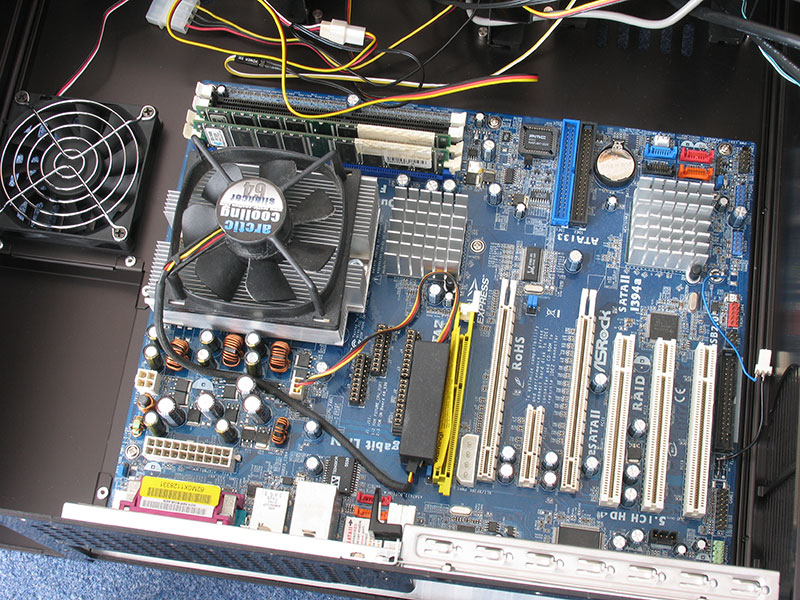
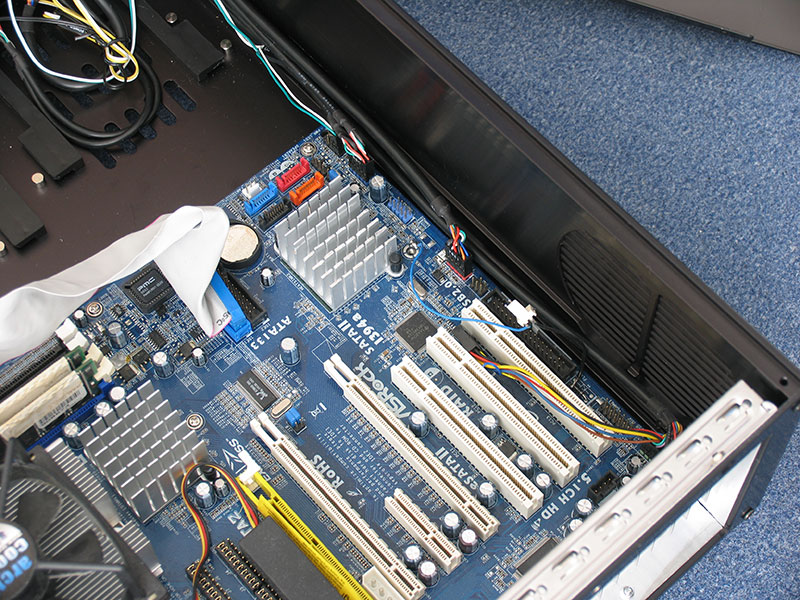
The first thing you install is the motherboard, make sure you don't forget to put the ATX slot cover in the case. The standoffs for standard sized ATX motherboards are already installed, a few extra ones are included, in case you need to install different ones for microATX motherboards. Since someone will ask anyways: the little black plastic box near the CPU cooler is a small fan controller (not included).
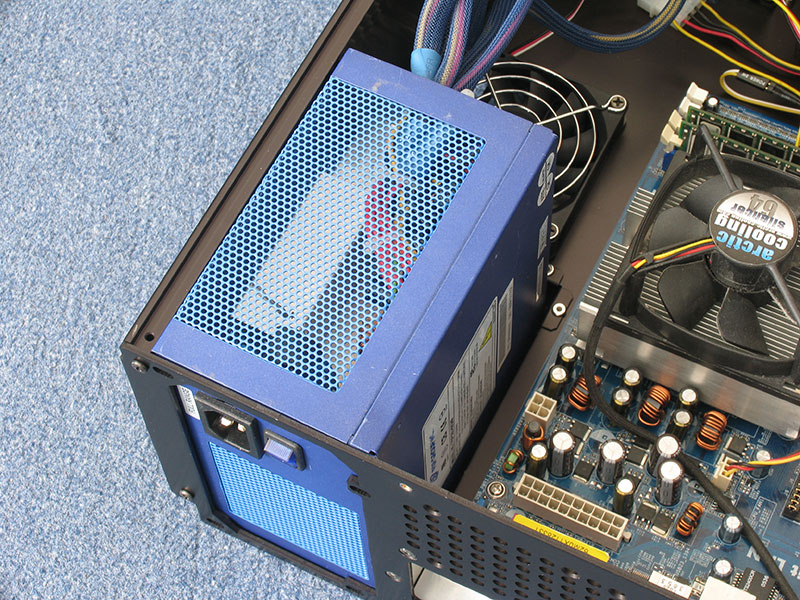
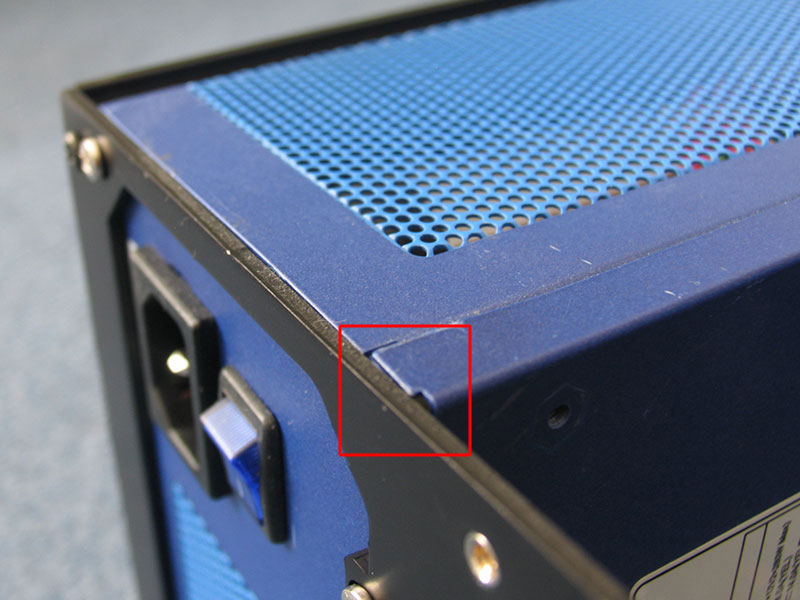
Next you install the PSU. Make sure the PSU fan, if you have one, is pointing toward the outside of the case. This will create an own thermal zone for the PSU. As you can see the PSU fits perfectly - it seems. Unfortunately my PSU is standing out a tiny little bit where marked in the picture. This makes it hard to install the case top later and properly screw it down. It is still possible though, I had to put one knee on the lid to press it down and screw the screws down with a bit of force. It would have been better if Zalman had left 1 mm extra space or so, just to be safe.
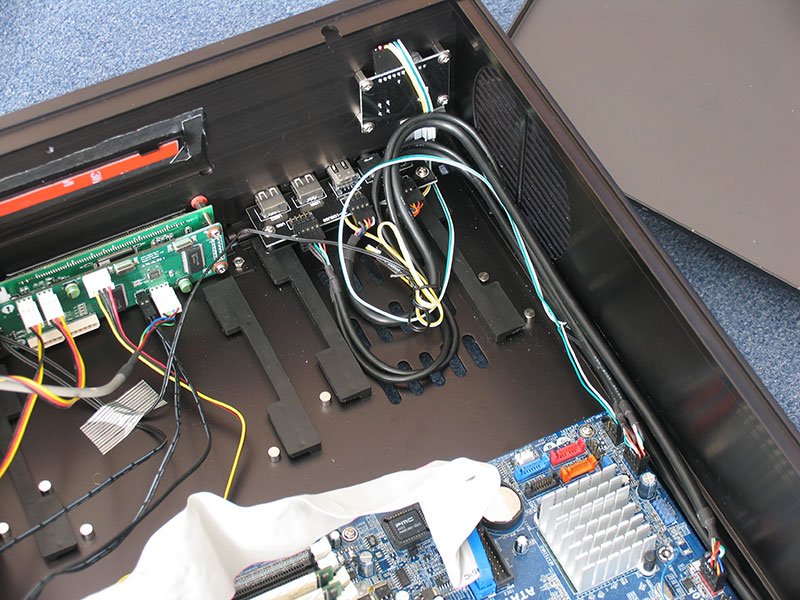
After the PSU and motherboard install you should connect the front IO panel cables. It's four cables, but you can hide them near the inner side of the motherboard quite well. There is a small groove where they fit in. I removed the HDD cage and "folded" the cables as seen in the picture. This looks nicer in my opinion than the cables running straight from the HDD cage to the motherboard.
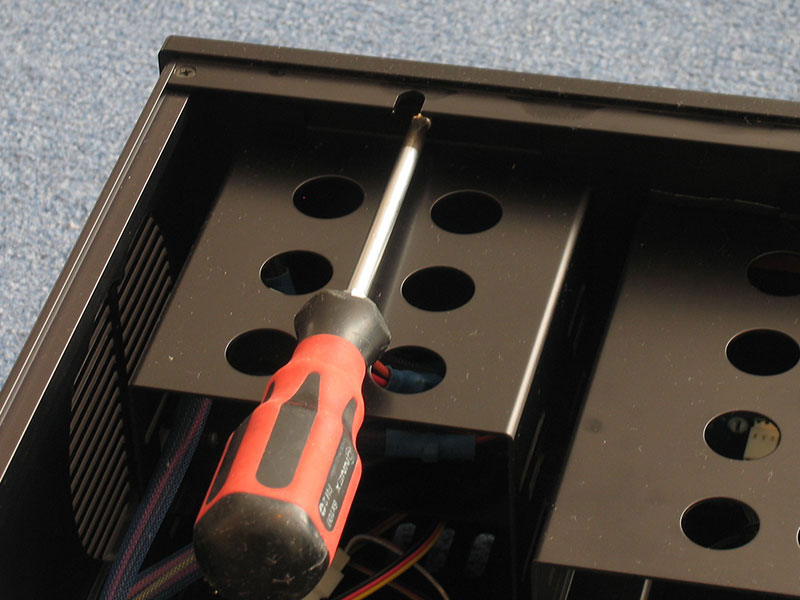
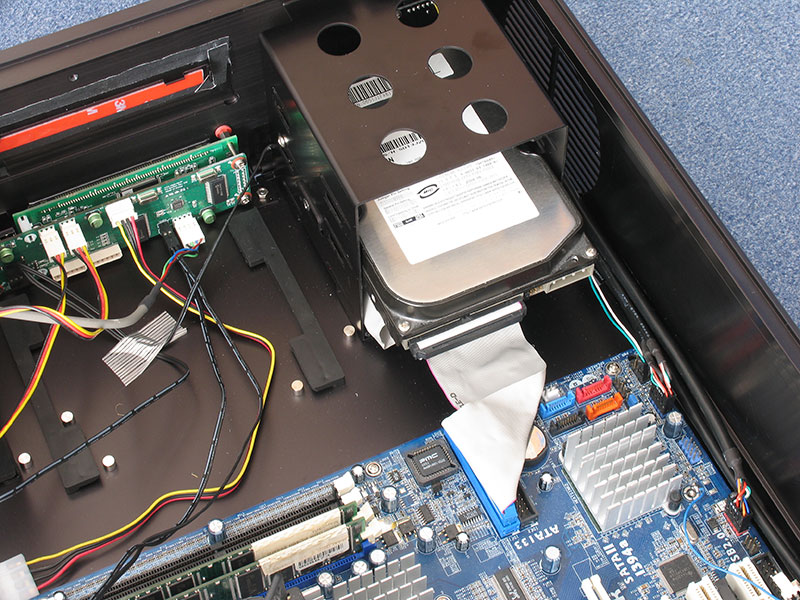
Next you install the HDD(s). This is very straightforward since the cages can be removed and you screw in the harddisk without having to worked in a cramped space.
Optical Drive
I am usually not using an optical drive in my Media PC setups since I stream most files over the network, or use the drive from another PC via network. But since this case offers a nice included front plate for use with any drive, I will quickly show you the installation.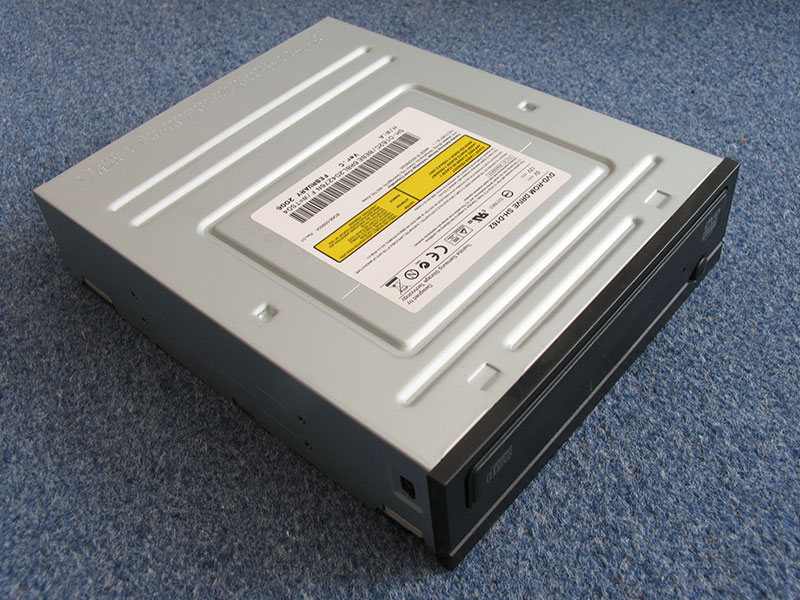
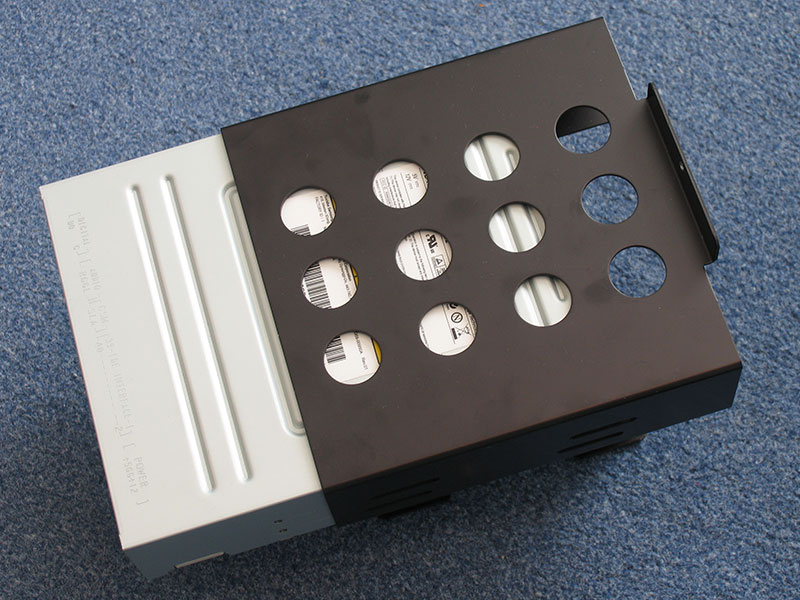
This is the DVD-ROM I will be installing, it's a pretty standard no bells and whistles drive.
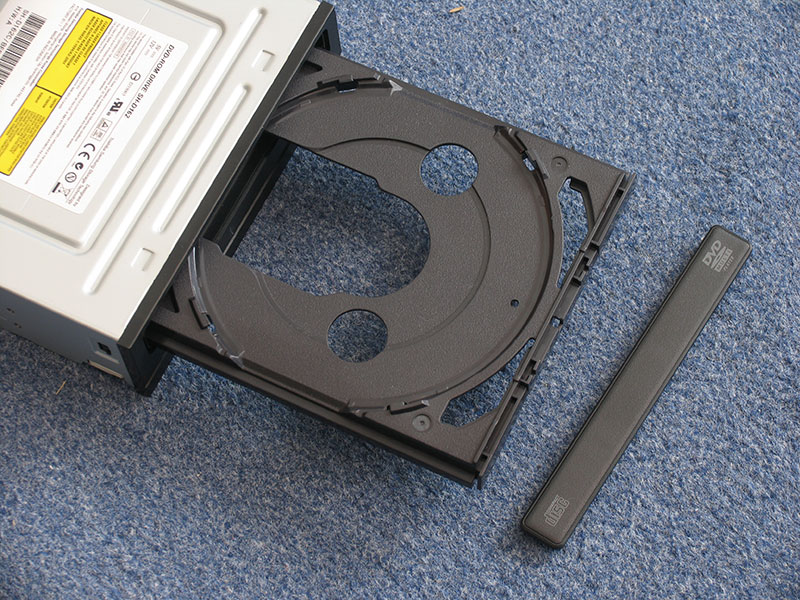
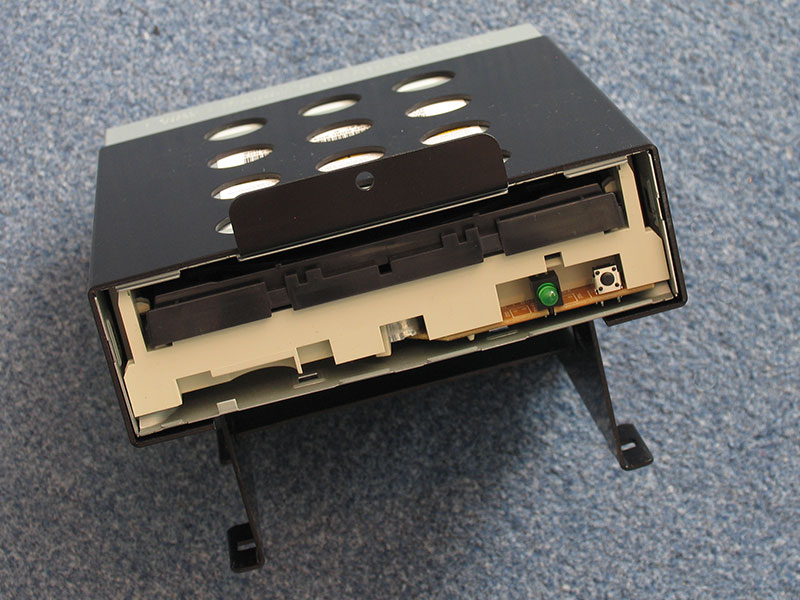
The first step you have to do is remove the front plate of your drive. Usually this is attached with a clip on mechanism. To get the drive to open up just hook it up to power and press the eject button.
Now you remove the front bezel, like the front plate it is just clipped on.
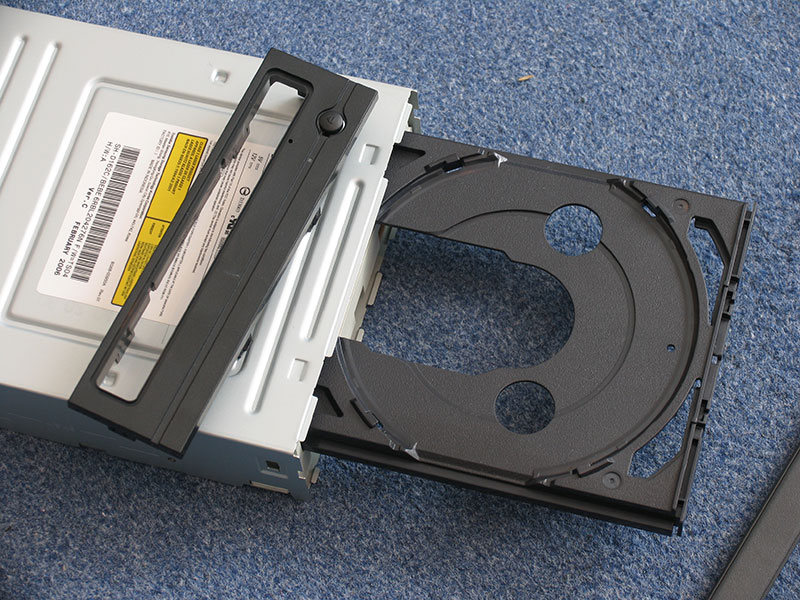
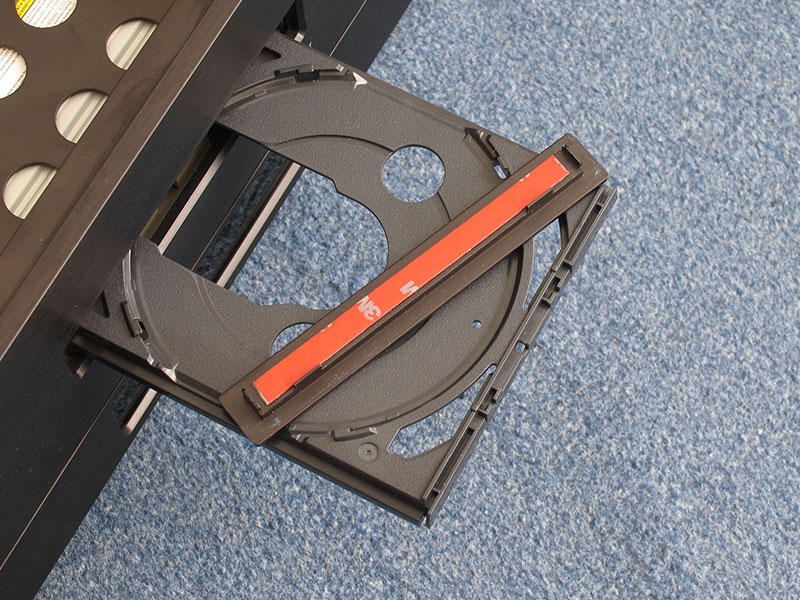
Slide the drive into the drive cage, but do not tighten the screws yet.
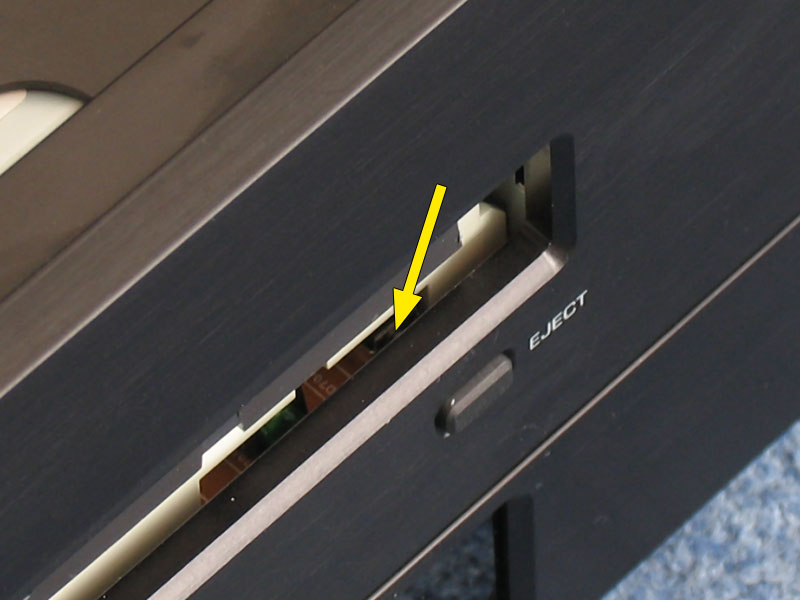
With my drive I had the issue that even with the drive slid all the way in its button could not make contact with the button replacement from Zalman.
To fix this I rolled up some sticky plastic tape until it had the right height. This requires a bit of trial and error since the drive has to be only so far in that it does not stick out of the Zalman front plate.
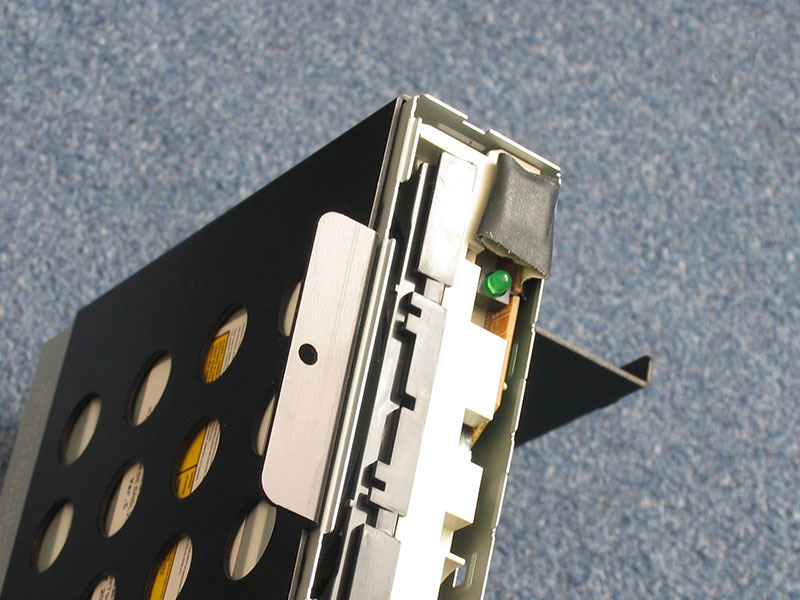
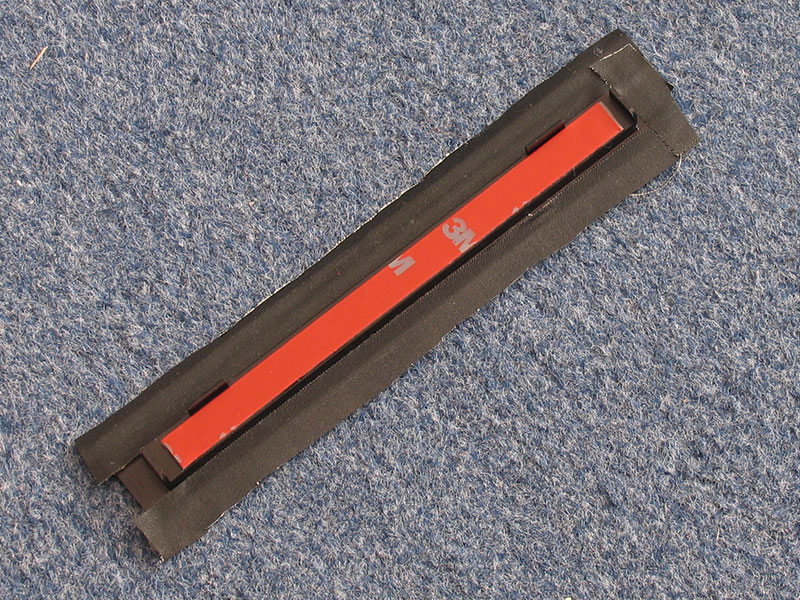
This included plate goes on your drive tray now, replacing the original one. It has a red sticky tape which ensures a firm connection.
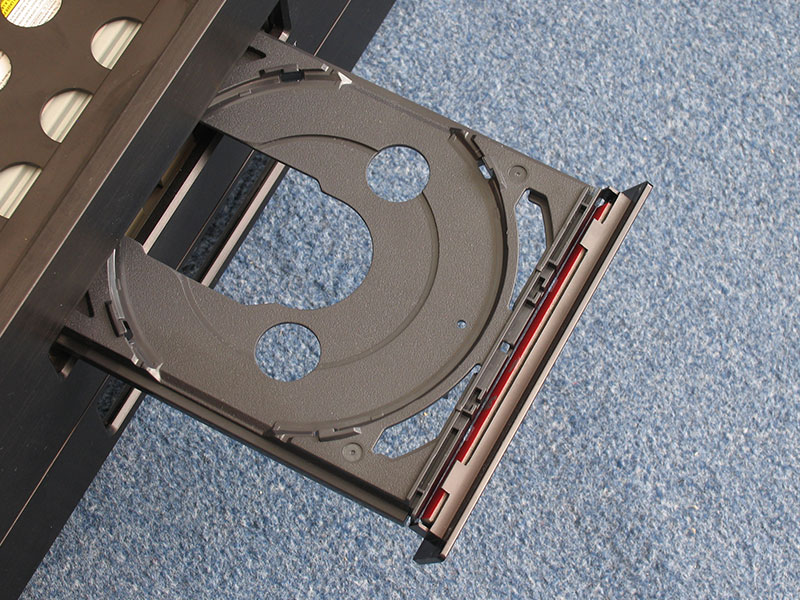
I just cut off a little bit of the tape cover to make sure it holds but isn't permanent, because the drive is needed for something else after the review.
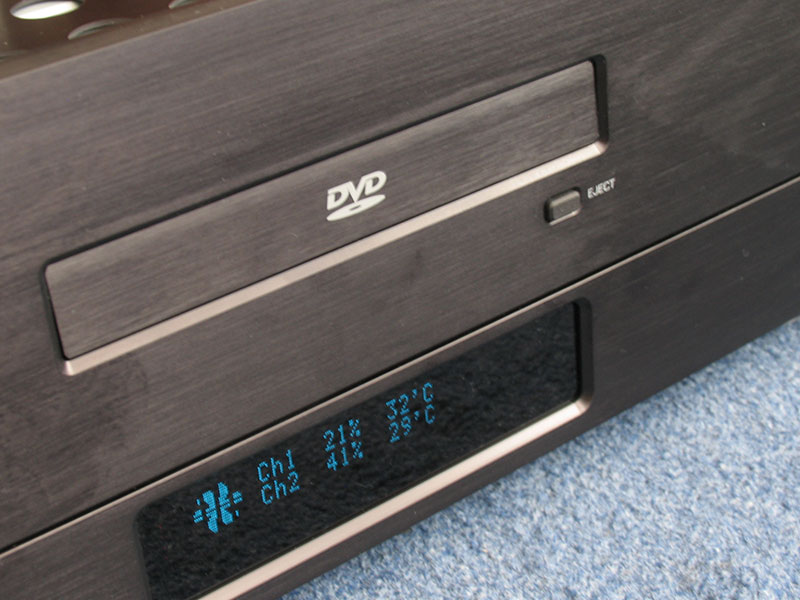
Here is the final look with the drive installed and the button working. It looks really good.
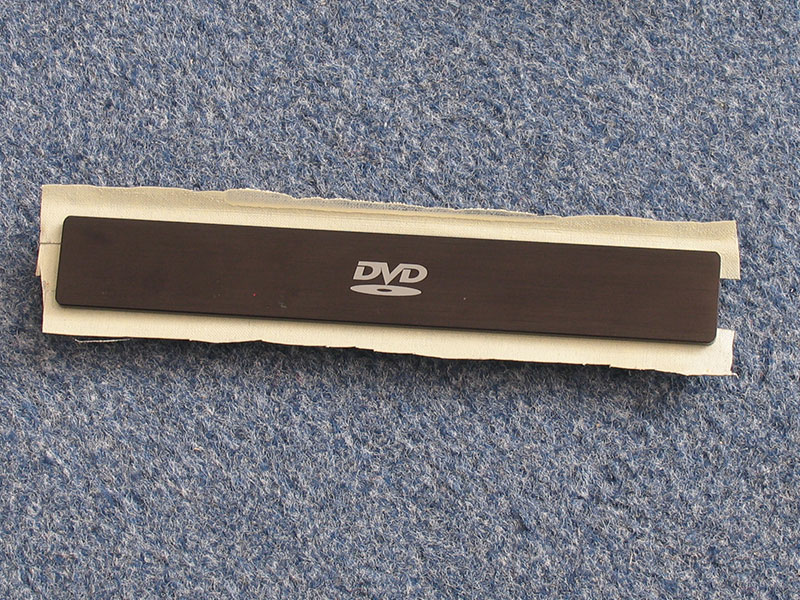
A really big issue I had with this is that there is nothing included that you could use to close the hole in the front when you are not installing an optical drive. What I did was use some black sticky tape to tape the drive cover to the case. When using high quality tape, the cover will be firmly in place, even when the unit is carried around. The tape approach has the advantage that the cover is sitting right in the middle with nothing near the edges.
Video card
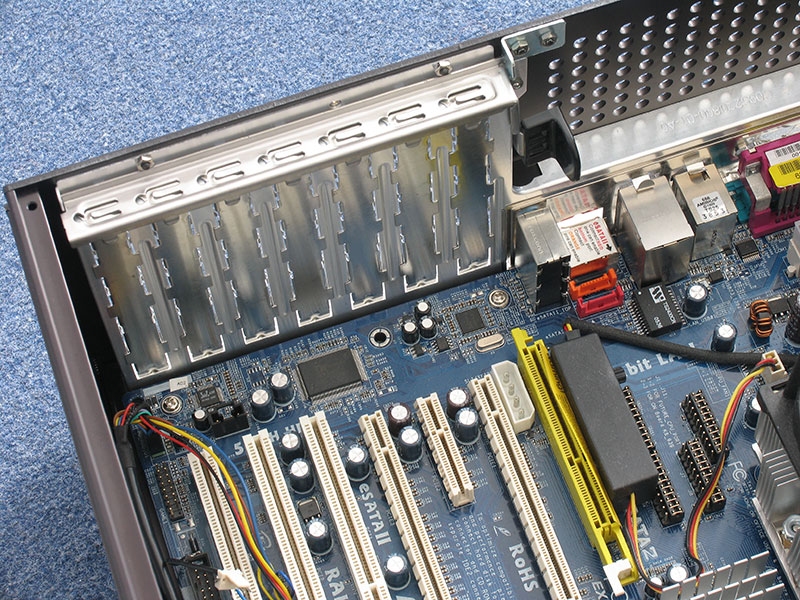
And finally we will install a video card. I am using a Radeon X800 XL with an aftermarket VGA cooler which has an extremely silent fan when running at low voltage.

To install a card you put the lever up, remove the aluminum cover by pressing against it.

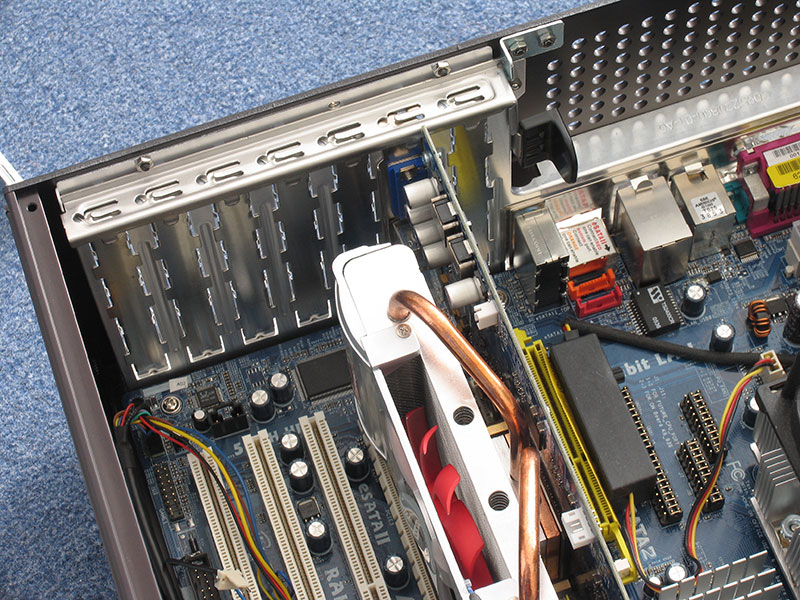
Then you install the card and lock the lever again. When the lever is down the card is locked securely in place. No matter how much I tried, I couldn't get the card out.
To verify this I lifted the whole case off the ground by pulling on the DVI cable - the card stayed in place. See a video of this here (Windows Media 7, 958 KB).
Feb 11th, 2025 04:57 EST
change timezone
Latest GPU Drivers
New Forum Posts
- Asteroid 2024 YR4 reaches level 3 on the Torino Scale (63)
- Black screen after I tried to flash my HD 6850 (5)
- The TPU UK Clubhouse (25725)
- Case fan with controller (5)
- Suggestion: Allow auto-selecting "best driver" with NVENC patch support (4)
- win10 or win11 (0)
- What's your latest tech purchase? (23125)
- Help Needed on Toshiba IS-1522 (1)
- It's happening again, melting 12v high pwr connectors (112)
- Guide: Flashing with a hardware programmer (15)
Popular Reviews
- Civilization VII Performance Benchmark Review - 35 GPUs Tested
- Kingdom Come Deliverance II Performance Benchmark Review - 35 GPUs Tested
- ASRock Phantom Gaming B850I Lightning Wi-Fi Review
- Team Group T-Force XTREEM DDR5-7200 48GB CL34 Review
- Spider-Man 2 Performance Benchmark Review - 35 GPUs Tested
- NVIDIA GeForce RTX 5080 Founders Edition Review
- AMD Ryzen 7 9800X3D Review - The Best Gaming Processor
- Kingdom Come: Deliverance 2 Handheld Performance Review
- DAREU A980 Pro Max Review
- Corsair Frame 4000D Review
Controversial News Posts
- AMD Radeon 9070 XT Rumored to Outpace RTX 5070 Ti by Almost 15% (286)
- AMD is Taking Time with Radeon RX 9000 to Optimize Software and FSR 4 (256)
- AMD Denies Radeon RX 9070 XT $899 USD Starting Price Point Rumors (239)
- Edward Snowden Lashes Out at NVIDIA Over GeForce RTX 50 Pricing And Value (239)
- AMD Radeon RX 9070 XT & RX 9070 Custom Models In Stock at European Stores (226)
- New Leak Reveals NVIDIA RTX 5080 Is Slower Than RTX 4090 (215)
- AMD's Radeon RX 9070 Launch Faces Pricing Hurdles (175)
- AMD Radeon RX 9070 XT Tested in Cyberpunk 2077 and Black Myth: Wukong (169)