 2
2
Cooler Master MK850 Keyboard Review
Driver »Disassembly
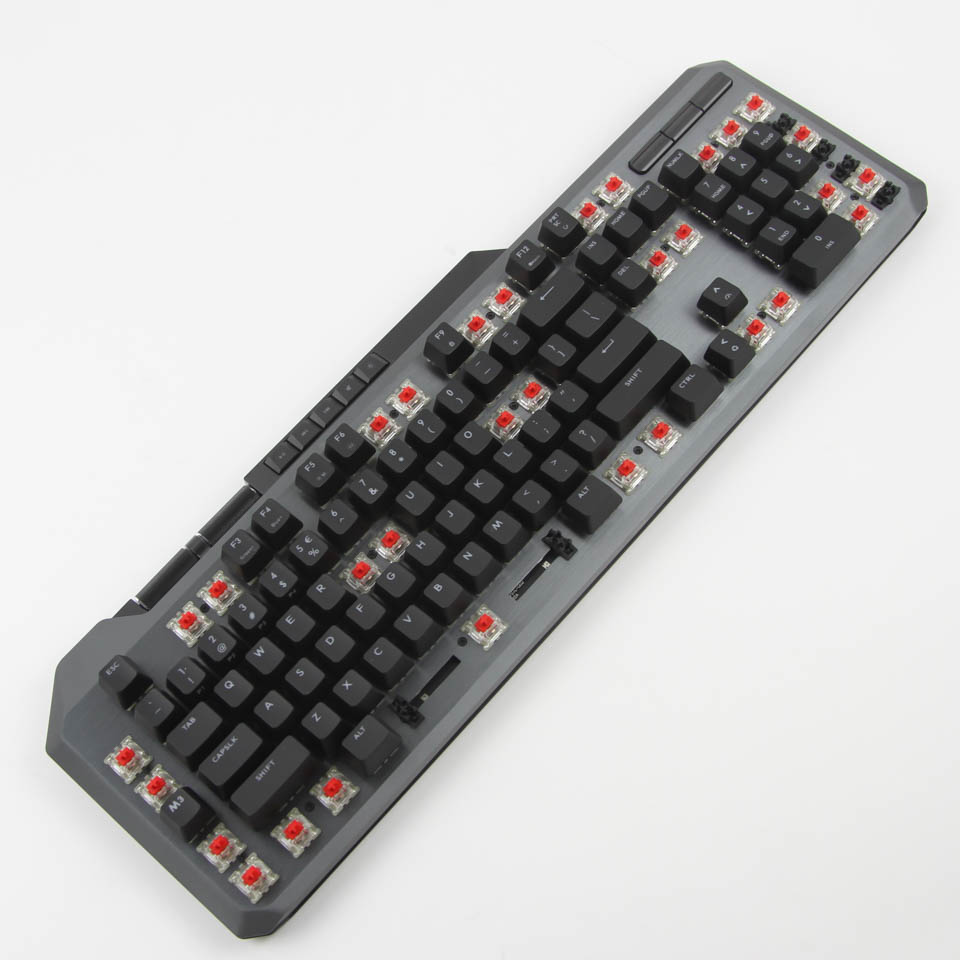
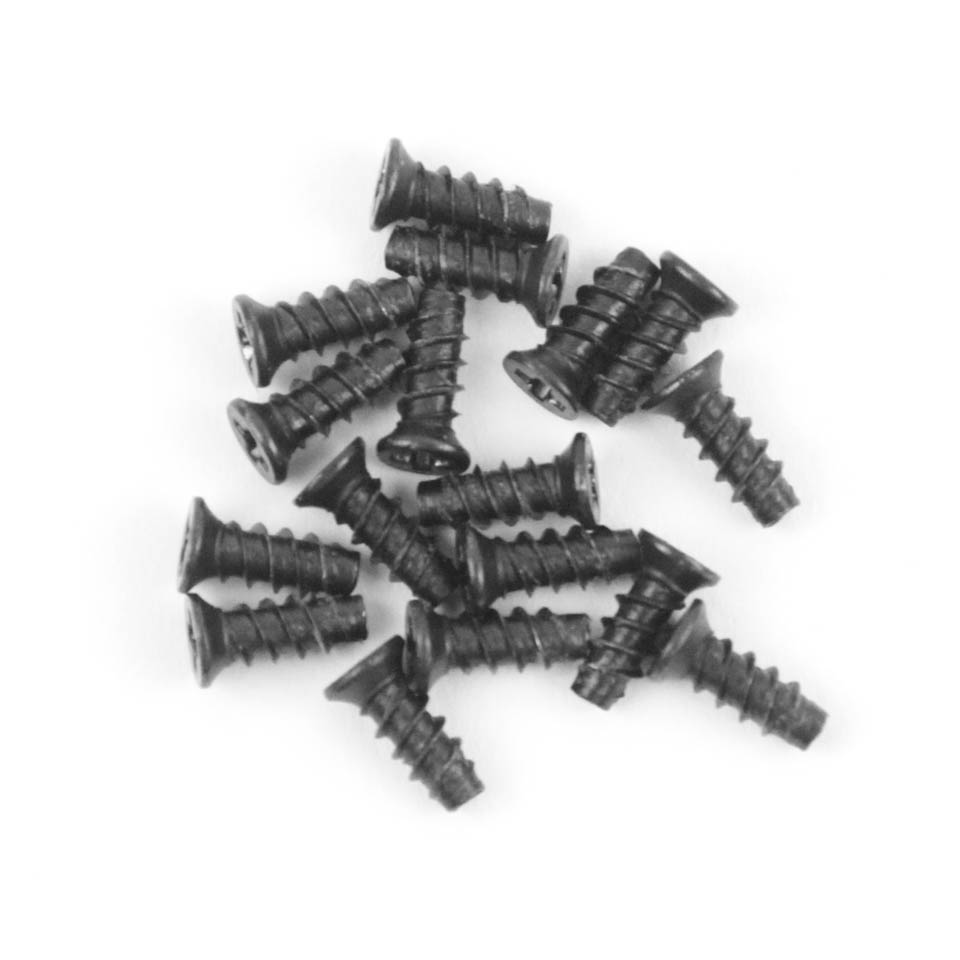

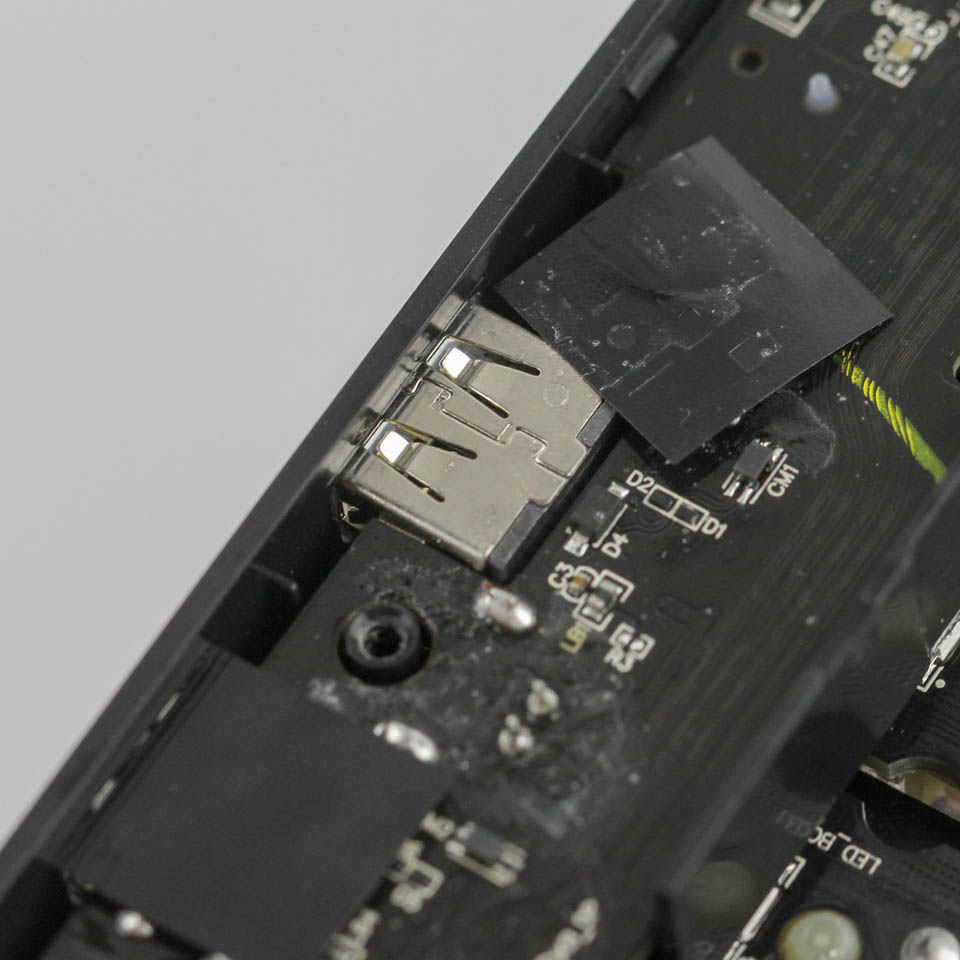
Disassembly of the Cooler Master MK850 keyboard is a fairly involved process, not least of which because everything but the kitchen sink has been thrown together here. Begin by removing several specific keycaps as shown above to expose 17 countersunk screws with Phillips heads on the aluminium frame. A precision screwdriver comes in handy here, and with all screws removed, we can separate the two main pieces of the keyboard by enough to see what else needs to be done. Usually, I unplug the internal USB cable attached to the PCB; however, in this case, it is far easier to just unscrew the USB Type-C connector piece from the bottom plastic case panel, which in turn fully separates the two pieces.

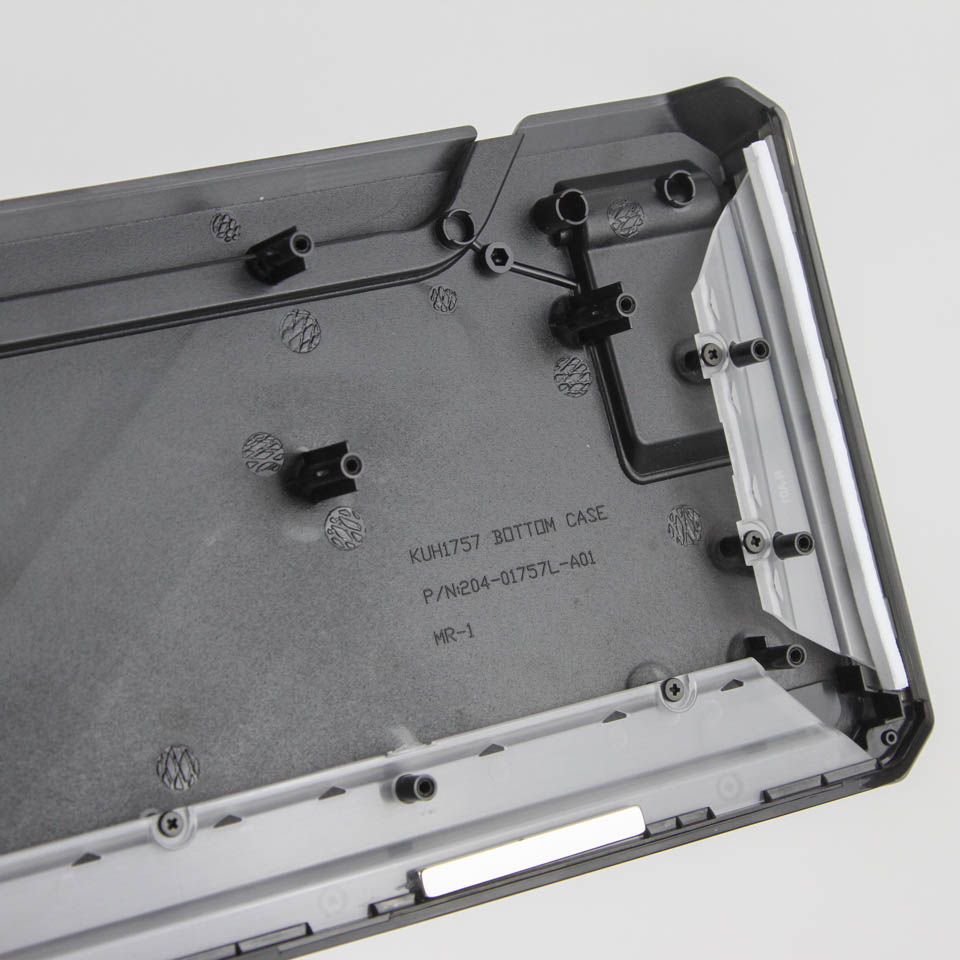

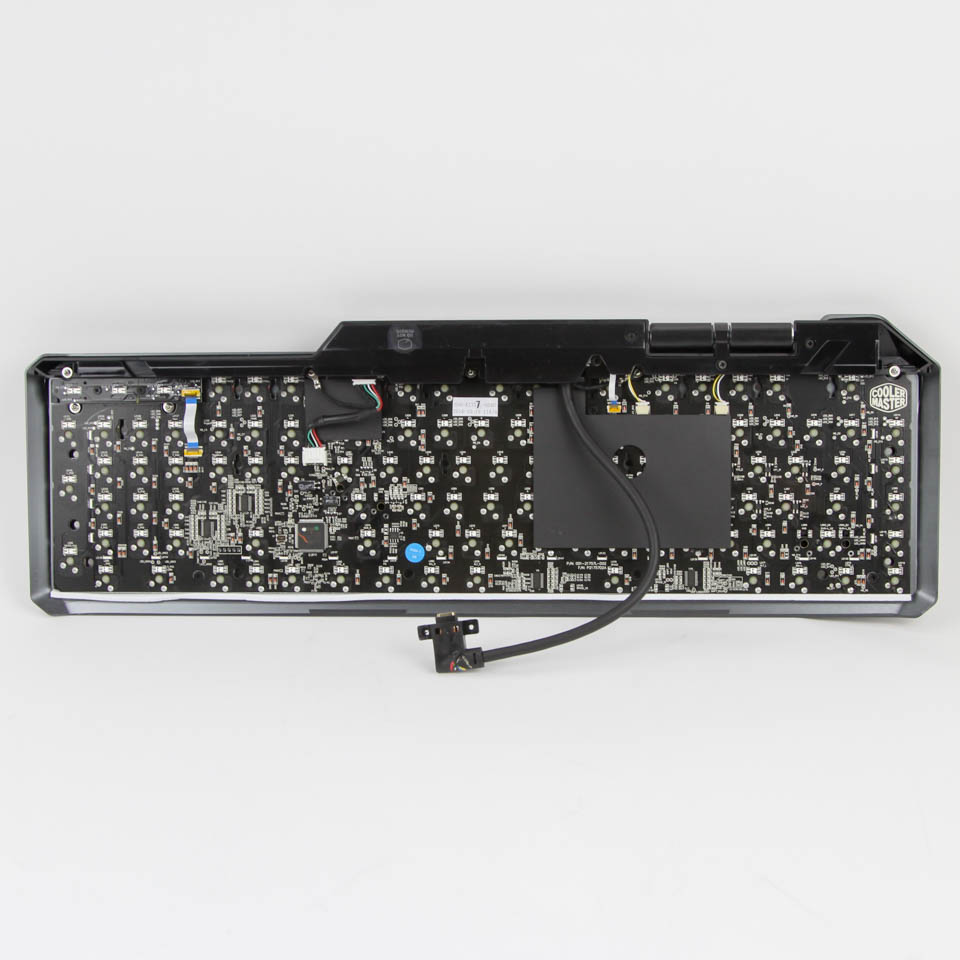
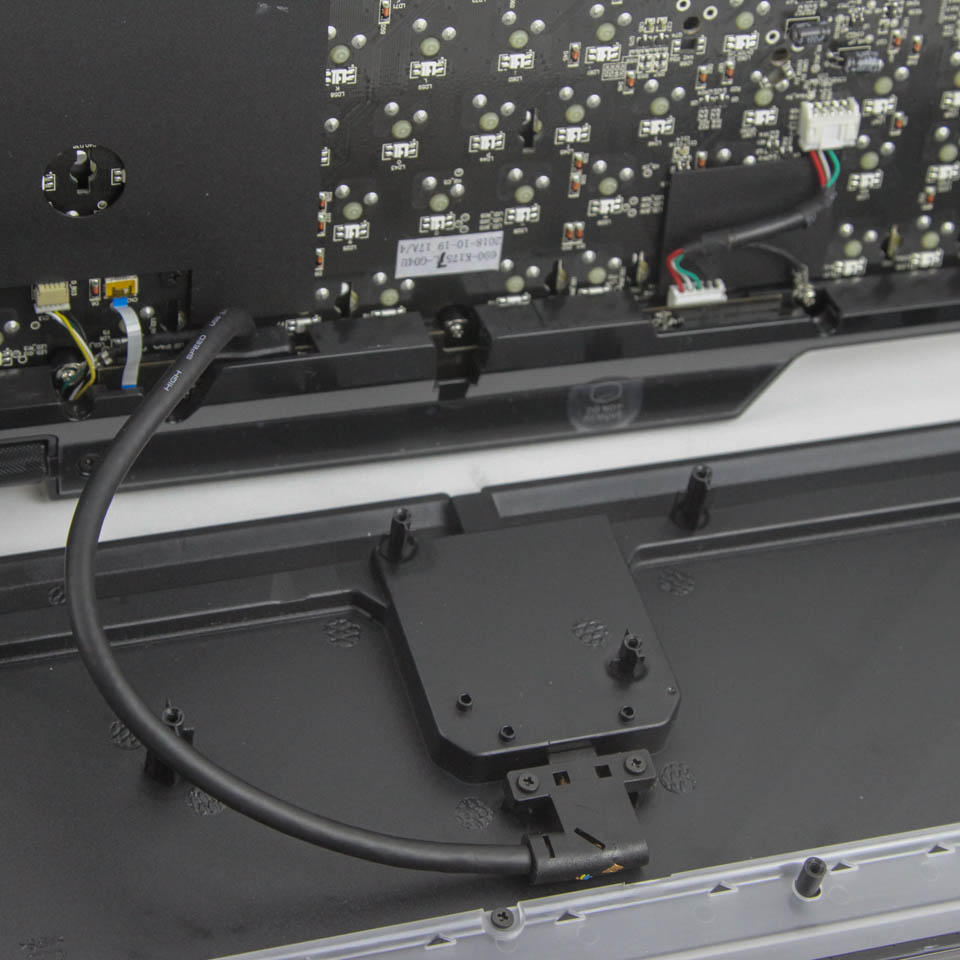
This connector piece has a plastic housing to accommodate a rigid 90° cable terminating in the Type-C connector, but has cracks in its housing on my sample, which exposes some of the wiring. The insulation is still intact, so there won't be any functional issues unless it gets worse, say via bad shipping and handling, which has me give Cooler Master a pass on this. As per usual, the bottom case panel is made out of ABS plastic, and has plastic diffuser panels on the edges as well as electrical insulation foam to prevent shorting from metal to metal inadvertently touching the frame/PCB. These panels are to help with the side lighting comprised of the light bar on the MK850 and is done better than on the SK630 that has near-negligible side lighting. We are now left with the other piece, but there is more to do here before we can take a look at all the onboard hardware controllers.
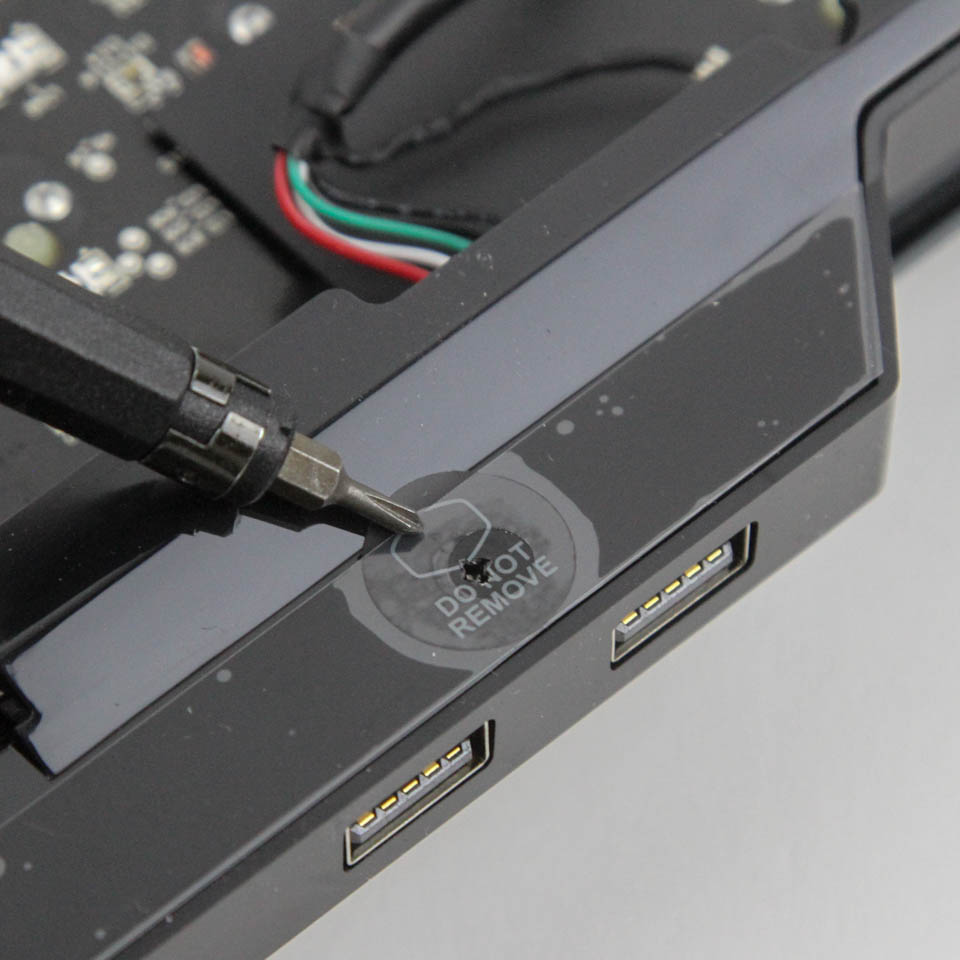
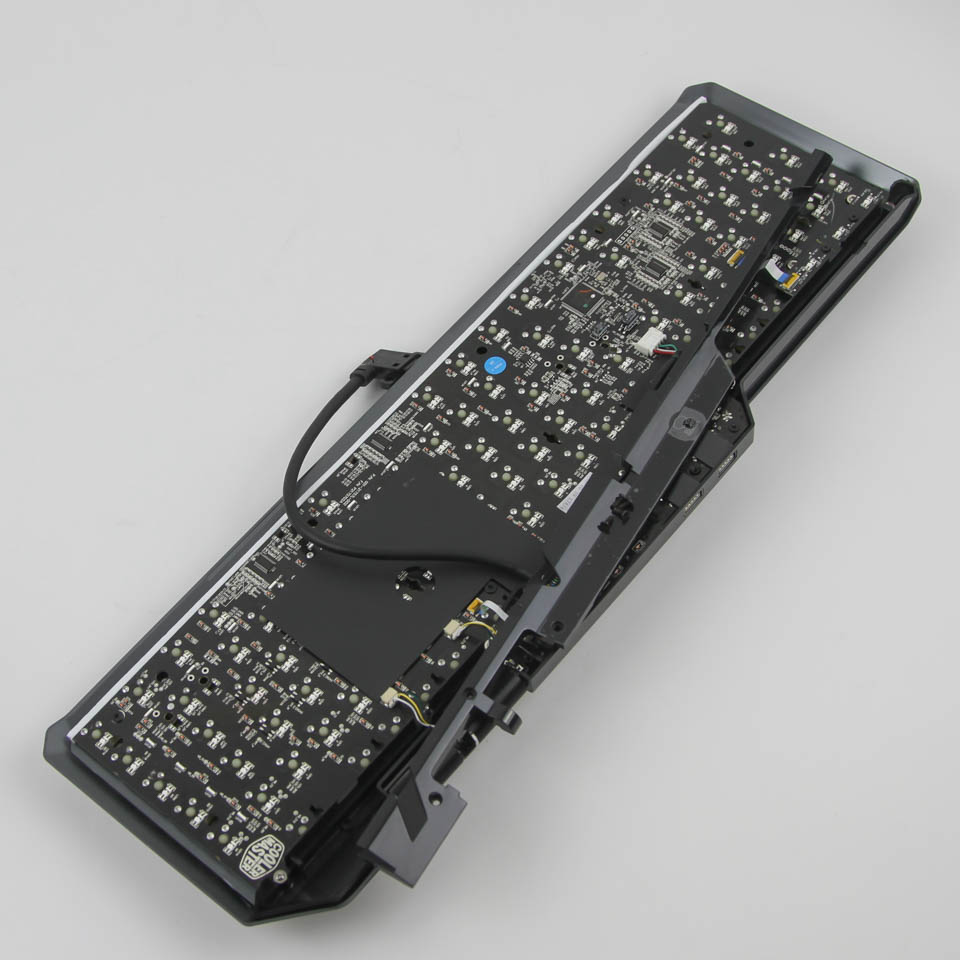

There are four screws, including one under a do not remove sticker on the back holding a long plastic piece in place. This is a cover that has connections to daughter PCBs from the primary PCB, which allow for all the dedicated keys and wheels outside of the standard 104-keys supported by the primary PCB, as well as Aimpad control itself. We can disassemble further by removing more screws and internal cables, but there is not much more of interest to see beyond this point. All PCBs are black and soldering is extremely neat throughout. This suggests machine assembly, which makes sense given the volumes Cooler Master operates at, and there is a Cooler Master logo on the keyboard just in case you forgot.
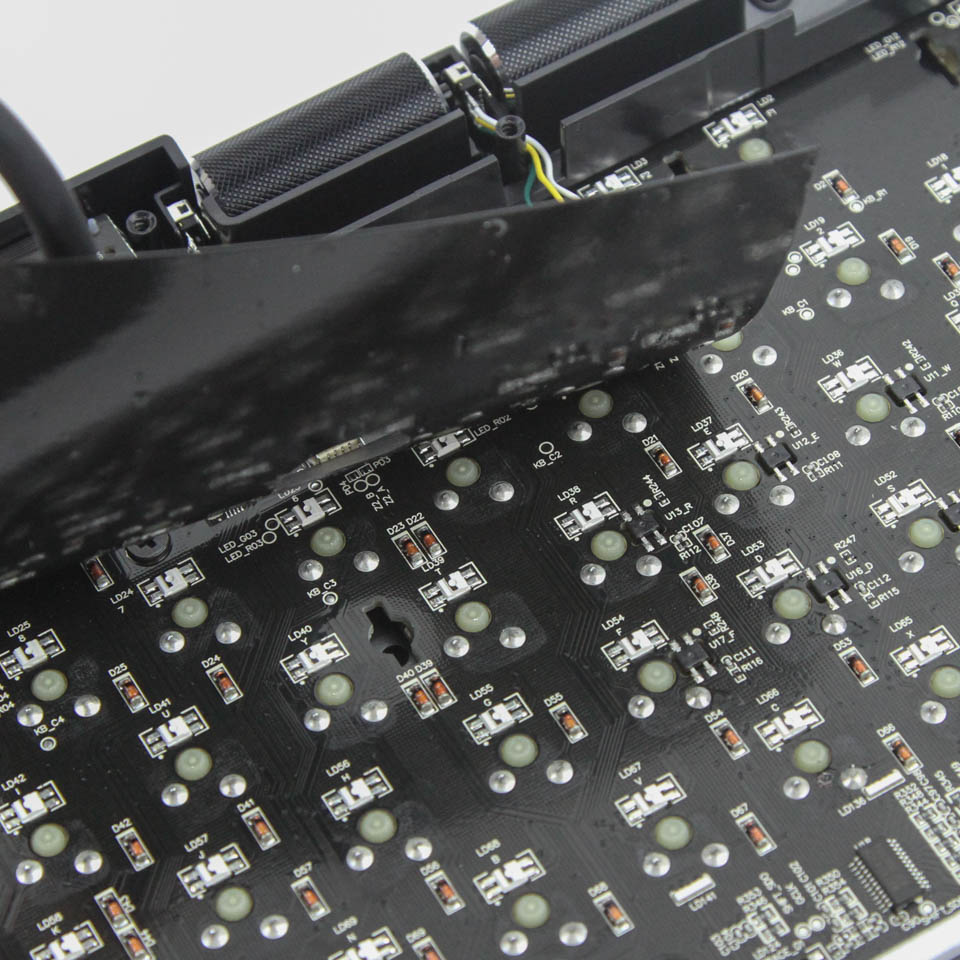


There is more electrical insulation, this time via tape, on large sections of the primary PCB. Underneath is nothing that is different from the rest of the PCB, with switches soldered through the frame and on to the PCB, along with associated LEDs and resistors. The two wheels get their own little connectors on the primary PCB, but the rest of the switches are on daughter PCBs that also have LEDs for backlighting. The exposed side of the two USB ports is also covered by insulating tape, if only to make sure you don't have any unpleasant surprises when connecting the keyboard to a PC.


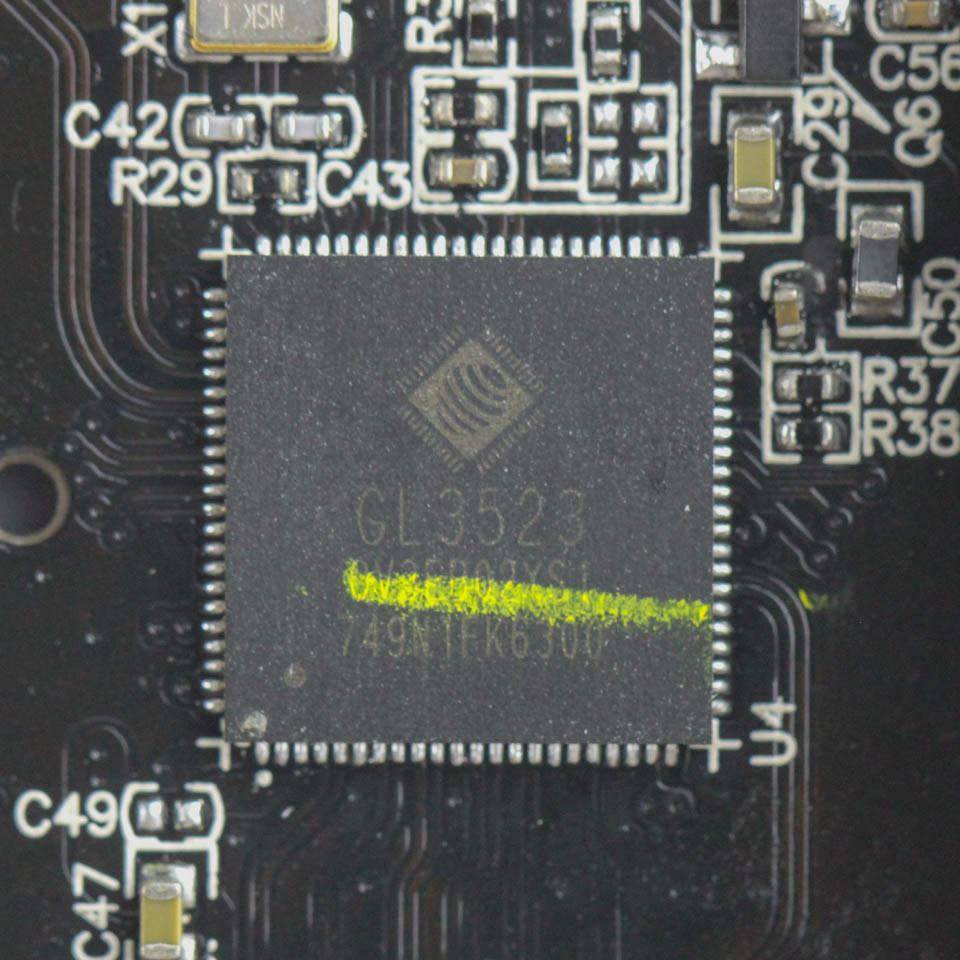
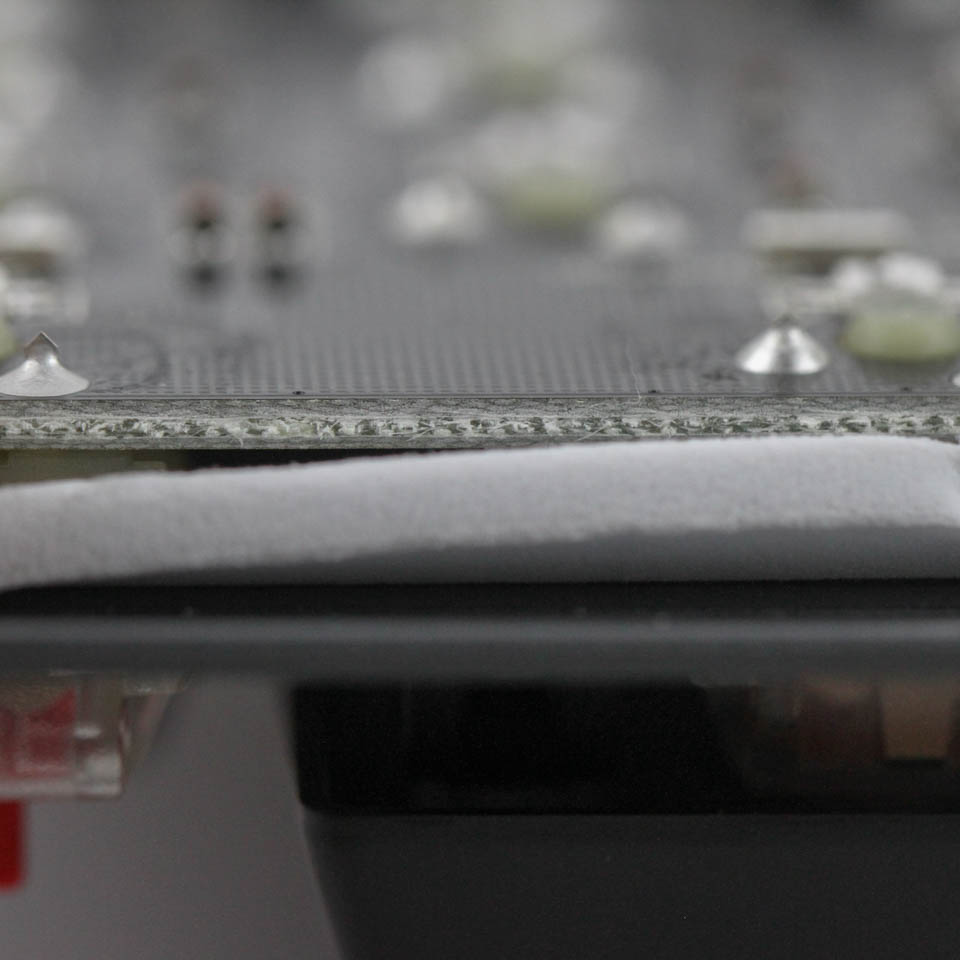
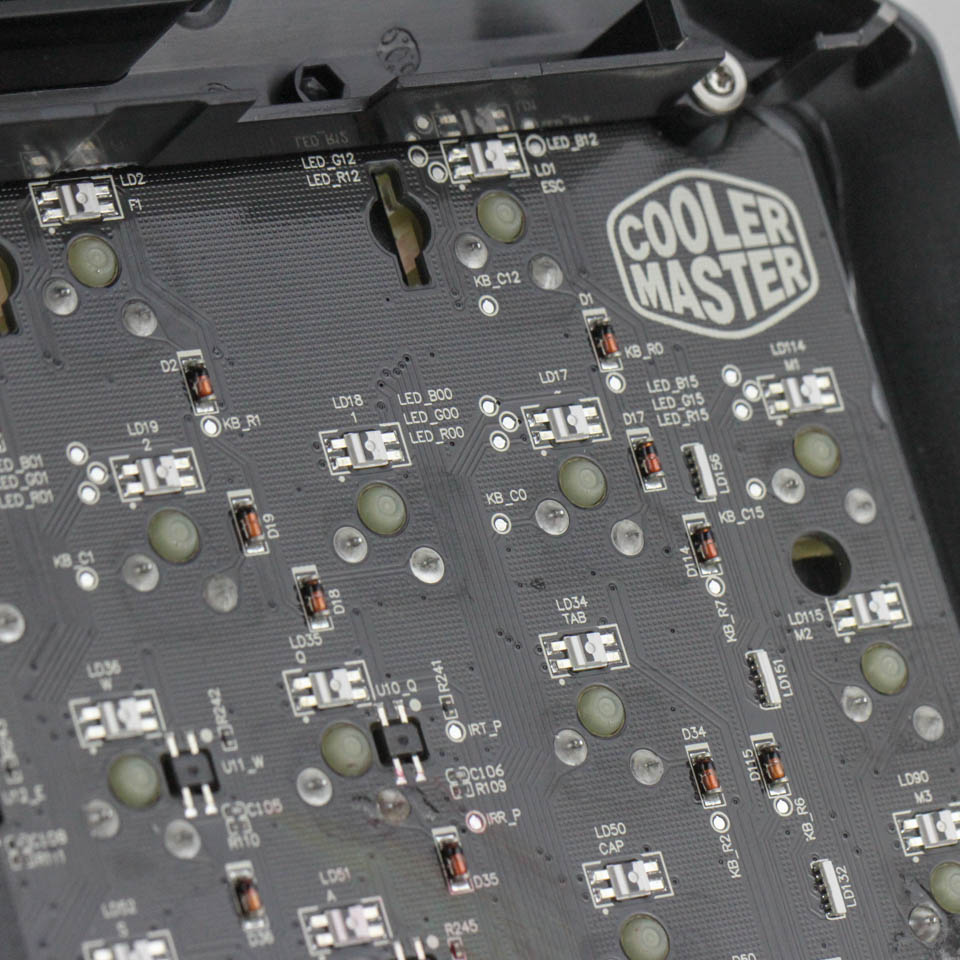
Powering the Cooler Master MK850 keyboard is a Holtek HT32F1655 32-bit ARM Cortex-M3 microcontroller with up to 256 KB of programmable flash memory and 32 KB of SRAM onboard. This is a significant step up from the Holtek HT32F1634 Cooler Master has used on their other recent keyboards with RGB lighting and onboard and software controls, and also costs more, which will add to the overall price. There are also four separate Macroblock MBIA045GP LED drivers for the RGB lighting control. Cooler Master includes a Genesys Logic GL3523 USB 3.1 Gen 1 hub controller with support for USB Type-C configurations, which works perfectly in this case by taking a USB 3.1 signal via Type-C on the keyboard and providing enough data and power to the two Type-A ports on the keyboard. The switches are soldered through the aluminium frame and on to the PCB, making them hard to take apart without a de-soldering job. All the components, including the switches, LEDs, and capacitors, are soldered to a multi-layered PCB.

There are eight keys on the Cooler Master MK850 with Aimpad technology: Q/W/E/R and A/S/D/F. Only these switches have a sensor integrated on the PCB next to them which detects the travel of the switch and translates it to analog control rather than a discrete ON/OFF actuation state as with other switches. In theory, there is nothing stopping Cooler Master from implementing Aimpad on all the switches. In practice, however, it would have added to the cost of components, as well as further configuration support both onboard and via the software driver. We will soon enough see how the MK850 works out in this regard, but you now know that Cooler Master did not simply toggle a switch to disable Aimpad support across the entire keyboard.
Before we move on, be advised that disassembly may void the warranty and that TechPowerUp is not liable for any damages incurred if you decide to go ahead and do so anyway.
Feb 10th, 2025 20:44 EST
change timezone
Latest GPU Drivers
New Forum Posts
- Asteroid 2024 YR4 reaches level 3 on the Torino Scale (47)
- Your PC ATM (35232)
- It's happening again, melting 12v high pwr connectors (94)
- Wanting to upgrade CPU (16)
- Last game you purchased? (678)
- Is this 5950x running correctly? (22)
- Paint + metal flakes from case screw holes, very worried. (Silent Base 802) (3)
- Monitor Battle! Help me choose between two contenders (18)
- Dlss4 + 4090 = lower max oc than with dlss3 (67)
- TECHPOWERUP HWBOT Contest Submissions List (65)
Popular Reviews
- Civilization VII Performance Benchmark Review - 35 GPUs Tested
- Kingdom Come Deliverance II Performance Benchmark Review - 35 GPUs Tested
- ASRock Phantom Gaming B850I Lightning Wi-Fi Review
- Spider-Man 2 Performance Benchmark Review - 35 GPUs Tested
- Team Group T-Force XTREEM DDR5-7200 48GB CL34 Review
- Kingdom Come: Deliverance 2 Handheld Performance Review
- NVIDIA GeForce RTX 5080 Founders Edition Review
- AMD Ryzen 7 9800X3D Review - The Best Gaming Processor
- Corsair Frame 4000D Review
- Gigabyte GeForce RTX 5080 Gaming OC Review
Controversial News Posts
- AMD Radeon 9070 XT Rumored to Outpace RTX 5070 Ti by Almost 15% (286)
- AMD is Taking Time with Radeon RX 9000 to Optimize Software and FSR 4 (256)
- AMD Denies Radeon RX 9070 XT $899 USD Starting Price Point Rumors (239)
- Edward Snowden Lashes Out at NVIDIA Over GeForce RTX 50 Pricing And Value (239)
- AMD Radeon RX 9070 XT & RX 9070 Custom Models In Stock at European Stores (226)
- New Leak Reveals NVIDIA RTX 5080 Is Slower Than RTX 4090 (215)
- AMD's Radeon RX 9070 Launch Faces Pricing Hurdles (175)
- AMD Radeon RX 9070 XT Tested in Cyberpunk 2077 and Black Myth: Wukong (169)