Subtle i7 Build
Owner:
Posted:
May 23rd 2009
Updated:
Viewed:
7,533 times
Submit vote:
Please register on the forums & login to vote.
Key Features:


This modder's other projects:
System Specs:
Performed Mods:
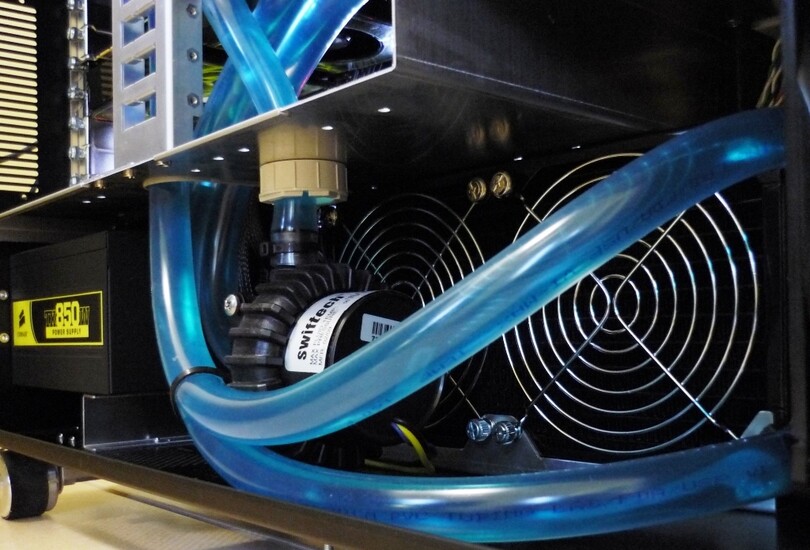
Removed bottom drive cages, mounted radiator with custom bracket, installed radiator exhaust in side panel, moded drive cage to fit inside 5.25" bays, general cable management.
The aim was to complete a watercooled build but still leaving the impression that the case was not heavily modded.
Feb 21st, 2025 13:14 EST
change timezone
Latest GPU Drivers
New Forum Posts
- Windows 11 General Discussion (5680)
- [PCGamer] Former Sony exec finally says the quiet part out loud: putting PlayStation games on PC is 'almost like printing money' (35)
- TPU's Nostalgic Hardware Club (19971)
- Dune: Awakening benchmark - post your results (7)
- As we live the age of game remakes, which game you would like to see to have a remake? (300)
- B580 tanks performance with low end CPUs (160)
- [GPU-Z] Asus ROG Astral RTX 5090 OC Bios reading not supported (3)
- It's happening again, melting 12v high pwr connectors (844)
- How to quickly & easily fix coil-whine(coil choke noise) (1126)
- AAF Optimus Modded Driver For Windows 10 & Windows 11 - Only for Realtek HDAUDIO Chips (328)
Popular Reviews
- MSI GeForce RTX 5070 Ti Ventus 3X OC Review
- Gigabyte GeForce RTX 5090 Gaming OC Review
- Galax GeForce RTX 5070 Ti 1-Click OC White Review
- ASUS GeForce RTX 5070 Ti TUF OC Review
- Ducky One X Inductive Keyboard Review
- MSI GeForce RTX 5070 Ti Vanguard SOC Review
- MSI GeForce RTX 5070 Ti Gaming Trio OC+ Review
- AMD Ryzen 7 9800X3D Review - The Best Gaming Processor
- MSI MAG Z890 Tomahawk Wi-Fi Review
- NVIDIA GeForce RTX 5080 Founders Edition Review
Controversial News Posts
- AMD Radeon 9070 XT Rumored to Outpace RTX 5070 Ti by Almost 15% (302)
- AMD Plans Aggressive Price Competition with Radeon RX 9000 Series (268)
- AMD is Taking Time with Radeon RX 9000 to Optimize Software and FSR 4 (256)
- AMD Radeon RX 9070 and 9070 XT Listed On Amazon - One Buyer Snags a Unit (247)
- Edward Snowden Lashes Out at NVIDIA Over GeForce RTX 50 Pricing And Value (241)
- AMD Denies Radeon RX 9070 XT $899 USD Starting Price Point Rumors (239)
- New Leak Reveals NVIDIA RTX 5080 Is Slower Than RTX 4090 (215)
- NVIDIA GeForce RTX 5090 Spotted with Missing ROPs, Performance Loss Confirmed, Multiple Vendors Affected (165)


17 Comments on Subtle i7 Build
looks nice
Now, if you think is going to get crouded in there, then just leave it as it is....
btw have you checked my rig? www.techpowerup.com/gallery/2097.html
theres not really any noticeable mods but I dont love your rig for what it is with out the mods so I will probably bump that up to a 8/10 I like it good job
Ive a few rants though. Change the weak Swiftech MCR220 using that for an i7 is poor choice. Change the plastic clamps or use compression fittings. Use an ek res, swiftech res are fugly imo. Tubings are quite long for just cooling one component.
Otherwise, its cool system, and a sweet case to boot. 7/10