 12
12
Aerocool Aero One Eclipse Review - Style and Function for the Masses
Temperature & Noise Testing »Test System
| System Parts for Case Reviews | |
|---|---|
| Processor: | Intel Core i5-9600K |
| Motherboards: | ATX: MSI Z390 GAMING EDGE AC MATX: Z370M GAMING EDGE AC Mini-ITX: MSI Z370I GAMING EDGE AC Provided by: MSI |
| Graphics Card: | Long: Palit GeForce RTX 2080 Gaming Pro OC Short: EVGA GTX 1650 SC Ultra Black 4 GB |
| Memory: | 16 GB XPG GAMMIX D30 DDR4 2666 MHz CL16-18-18 1.20 V 16 GB XPG SPECTRIX D60G DDR4 3000 MHz CL16-18-18 1.35 V Provided by: ADATA |
| HDD: | Western Digital 320 GB 7200 RPM |
| SSD: | ADATA XPG SX850 256 GB ADATA Ultimate SU630 240 GB ADATA Ultimate SU750 256 GB ADATA SX6000 Pro M.2 256 GB ADATA GAMMIX S11 Pro M.2 256 GB ADATA SPECTRIX S40G M.2 256 GB Provided by: ADATA |
| Power Supply: | Fractal Design ION+ 750W 80 Plus Platinum |
| Cooling: | be quiet! Dark Rock 4 be quiet! Dark Rock Slim be quiet! Shadow Rock LP Provided by: be quiet! |
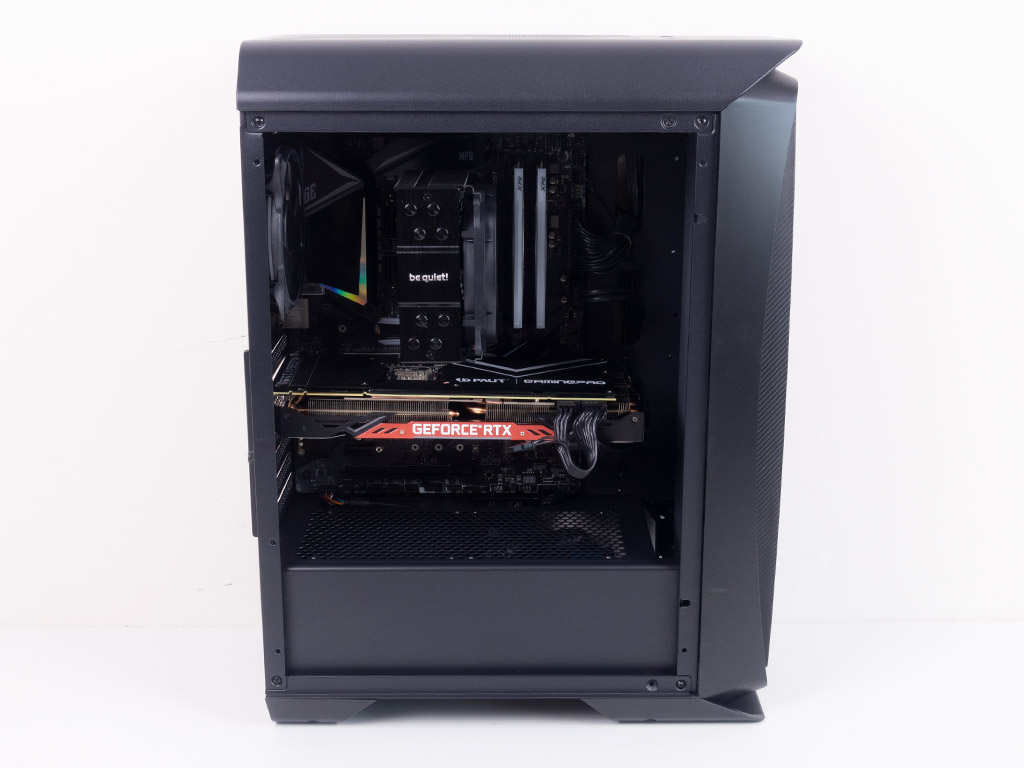
Assembly
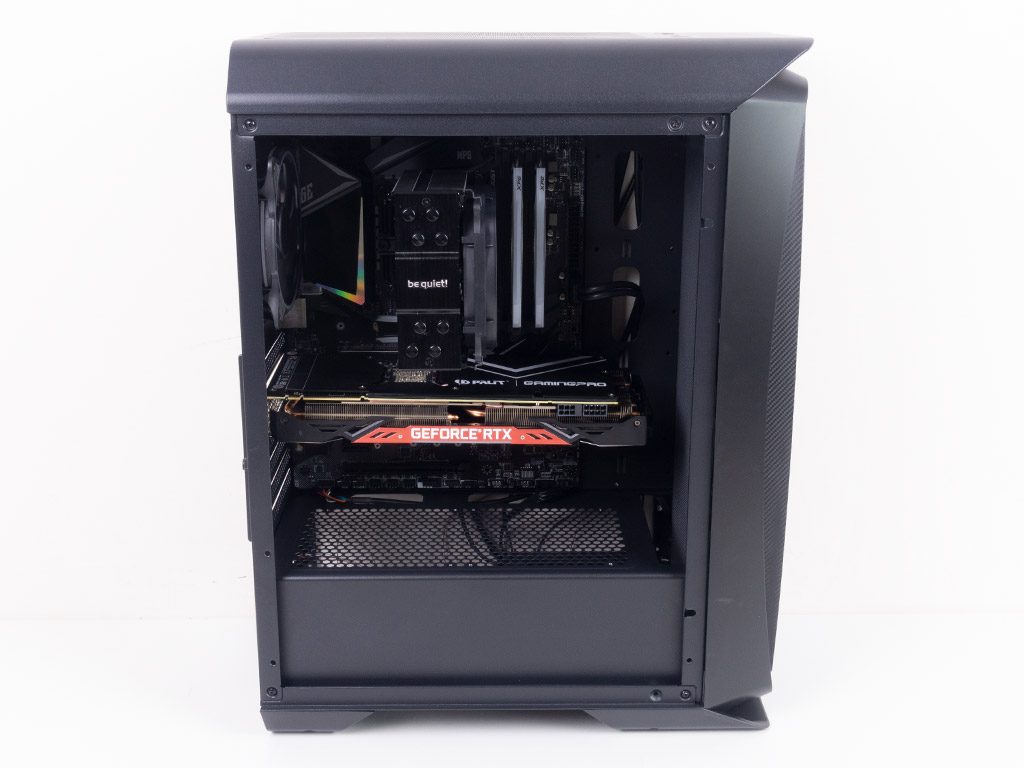
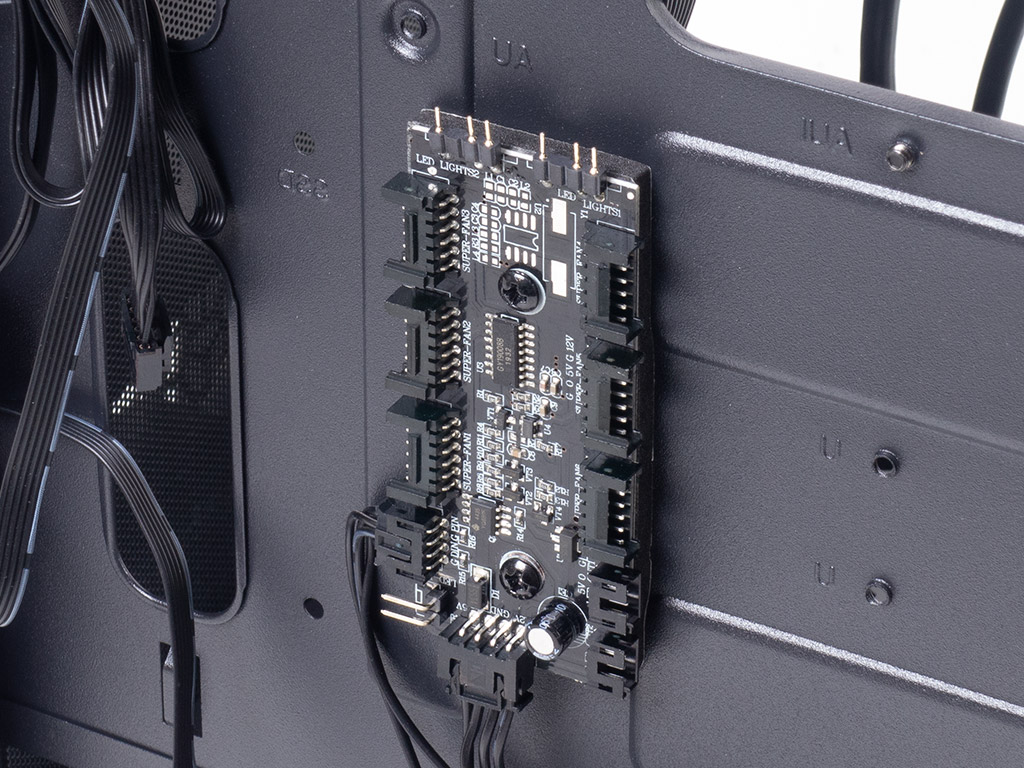
Installing the motherboard is done by traditional means, with the use of spacers and screws. I used two of the included screws to secure the fan PCB to its respective mounts on the backside of the motherboard tray.
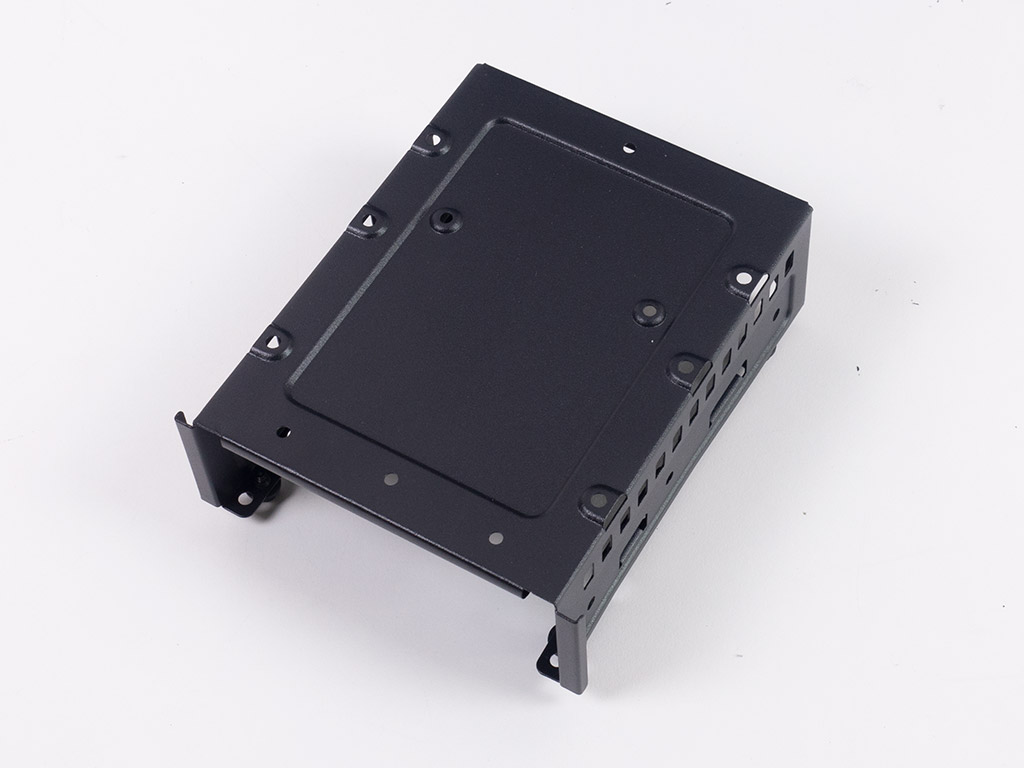
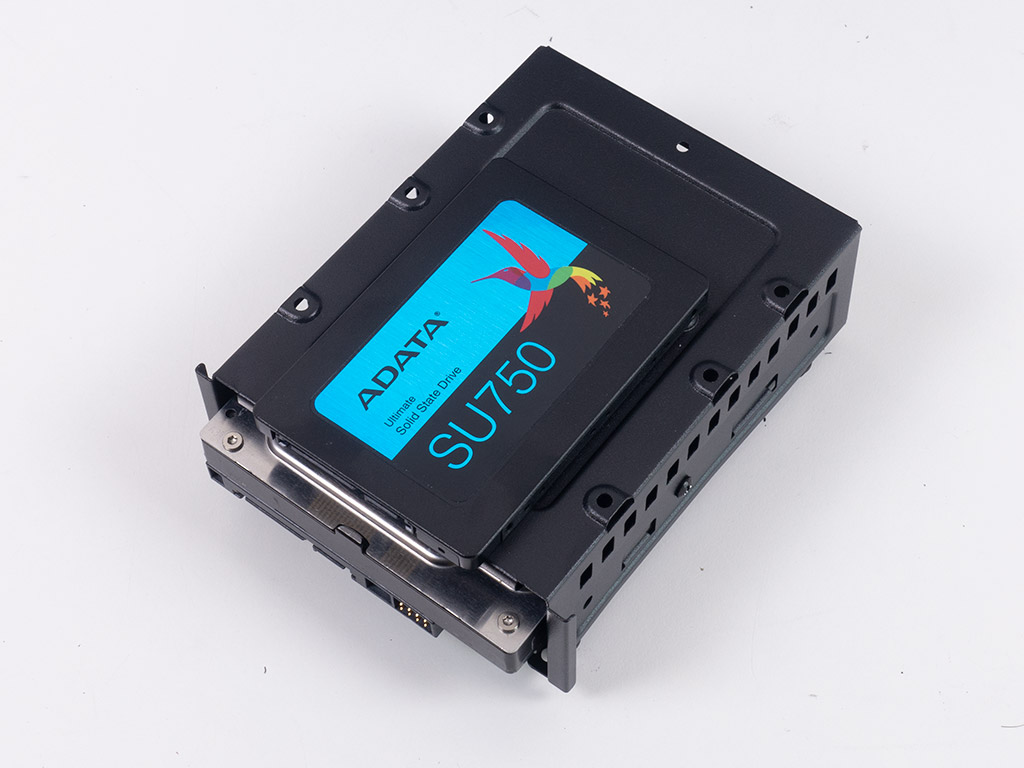
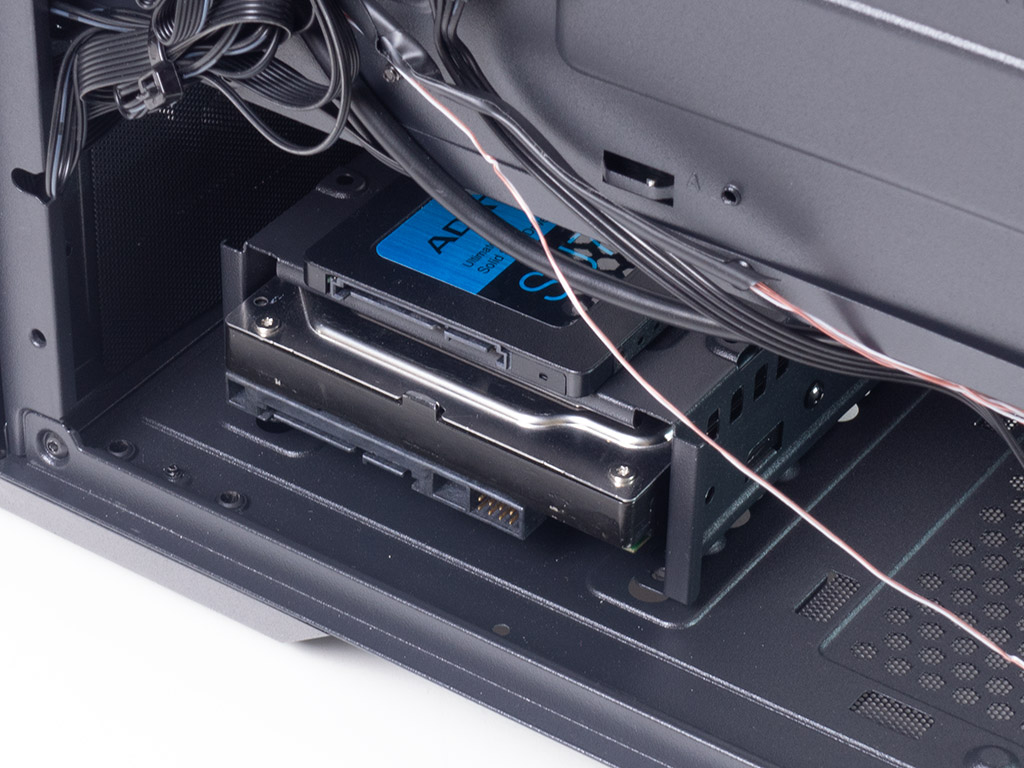
To install storage devices, first pull out the metal cage by unscrewing a single securing element. Once out, you can add a 2.5" or 3.5" drive on top of it first before filling the bottom part of the cage with another 3.5" drive. As I wanted to avoid blocking openings on the motherboard tray, I chose to go for a mix of drives on this cage which fits nicely underneath the shroud after being filled.
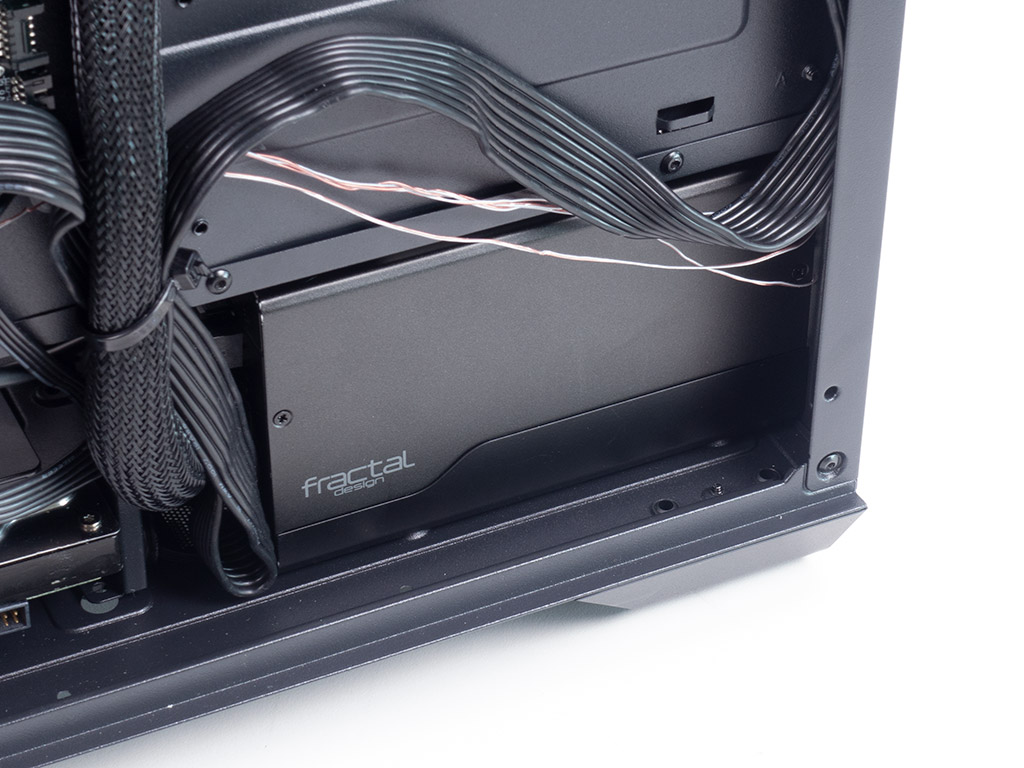
With the installed 750 W PSU it becomes apparent that you should be able to build a potent rig, but should really research which size fits comfortably. Having a unit that is too long will result in you loosing your only 3.5" storage element within the case, which is more than annoying as it is still a viable, cheaper choice for mass storage over SSDs in budget-minded builds.
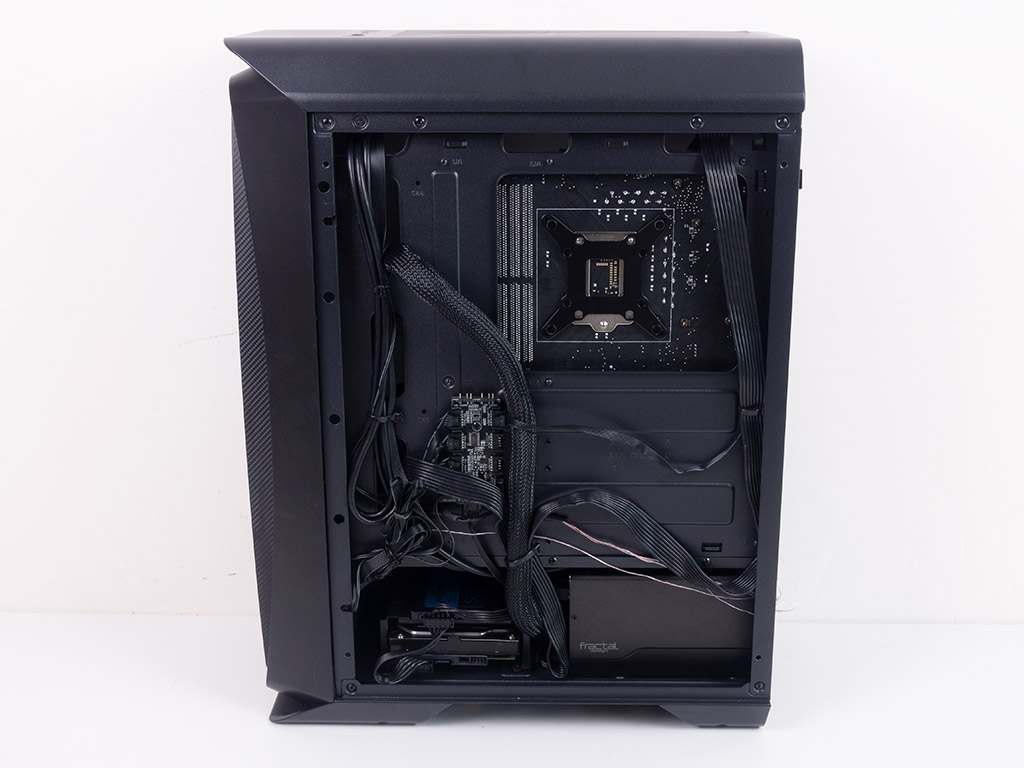
With everything installed and all wires tied down, you can see that there are hooks for zip ties in weird places which run right across the grommet-less cable-routing openings. Punching these into the motherboard tray at a different location during manufacturing would not cost more, but would really help, especially if you opt for 2.5" drives here. In our build with the bare minimum drive setup for a mainstream build, things turn out pretty tidy on the interior of the Aero One Eclipse, though.
Finished Looks
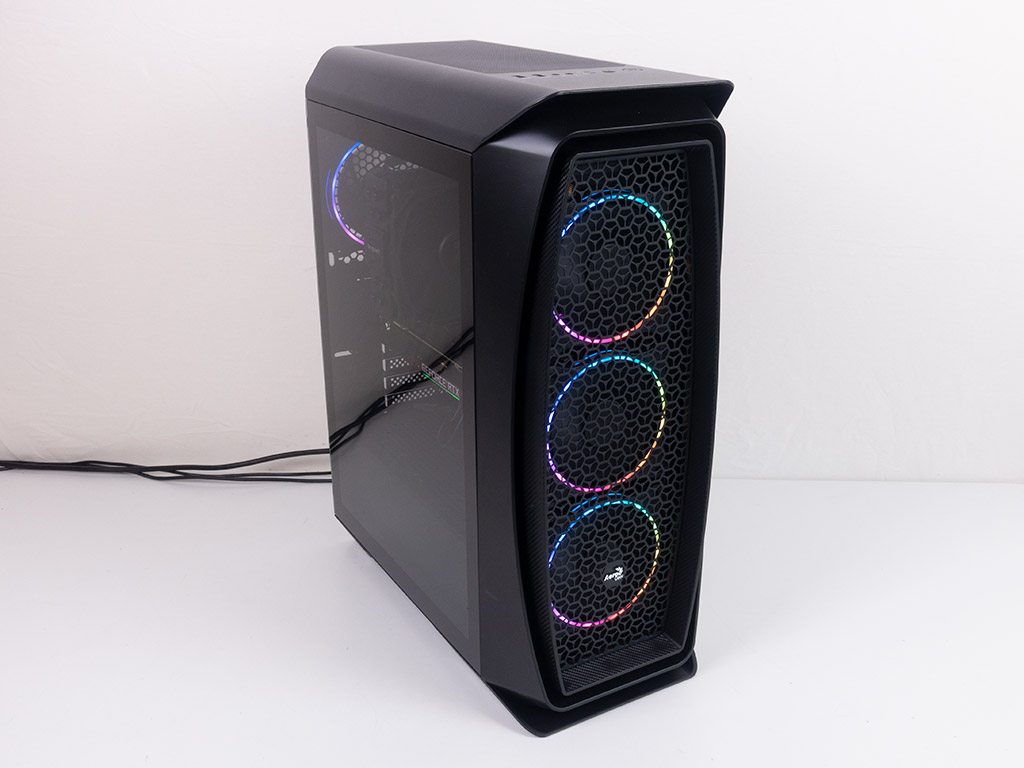
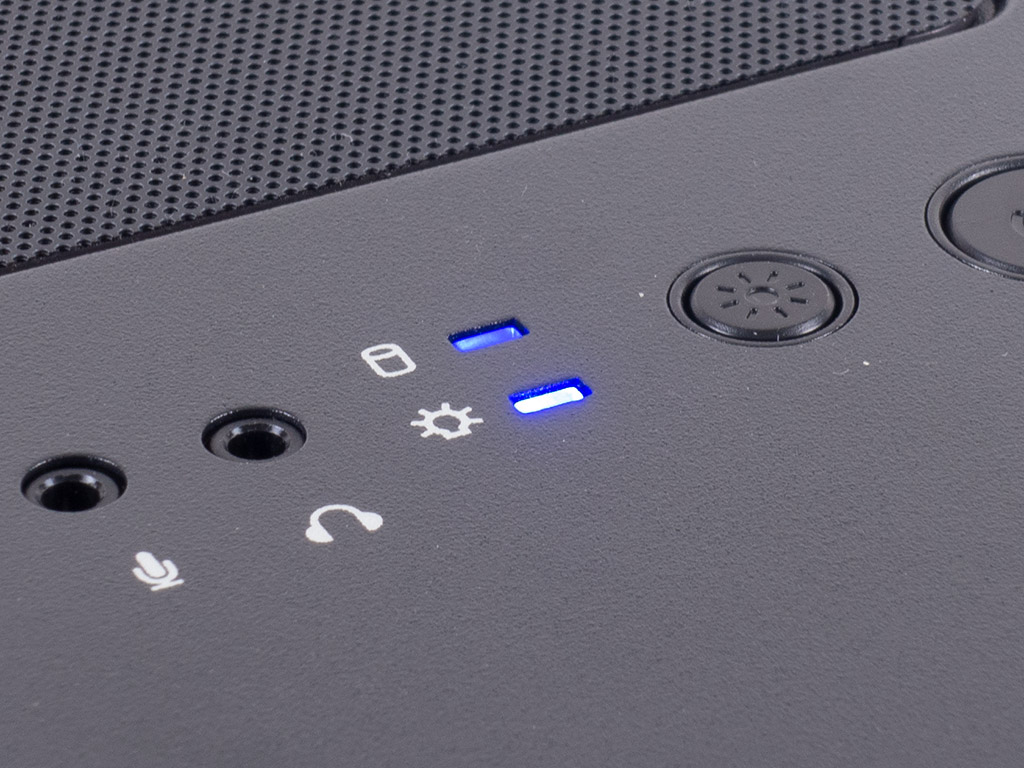
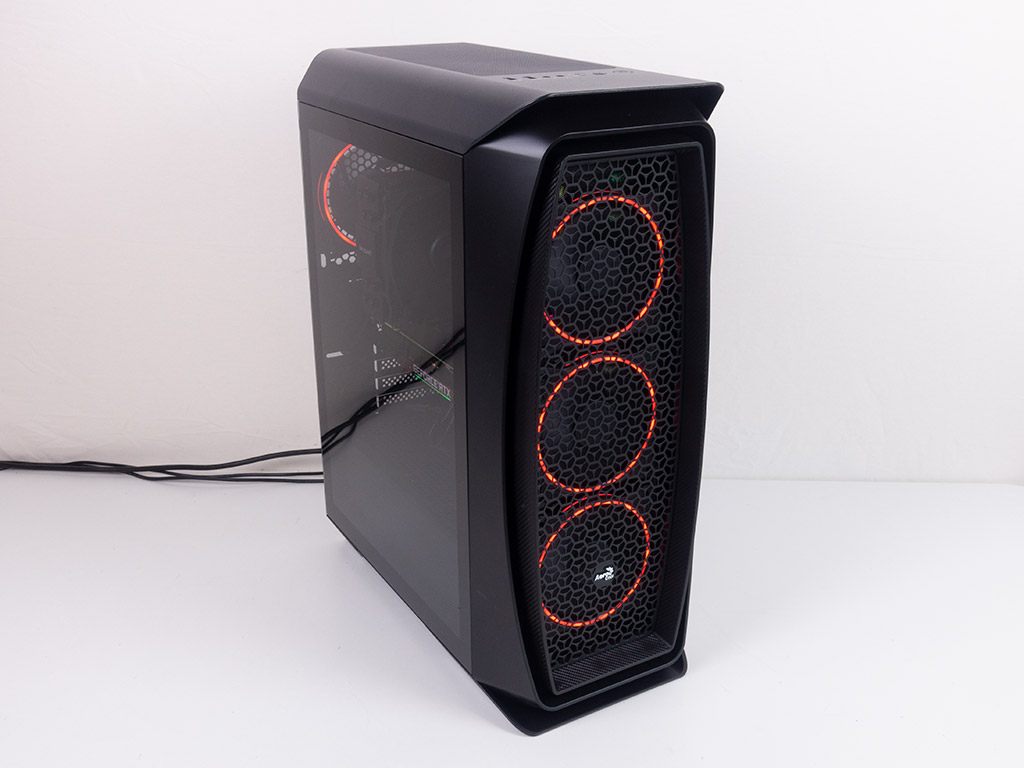
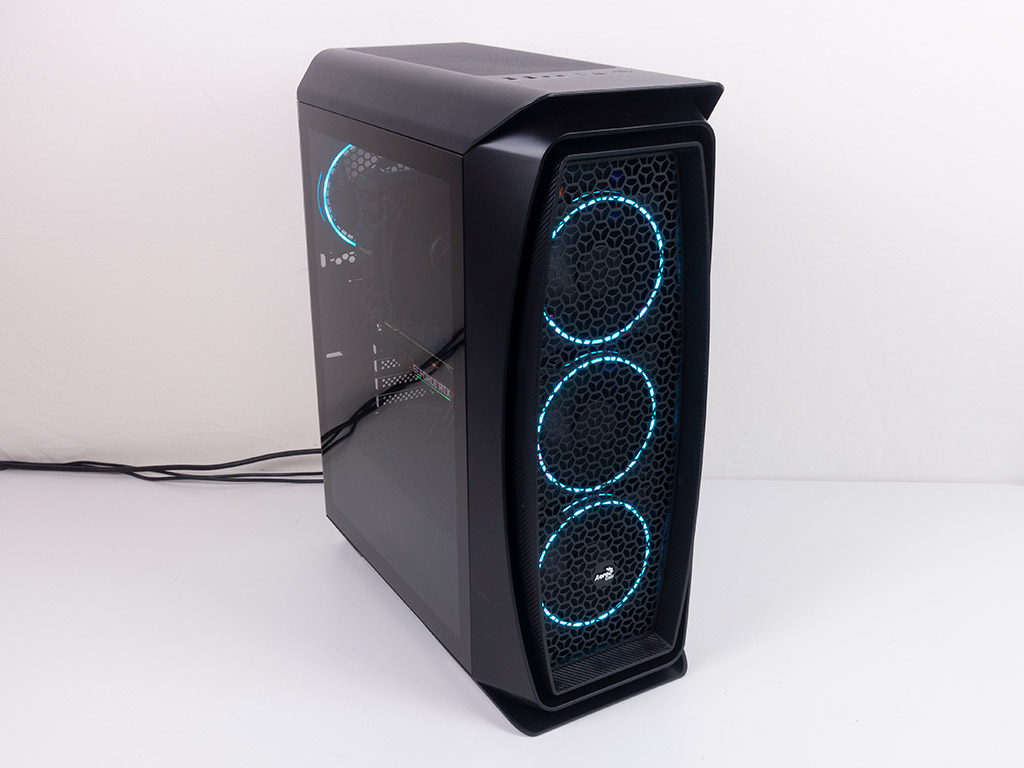
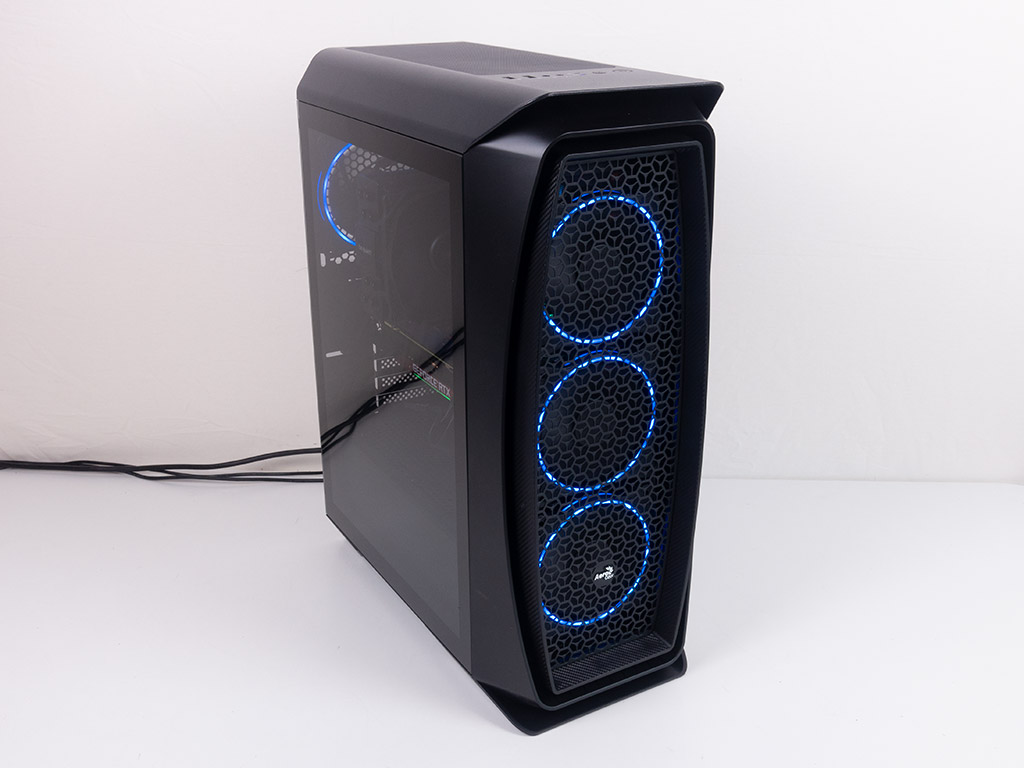
Once turned on, the Aerocool Aero One Eclipse looks pretty cool with the thin ARGB rings lighting behind the unique metal mesh front. On top of the case, a blue power LED lights up to let you know that the PC is up and running.
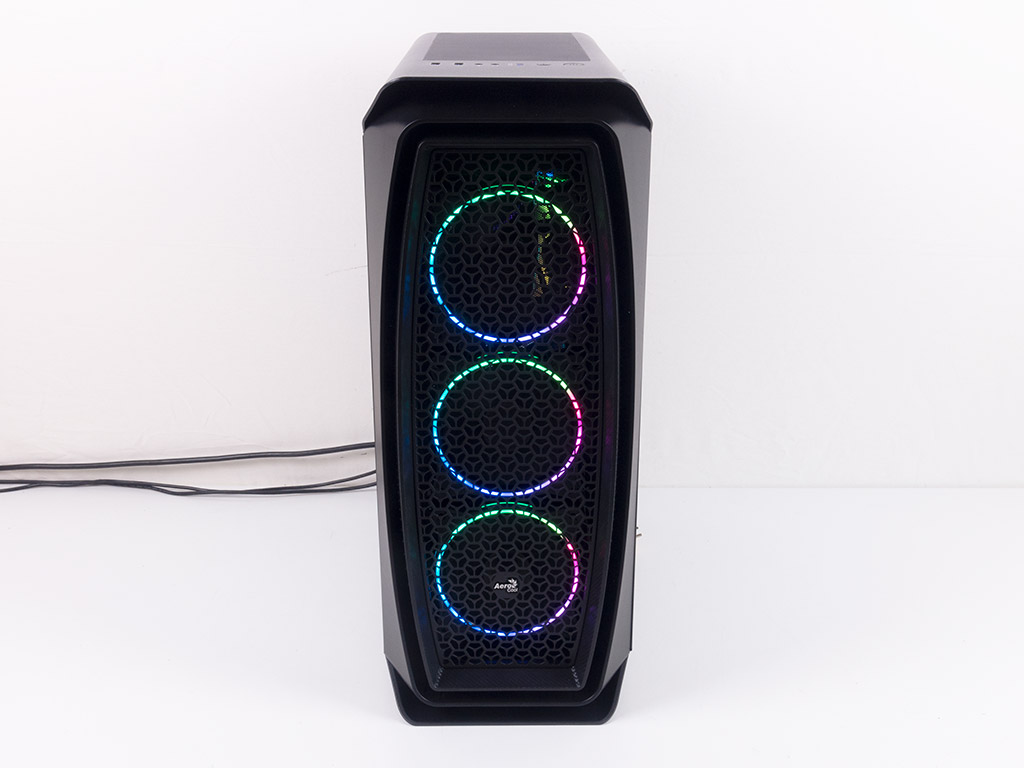
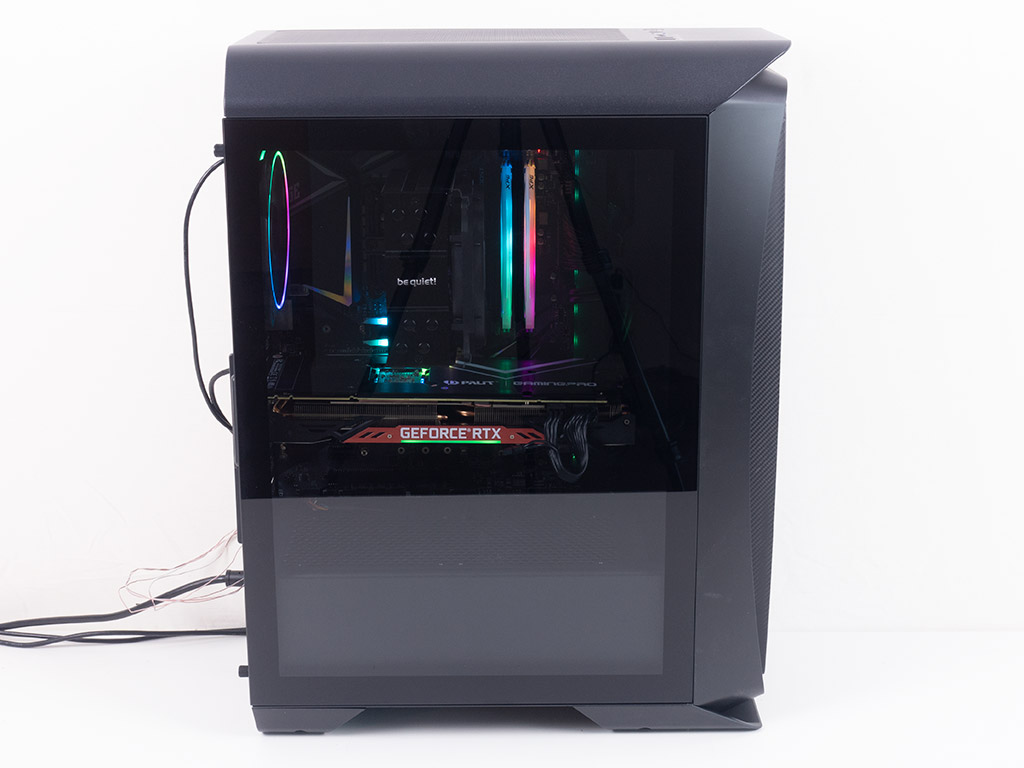

The three rings in the front are unobstructed because the dust filter is mounted internally, which is certainly a benefit, even if it means that the fans will start collecting dust. Those can easily be cleaned by pulling off the front anyways. The clear glass panel also allows you to see all your hardware within the chassis, which is certainly something most first-time builders will appreciate as they get to glance at all that coolness at any time. In the rear, everything is where is should be because of the traditional layout.
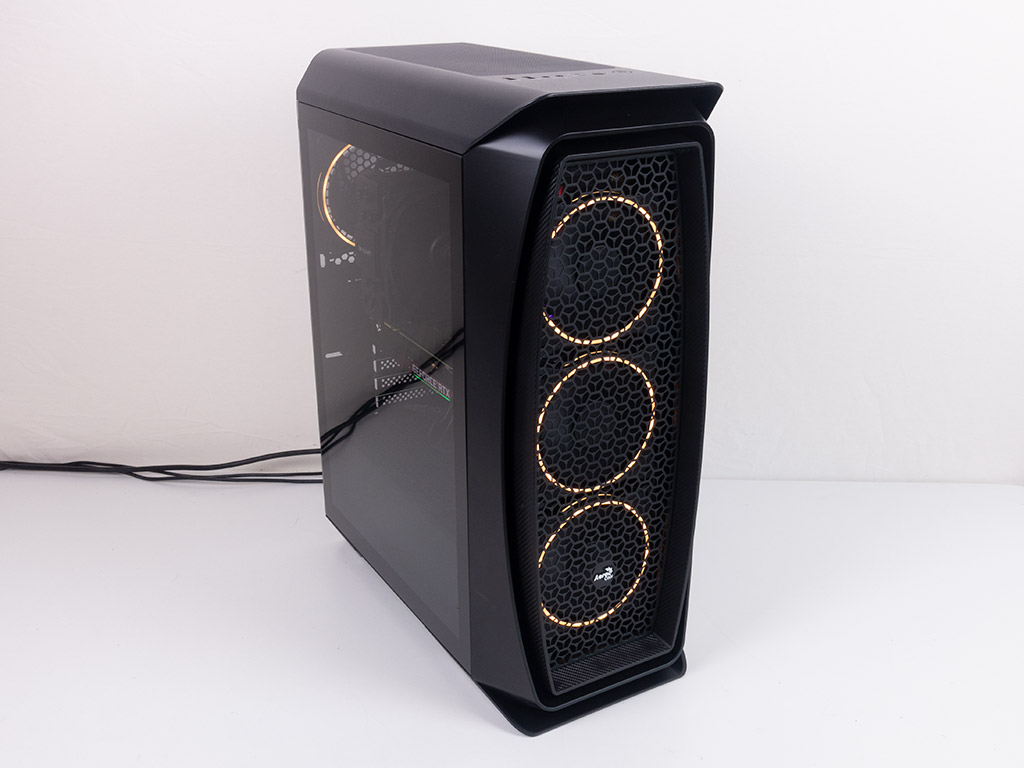
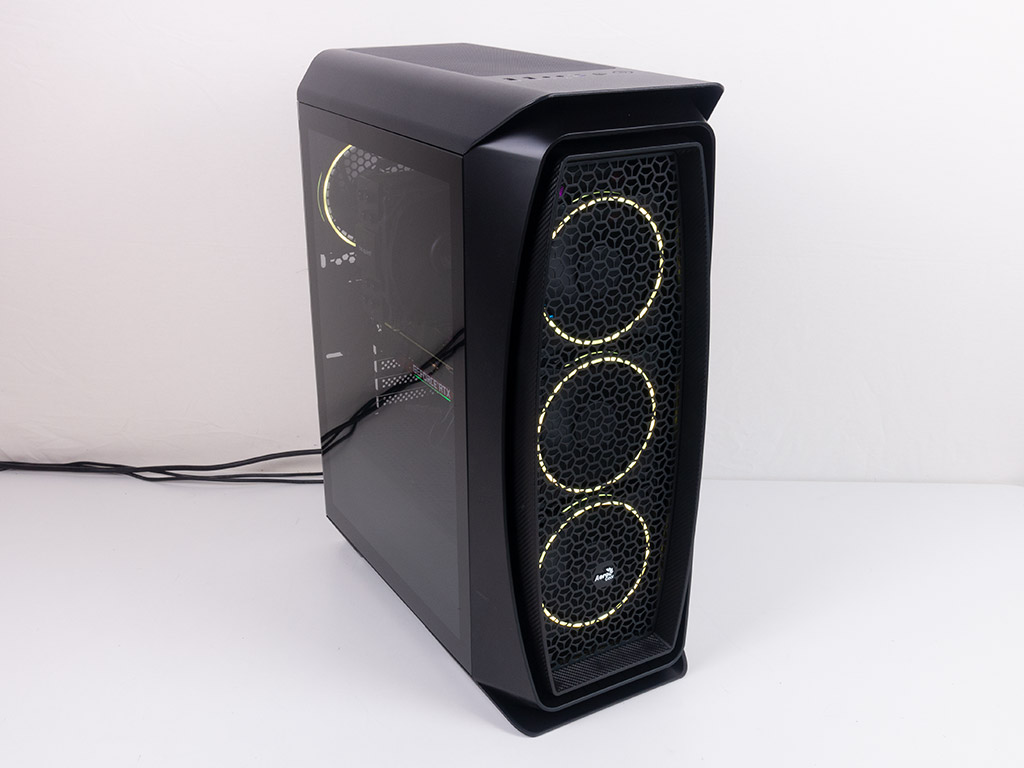
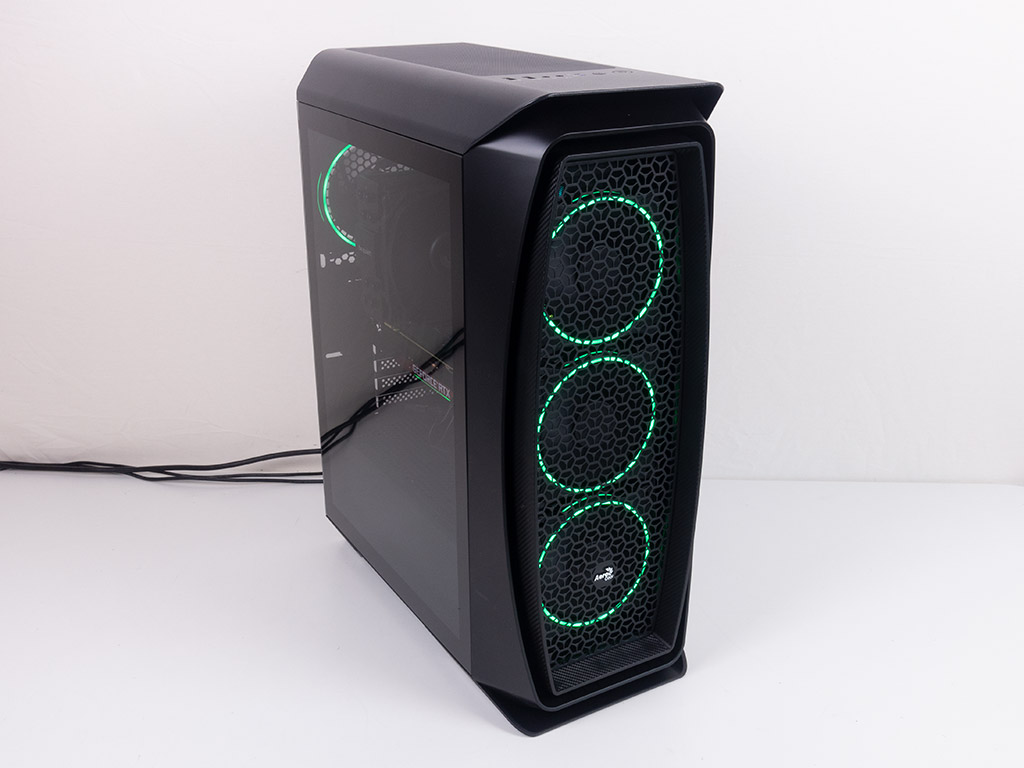
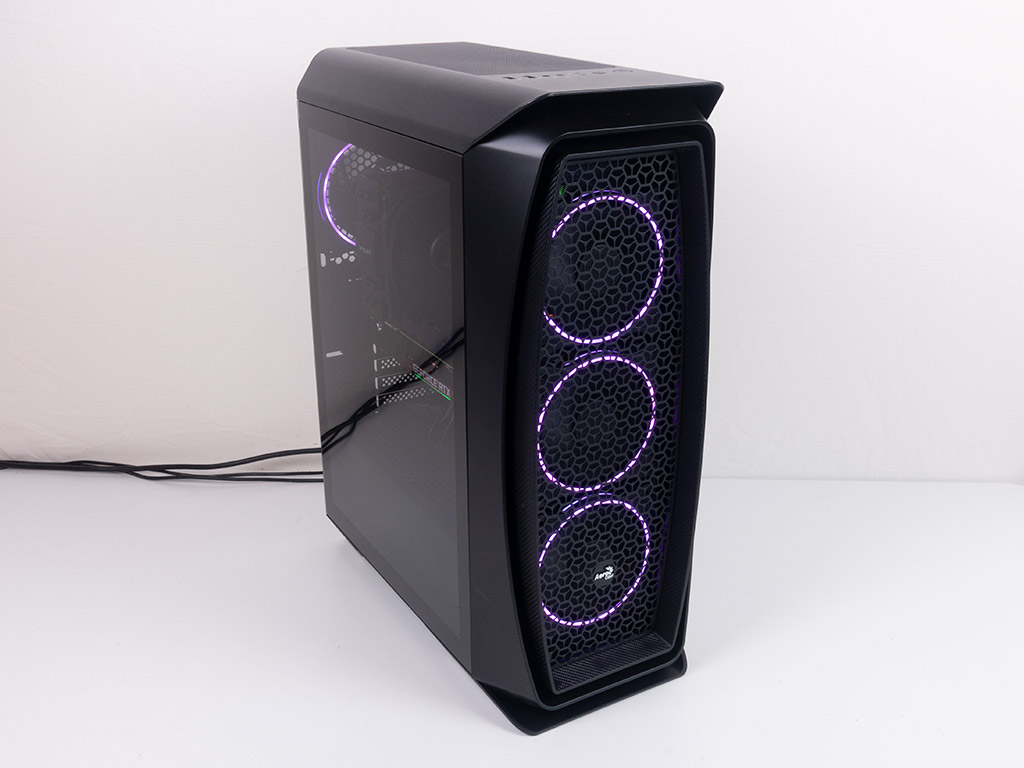
As seen below, you may toggle through the standard eight colors of the built-in fan controller in addition to several single and multi-color animations.

Feb 5th, 2025 18:01 EST
change timezone
Latest GPU Drivers
New Forum Posts
- Advice for migrating from Windows 11 to Linux (49)
- Current Sales, Bundles, Giveaways (10308)
- TECHPOWERUP HWBOT Contest with Cash Prizes (70)
- Hello everyone, what HDMI cable do you recommend to connect a PC(5090 GPU) with a 120HZ TV? (23)
- I find the lack of Battle Mage owners threads disturbing. My Onix Odyssey B580 arrived. (31)
- Samsung s90d 55 (0)
- Disabling MPO (MultiPlane Overlay) in 2025 (12)
- Wow YouTube is a Hog (65)
- Post the idle temperature of your CPU (135)
- S20+ boot looping (0)
Popular Reviews
- Spider-Man 2 Performance Benchmark Review - 35 GPUs Tested
- Corsair Frame 4000D Review
- Kingdom Come Deliverance II Performance Benchmark Review - 35 GPUs Tested
- NVIDIA GeForce RTX 5080 Founders Edition Review
- Gigabyte GeForce RTX 5080 Gaming OC Review
- MSI GeForce RTX 5080 Vanguard SOC Review
- AMD Ryzen 7 9800X3D Review - The Best Gaming Processor
- ASUS GeForce RTX 5080 Astral OC Review
- NVIDIA DLSS 4 Transformer Review - Better Image Quality for Everyone
- Cooler Master X Silent Edge Platinum 850 W Review - Fully Passive PSU
Controversial News Posts
- NVIDIA 2025 International CES Keynote: Liveblog (470)
- AMD Debuts Radeon RX 9070 XT and RX 9070 Powered by RDNA 4, and FSR 4 (349)
- AMD Radeon 9070 XT Rumored to Outpace RTX 5070 Ti by Almost 15% (285)
- AMD is Taking Time with Radeon RX 9000 to Optimize Software and FSR 4 (256)
- AMD Denies Radeon RX 9070 XT $899 USD Starting Price Point Rumors (239)
- Edward Snowden Lashes Out at NVIDIA Over GeForce RTX 50 Pricing And Value (235)
- AMD Radeon RX 9070 XT & RX 9070 Custom Models In Stock at European Stores (226)
- New Leak Reveals NVIDIA RTX 5080 Is Slower Than RTX 4090 (215)