 5
5
Aerocool Tor Review
Assembly & Finished Looks »A Closer Look - Inside
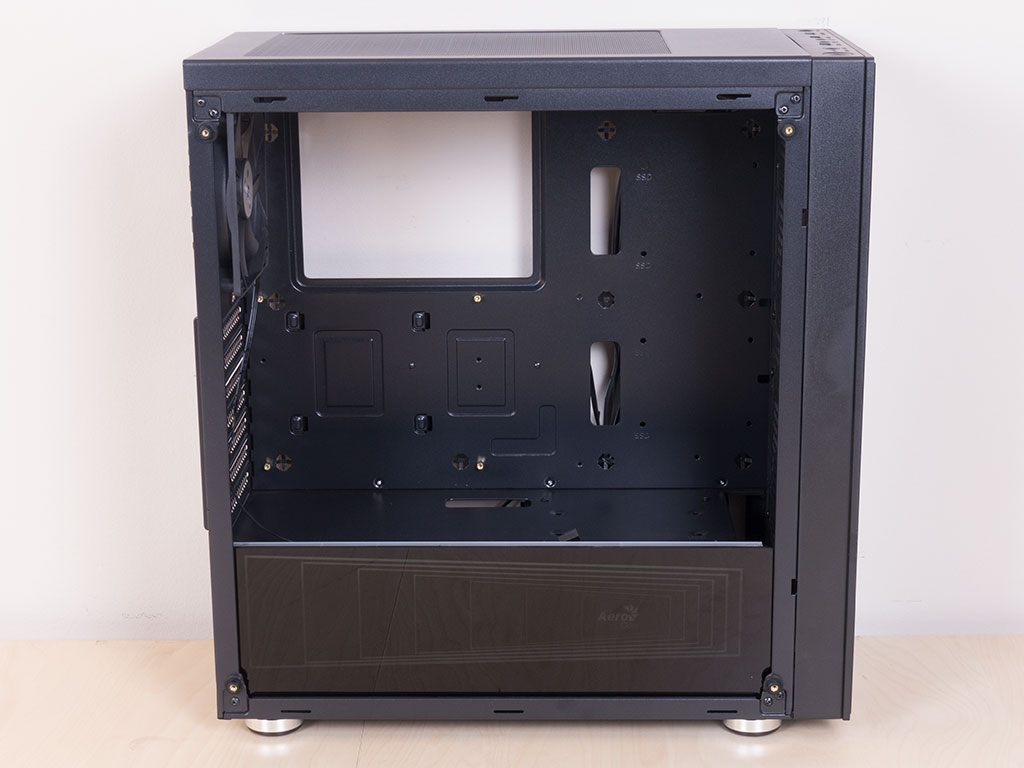
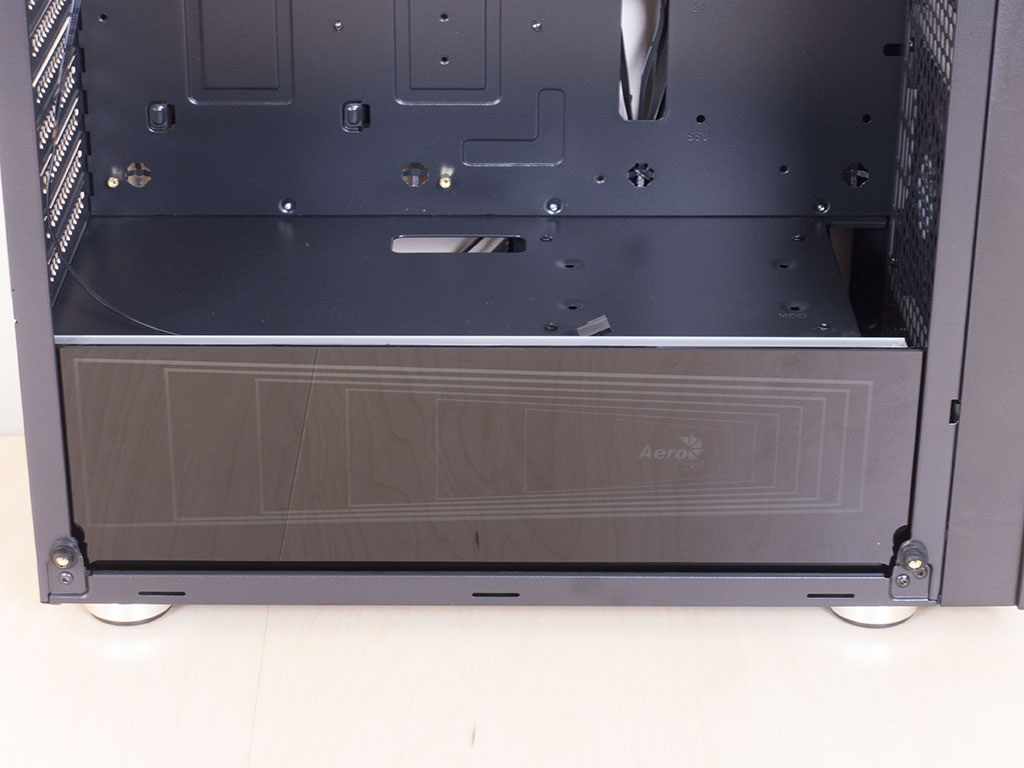
To access the interior, simply remove the thumbscrews holding each panel in place. Aerocool has equipped the Tor with a shroud to cover the PSU bay, but the real highlight is an acrylic layer that lights up in the same color as the fans once the system is turned on, which is certainly a nice additional touch!
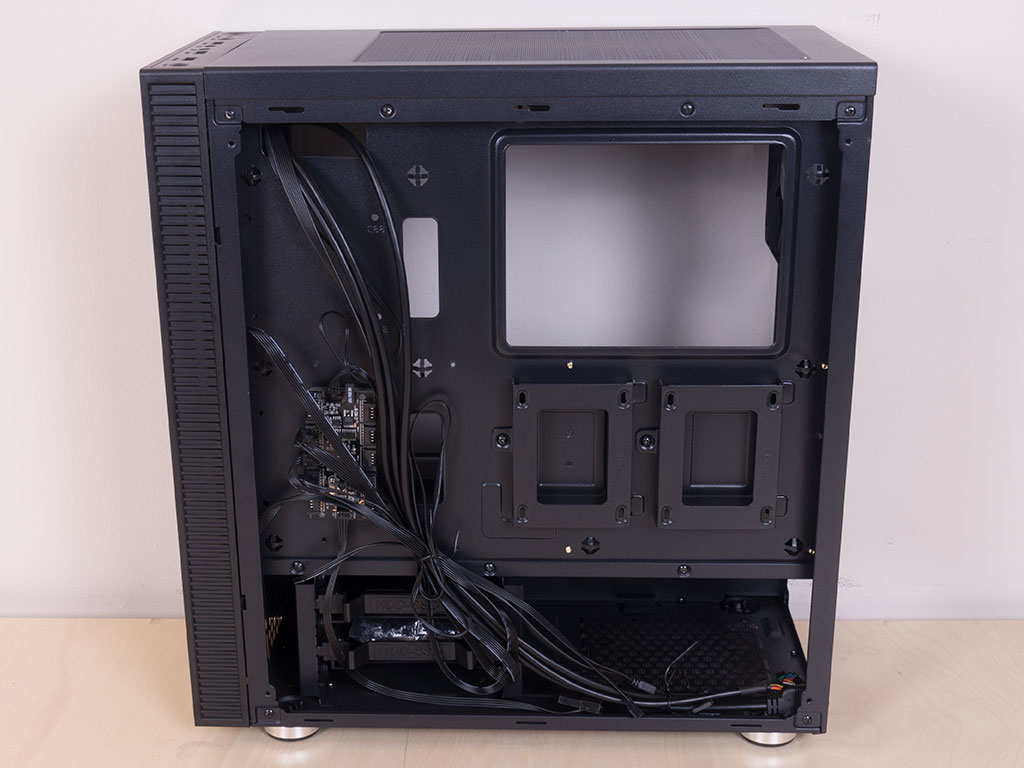
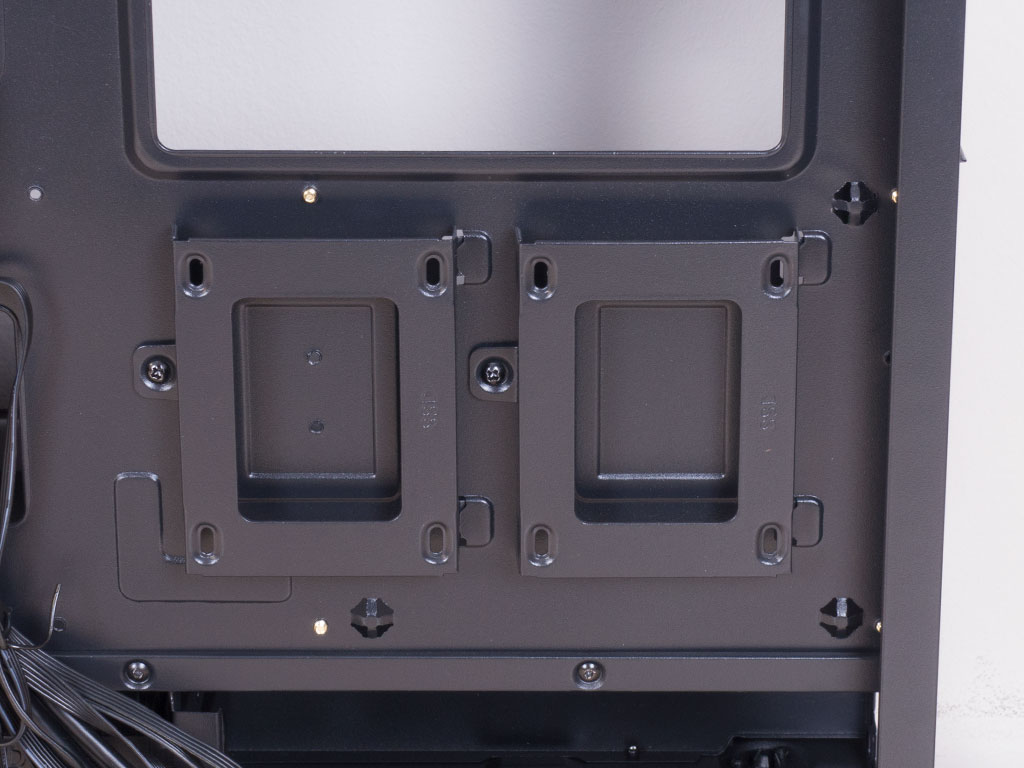
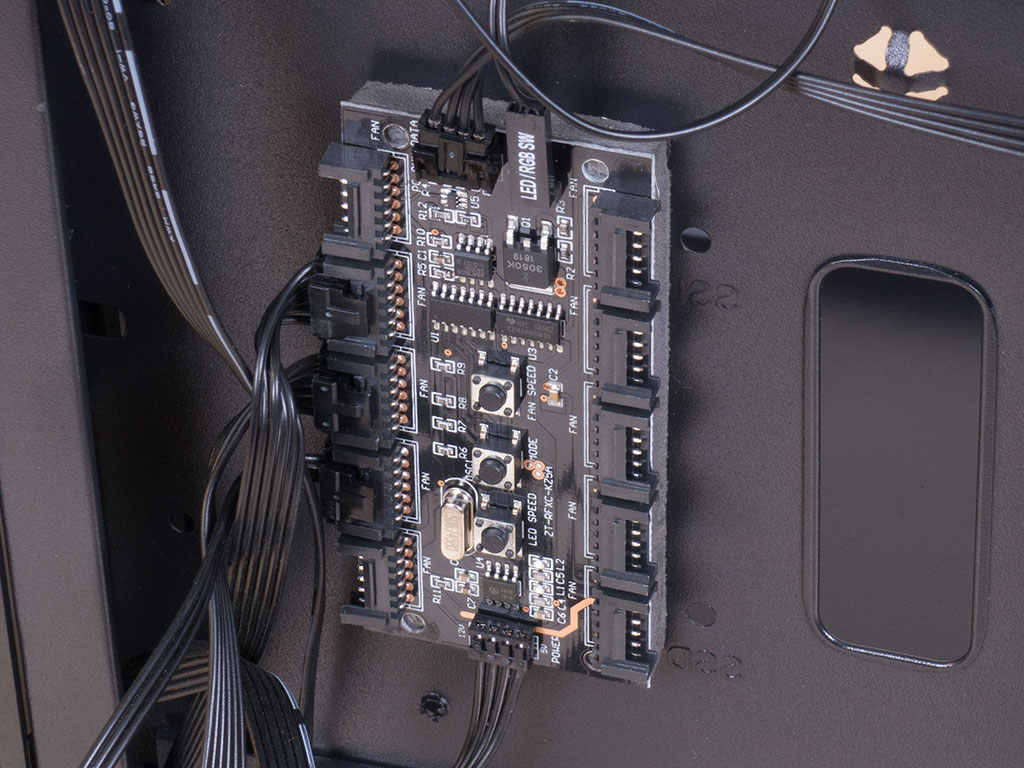
On the backside of the motherboard, you will find several openings for cable routing, but no grommets to hide wires completely. Aerocool placed two metal 2.5" trays alongside the fan/RGB control PCB here. Interestingly enough, you can not only control these elements with the remote and button on top of the chassis, but also the embedded buttons on the PCB itself.
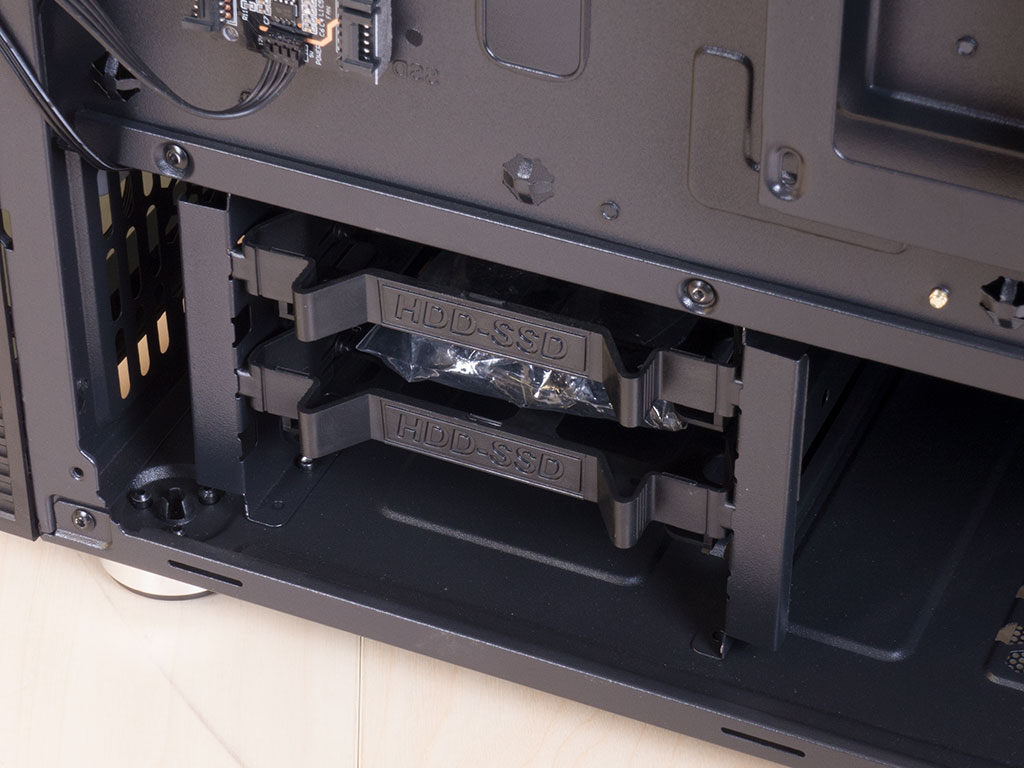
In the front, you will find two 3.5" drive trays underneath the shroud. While the whole cage can't be removed, you should still have enough room here to install a thin 240 or 280 mm radiator as there are plenty of mounting possibilities.
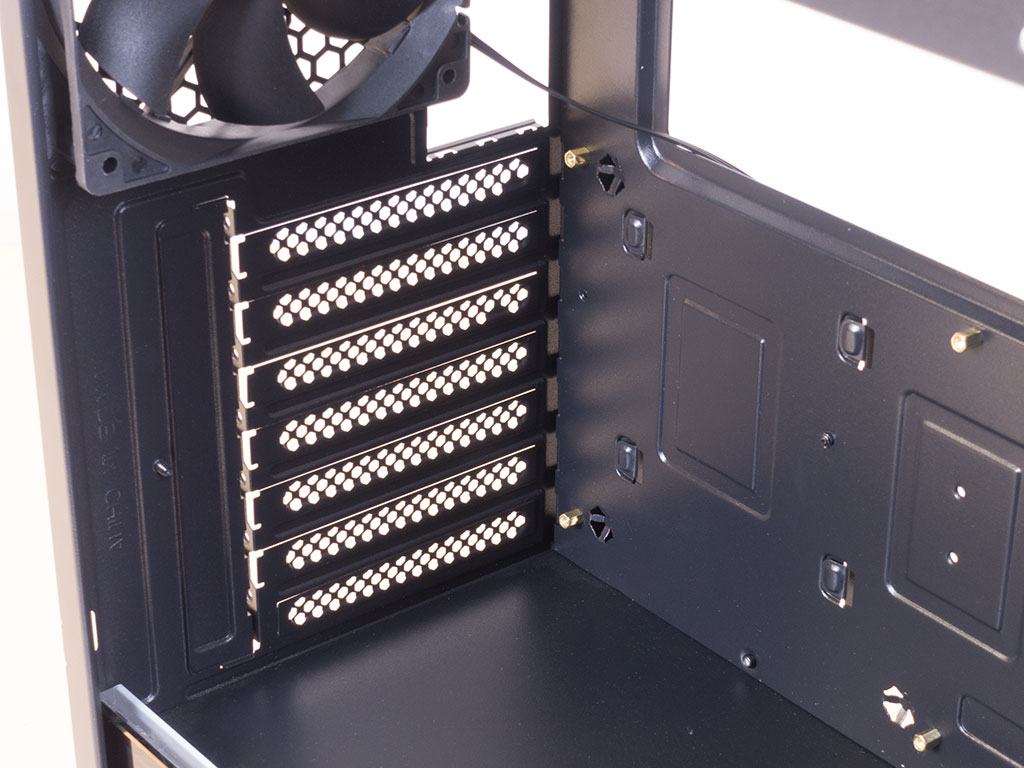
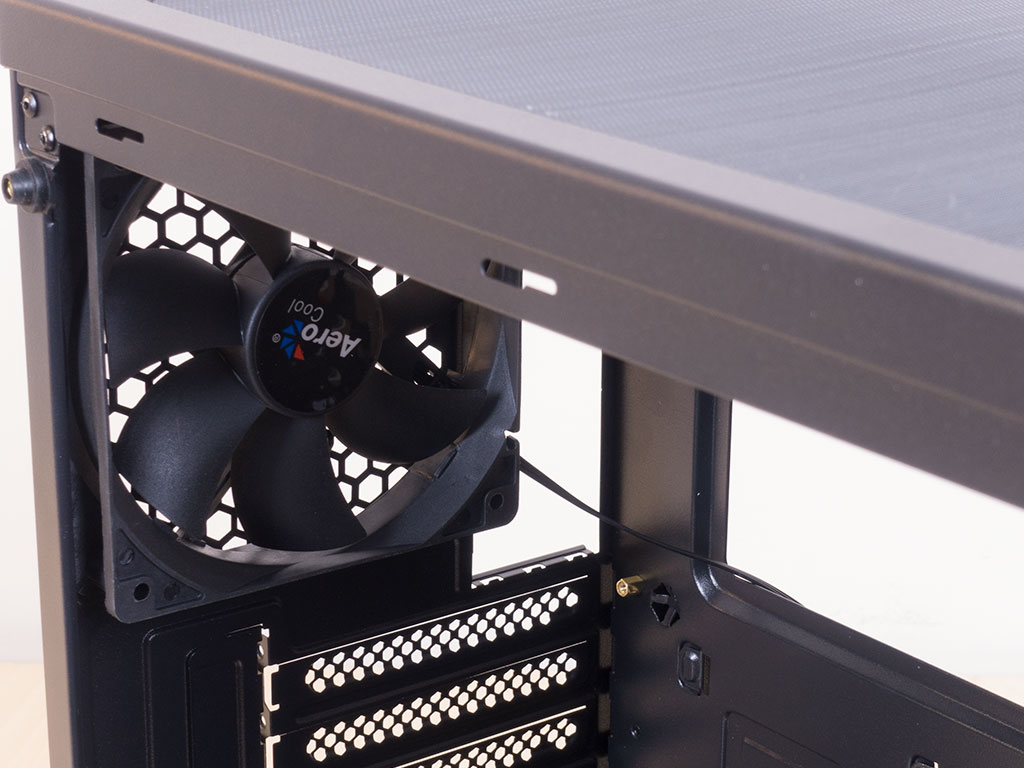
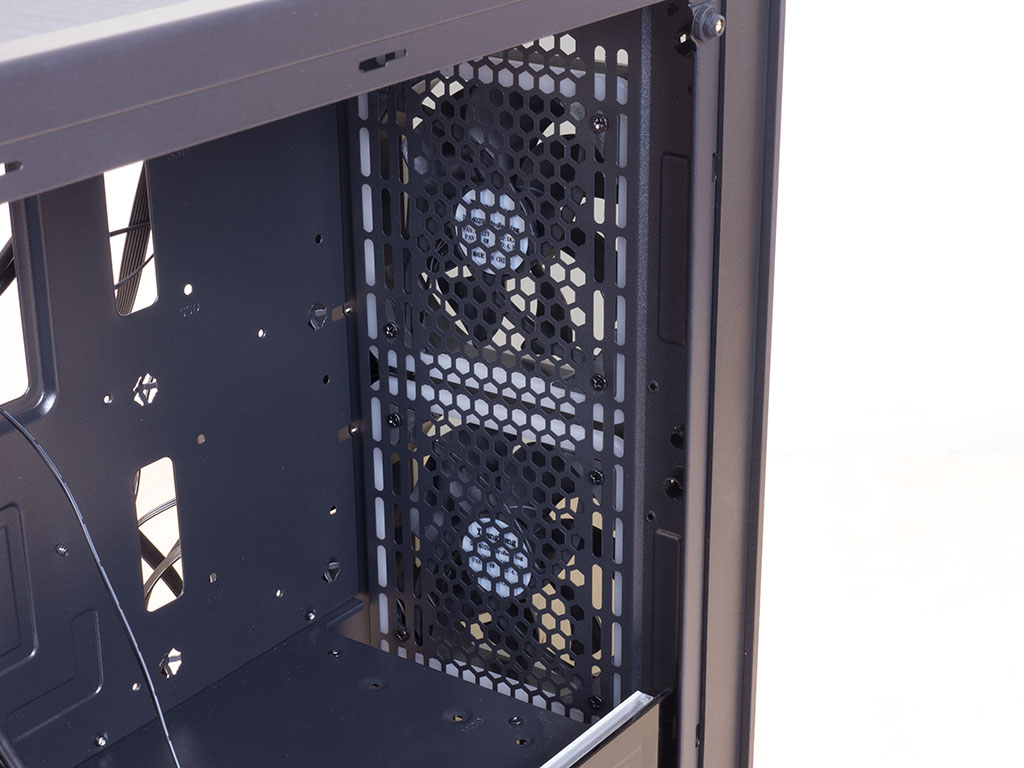
The PSU bay underneath the shroud is pretty straightforward. Above it are the seven basic expansion slots, and the previously mentioned 120 mm fan above that is completely black and does not feature any LEDs. Instead, it comes with a 3-pin motherboard header.
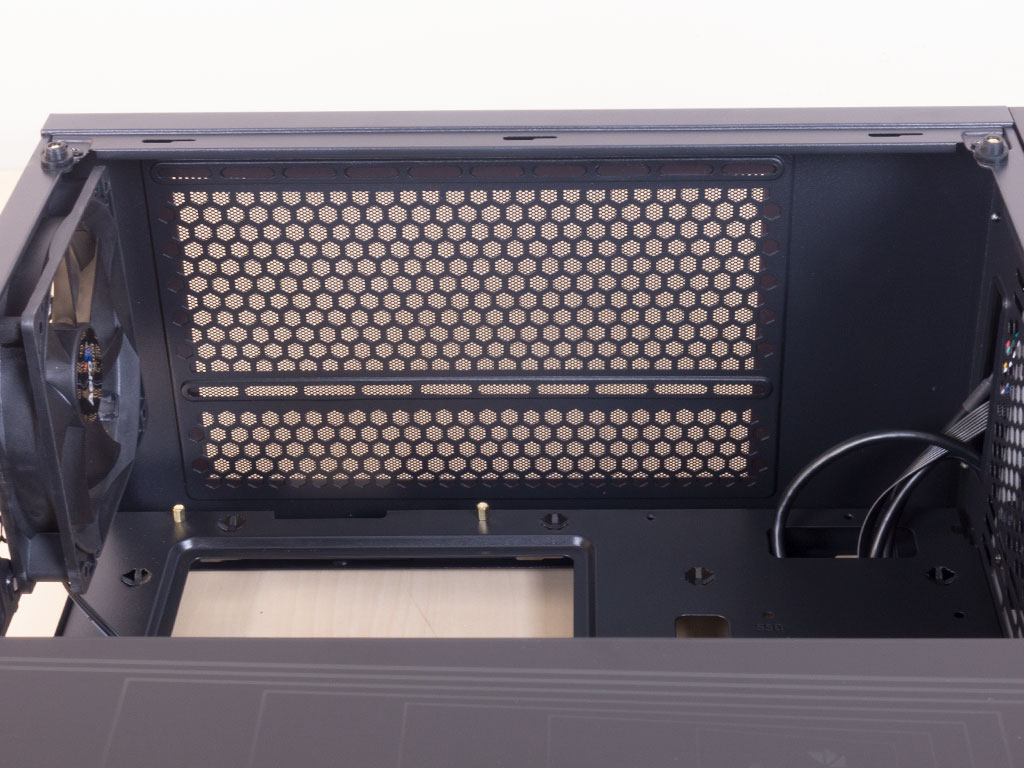
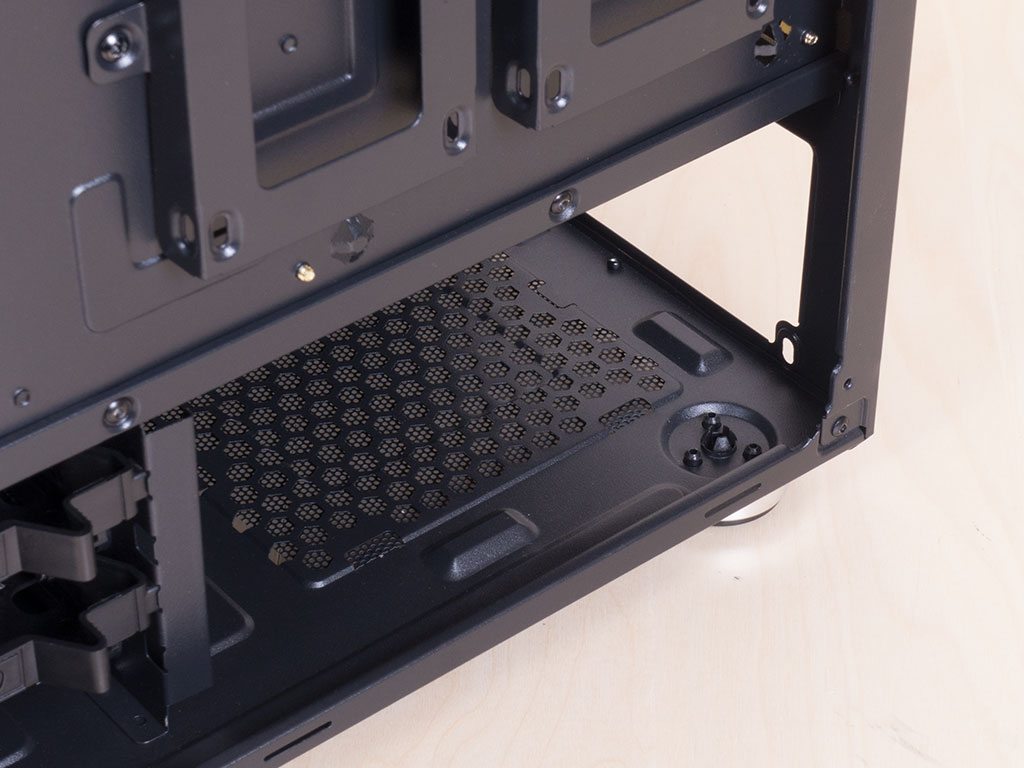
Looking at the ceiling, you can clearly see that the mounting holes for fans or radiators have been pushed over by as much as possible to ensure no motherboard components will interfere.
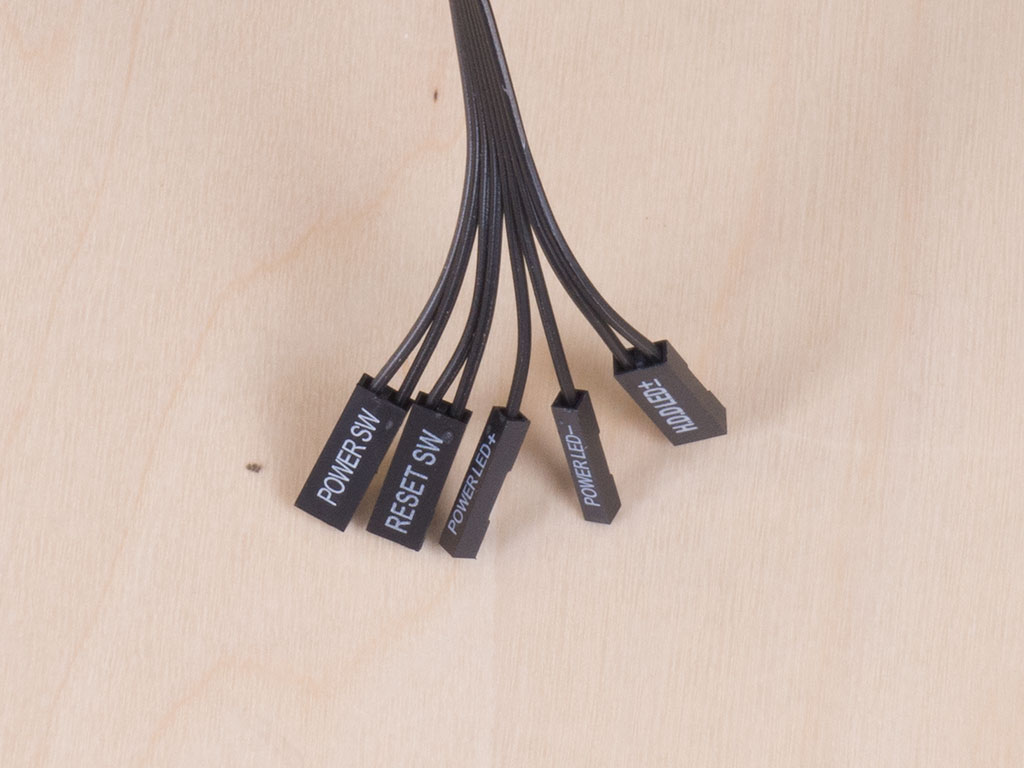


All the cables within the Aerocool Tor are of the default variety with the exception of a 3-pin fan header and RGB LED connector combo cable from the PCB. It will allow you to control the RGB and fans with your motherboard, which makes the proprietary 5-pin connectors of the RGB fans alright.
Feb 28th, 2025 13:53 EST
change timezone
Latest GPU Drivers
New Forum Posts
- It's happening again, melting 12v high pwr connectors (959)
- AAF Optimus Modded Driver For Windows 10 & Windows 11 - Only for Realtek HDAUDIO Chips (344)
- Basic web browsing PC (17)
- TECHPOWERUP HWBOT Contest Submissions List (70)
- Free Games Thread (4508)
- I5 10300H undervolting ,need to stop thermal throttle (2)
- What are you playing? (23055)
- K7 Thermal Pad. What is that? (1)
- i7-13700HX not overclocking (14)
- DELL ALIENWARE AW2523HF COIL WHINE NOISE. (3)
Popular Reviews
- AMD Radeon RX 9070 Series Technical Deep Dive
- ASUS GeForce RTX 5070 Ti TUF OC Review
- Montech HyperFlow Silent 360 Review
- Gigabyte X870 Aorus Elite WiFi 7 Review
- Corsair Xeneon 34WQHD240-C Review - Pretty In White
- be quiet! Pure Base 501 DX Review
- AMD Ryzen 7 9800X3D Review - The Best Gaming Processor
- ASUS ROG Harpe Ace Mini Review
- MSI GeForce RTX 5070 Ti Vanguard SOC Review
- MSI GeForce RTX 5070 Ti Ventus 3X OC Review
Controversial News Posts
- NVIDIA GeForce RTX 50 Cards Spotted with Missing ROPs, NVIDIA Confirms the Issue, Multiple Vendors Affected (498)
- AMD Radeon 9070 XT Rumored to Outpace RTX 5070 Ti by Almost 15% (304)
- AMD Plans Aggressive Price Competition with Radeon RX 9000 Series (274)
- AMD Radeon RX 9070 and 9070 XT Listed On Amazon - One Buyer Snags a Unit (255)
- AMD Mentions Sub-$700 Pricing for Radeon RX 9070 GPU Series, Looks Like NV Minus $50 Again (244)
- NVIDIA Investigates GeForce RTX 50 Series "Blackwell" Black Screen and BSOD Issues (244)
- Edward Snowden Lashes Out at NVIDIA Over GeForce RTX 50 Pricing And Value (242)
- AMD Radeon RX 9070 and 9070 XT Official Performance Metrics Leaked, +42% 4K Performance Over Radeon RX 7900 GRE (191)