 2
2
Akasa Omega Review
A Closer Look - Inside »A Closer Look - Outside
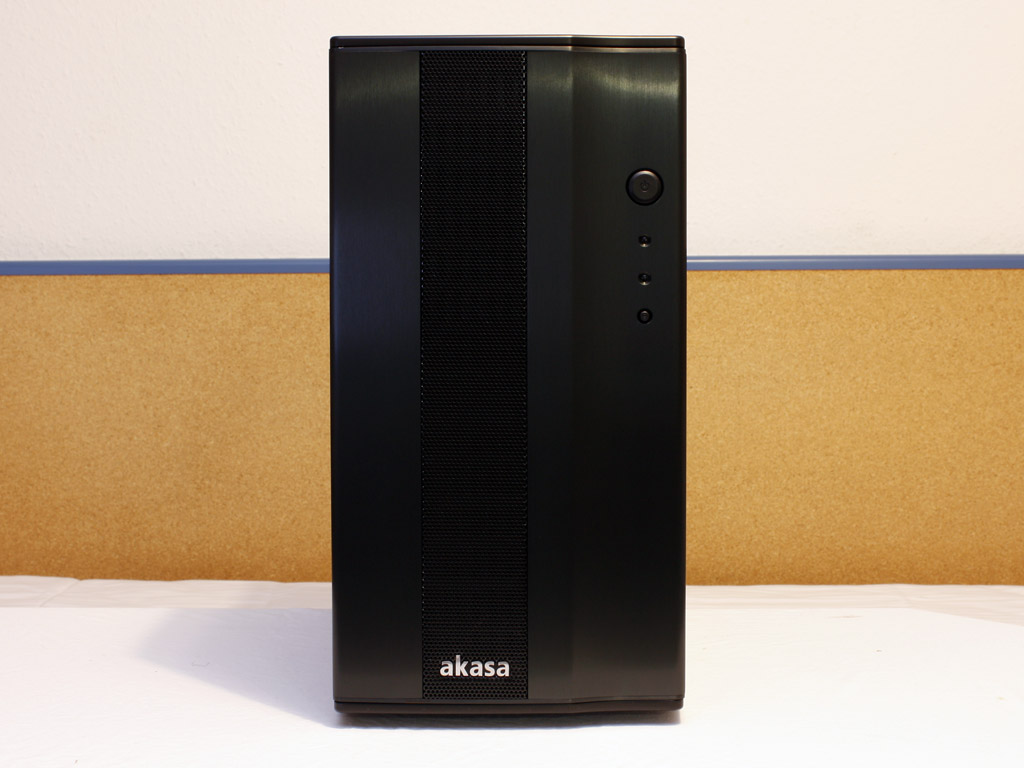
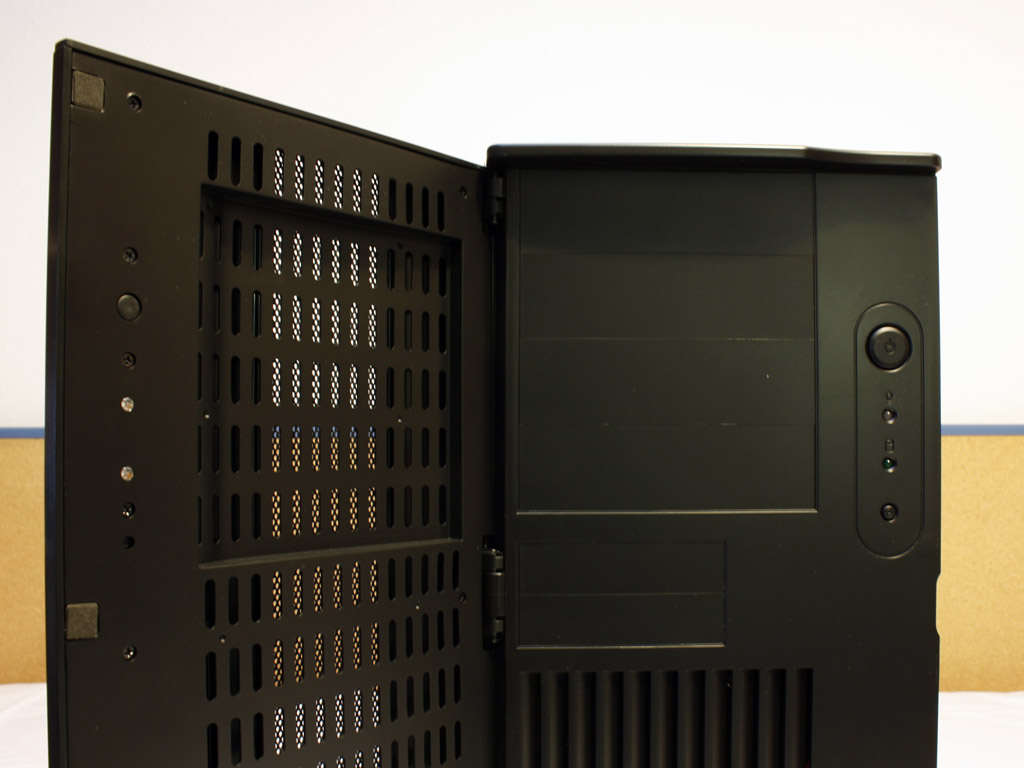
The most notable feature of the chassis is the width. Instead of a plastic door, Akasa has replaced it with an aluminum panel. The door opens from left to right, so it will get in the way if you place it to the right of your monitor. There is no way to switch it around, so you will be forced to live with it, or place the chassis to your left of your workspace.
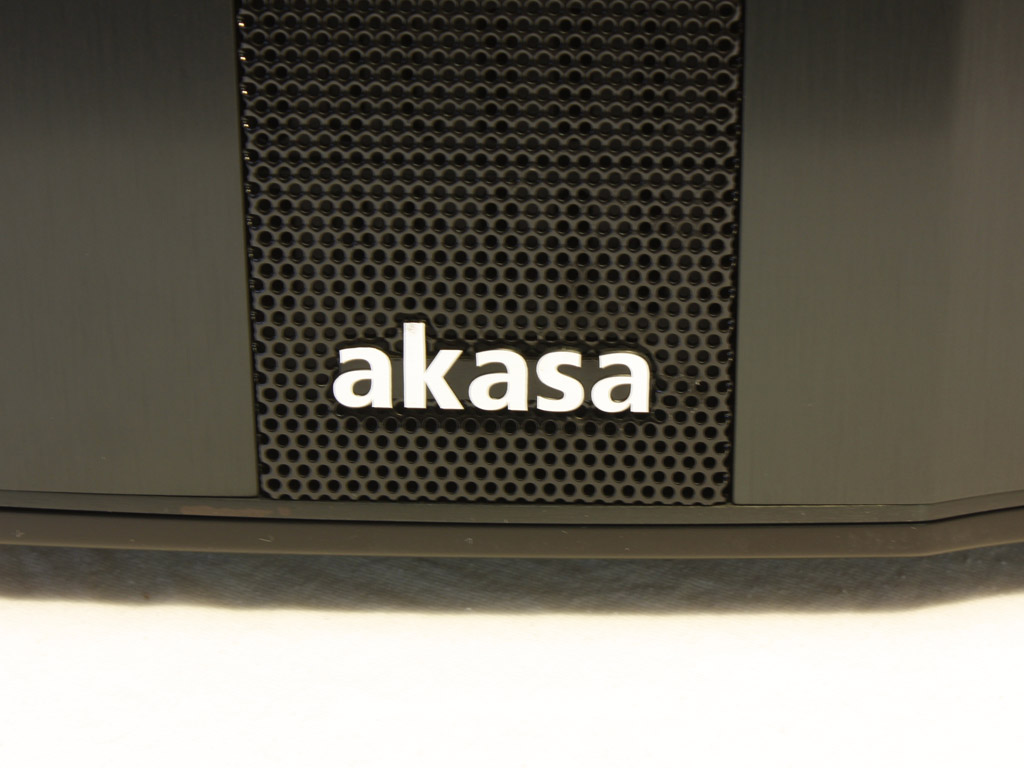
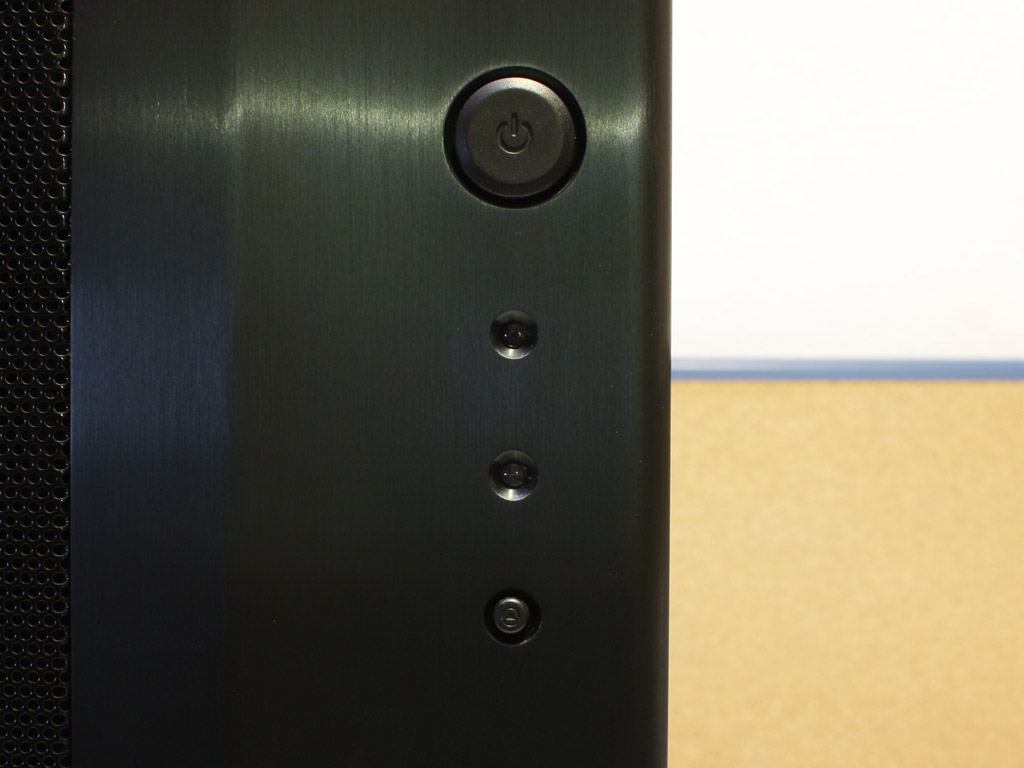
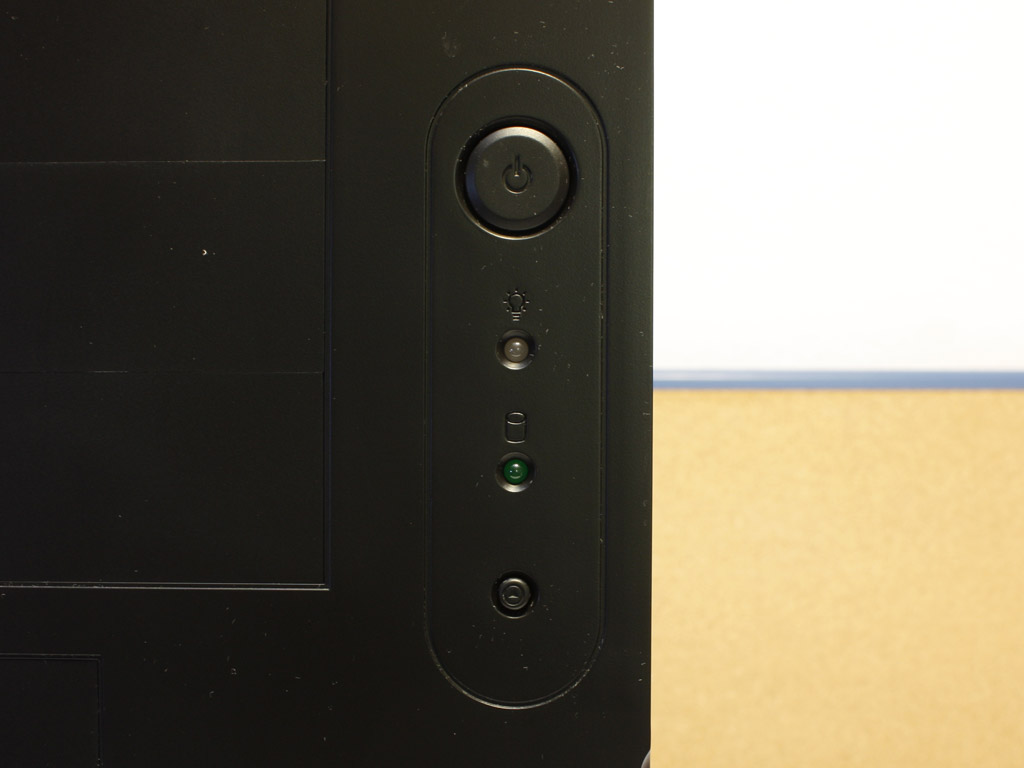
The bottom of the door now holds the Akasa logo. That adds to the overall looks quite nicely and is a welcome change from the simple print on their previous cases. The power & reset button can be accessed with a closed door and when it is open as well. Akasa has taken great care to construct a pass-through system so you even see the LEDs as well.
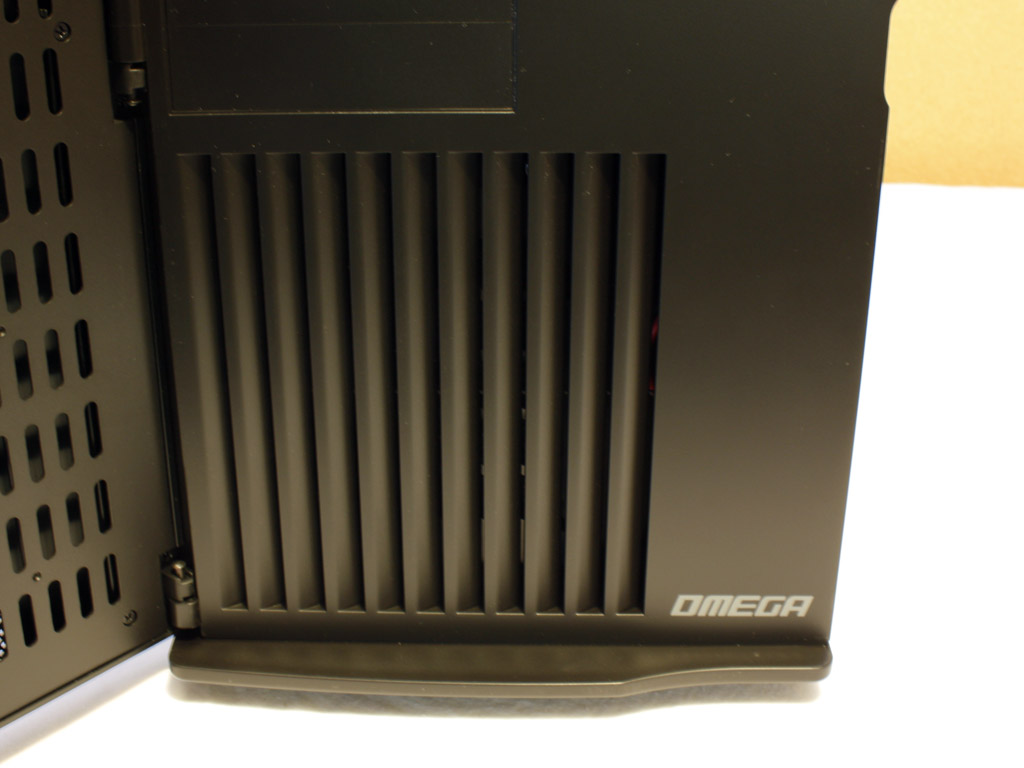
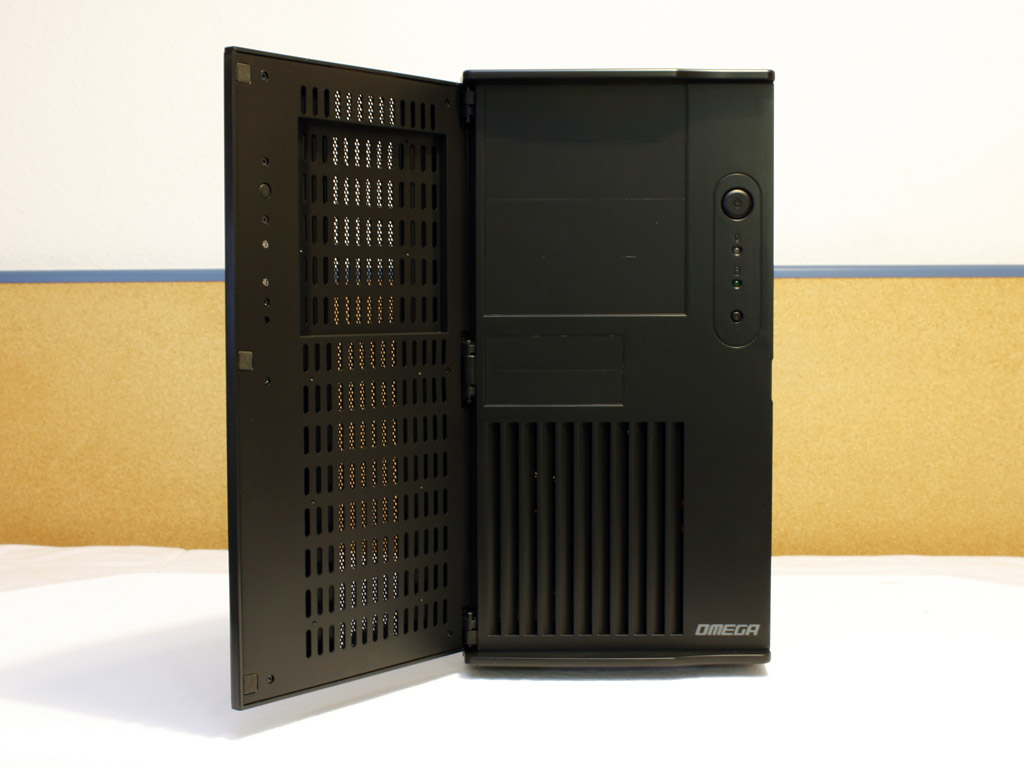
The general layout of the front has no changed at all, when compared to the Mirage-62. The bottom is still taken by an air vent, while you still have access to the six external drive bays. Akasa has, however, changed the inner design of the front door. It now features an indent, so that your external devices like fan controllers and such do not get in the way of the door. While this is great, it remains a mystery why this groove does not extend to the external 3.5 inch bays or the top 5.25 inch one.
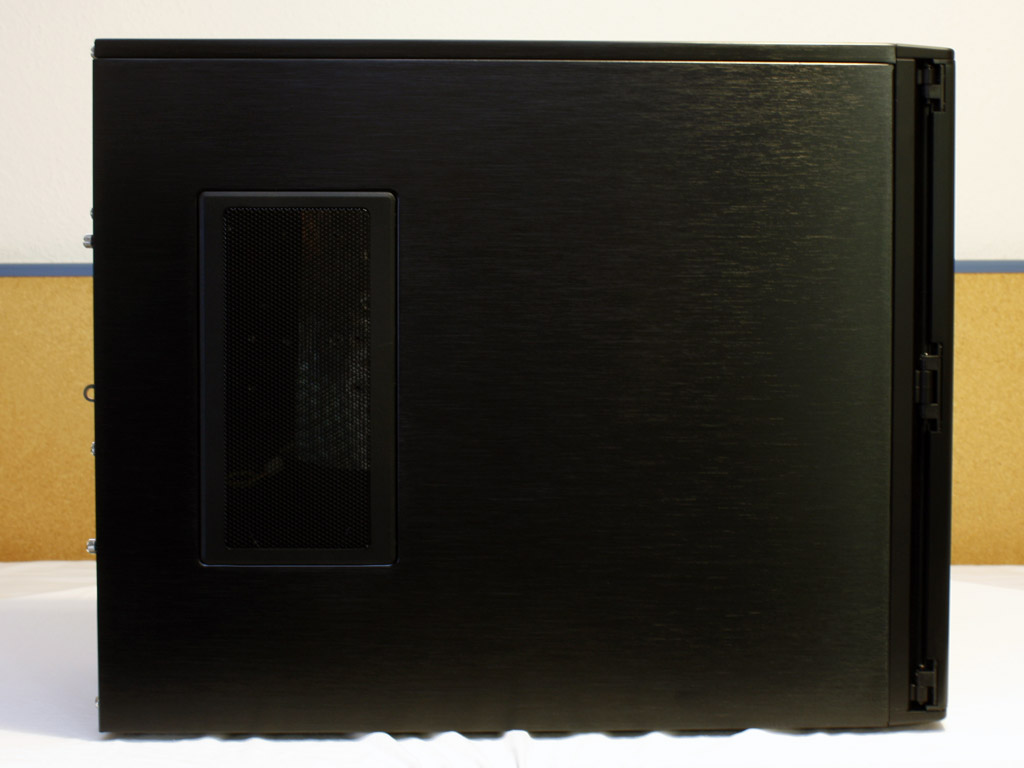
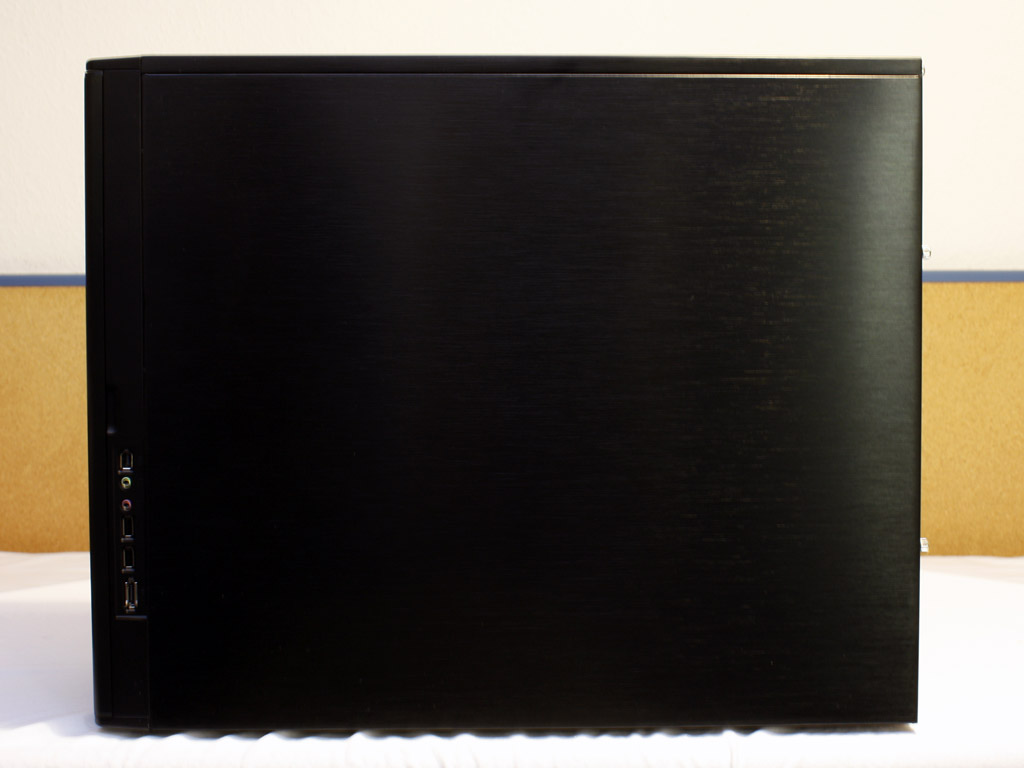
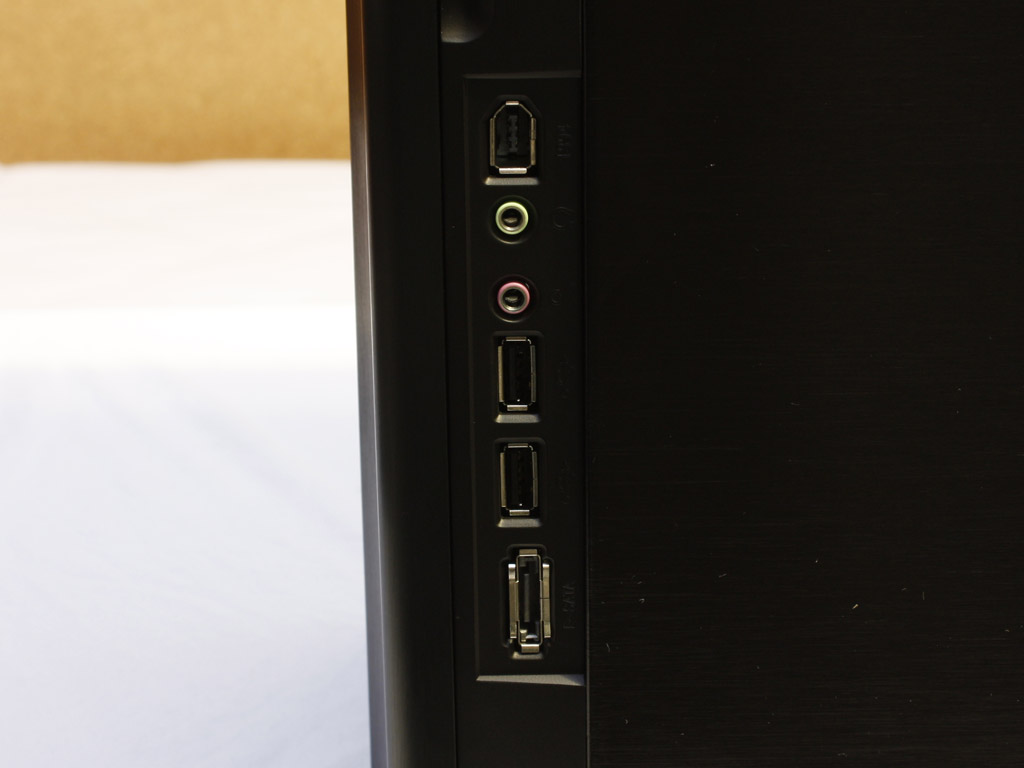
Both sides of the Omega are made of aluminum as well. Akasa has inserted an air vent in one of the sides. It can take two 120 mm fans or even a double 120 mm radiator for your graphic cards. The I/O can be found on the side of the chassis. These are facing left, which means you should definitely place the chassis on the left of your working area. This would mean however that you won't get visual access to the fan grill on the side or the window of the addition side panel you may purchase. Akasa has expanded the connectivity to include an eSATA plug as well.
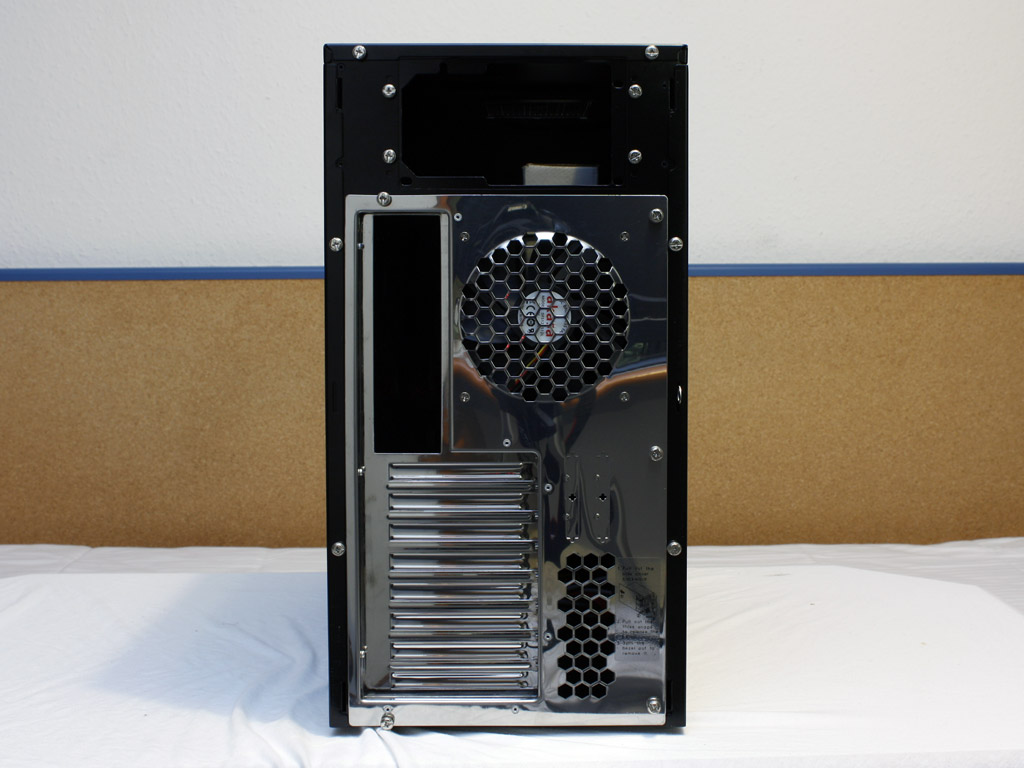
The rear has not changed at all, when compared to the Mirage-62 The mainboard tray is still made of mirror-finish steel and the power supply is still located on the top of the chassis.
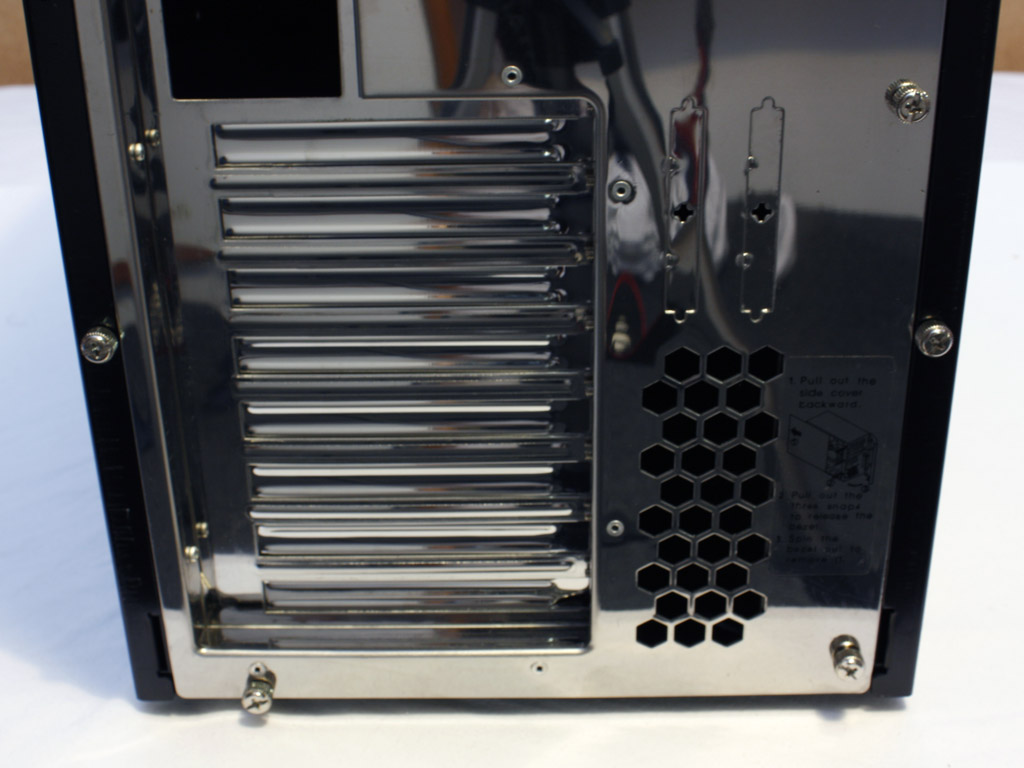
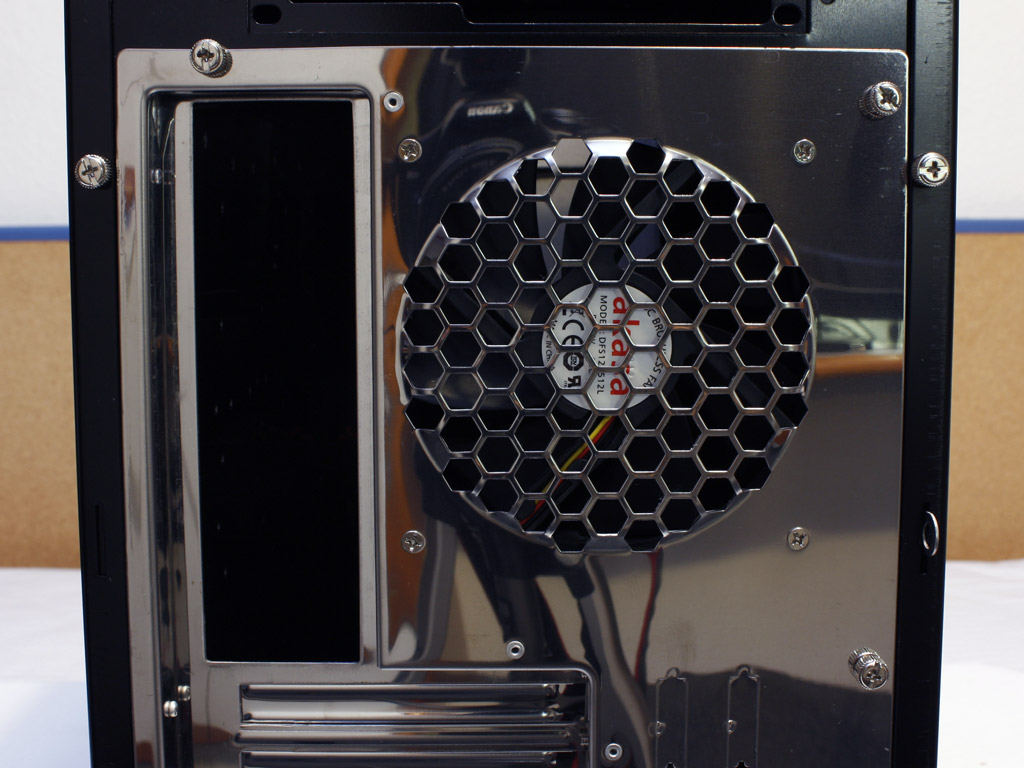
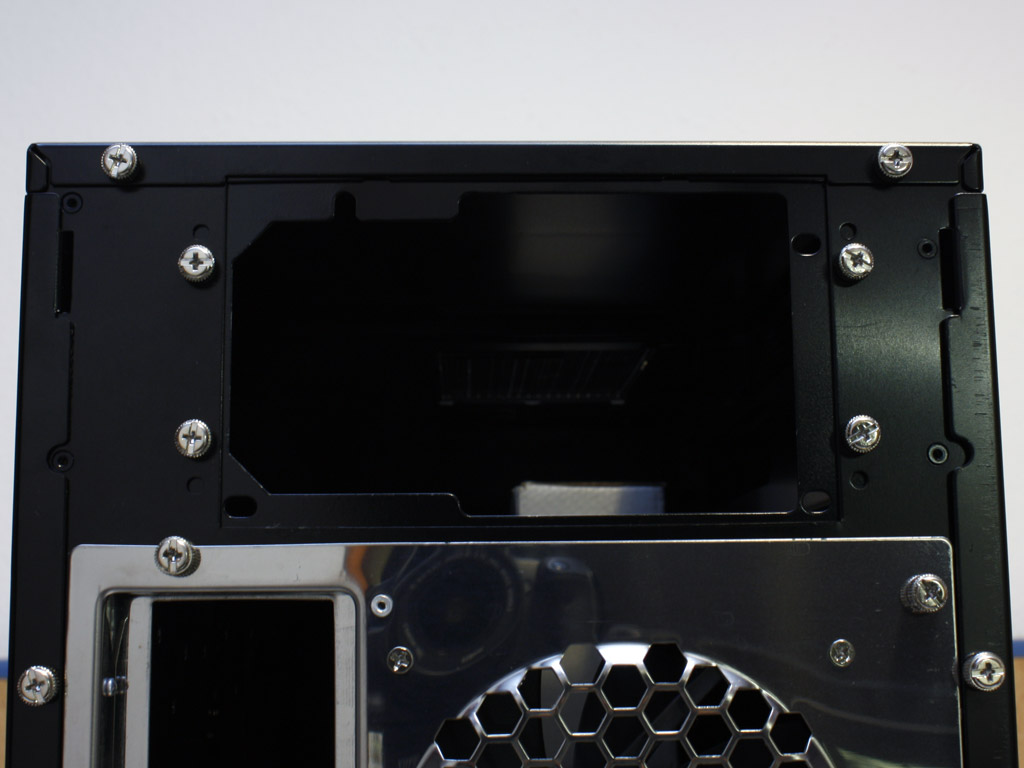
Taking a closer look the the rear, there are eight expansion slots instead of the standard seven found on other cases. This means that you can use those USB expansion brackets from your mainboard without blocking a slot on the mainboard. The rear is taken up by the 120 mm fan, while the top is intended for the power supply. The rear fan is another change to the previous modell, which did not include one.
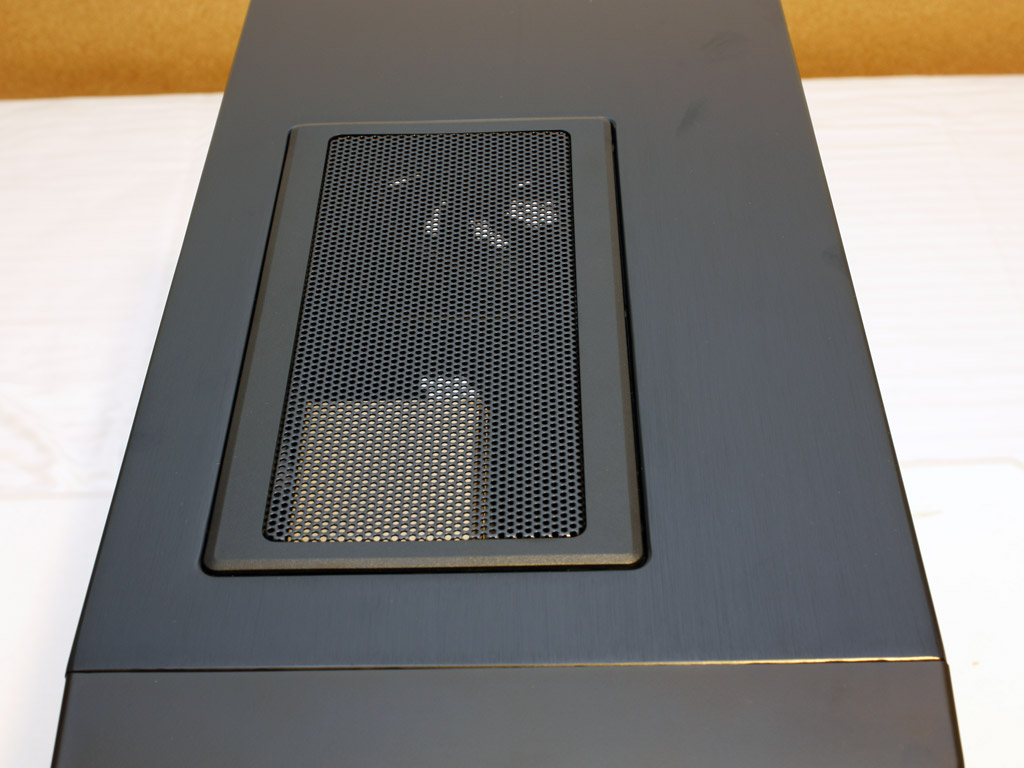
The top of the case features the same air vent as the side panel. This means you can also install two fans or a water cooling radiatior in this location.
Jan 10th, 2025 05:06 EST
change timezone
Latest GPU Drivers
New Forum Posts
- Are people planning an upgrade? (197)
- The TPU UK Clubhouse (25556)
- What was lacking GPU-wise at this year's CES (114)
- 3D Printer Club (369)
- TechPowerUp Screenshot Thread (MASSIVE 56K WARNING) (4246)
- Best time to sell your used 4090s is now. (172)
- What Speakers Are You You Using For Your Computer (94)
- TPU's Nostalgic Hardware Club (19765)
- MSI N770-2GD5/OC - latest bios (0)
- Core 200s (Bartlett Lake-S) Announced at CES 2025 (13)
Popular Reviews
- ASUS ROG Strix B850-F Gaming WiFi Review
- AMD Ryzen 7 9800X3D Review - The Best Gaming Processor
- Royal Kludge S85 TKL Wireless Mechanical Keyboard Review
- HEDDphone TWO GT Air Motion Transformer Headphones Review
- LAMZU Maya X Review
- DDR5 Thermal Testing & Analysis
- GPU Test System Update for 2025
- Call of Duty: Black Ops 6 Performance Benchmark Review - AMD FTW
- Upcoming Hardware Launches 2024 (Updated Nov 2024)
- Intel Arc B580 Review - Excellent Value
Controversial News Posts
- NVIDIA 2025 International CES Keynote: Liveblog (449)
- AMD Debuts Radeon RX 9070 XT and RX 9070 Powered by RDNA 4, and FSR 4 (340)
- NVIDIA GeForce RTX 5090 Features 575 W TDP, RTX 5080 Carries 360 W TDP (212)
- AMD Radeon RX 9070 XT Alleged Benchmark Leaks, Underwhelming Performance (204)
- Potential RTX 5090 and RTX 5080 Pricing in China Leaks (173)
- 32 GB NVIDIA RTX 5090 To Lead the Charge As 5060 Ti Gets 16 GB Upgrade and 5060 Still Stuck With Last-Gen VRAM Spec (173)
- AMD Radeon RX 9070 XT Boosts up to 3.10 GHz, Board Power Can Reach up to 330W (167)
- NVIDIA GeForce RTX 5070 Ti Leak Tips More VRAM, Cores, and Power Draw (161)