 1
1
anidees AI6v2 Review
Value & Conclusion »Test System
| System Parts for Case Reviews | |
|---|---|
| Processor: | Intel Core i7-4770K @ 4.2 GHz (Haswell, 8192 KB Cache) |
| Motherboards: | ATX: Gigabyte GA-Z97X-Gaming 7 mATX: Gigabyte GA-Q87M-D2H mini-ITX: GA-H97N-WIFI Provided by: Gigabyte |
| Graphic Card: | Long: NVIDIA GeForce GTX 280 OEM Short: HIS Radeon 5350 HD |
| Memory: | Crucial Ballistix Tactical DIMM Kit 8GB @ DDR3-1600, CL8-8-8-24 Provided by: Crucial |
| HDD: | Western Digital 320 GB 7200 RPM |
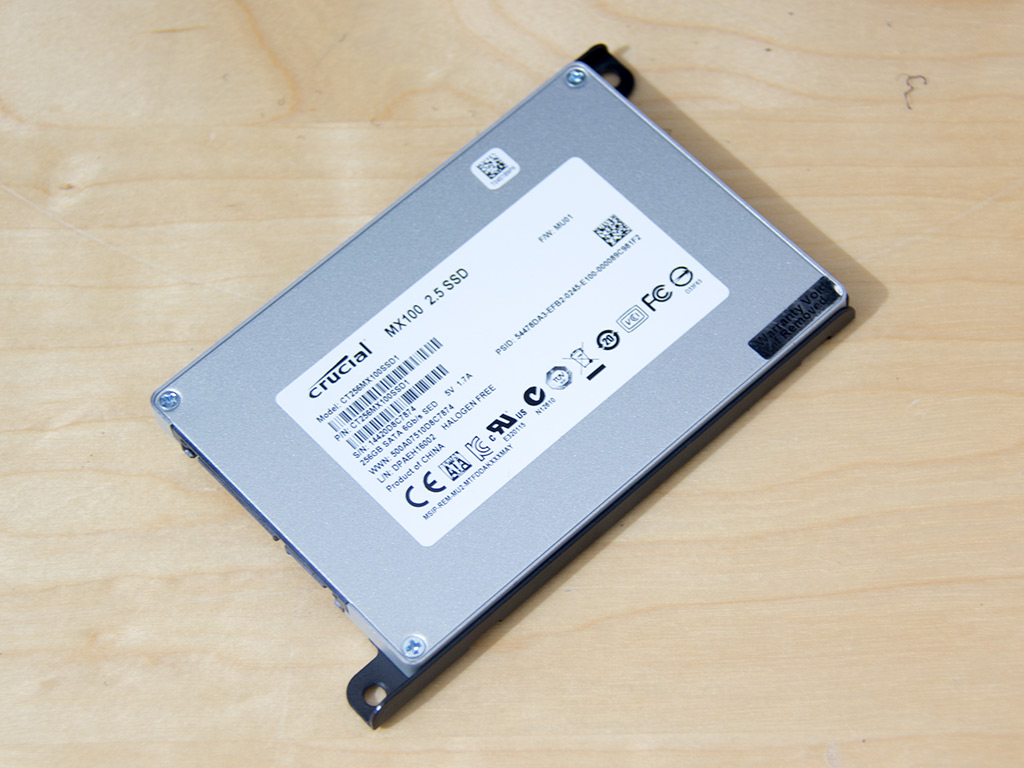
| SSD: | Crucial MX100 256GB SATA 6Gbps Provided by: Crucial |
| Power Supply: | Seasonic Platinum Series 660W ATX 2.3 Provided by: Seasonic |
| Cooling: | Air Cooling Mini-ITX: Thermalright AXP-100R Air Cooling mATX: Thermalright Macho 90 Air Cooling ATX: Thermalright Macho 120 Provided by: PC-COOLING.de |
Assembly

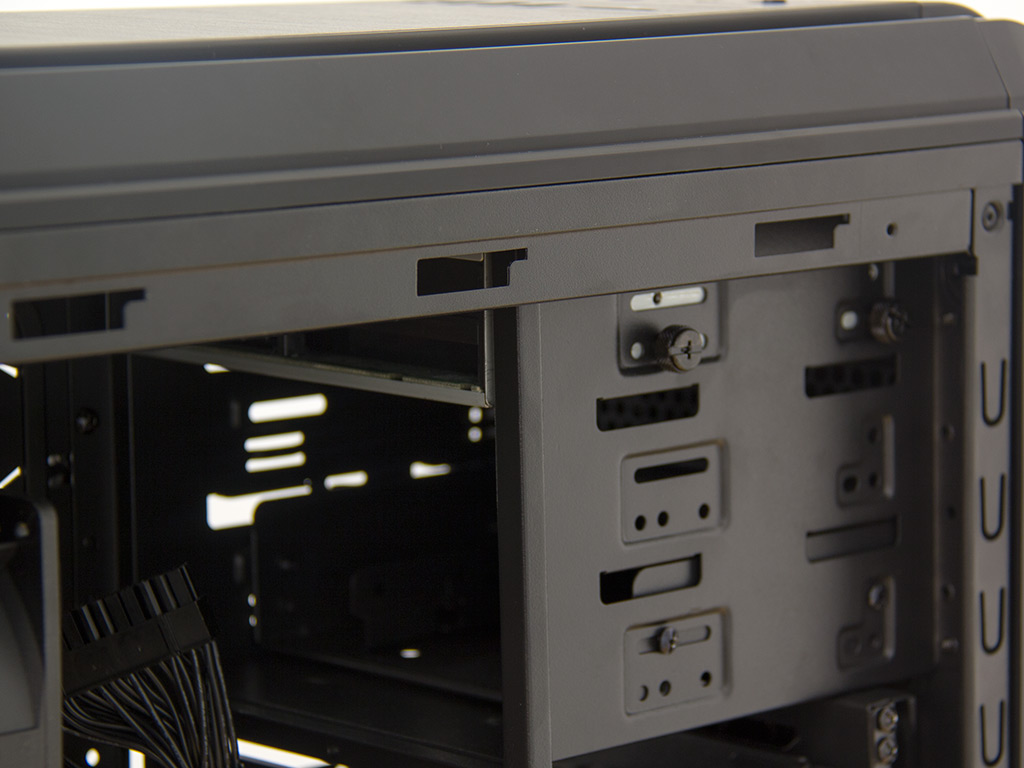
The motherboard's installation is done by traditional means: place it on the spacers and secure it with the screws anidees supplies. As you can see, there is enough space for large CPU coolers and long graphics cards, even without removing a hard-drive cage.

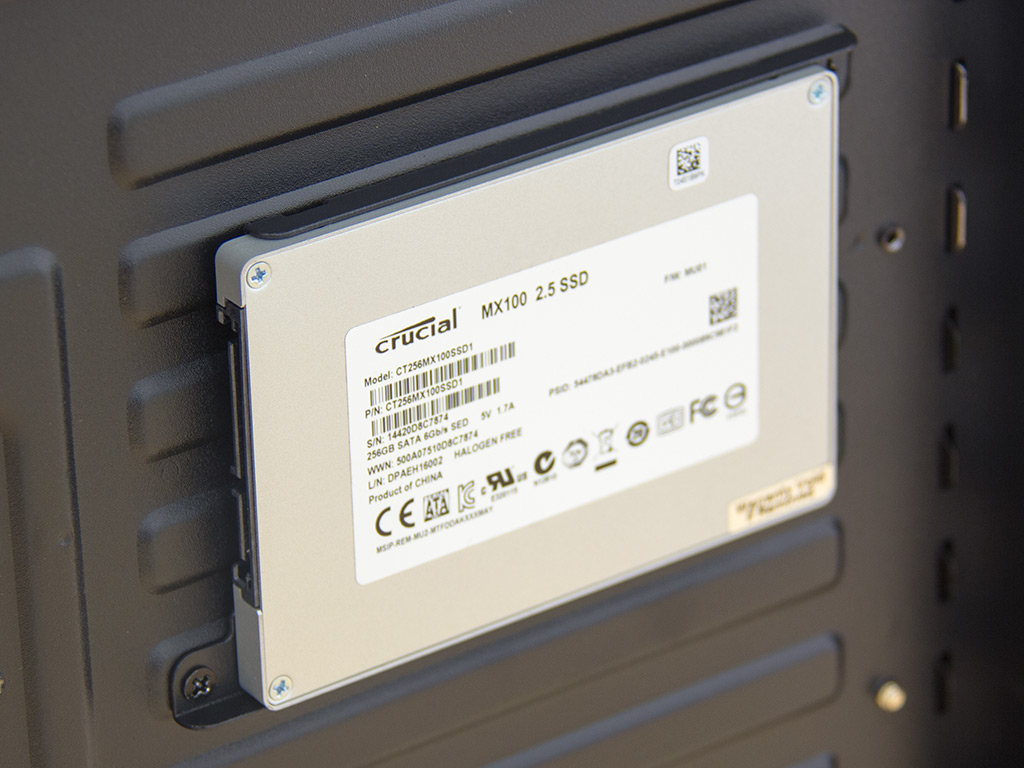
As previously mentioned, the SSD tray is simple, but will do the job. Simply place the drive on the tray and secure it with supplied screws before returning it to its original position behind the motherboard tray.
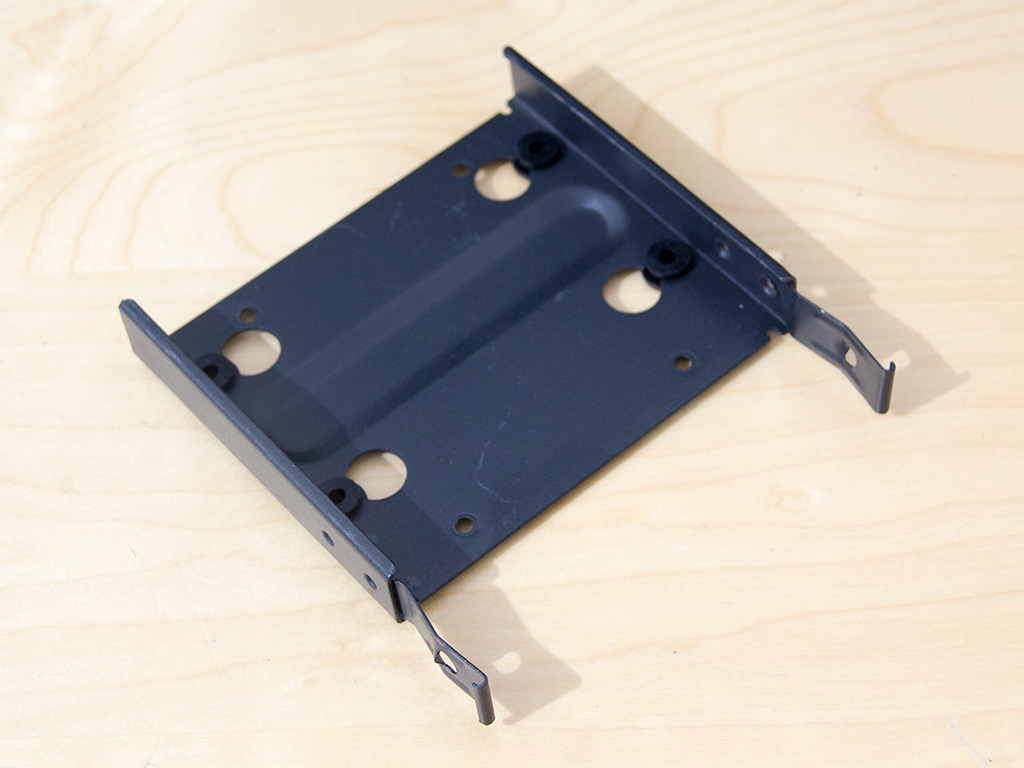
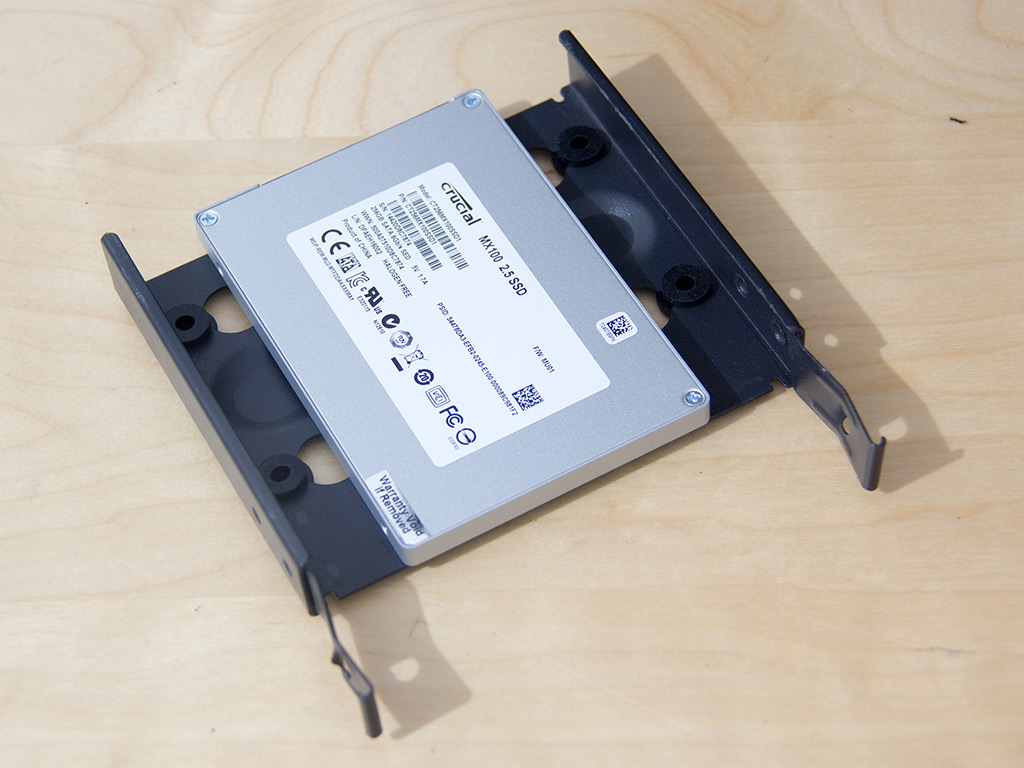
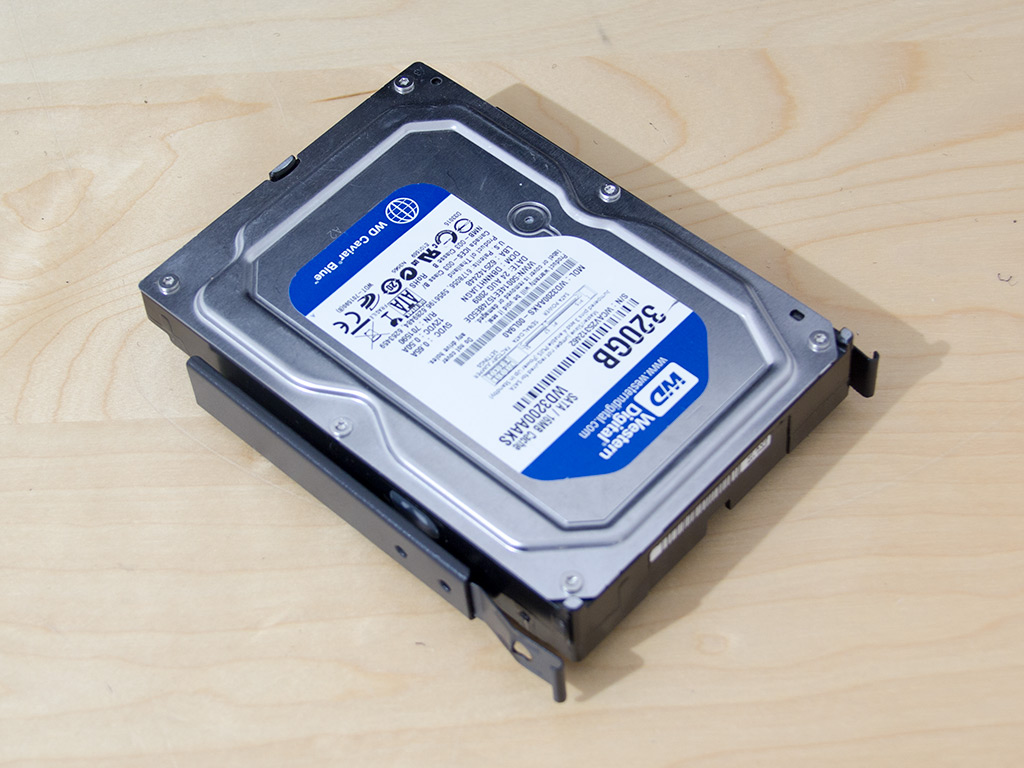
anidees includes metal hard drive trays unlike the plastic ones found in many other cases these days. These can be used for both 2.5'' or 3.5'' drives and require the use of screws. 3.5'' units rest on rubber rings while 2.5'' ones do not rest on such an anti-vibration measures.


Once placed on the trays, simply slide the drives into the bays of your choice until the metal trays snap into place. Once inserted, these hold extremely well, which cannot be said of many plastic solutions.
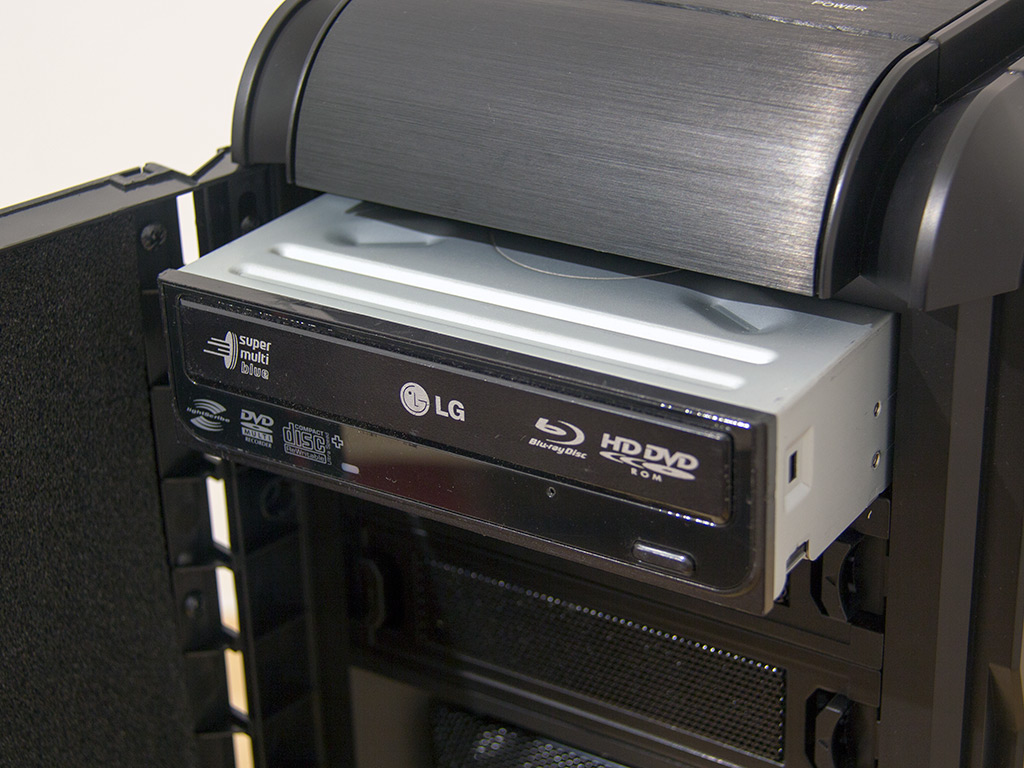
Installing an optical drive is quite easy as well. Simply remove the cover of your choice, slide the drive into place, and secure it with big, black thumbscrews. The greater size of these makes them much easier to apply to the drives—a nice little touch from anidees.
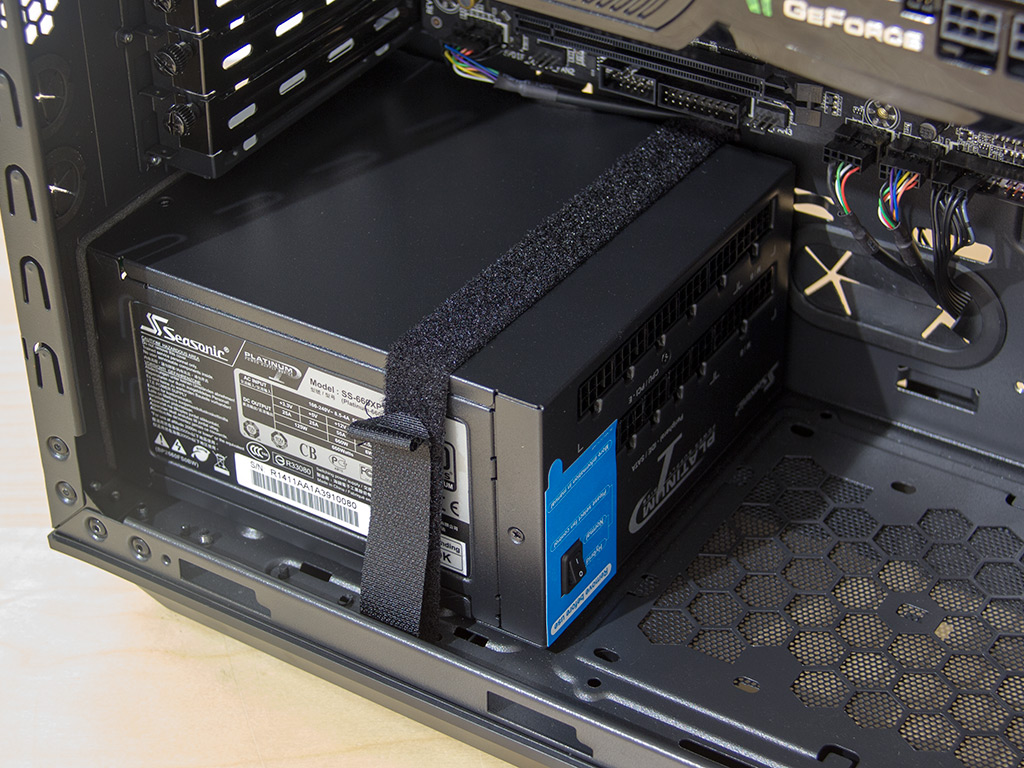
Installing the PSU is done without the use of any screws if you decide that the Velcro strip is sufficient, but I also used the supplied screws.

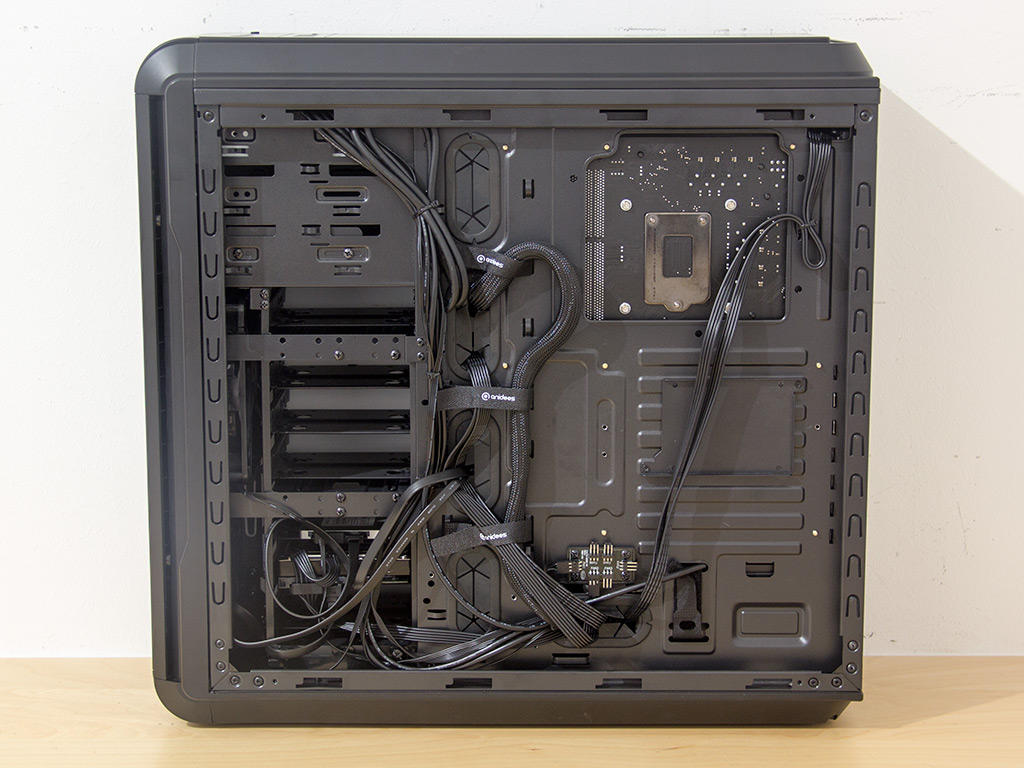
All the cables nicely hidden behind the mainboard tray once everything has been installed, the anidees AI6v2 makes a very clean impression.
Finished Looks
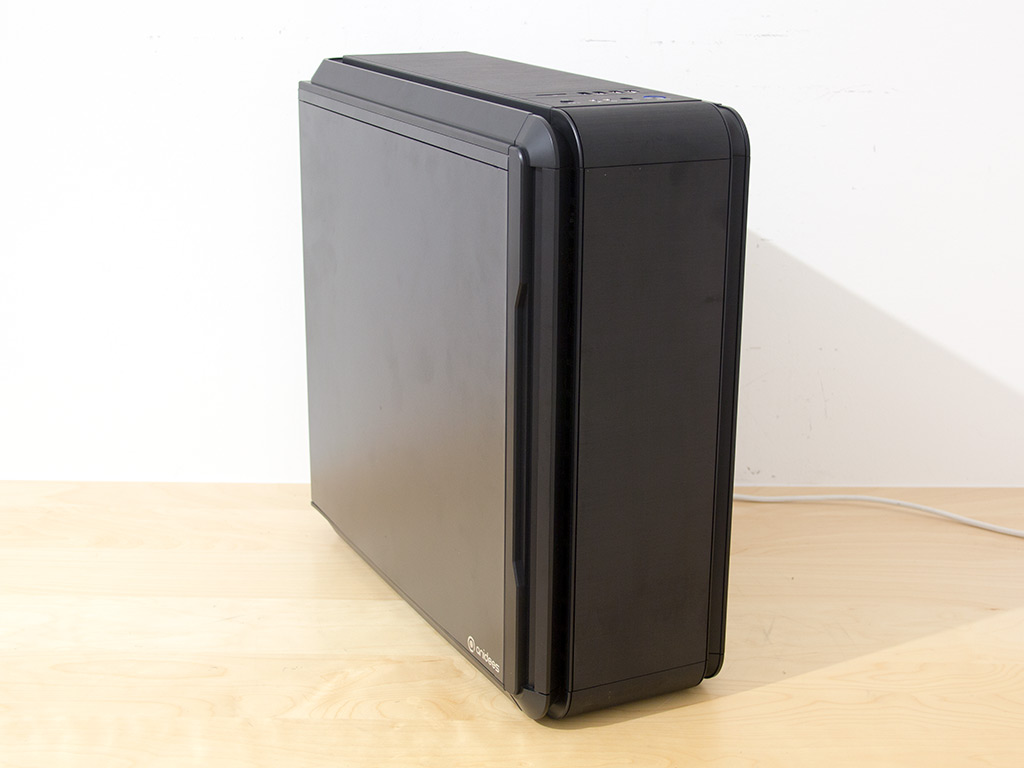

Putting the side panels in place and turning the unit on, I was impressed by how quiet the two fans were, though both were running at full speed. anidees has done an excellent job in choosing fans with such low operating noise. At this point, you will notice another update to the original AI6 as the power button is now round and the white LED can be seen as a circle around it, which is a much cleaner and nicer approach.
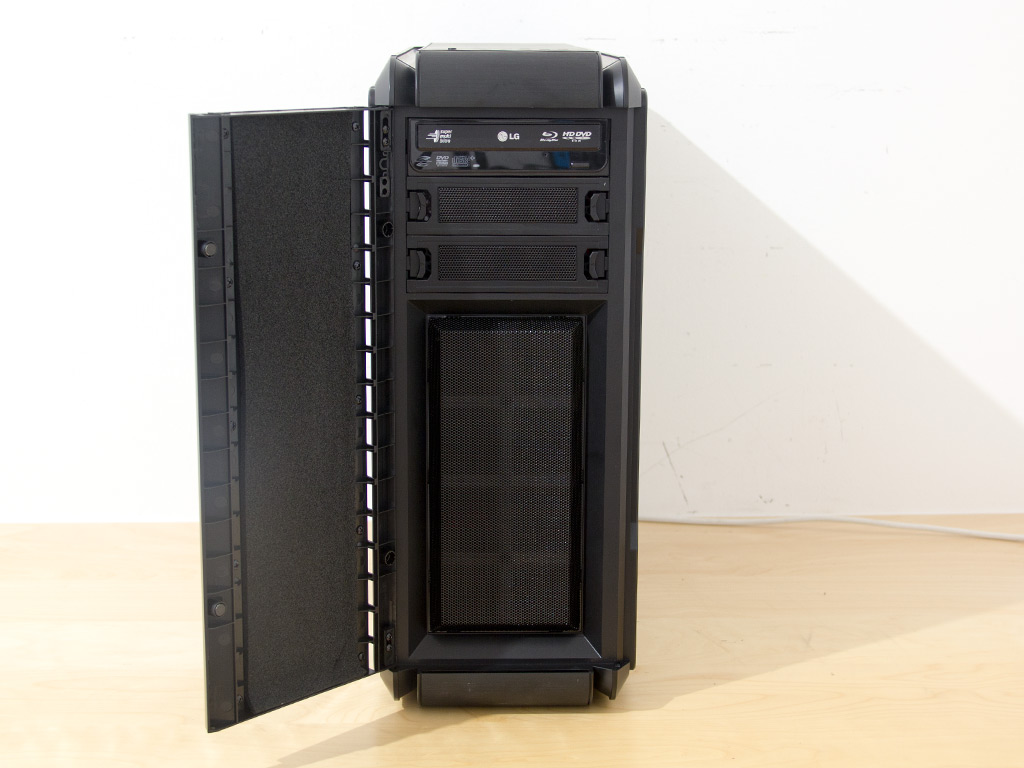
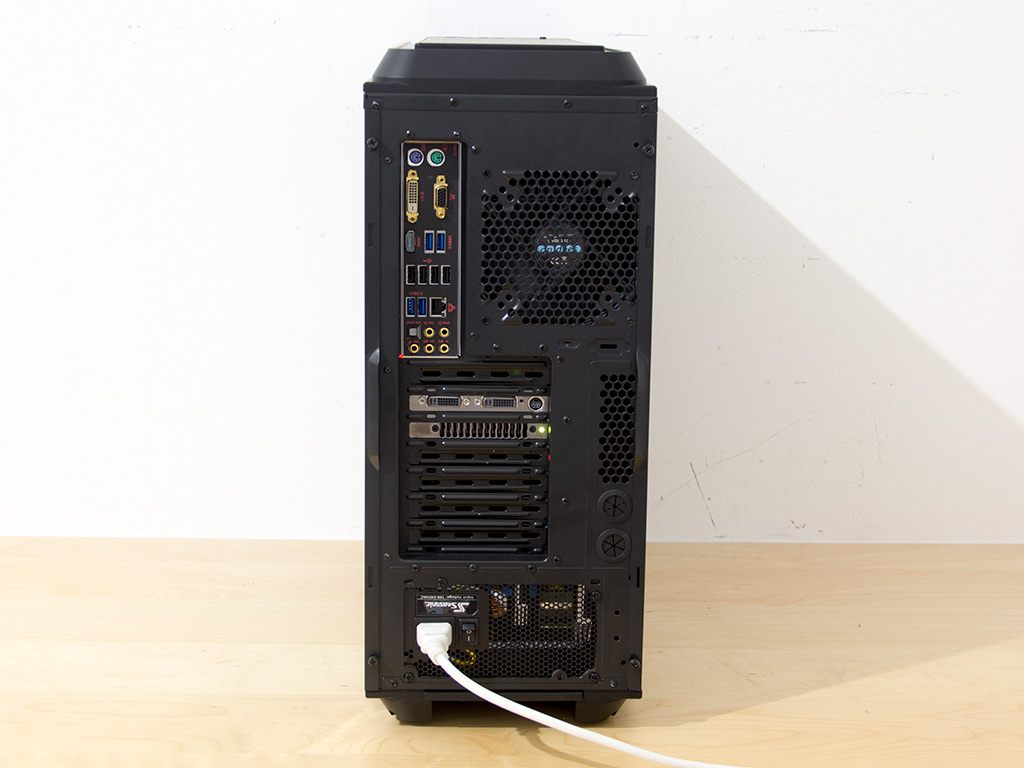
Thanks to the door, you can hide your optical drives, fan controllers or card readers nicely. This also gives you the option to use that beige or silver drive that has been lying around instead of going out and buying a new black one. Taking a quick look at the rear, the important areas are easily accessible, completely unobstructed. Both fans within the anidees AI6v2 lack LEDs, which should make the case a great fit for those who do not want Little Vegas under their tables.
Feb 28th, 2025 00:59 EST
change timezone
Latest GPU Drivers
New Forum Posts
- How to setup my 9800X3D on this Asus X670E board properly (1)
- Authenticode fails for GPU-Z 2.63.0 (13)
- Opinions on the drive config for new build please (30)
- Brilliant Utility (1)
- It's happening again, melting 12v high pwr connectors (951)
- AMD RDNA4 officially presented in China: Radeon RX 9070 XT priced at 4999 RMB (~$599), RX 9070 at 4499 RMB (~$549). (0)
- RX 7900 XT Cant flash XTX bios. (9)
- The BIOS for the new ASUS DUAL-RX6600-8G. (2)
- Nvidia dropped 32-bit CUDA support with the 5000 series, not just 32-bit PhysX (4)
- DELL ALIENWARE AW2523HF COIL WHINE NOISE. (2)
Popular Reviews
- Montech HyperFlow Silent 360 Review
- ASUS GeForce RTX 5070 Ti TUF OC Review
- Gigabyte X870 Aorus Elite WiFi 7 Review
- Corsair Xeneon 34WQHD240-C Review - Pretty In White
- AMD Ryzen 7 9800X3D Review - The Best Gaming Processor
- MSI GeForce RTX 5070 Ti Ventus 3X OC Review
- MSI GeForce RTX 5070 Ti Vanguard SOC Review
- Corsair Virtuoso MAX Wireless Review
- be quiet! Pure Base 501 DX Review
- Montech TITAN PLA 1000 W Review
Controversial News Posts
- NVIDIA GeForce RTX 50 Cards Spotted with Missing ROPs, NVIDIA Confirms the Issue, Multiple Vendors Affected (498)
- AMD Radeon 9070 XT Rumored to Outpace RTX 5070 Ti by Almost 15% (304)
- AMD Plans Aggressive Price Competition with Radeon RX 9000 Series (274)
- AMD Radeon RX 9070 and 9070 XT Listed On Amazon - One Buyer Snags a Unit (255)
- NVIDIA Investigates GeForce RTX 50 Series "Blackwell" Black Screen and BSOD Issues (244)
- Edward Snowden Lashes Out at NVIDIA Over GeForce RTX 50 Pricing And Value (241)
- AMD Denies Radeon RX 9070 XT $899 USD Starting Price Point Rumors (239)
- AMD Mentions Sub-$700 Pricing for Radeon RX 9070 GPU Series, Looks Like NV Minus $50 Again (228)