 9
9
Antec Dark Cube Review
Assembly & Finished Looks »A Closer Look - Inside
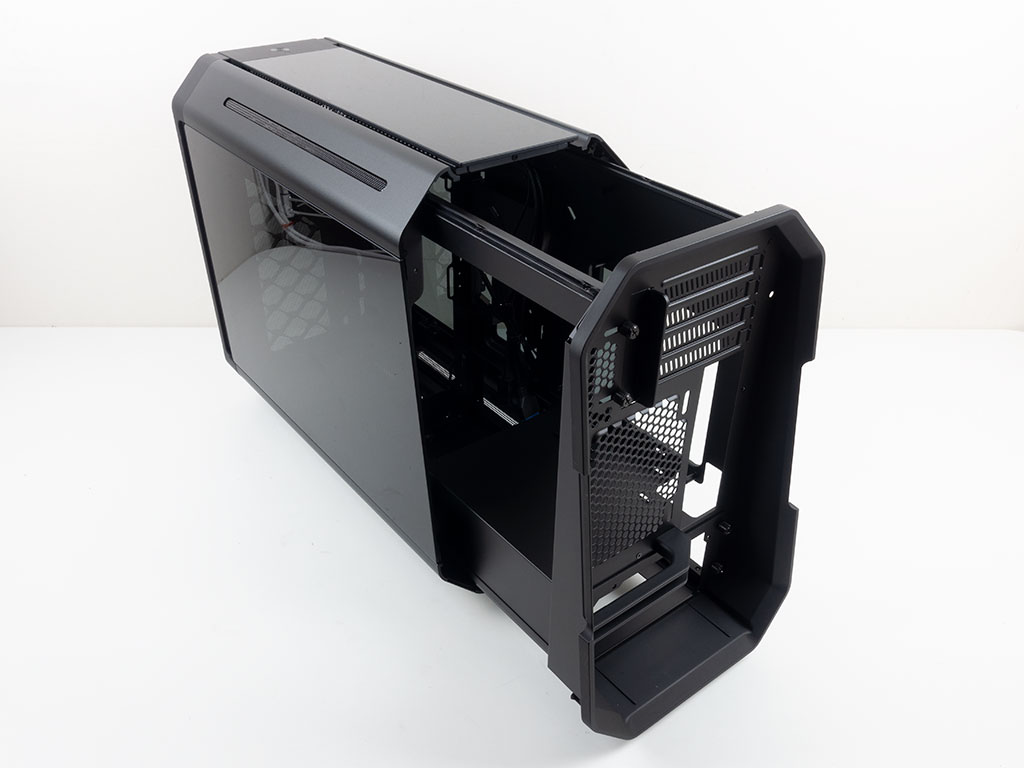

For assembly, it is easiest to pull the whole inner frame out of the outer shell after taking off four screws. Unfortunately, none of these are captive, which would have been a nice touch. Once pulled out, you can easily work with the frame for system assembly.
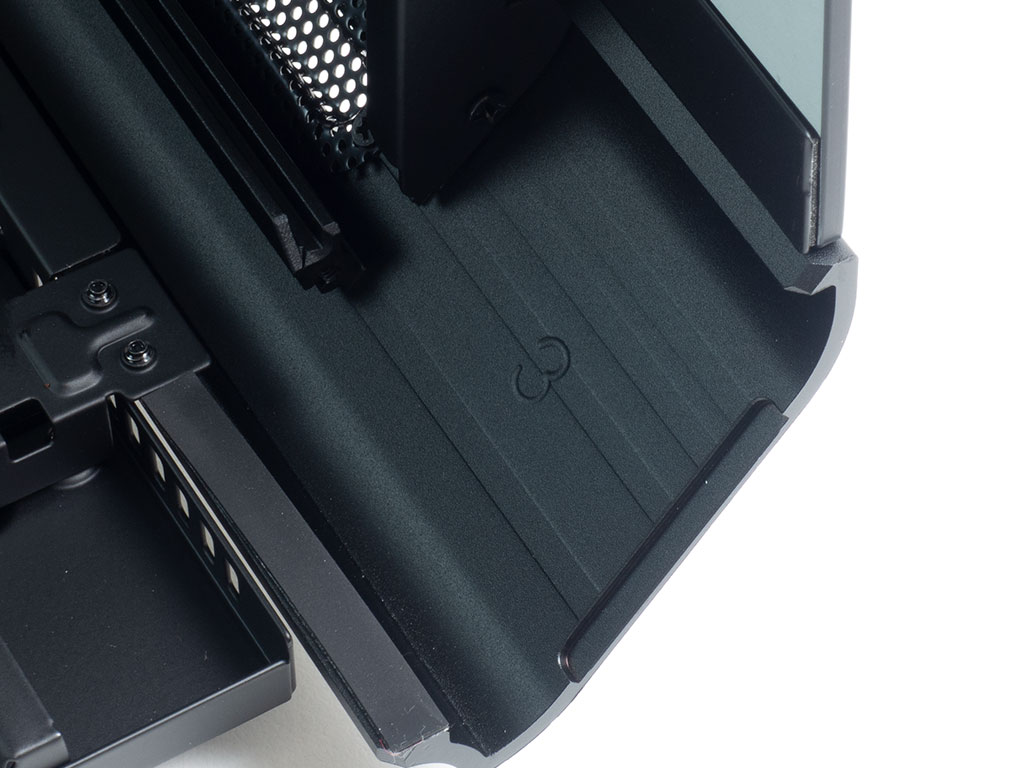
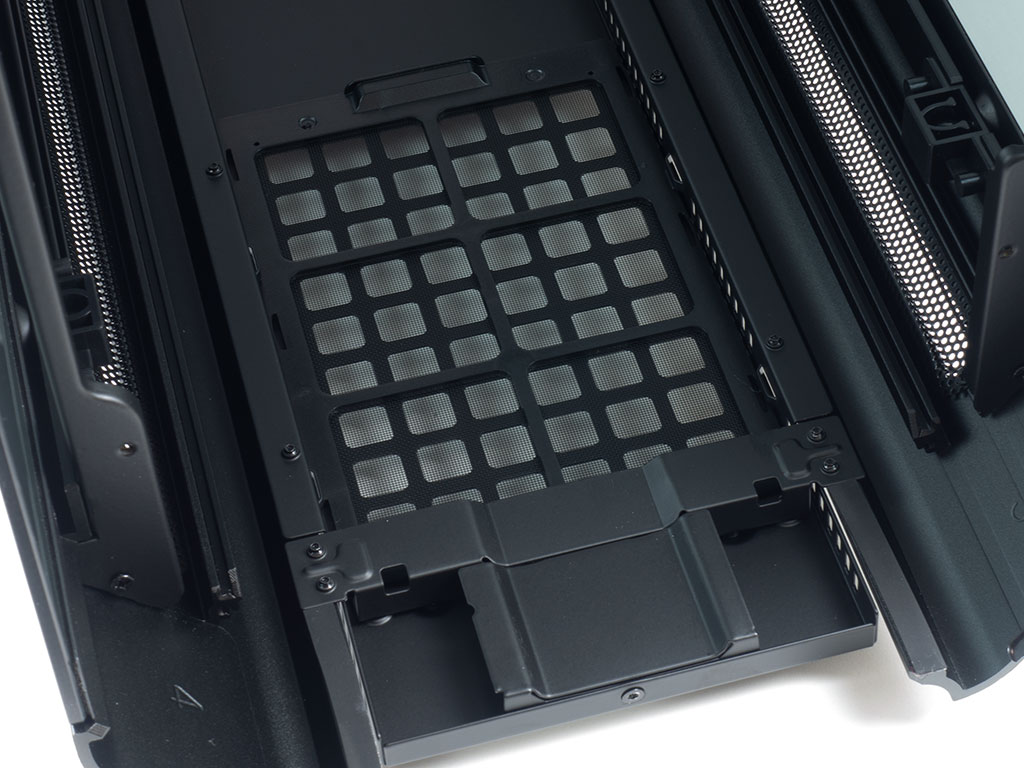
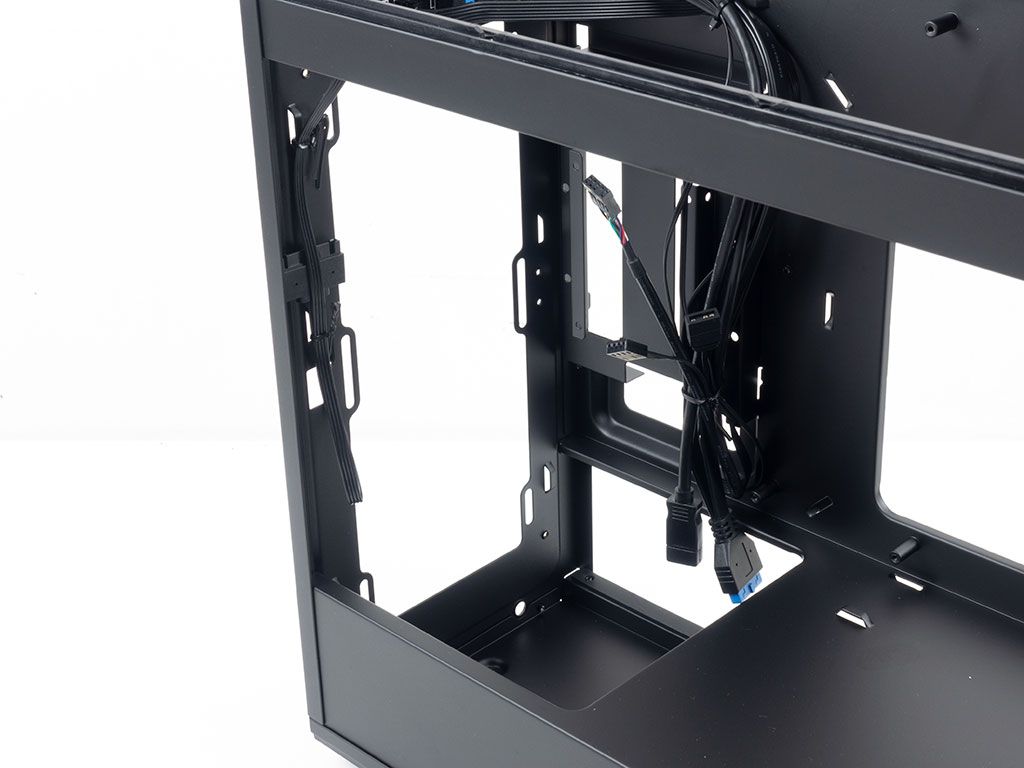
Taking a quick look at the shell, the main aluminium components are the four corner pieces. As each is uniquely shaped, you will find numbers on each of these. The PSU dust filter is only accessible if you pull out the whole case frame, which is unfortunate. Alternatively, you could unscrew the whole bottom plate to get to it without taking apart the rest of your system. In the front is a PCIe x4 looking connector, which is quite the ingenious way to interface the PCB that comes out with the frame and external I/O.
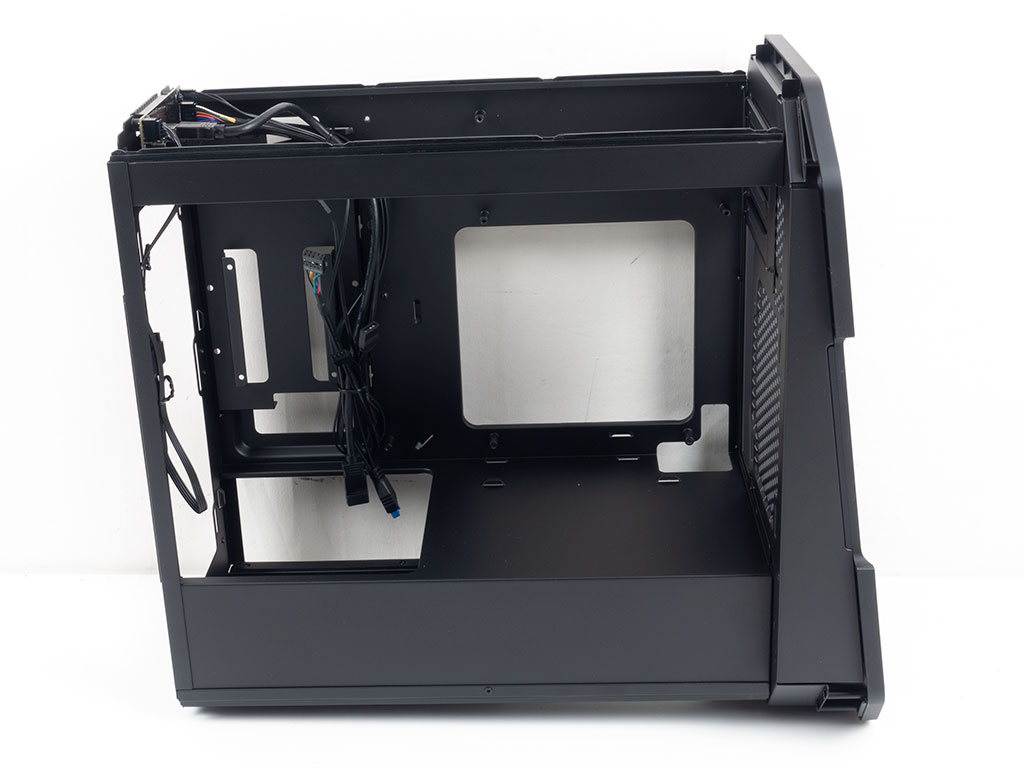
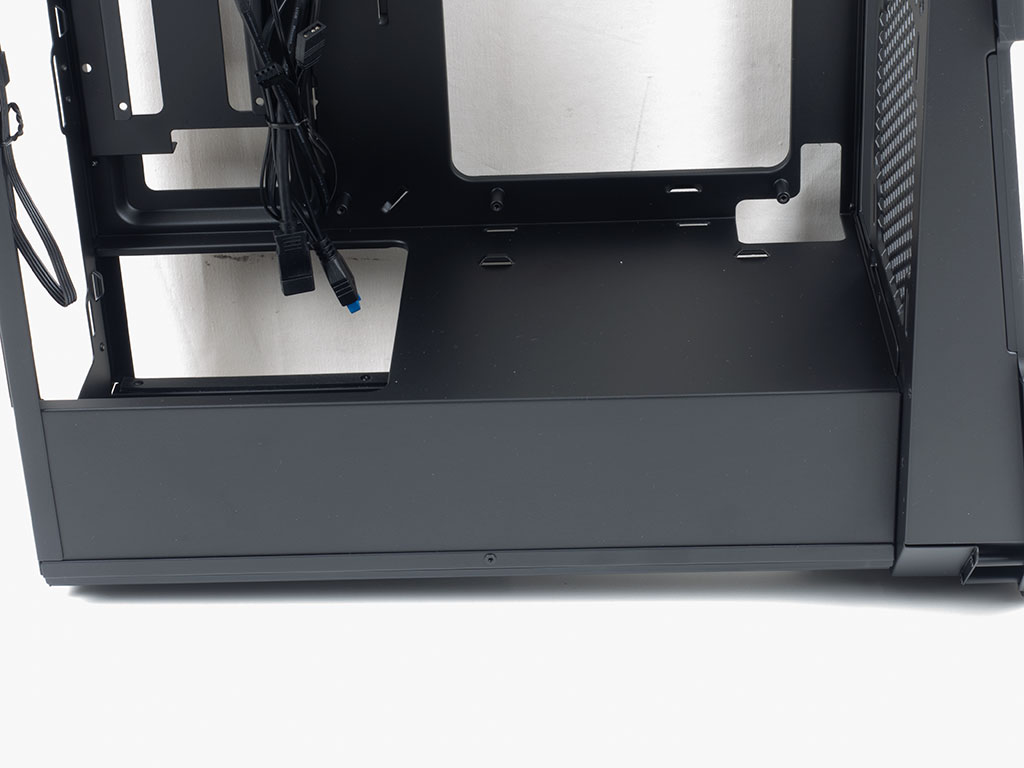
Once the frame is separated from the shell, the layout itself is actually quite traditional aside from the upside-down motherboard tray. On the bottom, you will find a solid steel shroud to cover the PSU. Antec chose not to use this area for 2.5" drives either, so you are actually limited to one 2.5" and one 3.5" drive inside the Dark Cube. There is a fairly large opening in the front as well, which is clearly meant to be useful for a push/pull configuration with a thick radiator, but Antec mentions a limit of 55 mm for radiator thickness. This adds up to 80 mm with the rear fans, which is far less than the opening. There is a useful opening in the rear corner of the shroud, so you may route your motherboard power cables easily.
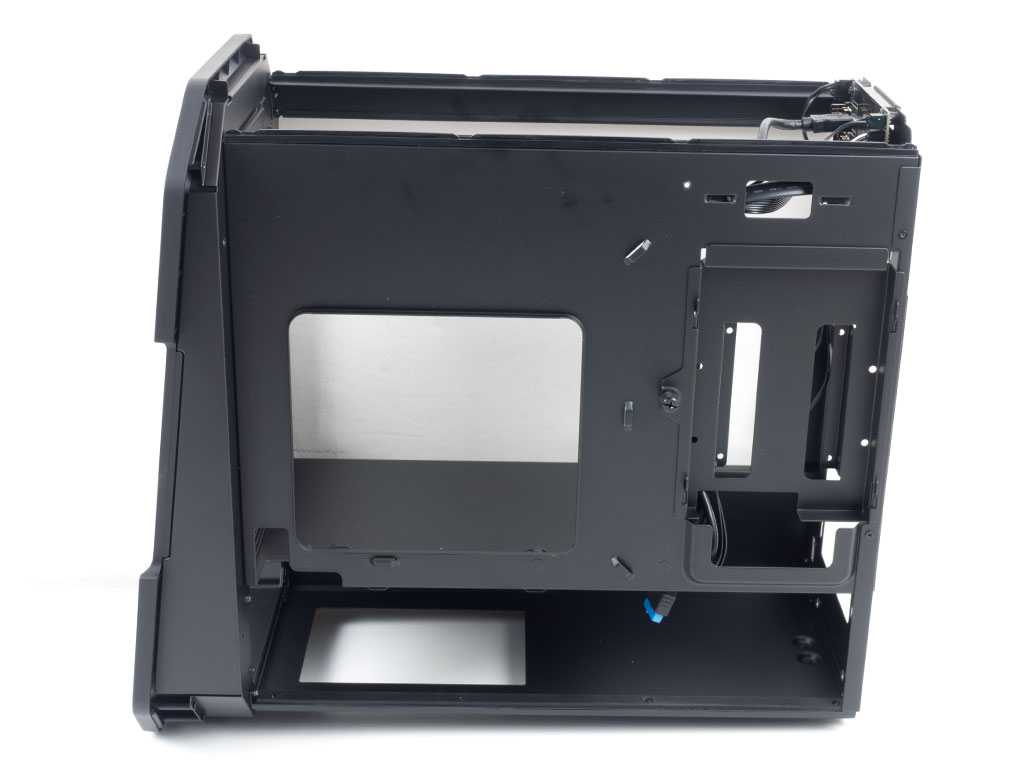
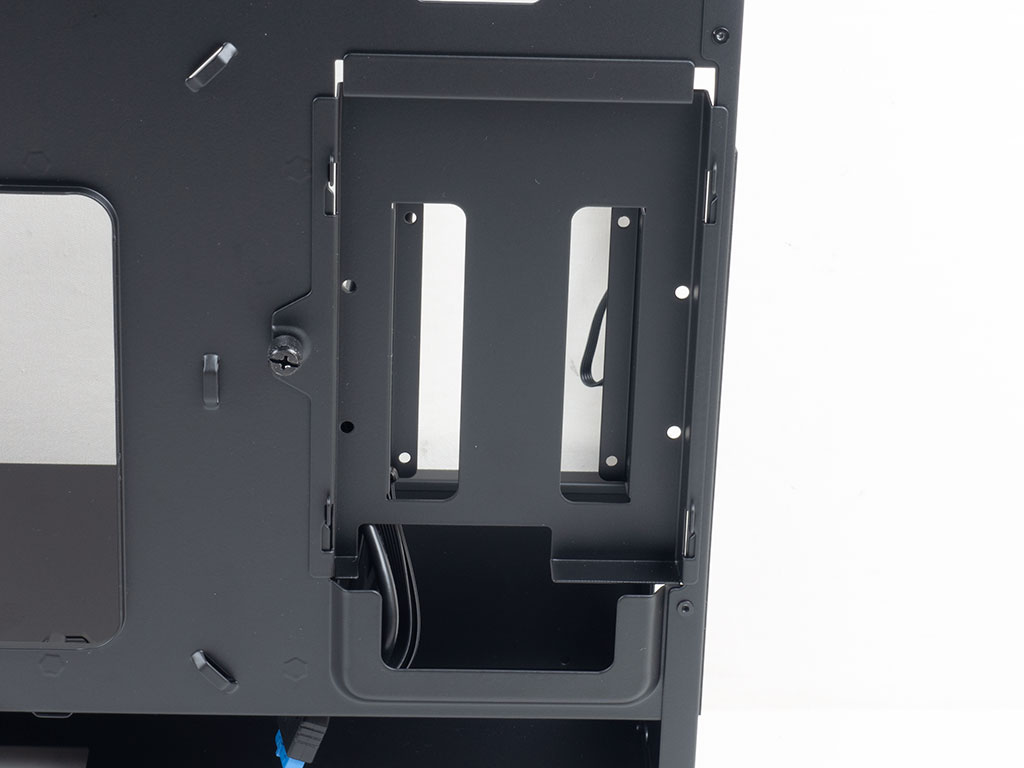
On the backside of the motherboard tray are a few zip-tie hooks you may use. Unfortunately, there is no cover for the CPU cooler cutout as two additional SSDs could easily be fitted here with a bit of imagination.
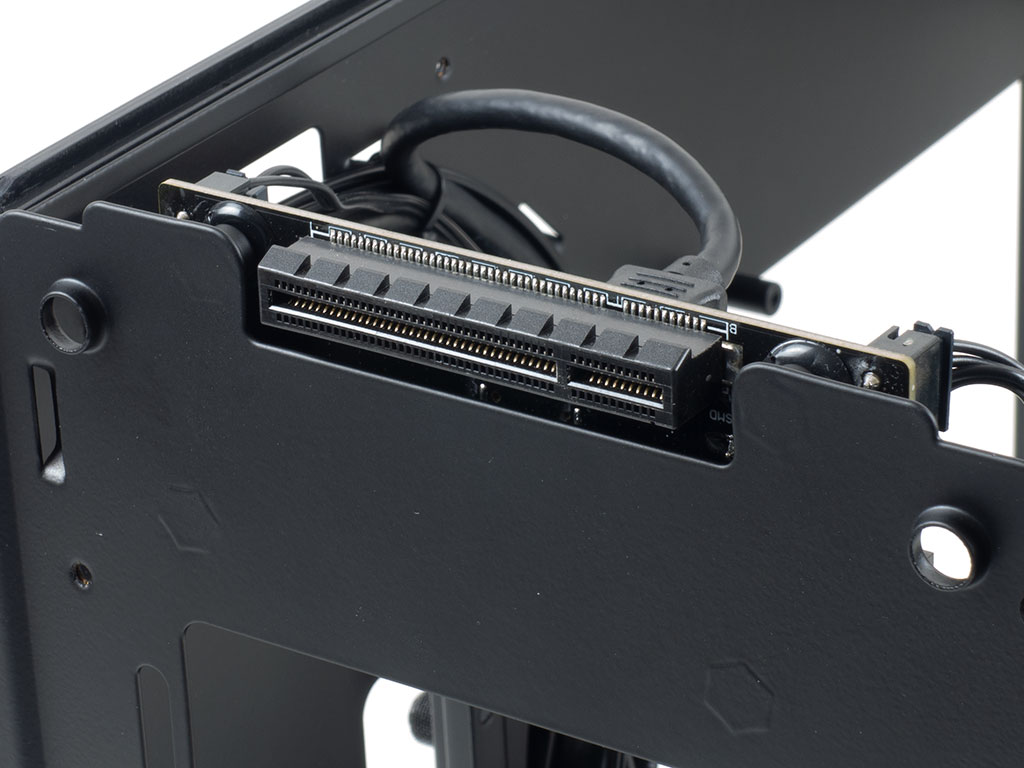
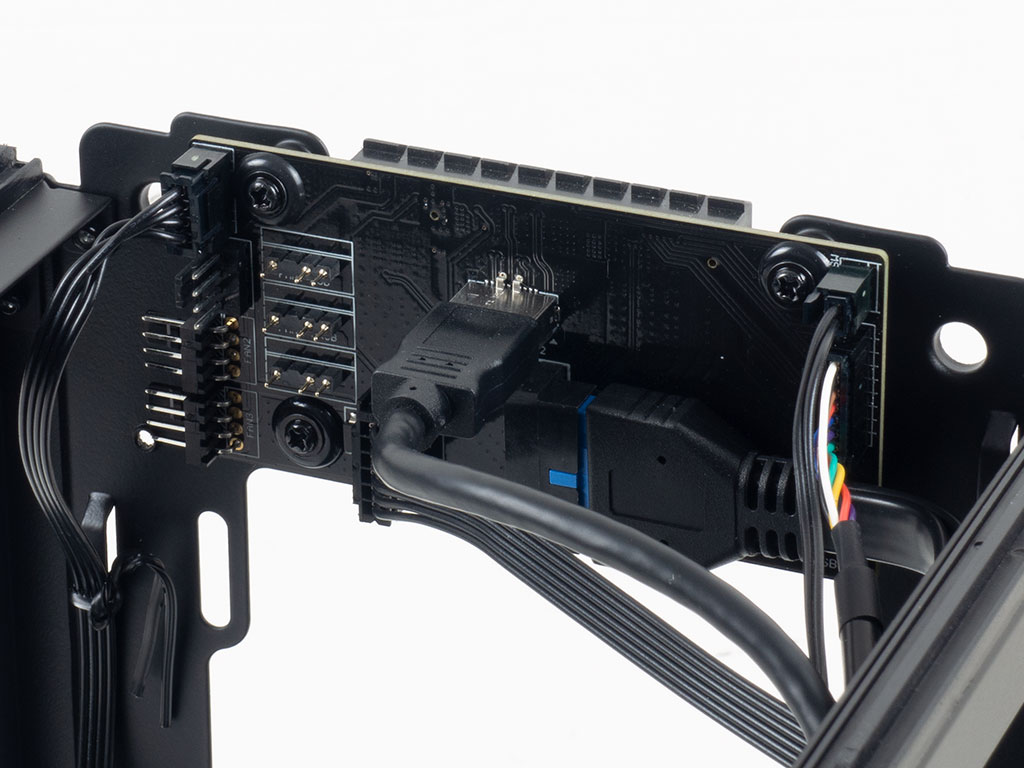
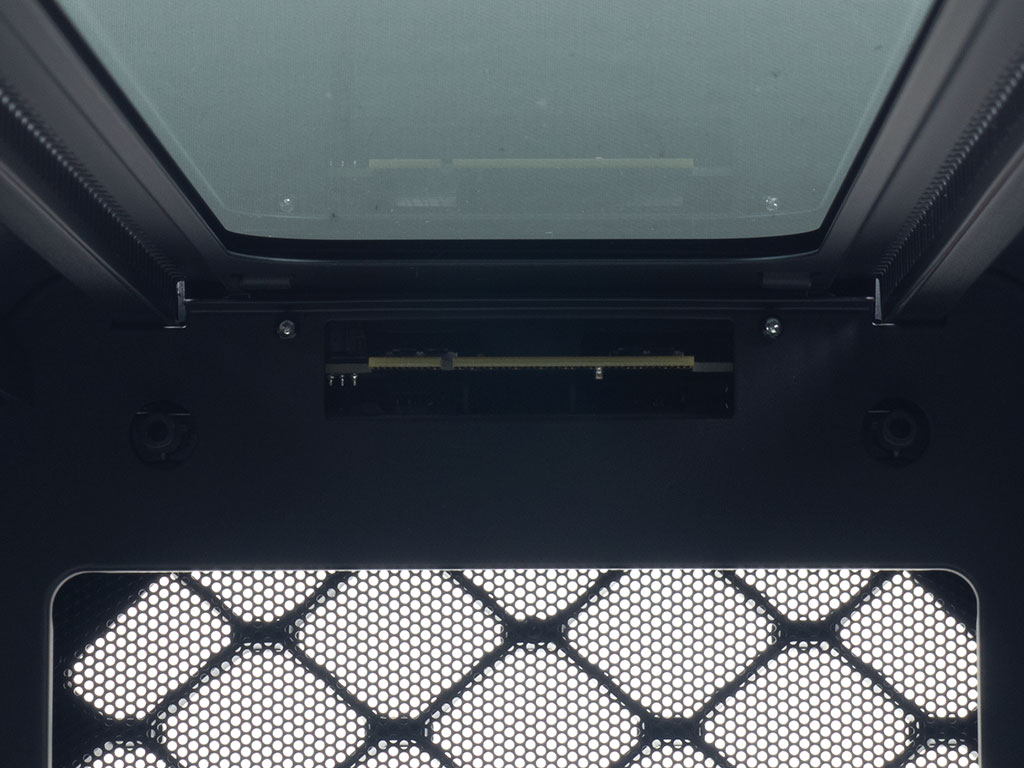
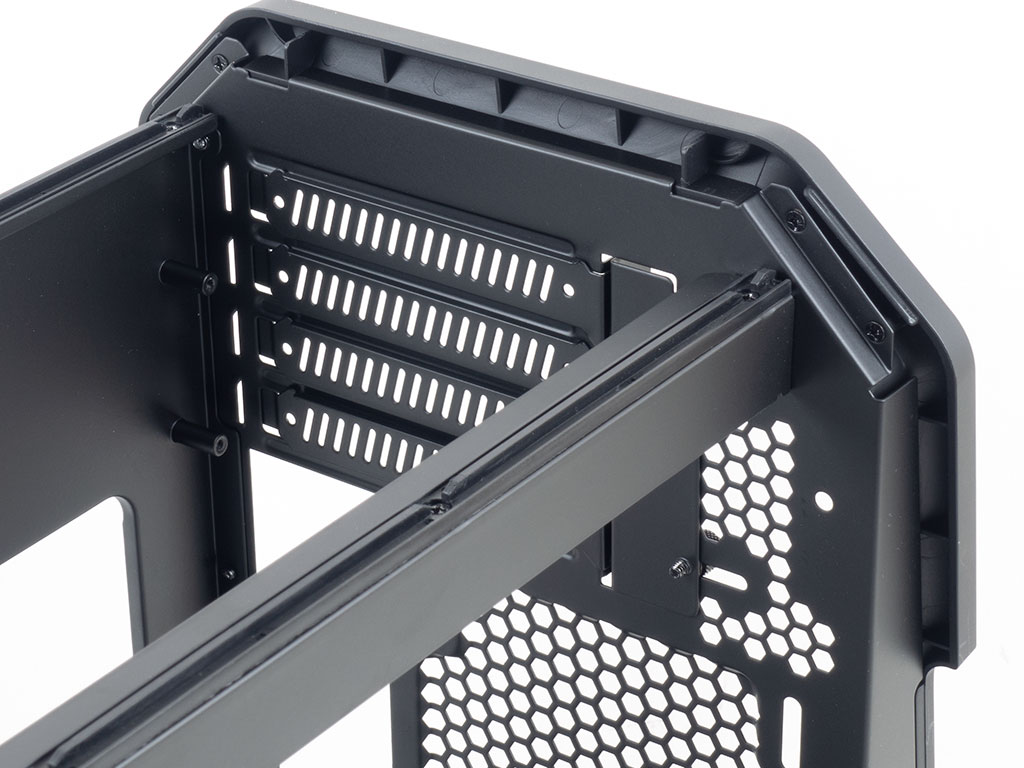
Looking at the front, there are elongated mounting holes for 120 mm fans and thus a 240 mm radiator, but you may also install 140 mm fans here if you like. As suspected, the PCB for the I/O actually uses a PCIe x4 connector and allows for you to easily unplug any of the ports you don't need. On top of that are three ARGB ports and three motherboard-controlled PWM fan connectors. While you may toggle your built-in lighting with the case button, Antec also includes the ability for motherboard control. Overall, this PCB is pretty darn cool, and I am sure it wasn't cheap for Antec to offer it in the Dark Cube.
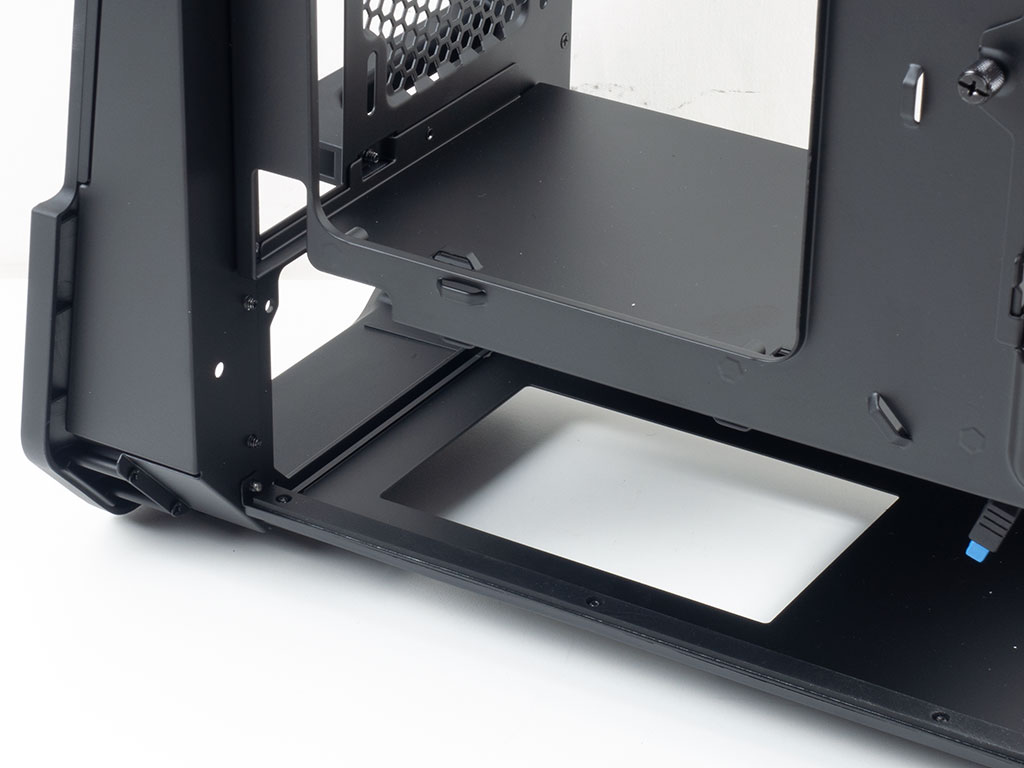

Underneath the shroud is the pretty basic but functional PSU bay, as your power supply is meant to be pushed in through the back of the chassis. Antec chose not to include any storage in front of the power supply as it would interfere with any liquid cooling you may install. Nevertheless, it would have been good if the user could get that choice.

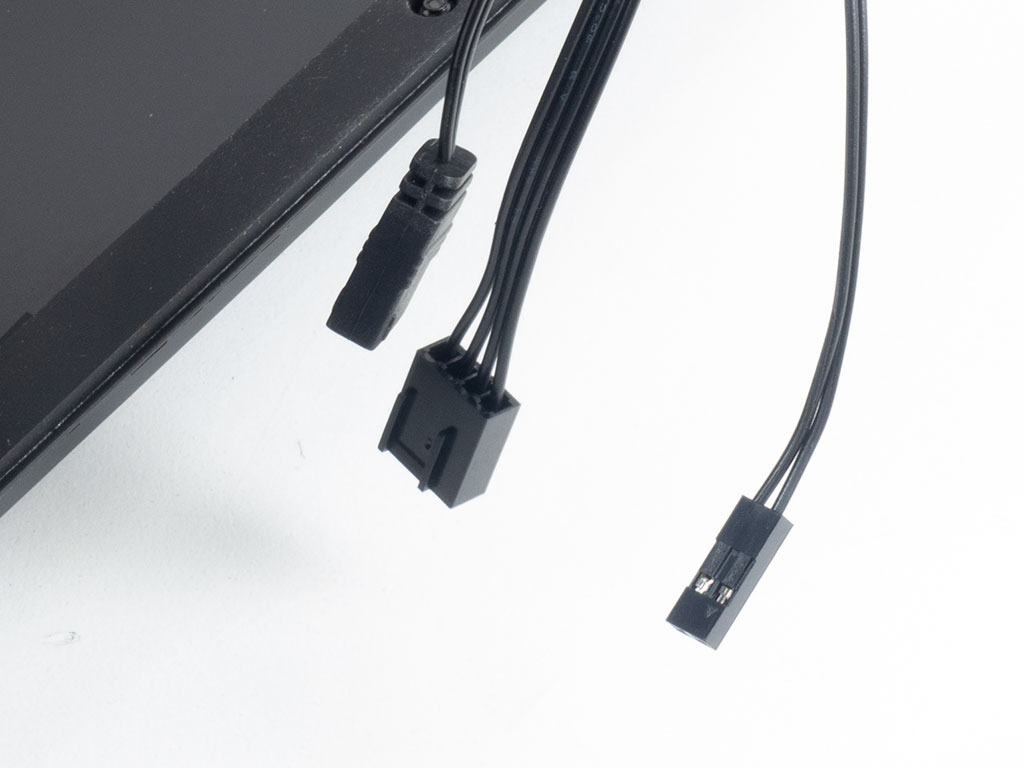
All the cables within the Antec Dark Cube are sleeved black and of high quality. Antec made sure they are sized well too, so you don't have to deal with an unnecessary cable mess.
Apr 7th, 2025 03:19 EDT
change timezone
Latest GPU Drivers
New Forum Posts
- 9070XT or 7900XT (47)
- What are you playing? (23351)
- I have a bricked XFX Radeon RX 580 8GB GPU. HELP! (17)
- Possible to stream your nintendo switch to discord ? (4)
- RX 9000 series GPU Owners Club (199)
- The Official Thermal Interface Material thread (1680)
- gpu heirarchy/performance/benchmarks- whos lying? (40)
- Do you use Linux? (561)
- Stock PSU with Razer Core X with adapter to 12VHPWR (2)
- AMD RX 9070 XT & RX 9070 non-XT thread (OC, undervolt, benchmarks, ...) (80)
Popular Reviews
- ASUS Prime X870-P Wi-Fi Review
- UPERFECT UStation Delta Max Review - Two Screens In One
- PowerColor Radeon RX 9070 Hellhound Review
- Upcoming Hardware Launches 2025 (Updated Apr 2025)
- Corsair RM750x Shift 750 W Review
- Sapphire Radeon RX 9070 XT Pulse Review
- Sapphire Radeon RX 9070 XT Nitro+ Review - Beating NVIDIA
- DDR5 CUDIMM Explained & Benched - The New Memory Standard
- AMD Ryzen 7 9800X3D Review - The Best Gaming Processor
- AMD Ryzen 9 9950X3D Review - Great for Gaming and Productivity
Controversial News Posts
- MSI Doesn't Plan Radeon RX 9000 Series GPUs, Skips AMD RDNA 4 Generation Entirely (146)
- NVIDIA GeForce RTX 5060 Ti 16 GB SKU Likely Launching at $499, According to Supply Chain Leak (145)
- Microsoft Introduces Copilot for Gaming (124)
- AMD Radeon RX 9070 XT Reportedly Outperforms RTX 5080 Through Undervolting (119)
- NVIDIA Reportedly Prepares GeForce RTX 5060 and RTX 5060 Ti Unveil Tomorrow (115)
- Over 200,000 Sold Radeon RX 9070 and RX 9070 XT GPUs? AMD Says No Number was Given (100)
- NVIDIA GeForce RTX 5050, RTX 5060, and RTX 5060 Ti Specifications Leak (97)
- Nintendo Switch 2 Launches June 5 at $449.99 with New Hardware and Games (92)