 0
0
Antec Dark Fleet DF-500 Review
Assembly & Finished Looks »A Closer Look - Inside
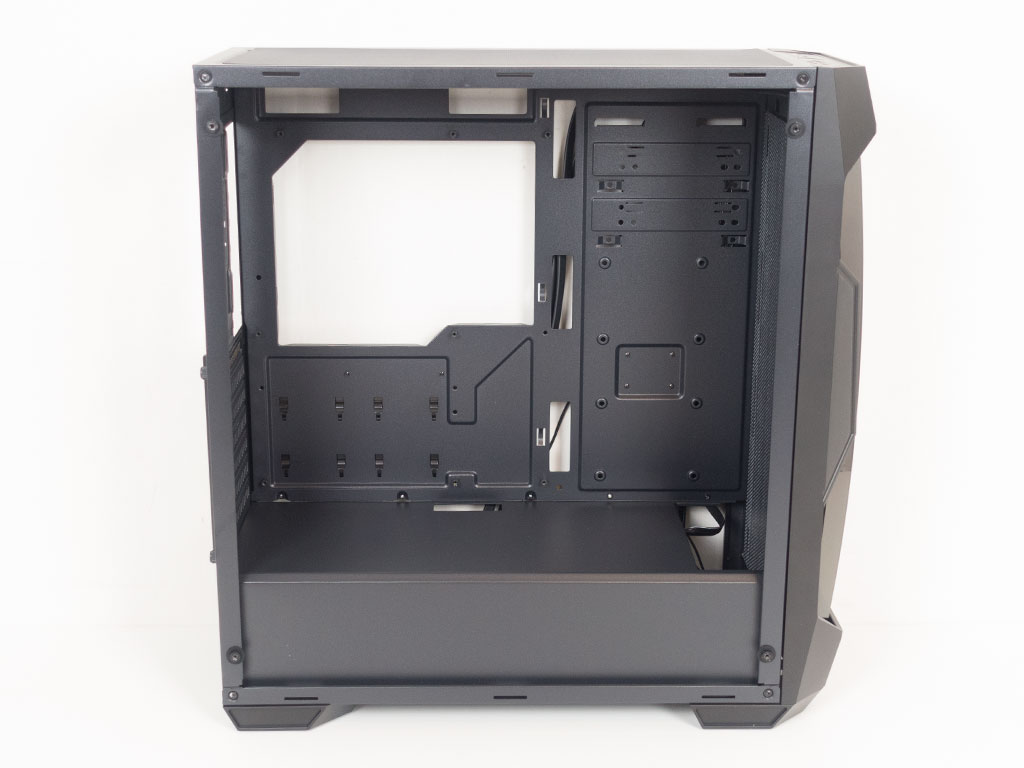
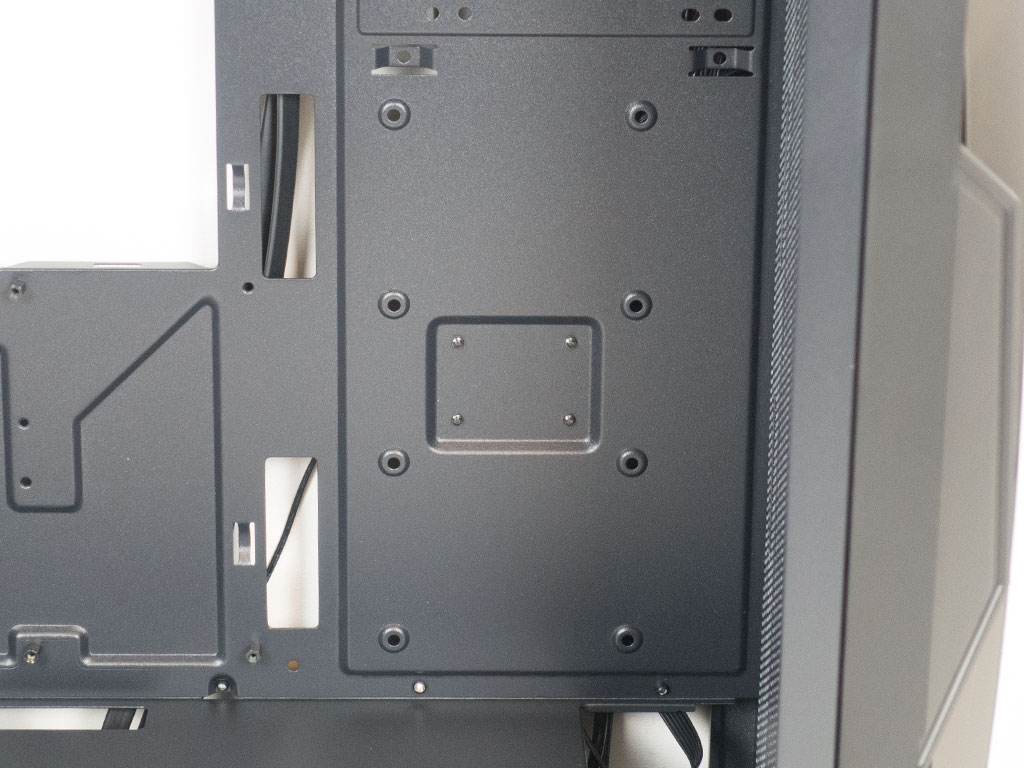
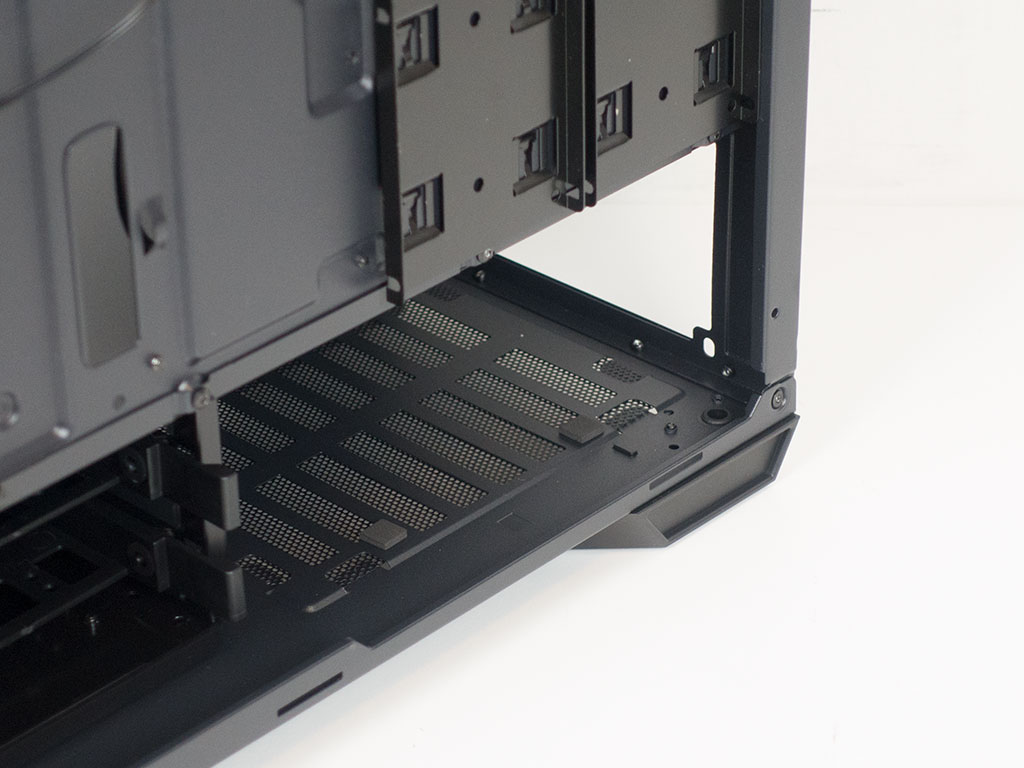
To gain access to the interior, you will have to remove the thumb screws holding the panels in place. Inside, things looks quite roomy as there are no optical drive bays. Antec has also placed a shroud over the PSU bay to ensure you can keep the look and feel of the DF-500 as clean as possible. The shroud is completely solid with the exception of a small opening in the front, so you may install a 360 mm radiator in the front. There are also two SSD mounting locations which can then be seen when taking a peek through the window.
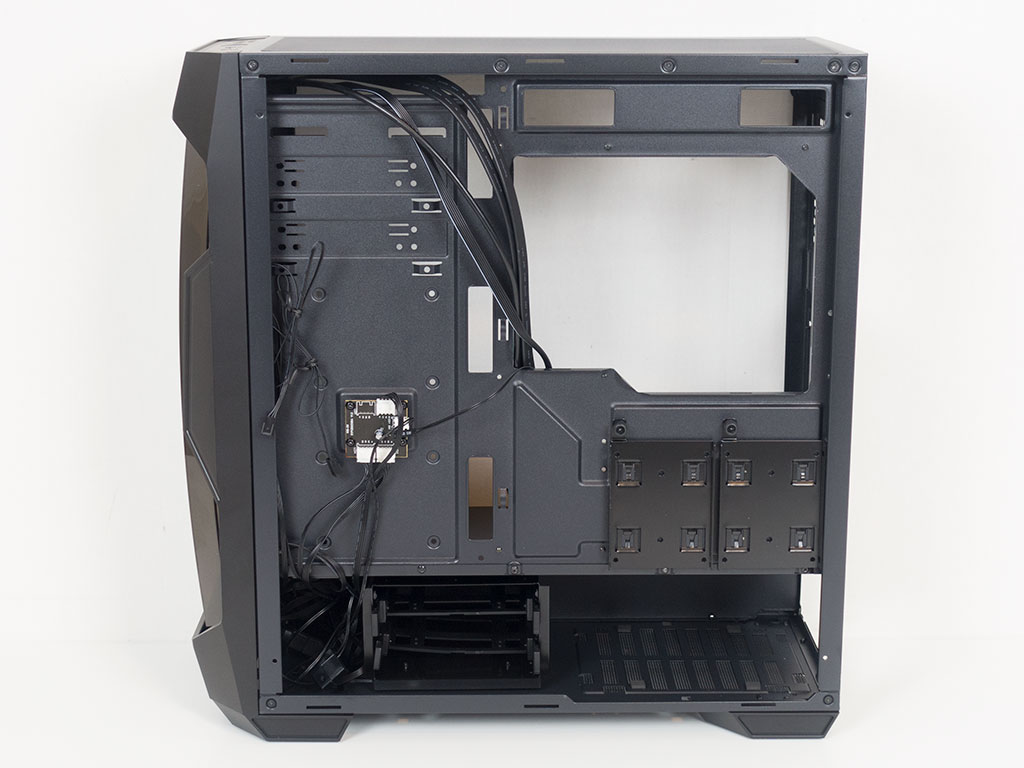
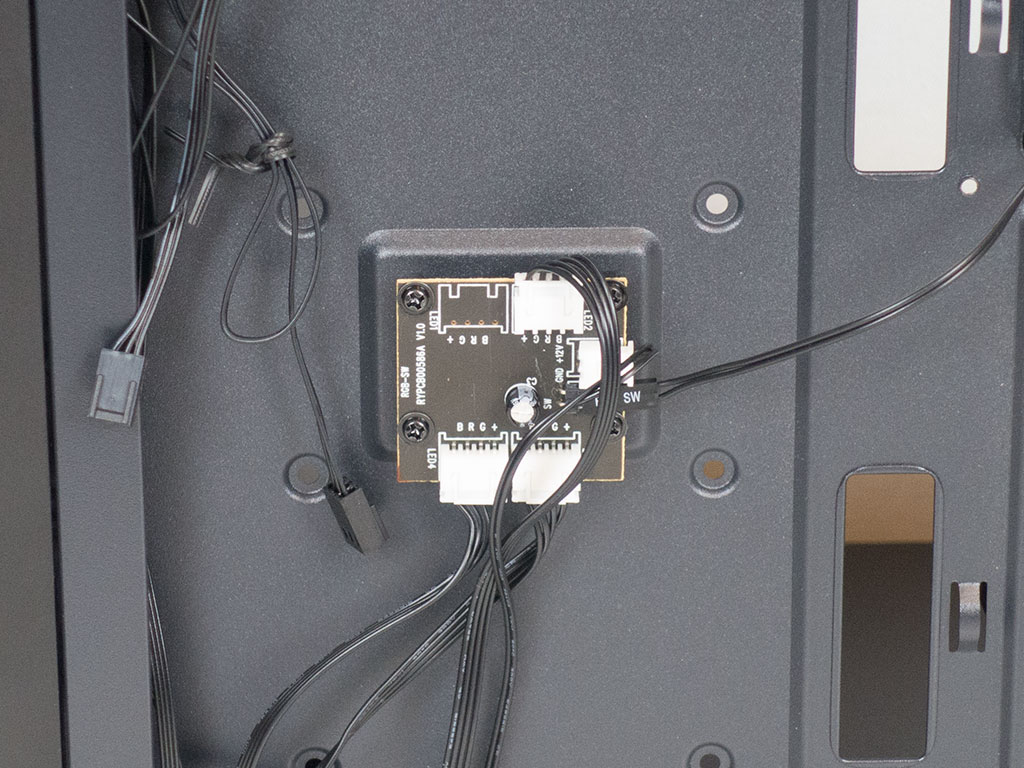
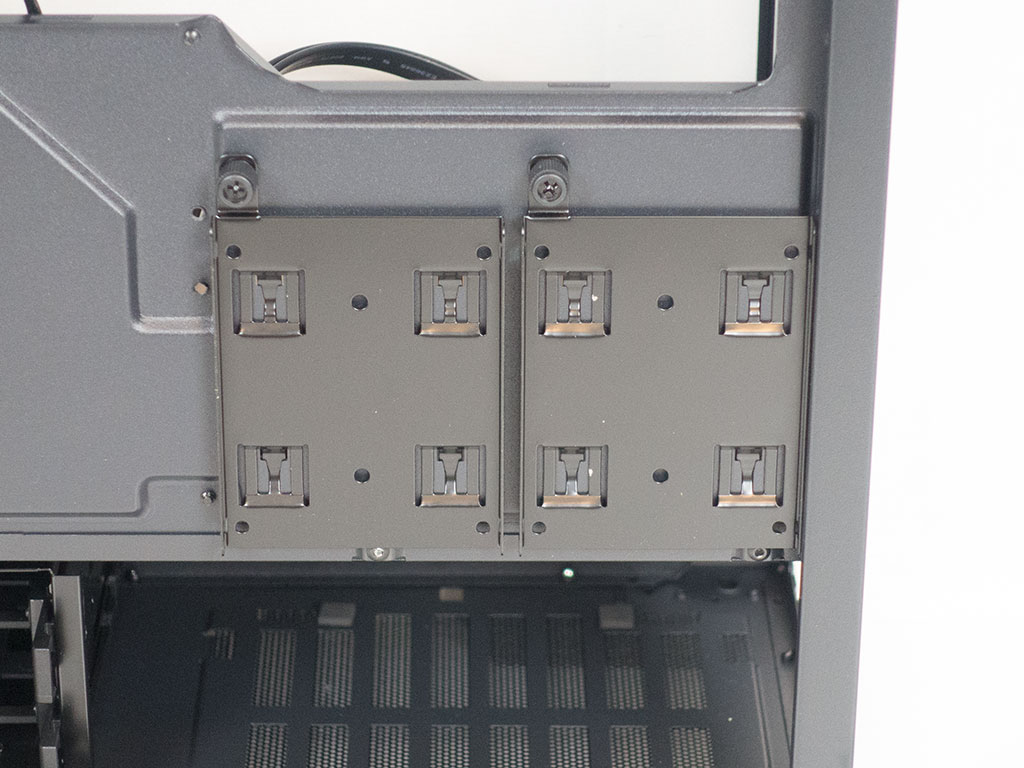
On the backside, you can clearly see that there are no rubber grommets for the openings around the motherboard tray. A small PCB controls the colors of the RGB fans. Antec simply re-purposed the reset button to act as a toggle switch. Two additional SSD trays bring the total number of such drives that may be added to the DF-500 to four.
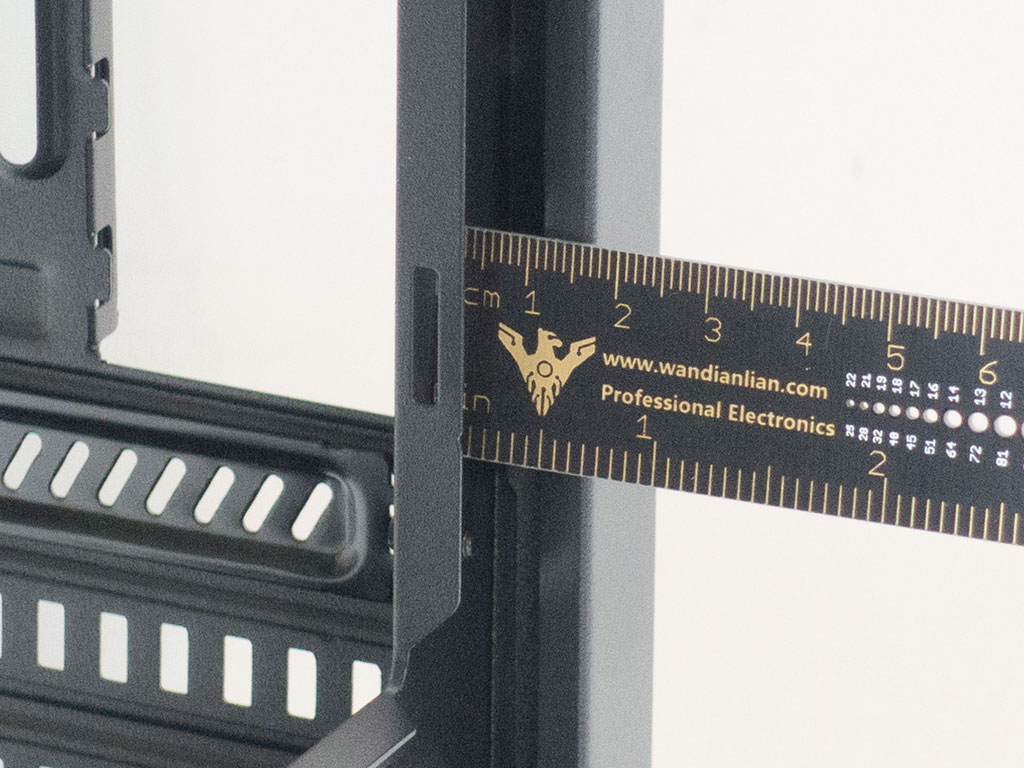
There is around 18 mm of space between the side panel and backside of the motherboard tray, which doesn't seem like much. However, it should be enough to keep all the unnecessary cables routed and hidden from view.

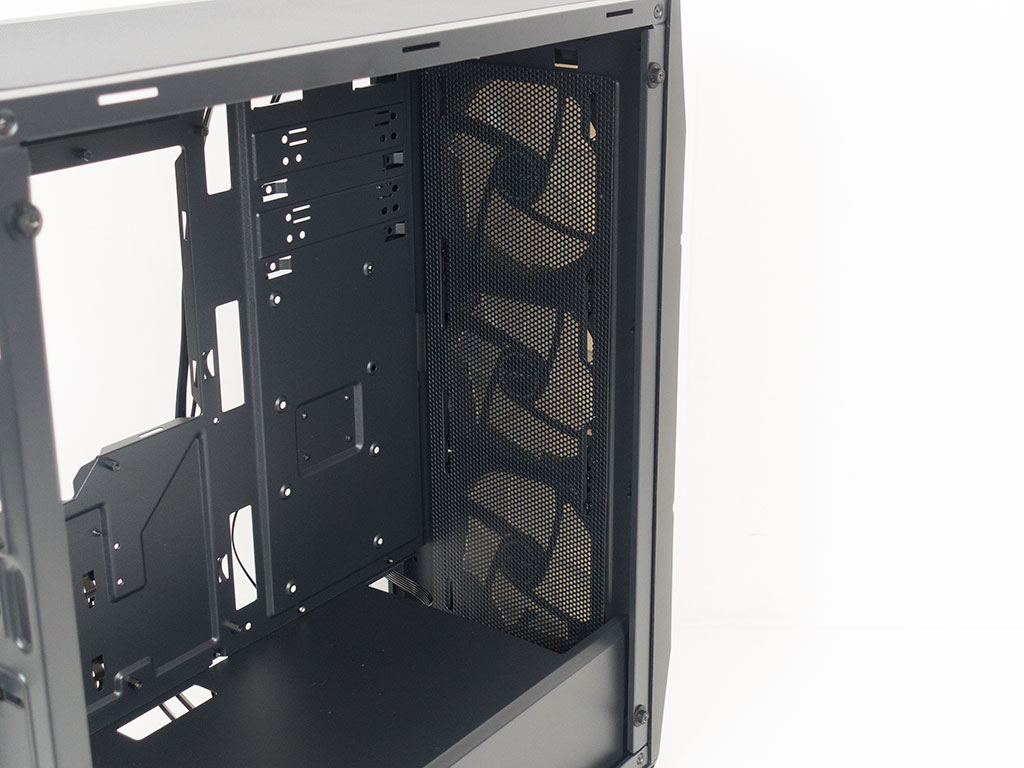
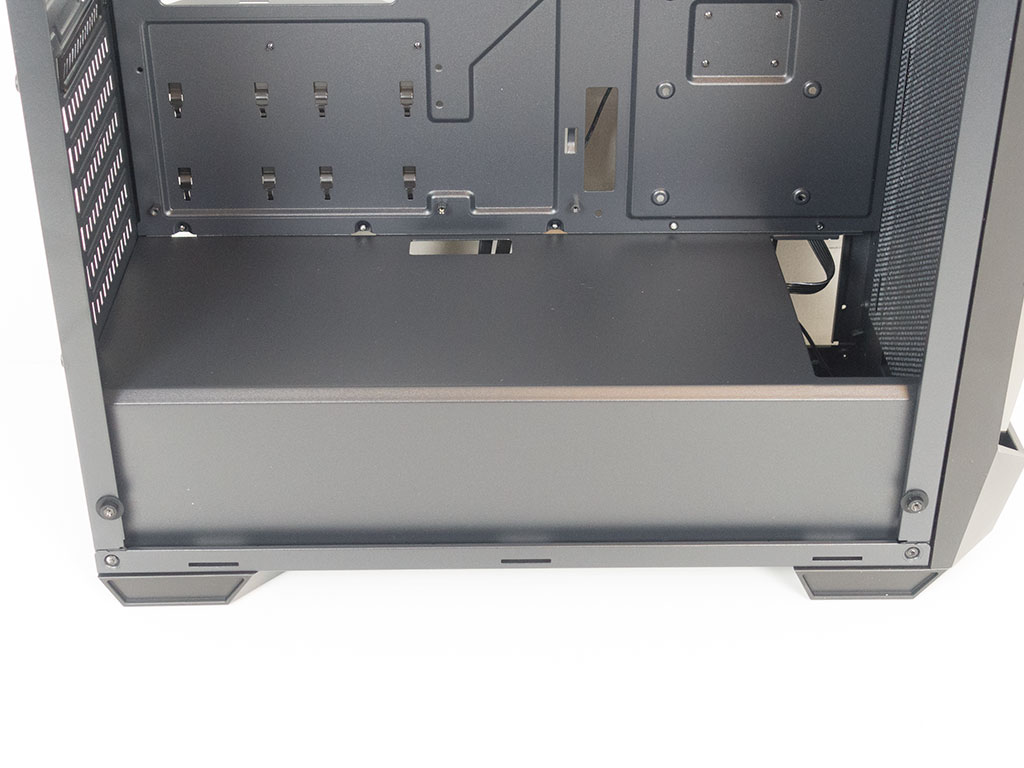
Two 3.5" drive bays have been tugged away underneath the shroud, with the entire front intended for cooling—either air cooling or for a radiator of up to 360 mm in size.
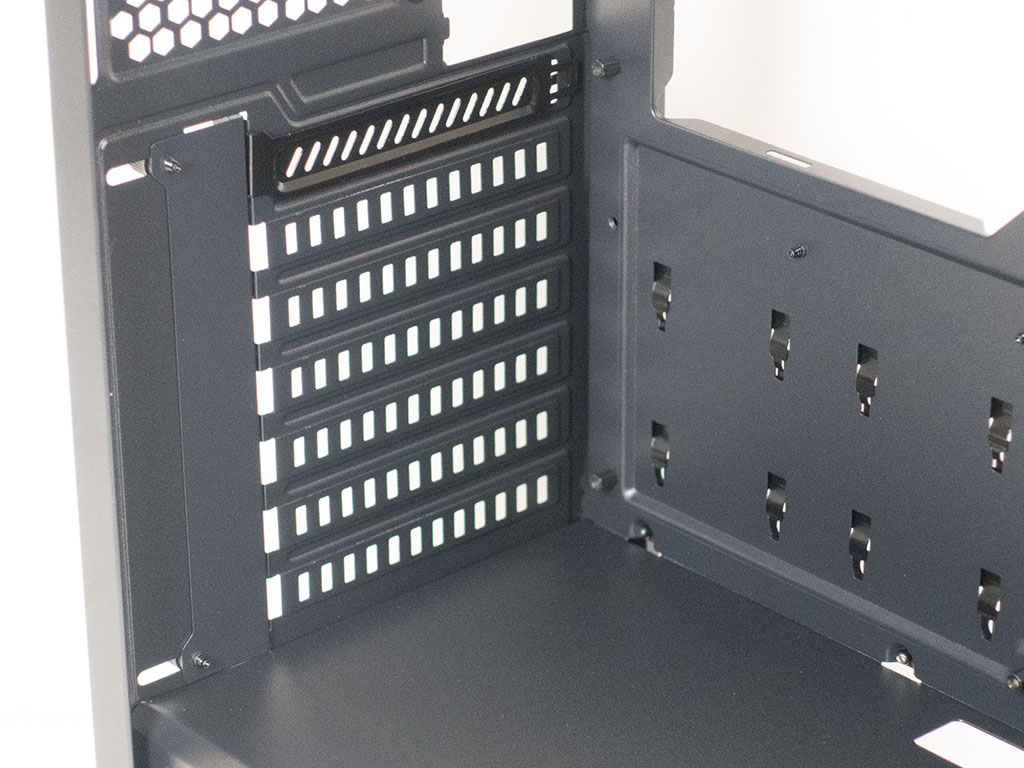
The PSU bay underneath the shroud is pretty standard, with small foam tips that are used to decouple the power supply from the chassis. Above that, the seven expansion slots come with six breakout covers, as previously mentioned.
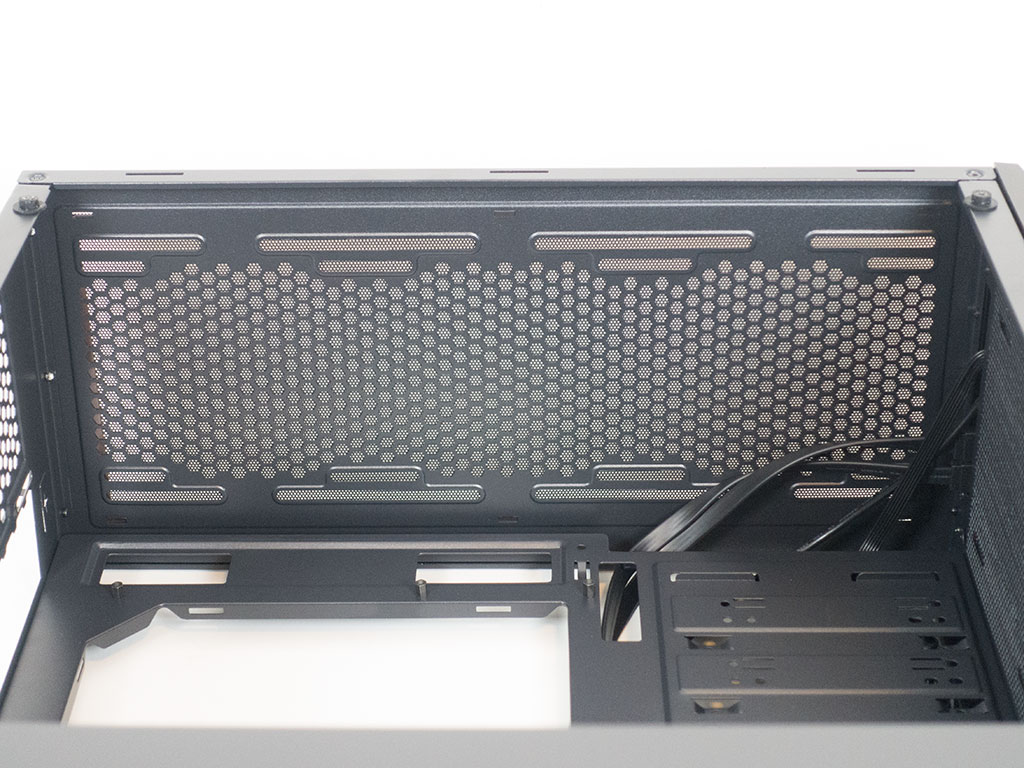
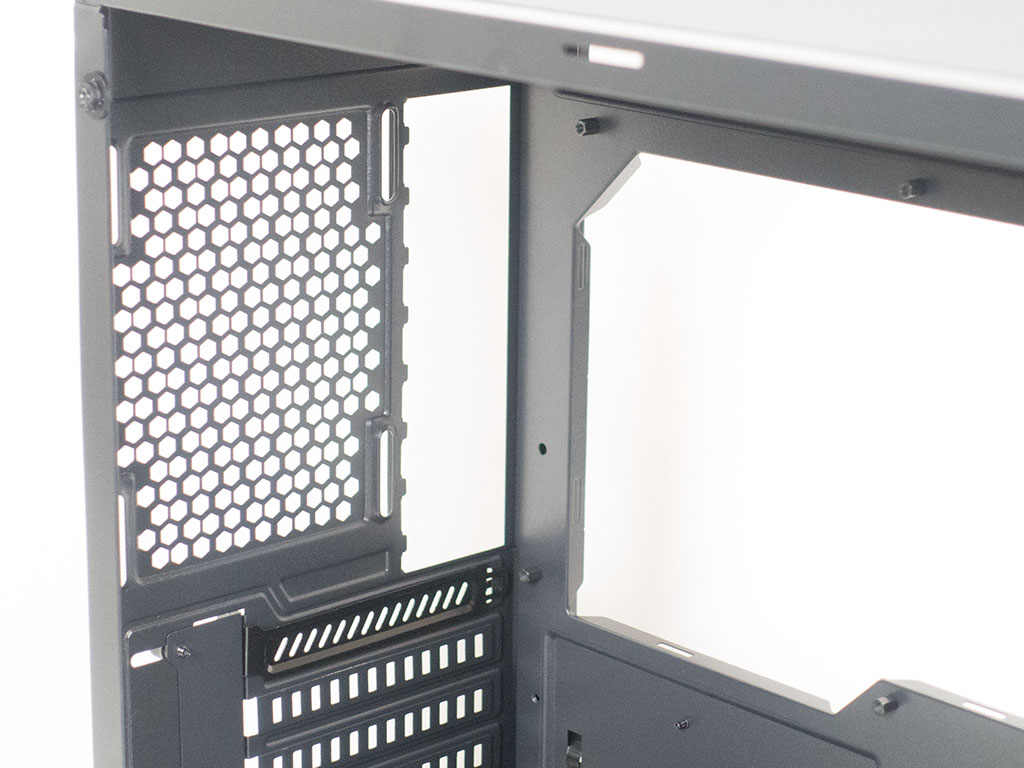
Looking at the ceiling, you can clearly see mounting holes for the three 120 mm or two 140 mm fans. While centered in the ceiling, there still appears to be enough space to allow for at least some fans without interference with the motherboard. A thick radiator along with fans may get in the way, however.
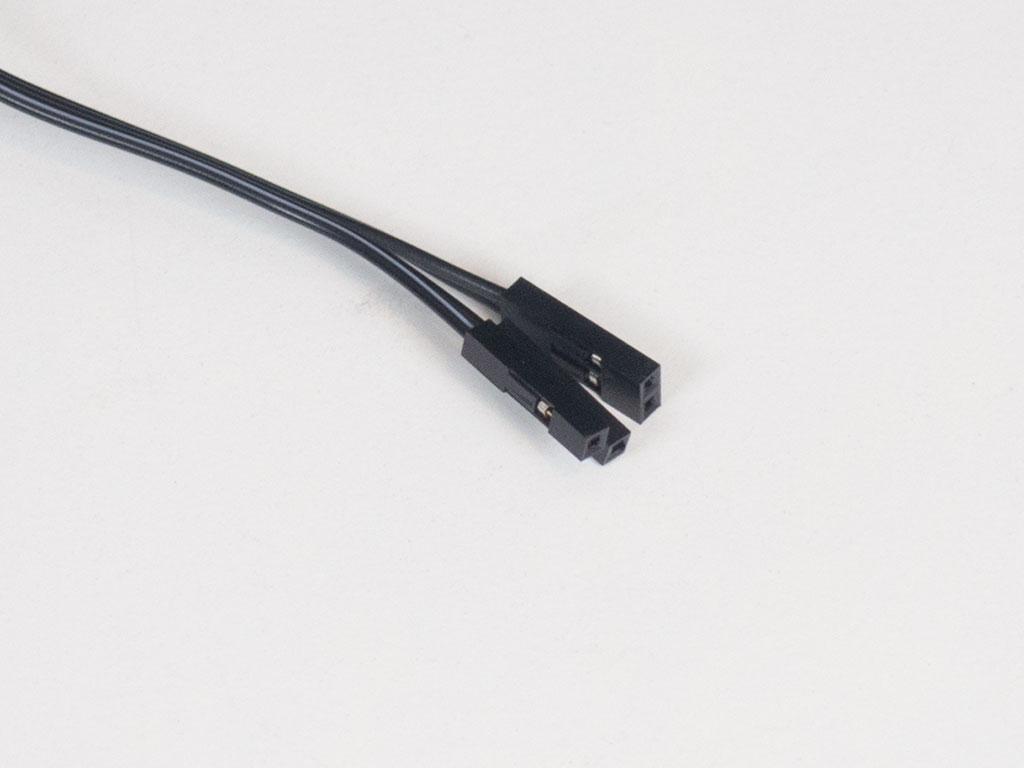
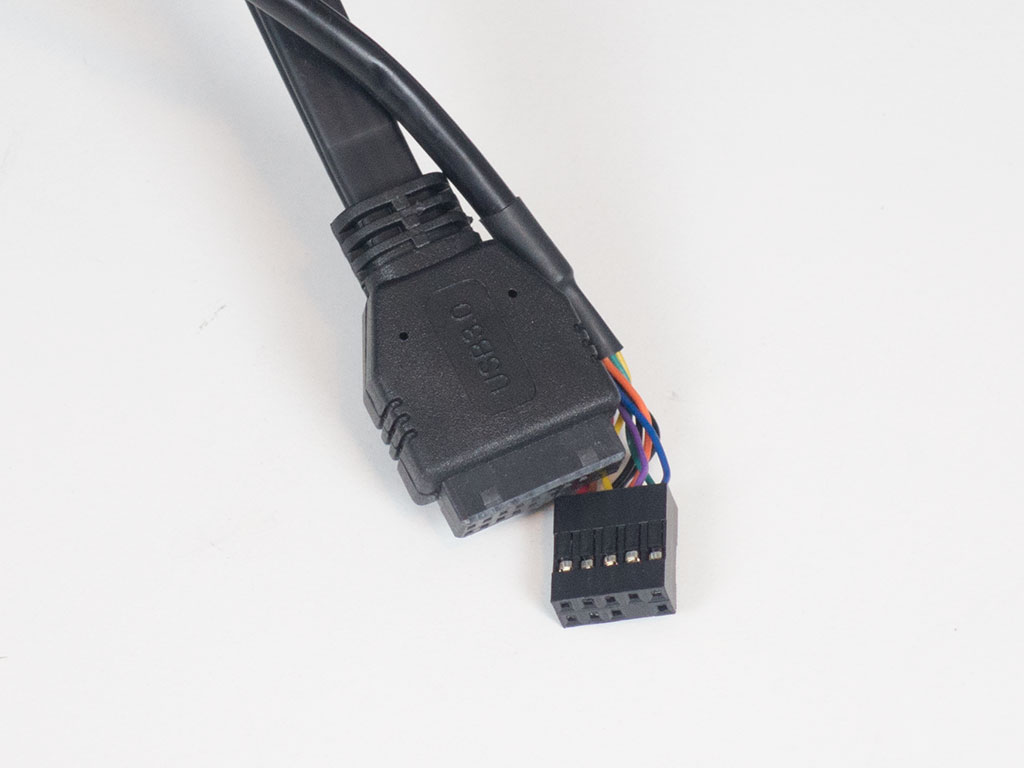

The DF-500 comes with all the standard cables to connect both buttons and the I/O, but also includes a slew of 4-pin connectors to allow you to expand the RGB elements within the chassis and control them with that re-purposed reset button. A Molex connector delivers the power needed for all these elements.
Feb 28th, 2025 20:58 EST
change timezone
Latest GPU Drivers
New Forum Posts
- 7900xtx flash just OC bios (12)
- Amd rx570 sapphire nitro 8gb+ not detected (26)
- Recommended PhysX card for 5xxx series? [Is vRAM relevant?] (2)
- It's happening again, melting 12v high pwr connectors (969)
- Radeon R9 Nano BIOS flashing tools not working (3)
- 14900ks vs 7950x3d paired with 7900xtx. (3)
- Free Games Thread (4514)
- What is your comfortable price range for a graphics card? (51)
- What's your latest tech purchase? (23222)
- Is it possible to repair this cooling pad? (0)
Popular Reviews
- AMD Radeon RX 9070 Series Technical Deep Dive
- Montech HyperFlow Silent 360 Review
- Gigabyte X870 Aorus Elite WiFi 7 Review
- ASUS GeForce RTX 5070 Ti TUF OC Review
- ASUS ROG Harpe Ace Mini Review
- be quiet! Pure Base 501 DX Review
- Corsair Xeneon 34WQHD240-C Review - Pretty In White
- AMD Ryzen 7 9800X3D Review - The Best Gaming Processor
- MSI GeForce RTX 5070 Ti Vanguard SOC Review
- Montech TITAN PLA 1000 W Review
Controversial News Posts
- NVIDIA GeForce RTX 50 Cards Spotted with Missing ROPs, NVIDIA Confirms the Issue, Multiple Vendors Affected (498)
- AMD Plans Aggressive Price Competition with Radeon RX 9000 Series (274)
- AMD Radeon RX 9070 and 9070 XT Listed On Amazon - One Buyer Snags a Unit (255)
- AMD Mentions Sub-$700 Pricing for Radeon RX 9070 GPU Series, Looks Like NV Minus $50 Again (248)
- NVIDIA Investigates GeForce RTX 50 Series "Blackwell" Black Screen and BSOD Issues (244)
- Edward Snowden Lashes Out at NVIDIA Over GeForce RTX 50 Pricing And Value (243)
- AMD Radeon RX 9070 and 9070 XT Official Performance Metrics Leaked, +42% 4K Performance Over Radeon RX 7900 GRE (191)
- AMD RDNA 4 and Radeon RX 9070 Series Unveiled: $549 & $599 (188)