 6
6
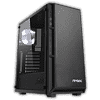
Antec P8 Review
Value & Conclusion »Test System
| System Parts for Case Reviews | |
|---|---|
| Processor: | Intel Core i5-7600K |
| Motherboards: | ATX: MSI Z270 Tomahawk mATX: MSI H270M Mortar Arctic mini-ITX: MSI Z270I Gaming Pro Carbon AC Provided by: MSI |
| Graphic Card: | Long: NVIDIA GeForce GTX 280 OEM Short: HIS Radeon 5350 HD |
| Memory: | 16 GB XPG Dazzle DDR4 2800 MHz CL17-17-17 1.25V 32 GB GB XPG SPECTRIX D40 3000 MHz. CL16-18-18 1.35V 16 GB XPG GAMMIX D10 DDR4 2400 MHz CL16-16-16 1.20V Provided by: ADATA |
| HDD: | Western Digital 320 GB 7200 RPM |
| SSD: | ADATA Ultimate SU900 TLC 256 GB ADATA Ultimate SU800 3D TLC 256 GB ADATA Ultimate SU700 TLC 240 GB Provided by: ADATA |
| Power Supply: | Fractal Design Integra M 450W Provided by: Fractal Design |
| Cooling: | Air Cooling: be quiet! Pure Rock Provided by: be quiet! |
Assembly
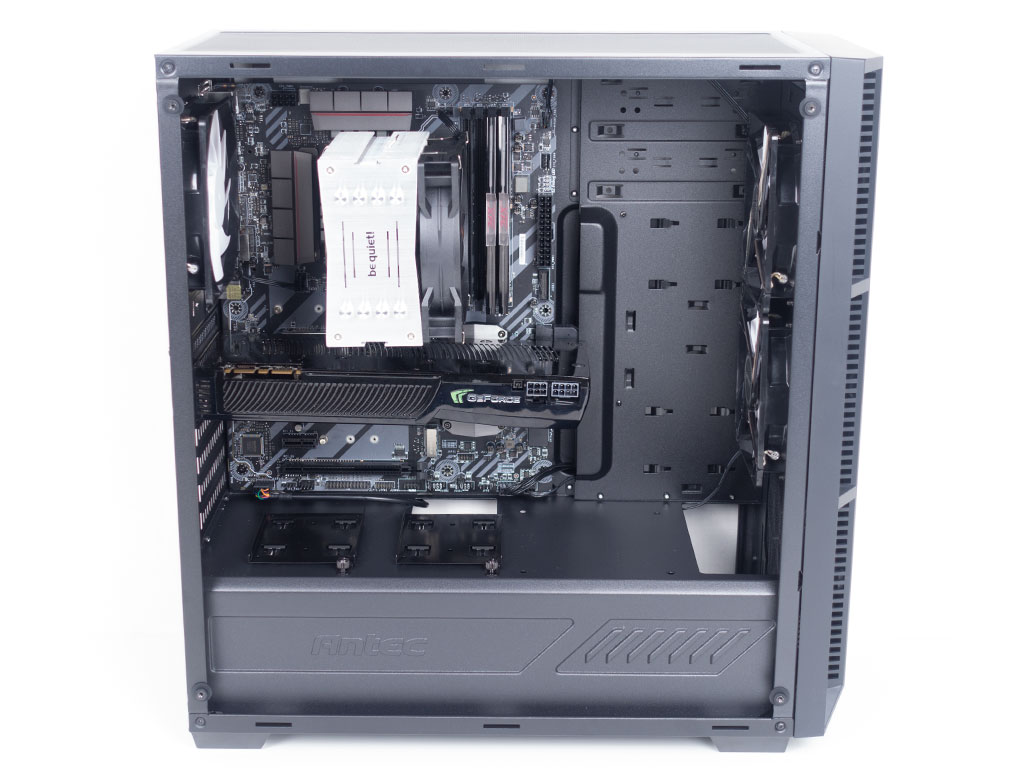
Installing the motherboard is done by simply using traditional spacers and screws. There is plenty of space above the board, so you may route cables or install a radiator without issue. With no 3.5'' drive bays in front, not even a thick radiator will interfere with the vast majority of GPUs out there.
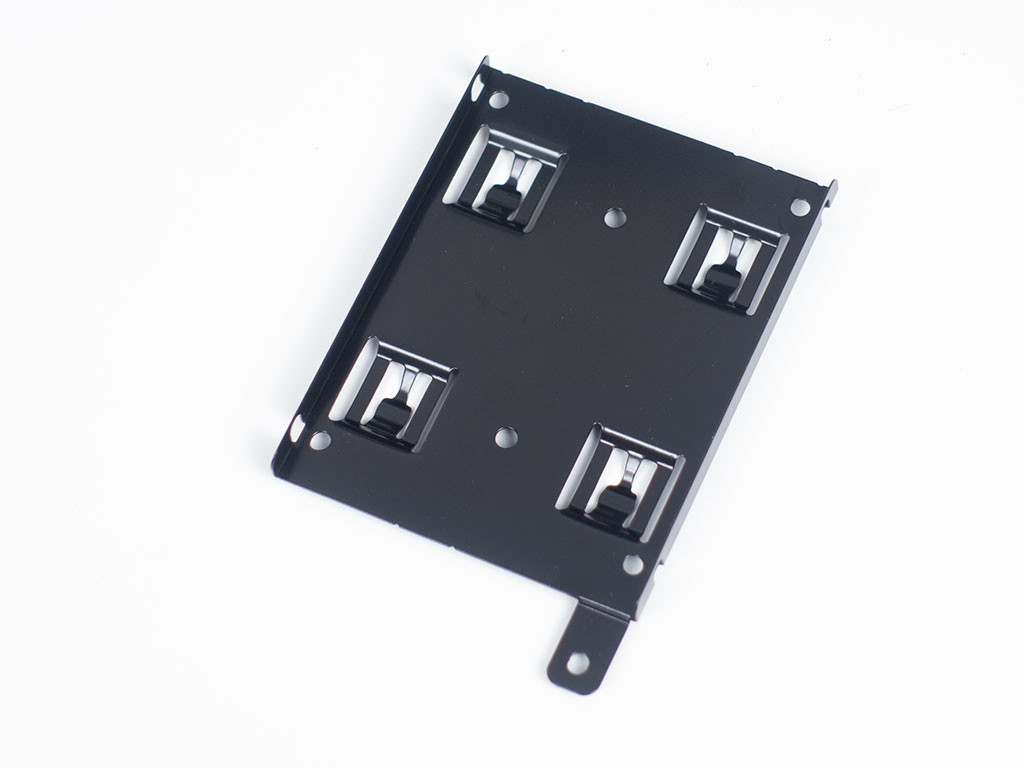
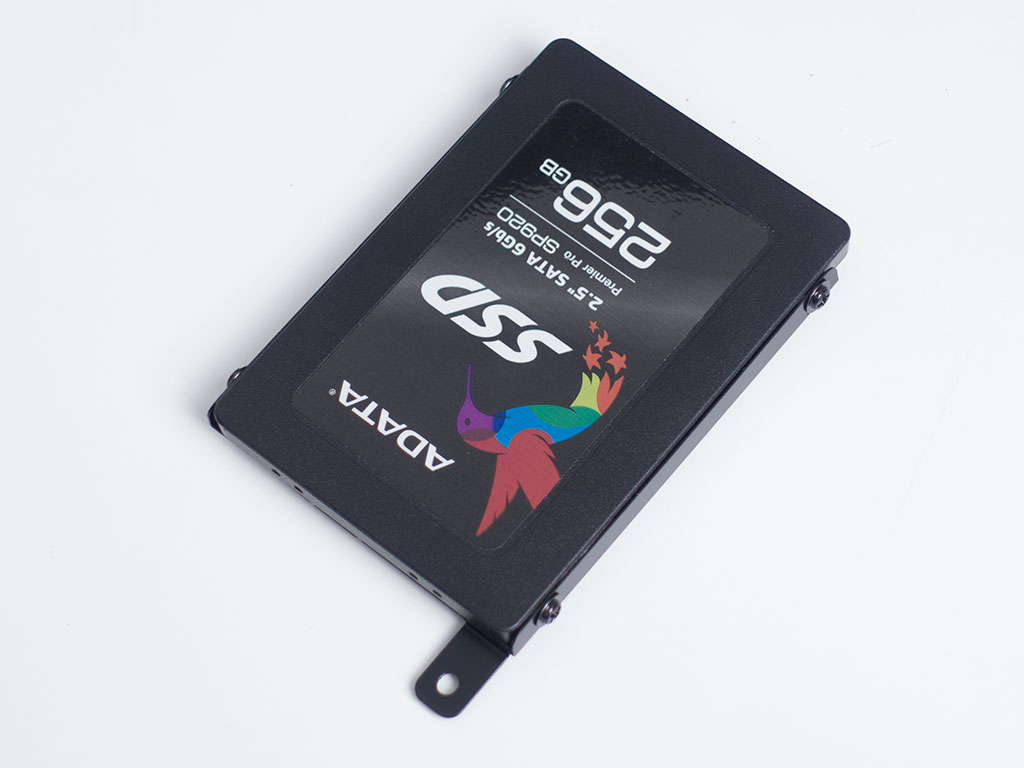

SSDs require the use of tools as you have to secure them to these metal trays with traditional screws. Once mounted, you can put the tray into one of four positions to then use the thumbscrew to keep it in place.
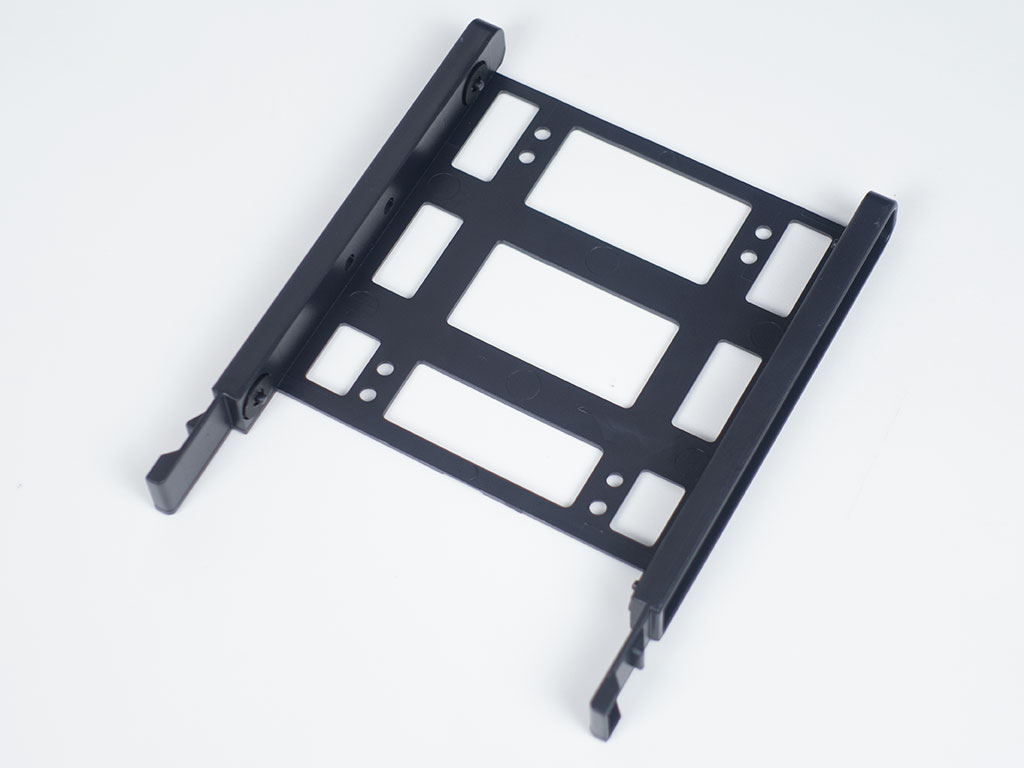
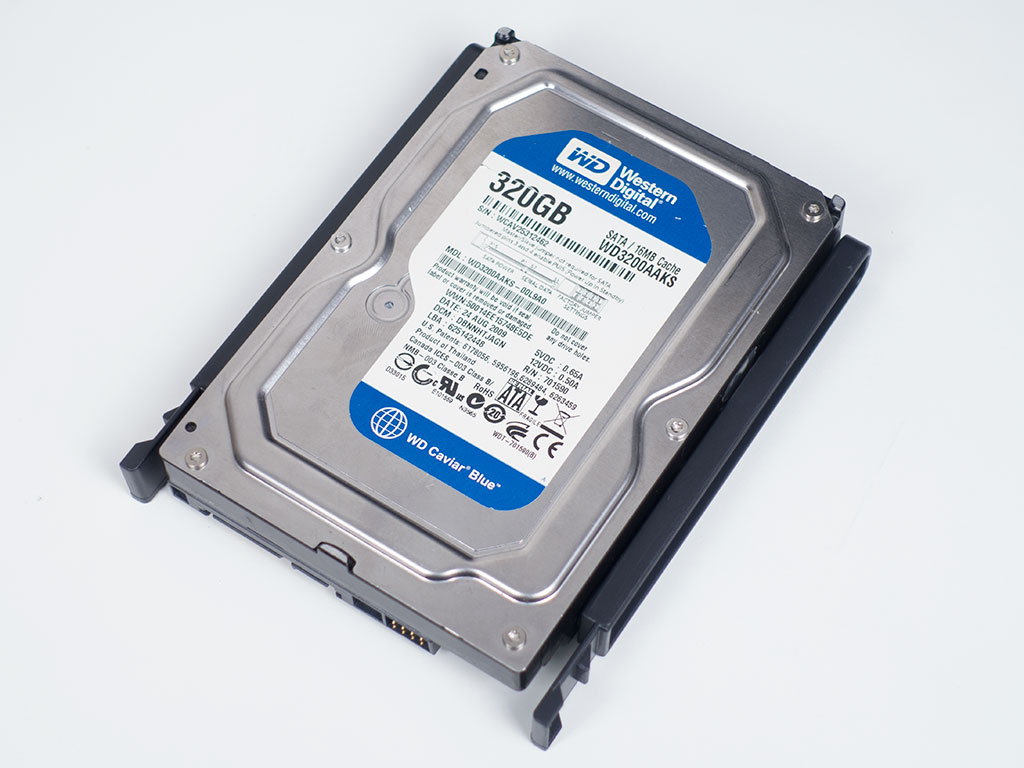
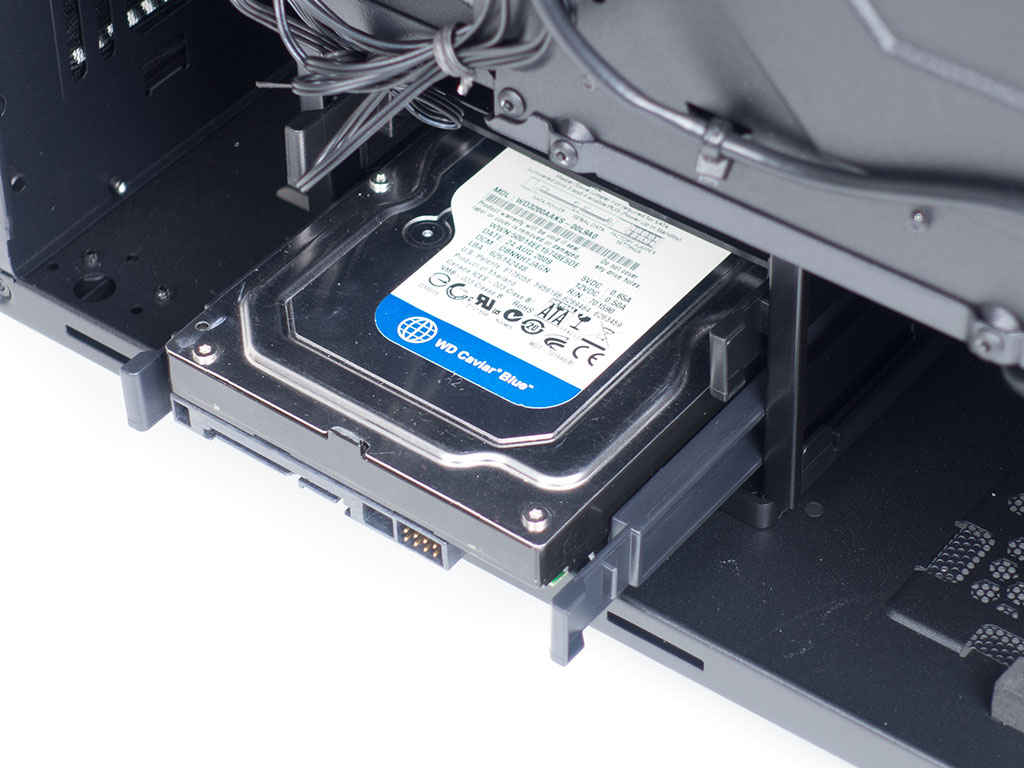
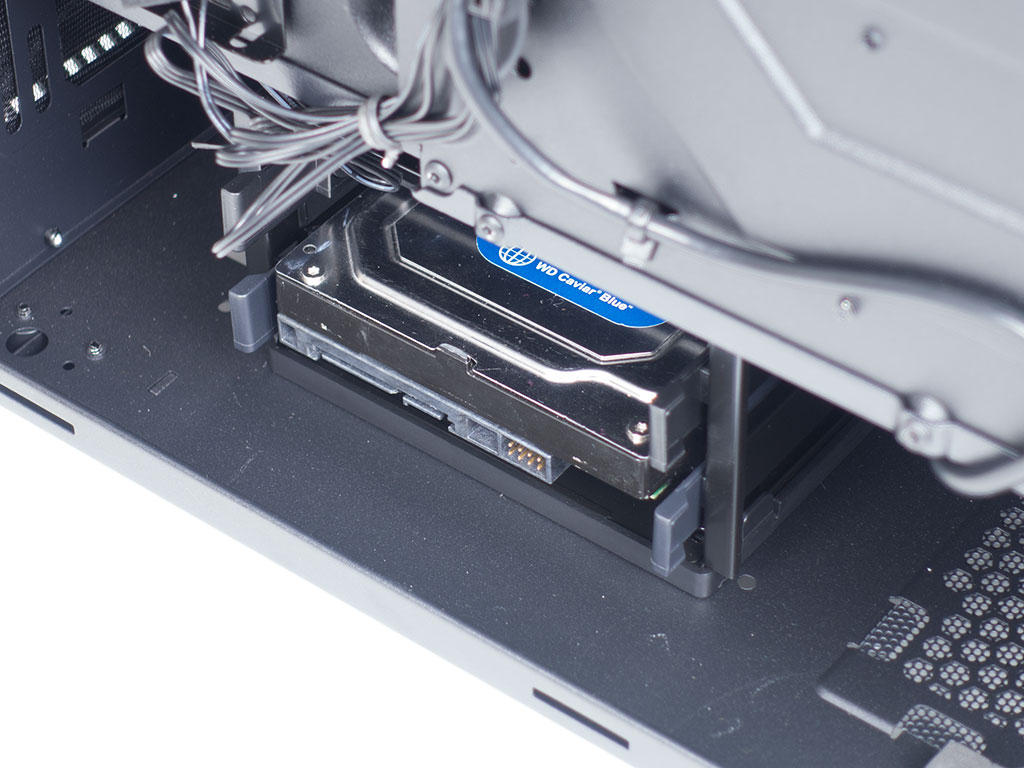
The Antec P8 comes with flexible plastic trays. They are quite sturdy even though the drive is held in place by plastic pins. Rubber rings around these act as a measure against vibrations. Once you have placed the drive into the tray, slide it back in until it snaps into place securely.

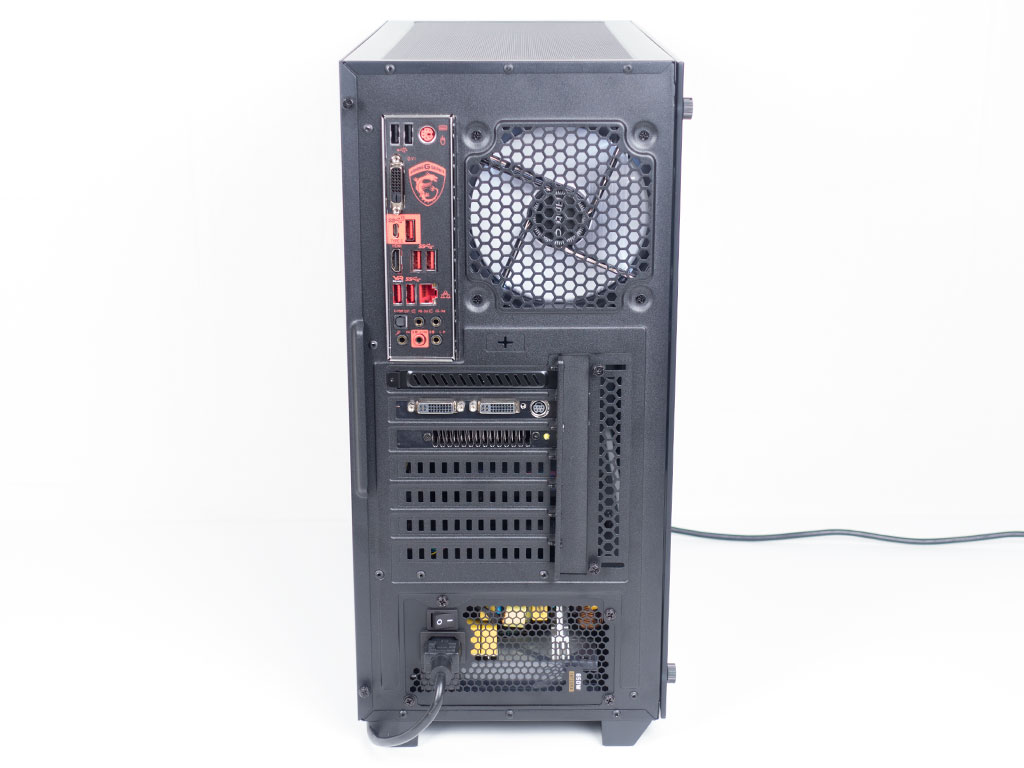
Installing the power supply is quite straightforward as well. Slide it into the chassis underneath the shroud and secure it with traditional screws. There is enough space to fit most units out there. You won't have to worry about whether you'll be able to fit a unit capable of supplying an adequate amount of power for powerful components.


Once everything is installed, the P8 makes a clean impression due to the shroud. Only the audio cable and two leads from the fan in front disturb the look a bit. All the cable mess is hidden behind the motherboard tray, but I had to get a bit creative with securing the cables properly as there is very little space and an inadequate number of hooks for zip ties, which could cause some issues if you install SSDs there.
Finished Looks
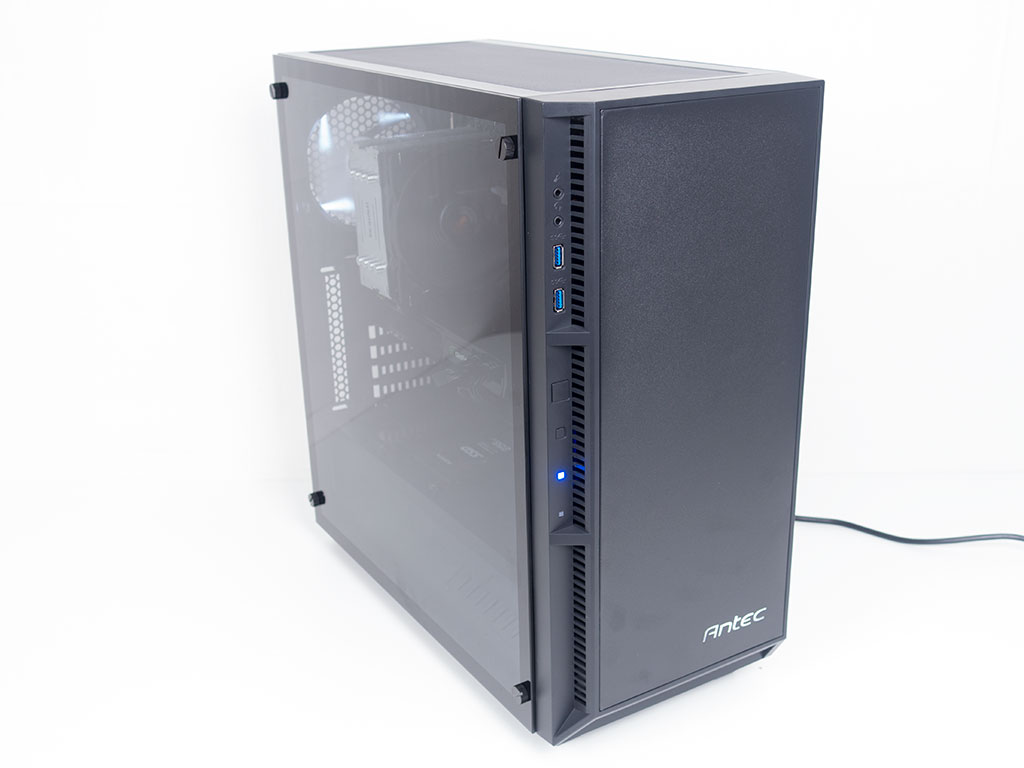
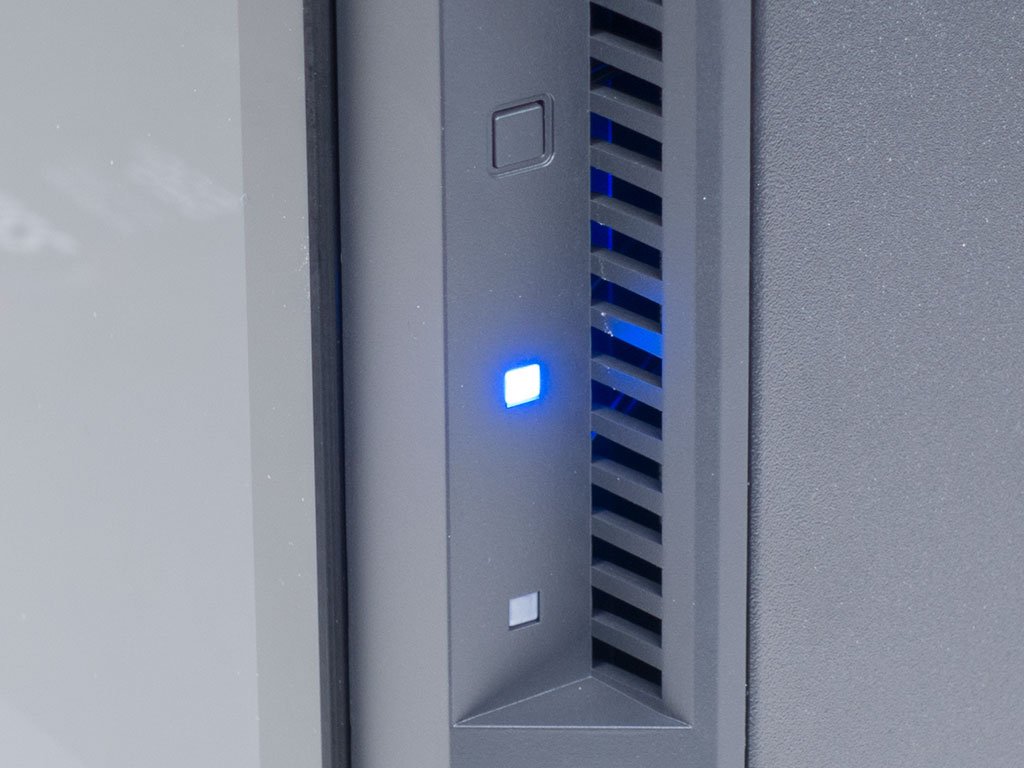
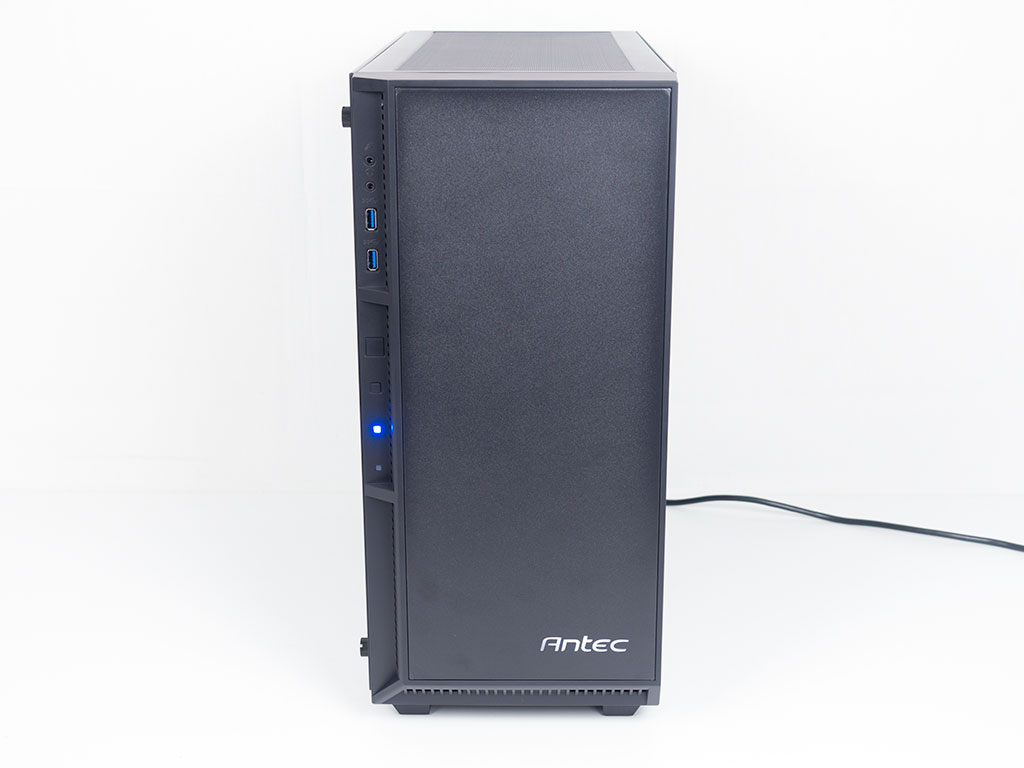
With everything put back into place, the Antec P8 looks quite nice. Thanks to the flat design, none of the plastic elements feel cheap. The power LED lights up blue, while the fairly large Antec logo is lit up by a white variant. Considering this, some may argue that there is actually no need for a power LED; however, this way, those who do not want to have the logo as a secondary light source can simply leave it disconnected.
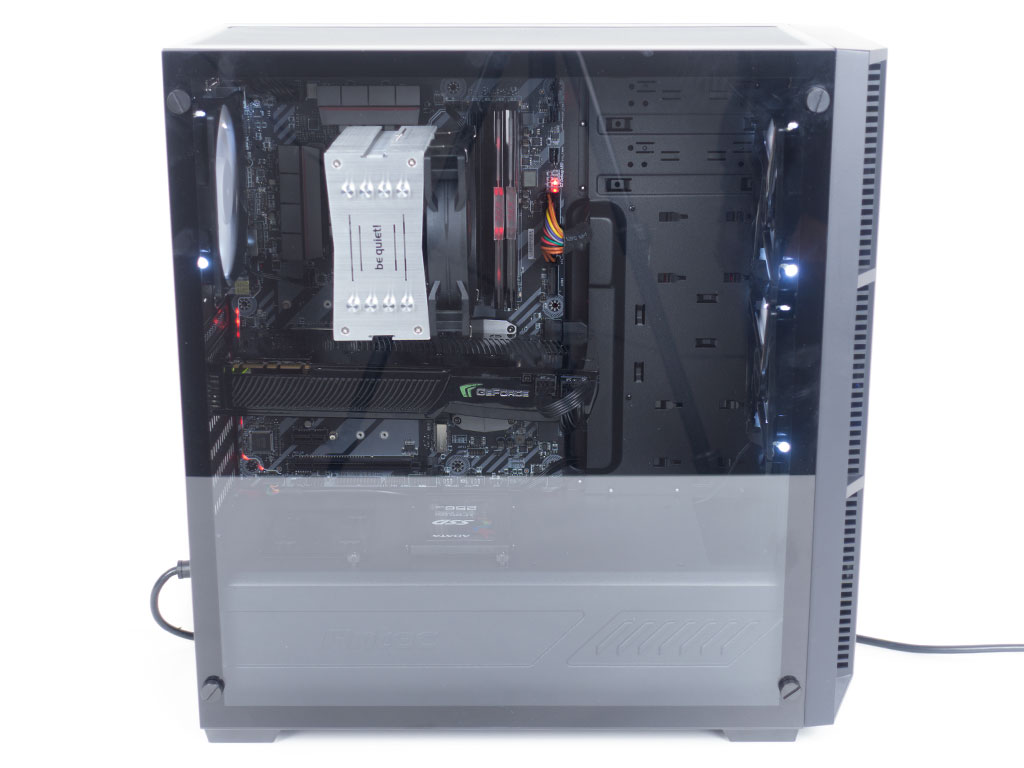
Due to the solid nature of the front, you won't see any of the white LED lighting of the fans at this angle. In the rear, some of that shine can be seen due to the fan in the rear. A quick peek through the glass window reveals all the lighting elements of the chassis, in addition to the LEDs on the MSI motherboard and the RGB lights of the ADATA memory.
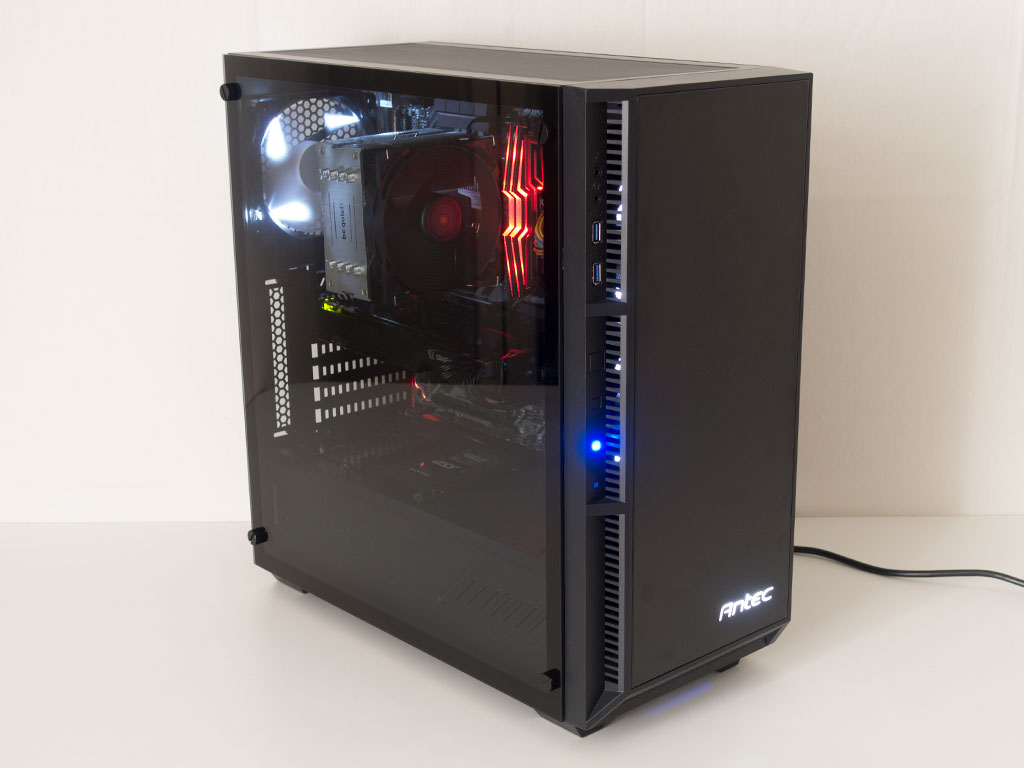
Dimming the lights in the room gives you an idea of what the lighting elements within the Antec P8 will look like. At an angle, you can see the front fans through the air vents of the front panel, and the LEDs do light up the insides a little bit, allowing onlookers to figure out what components are within the enclosure.
Apr 11th, 2025 23:13 EDT
change timezone
Latest GPU Drivers
New Forum Posts
- How to relubricate a fan and/or service a troublesome/noisy fan. (188)
- Need RTX 40 series (Ada Lovelace) to work in Windows 10 1507 LTSB (108)
- Deal or no Deal Threadripper WX? (37)
- i need help with a ebay rx580 8gb 2048sp (2)
- What are you playing? (23369)
- 5070 Ti power limit questions (28)
- AAF Optimus Modded Driver For Windows 10 & Windows 11 - Only for Realtek HDAUDIO Chips (388)
- PLEASE HELP, TUF Laptop keeps "thermal hibernating" but isn't overheating. (0)
- Steam Deck Owners Clubhouse (507)
- Your PC ATM (35354)
Popular Reviews
- The Last Of Us Part 2 Performance Benchmark Review - 30 GPUs Compared
- Thermaltake TR100 Review
- ASRock Z890 Taichi OCF Review
- Zotac GeForce RTX 5070 Ti Amp Extreme Review
- TerraMaster F8 SSD Plus Review - Compact and quiet
- Acer Predator GM9000 2 TB Review
- Sapphire Radeon RX 9070 XT Pulse Review
- Sapphire Radeon RX 9070 XT Nitro+ Review - Beating NVIDIA
- Upcoming Hardware Launches 2025 (Updated Apr 2025)
- PowerColor Radeon RX 9070 Hellhound Review
Controversial News Posts
- NVIDIA GeForce RTX 5060 Ti 16 GB SKU Likely Launching at $499, According to Supply Chain Leak (180)
- MSI Doesn't Plan Radeon RX 9000 Series GPUs, Skips AMD RDNA 4 Generation Entirely (146)
- Microsoft Introduces Copilot for Gaming (124)
- NVIDIA Reportedly Prepares GeForce RTX 5060 and RTX 5060 Ti Unveil Tomorrow (115)
- NVIDIA Sends MSRP Numbers to Partners: GeForce RTX 5060 Ti 8 GB at $379, RTX 5060 Ti 16 GB at $429 (114)
- Nintendo Confirms That Switch 2 Joy-Cons Will Not Utilize Hall Effect Stick Technology (104)
- Over 200,000 Sold Radeon RX 9070 and RX 9070 XT GPUs? AMD Says No Number was Given (100)
- Nintendo Switch 2 Launches June 5 at $449.99 with New Hardware and Games (99)