 28
28
ASUS Maximus IV Gene-Z LGA1155 Review
Board Software »BIOS Walkthrough
| BIOS Options | ||
|---|---|---|
| Clocks | Range | Step Size |
| CPU BCLK: | 80 MHz ... 300 MHz | 0.1 MHz |
| PCI-E Frequency: | 80 MHz ... 300 MHz | 0.1 MHz |
| Memory Dividers: | x6 (800 MHz), x8 (1066 MHz), x10 (1333 MHz), x12 (1600 MHz), x14 (1866 MHz), x16 (2133 MHz), x18 (2400 MHz) | |
| Voltages | Range | Step Size |
| CPU Vcore: | 0.800 V ... 2.155 V | 0.005 V |
| DRAM Voltage: | 1.20 V ... 2.20 V | 0.00625 V |
| IMC/System Agent Voltage: | 0.800 V ... 1.70 V | 0.00625 V |
| iGPU Voltage: | -0.635 V ... +0.635 V | 0.005 V |
| PLL Voltage: | 1.20 V ... 2.20 V | 0.00625 V |

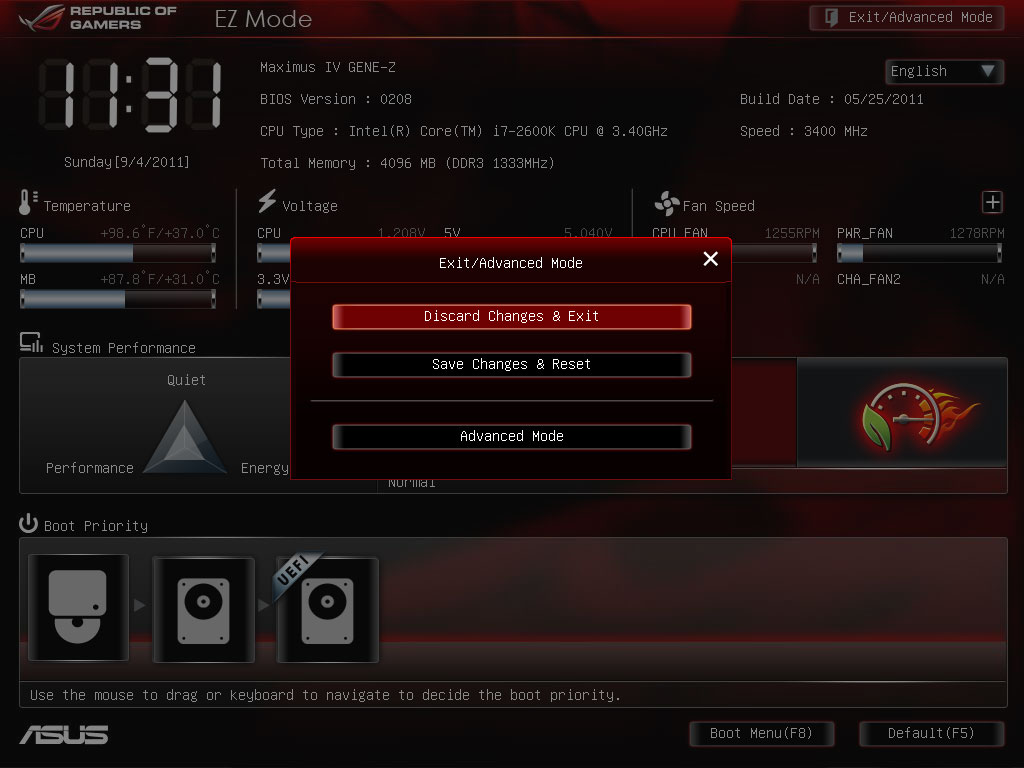
With the board installed into our testbench, we fired it up and entered the BIOS, to be greeted by the page you see above that ASUS refers to as "Easy Mode". Containing listings of critical temperatures, voltages, as well as fanspeed, the "Easy Mode" page is ultimately very accurately named, as it allows a quick and easy interface to set boot devices, as well as do some very basic overclocking, or if you so desire, to enable power savings mode as well. Of course, the selections that are offered are a bit limited, however, we find a button at the top right of the page that says "Exit/Advanced Mode", and advanced it really is.
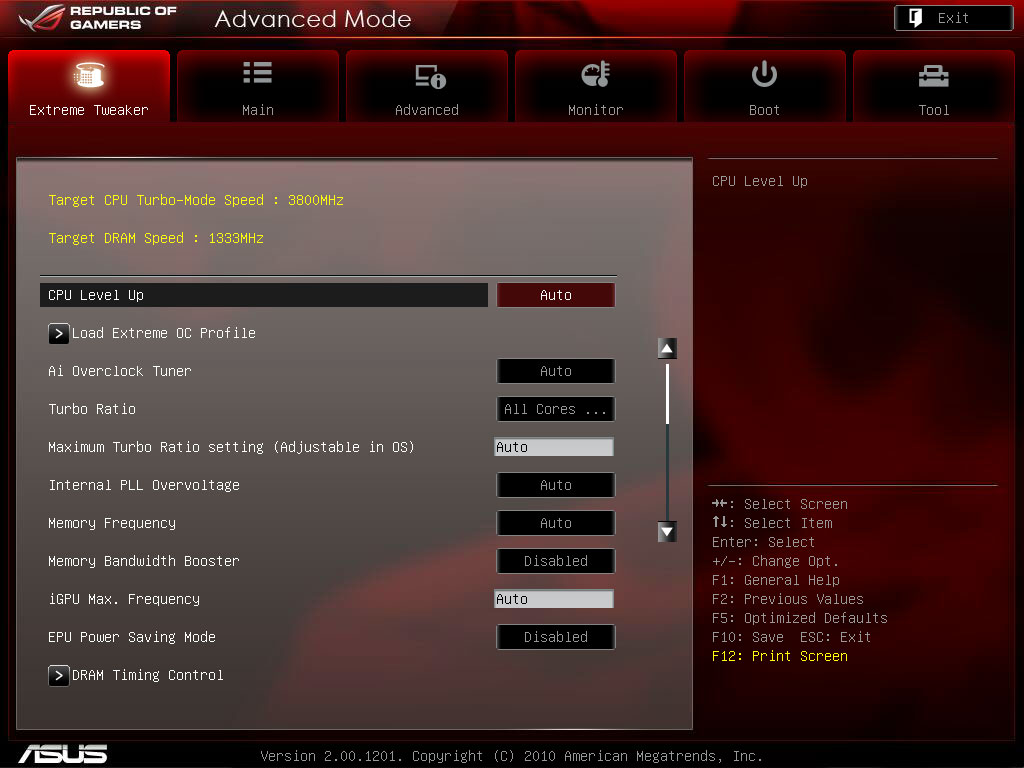
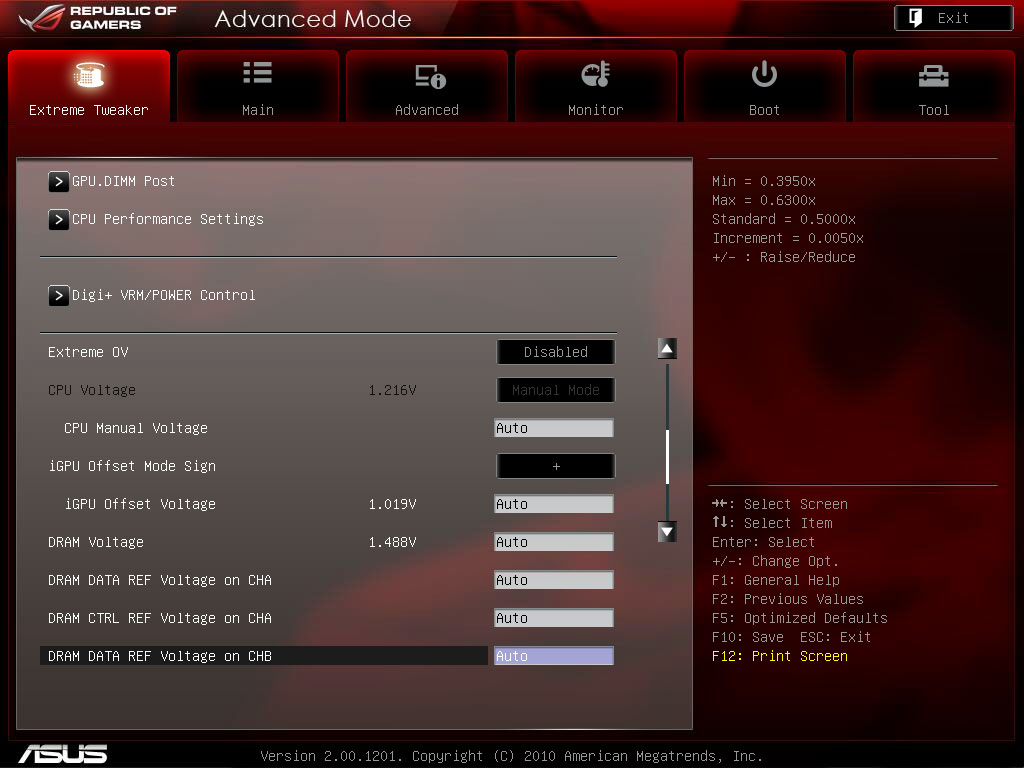

Entering advanced mode leads directly to the "Extreme Tweaker" page, which offers the majority of critical settings for clock speeds and voltages, and also provides access to sub-menus for things like DRAM timing adjustment, and configuration of the board's CPU VRM. There is a lot contained here, so much so that all three images above are of that same page, with only a few options overlapped between images.
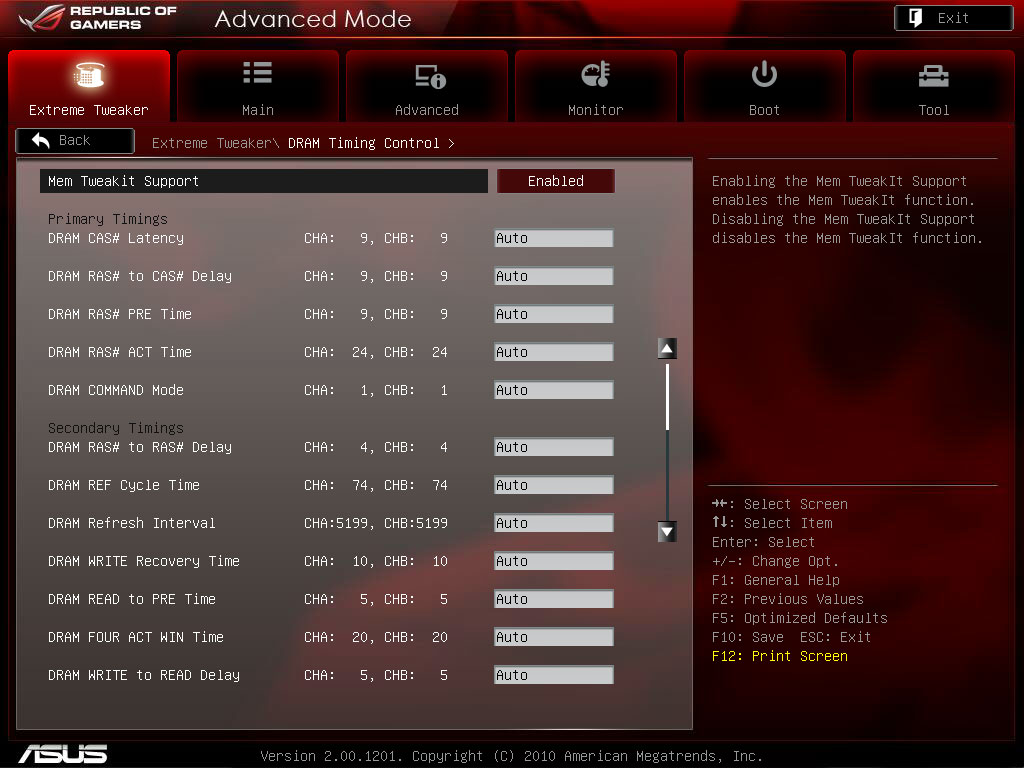
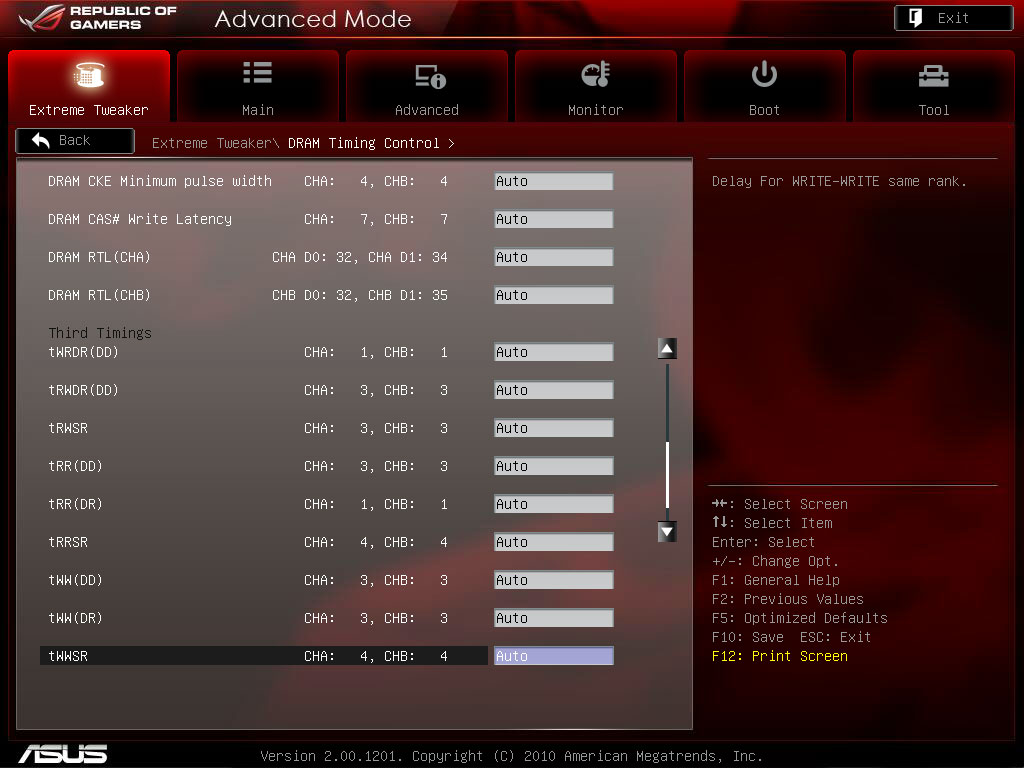
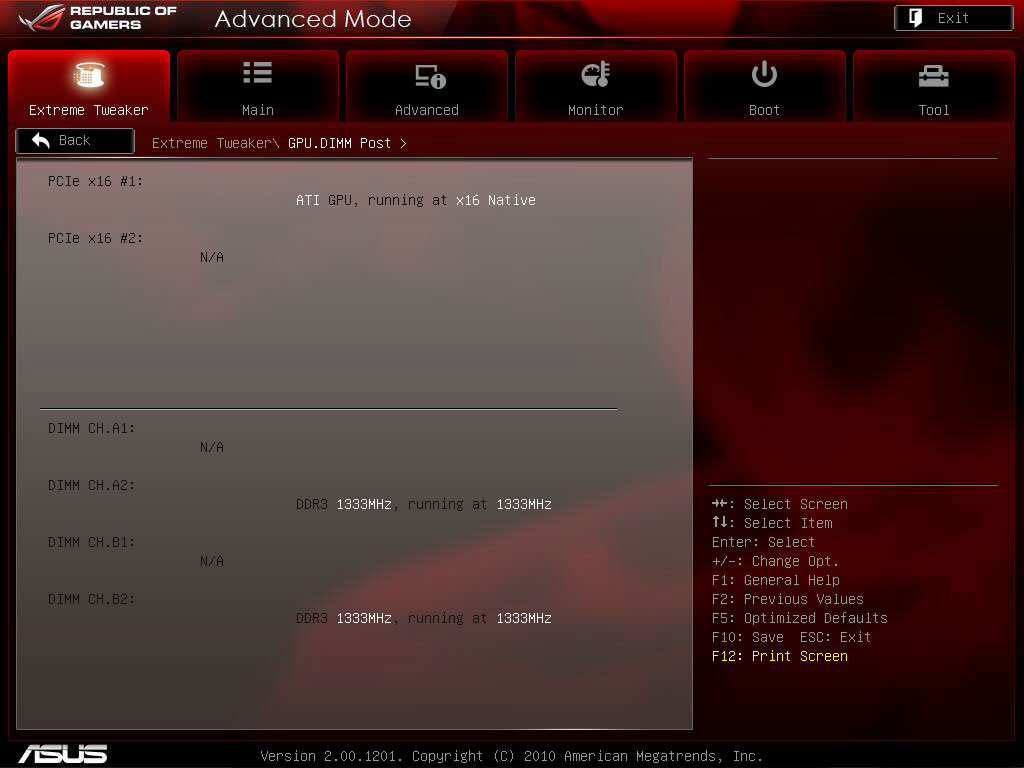
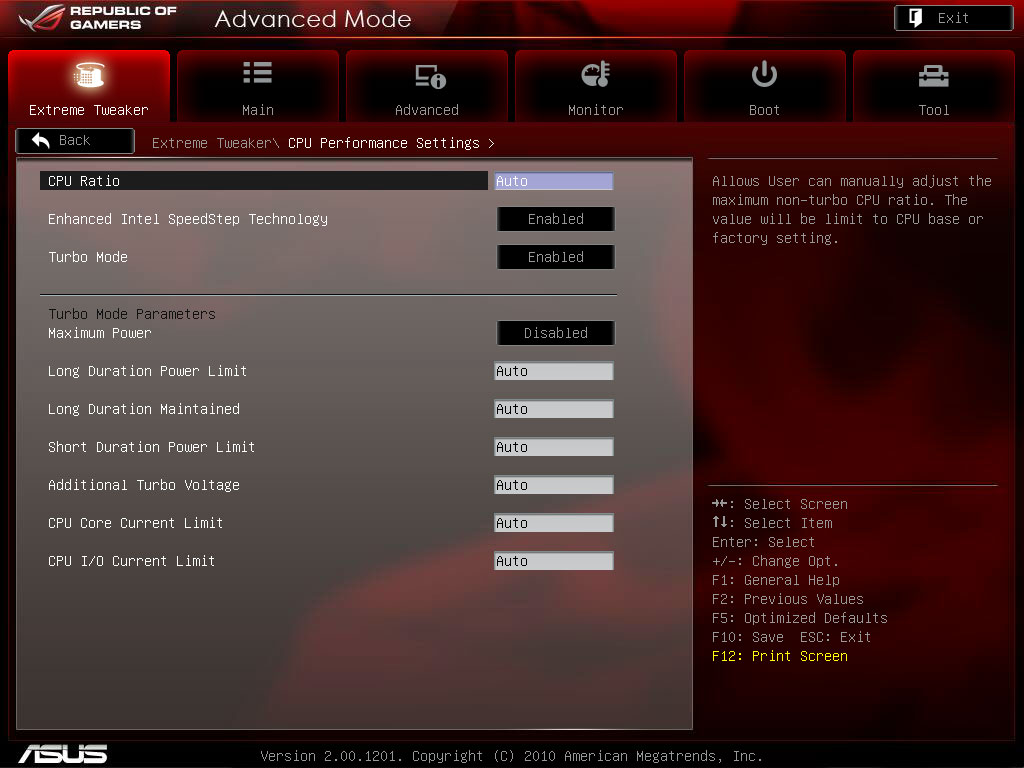
The DRAM timing page has almost too many settings, many of which most users will not need access to, but those that like to customize their system for maximum performance will appreciate access to so much, so easily. Naturally, every yin needs its yang, and the downside to so many options is that the menus are HUGE, and numerous. There are a couple of things, like the "GPU.DIMM POST" page seen in the third image above, that we just don't understand the usefulness of, especially nearly hidden as they are amongst everything else. The fourth image above shows the "CPU Performance Settings" page, one of the few pages where we'd like to see a couple more settings, such as setting maximum wattage allowances as well as the current settings already available.
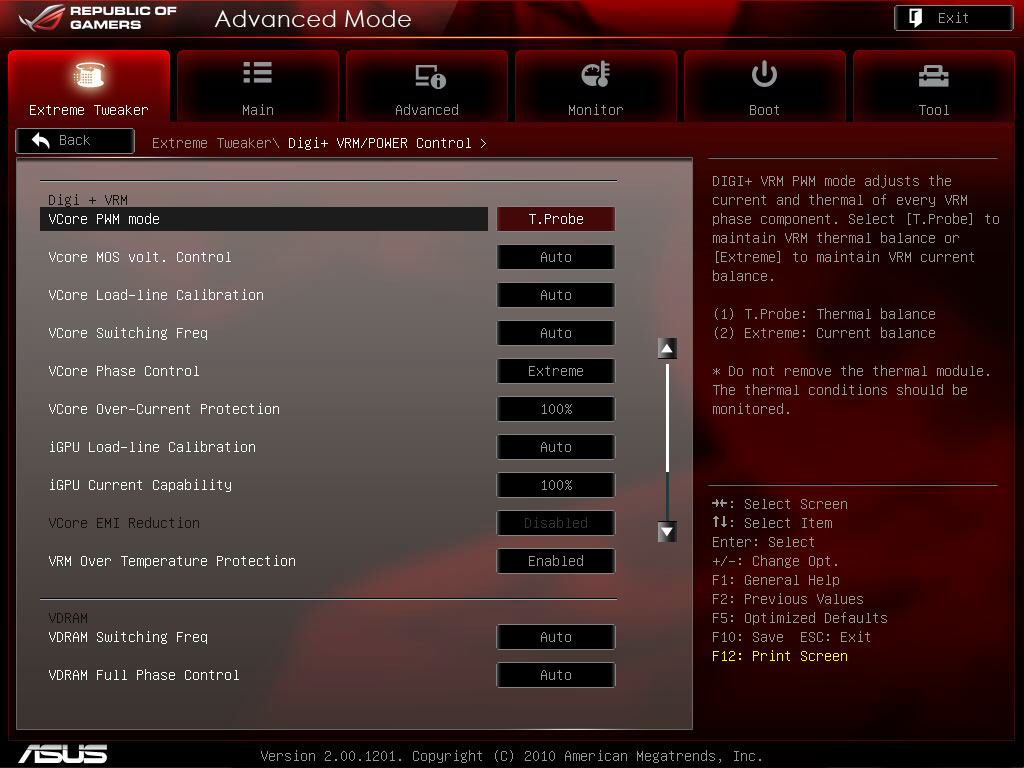
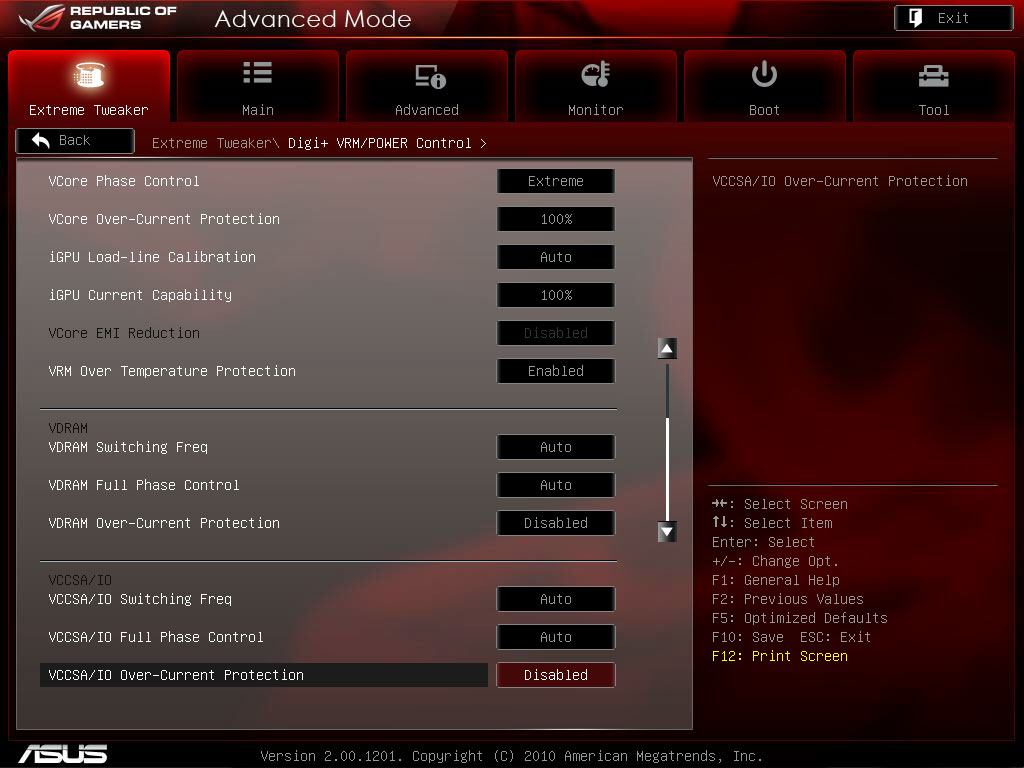
On the subject of current, the options for VRM customization that ASUS offers via their "Dual Intelligent Processor" design is outright amazing. From maximum current, to even VRM frequency, for three different areas of the CPU, is outright fantastic, and allows for clocking like no other motherboard maker's solution does. We cannot stress enough how valuable settings like this are, and ASUS has included technology like this in nearly every product, from entry-level, to products like the ASUS Maximus IV Gene-Z, which are meant for the ultimate in performance.
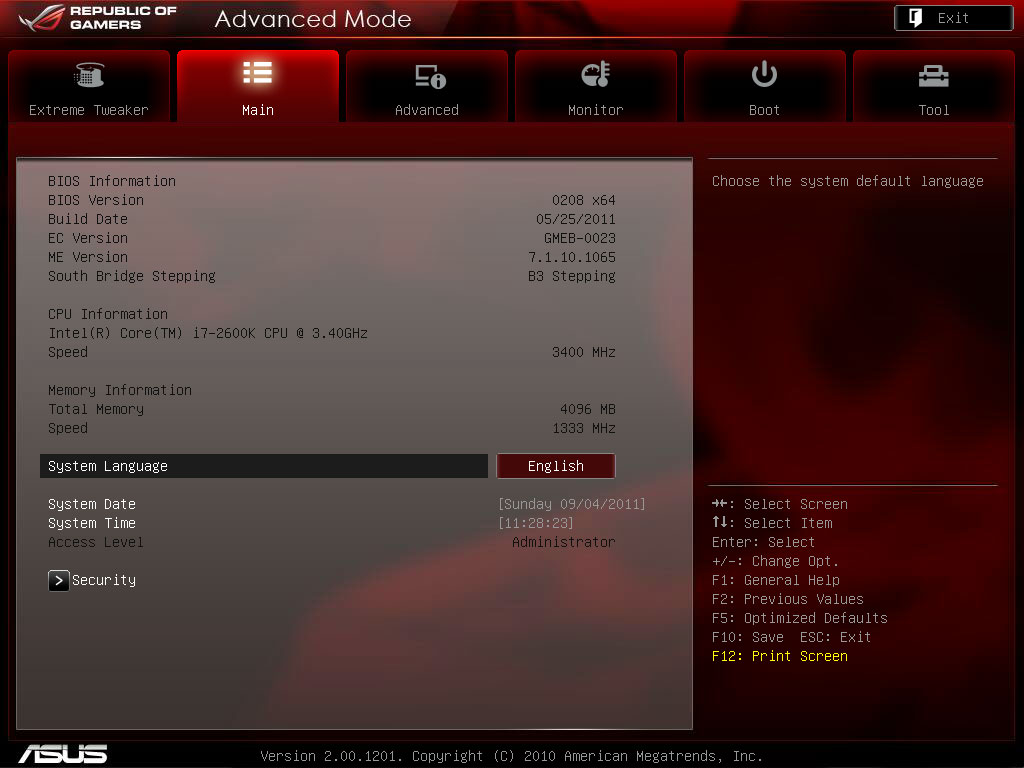
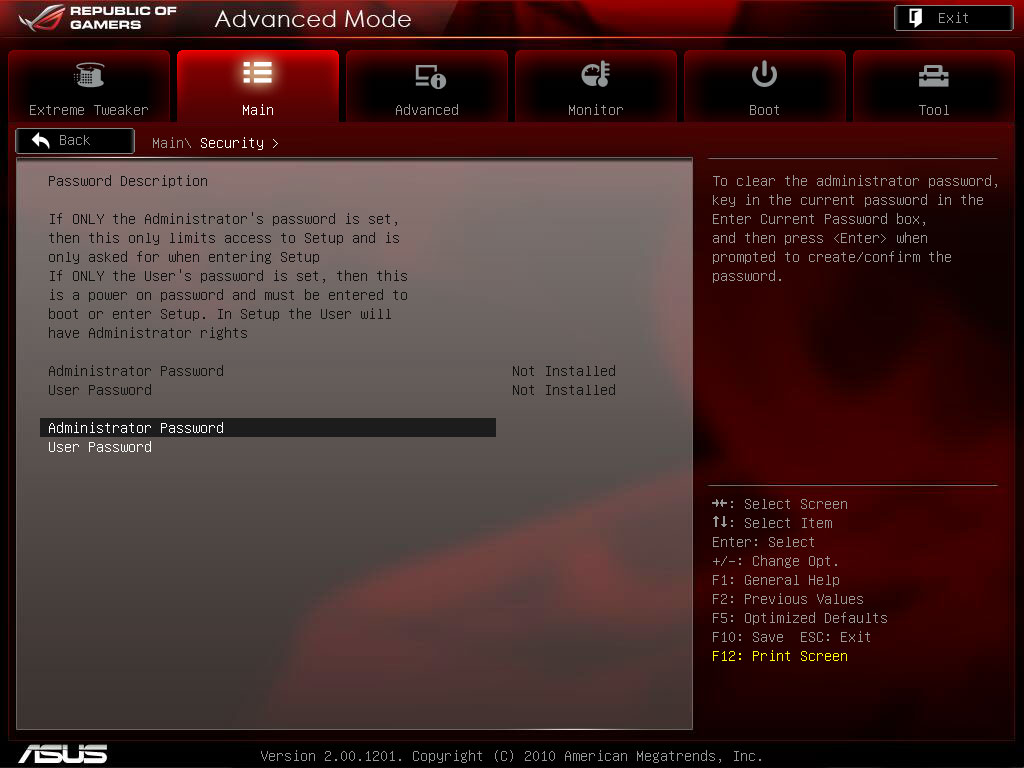
Moving onto the "Main" page, we find what is normally found on near every product on the market, a bit of system information, and access to date and time settings. We were very happy to find security settings here as well, as having a dedicated page like "Extreme Tweaker" and "Main" is a bit overkill for just a couple of settings. This is one of the things that makes the multitude of settings seem like almost too much, as it's quite clear that optimization of the page layout is something ASUS considers, but seemingly there's still a little bit room for further improvement in that regard.
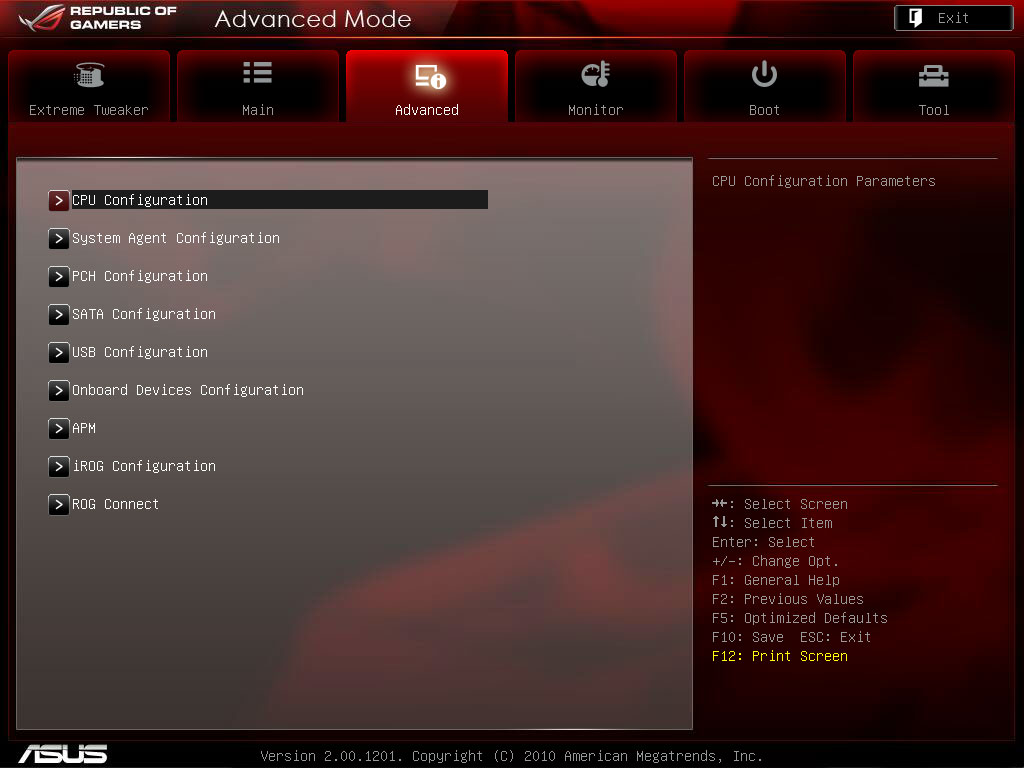
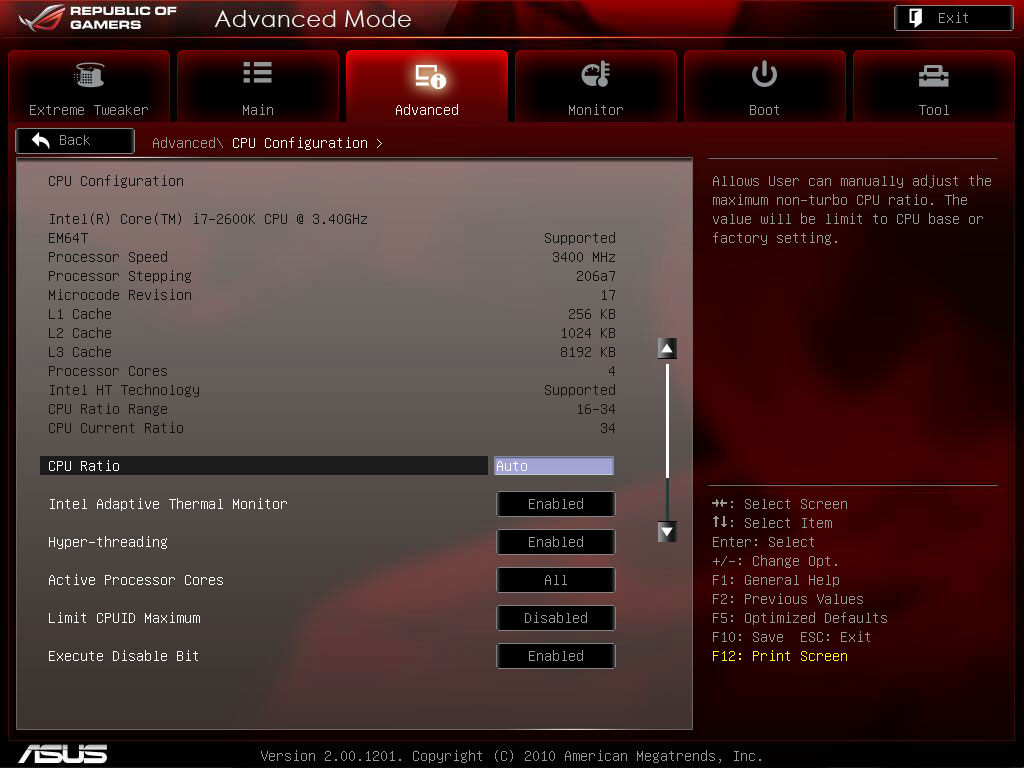
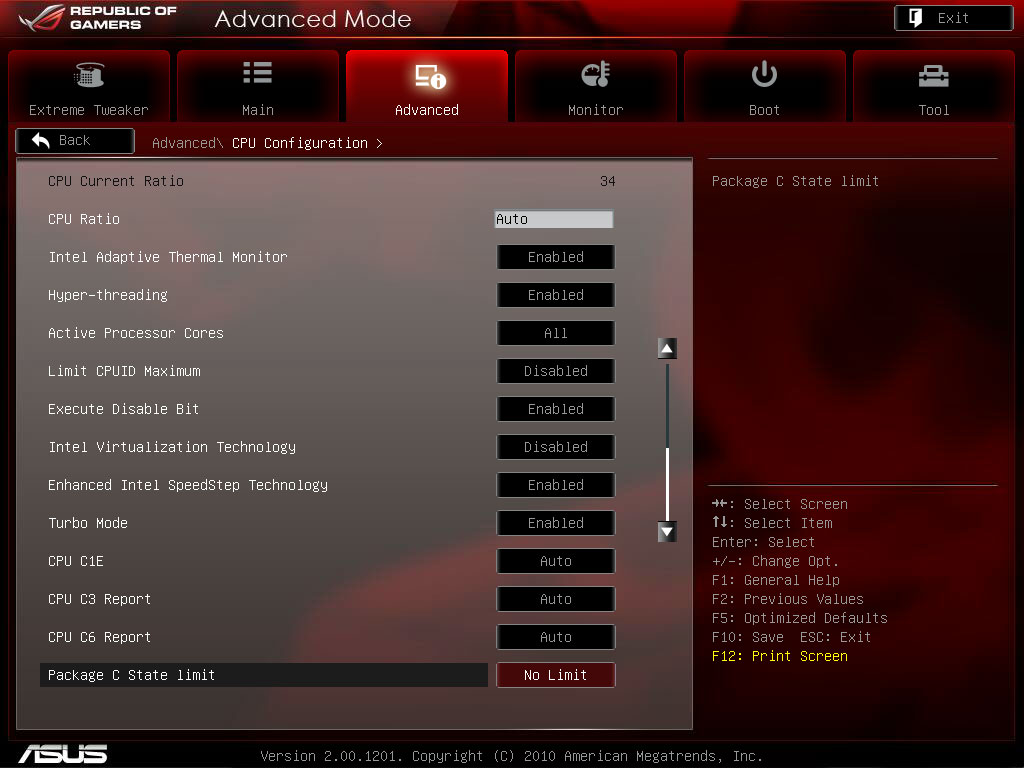
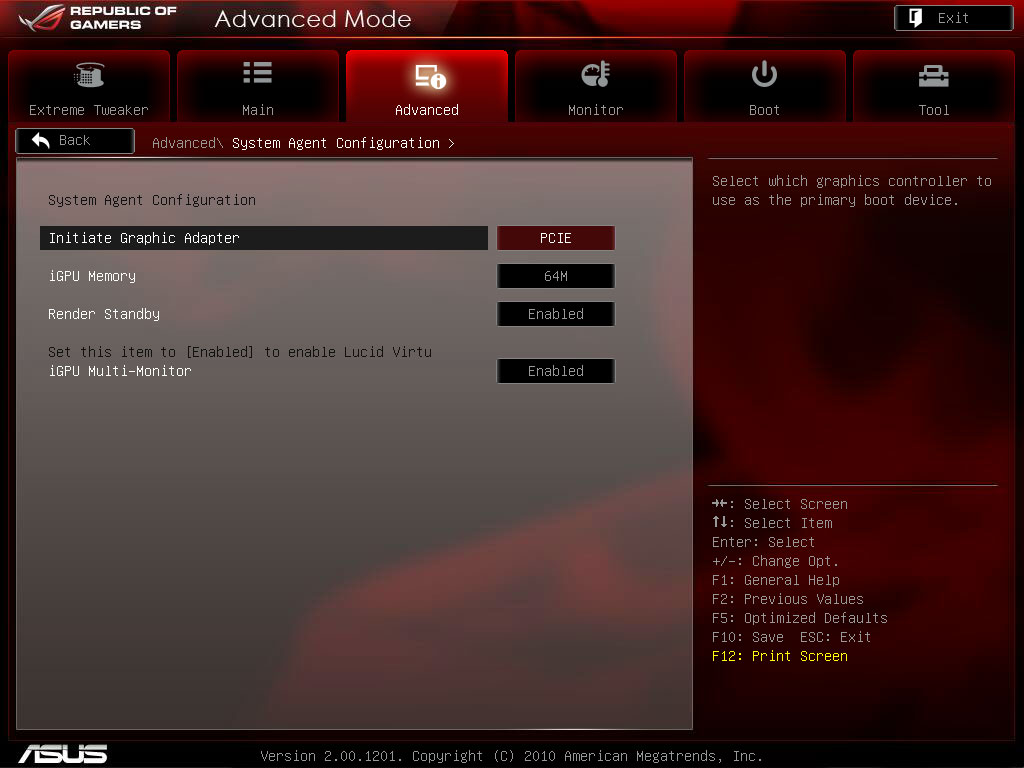

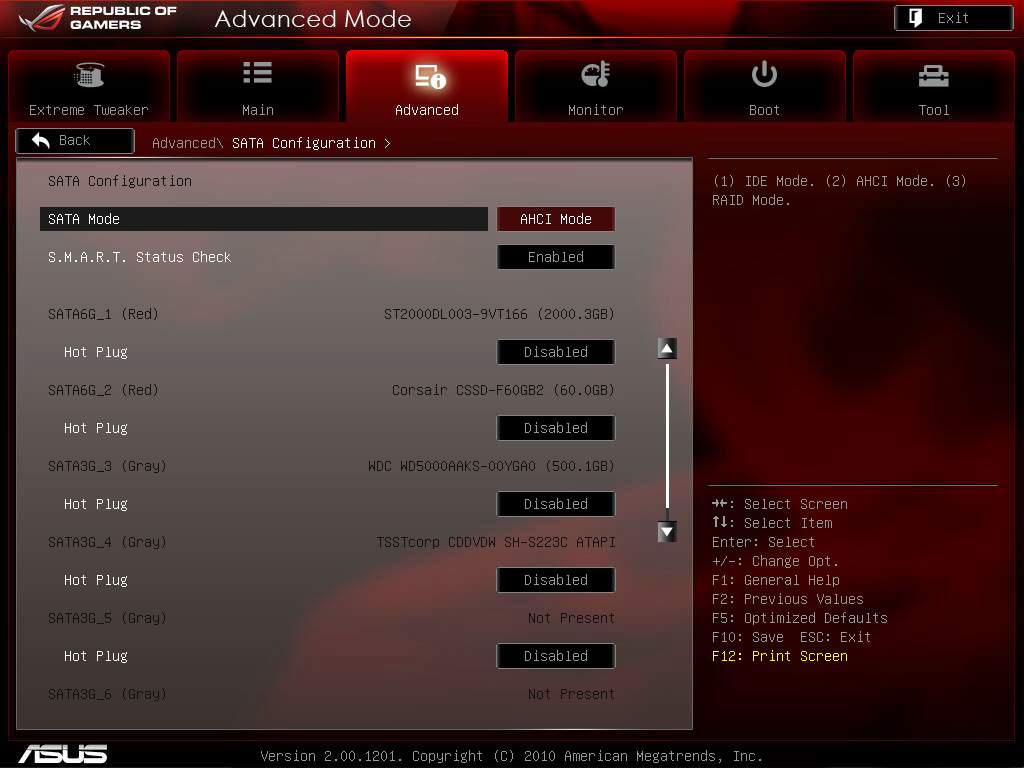
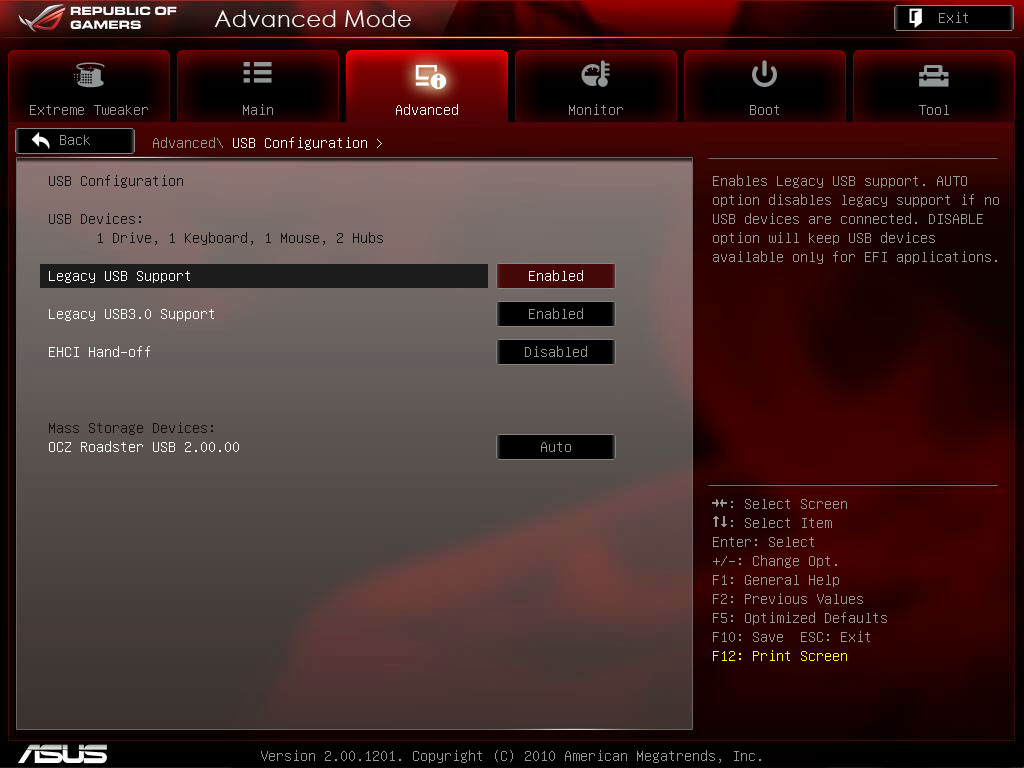
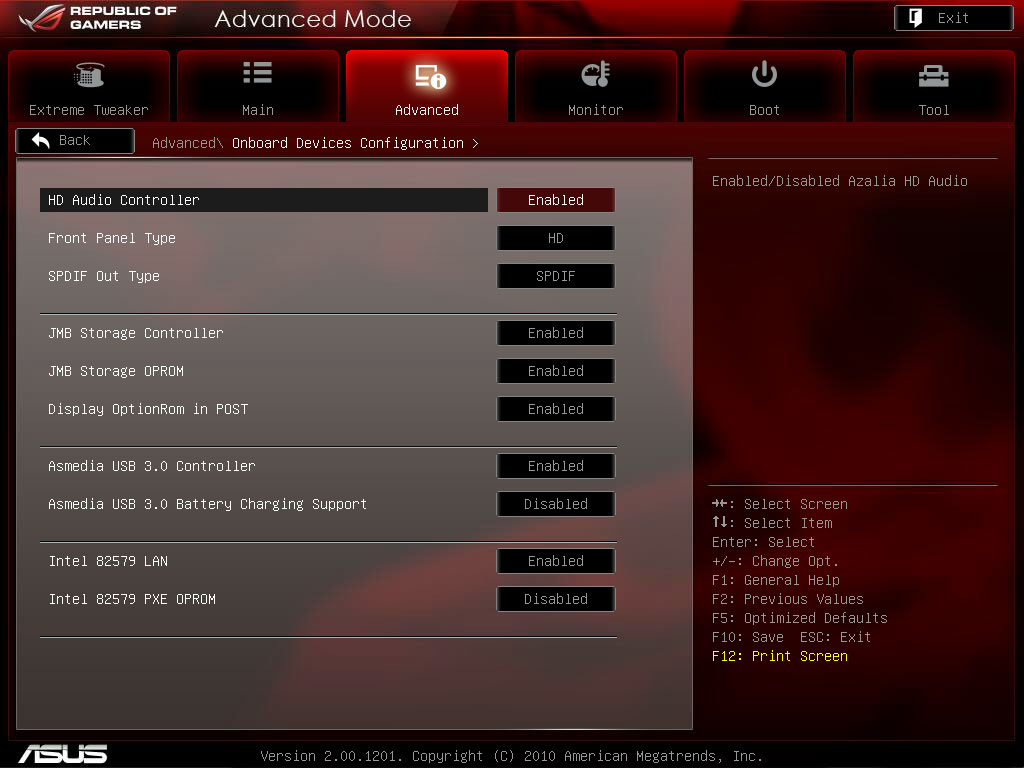
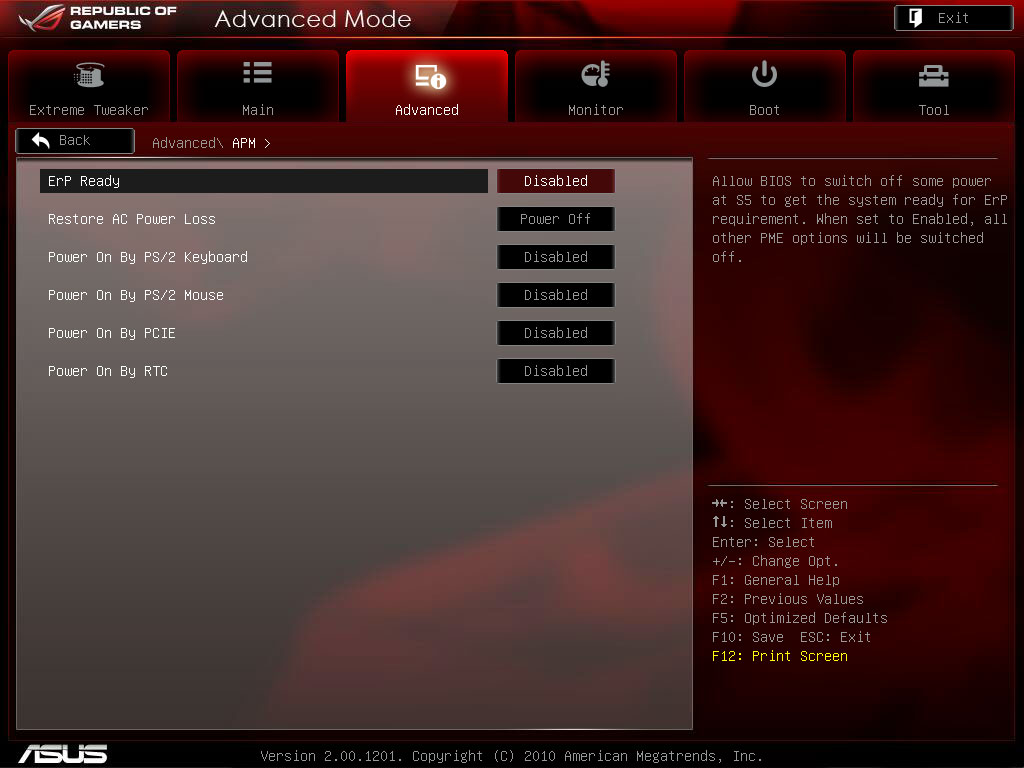
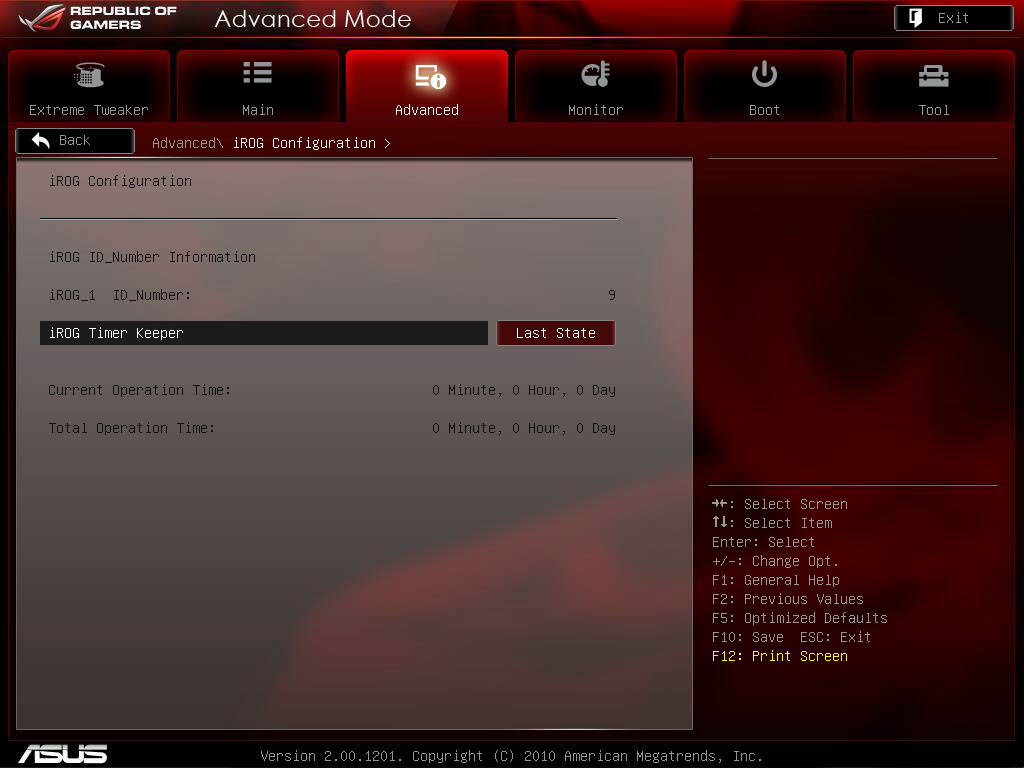
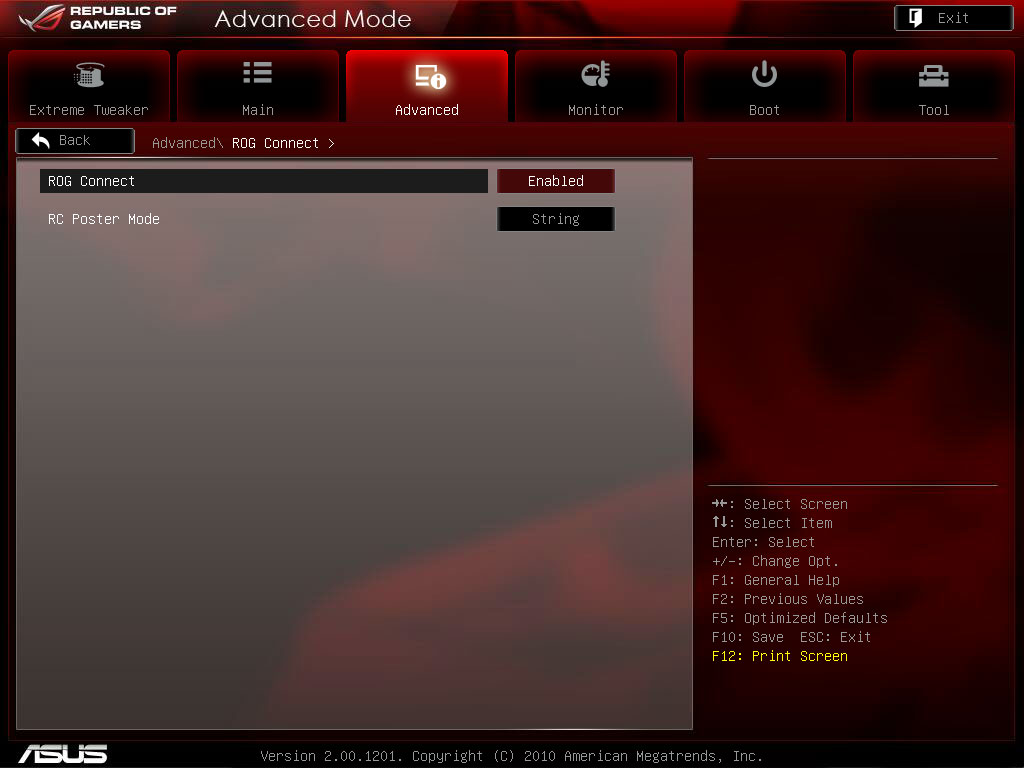
The next page is labeled as "Advanced", which contains subheadings which each lead into other pages that contain board-specific settings for things like onboard devices, power management, and settings for the ASUS ROG features like ROG Connect. We're not going to go into too much detail about these pages, and they really speak for themselves quite well, each with everything you expect to see under each heading, however, once again, we can't help but feel a few of these could be combined, as we have a total of eleven images here for this tab alone, as you can see.
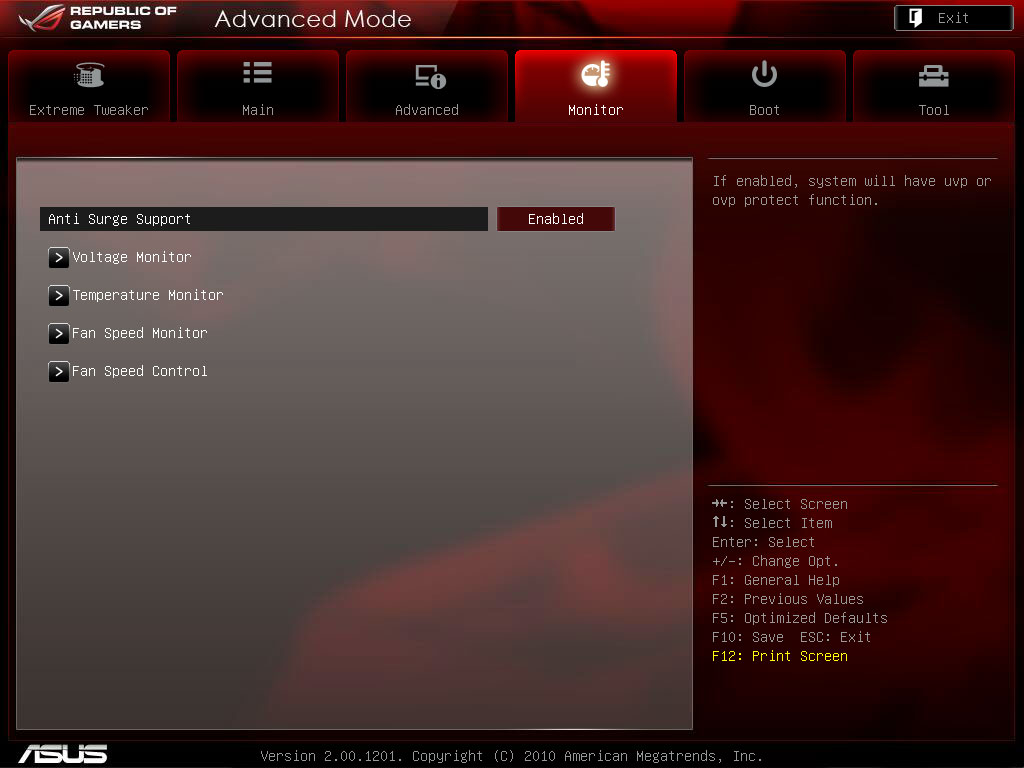
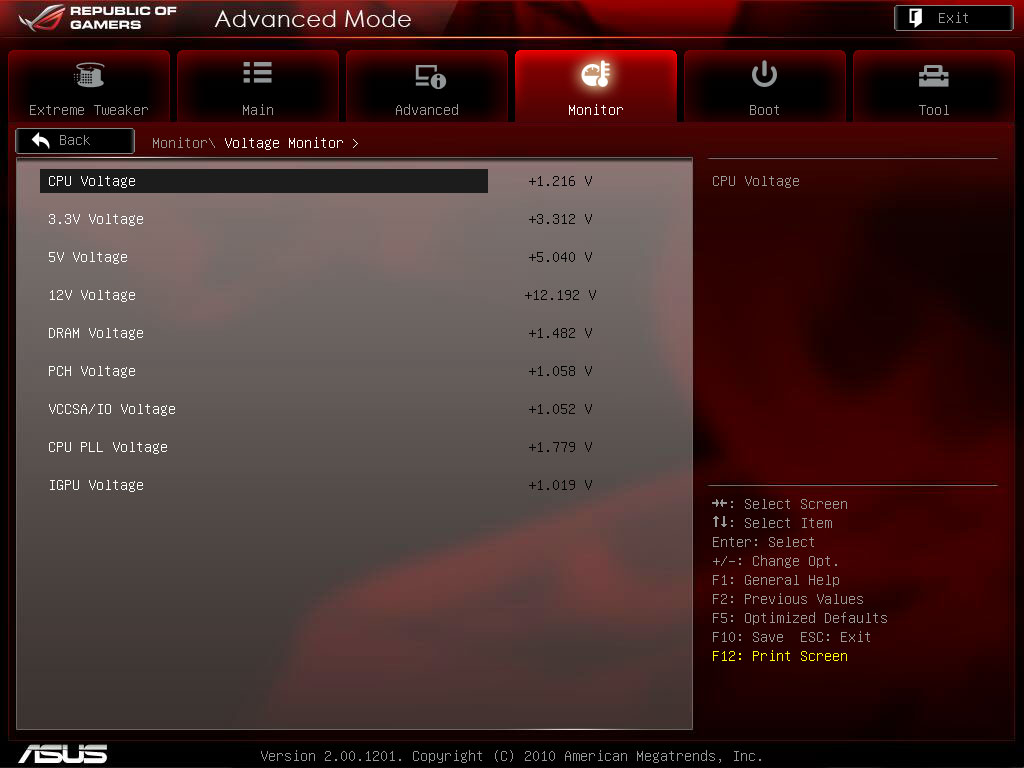
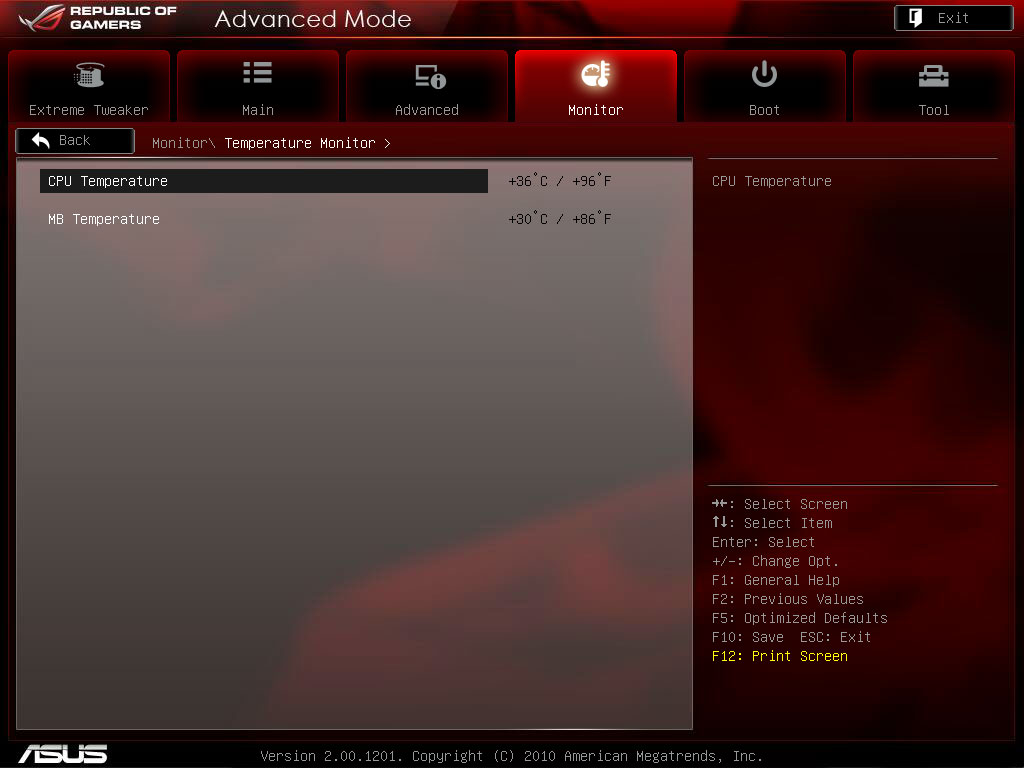
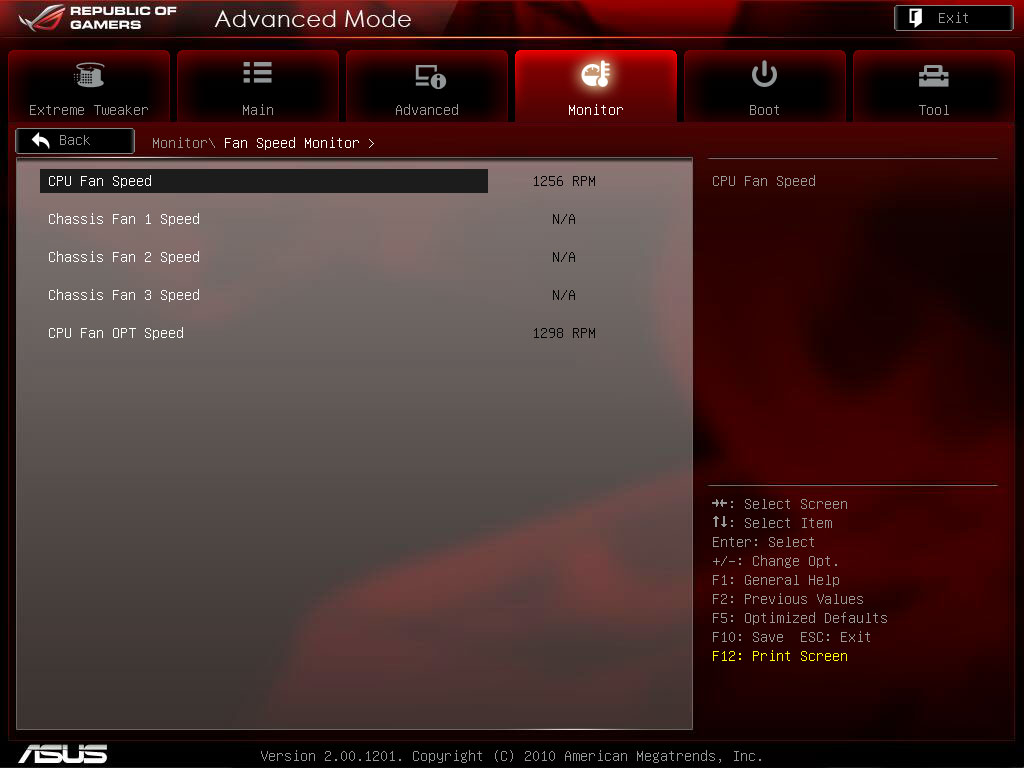
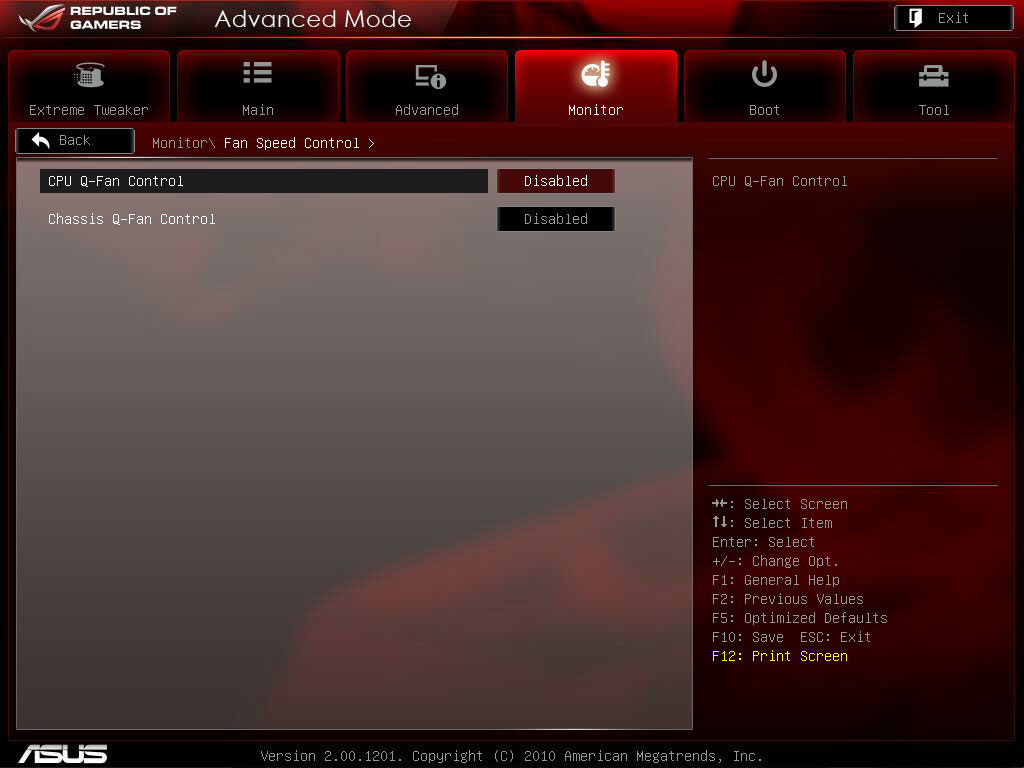
The "Monitor" page is similar in fashion to the "Advanced" page, containing a bunch of subheadings that lead to other pages with the actual options, and again we find two more pages that have just two settings each.
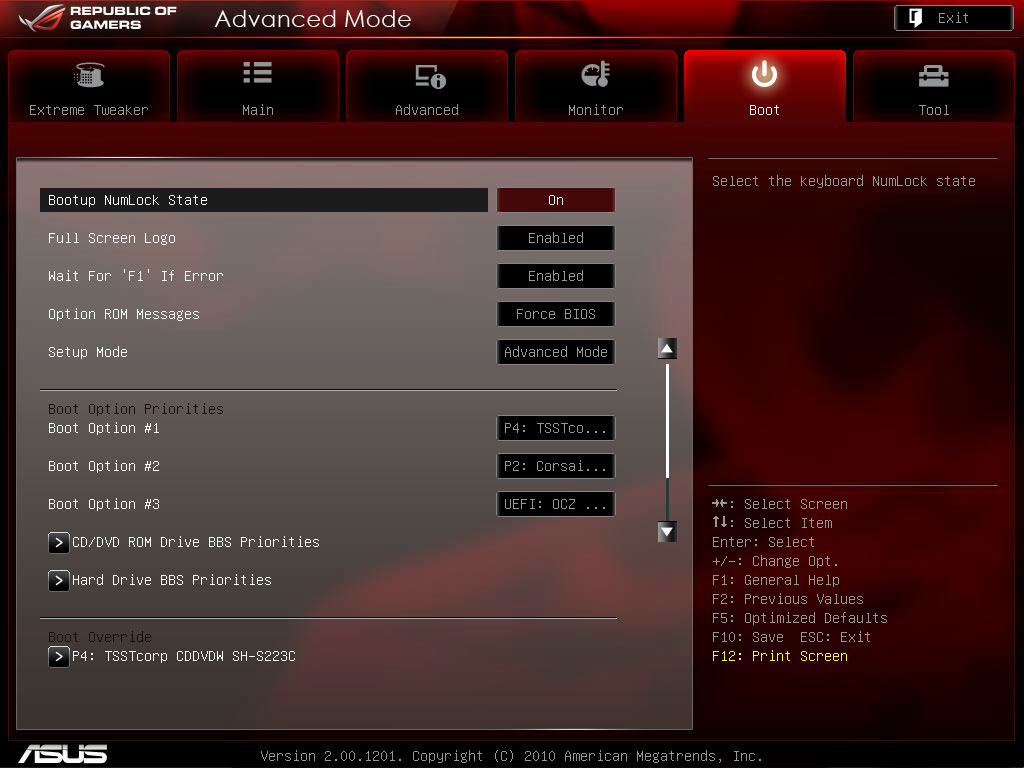
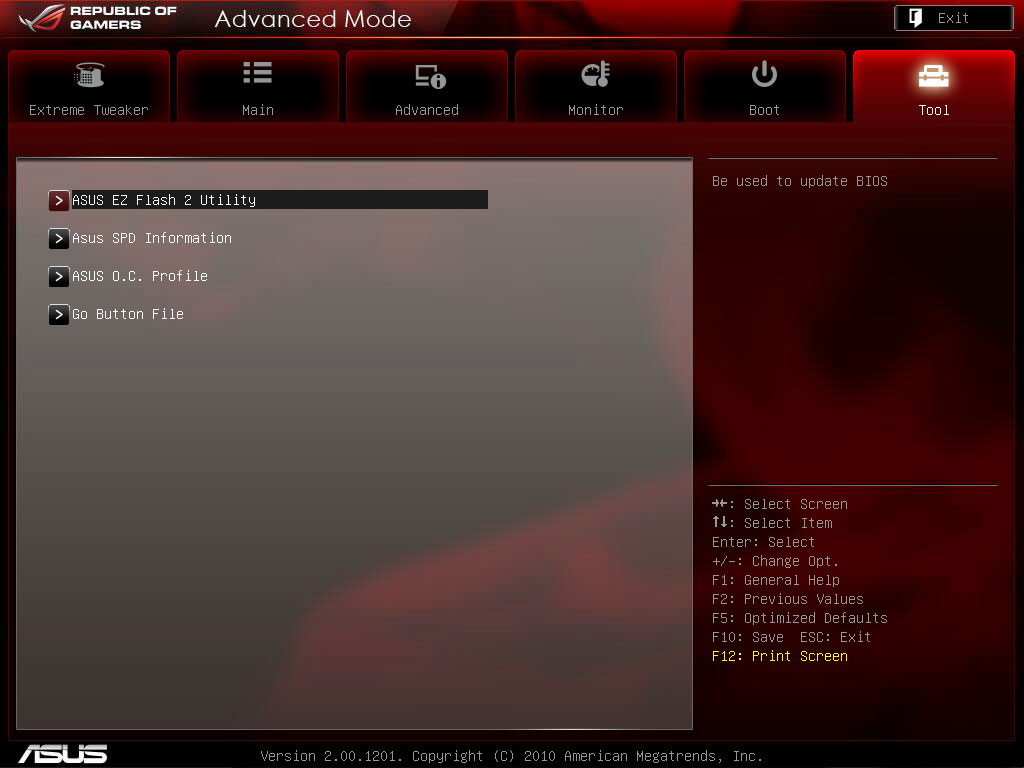

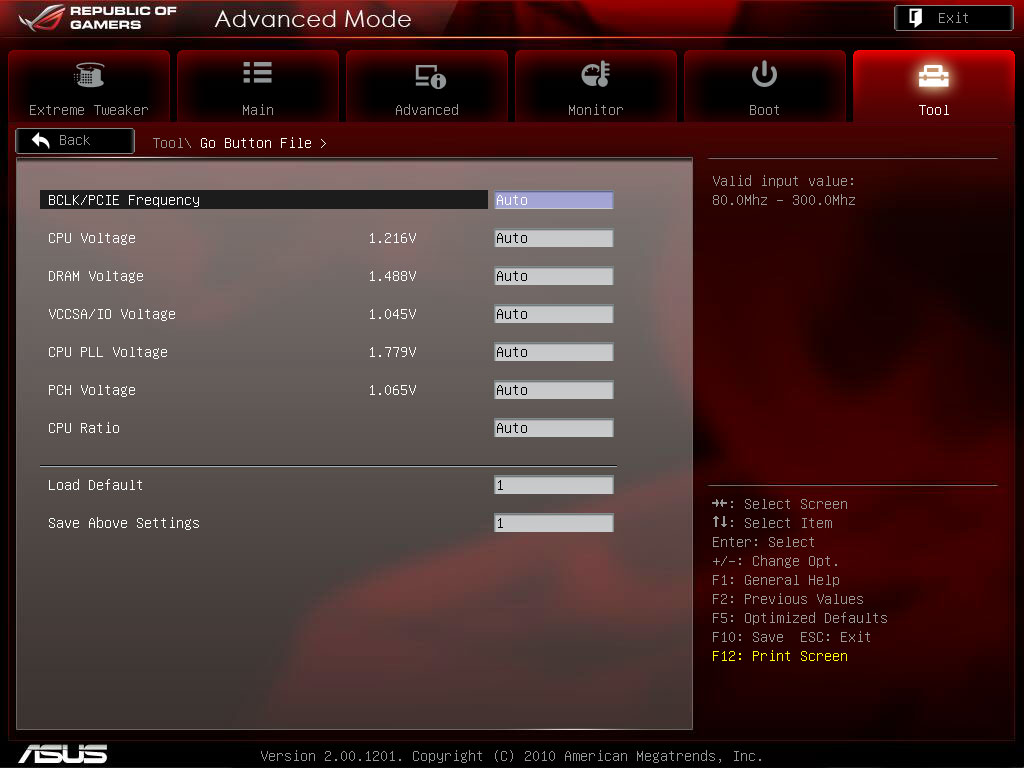
The "Boot" page, on the other hand, is nearly perfect, with everything we expected. The "Tool" page contained a few surprises, including access to listings for DIMM SPD settings, as well as the page to customize the "Go Button" settings, something we wished we would have found on the last two Z68 boards we looked at that featured similar functions.
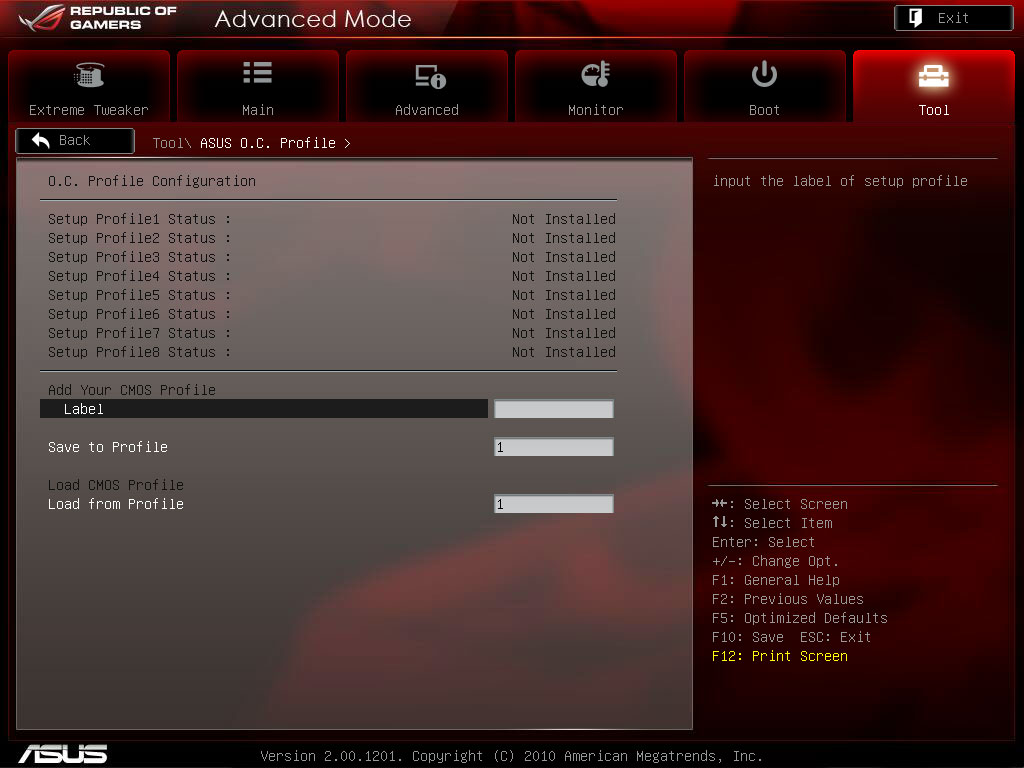
There is also a page to store several BIOS profiles, allowing users to create several different overclock profiles, and then switch between them with relative ease. During our usage testing, we experimented with this page to be pleasantly surprised to find everything in perfect working order.
Jan 31st, 2025 20:06 EST
change timezone
Latest GPU Drivers
New Forum Posts
- Flex firmware flashing (3)
- I need bios for XFX SWFT 319 RX 6800XT (13)
- Will you buy a RTX 5090? (309)
- Motherboard GIGABYTE X870E AORUS ELITE WIFI7 not posting, stuck on code 00 with DRAM red LED turned on (17)
- RAM for i9 14900k (2)
- Server Project (345)
- Anime Nation (13005)
- What's your latest tech purchase? (23037)
- In regards to the 5090 "launch" a message to Nvidia, from a long time supporter (49)
- The TPU UK Clubhouse (25672)
Popular Reviews
- NVIDIA GeForce RTX 5080 Founders Edition Review
- NVIDIA DLSS 4 Transformer Review - Better Image Quality for Everyone
- Galax GeForce RTX 5080 1-Click OC Review
- ASUS GeForce RTX 5090 Astral OC Review - Astronomical Premium
- MSI GeForce RTX 5080 Vanguard SOC Review
- ASUS GeForce RTX 5080 Astral OC Review
- NVIDIA GeForce RTX 5090 Founders Edition Review - The New Flagship
- Gigabyte GeForce RTX 5080 Gaming OC Review
- MSI GeForce RTX 5080 Suprim SOC Review
- MSI GeForce RTX 5090 Suprim SOC Review
Controversial News Posts
- NVIDIA 2025 International CES Keynote: Liveblog (470)
- AMD Debuts Radeon RX 9070 XT and RX 9070 Powered by RDNA 4, and FSR 4 (349)
- AMD is Taking Time with Radeon RX 9000 to Optimize Software and FSR 4 (251)
- AMD Denies Radeon RX 9070 XT $899 USD Starting Price Point Rumors (238)
- AMD Radeon RX 9070 XT & RX 9070 Custom Models In Stock at European Stores (226)
- NVIDIA GeForce RTX 5090 Features 575 W TDP, RTX 5080 Carries 360 W TDP (217)
- New Leak Reveals NVIDIA RTX 5080 Is Slower Than RTX 4090 (214)
- AMD's Radeon RX 9070 Launch Faces Pricing Hurdles (175)