 55
55
ASUS MAXIMUS VI EXTREME (Intel LGA 1150) Review
Overclocking Performance Summary »Overclocking - The Hardware

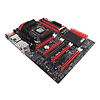
The ASUS MAXIMUS VI EXTREME has a special BIOS design with dual chips, but only one of those is active at a time. There is a small red button on the bottom-right edge that allows you to pick the BIOS in use, indicated by a small lit LED next to the BIOS chip itself.
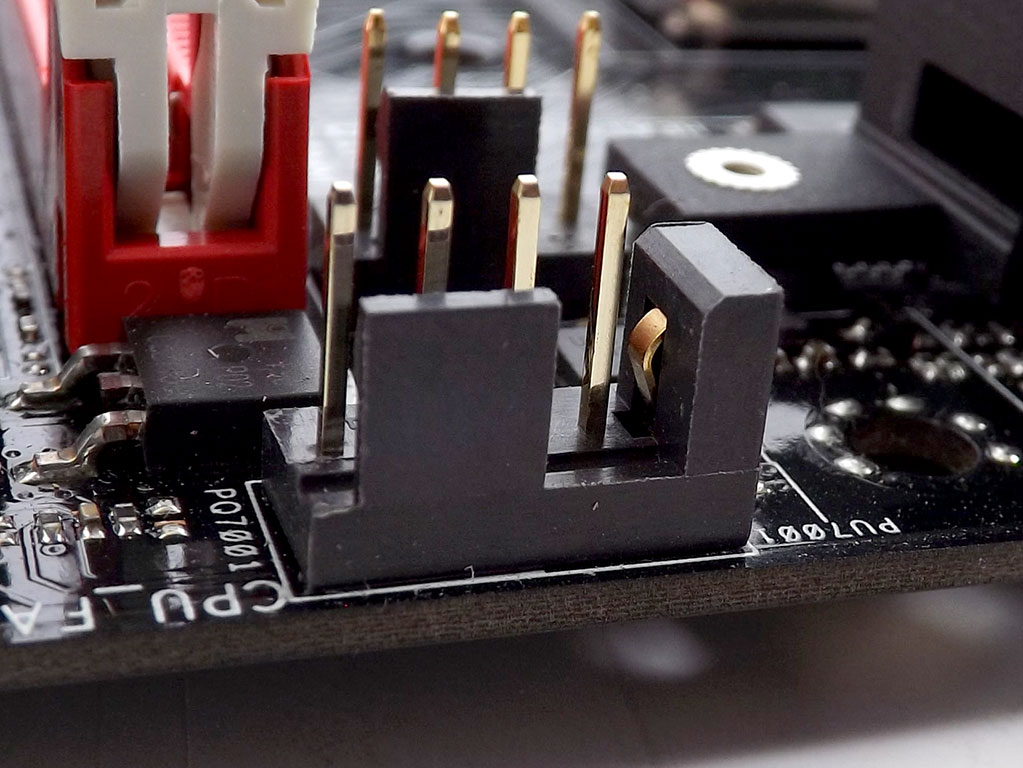
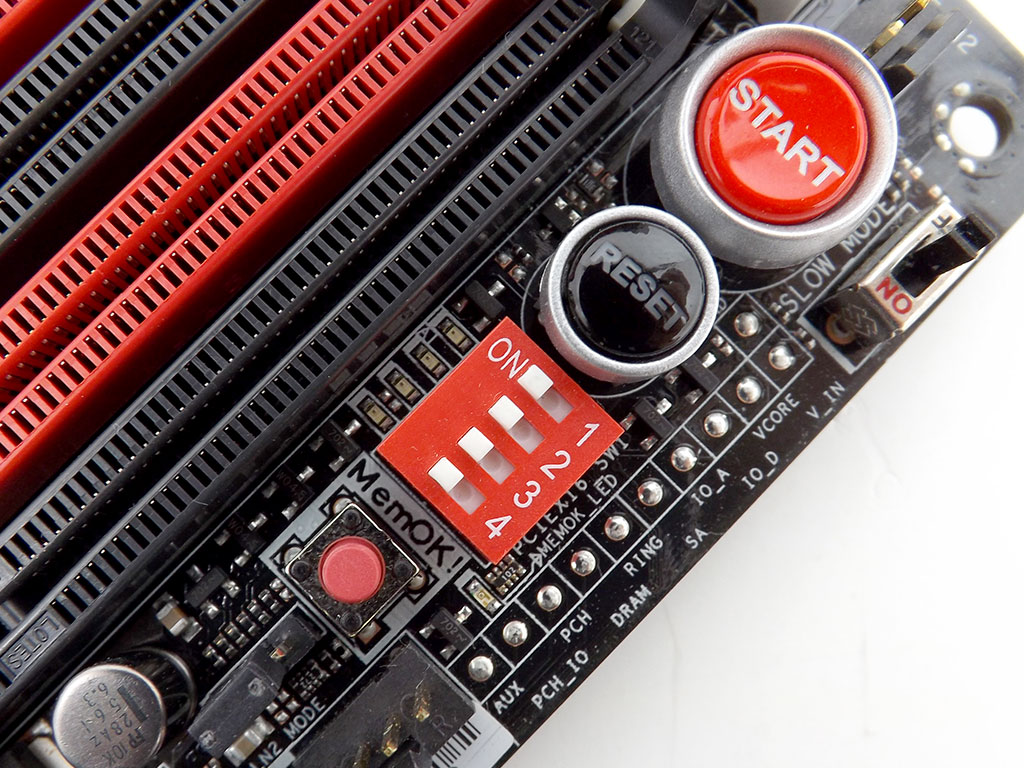
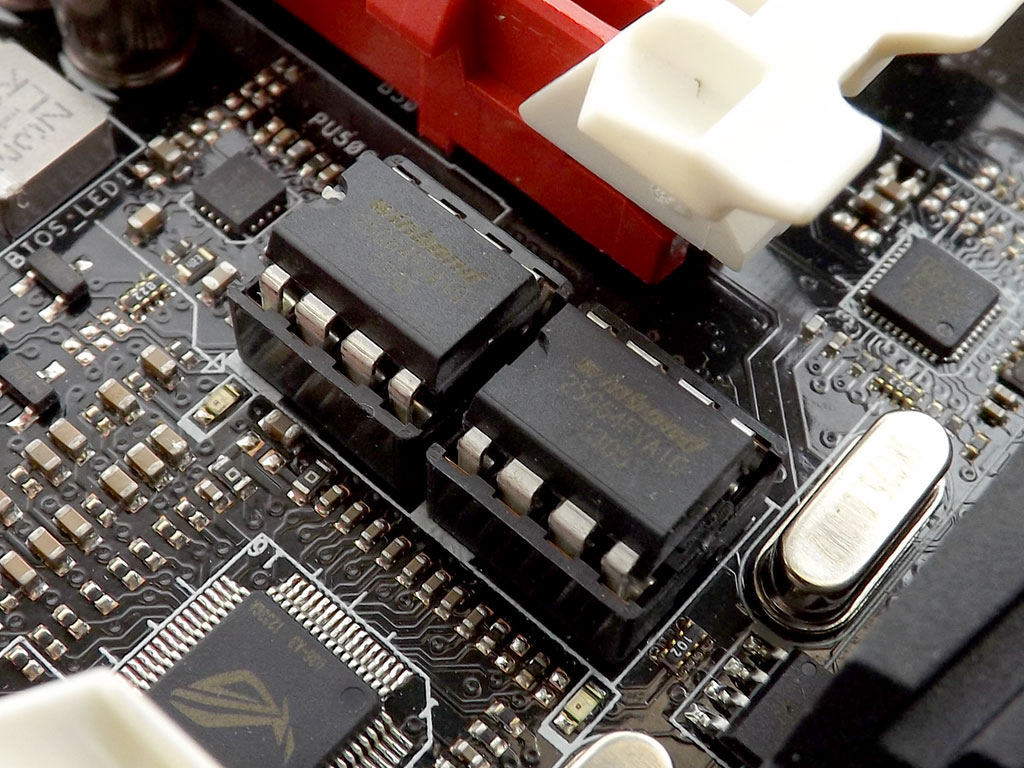
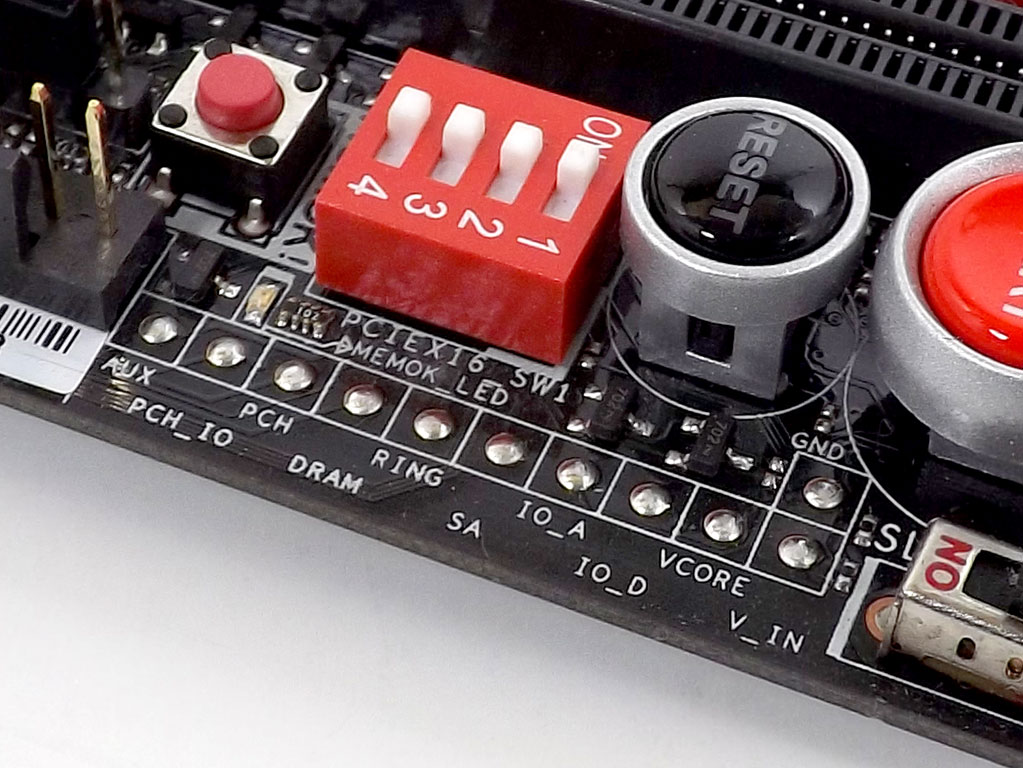
The CPU fan header is of a special design that detects whether a 4-pin PWM or 3-pin fan is plugged into it, automatically changing how the fan is controlled to ensure 3-pin fans are not stuck at 100% as with some motherboards. As you can see in the picture, there is also another CPU_FAN header right below it, so there are enough close-by plugs for an AIO liquid/water or dual-fan cooler, which makes cable management a bit easier. All buttons for overlocking specific hardware features are confined to one area by the top-right corner of the ASUS MAXIMUS VI EXTREME. POWER, RESET, and MemOK! buttons are here, as are a "SLOW MODE" switch and red block with four switches, which allows you to disable specific PCIe slots.

The board's bottom edge has a hardware switch for FAST BOOT functions and the "DIRECT KEY", a button that allows you to access the BIOS directly on your next boot. If you are in Windows and push this button, the board will shut down and wait for the system to power up, entering the BIOS automatically when it does. The FAST BOOT software does the same thing too, but these buttons let you access that functionality without installing the FAST BOOT software, which suits those benching with the board only more since they would want to keep installed software to a bare minimum. There are also a set of solder pads on the board's right edge. Also for benchmarkers, these allow you to check voltages of given parts in real-time.
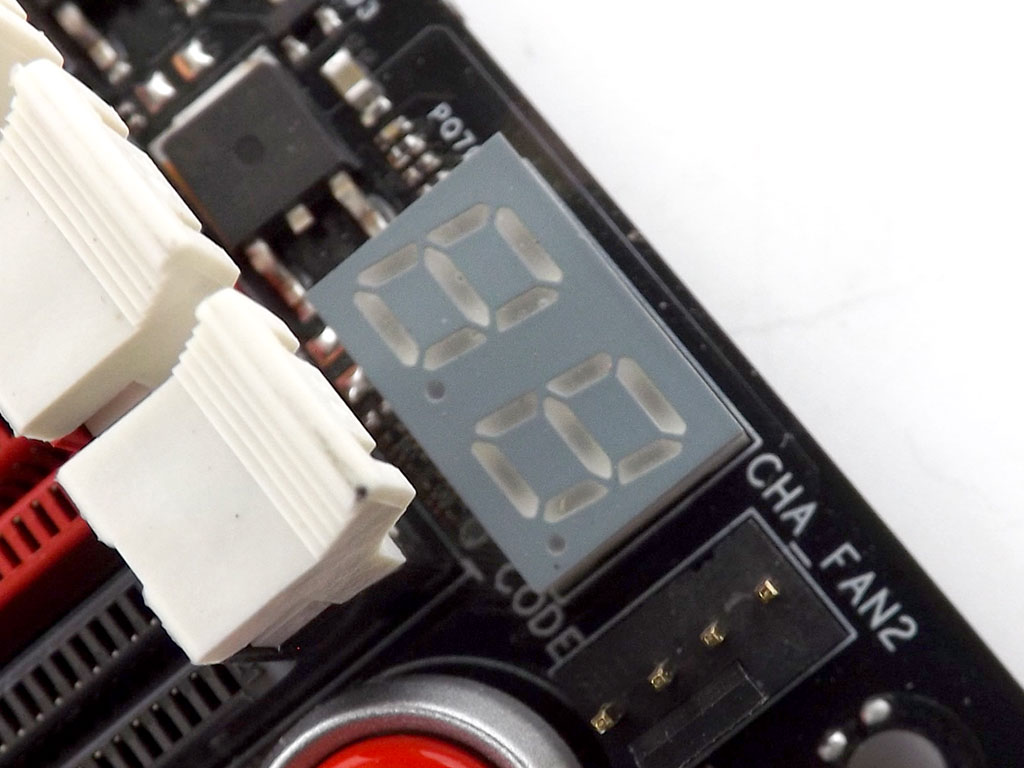
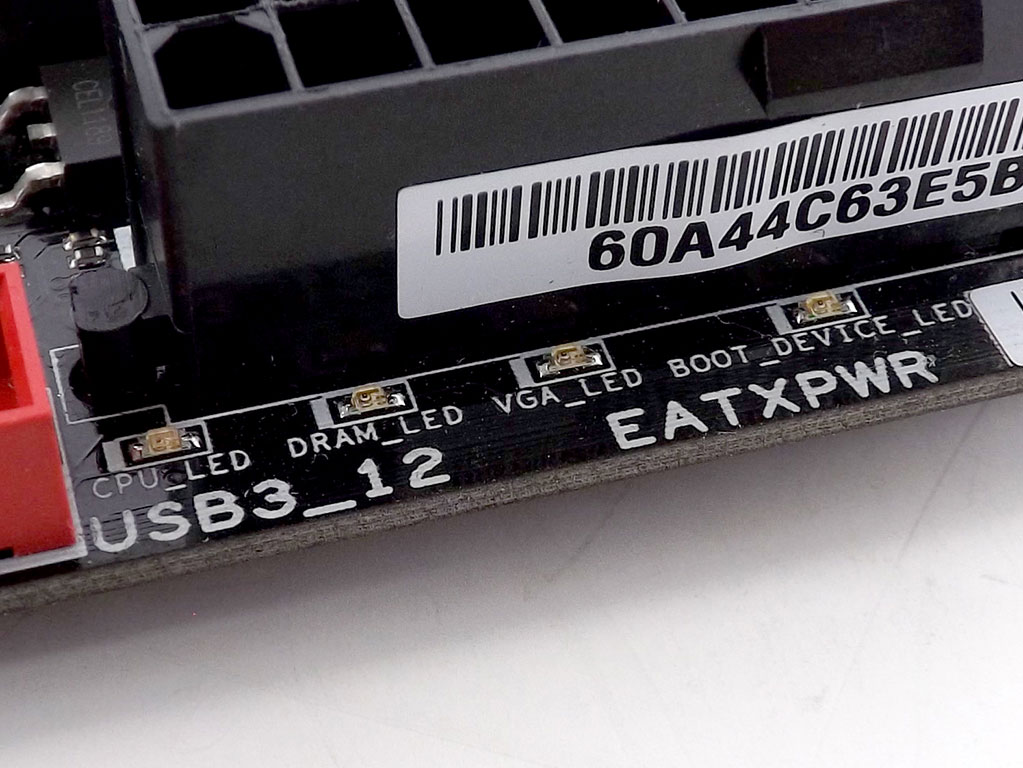
There is a POST CODE display, just above the board's DIMM slots, useful for diagnosing boot issues. Another four LEDs by the board's 24-pin connector indicate the general area the fault might be in. These light up in quick succession as the board boots, one after the other.

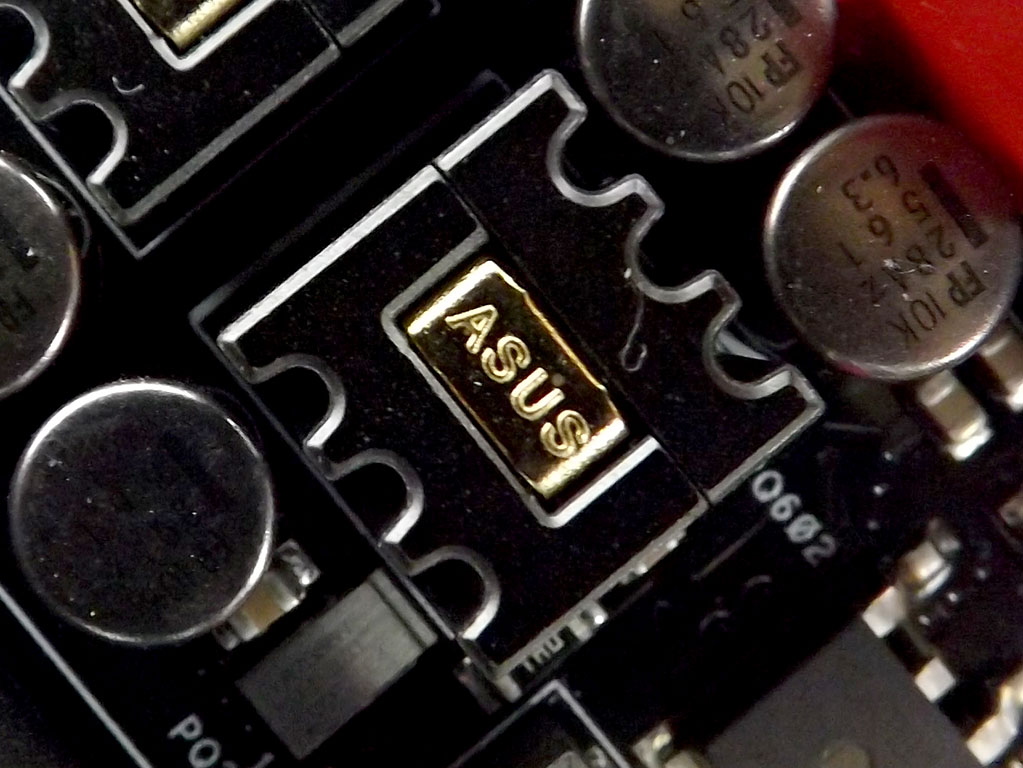
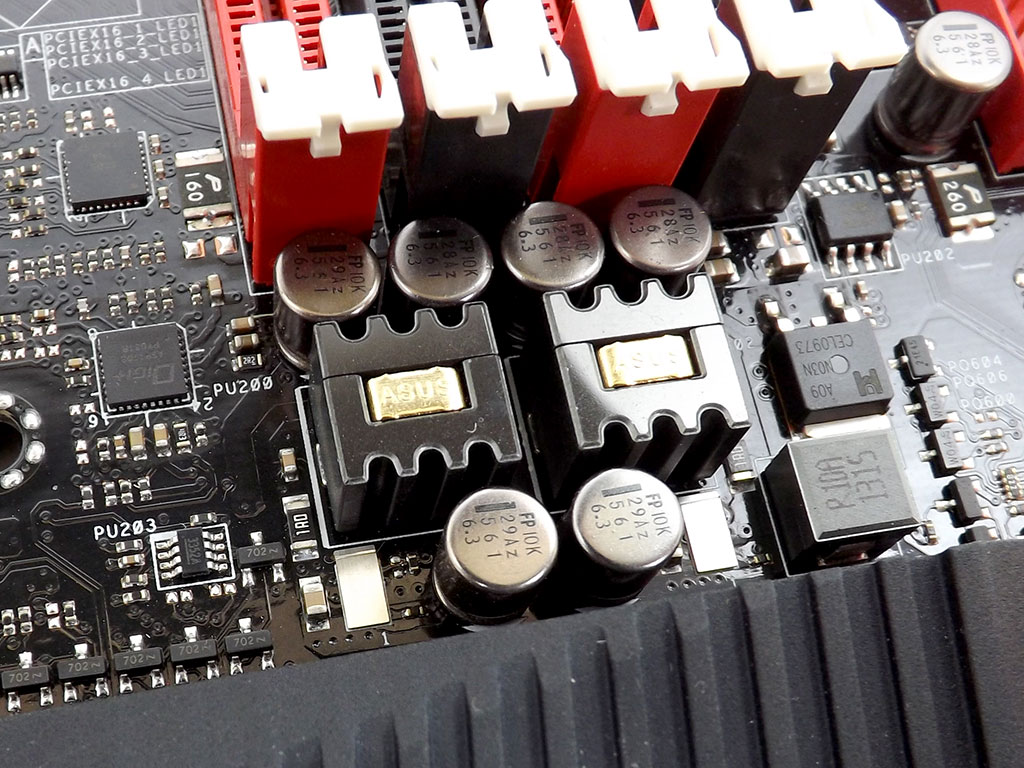
To ensure enough power is provided and lower the current pulled through the board and EPS plug itself, ASUS added another 4-pin EPS connector to spread out the load. This is only a heat-managment feature since you do not really need the 8-pin, and I did run the board off the 4-pin alone without any problems. The board's VRM chokes are also optimized to control heat, with custom BlackWing chokes sporting ASUS's own name stamped into them. The wings around these are supposed to break any airflow around them and keep the chokes cool. You can find them on both the CPU and DIMM VRM.
The ASUS ROG OC Panel - Up-Close

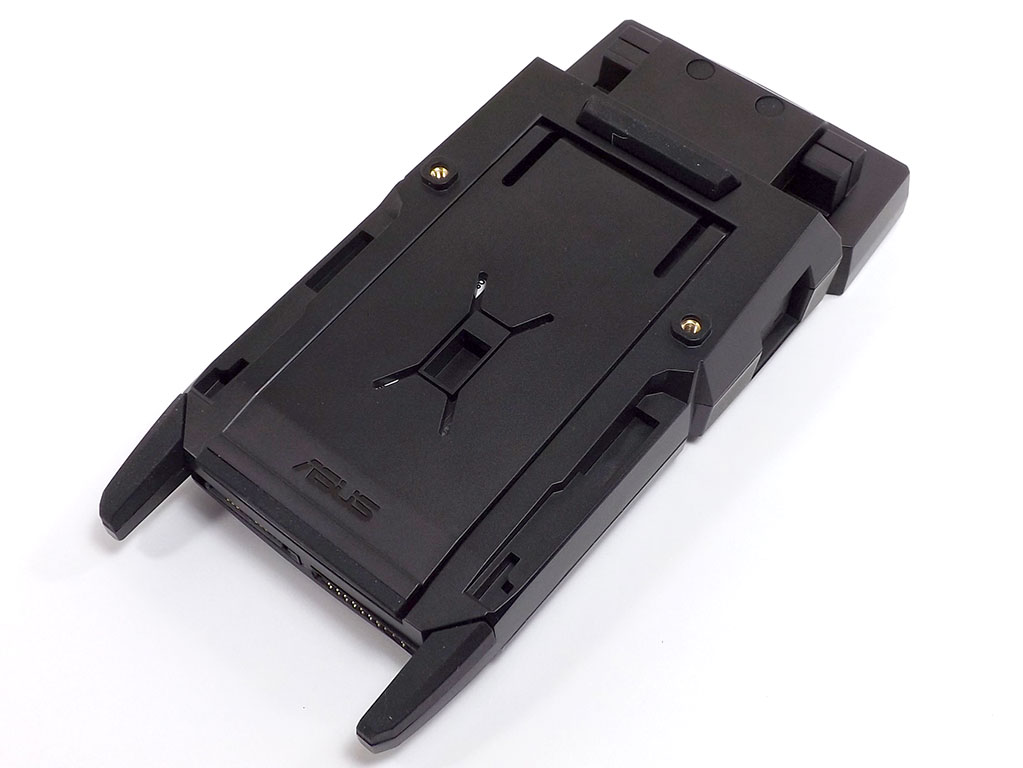
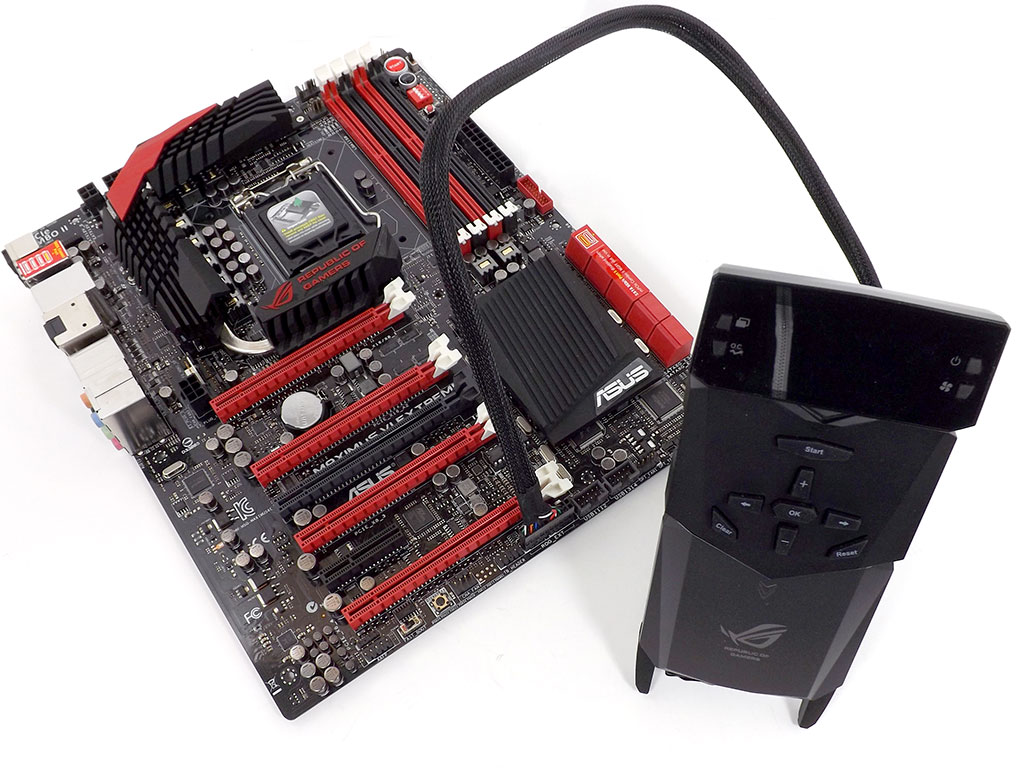
In the box with the ASUS MAXIMUS VI EXTREME is ASUS's new OC PANEL, a hand-held device you can prop on top of your desk. It has several OC-centric features built into it that are both useful to normal enthusiasts and those pushing the limits. There are several buttons on the front, and the rear hides a thin plastic stand you can pop out to then prop the OC Panel up like you would a picture frame.

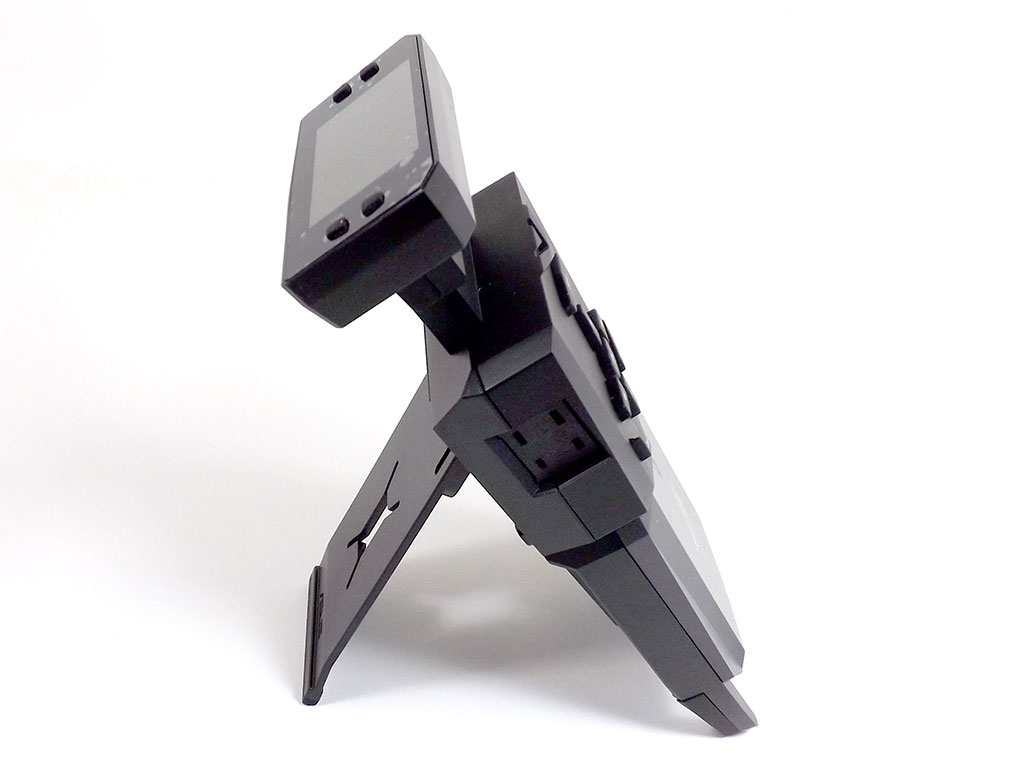
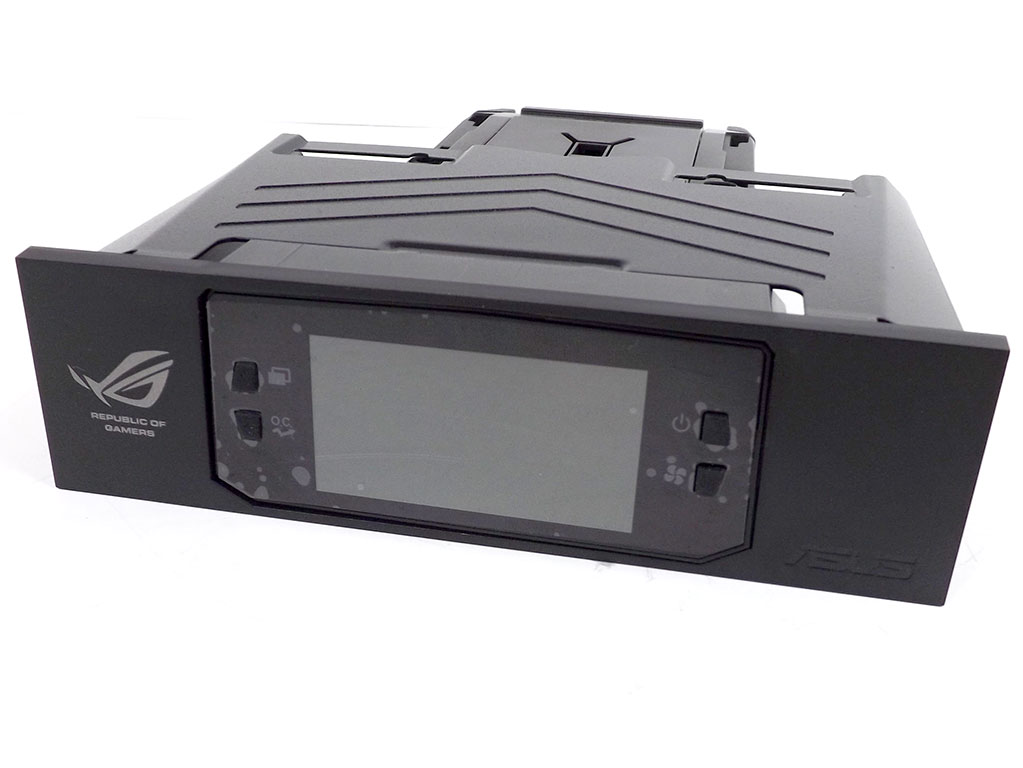
With the stand out, you can see how it sits upright, with the LED display at the top. That top tilts 90 degrees, but that function is for installing the device into a 5.25" bay using the provided bracket.

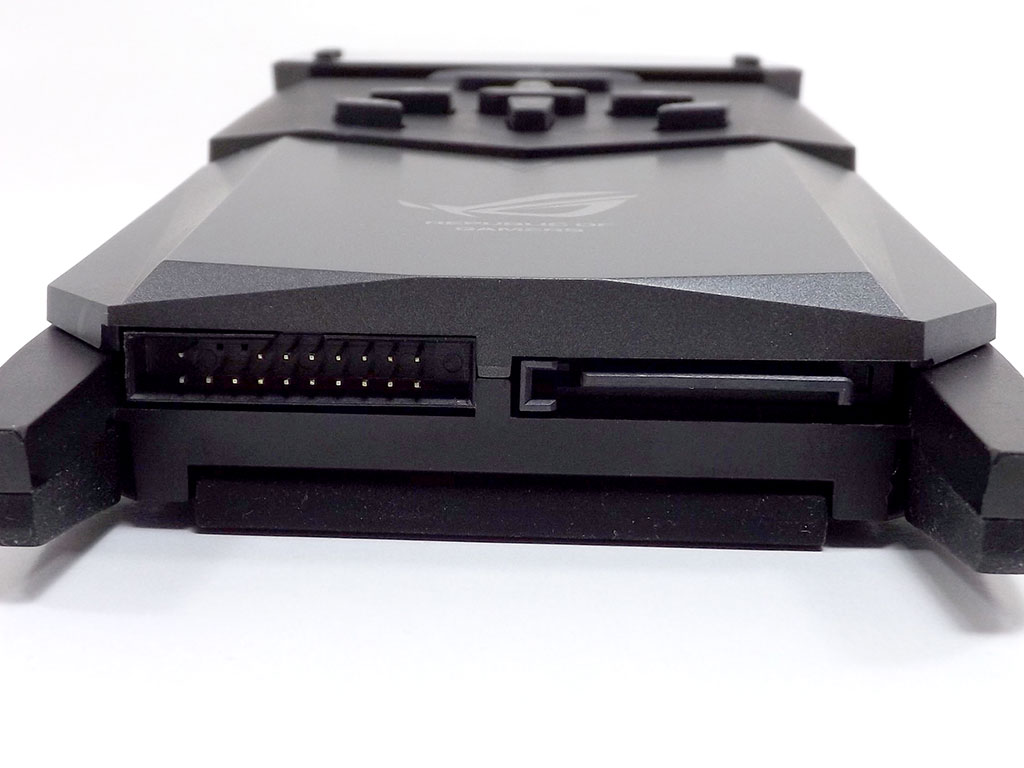
On one side are ports for two K-Type thermal probes, something most extreme clockers will be familiar with. On the bottom is a plug for the cable connecting it to the motherboard, and there is a SATA power plug. It provides power to onboard fan headers, but what fan headers?
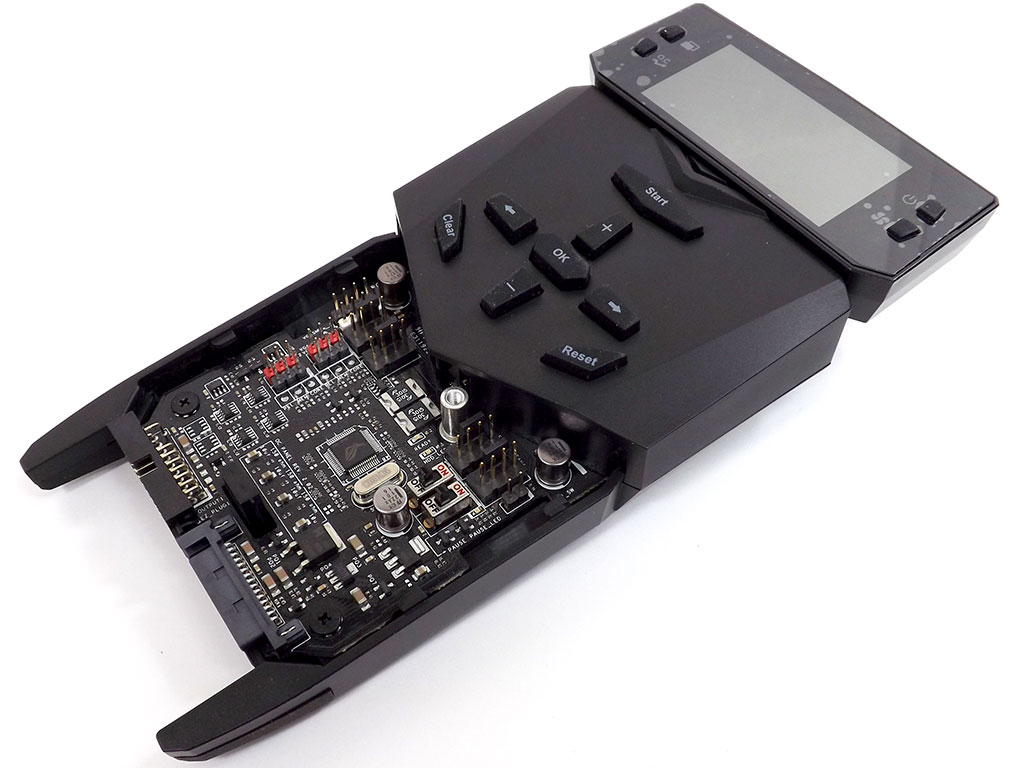
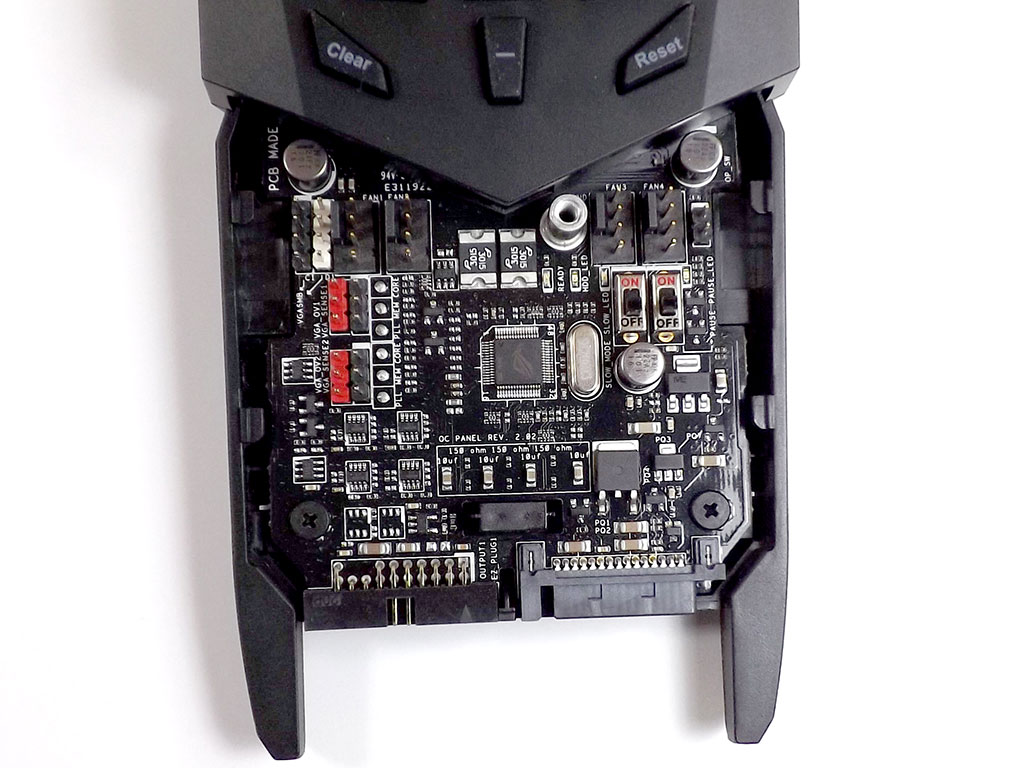
Sliding the gray panel off of the top allows you to access the real functionality provided by the ROG OC Panel. Inside are switches to control boot modes, GPU voltage mod points for ASUS GPU VTweak-enabled cards (most modern ASUS Direct CU II and MATRIX cards), the four 4-pin PWM-based fan headers I mentioned earlier, and a few goodies to help repair commonly damaged components. It really is the ultimate ASUS GPU overclocking tool to me, but does obviously have a few other features too.
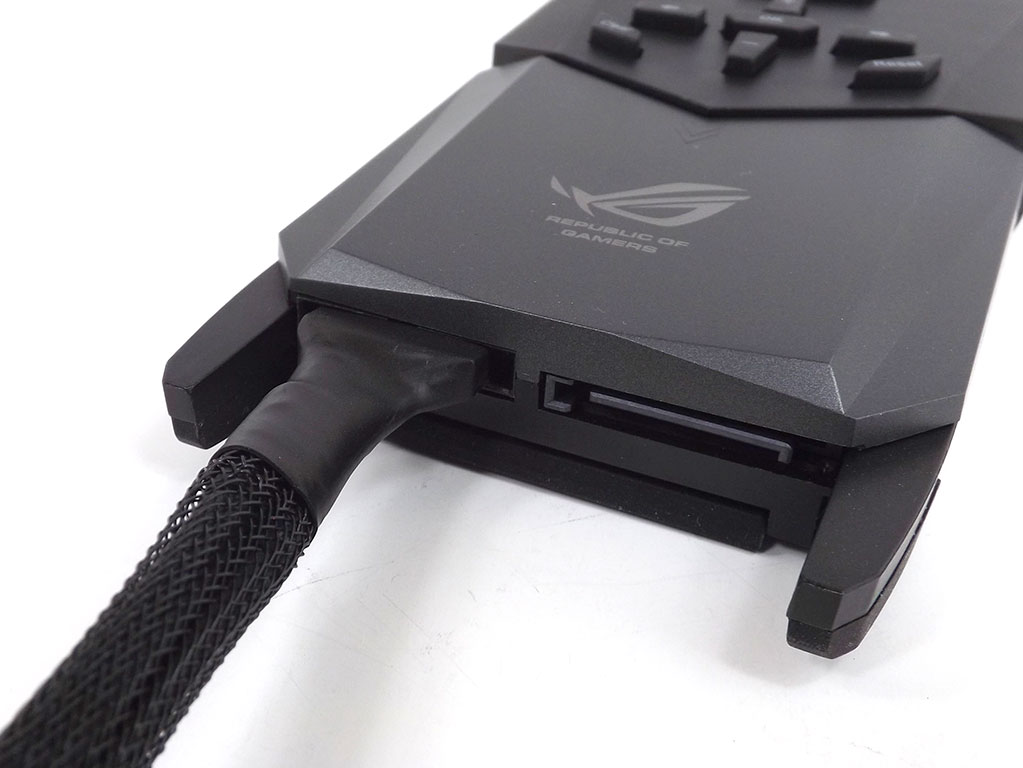
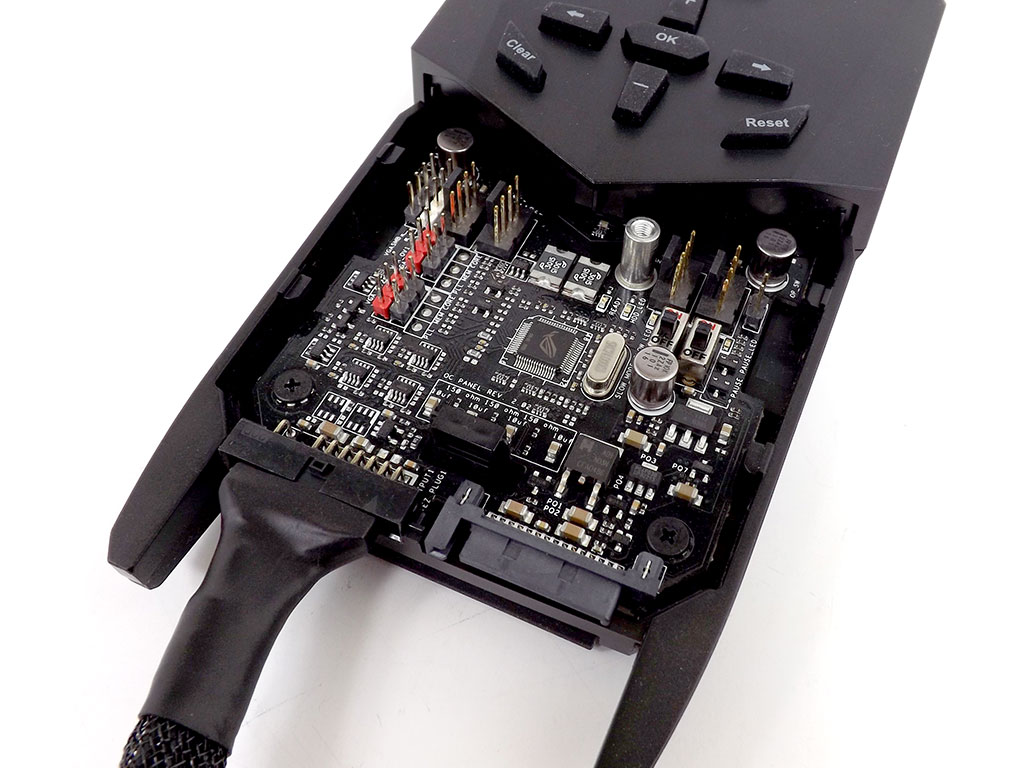
Attaching the cable to the OC Panel and then sliding the cover back on worked fine, though truly getting the most out of it will probably have the cover collect dust somewhere. I simply threw mine back into the box.
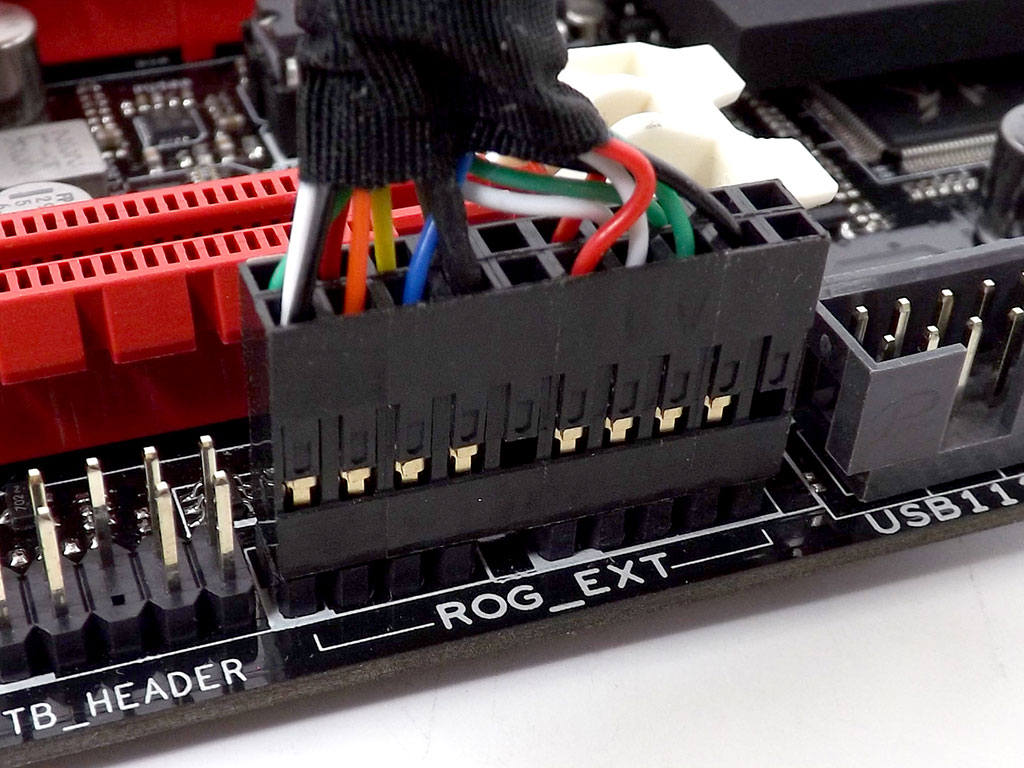
The other end of the included cable is nicely sleeved and connects to a header I found to be included with all ASUS MAXIMUS VI-series boards, from top to bottom. When paired with the ASUS MAXIMUS VI EXTREME, the two make a formidable pair that gives functionality like no other Intel Z87 overclocking product. You could stuff it into the included bay device to see the temperatures and voltages it displays, but what is the fun in that?
Jun 30th, 2025 23:03 CDT
change timezone
Latest GPU Drivers
New Forum Posts
- GravityMark v1.89 GPU Benchmark (303)
- Post your Cinebench 2024 score (658)
- GPU PerfCap Reason PWR (8)
- Laptop overclocking adventures (1238)
- [INTEL]-How To Update Your Microcode for Intel HX 13/14th Gen. CPUs Laptops/Mobile Easily. (172)
- Will you buy a RTX 5090? (584)
- The TPU UK Clubhouse (26530)
- Optane and "enable write caching " (27)
- Question about Intel Optane SSDs (87)
- Do you use Linux? (664)
Popular Reviews
- ASUS ROG Crosshair X870E Extreme Review
- Sapphire Radeon RX 9060 XT Pulse OC 16 GB Review - Samsung Memory Tested
- AVerMedia CamStream 4K Review
- Lexar NQ780 4 TB Review
- AMD Ryzen 7 9800X3D Review - The Best Gaming Processor
- Upcoming Hardware Launches 2025 (Updated May 2025)
- Sapphire Radeon RX 9070 XT Nitro+ Review - Beating NVIDIA
- AMD Ryzen 9 9950X3D Review - Great for Gaming and Productivity
- NVIDIA GeForce RTX 5060 8 GB Review
- ASRock Phantom Gaming Z890 Riptide Wi-Fi Review
TPU on YouTube
Controversial News Posts
- Intel's Core Ultra 7 265K and 265KF CPUs Dip Below $250 (288)
- NVIDIA Grabs Market Share, AMD Loses Ground, and Intel Disappears in Latest dGPU Update (204)
- Some Intel Nova Lake CPUs Rumored to Challenge AMD's 3D V-Cache in Desktop Gaming (140)
- NVIDIA Launches GeForce RTX 5050 for Desktops and Laptops, Starts at $249 (105)
- Microsoft Partners with AMD for Next-gen Xbox Hardware (105)
- Intel "Nova Lake‑S" Series: Seven SKUs, Up to 52 Cores and 150 W TDP (100)
- NVIDIA GeForce RTX 5080 SUPER Could Feature 24 GB Memory, Increased Power Limits (94)
- Reviewers Bemused by Restrictive Sampling of RX 9060 XT 8 GB Cards (88)