 15
15
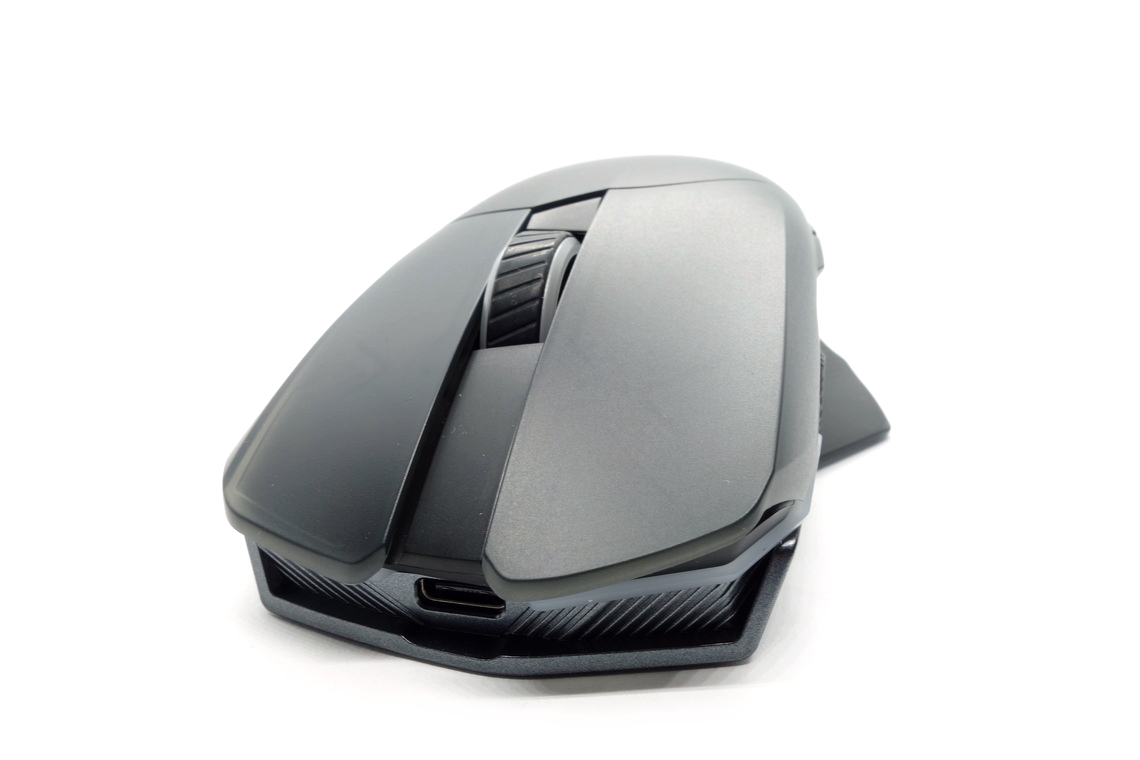
ASUS ROG Chakram X Review
Sensor & Performance »Build Quality
Overall build quality is solid. When shaking the mouse, a slight rattle becomes audible, supposedly originating from the joystick. When applying lateral pressure, no creaking or flexing of the shell can be observed. Activating the side buttons by squeezing the sides is impossible. Lastly, no accidental clicks occur when slamming down the mouse.Buttons

Main buttons on the Chakram X are excellent. Pre-travel is very low and post-travel moderate, resulting in a firm and snappy click response. While the buttons are visually separated from the shell, lateral button movement is minimal and needs to be provoked. Button stiffness is medium to high. ROG Micro Switches are installed by default, but can be replaced with either Omron D2F Series (D2F, D2F-F, D2F-01, D2F-01F) or Omron D2FC Series (D2FC-F-7N, D2FC-F-7N (10M), D2FC-F-7N (20M), D2FC-3M) switches. A set of D2F-01F (Japan) switches is included in the box. In addition to that, the second-generation push-fit sockets are also mechanically and electrically compatible with the 5-pin Omron optical switch series (Omron D2FP-FN). Changing the switch is as simple as pulling the old one out and putting the new one in, though using the included tweezers is recommended for best results.

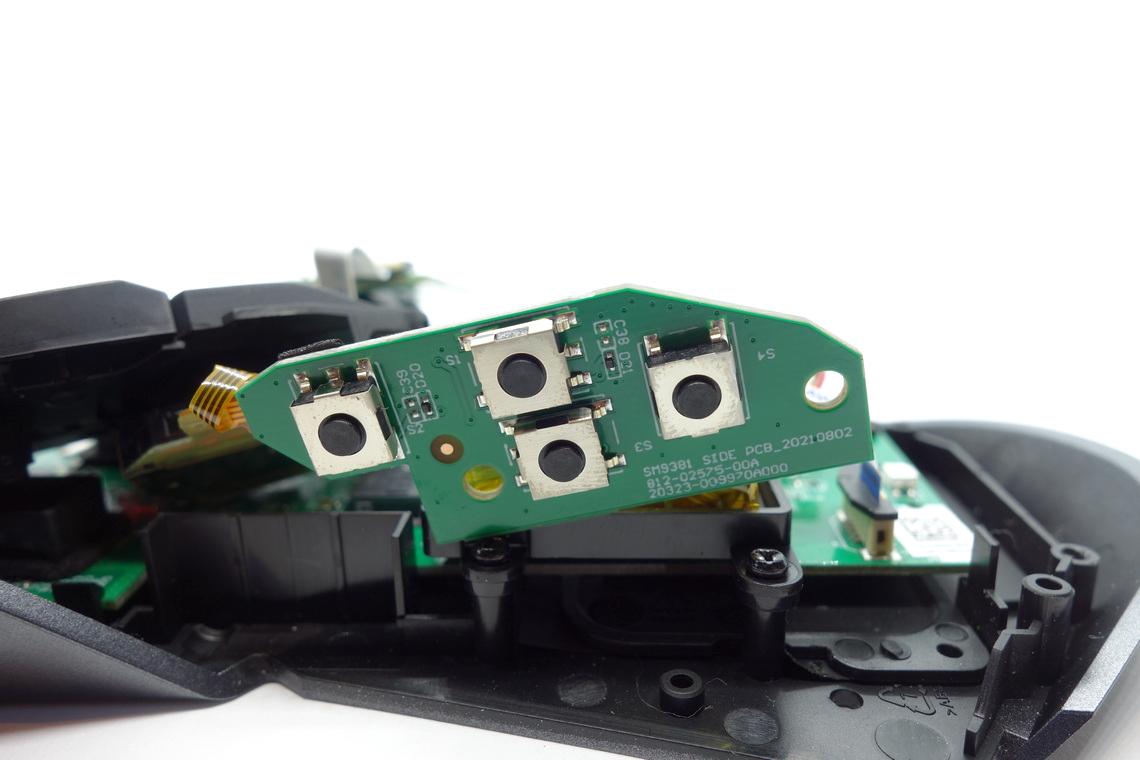
Side buttons are excellent. Both pre and post-travel are minimal, and the actuation point is even across the entirety of these, resulting in a firm and satisfying button response. Compared to the Chakram and Chakram Core, the layout has been changed, and instead of two large buttons, four smaller ones are present on the Chakram X. After getting used to the new layout, I've found their size and placement to be quite good, although those with larger thumbs may find themselves hitting buttons on accident. Several tactile switches from ALPS are used here.
The joystick can be used in analog or digital mode. In analog mode, it functions as a regular joystick and can be used as such. In digital mode, the joystick provides four programmable directions. The joystick can be further customized with a long or short stick, or removed entirely if the functionality is not needed or wanted. As for the placement, I'd say it's pretty good—generally, having larger hands and using the mouse in palm grip will be beneficial when it comes to properly reaching the joystick. Compared to the Chakram, the joystick has been moved 2 mm closer to the palm, making it easier to reach, and the top surface is larger. If desired, the joystick can be removed and replaced with a flat cover.
At the bottom of the mouse is a CPI button, used for cycling through the set CPI steps. Its click feel is decent. A seemingly unbranded tactile switch is used here. In addition to that, another button for pairing the device with a wireless receiver is found on the bottom, along with a slider that switches between off-state, Bluetooth, and 2.4 GHz wireless, both of which work without issue.
Scroll Wheel
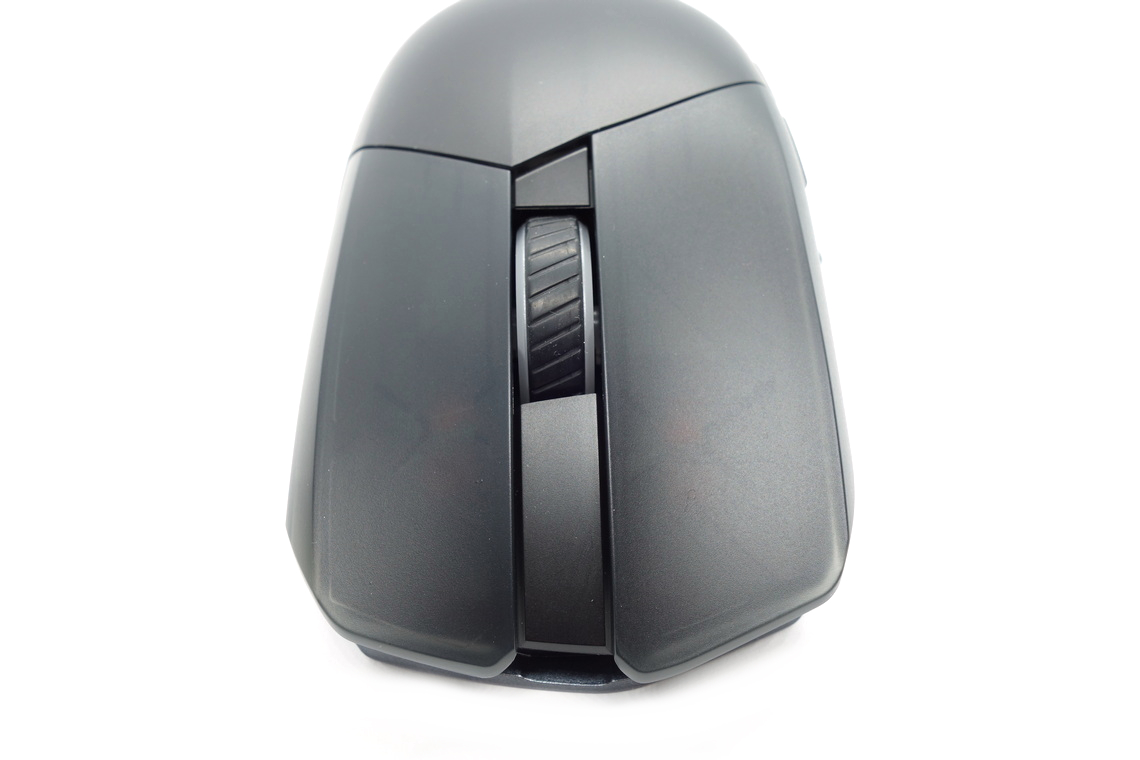
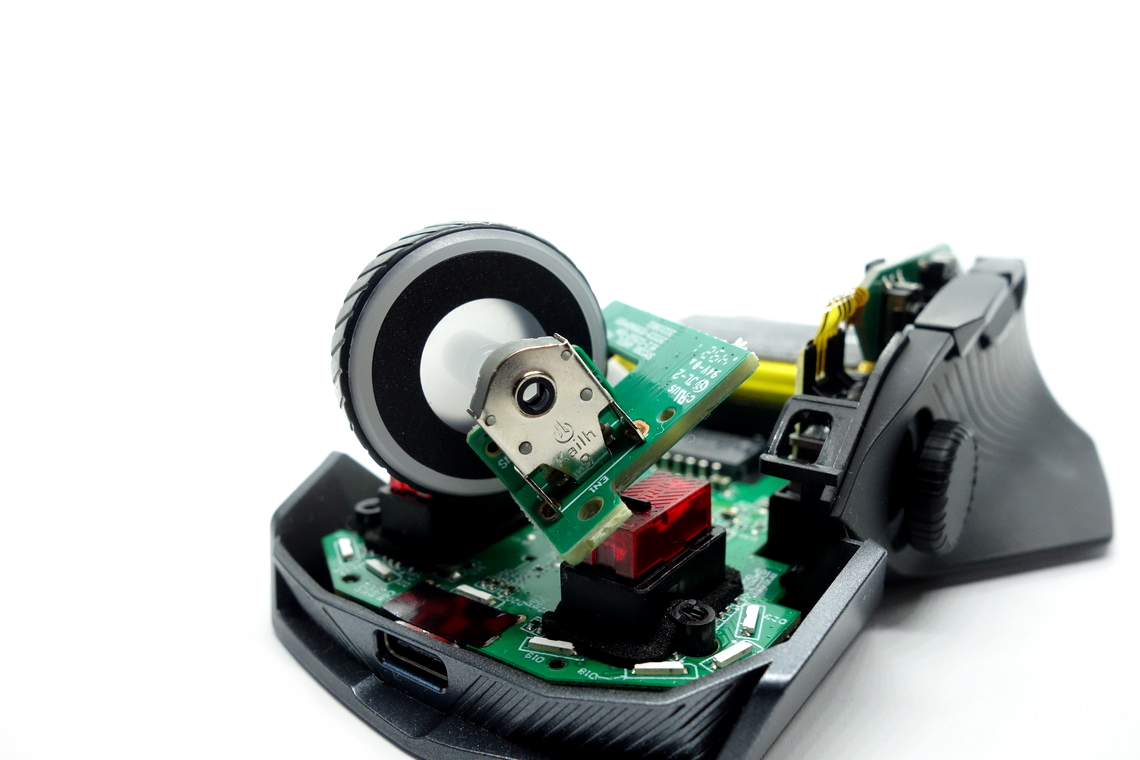
The scroll wheel is good. Scrolling up in particular is loud, while scrolling down is a bit more manageable, albeit still not great. Tactility is good, with decently distinct steps resulting in controlled scrolling. The encoder comes from Kailh (gray, black core) and has a height of 9 mm. The middle (scroll wheel) click requires medium to low force for actuation. Another seemingly unbranded tactile switch is used for this one.
Surface
While the sides have a pattern, the top appears translucent and lacks any special coating. Still, grip is fine, and it doesn't attract fingerprints, dirt, or the likes too much. It is easy to clean, and there are no signs of wear left after doing so. All in all, very good materials.Button Sound Test
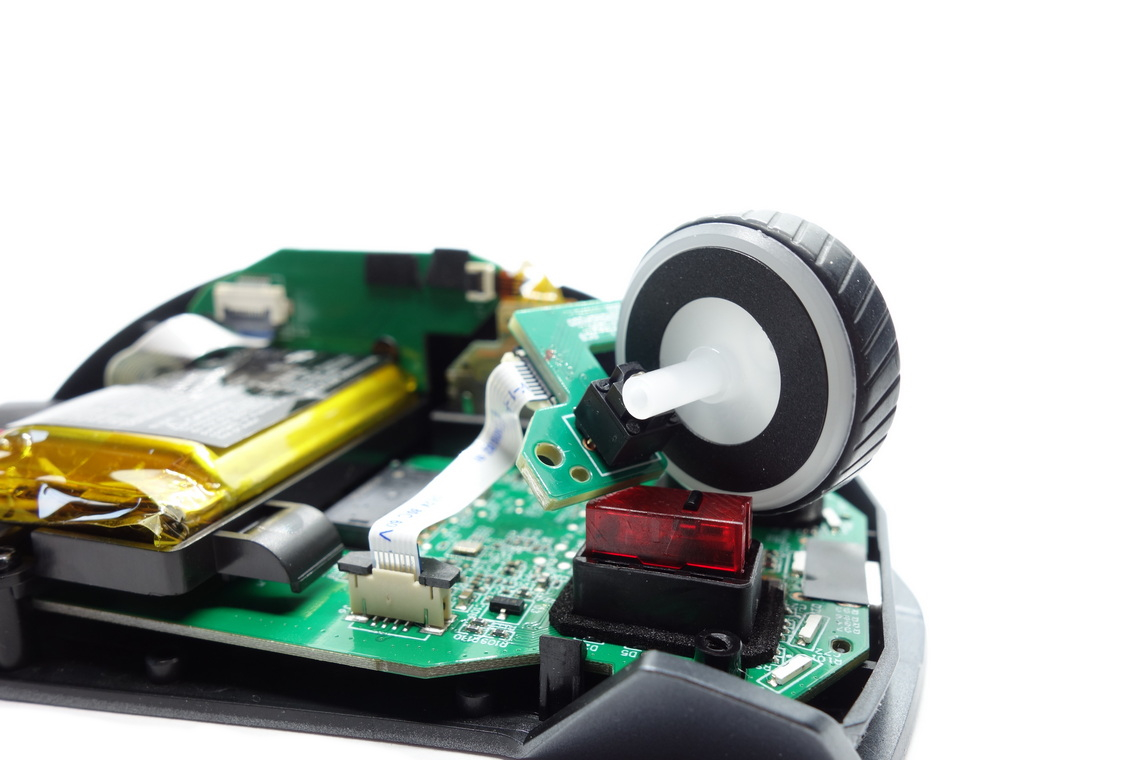
Disassembly
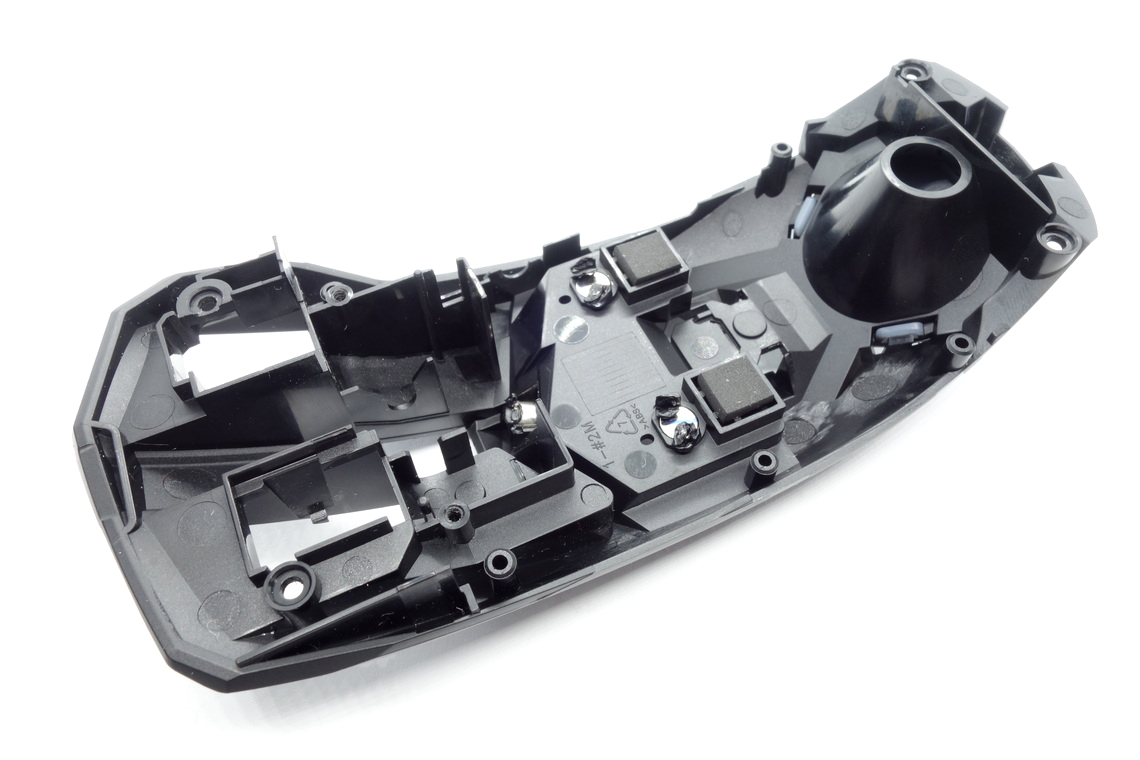
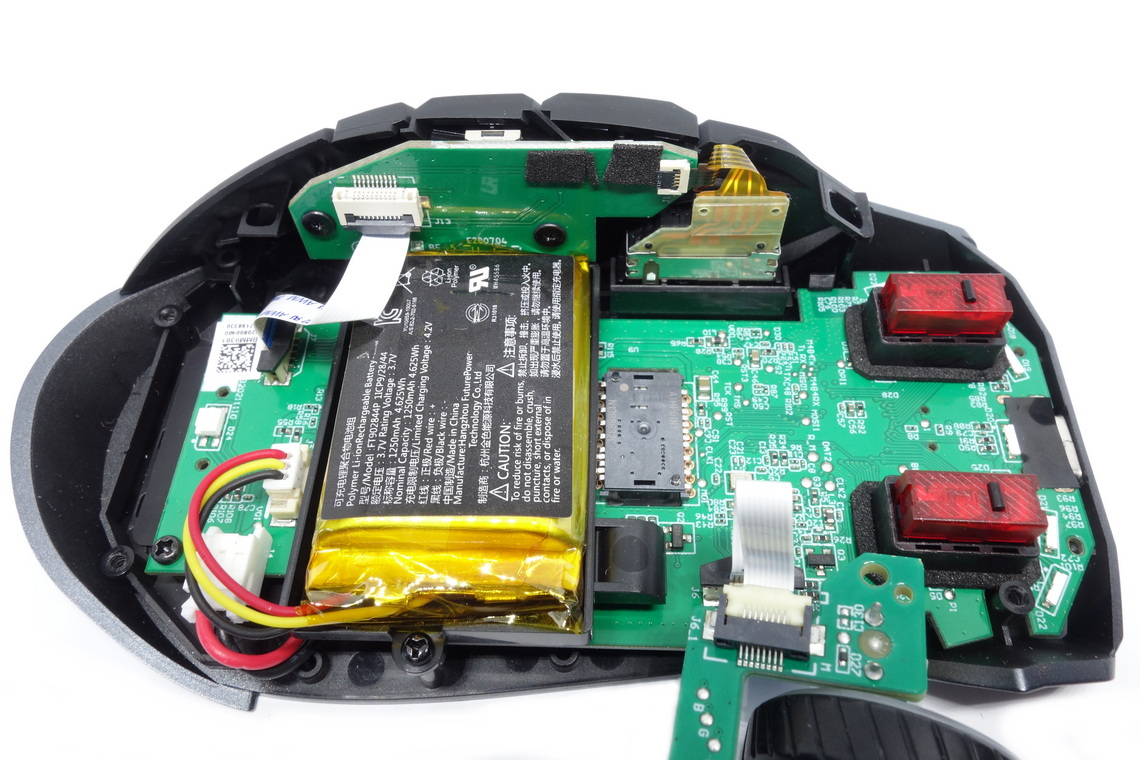
Disassembling the Chakram X is quite easy. After removing the magnetically attached back and main button pieces, four Y-type screws need to be removed before the top shell can be lifted off. Some caution needs to be applied as a ribbon cable connects the scroll-wheel and main PCB.The internal design is fairly straightforward. The scroll wheel sits on its own PCB screwed into the top shell and connected through a ribbon cable. Likewise, the side buttons sit on their own PCB screwed into the side panel and connected through a ribbon cable. In turn, the joystick is connected to the side-button PCB through a ribbon cable. The battery sits on a plastic assembly screwed directly to the bottom shell with three screws (Y-type). The main PCB itself is fixated with only two screws and two clips at the front. Two MCUs are used: A Nuvoton M484SIDAE, which is a high-speed MCU whose datasheet can be found here, along with a Texas Instruments CC2462R, which is a full-speed BT MCU whose datasheet can be found here. Both MCUs are rear-mounted, and all PCBs are of above average thickness.
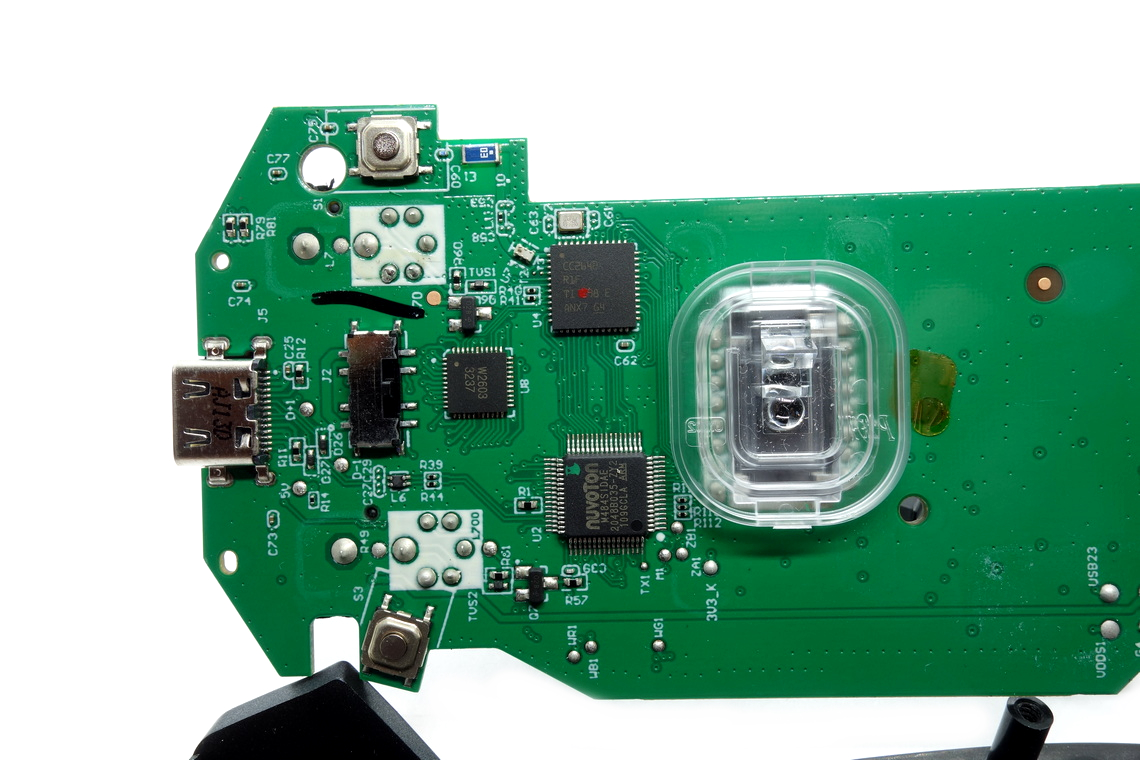
As for the soldering and general quality of the PCB, I'm unable to find any noteworthy flaws.
Apr 8th, 2025 09:00 EDT
change timezone
Latest GPU Drivers
New Forum Posts
- The coffee and tea drinkers club. (252)
- Is RX 9070 VRAM temperature regular value or hotspot? (333)
- is it worth using ssd with usb2? (17)
- What's your latest tech purchase? (23499)
- RTX5000 Series Owners Club (165)
- STAR CITIZEN - RSI POLARIS Project (18)
- ## [Golden Sample] RTX 5080 – 3300 MHz @ 1.020 V (Stock Curve) – Ultra-Stable & Efficient (8)
- 5070 cards available below £550 in in the UK (79)
- 9070XT or 7900XT or 7900XTX (133)
- Will you buy a RTX 5090? (471)
Popular Reviews
- The Last Of Us Part 2 Performance Benchmark Review - 30 GPUs Compared
- UPERFECT UStation Delta Max Review - Two Screens In One
- PowerColor Radeon RX 9070 Hellhound Review
- ASUS Prime X870-P Wi-Fi Review
- Upcoming Hardware Launches 2025 (Updated Apr 2025)
- MCHOSE L7 Pro Review
- Sapphire Radeon RX 9070 XT Pulse Review
- Sapphire Radeon RX 9070 XT Nitro+ Review - Beating NVIDIA
- Corsair RM750x Shift 750 W Review
- DDR5 CUDIMM Explained & Benched - The New Memory Standard
Controversial News Posts
- NVIDIA GeForce RTX 5060 Ti 16 GB SKU Likely Launching at $499, According to Supply Chain Leak (161)
- MSI Doesn't Plan Radeon RX 9000 Series GPUs, Skips AMD RDNA 4 Generation Entirely (146)
- Microsoft Introduces Copilot for Gaming (124)
- AMD Radeon RX 9070 XT Reportedly Outperforms RTX 5080 Through Undervolting (119)
- NVIDIA Reportedly Prepares GeForce RTX 5060 and RTX 5060 Ti Unveil Tomorrow (115)
- Over 200,000 Sold Radeon RX 9070 and RX 9070 XT GPUs? AMD Says No Number was Given (100)
- NVIDIA GeForce RTX 5050, RTX 5060, and RTX 5060 Ti Specifications Leak (97)
- Nintendo Switch 2 Launches June 5 at $449.99 with New Hardware and Games (95)