The AVerMedia Live Streamer Ultra HD GC571 gets recognized by the system and is fully operational with no special driver requirements. The entire experience was plug-and-play, although you do have to know your way around OBS or similar streaming/recording software to get the card to successfully capture video.
Software
The official software package consists of three Windows utilities: the AVerMedia Gaming Utility, AVerMedia Assist Central, and AVerMedia RECentral 4.
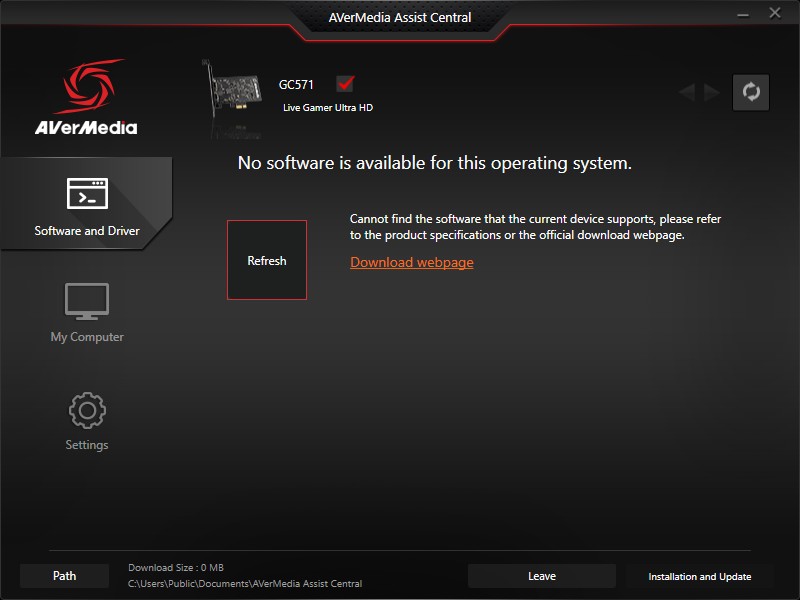
The AVerMedia Assist Central is a tool that checks, downloads and installs firmware updates and the Gaming Utility.
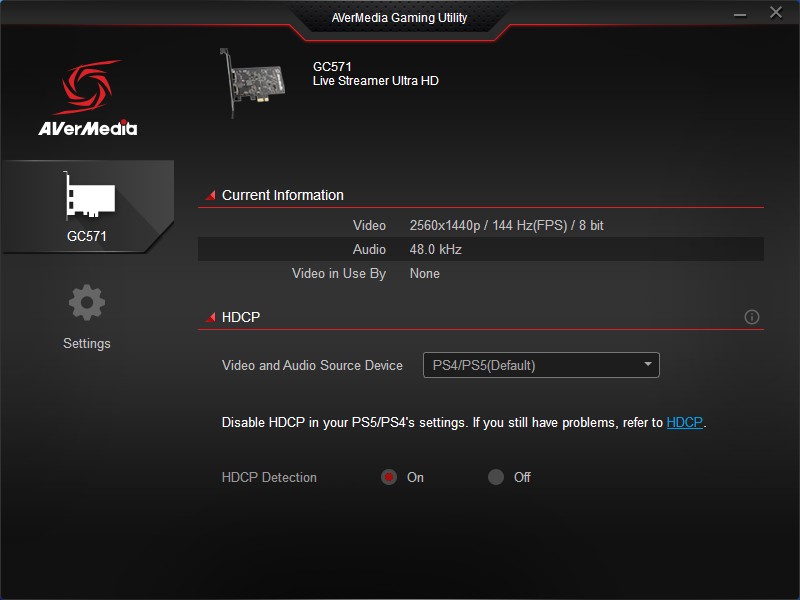
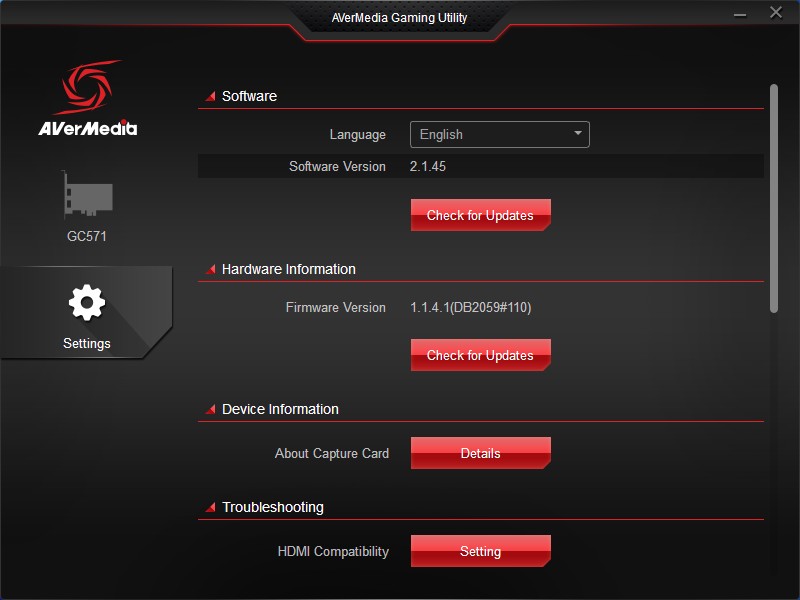
The AVerMedia Gaming Utility is very handy, as it gives you various relevant information about the capture card, such as the input signal resolution, framerate and the audio status of the device. You can also use it to update the firmware. It's a nifty tool that helps with troubleshooting the device, should any issues arise.
The AVerMedia RECentral 4 is basically a simplified (and far less powerful) variant of the OBS Studio, Streamlabs, vMix and other popular streaming/recording utilities. It will get you going quickly and without asking many questions, and you can even use it to create multiple scenes for your live stream (the so-called Multi Capture Mode), but for anything more elaborate, you'll inevitably end up learning and using OBS.
OBS Setup
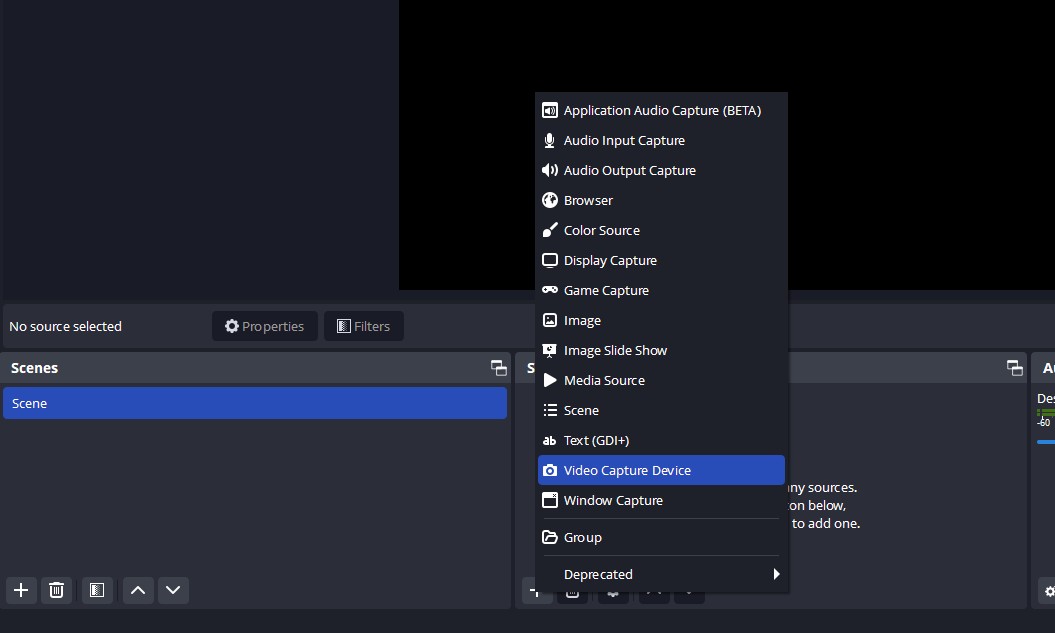
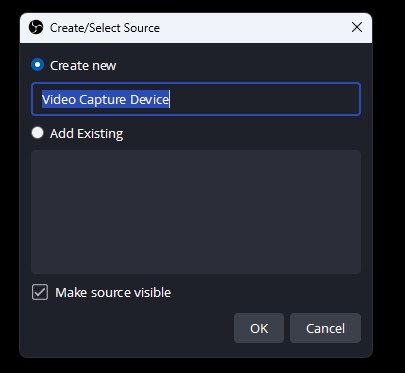
To configure the AVerMedia Live Streamer Ultra HD GC571 in OBS after connecting everything as needed, open OBS, create a scene and add a Video Capture Device as a source.
Select "Create new" and give it a name.
The capture card should already be detected and show a picture in the preview window. If not, simply select the "Live Streamer Ultra HD-Video" from the Device dropdown menu. If you don't see that option, something went wrong when connecting the capture card to your PC. Try re-seating it or installing it in a different PCI Express slot. While you're welcome to leave the "Resolution/FPS Type" setting at Device Default and be on your way, by switching it to Custom you can adjust the settings such as resolution, framerate, and video format (NV12, YUY2…) on your own, making them in line with your preferred stream settings. For example, if you're streaming at 4K30, here you can select the appropriate settings.
After setting everything up as described above, you should have your source's output visible in OBS. Now you can move on to add other sources, such as your webcam input, lower thirds, overlays, and everything else you might want to use for your stream. The capture card will, of course, be visible in the Audio Mixer as well, so you can easily adjust its volume, making your gameplay capture quieter in your stream without lowering the volume of what you're hearing while gaming.
The aforementioned setup procedure is nearly identical to any other recording/live streaming app, and it doesn't differentiate when using other video inputs either. In essence, any signal you bring to the AVerMedia Live Streamer Ultra HD GC571 capture card via its HDMI input will be captured and displayed in OBS in up to 4K30 and simultaneously passed through to the TV or monitor you've connected to the capture card's HDMI output at up to 4K60.
 2
2