 12
12
Azza Helios 910 Review
Assembly & Finished Looks »A Closer Look - Inside
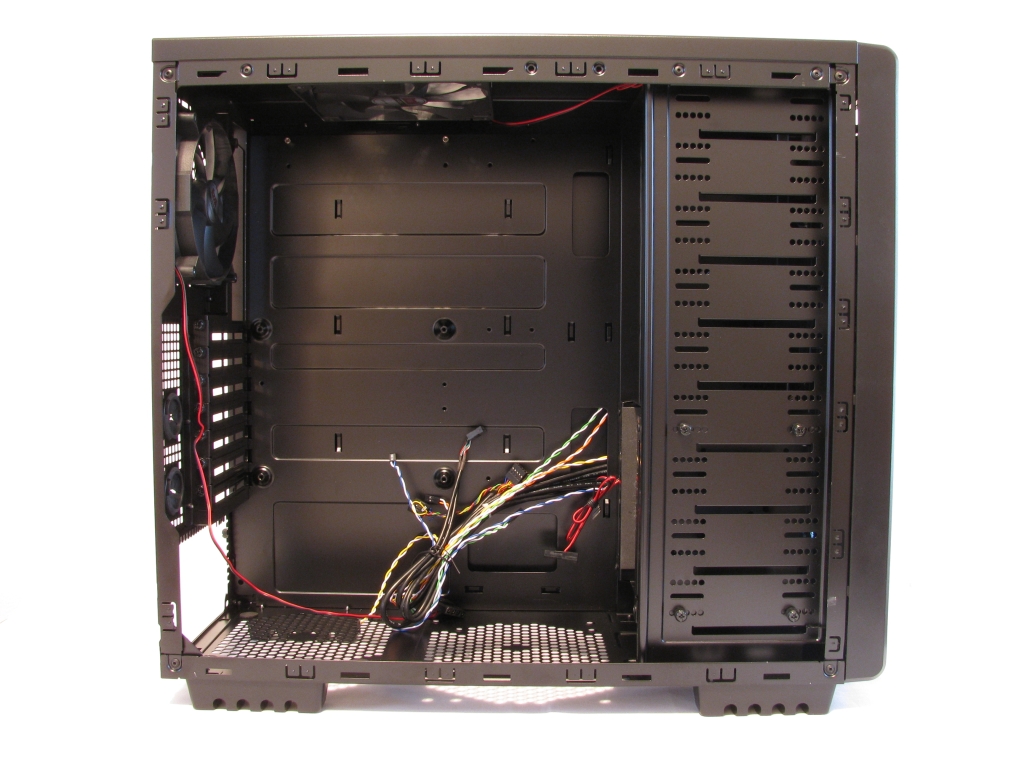
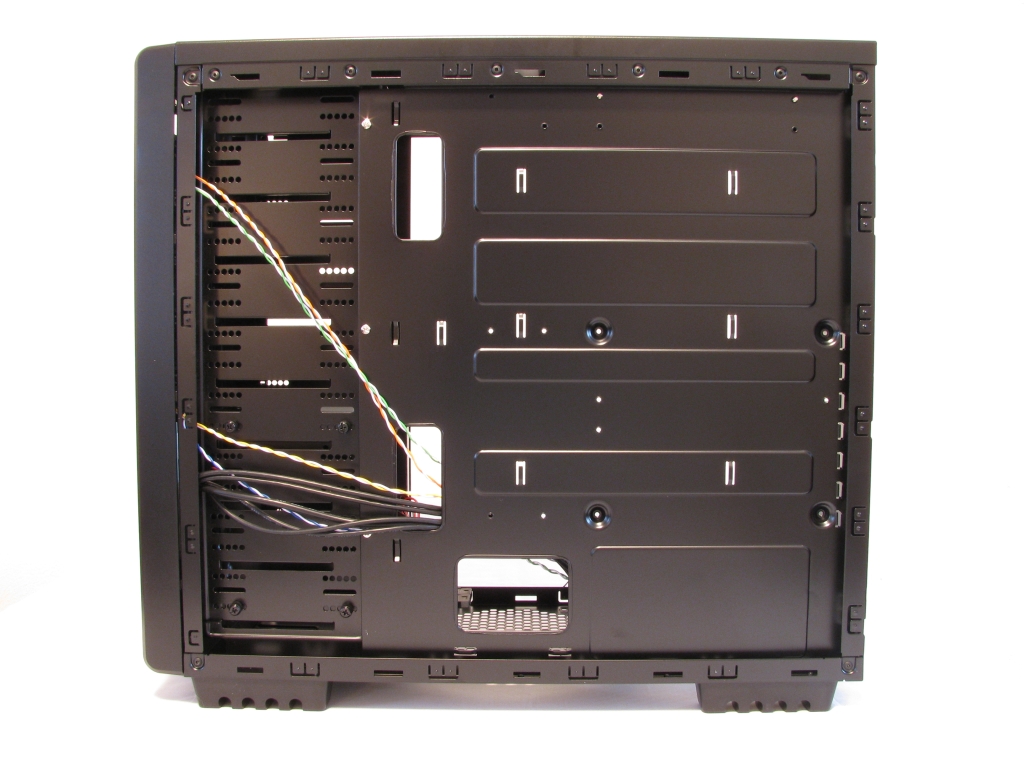
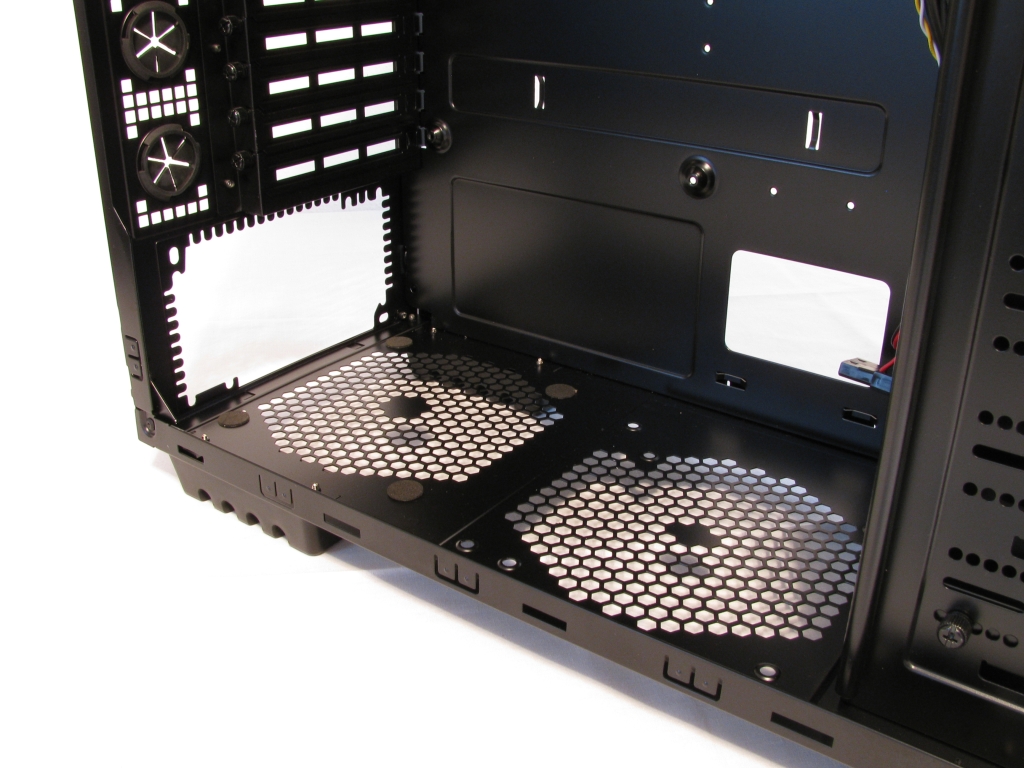
To gain access to the interior of the Helios 910, simply remove the thumb screws holding the side panels in place. As mentioned before, the interior is black as well. Azza has kept the interior of the chassis rather simple - obviously to keep the price down. The mainboard area employs four bumps in addition to standard spacers. These four raised areas are prone to short your mainboard if the PCB has long leads going out the underside of the board. Having worked in the PC industry before, I have seen these bumps in cheap OEM cases and we always used tape to insulate them before installing a board. I am a bit disappointed to see Azza going down the same route. Turning the Helios 910 around, it also becomes apparent, that there is no hole under the CPU area to allow for easy access to a cooler backplate. This has become a standard featured for most other enclosures in this price range and it is definitely a useful opening. It would have been nice to have it inside the Helios 910 as well.
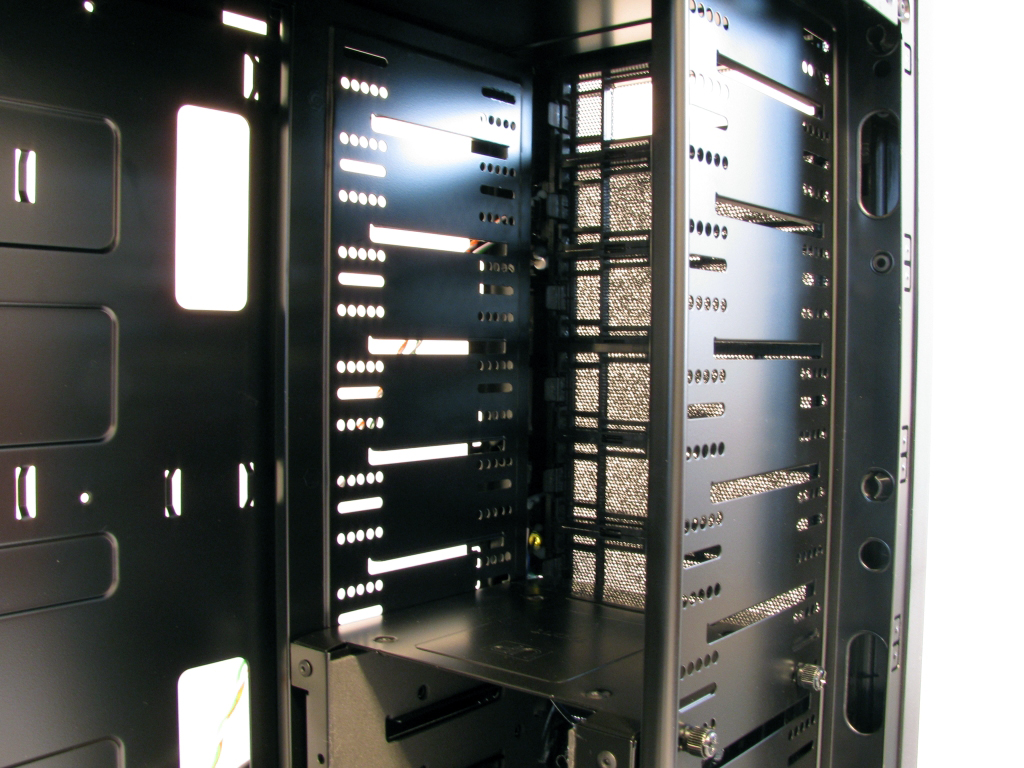
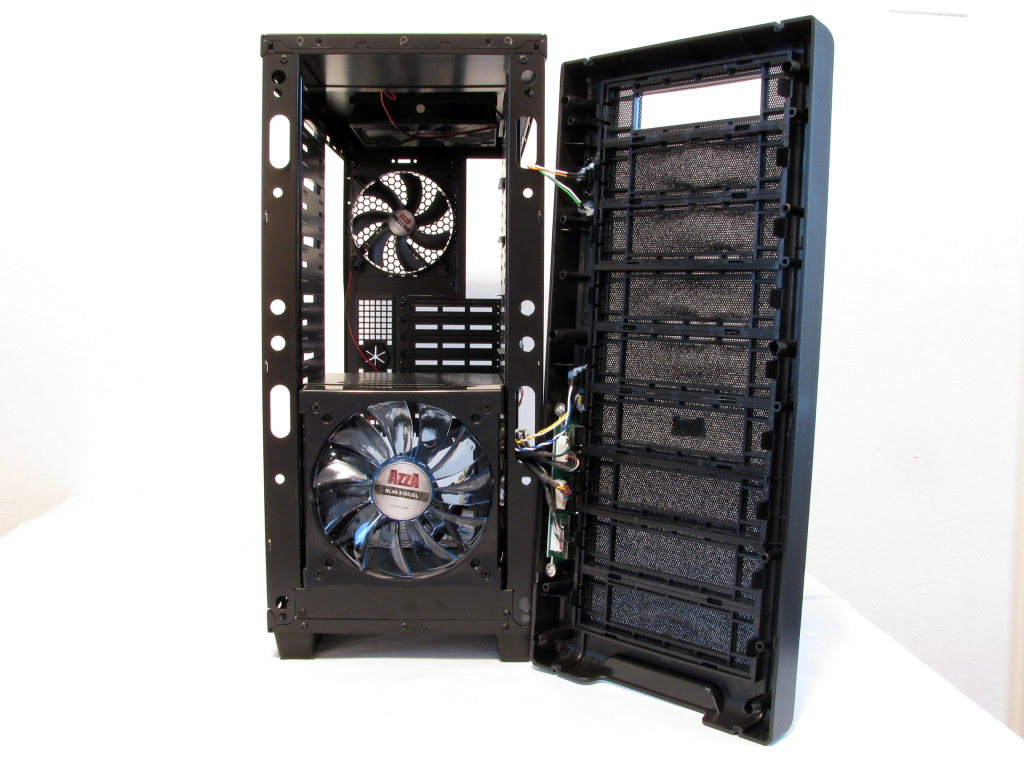
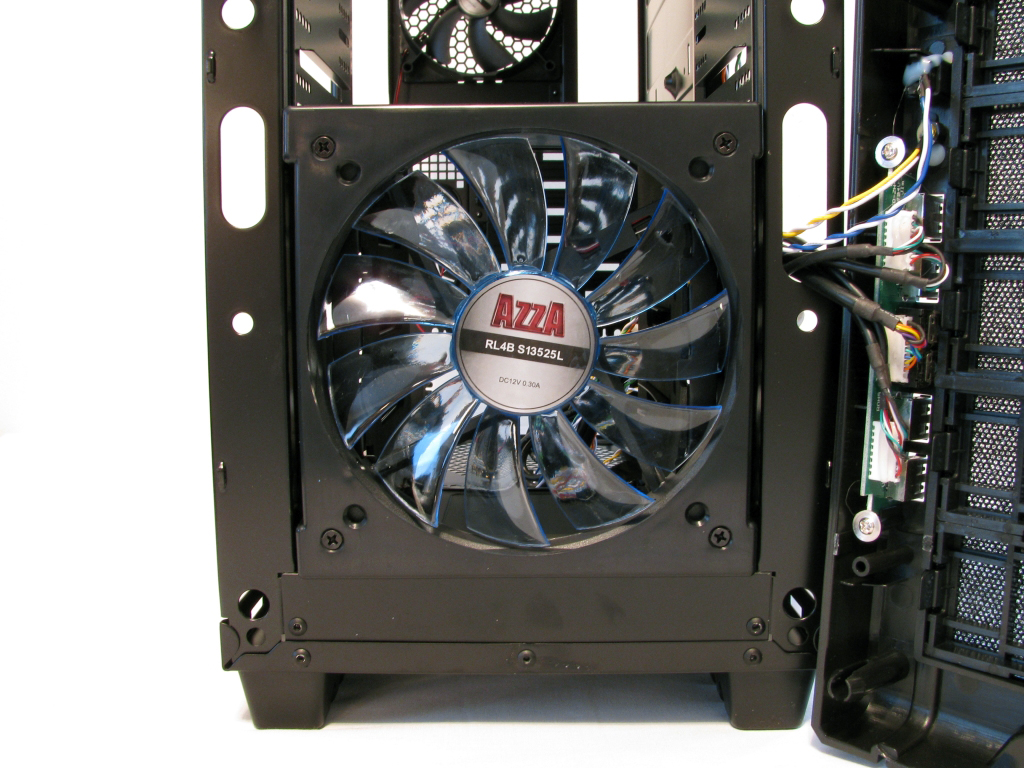

The entire front area of the chassis is taken by the nine drive bays. You may remove the front cover by firmly pulling on it. Doing so reveals the hard drive cage along with the 120 mm blue LED fan. The cables are simply glued into place, but hold rather well, so you won't have to worry about ripping them off by mistake.
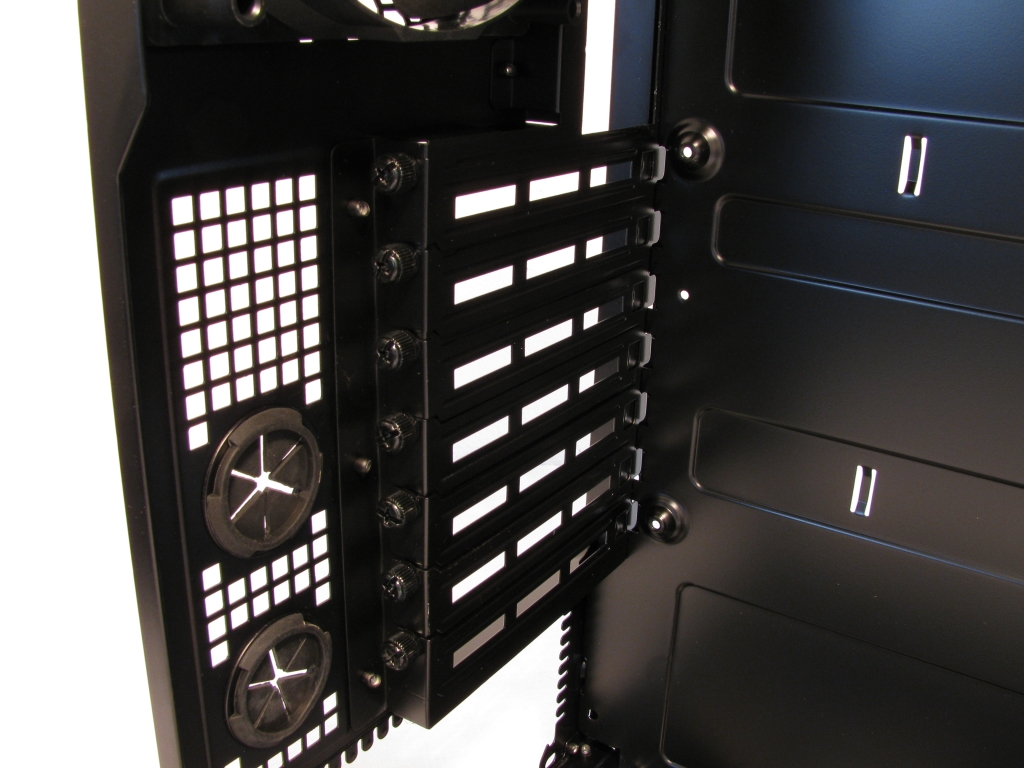
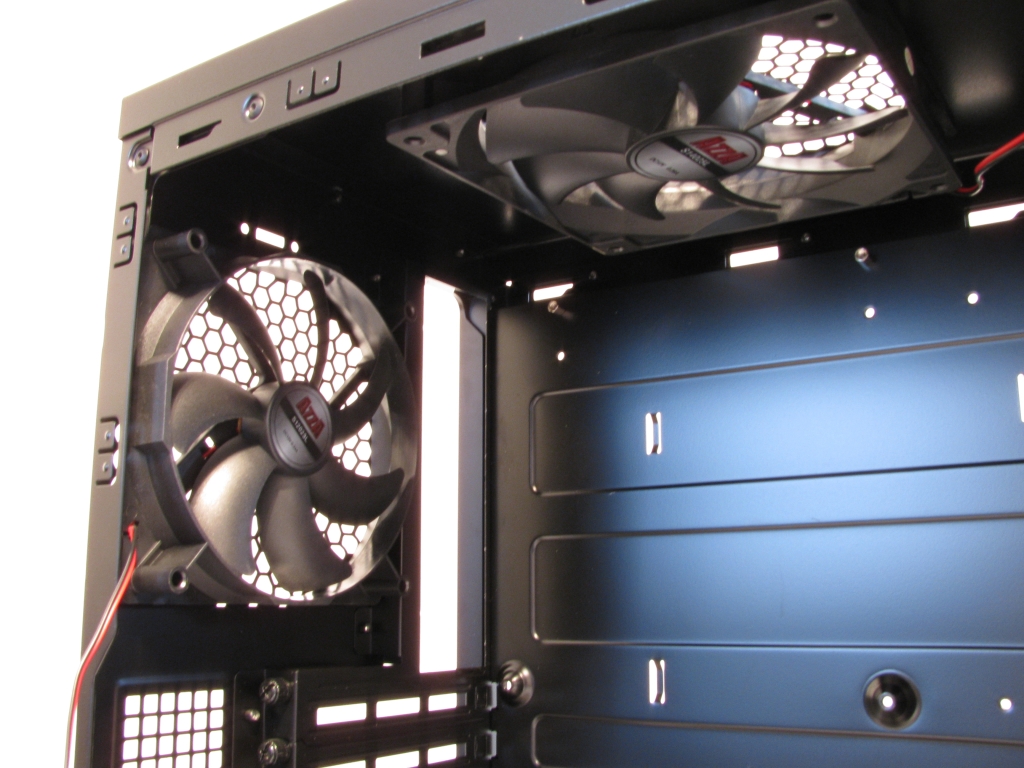
The rear interior does not hold any surprises either. You may install the power supply with the fan facing either upward or downward. There are four thin foam pieces to reduce any vibration in this area of the chassis. Azza has chosen to secure each mainboard expansion slot with thumb screws, which is certainly a nice little touch. The 120 mm rear and 140 mm ceiling fans do not have any LEDs and do not look like anything out of the ordinary. All four cooling units of the Helios 910 ship with Molex connectors and do not have an RPM signal, so there is no way to adjust their speed through the mainboard.

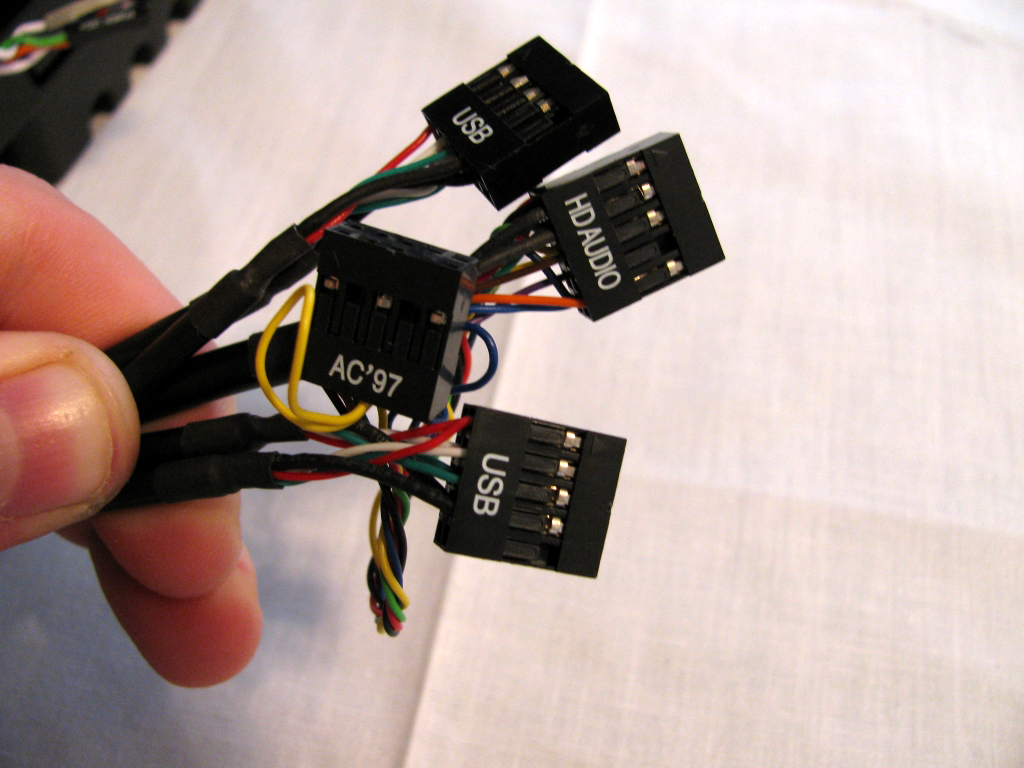
Before we dive into the assembly process, let us take a quick look at the cables of the Helios 910. The case cables are of the standard variety and Azza has made sure that you will be able to install the power leads correctly, no matter if your board uses a two or three pin configuration, by splitting this connector in two. The I/O connectivity is what you would expect and comes with both AC'97 and HD Audio connectors.
Apr 8th, 2025 02:58 EDT
change timezone
Latest GPU Drivers
New Forum Posts
- The coffee and tea drinkers club. (249)
- 9070XT or 7900XT or 7900XTX (124)
- Free Games Thread (4611)
- USB case with dual USB-C and dual USB-A (9)
- gpu heirarchy/performance/benchmarks- whos lying? (65)
- Anyone with true HDDs still around here? (338)
- Kindly help in Identifying GPU and Suitable bios (9)
- AMD RX 9070 XT & RX 9070 non-XT thread (OC, undervolt, benchmarks, ...) (84)
- 12v lines 0 reads occansionally (3)
- Asus X670E Crosshair Crashes (7)
Popular Reviews
- The Last Of Us Part 2 Performance Benchmark Review - 30 GPUs Compared
- UPERFECT UStation Delta Max Review - Two Screens In One
- ASUS Prime X870-P Wi-Fi Review
- PowerColor Radeon RX 9070 Hellhound Review
- Upcoming Hardware Launches 2025 (Updated Apr 2025)
- MCHOSE L7 Pro Review
- Sapphire Radeon RX 9070 XT Pulse Review
- Corsair RM750x Shift 750 W Review
- Sapphire Radeon RX 9070 XT Nitro+ Review - Beating NVIDIA
- DDR5 CUDIMM Explained & Benched - The New Memory Standard
Controversial News Posts
- NVIDIA GeForce RTX 5060 Ti 16 GB SKU Likely Launching at $499, According to Supply Chain Leak (161)
- MSI Doesn't Plan Radeon RX 9000 Series GPUs, Skips AMD RDNA 4 Generation Entirely (146)
- Microsoft Introduces Copilot for Gaming (124)
- AMD Radeon RX 9070 XT Reportedly Outperforms RTX 5080 Through Undervolting (119)
- NVIDIA Reportedly Prepares GeForce RTX 5060 and RTX 5060 Ti Unveil Tomorrow (115)
- Over 200,000 Sold Radeon RX 9070 and RX 9070 XT GPUs? AMD Says No Number was Given (100)
- NVIDIA GeForce RTX 5050, RTX 5060, and RTX 5060 Ti Specifications Leak (97)
- Nintendo Switch 2 Launches June 5 at $449.99 with New Hardware and Games (92)