 5
5
Azza Storm 6000 Review
Value & Conclusion »Test System
| System Parts for Case Reviews | |
|---|---|
| Processor: | Intel Core i7-8600K |
| Motherboards: | ATX: MSI Z370 GAMING PRO CARBON AC MATX: Z370M GAMING PRO CARBON Mini-ITX: MSI Z370i GAMING PRO CARBON Provided by: MSI |
| Graphics Card: | Long: NVIDIA GeForce GTX 280 OEM Short: HIS Radeon 5350 HD |
| Memory: | 16 GB XPG Dazzle DDR4 2800 MHz CL17-17-17 1.25 V 32 GB GB XPG SPECTRIX D40 3000 MHz. CL16-18-18 1.35 V 16 GB XPG GAMMIX D10 DDR4 2400 MHz CL16-16-16 1.20 V Provided by: ADATA |
| HDD: | Western Digital 320 GB 7200 RPM |
| SSD: | ADATA XPG SX950 256 GB ADATA Ultimate SU800 3D 256 GB ADATA Ultimate SU700 240 GB Provided by: ADATA |
| Power Supply: | Fractal Design Integra 650 W Provided by: Fractal Design |
| Cooling: | be quiet! Pure Rock be quiet! Pure Slim be quiet! Shadow Rock 2 be quiet! Shadow Rock LP Provided by: be quiet! |
Assembly
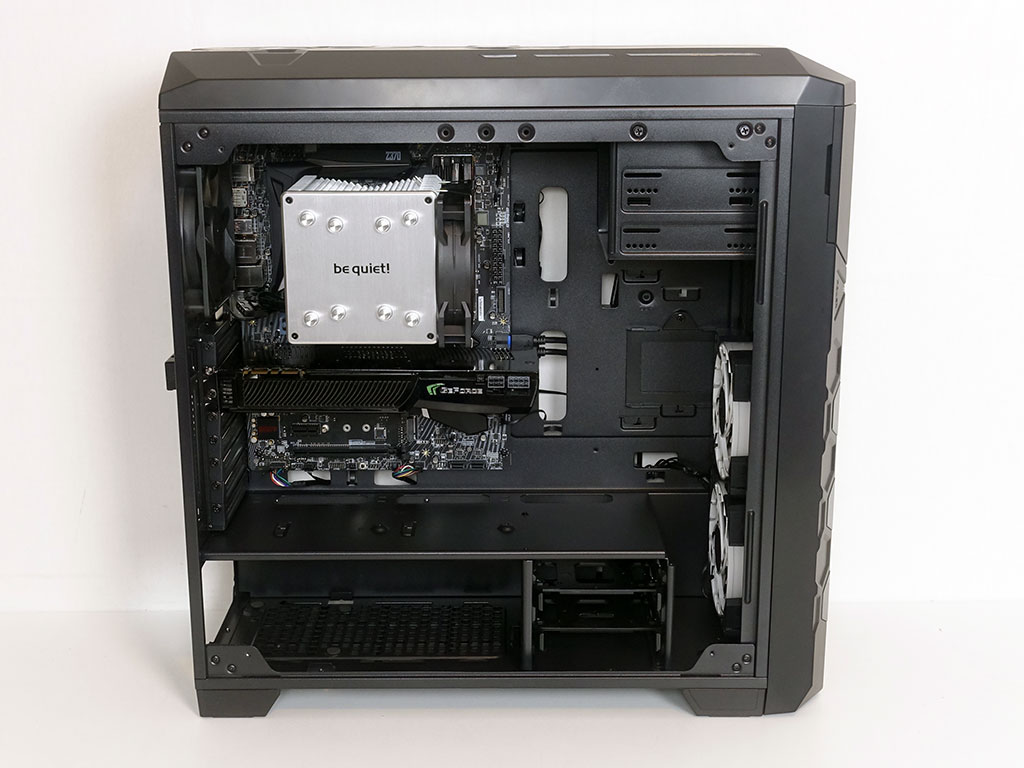
Installing a motherboard is done with spacers and screws. As the Azza Storm 6000 is rather large, you have plenty of room to connect all the leads and install parts. You may add GPUs of up to 420 mm in length and CPU coolers that are up to 175 mm tall, which translates into a lot of different options for your build.
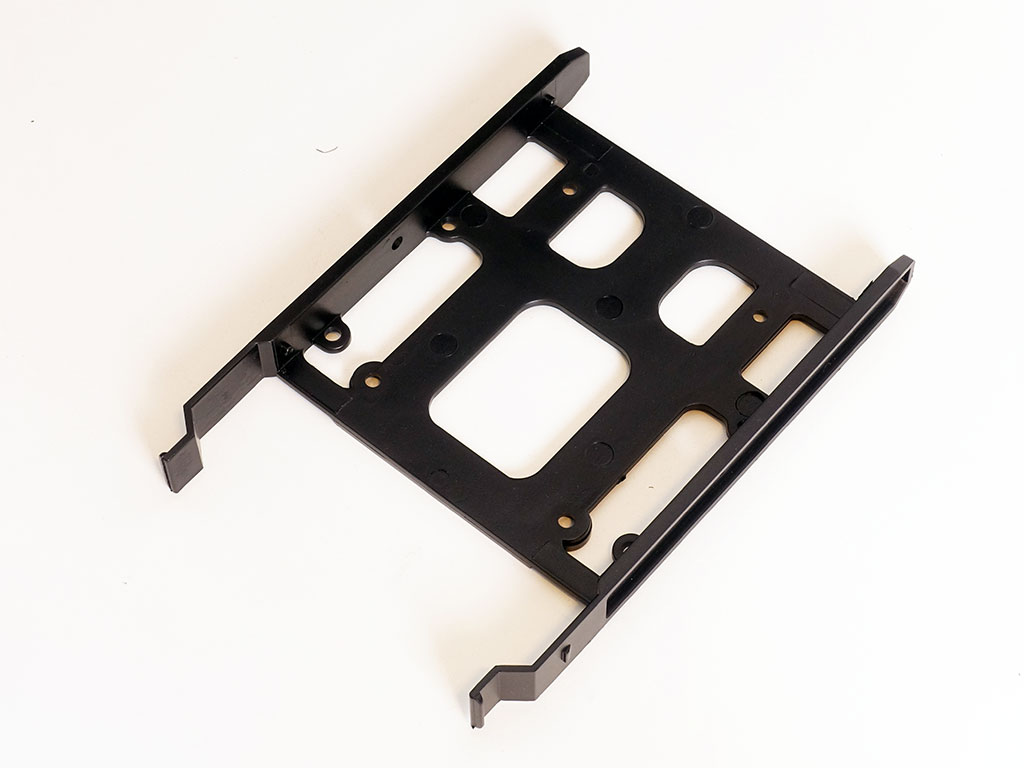
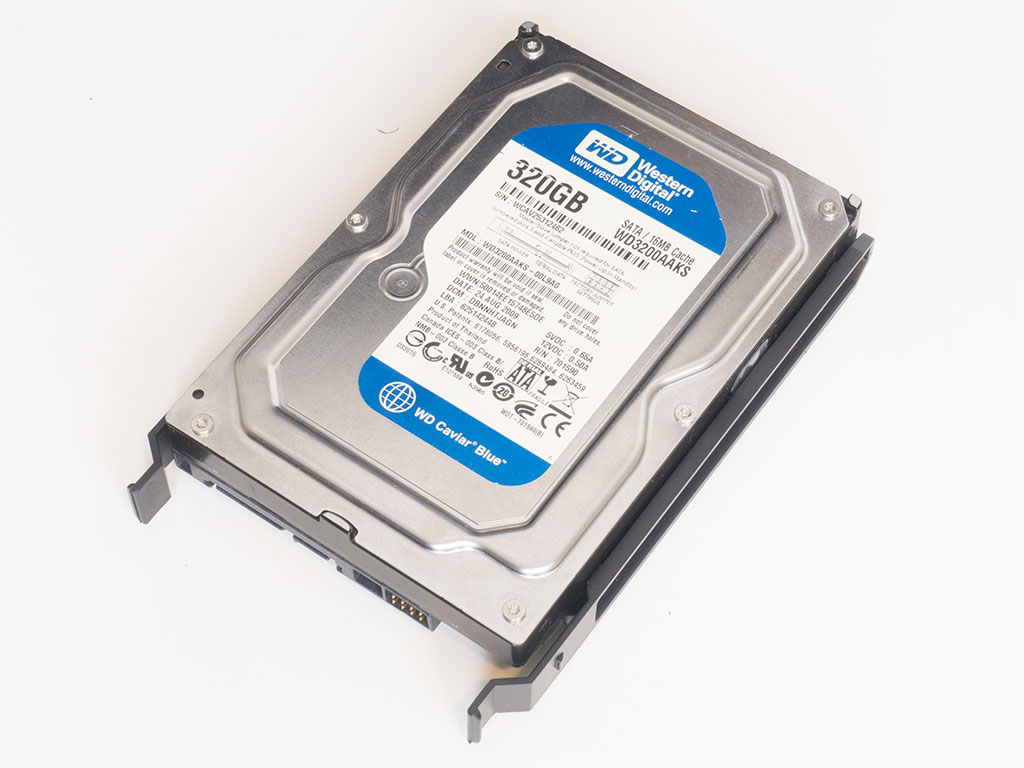

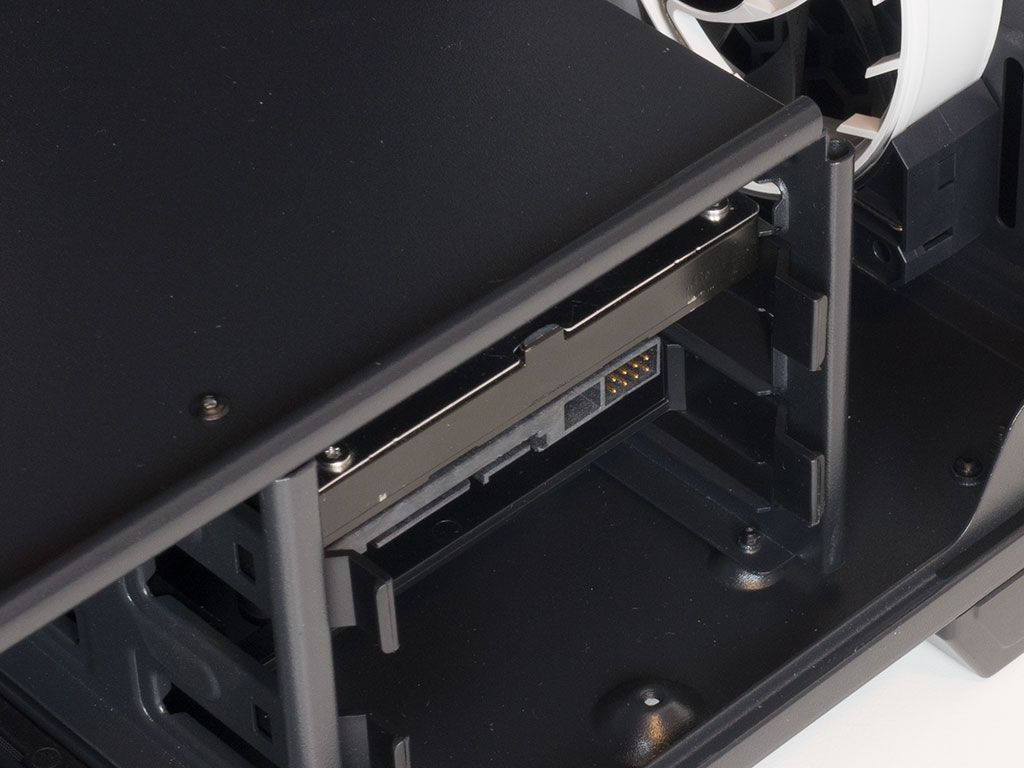
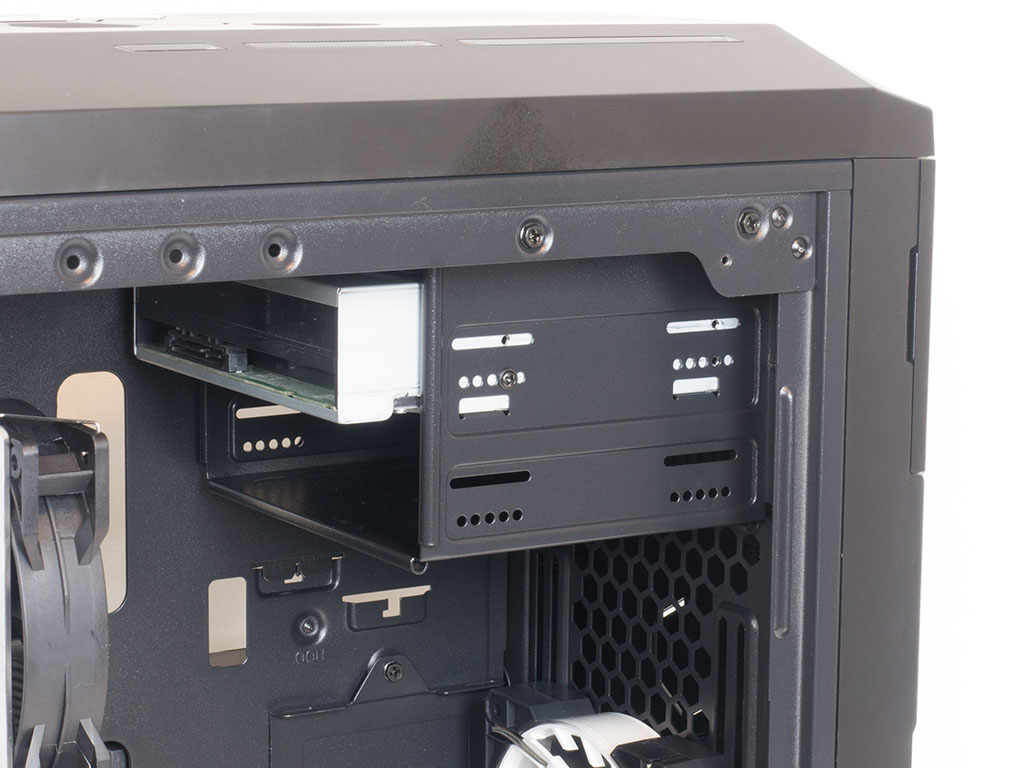
Using the plastic trays, you won't need any tools when adding 3.5" drives to these. Once filled, simply slide the whole tray back into the bay until it snaps down.
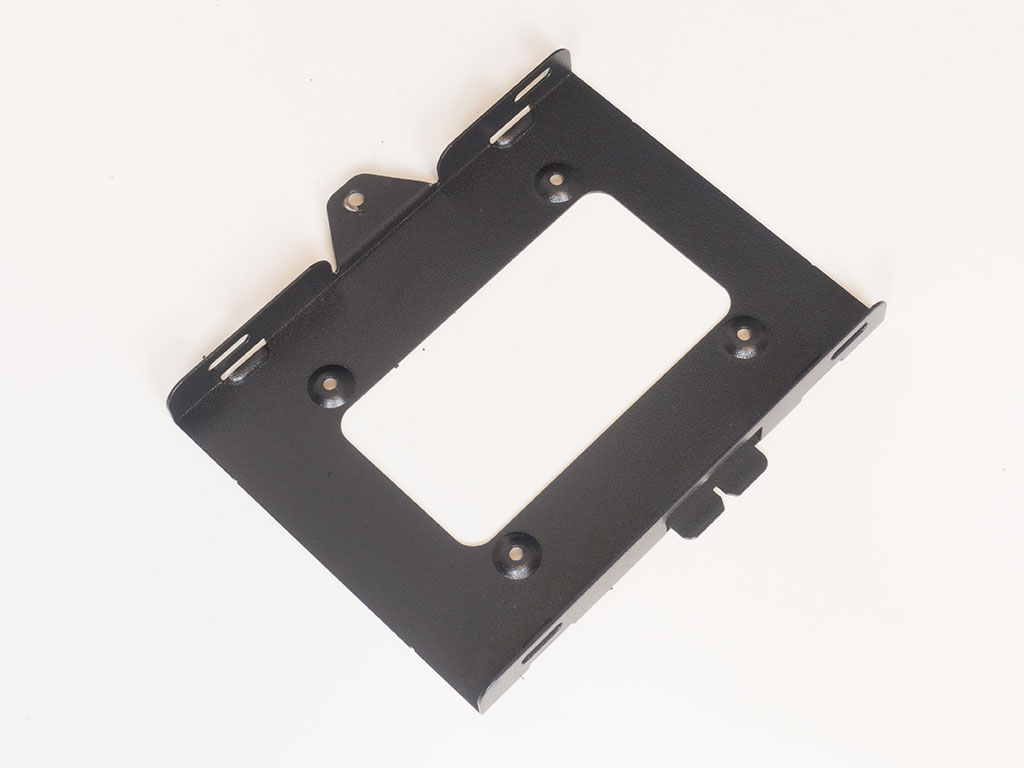

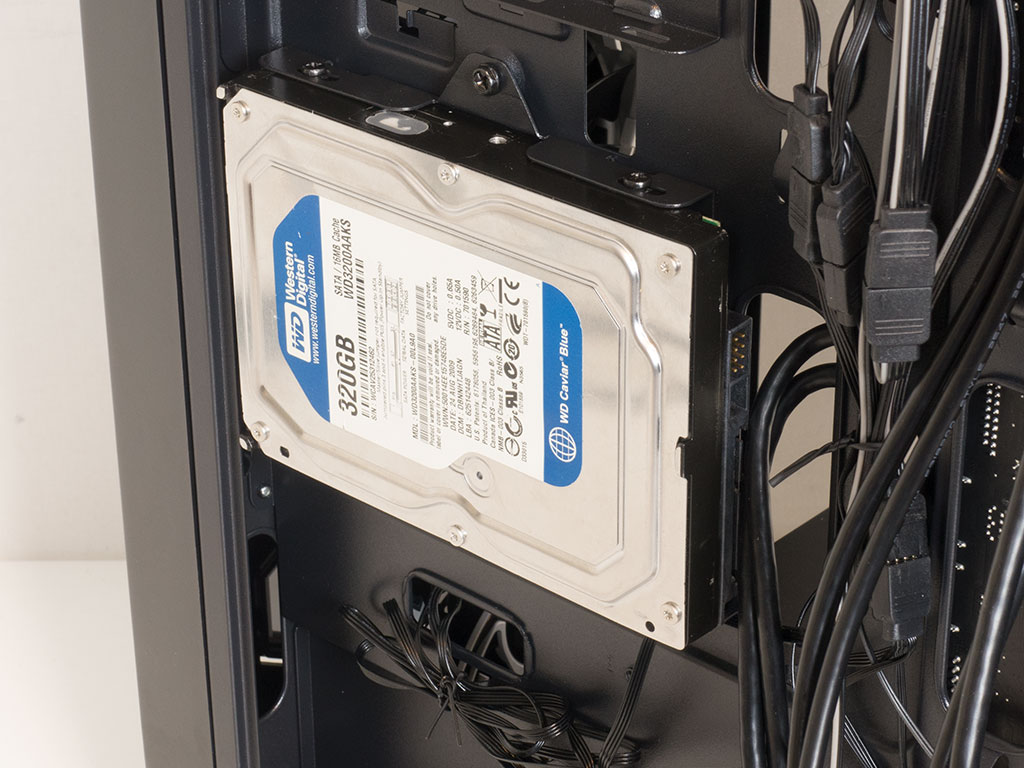
Things are a bit different with the metal trays. You will need to use screws to secure the drive to these, and an additional screw is required to pin the whole contraption into place on the backside of the motherboard tray.
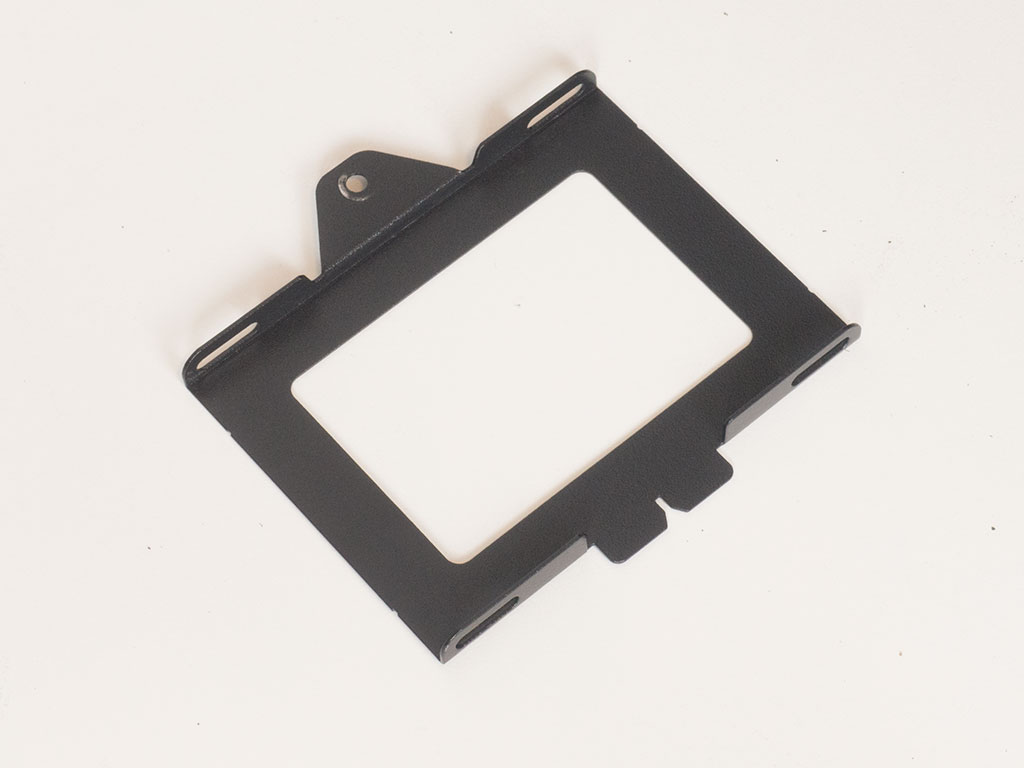
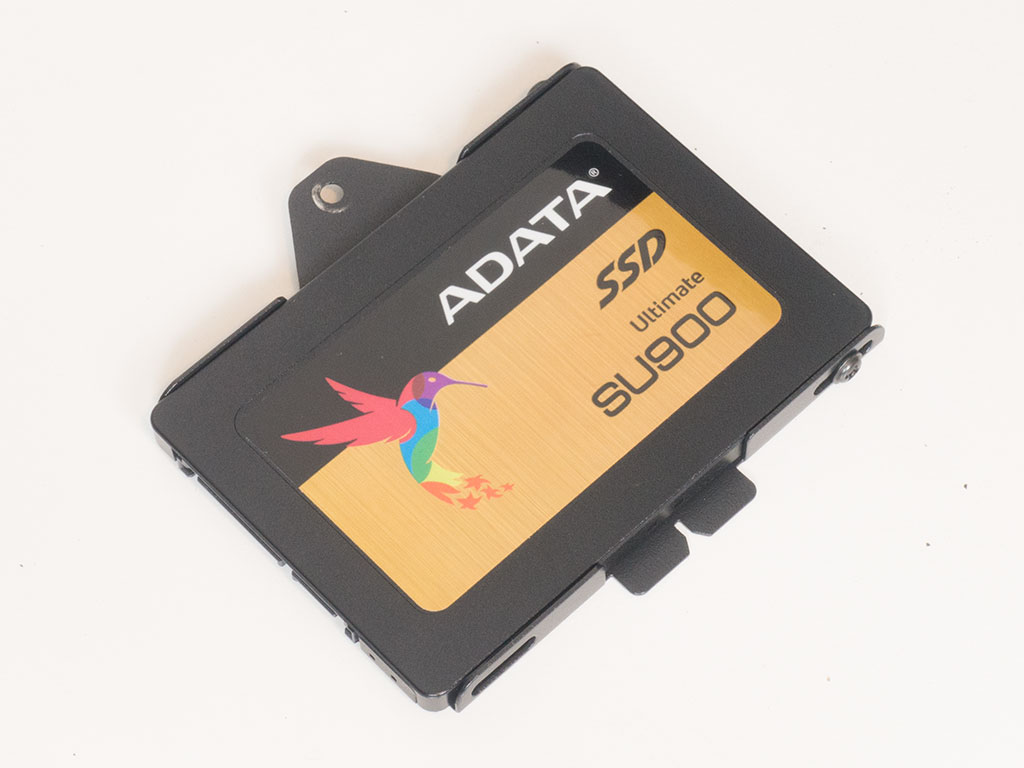
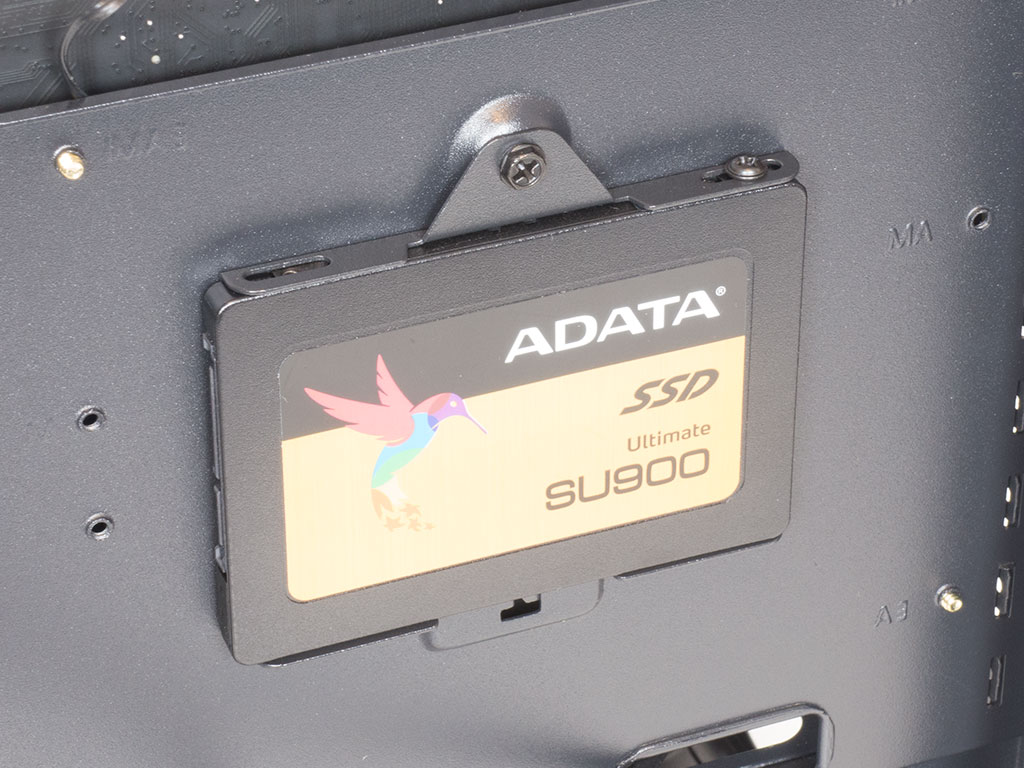
The same holds true for 2.5" drive trays as these are essentially miniature versions of the larger variants. Once filled, simply pick one of the spots to screw it down to—it could either be hidden away behind the motherboard or in plain sight in the interior.
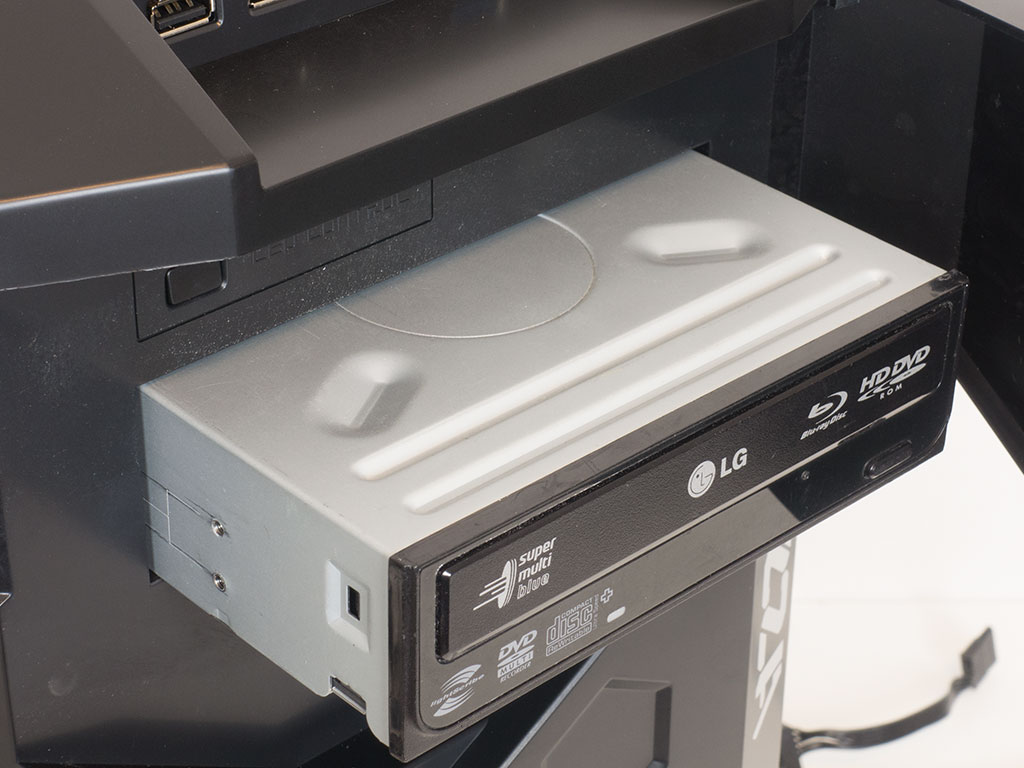
The Azza Storm 6000 is one of few cases that still offers a 5.25" drive bay for an optical drive, for example. To install one, you first have to pop the plastic cover out of the front. Then, slide the drive in and use some of the supplied screws to secure it in place. There is loads of space, which means you won't have to worry about it colliding with your motherboard, for example.
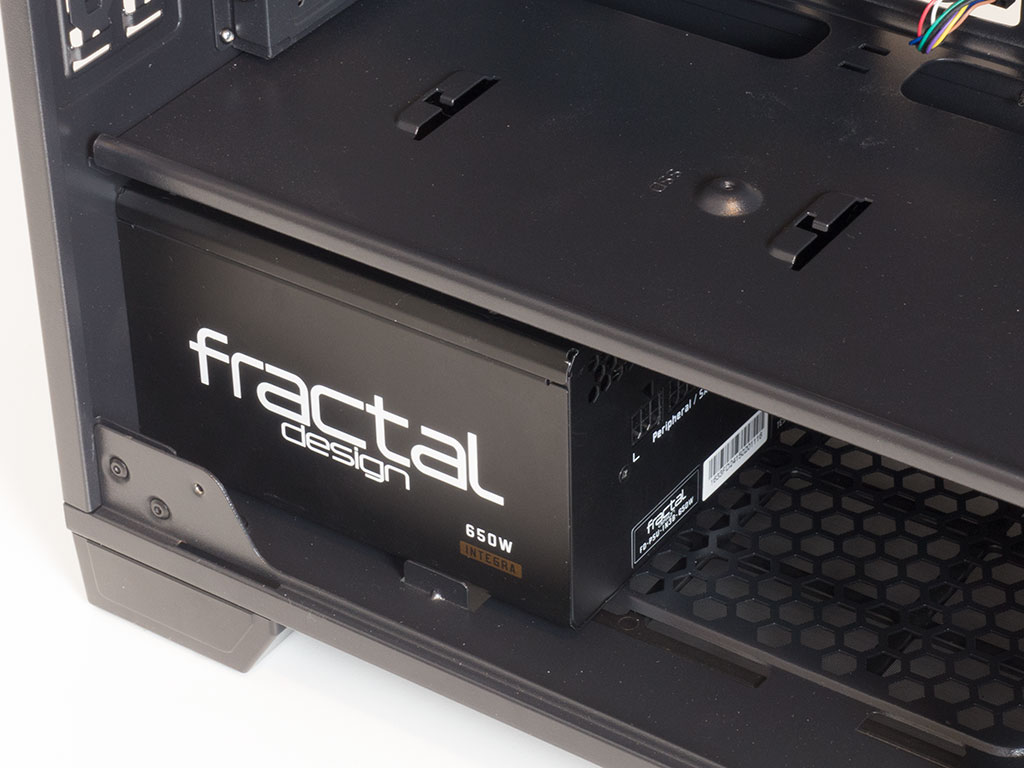
Last but not least, the PSU also requires you to use screws and a screwdriver. It fits nicely underneath the shroud and will be clearly visible on the windowed side of the Storm 6000.
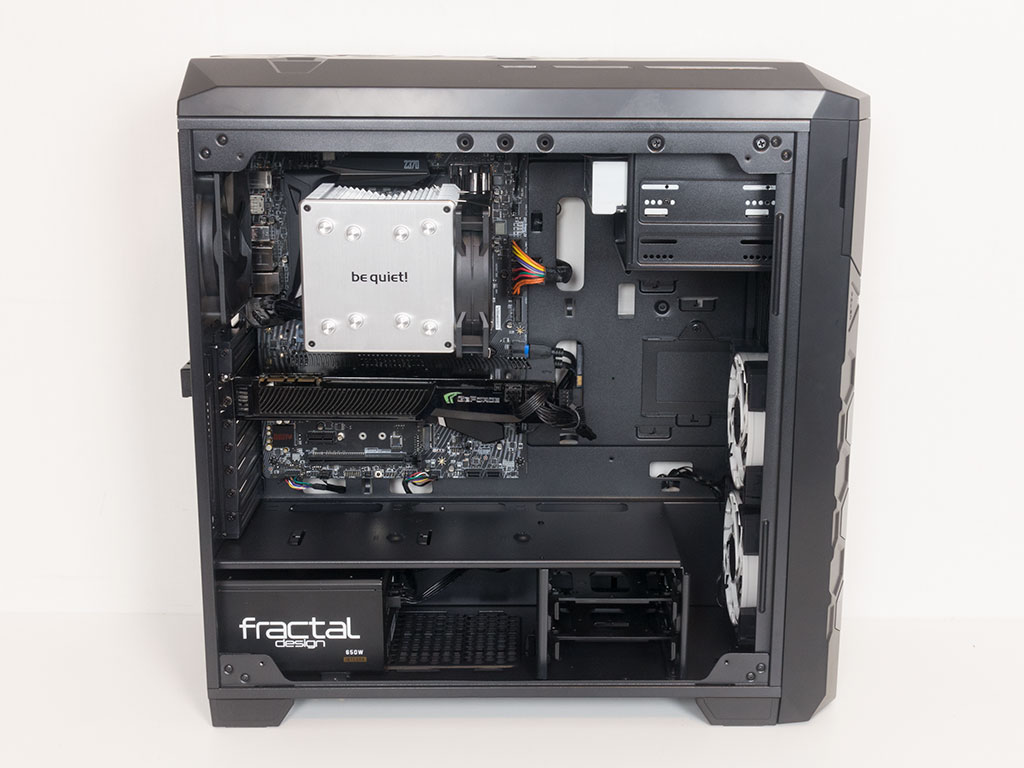
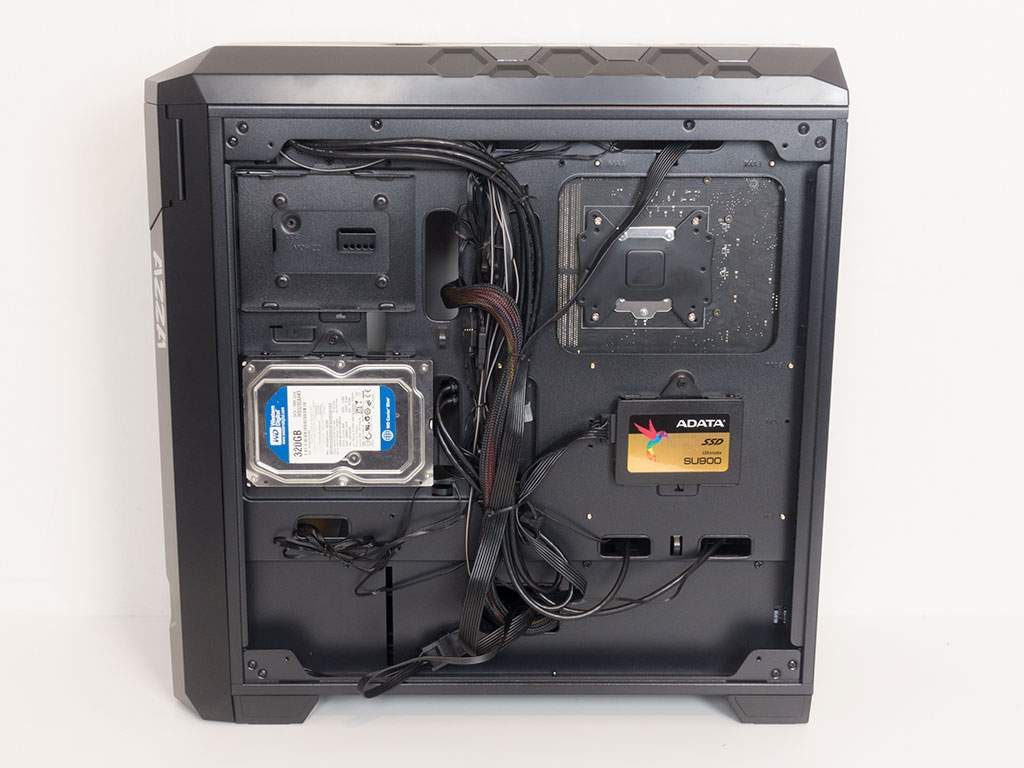
Once everything is installed, the interior of the case is still extremely clean as all the leads quickly disappear into the well-placed holes around the motherboard. You should spend some extra time on ensuring that all the PSU cables are hidden away nicely too, especially if your power supply is not fully modular.
Finished Looks
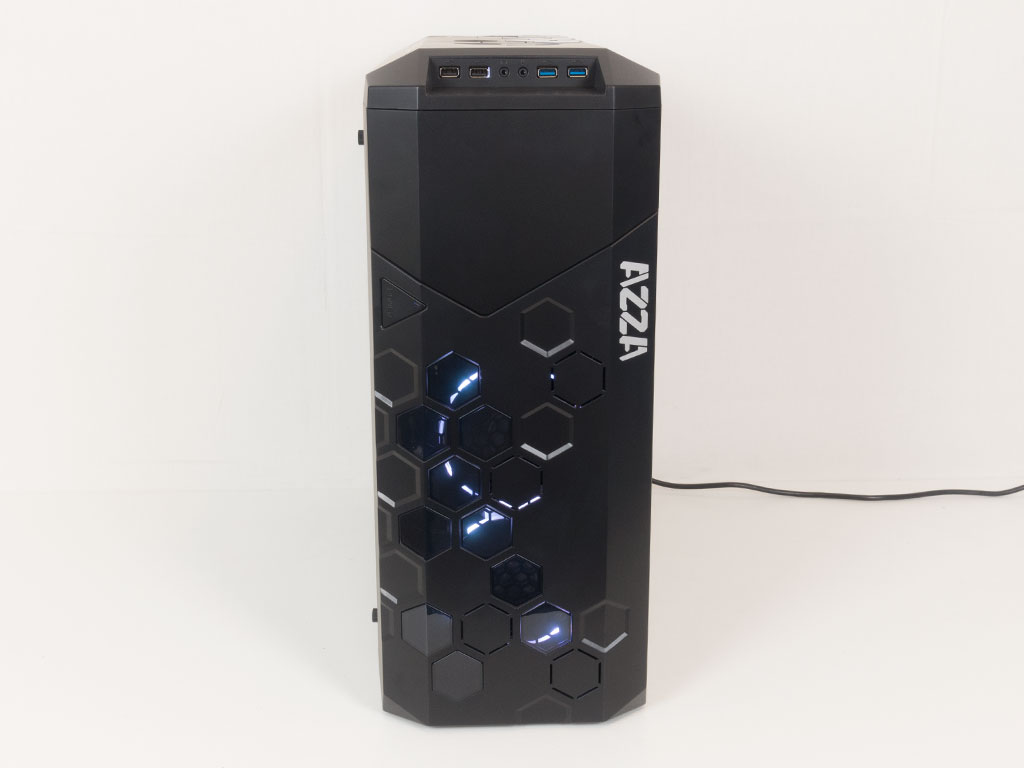
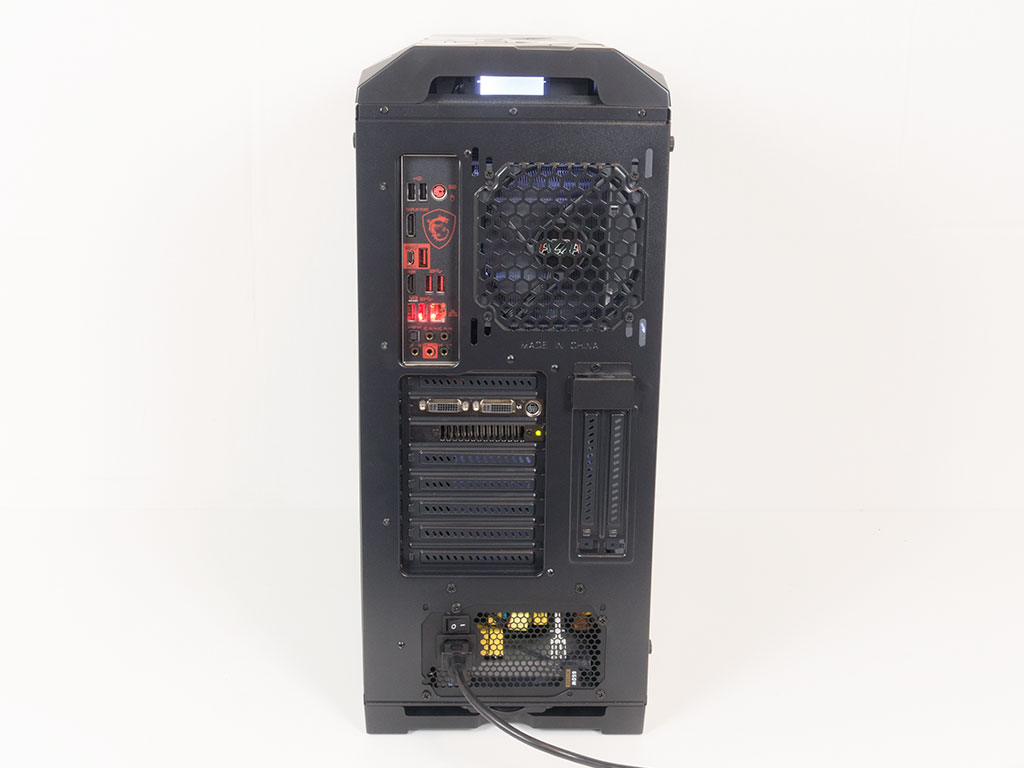
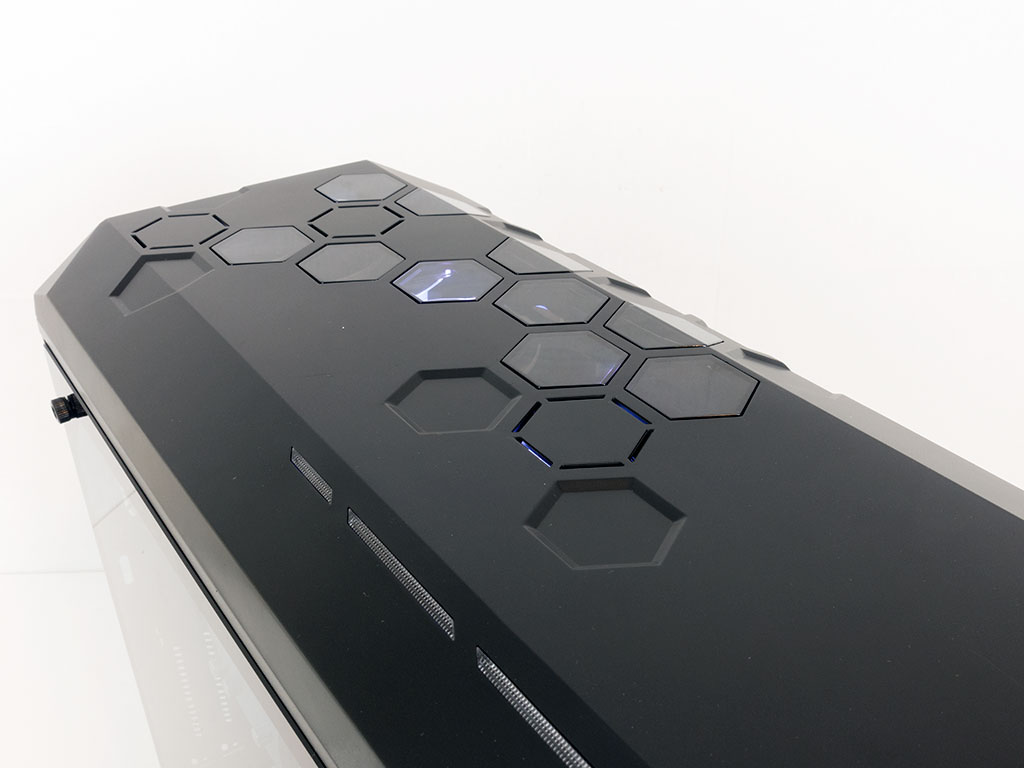
With the system is turned on, you will clearly see the glow of the fans through the honeycomb structure in the front. In the rear, everything is where you would expect it to be as the internal layout is of the standard variety.
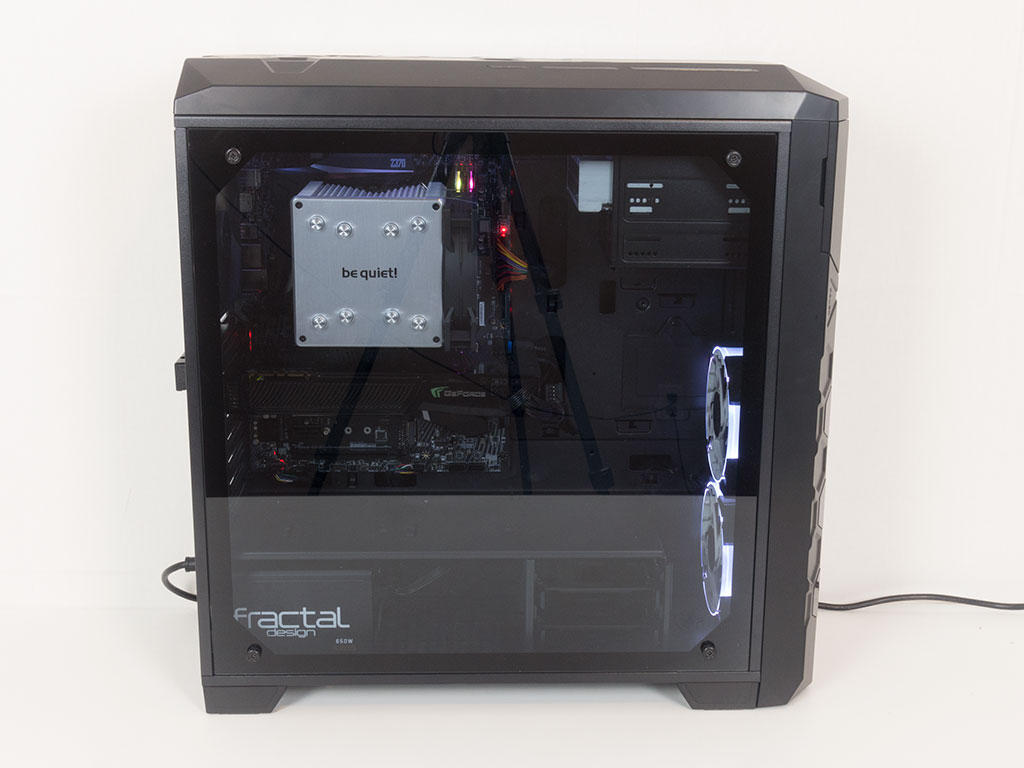
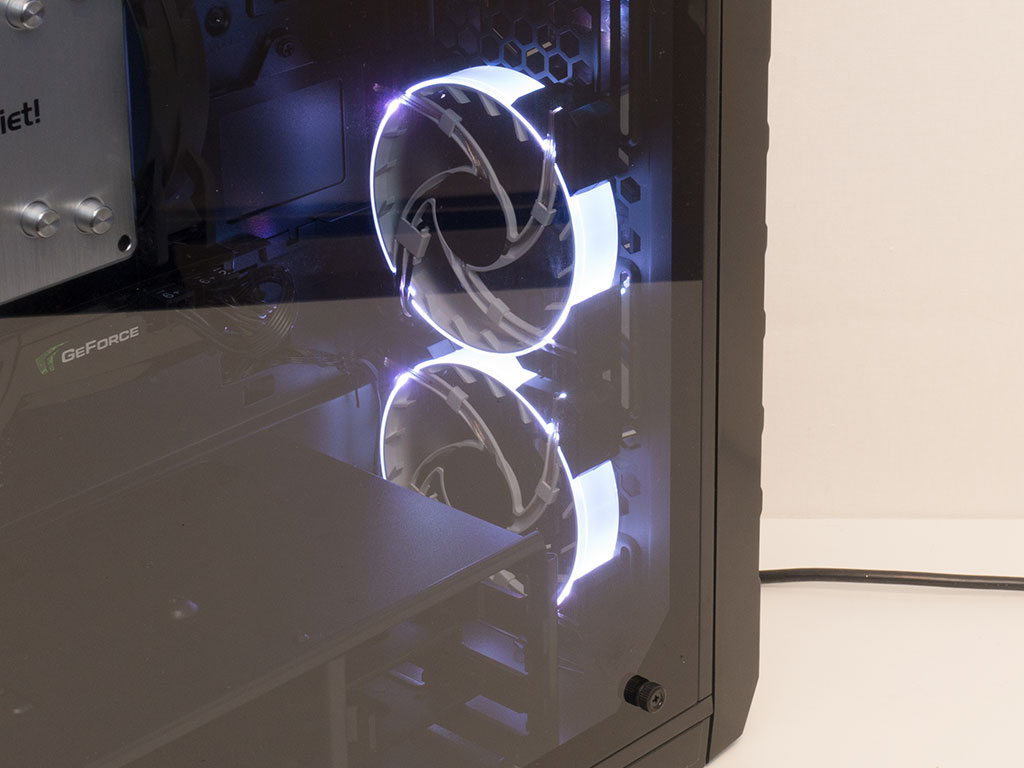
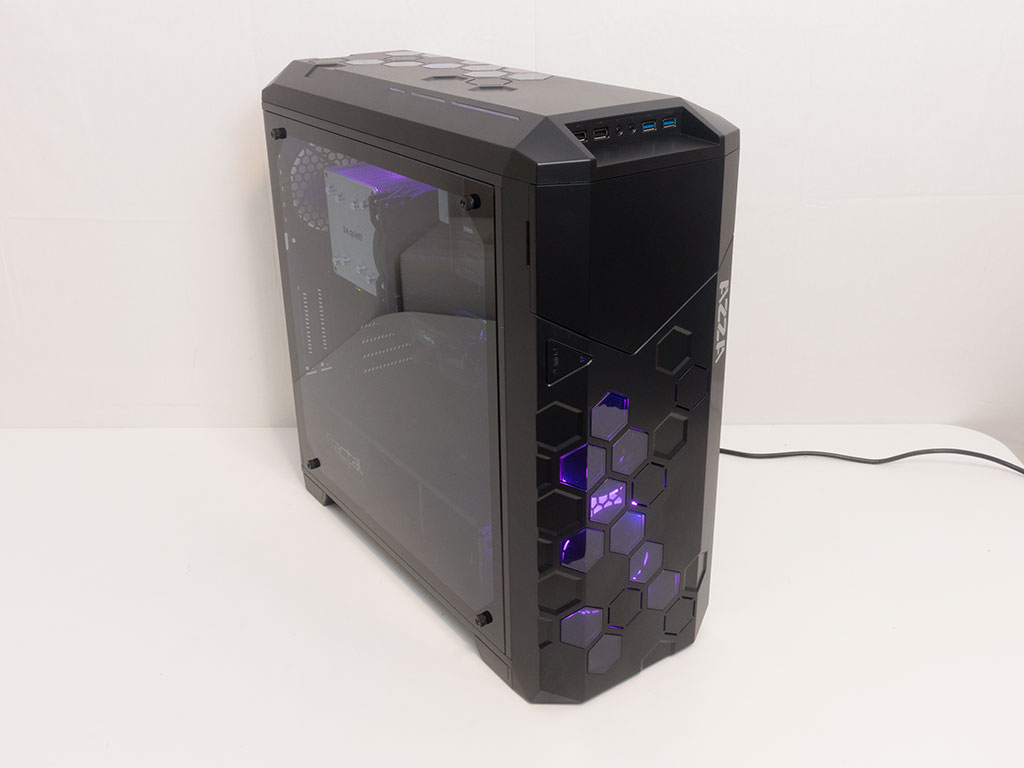
Thanks to the large window, you can clearly see all the hardware inside the Azza Storm 600. The pre-installed Hurricane fans emit a constant and quite visible glow, which has them light up the internals nicely as well.
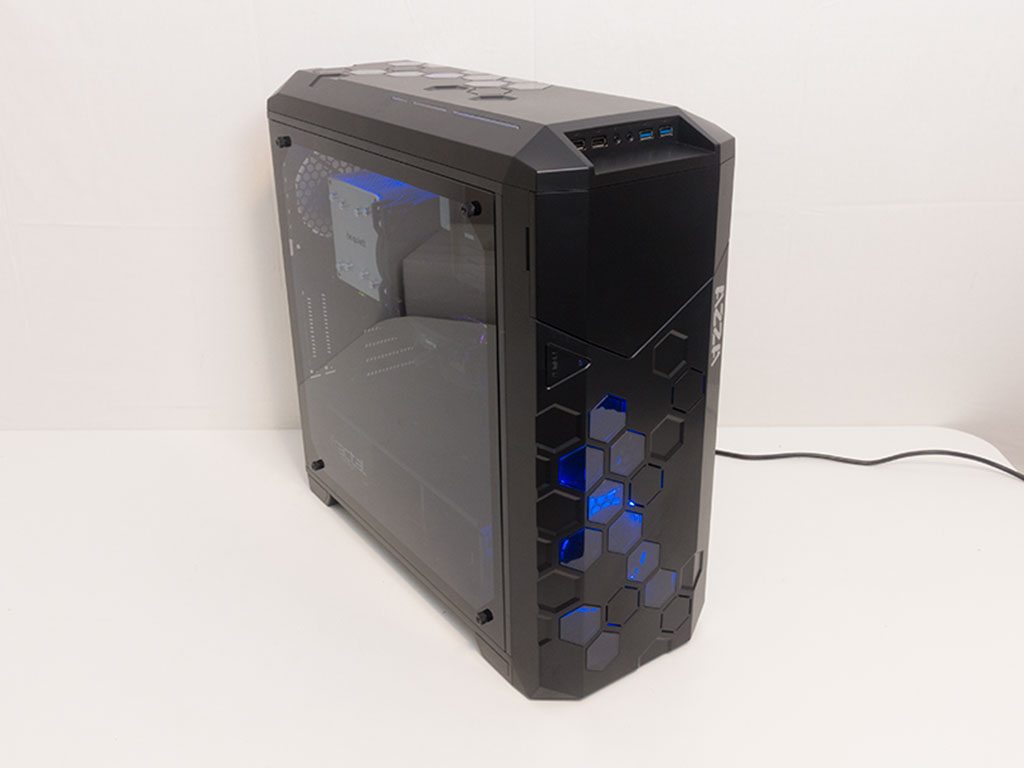
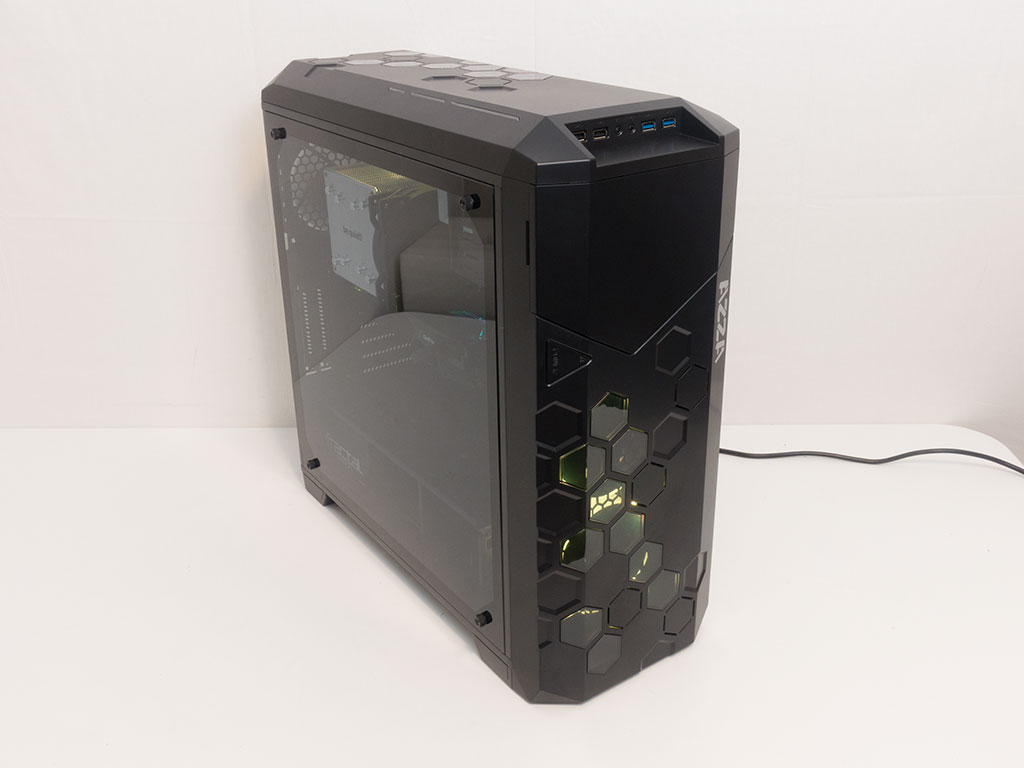
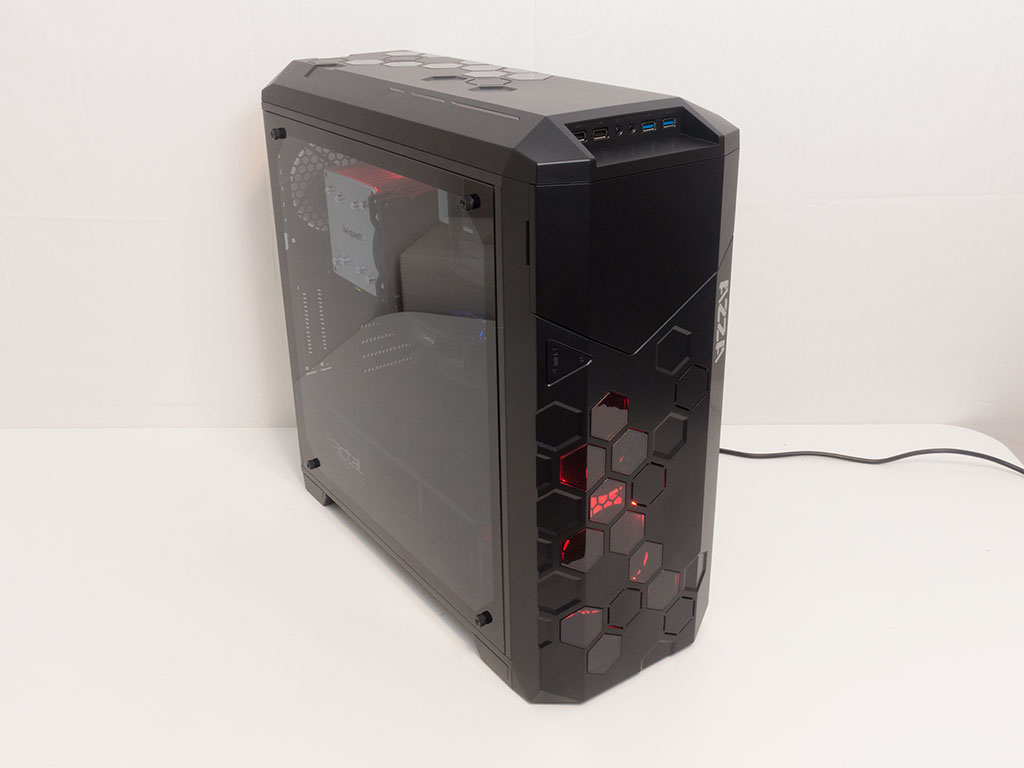
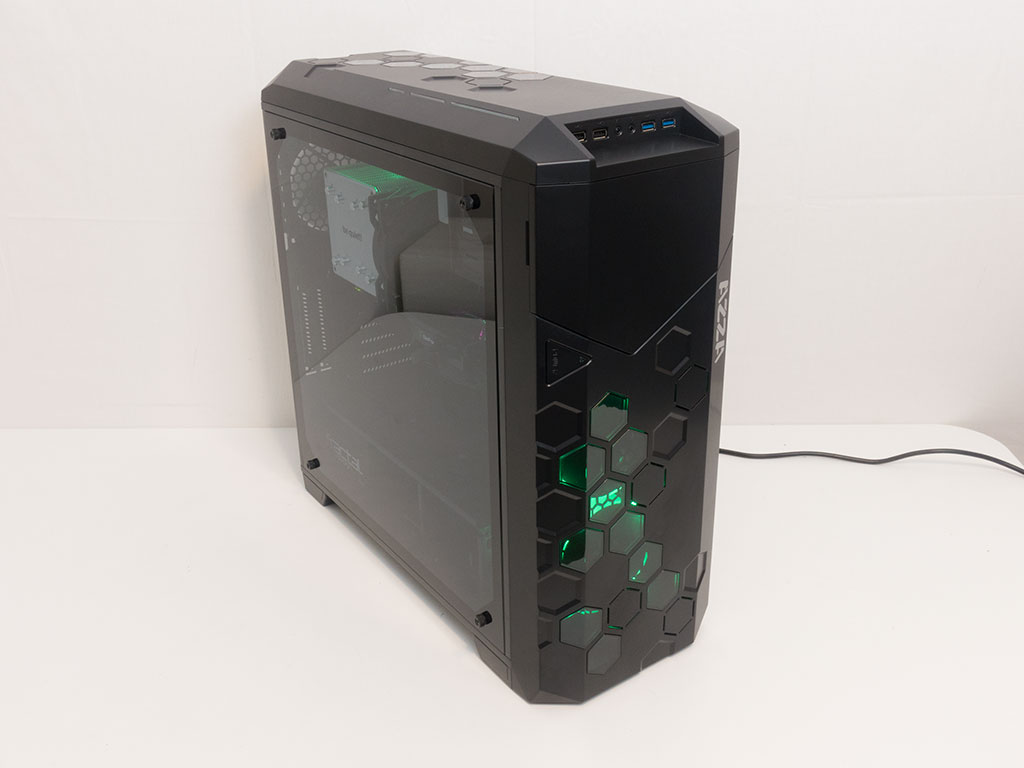
Lighting Gallery
Thanks to the RGB controller and appropriate fans, you can switch between different lighting modes and colors. Below are all the basic hues you can access out of the box with the built-in button in the front of the chassis.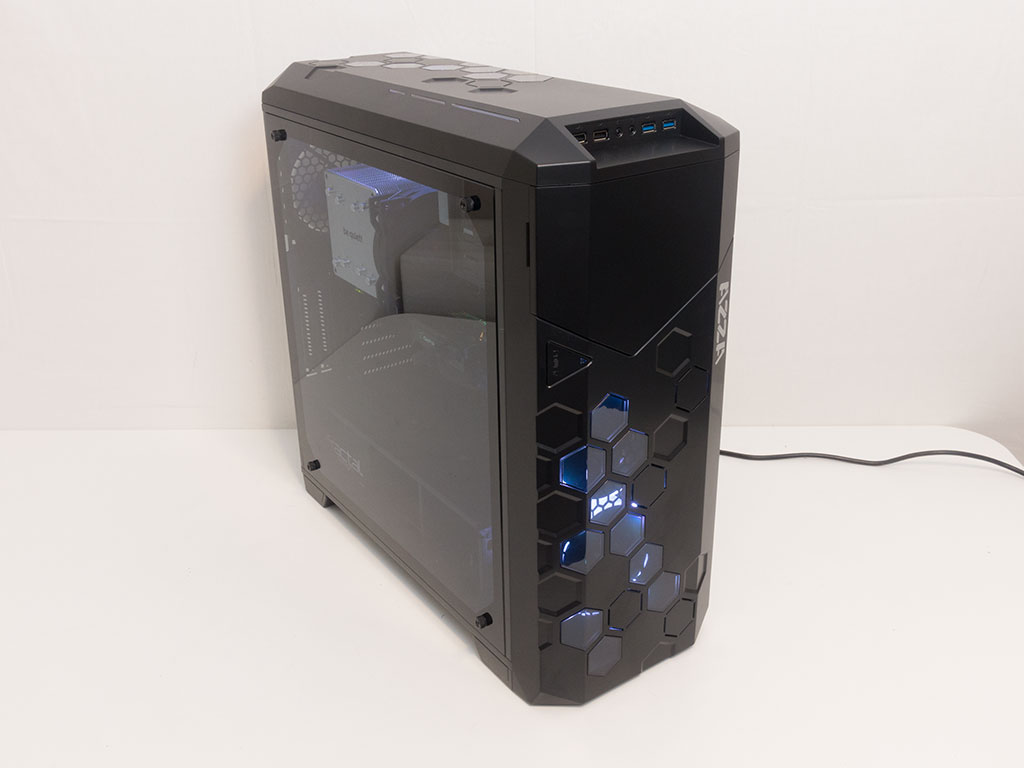

Feb 22nd, 2025 03:29 EST
change timezone
Latest GPU Drivers
New Forum Posts
- Connector needed? (0)
- [Feature request] NIS and rBAR (13)
- PBO issues on ASRock B650 PG Lightning (7)
- It's happening again, melting 12v high pwr connectors (848)
- RTX 5090 - Incorrect GPU-Z Clocks, when Overclocking with the Curve Tuner (6)
- As we live the age of game remakes, which game you would like to see to have a remake? (314)
- Share your AIDA 64 cache and memory benchmark here (3017)
- Modified drivers for X-Fi sound cards. (28)
- Nvidia's GPU market share hits 90% in Q4 2024 (gets closer to full monopoly) (455)
- revisiting hpet bcdedit tweaks: what are your timer bench results and settings? (89)
Popular Reviews
- MSI GeForce RTX 5070 Ti Ventus 3X OC Review
- Gigabyte GeForce RTX 5090 Gaming OC Review
- Galax GeForce RTX 5070 Ti 1-Click OC White Review
- ASUS GeForce RTX 5070 Ti TUF OC Review
- Ducky One X Inductive Keyboard Review
- MSI GeForce RTX 5070 Ti Vanguard SOC Review
- MSI GeForce RTX 5070 Ti Gaming Trio OC+ Review
- darkFlash DY470 Review
- MSI MAG Z890 Tomahawk Wi-Fi Review
- Palit GeForce RTX 5070 Ti GameRock OC Review
Controversial News Posts
- AMD Radeon 9070 XT Rumored to Outpace RTX 5070 Ti by Almost 15% (302)
- NVIDIA GeForce RTX 5090 Spotted with Missing ROPs, NVIDIA Confirms the Issue, Multiple Vendors Affected, RTX 5070 Ti, Too (279)
- AMD Plans Aggressive Price Competition with Radeon RX 9000 Series (269)
- AMD is Taking Time with Radeon RX 9000 to Optimize Software and FSR 4 (256)
- AMD Radeon RX 9070 and 9070 XT Listed On Amazon - One Buyer Snags a Unit (247)
- Edward Snowden Lashes Out at NVIDIA Over GeForce RTX 50 Pricing And Value (241)
- AMD Denies Radeon RX 9070 XT $899 USD Starting Price Point Rumors (239)
- New Leak Reveals NVIDIA RTX 5080 Is Slower Than RTX 4090 (215)