 42
42
be quiet! Dark Rock Pro 2 Review
Finished Looks »Installation
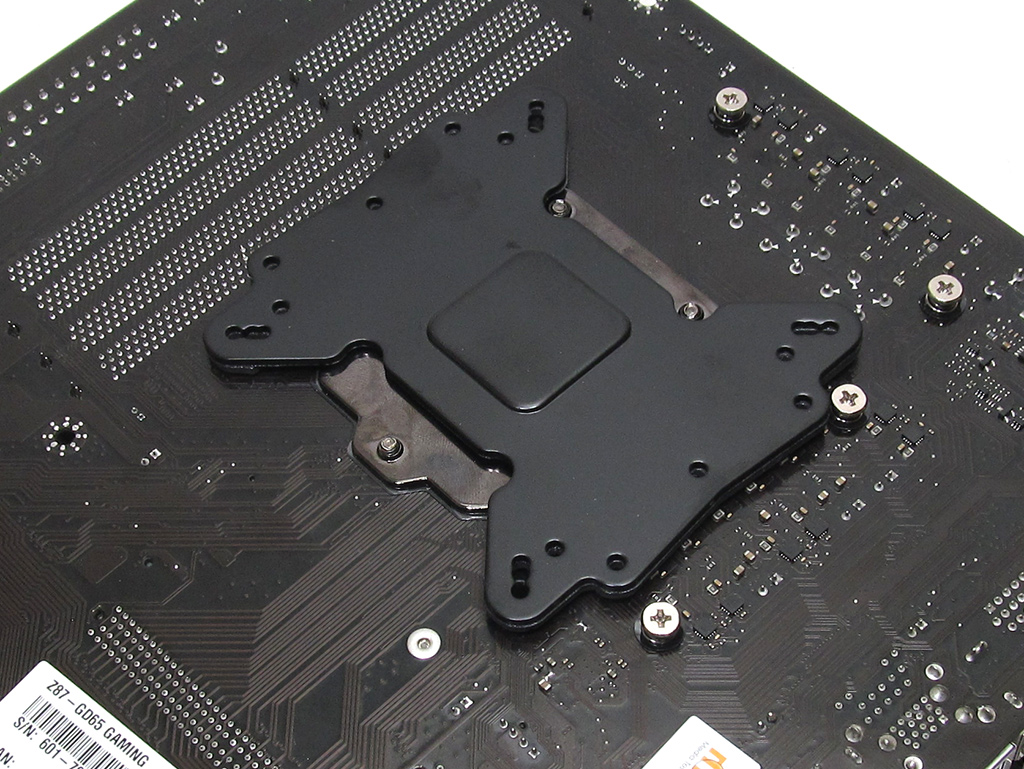
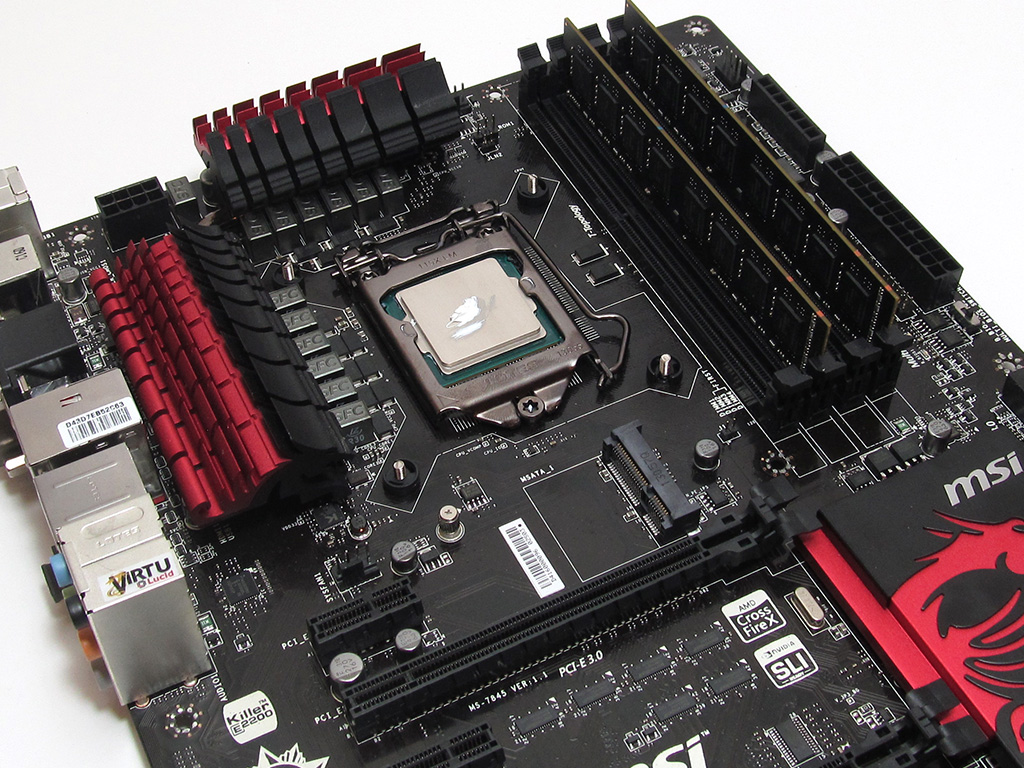
The first step in installing be quiet!'s Dark Rock Pro 2 is to line the backplate up with the four holes on the motherboard, before sliding the four long M3 screws through the backplate and securing them in place with the C-clips.
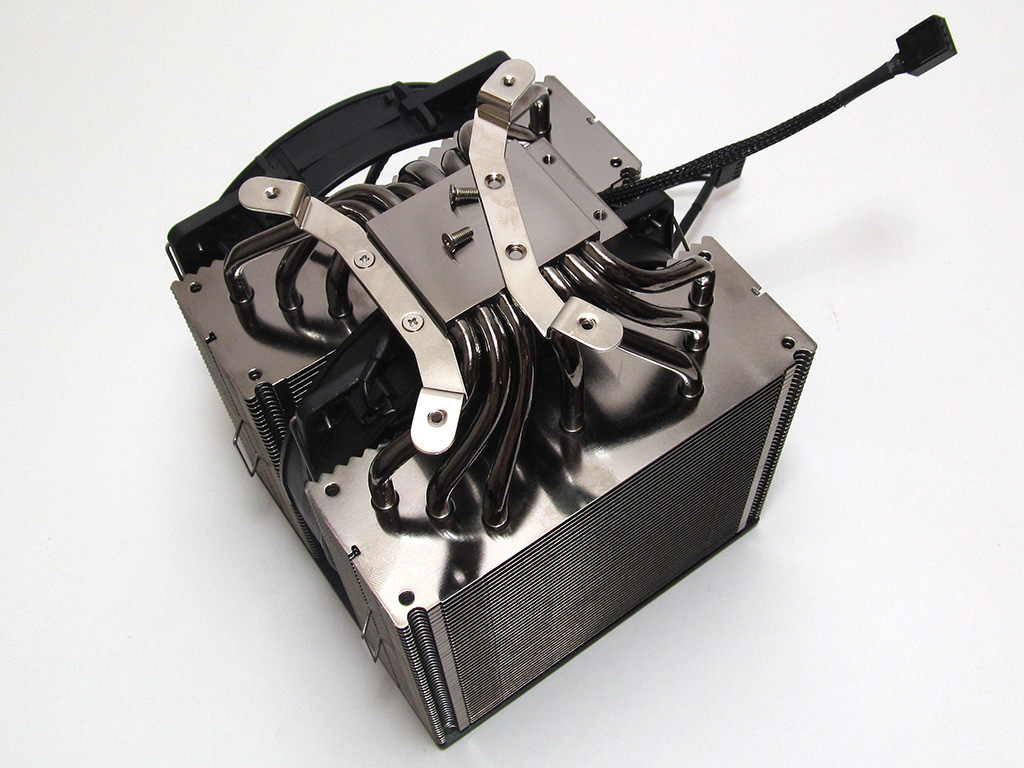
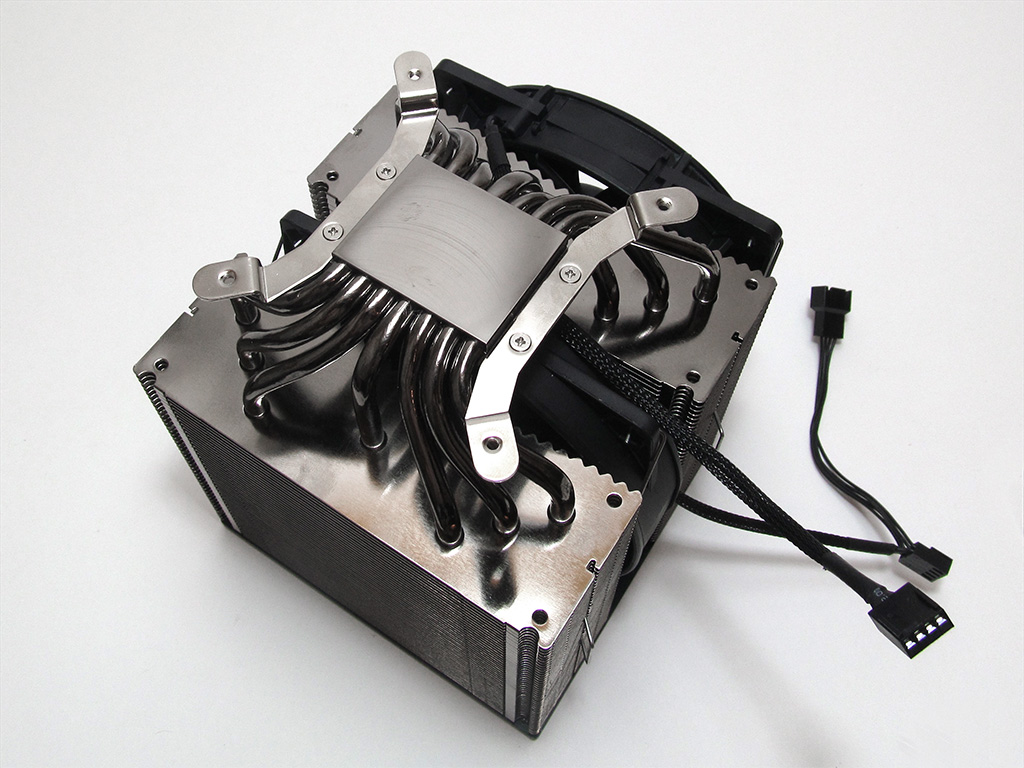
Next up, attach the proper brackets to the heatsink with four small screws. Once secure, the cooler is ready to be mounted to the motherboard.
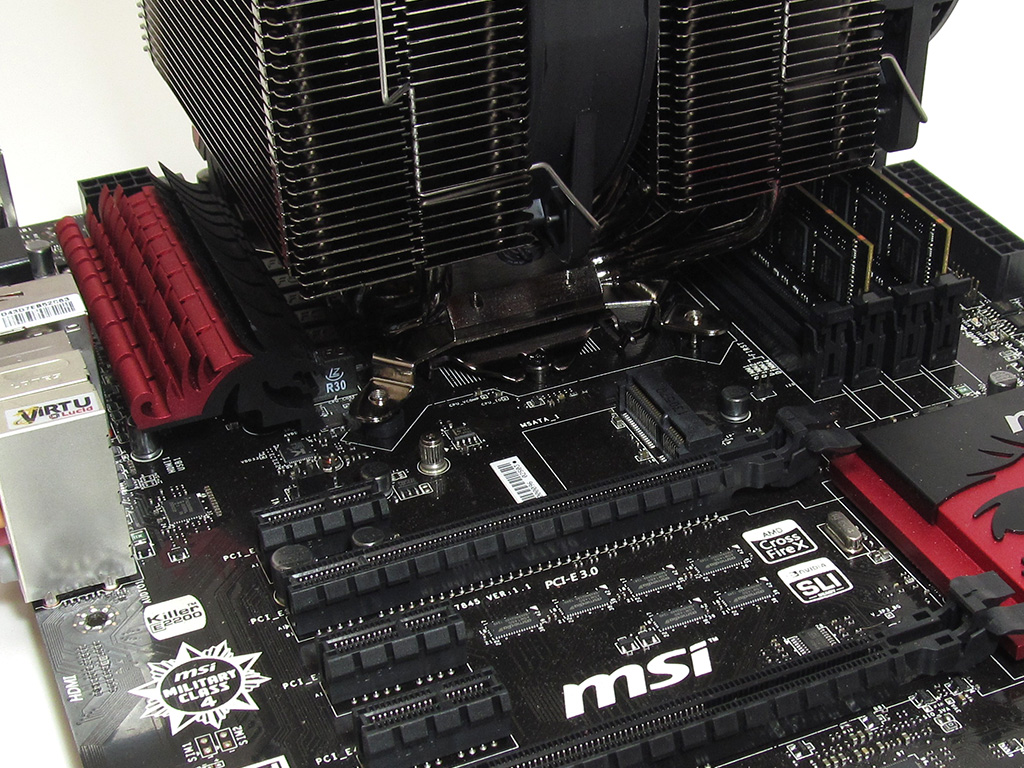
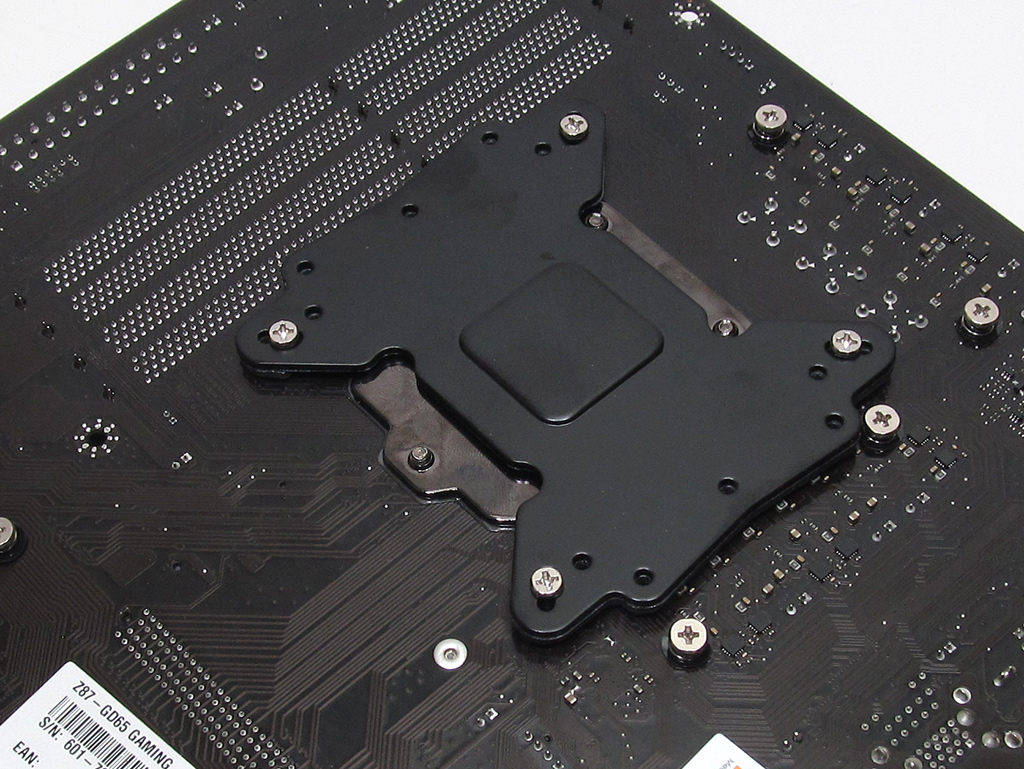
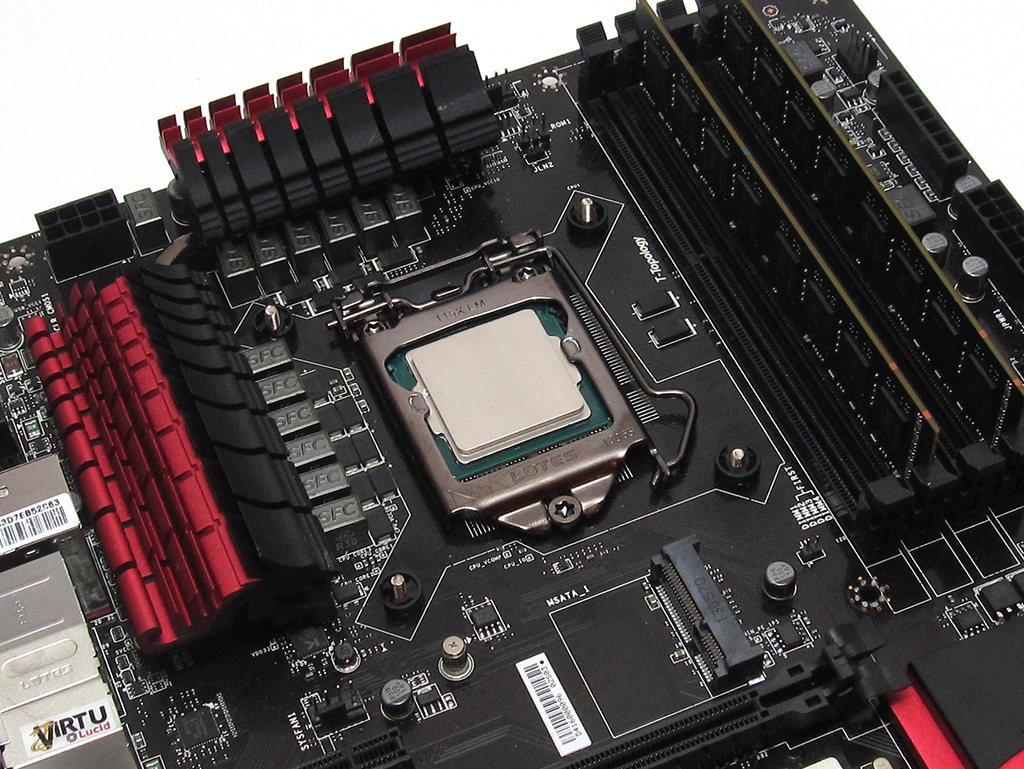
With the thermal paste applied, gently set the cooler onto the CPU. Now, line the four holes on the mounting arms up with the four screws. Holding the cooler in place, use a screwdriver to turn the screws into the backplate, passing them through the mounting arms. Make sure they are tight. With that done, the hard part is over.
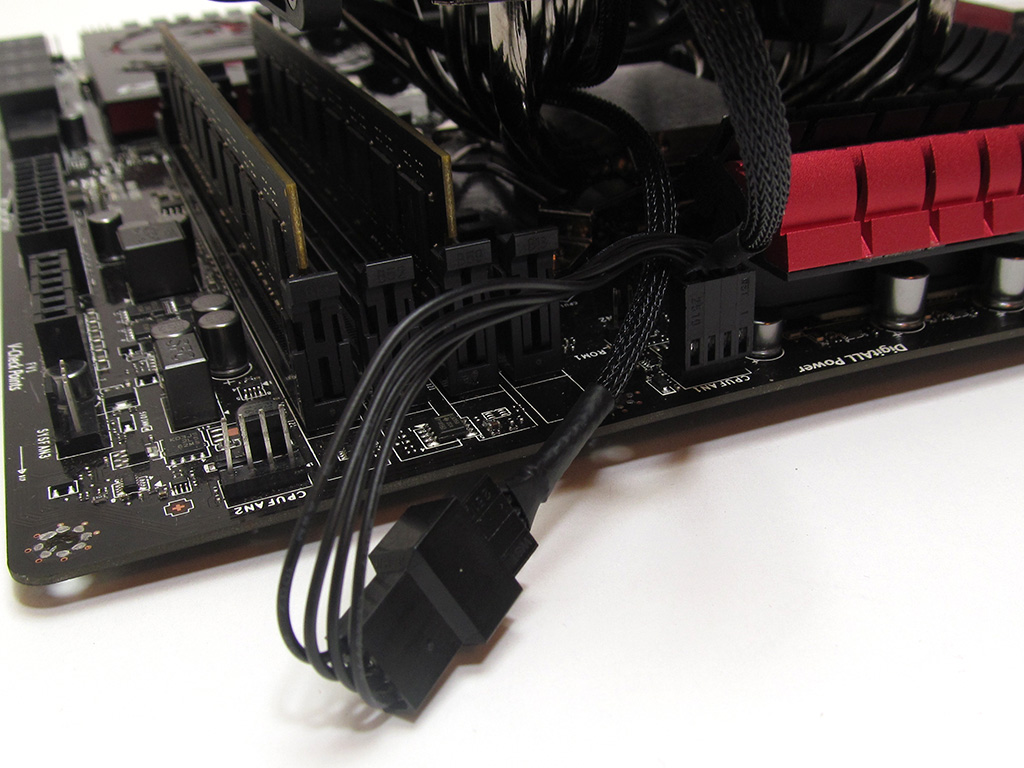
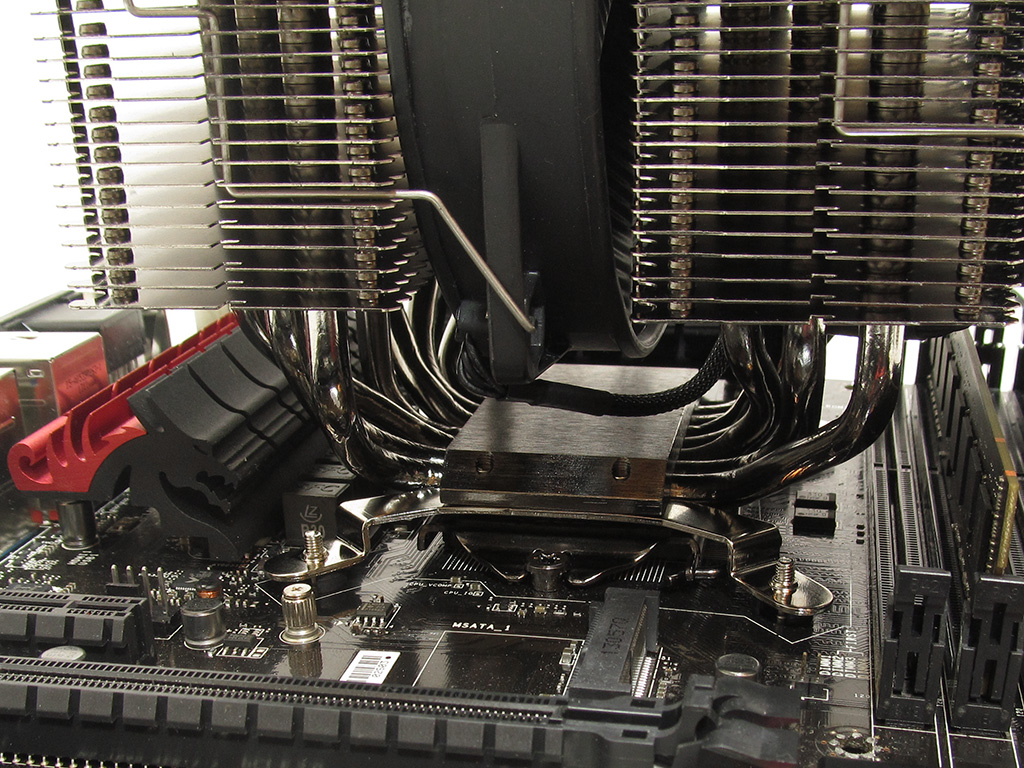
Attach the fan to the CPU fan header. That's it, there is nothing else to it.
The mounting hardware be quiet! has provided is a bit awkward, but it serves its purpose. It also doesn't overcomplicate the installation, but a better, more universal solution would be nice. I would rate the installation process for the average user an 8 on a scale of 1 (hardest) to 10 (easiest).
Feb 7th, 2025 15:08 EST
change timezone
Latest GPU Drivers
New Forum Posts
- Official TECHPOWERUP HWBOT Team Information Thread (32)
- What's your latest tech purchase? (23107)
- Should I make a thermal maintenance on my GPU? (19)
- RTX5000 Series Owners Club (55)
- Copying big amount data from HDD (7)
- Tomb Raider IV-VI Remastered Discussion (8)
- Folding Pie and Milestones!! (9359)
- Post your Monster Hunter Wilds benchmark scores (65)
- The TPU UK Clubhouse (25673)
- AM4 and Combining Different RAM? (58)
Popular Reviews
- Kingdom Come Deliverance II Performance Benchmark Review - 35 GPUs Tested
- Spider-Man 2 Performance Benchmark Review - 35 GPUs Tested
- Corsair Frame 4000D Review
- Formovie Cinema Edge 4K UST Laser Projector Review
- ASUS ROG Harpe Ace Extreme Review
- NVIDIA GeForce RTX 5080 Founders Edition Review
- Kingdom Come: Deliverance 2 Handheld Performance Review
- Gigabyte GeForce RTX 5080 Gaming OC Review
- AMD Ryzen 7 9800X3D Review - The Best Gaming Processor
- MSI GeForce RTX 5080 Vanguard SOC Review
Controversial News Posts
- AMD Radeon 9070 XT Rumored to Outpace RTX 5070 Ti by Almost 15% (285)
- AMD is Taking Time with Radeon RX 9000 to Optimize Software and FSR 4 (256)
- AMD Denies Radeon RX 9070 XT $899 USD Starting Price Point Rumors (239)
- Edward Snowden Lashes Out at NVIDIA Over GeForce RTX 50 Pricing And Value (235)
- AMD Radeon RX 9070 XT & RX 9070 Custom Models In Stock at European Stores (226)
- New Leak Reveals NVIDIA RTX 5080 Is Slower Than RTX 4090 (215)
- AMD's Radeon RX 9070 Launch Faces Pricing Hurdles (175)
- AMD Radeon RX 9070 XT Tested in Cyberpunk 2077 and Black Myth: Wukong (169)