 19
19
be quiet! Light Wings 120 mm PWM High-Speed Fan Review
(19 Comments) »Introduction
be quiet! has been one of the companies to watch throughout the last decade, and I will lie if typing "be quiet!" and chuckling due to my premature sense of humor had nothing to do with it for me personally. As per the preferences of the European market, the German company has always prioritized noise, which soon became the norm for watercooling until only recently with more power-hungry and thus also thermally challenging hardware. I can't speak for the company's latest generation of CPU coolers myself, but was quite happy with the Dark Rock Pro 3 for when I needed a good air cooler to quickly test hardware before going down the DIY-cooling route. Installation was of course a challenge, but the newer Dark Rock Pro 4 was also made better by the Silent Wings 3 fans it came with. Those fans, which I reviewed before elsewhere, were excellent as case and radiator fans alike on a performance/noise basis.

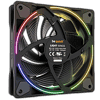
However, things have changed a lot in the years since, as the likes of Noctua, Thermaltake, and Phanteks have gone with LCP frames and excellent bearings and motors in their quest for high-performance PC DIY fans. None of those three offerings have any RGB lighting, which was traditionally how be quiet! operated too. It's a surprise then that the company has now put out its first ever LED fans, the Light Wings released today. There is a lot to unpack here, and the teaser image above shows a very interesting detail you might have caught. Let's just say there's a reason I am testing the high-speed version of the Light Wings 120 mm fans despite the regular version also exceeding my fan-RPM testing regime. Thanks to be quiet! for providing TechPowerUp review samples!
Specifications
| be quiet! Light Wings 120 mm High-Speed Fan | |
|---|---|
| Dimensions: | 120 x 120 x 25 mm |
| Rated Speed: | 2500 RPM |
| Maximum Airflow: | 52.3 CFM (88.9 m³/h) |
| Noise: | 31 dBA |
| Static Pressure: | 2.6 mm H₂O |
| Fan Control: | 4-pin PWM control |
| Current Draw: | 0.45 A peak |
| Warranty: | Three years |
Packaging and Accessories
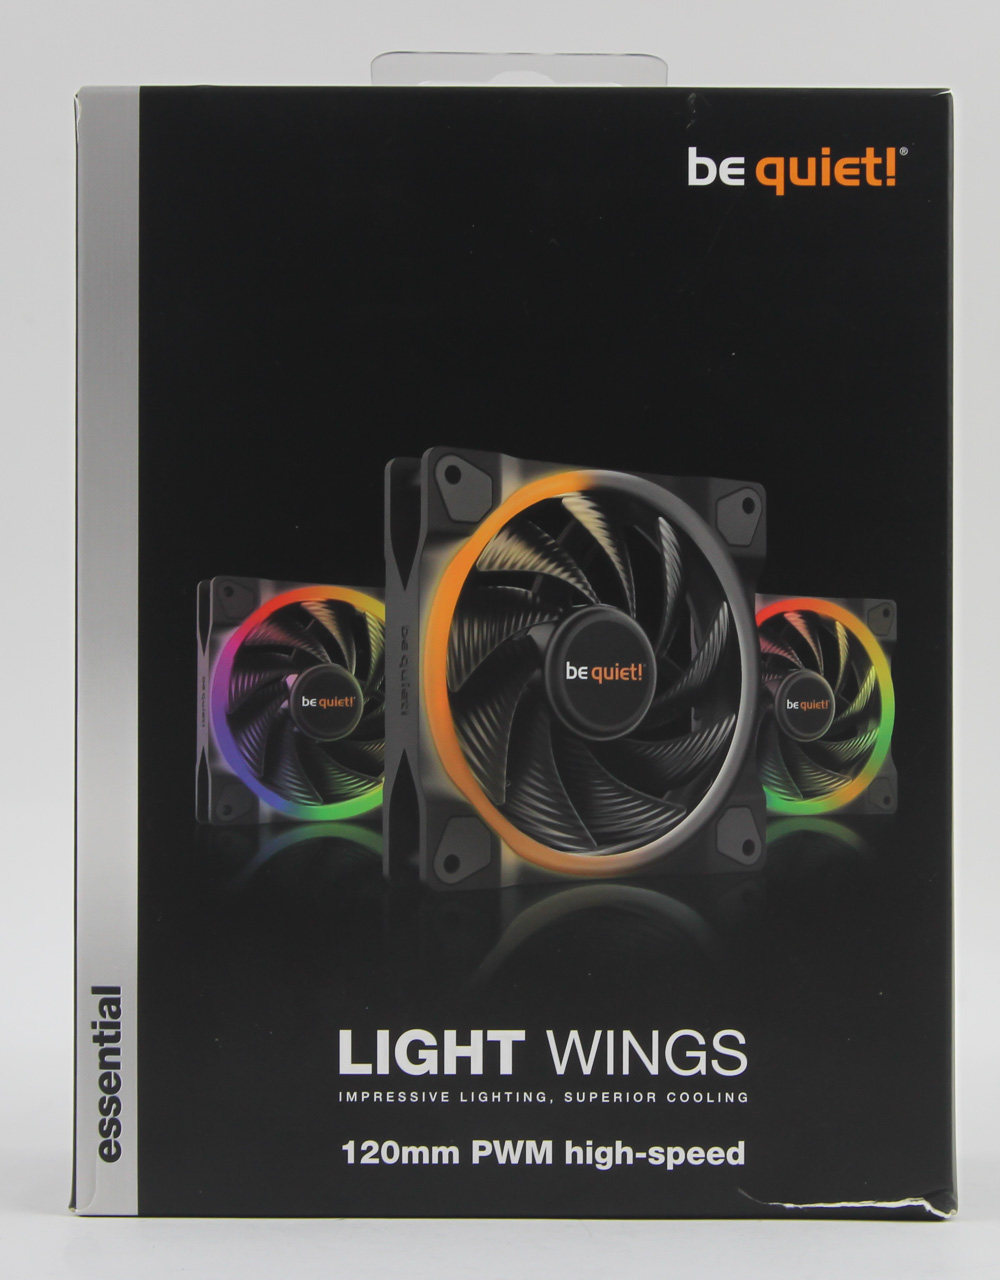
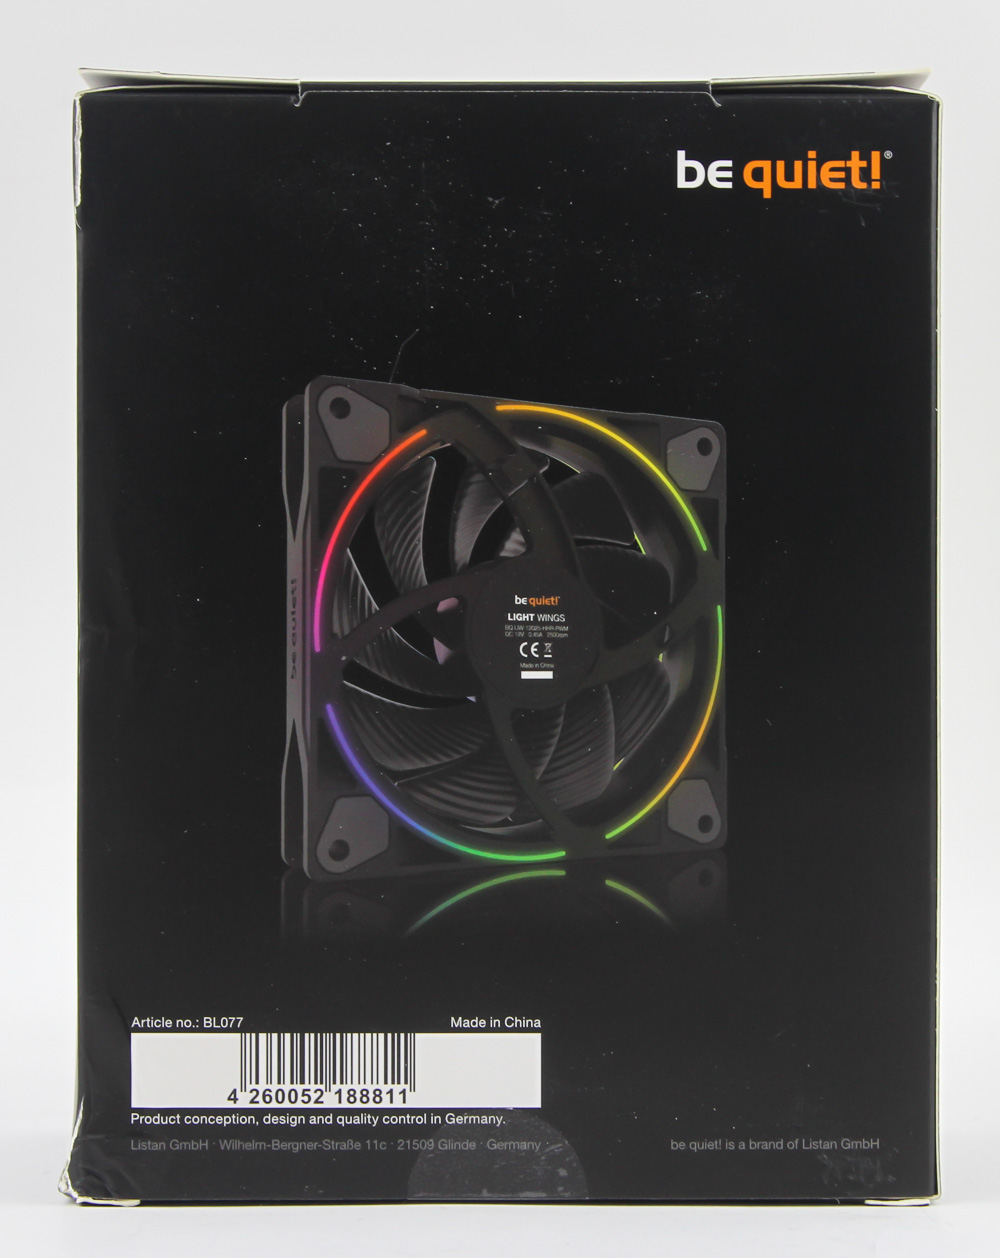

There are four versions of the new be quiet! Light Wings fans, as these are available in 120 and 140 mm and regular and high-speed versions. All four come as a single or triple pack, making for a total of eight SKUs. I have the triple-pack version of the 120 mm high-speed fan here, which of course shows up in a box larger than the single pack. This box design is still be quiet! at its core with the predominantly black base and white and orange accents throughout. A render of the fans lit up on the front clearly shows that these are RGB fans, which the product name and marketing tagline also support. I do like that the equivalent render on the back is again of the fan lit up, but from the back to confirm there are two light rings aboard. Technical specifications and certification information have been put on the sides, where we also spot a seal in the middle on the bottom.


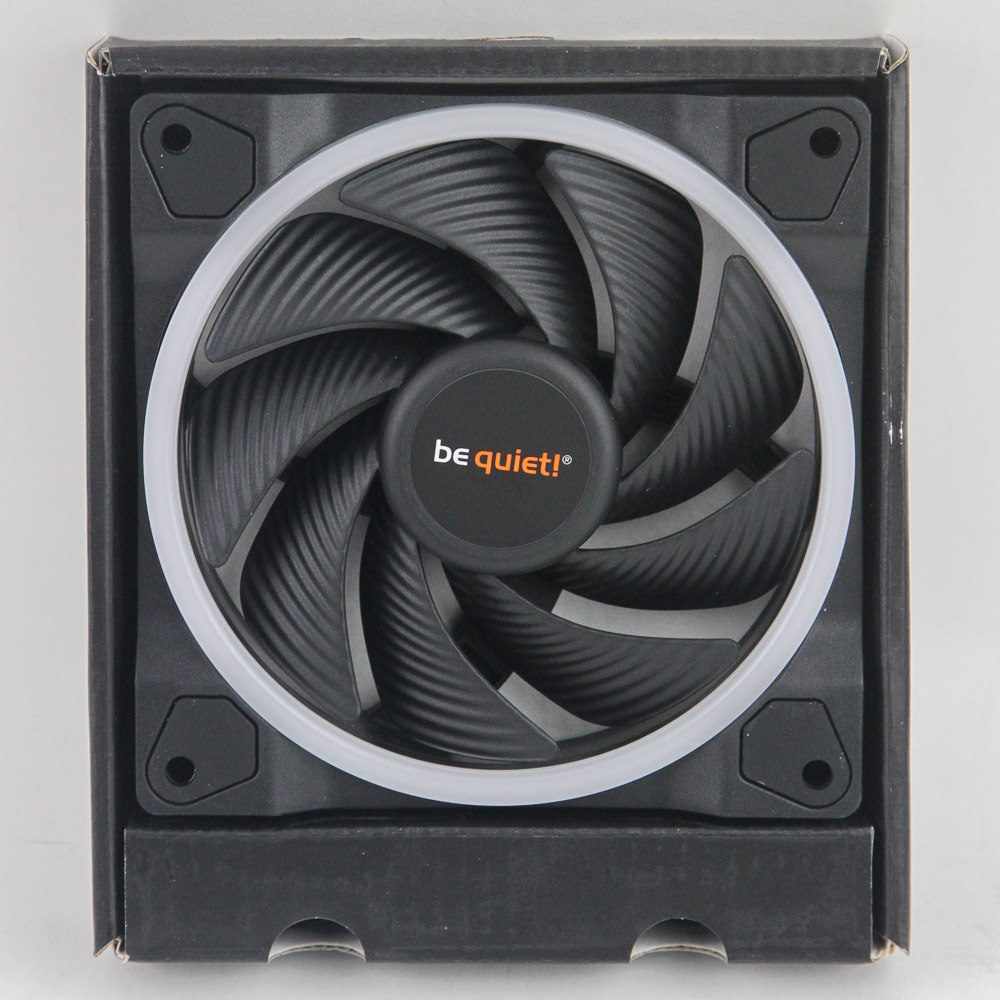

There is no need to remove that seal, however. The top has a double flap which opens up to easily access all the contents inside. As with most such RGB fans in a multi-pack SKU, we see an additional accessory bundled in a cardboard box titled "ARGB Hub." Underneath are three cardboard boxes, each semi-open and holding a fans inside. A folded layer on the bottom hides the cables, but everything else is actually in that box from before, including four sets of four self-tapping metal screws—one each for the fans and ARGB hub—a piece of 3M double-sided tape to help install the hub itself, a multi-language user manual describing the wiring for the fans (online copy in the downloads tab here), and of course the ARGB hub itself.

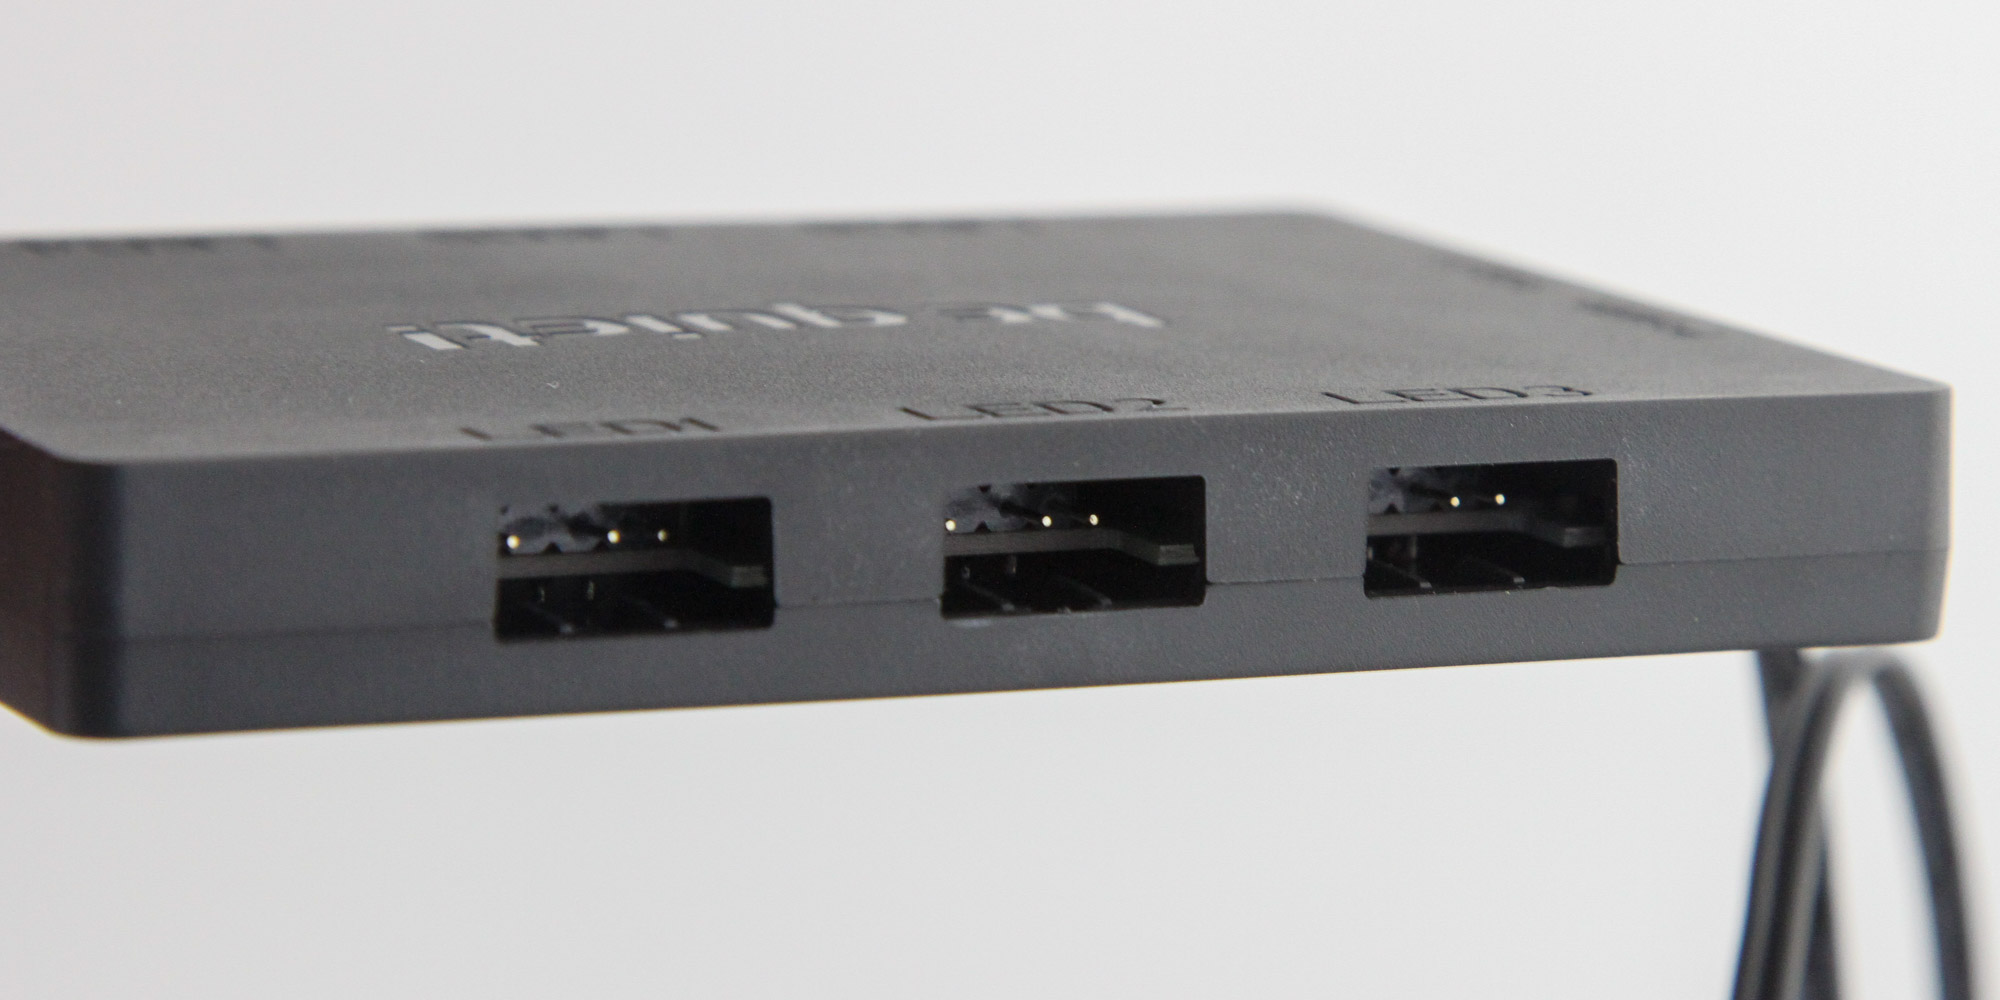


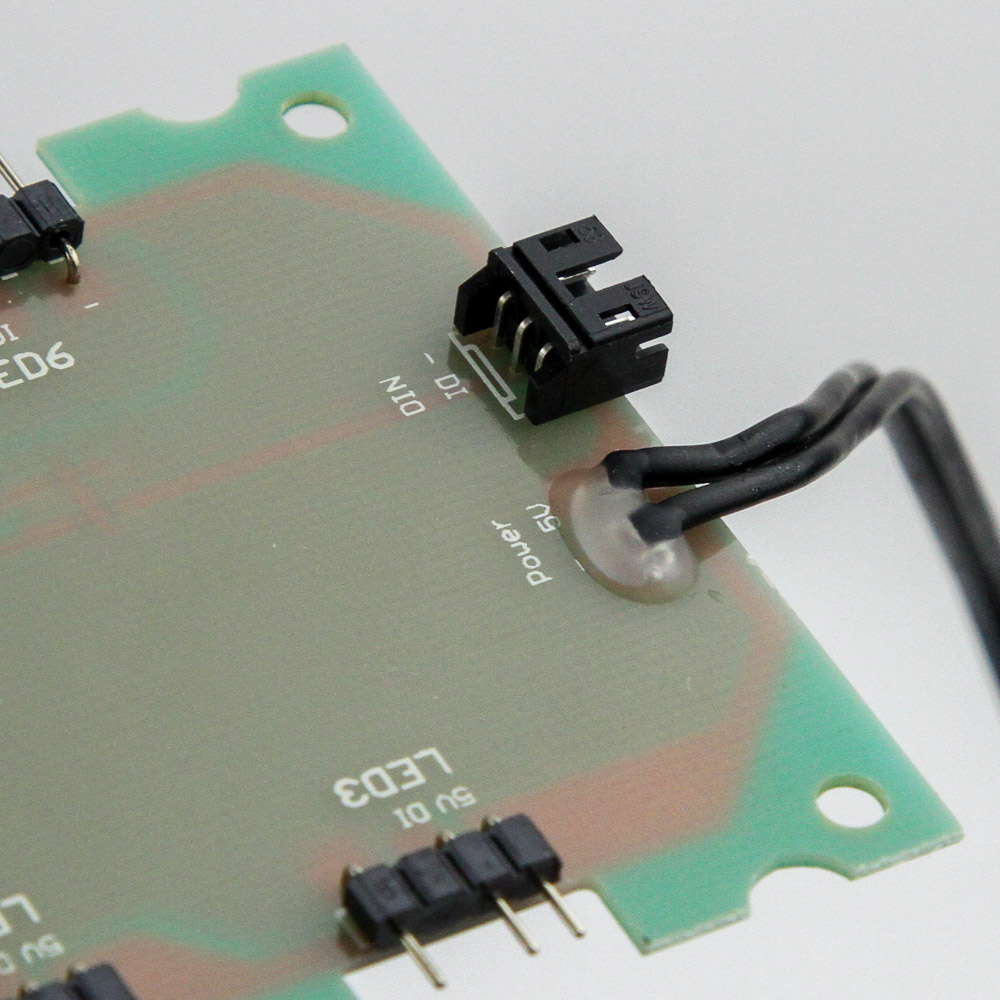

Okay, there's also a mini 3-pin to a 5-pin 5 V ARGB connector cable to connect the hub to a compatible 3-pin 5 V ARGB LED header on your motherboard or another LED controller of your choosing. There are six ports on the hub for up to six of these, with the LEDs powered through the full-sized SATA connector on a cable on the side of the hub. Turning the hub around, we see more branding, as well as empty space for the tape-installation if going that route.
At the corners of the chassis are four holes. Used in conjunction with the self-tapping screws from before, these would provide a more secure fit inside the chassis. The holes don't really coincide with any fan-hole spacing, so you may well need to make your own. Next to these four holes are four others, this time occupied by Phillips head screws that keep the hub assembly together. Taking them off reveals a three-part configuration with the PCB doing all the hard work and the plastic case adding to the user experience with a neater finish and easier identification of the ports.
Our Patreon Silver Supporters can read articles in single-page format.
Apr 10th, 2025 02:07 EDT
change timezone
Latest GPU Drivers
New Forum Posts
- MSI 4090 Pump Out Is Real (1)
- TPU's Nostalgic Hardware Club (20214)
- Help with updating firmware on a AOC Agon Pro OLED monitor, says I need Install Tool (0)
- Thermal testing two different size Gigabyte 5070 Ti cards - huge differences (19)
- RX 9000 series GPU Owners Club (273)
- Do you use Linux? (564)
- (Some of) What I'd like to See From a Final Fantasy IX Remake (9)
- Kindly help in Identifying GPU and Suitable bios (18)
- Asking before I mess up (18)
- ## [Golden Sample] RTX 5080 – 3300 MHz @ 1.020 V (Stock Curve) – Ultra-Stable & Efficient (43)
Popular Reviews
- The Last Of Us Part 2 Performance Benchmark Review - 30 GPUs Compared
- MCHOSE L7 Pro Review
- ASRock Z890 Taichi OCF Review
- Sapphire Radeon RX 9070 XT Pulse Review
- PowerColor Radeon RX 9070 Hellhound Review
- Upcoming Hardware Launches 2025 (Updated Apr 2025)
- Sapphire Radeon RX 9070 XT Nitro+ Review - Beating NVIDIA
- Acer Predator GM9000 2 TB Review
- UPERFECT UStation Delta Max Review - Two Screens In One
- ASUS GeForce RTX 5080 Astral OC Review
Controversial News Posts
- NVIDIA GeForce RTX 5060 Ti 16 GB SKU Likely Launching at $499, According to Supply Chain Leak (172)
- MSI Doesn't Plan Radeon RX 9000 Series GPUs, Skips AMD RDNA 4 Generation Entirely (146)
- Microsoft Introduces Copilot for Gaming (124)
- AMD Radeon RX 9070 XT Reportedly Outperforms RTX 5080 Through Undervolting (119)
- NVIDIA Reportedly Prepares GeForce RTX 5060 and RTX 5060 Ti Unveil Tomorrow (115)
- Over 200,000 Sold Radeon RX 9070 and RX 9070 XT GPUs? AMD Says No Number was Given (100)
- Nintendo Switch 2 Launches June 5 at $449.99 with New Hardware and Games (99)
- Nintendo Confirms That Switch 2 Joy-Cons Will Not Utilize Hall Effect Stick Technology (99)