 10
10
be quiet! Pure Base 500 FX Review
Assembly & Finished Looks »A Closer Look - Inside
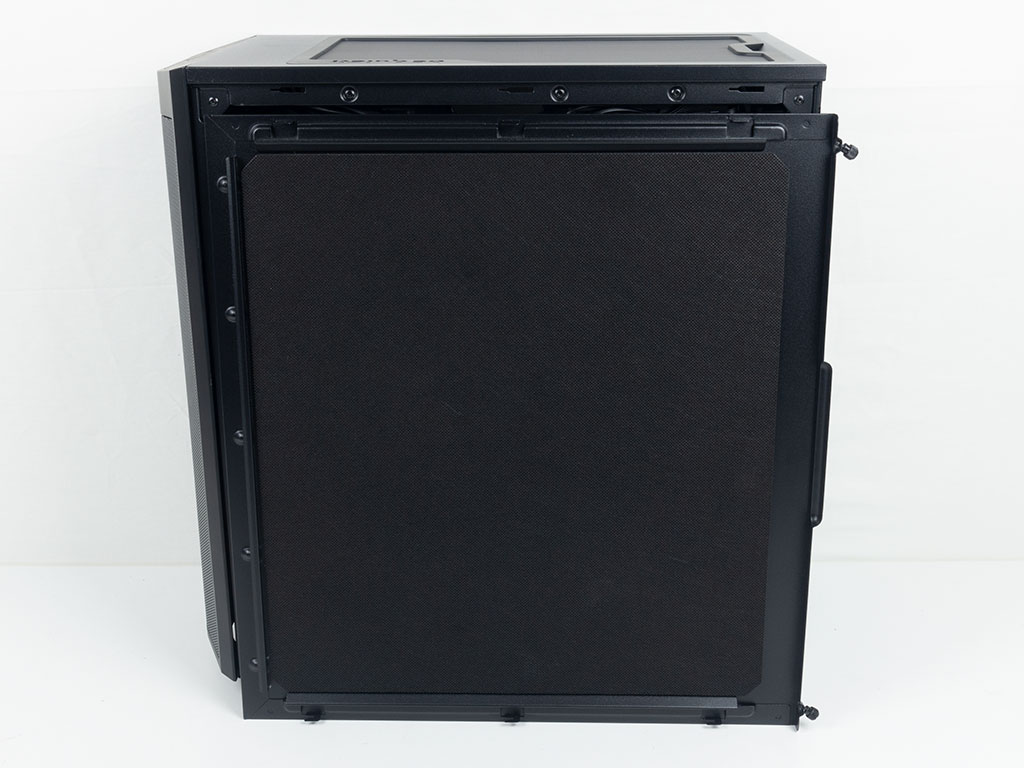
Before we dive into the interior of the Pure Base 500D FX, there is the solid panel that is also lined with sound-dampening material to keep things as quiet as possible.


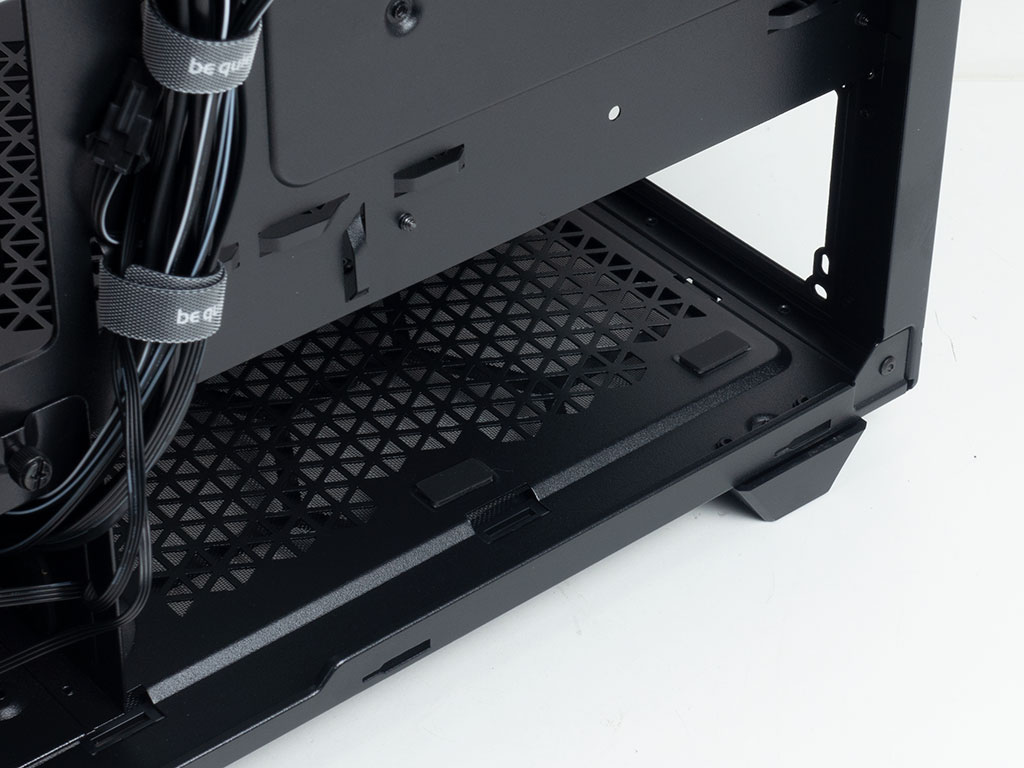
The interior of the chassis is set up quite traditionally, including the usual shroud on the bottom. It comes with numerous well-placed openings for cable management and a larger cutout in the front for you to easily install a 360 mm radiator here. On the back, there is around 24 mm of space—enough for most cable routing. There are no visible openings for cable management as be quiet! has solved that aspect differently. A refreshing sight are the very large cable hooks you may use to easily zip-tie cables to the motherboard tray.


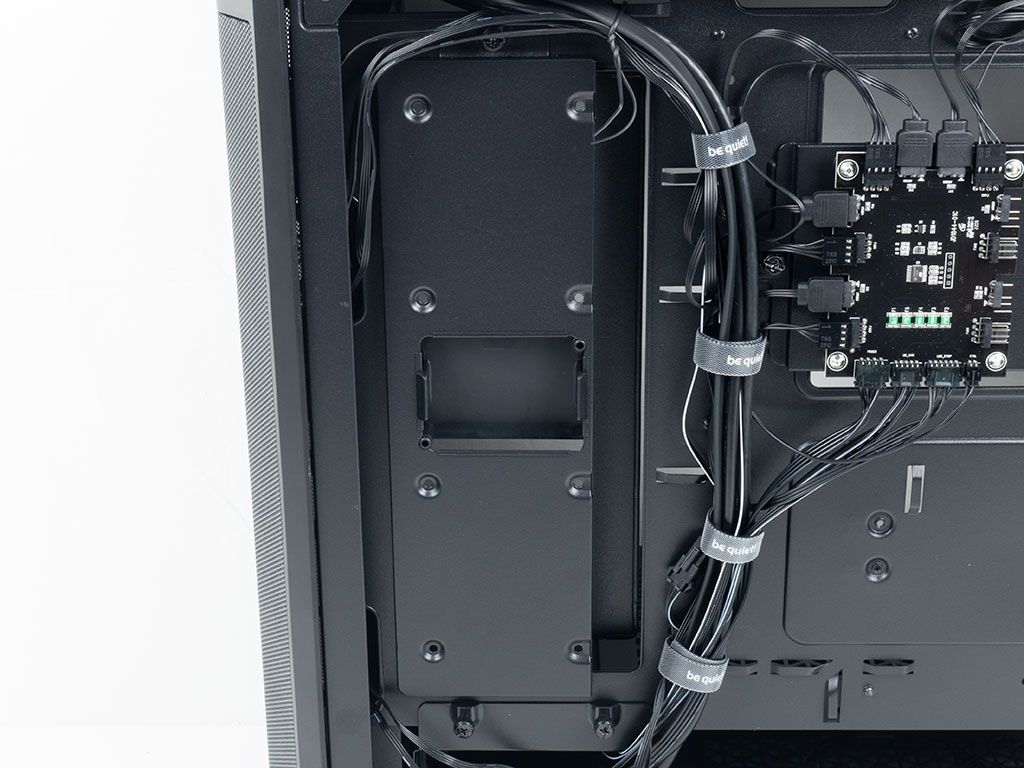
There is a bracket for two SSDs mounted to the CPU cooler opening, but be quiet! has placed the ARGB controller and PWM fan hub PCB here. The device can handle a total of six devices of each type and is powered by a SATA cable. You will also find four be quiet! branded Velcro strips for easy cable management. This was somewhat unique in 2019, alright in 2020, but feels a bit simple in 2022. Nowadays the these elements tend to be much longer, bigger and at times engineered to allow for easy tightening of your cable mess.
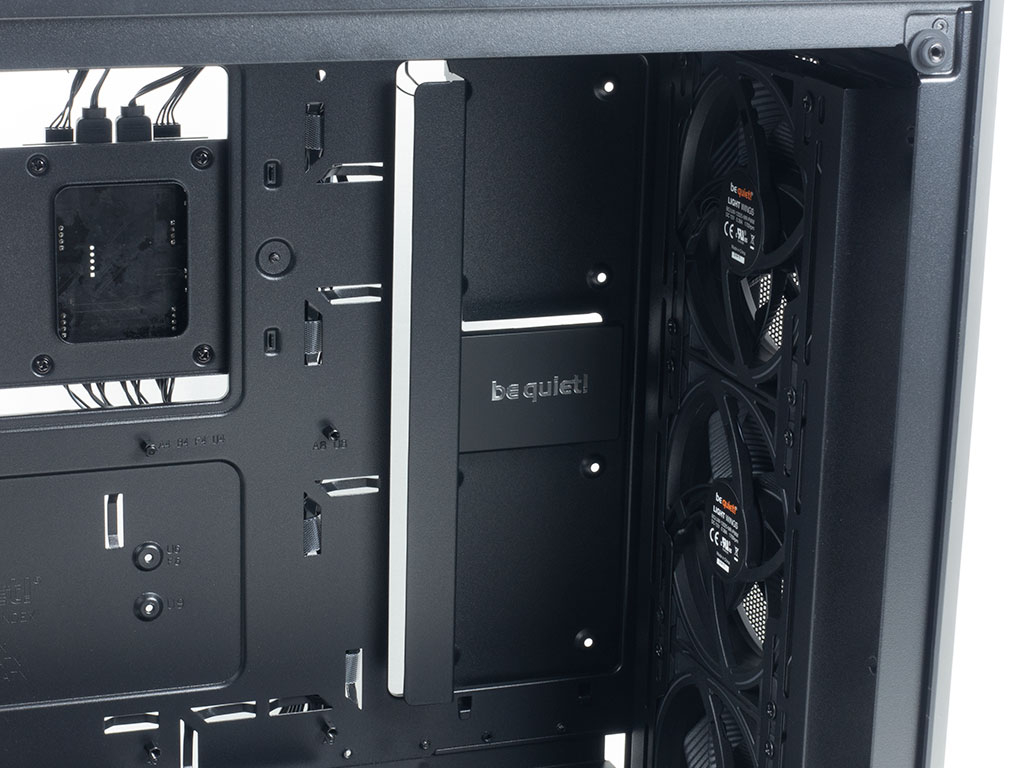

A unique element of the Pure Base 500 FX, which makes it stand out from other enclosures on the market is the additional SSD bracket in the front of the chassis. It allows you to install two more drives and may be removed for easy assembly. It also comes with a little, branded plastic cover in the center, so you will easily be able to hide the power and data cables connected to each device.
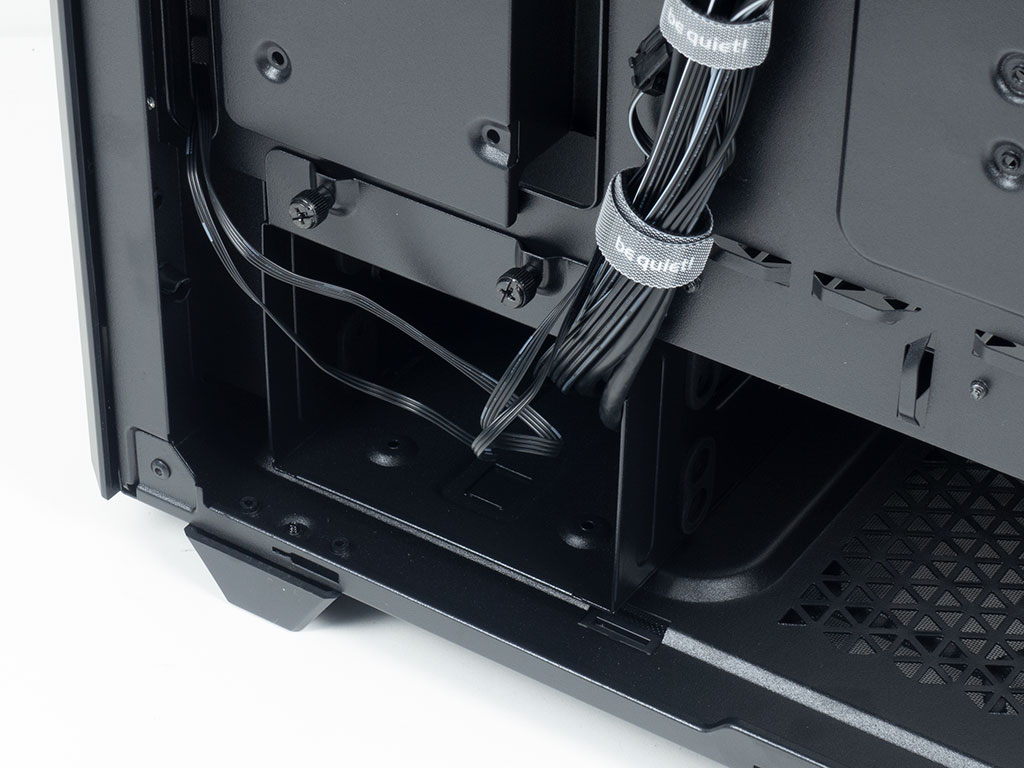
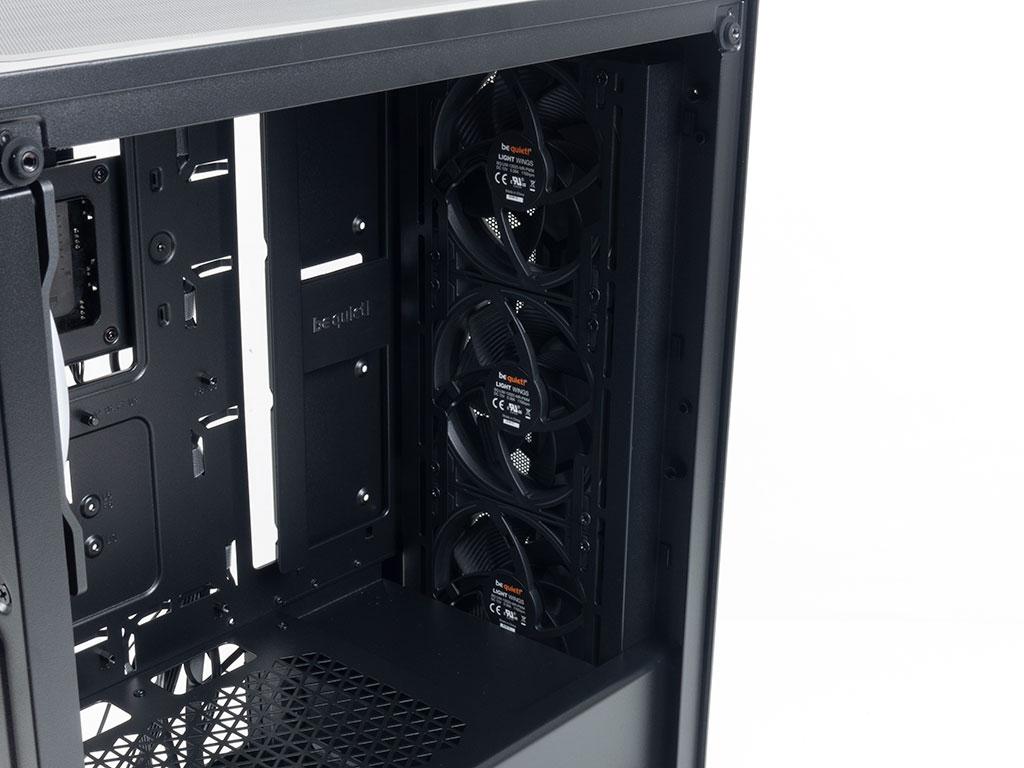
In the front, below the shroud, is an HDD cage for either two 3.5" drivers or one 3.5" and one 2.5" drive. It is held in place by two thumb screws and may be moved back by about an inch for a thin 360 mm radiator without having to sacrifice this storage element. However, for a thicker variant, the cage needs to be removed completely. Above that area is the aforementioned intake frame with the three 120 mm fans set to push air into the chassis from the front.
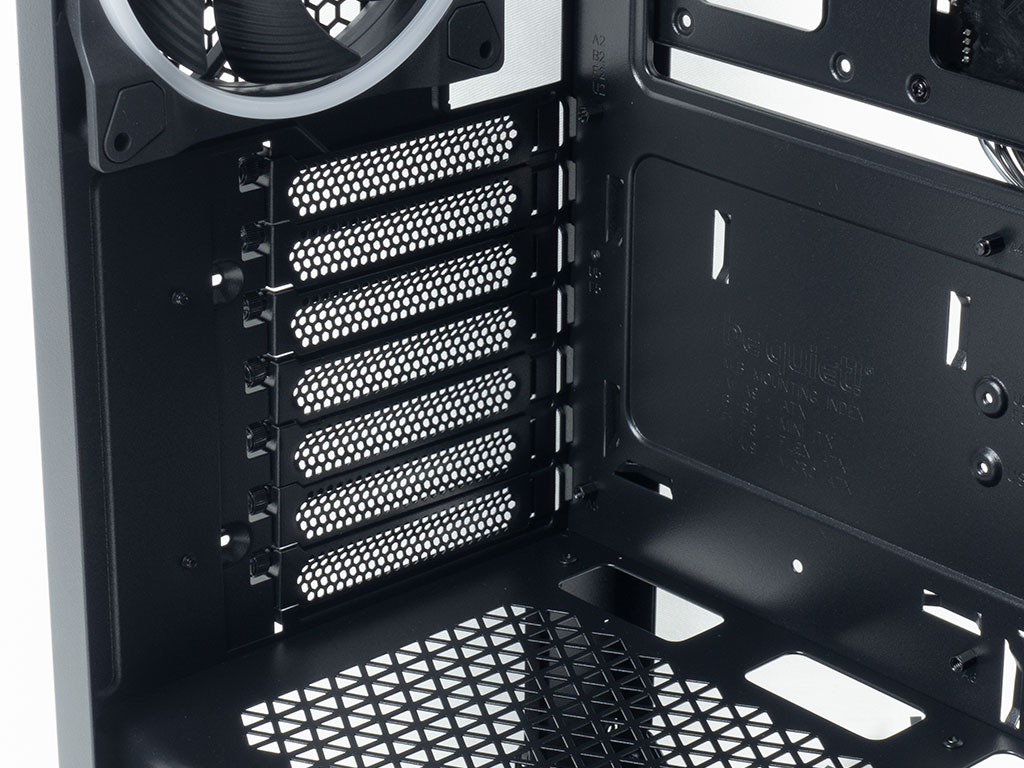
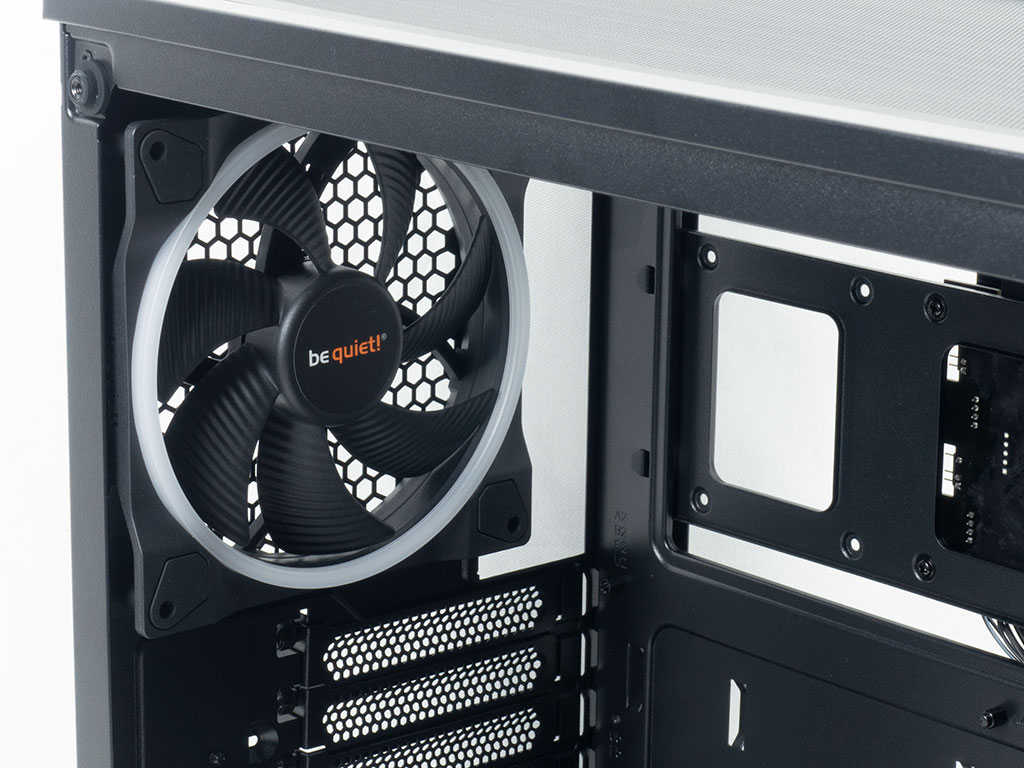
The PSU bay in the bottom of the rear is equipped with four foam patches as an anti-vibration measure. Above that are the seven expansion slots with externally accessible thumb screws and the second 140 mm exhaust fan.
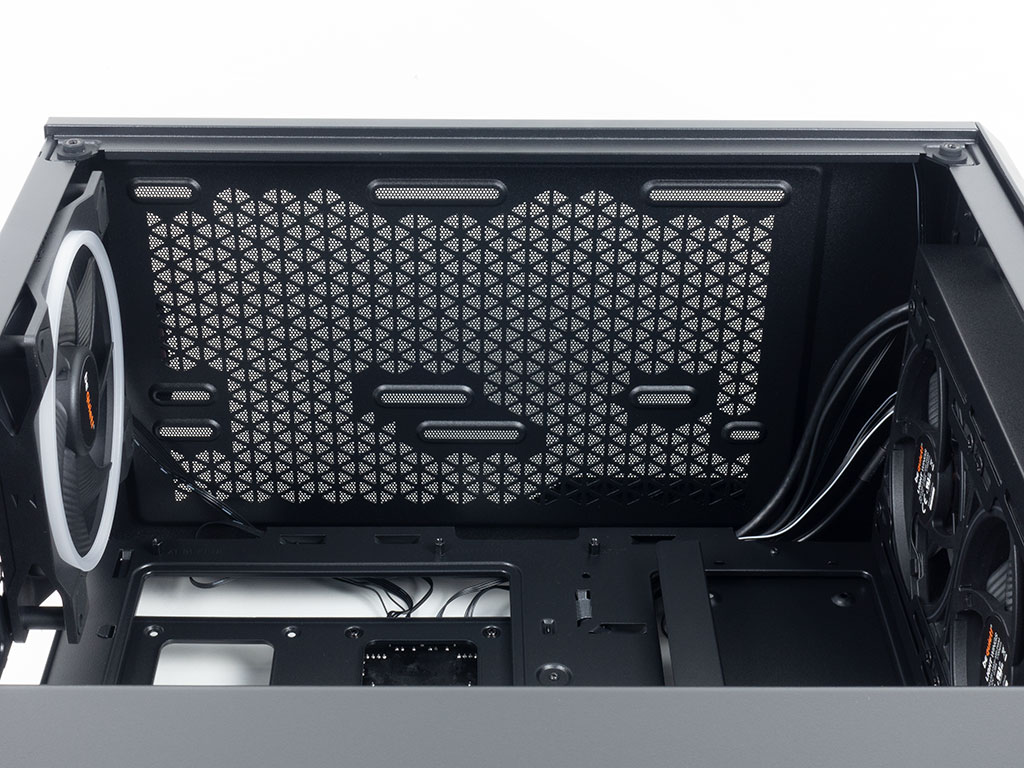
Looking at the ceiling, you can see that the mounting holes are as far away from the motherboard as possible, so you should have no issues with cooling colliding with your motherboard when installing your 240 mm radiator.
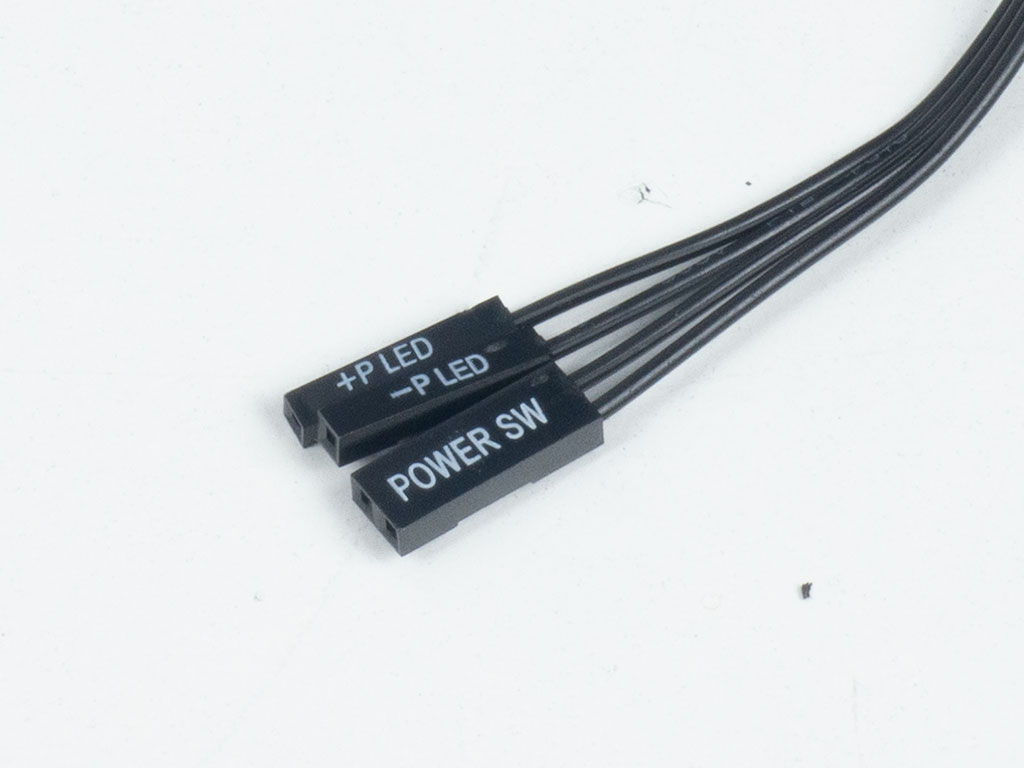
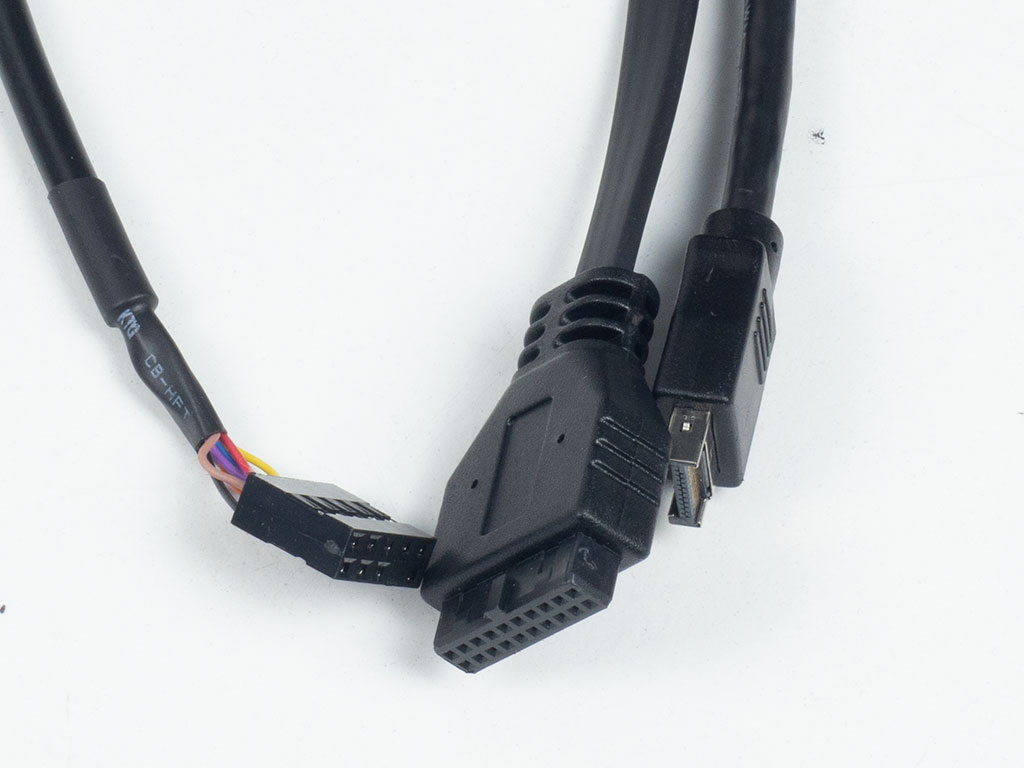
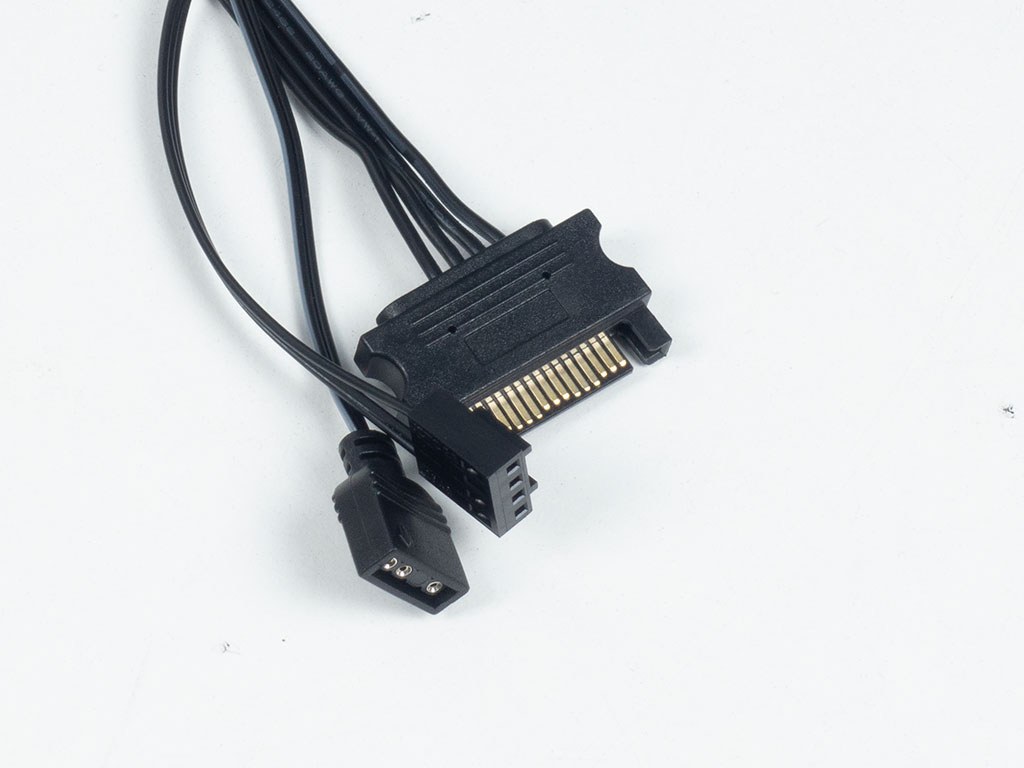
All the cables within the be quiet! Pure Base 500 FX are of the default variety and will fit any modern motherboard. As mentioned, the built-in controller is powered by a SATA connector and includes a 3-pin connector to allow for the motherboard control of the connected lighting elements of the case.
Feb 12th, 2025 06:12 EST
change timezone
Latest GPU Drivers
New Forum Posts
- AM4 and Combining Different RAM? (75)
- Proposed new Power Connector (30)
- GameTechBench GPU benchmark is already out! (256)
- Asteroid 2024 YR4 reaches level 3 on the Torino Scale (98)
- It's happening again, melting 12v high pwr connectors (302)
- ECC memory for X670E (15)
- win10 or win11 (11)
- Help me decide..........OLED monitors (30)
- AMD RX 7000 series GPU Owners' Club (1294)
- Microsoft Officially drops AC3 (Dolby Digital) Support from W11 24H2 (19)
Popular Reviews
- Civilization VII Performance Benchmark Review - 35 GPUs Tested
- Kingdom Come Deliverance II Performance Benchmark Review - 35 GPUs Tested
- Team Group T-Force XTREEM DDR5-7200 48GB CL34 Review
- ASRock Phantom Gaming B850I Lightning Wi-Fi Review
- DAREU A980 Pro Max Review
- AMD Ryzen 7 9800X3D Review - The Best Gaming Processor
- NVIDIA GeForce RTX 5080 Founders Edition Review
- Corsair Frame 4000D Review
- Spider-Man 2 Performance Benchmark Review - 35 GPUs Tested
- MSI GeForce RTX 5080 Vanguard SOC Review
Controversial News Posts
- AMD Radeon 9070 XT Rumored to Outpace RTX 5070 Ti by Almost 15% (287)
- AMD is Taking Time with Radeon RX 9000 to Optimize Software and FSR 4 (256)
- AMD Denies Radeon RX 9070 XT $899 USD Starting Price Point Rumors (239)
- Edward Snowden Lashes Out at NVIDIA Over GeForce RTX 50 Pricing And Value (239)
- AMD Radeon RX 9070 XT & RX 9070 Custom Models In Stock at European Stores (226)
- New Leak Reveals NVIDIA RTX 5080 Is Slower Than RTX 4090 (215)
- AMD's Radeon RX 9070 Launch Faces Pricing Hurdles (175)
- AMD Radeon RX 9070 XT Tested in Cyberpunk 2077 and Black Myth: Wukong (169)