 5
5
be quiet! Pure Base 501 DX Review
Thermal Stress Test »Assembly
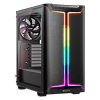
When attempting to install the motherboard inside the chassis, we hit a small snag. The redesigned cable cover/SSD bracket gets in the way of dropping the board in. Not a big deal, but something to consider when doing your assembly, as you have to remove either the rear fan or take that cover off. The motherboard fits well inside the case. There is little space along the edges, but the openings are well-placed, so cable routing should not be an issue.
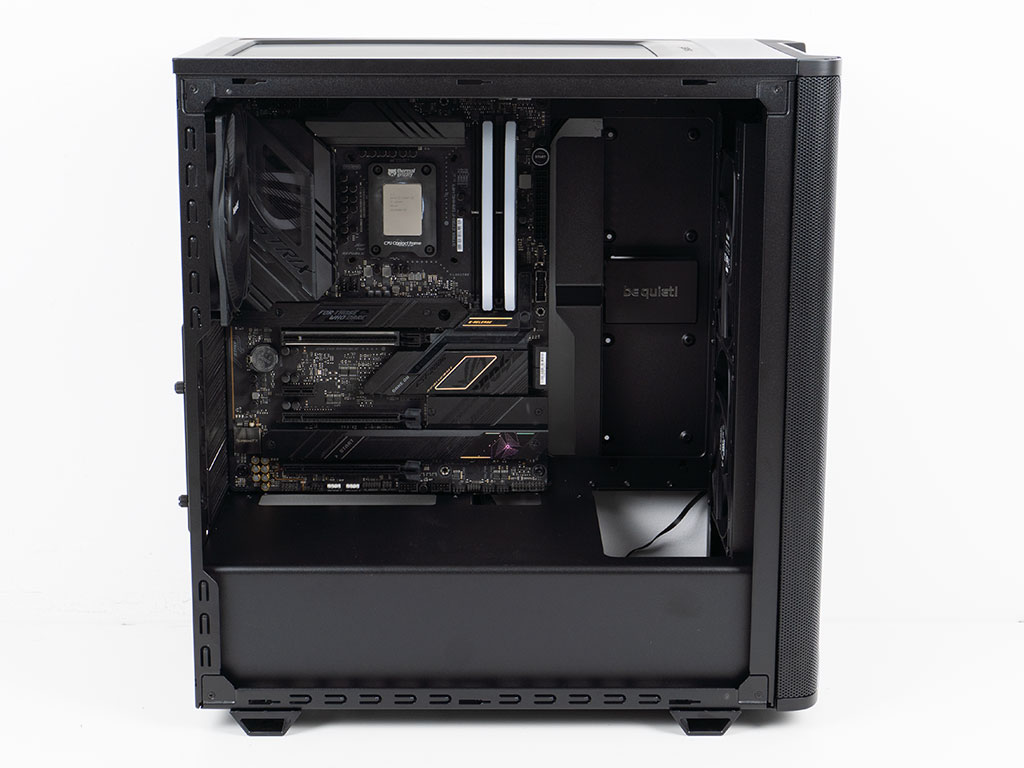
Adding the GPU is straightforward as well, and the RTX 4080 fits perfectly fine. It would have been nice if be quiet! had found a way to include a GPU support system as they have gotten much bigger and heavier compared in the last decade.
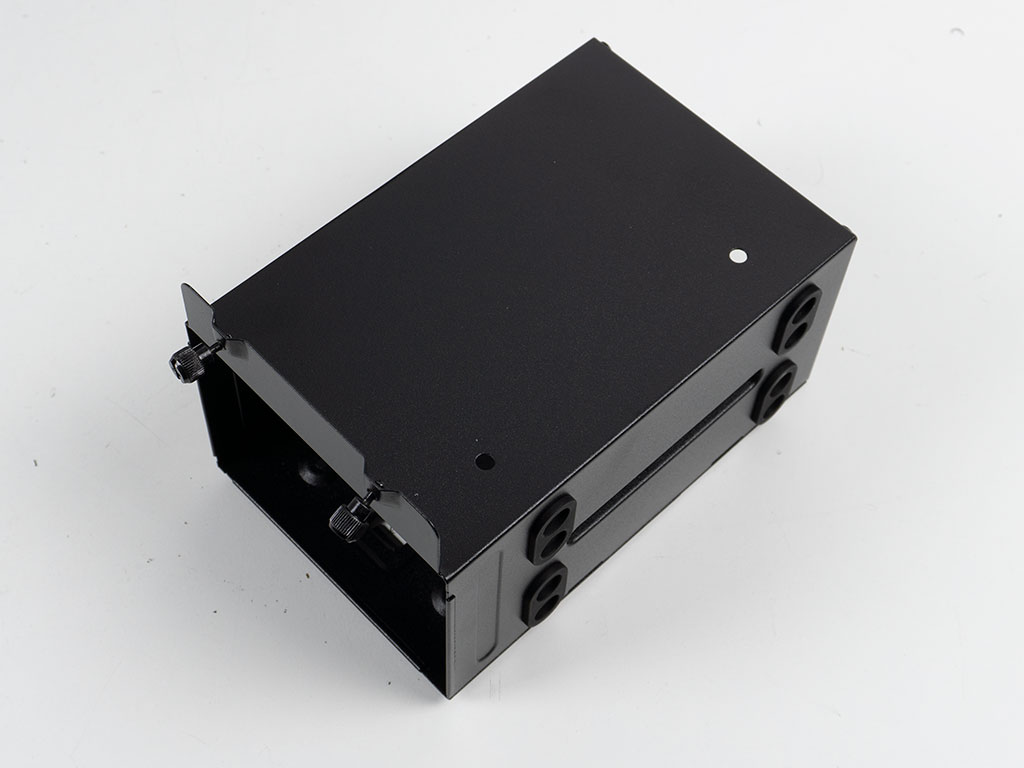
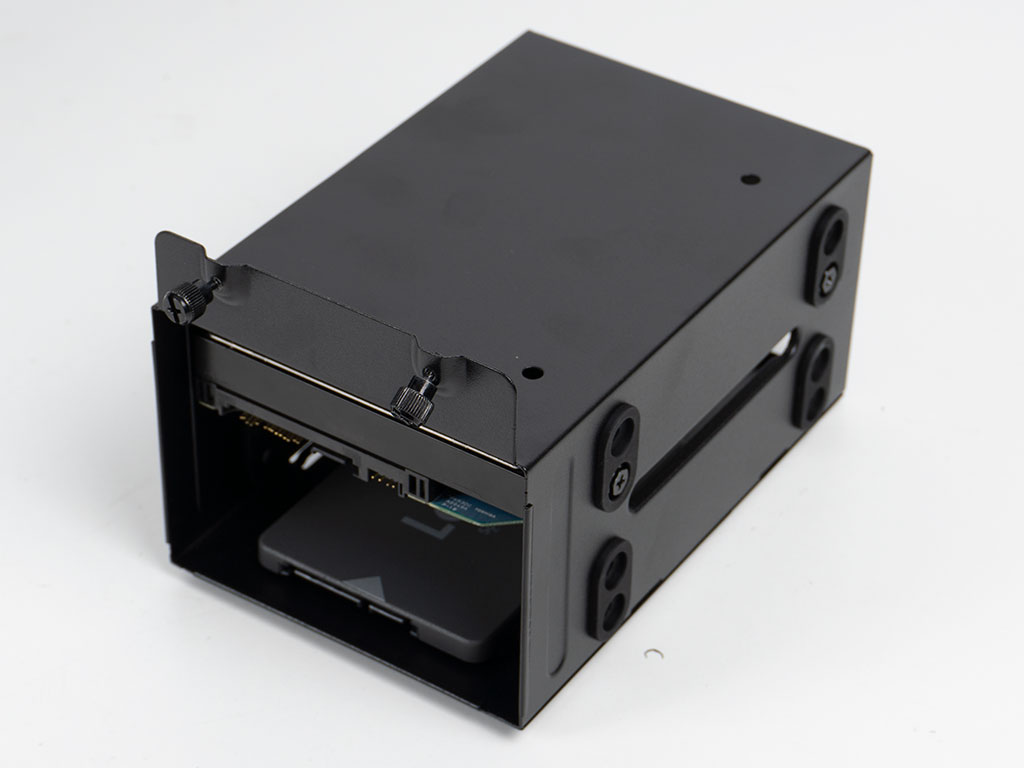
The 3.5" drives also have to be installed outside the chassis. be quiet! includes special screws that are long enough to go through the rubber-equipped holes. Once filled, simply slide the whole cage back in place and tighten down the two attached thumb screws.
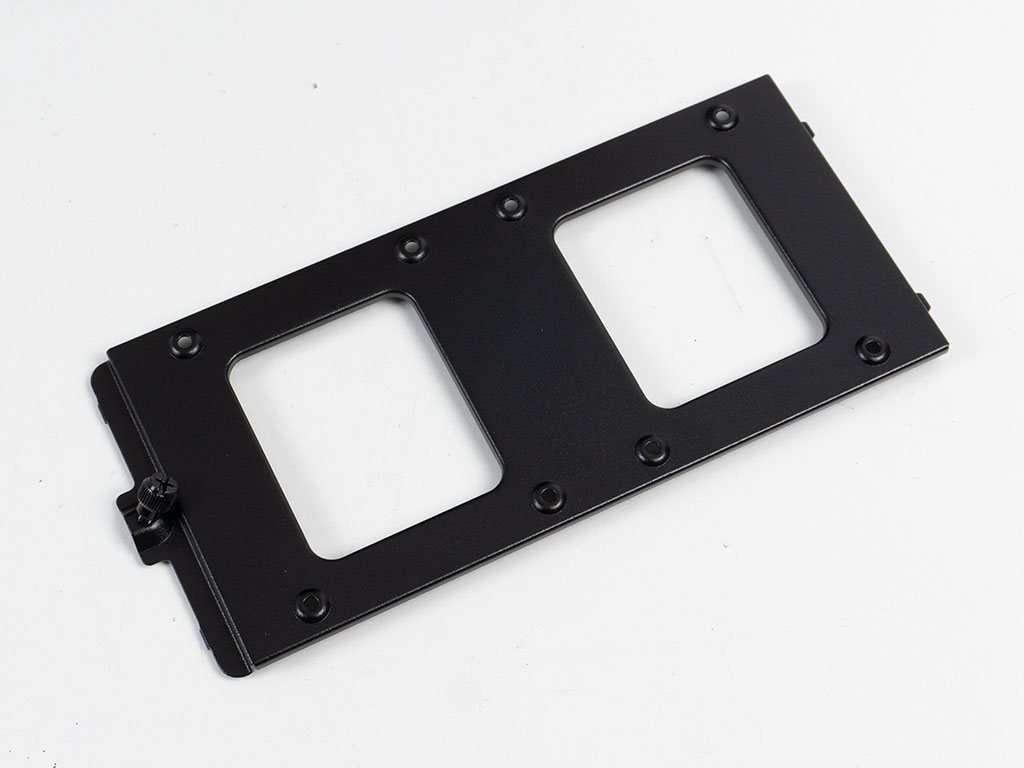
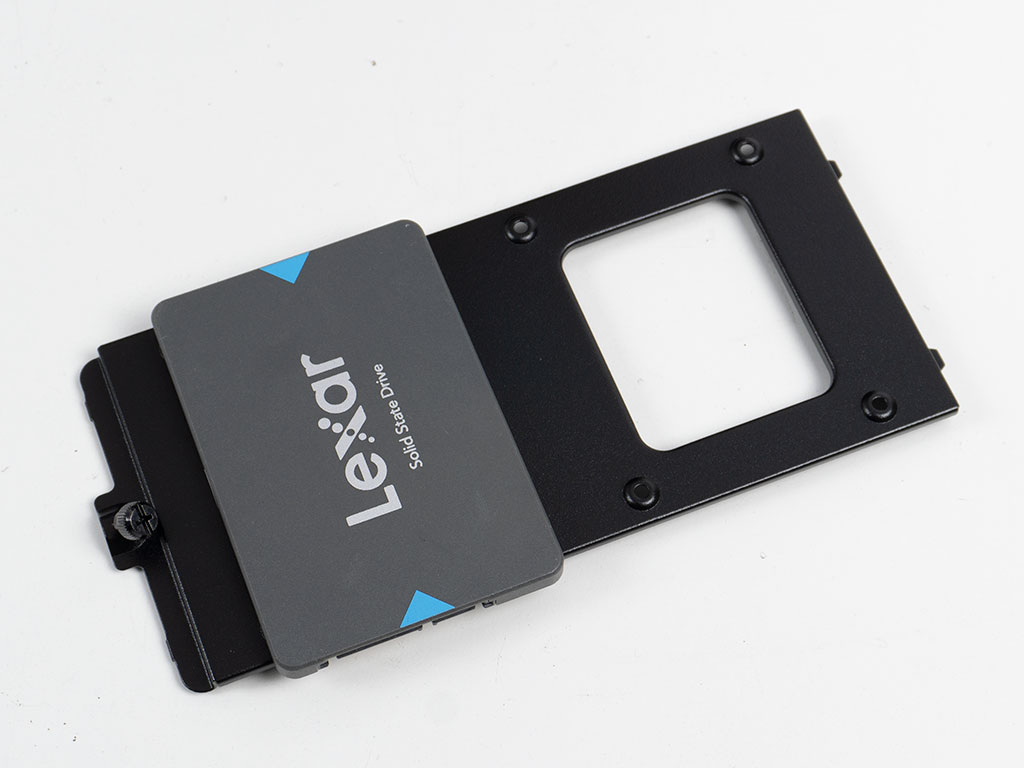
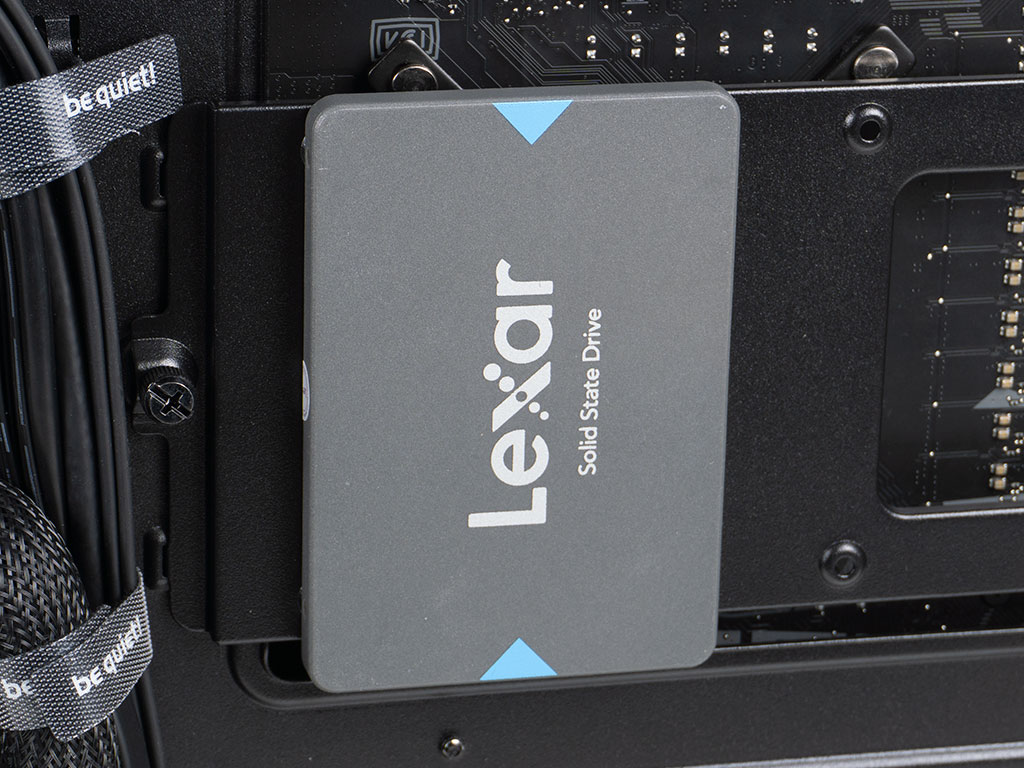
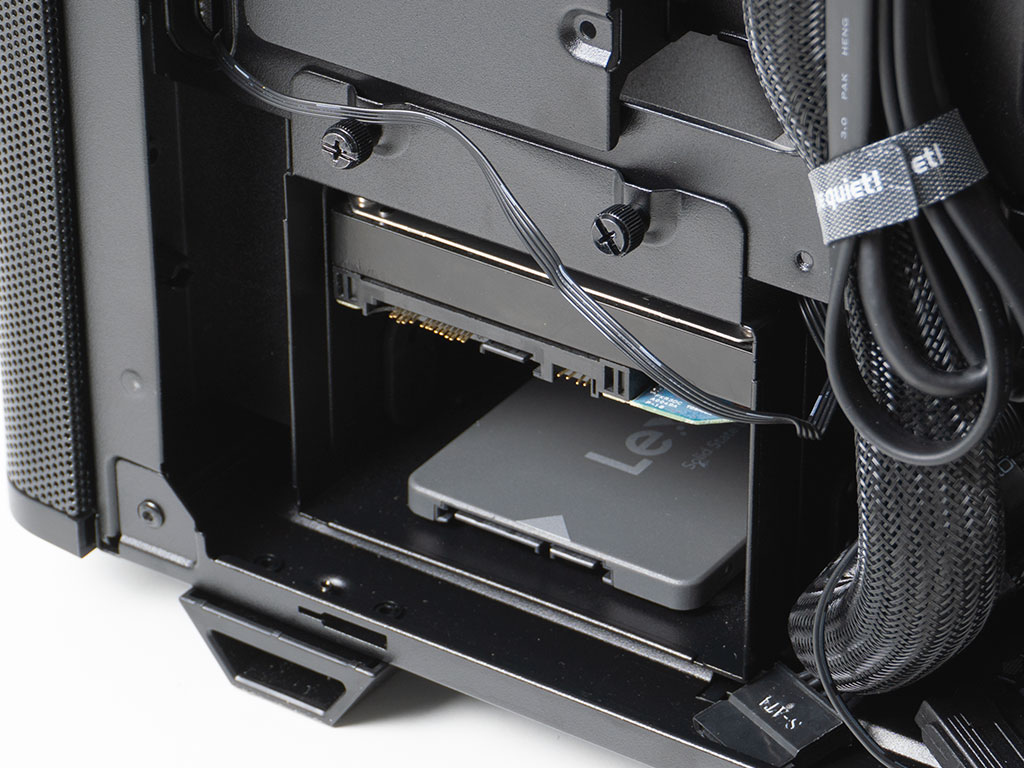
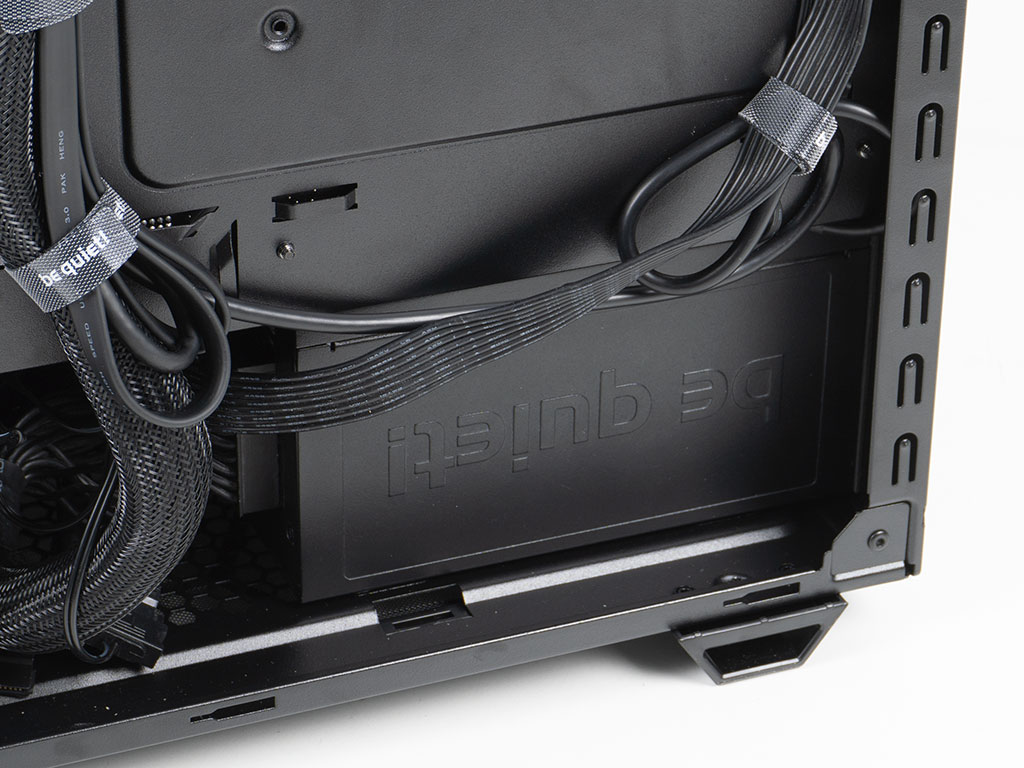
You may install the SSD hidden away from view by screwing it to the plate above the CPU cooler opening and putting that whole contraption back into place. Alternatively, if you would like to show things off more, you could simply screw the drive into the plate provided to cover the cable-routing hole.

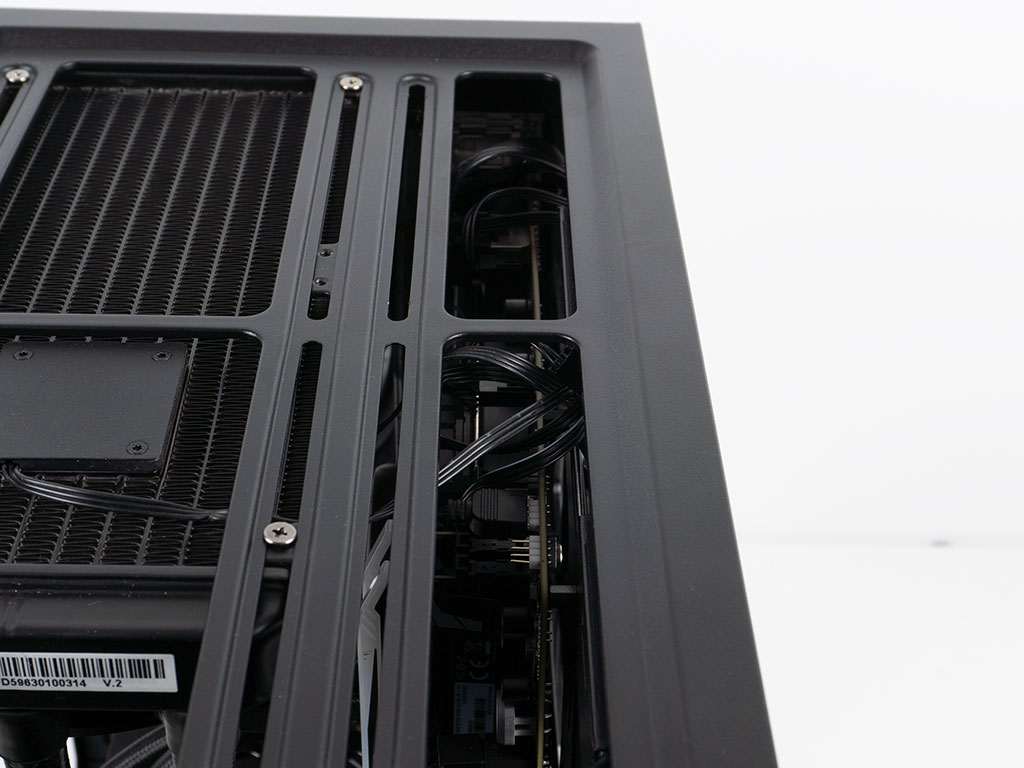
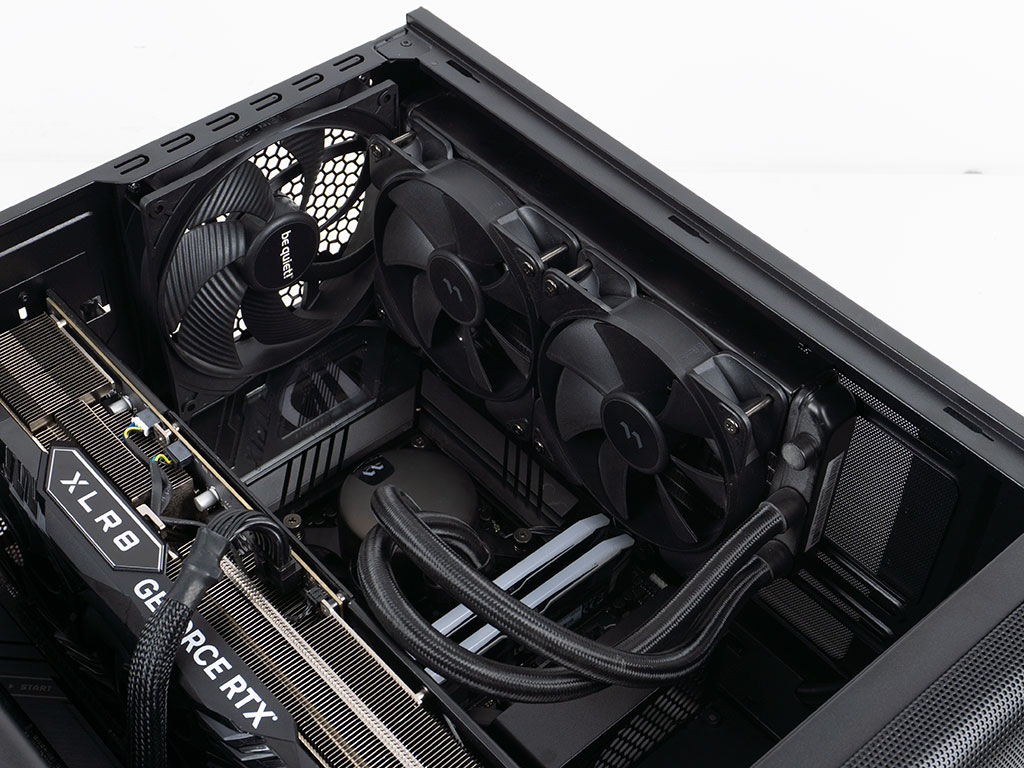
Adding a 240 mm AIO in the ceiling is straightforward, and it clears all the motherboard components. While access to the top edge connectors on the motherboard would usually be blocked, be quiet! managed a functional workaround by including openings in the ceiling to reach in and access those from above. This is simple, yet quite smart!
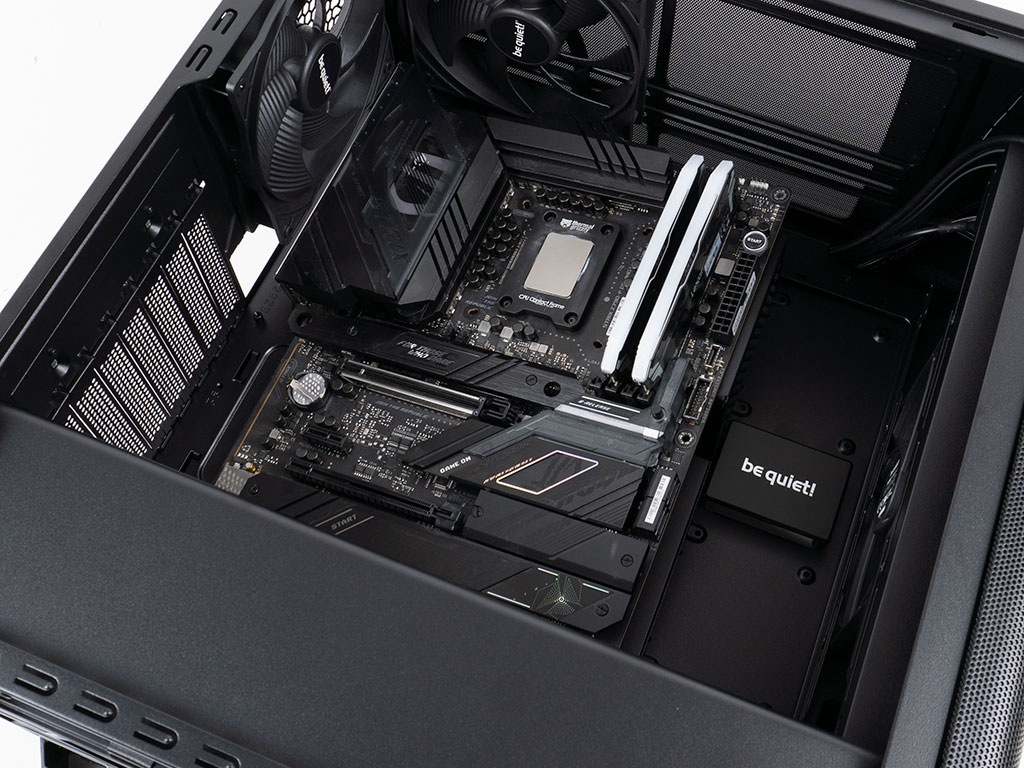
While the PSU had to be pushed in through the back of the frame with the 500 DX, you may now simply drop it in and screw it in - no more mounting frame needed. There is ample room for a quality unit, even if you decide to put the HDD cage unto the position so that you have room for a radiator in the front.
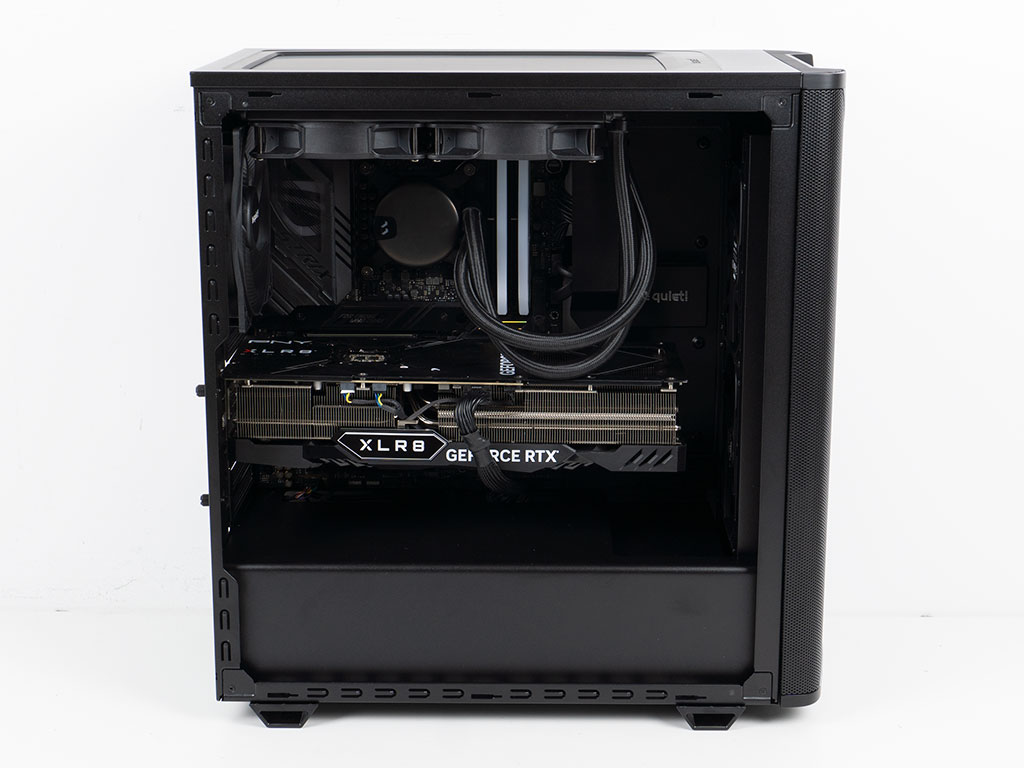
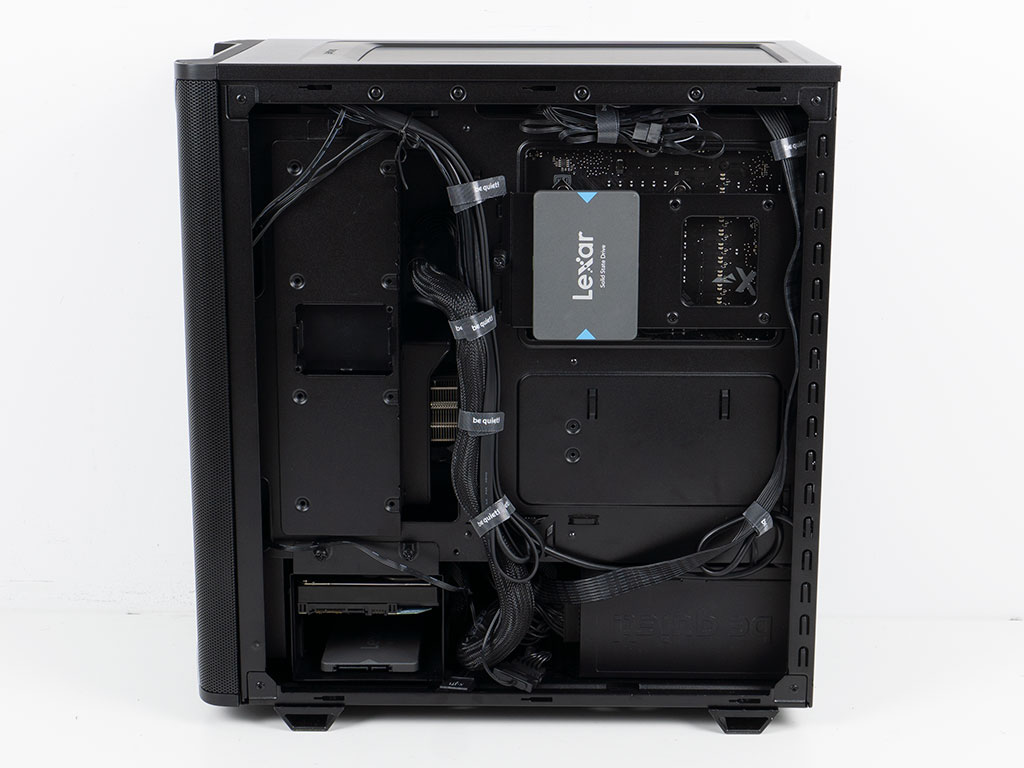
With everything installed, the Pure Base 501 DX has a very clean interior in part thanks to the bracket in the front, which also acts as a cable channel. We moved the ceiling fan to the front, as the AIO is in the ceiling. Naturally for our performance tests, the cooling setup has been reverted to the out-of-the-box configuration. On the rear, all the cables are held in place by the four Velcro strips. This worked well, but be quiet! could have modernized the Velcro strips as there are quite a few more elaborate implementations out there these days.
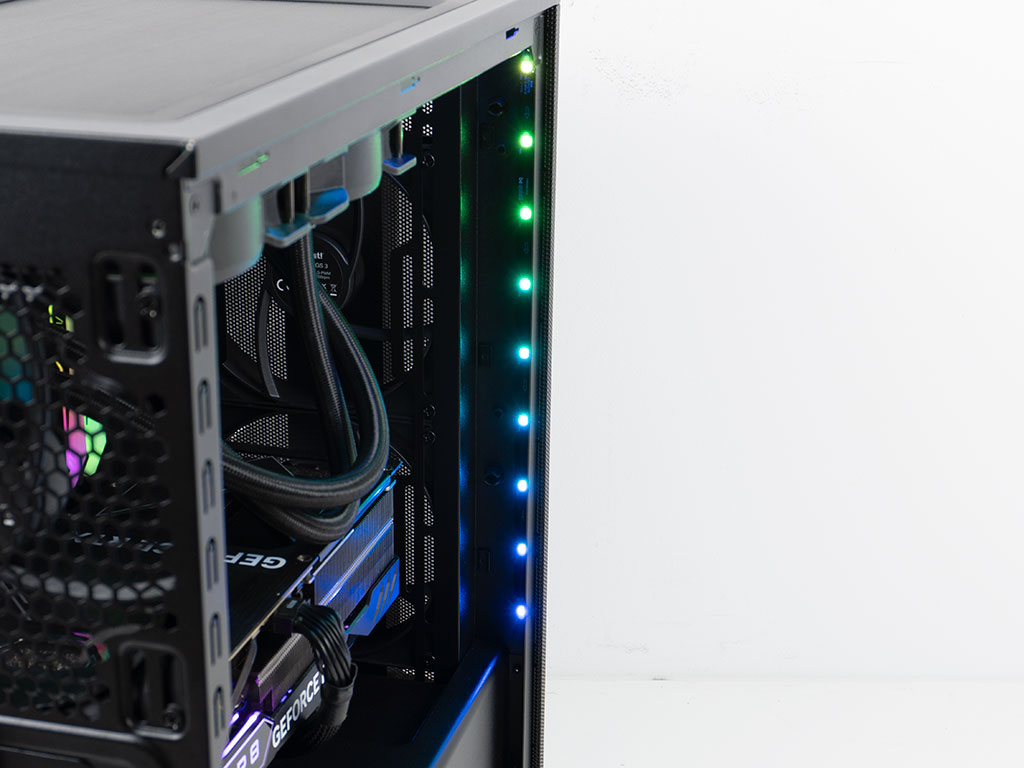
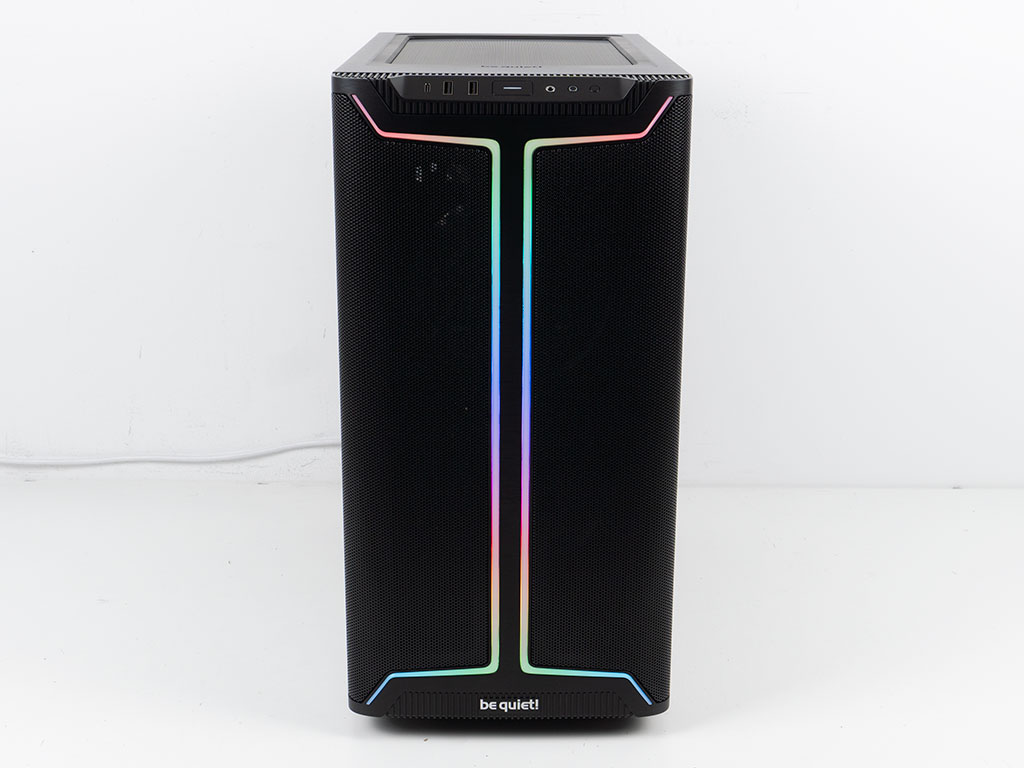
A very cool and fun surprise is the built-in LED strip in the front of the case. This is quite the throwback to the days when we used to buy CCFL lights in a specific color and use double-sided tape to secure one to the front and one to the ceiling. The only issue is, that these LEDs are not diffused at all, which is unfortunate.
Finished Looks
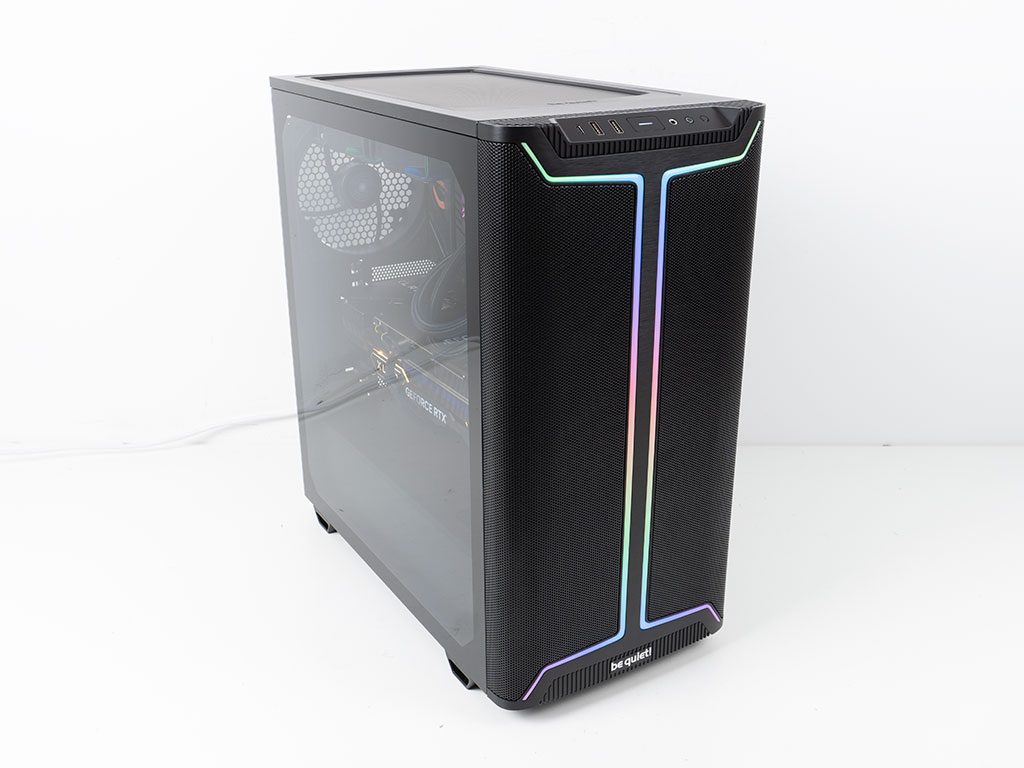

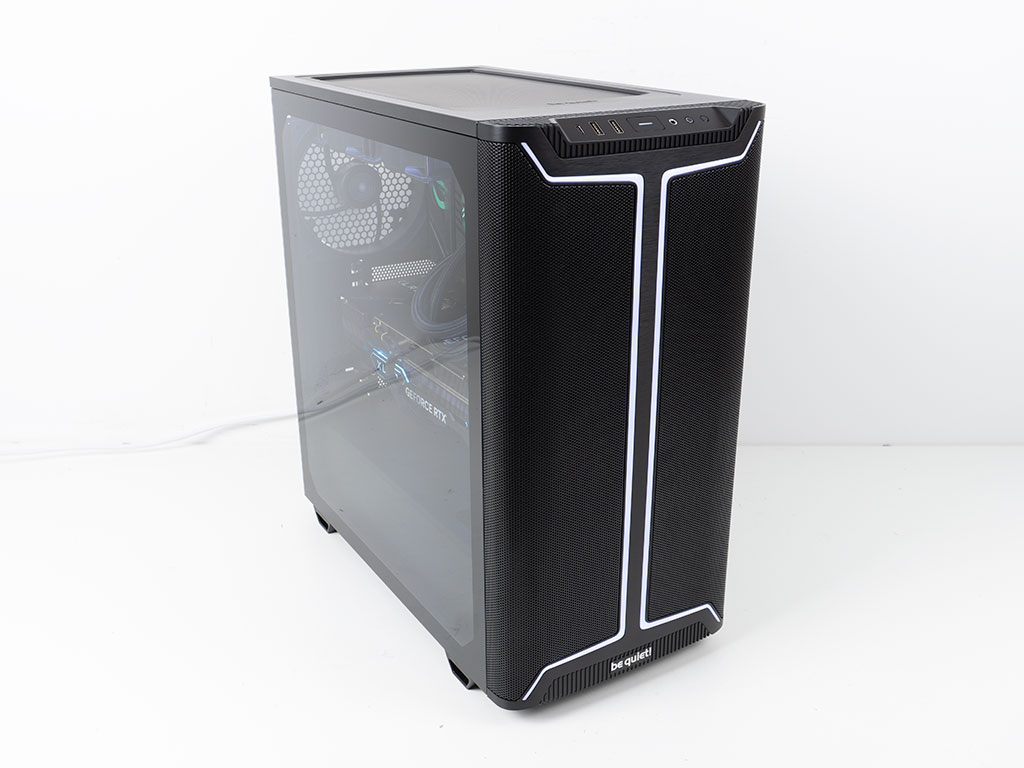
Once turned on, the be quiet Pure Base 501 DX LED elements in the front light up nicely with great coverage along the entire length of these. Compared to the ones inside the original 500 DX, they do not seem quite as bright. The power button also lights up in white to let you know the system is up and running.
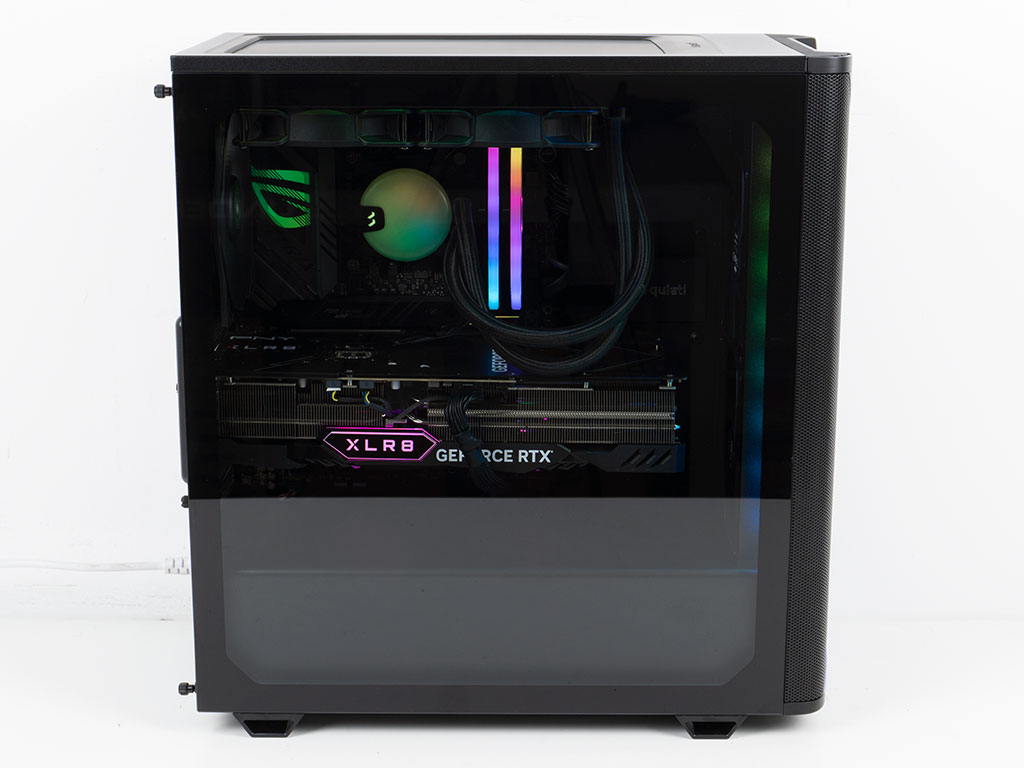
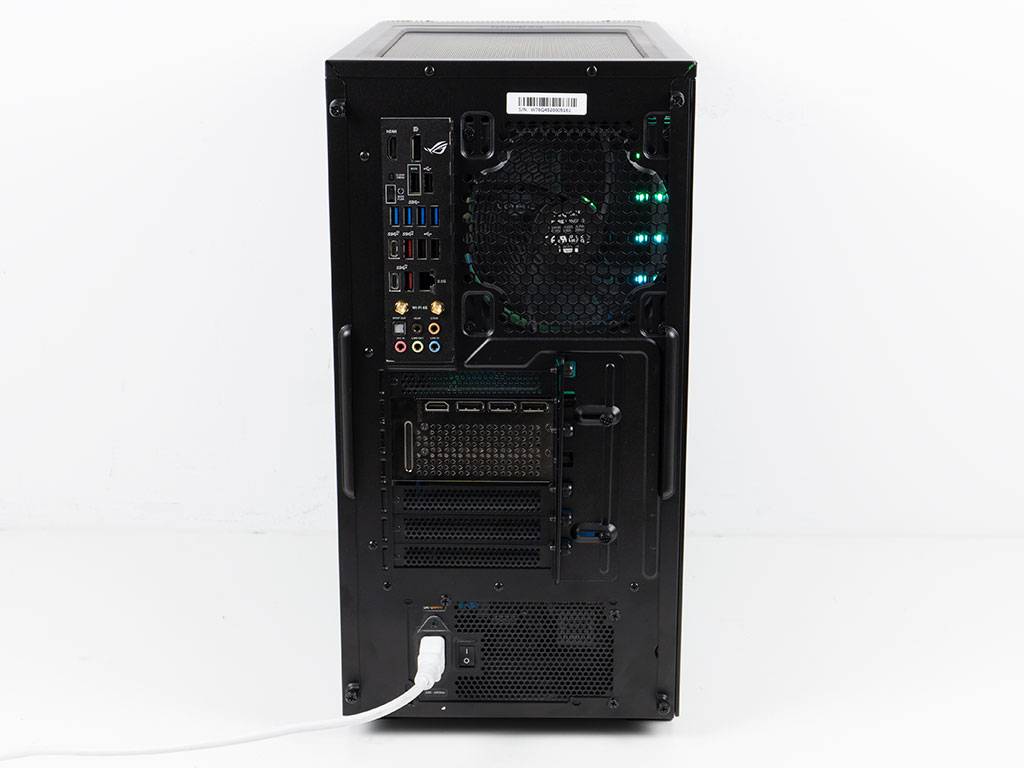
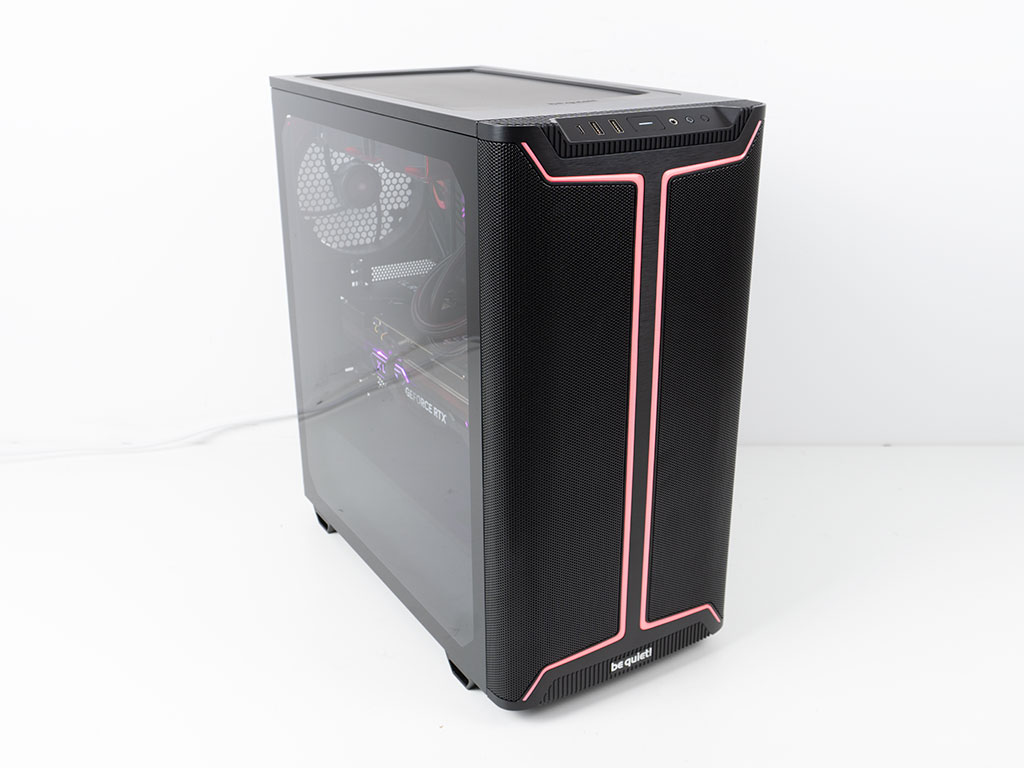
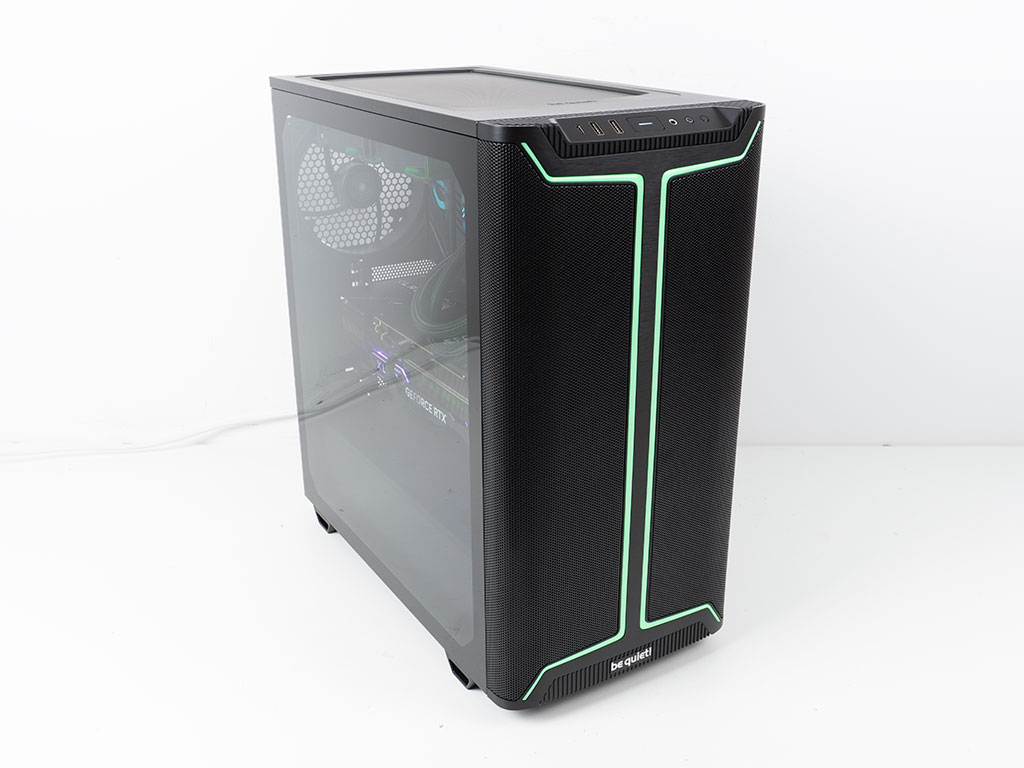
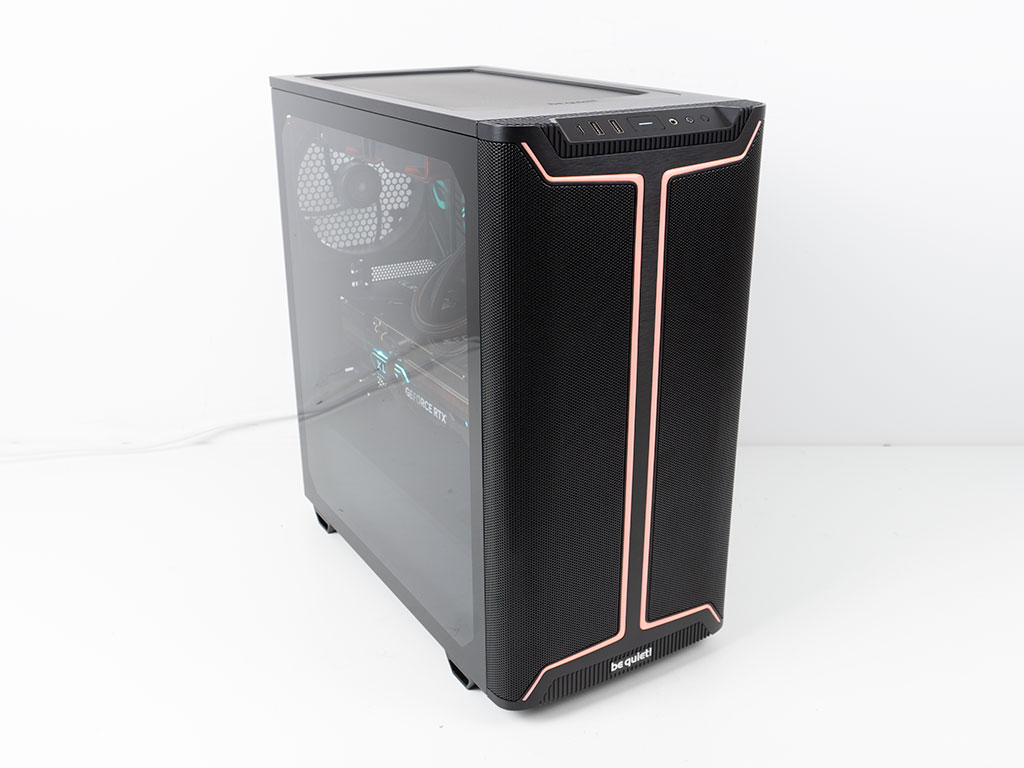
Even with lower luminance, the strips look great and will in turn not blind you when you game in a dark environment. Thanks to the clear glass, you can see all your hardware nicely and the glow of the built-in LED strip can also be seen. In the rear, everything is where you would expect to see it from a modern chassis like this. You may toggle through various animations and color modes with the built-in controller. Below are the solid color choices it is capable of.


Feb 28th, 2025 13:20 EST
change timezone
Latest GPU Drivers
New Forum Posts
- AAF Optimus Modded Driver For Windows 10 & Windows 11 - Only for Realtek HDAUDIO Chips (341)
- Basic web browsing PC (16)
- It's happening again, melting 12v high pwr connectors (958)
- I5 10300H undervolting ,need to stop thermal throttle (2)
- What are you playing? (23055)
- K7 Thermal Pad. What is that? (1)
- i7-13700HX not overclocking (14)
- DELL ALIENWARE AW2523HF COIL WHINE NOISE. (3)
- WB actually did it...They closed Monolith. :( (41)
- Amd rx570 sapphire nitro 8gb+ not detected (19)
Popular Reviews
- AMD Radeon RX 9070 Series Technical Deep Dive
- ASUS GeForce RTX 5070 Ti TUF OC Review
- Montech HyperFlow Silent 360 Review
- Gigabyte X870 Aorus Elite WiFi 7 Review
- Corsair Xeneon 34WQHD240-C Review - Pretty In White
- be quiet! Pure Base 501 DX Review
- AMD Ryzen 7 9800X3D Review - The Best Gaming Processor
- MSI GeForce RTX 5070 Ti Vanguard SOC Review
- ASUS ROG Harpe Ace Mini Review
- MSI GeForce RTX 5070 Ti Ventus 3X OC Review
Controversial News Posts
- NVIDIA GeForce RTX 50 Cards Spotted with Missing ROPs, NVIDIA Confirms the Issue, Multiple Vendors Affected (498)
- AMD Radeon 9070 XT Rumored to Outpace RTX 5070 Ti by Almost 15% (304)
- AMD Plans Aggressive Price Competition with Radeon RX 9000 Series (274)
- AMD Radeon RX 9070 and 9070 XT Listed On Amazon - One Buyer Snags a Unit (255)
- NVIDIA Investigates GeForce RTX 50 Series "Blackwell" Black Screen and BSOD Issues (244)
- AMD Mentions Sub-$700 Pricing for Radeon RX 9070 GPU Series, Looks Like NV Minus $50 Again (243)
- Edward Snowden Lashes Out at NVIDIA Over GeForce RTX 50 Pricing And Value (242)
- AMD Radeon RX 9070 and 9070 XT Official Performance Metrics Leaked, +42% 4K Performance Over Radeon RX 7900 GRE (191)