 32
32
be quiet! Pure Rock 2 FX Review
Finished Looks »Installation
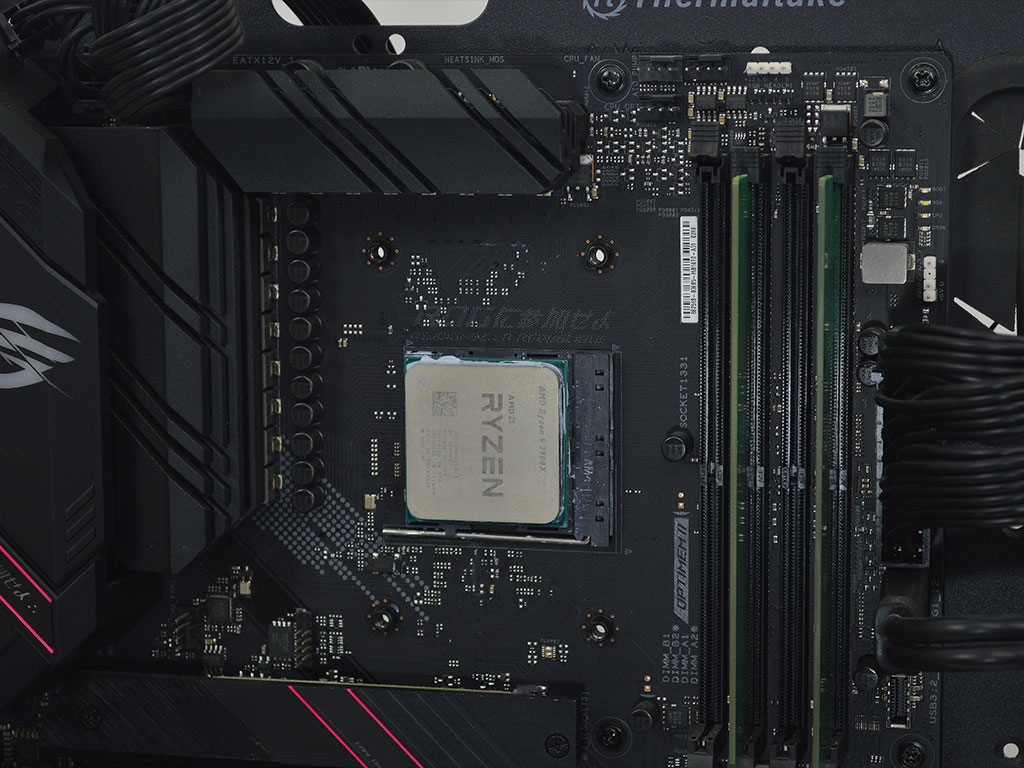
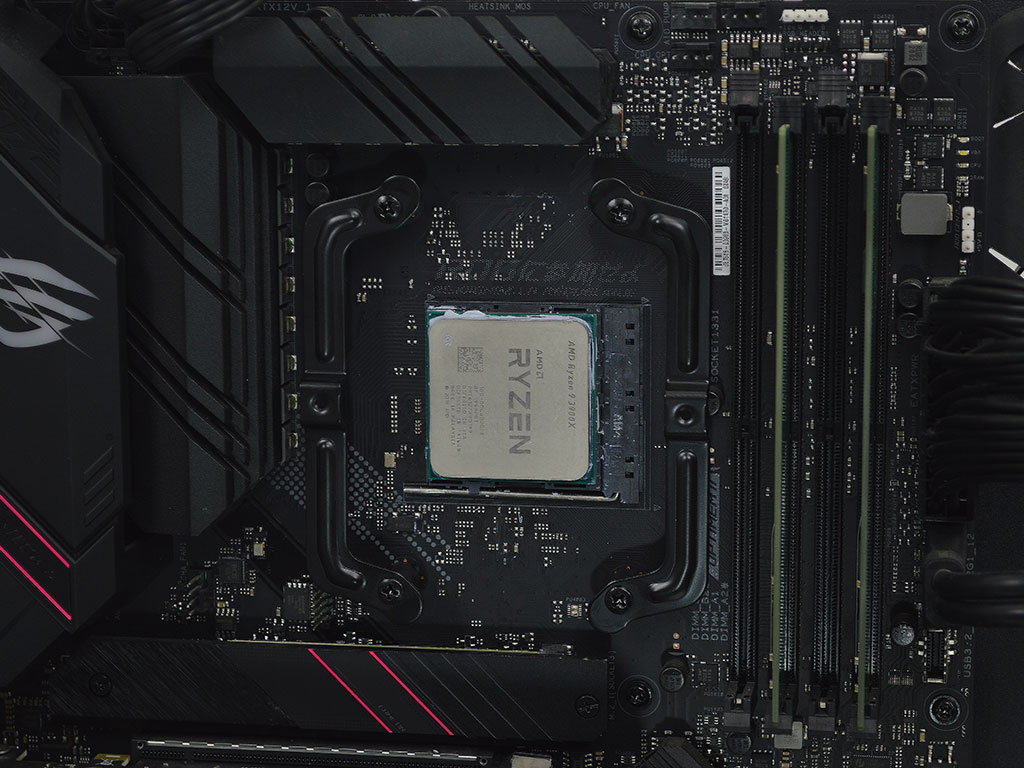
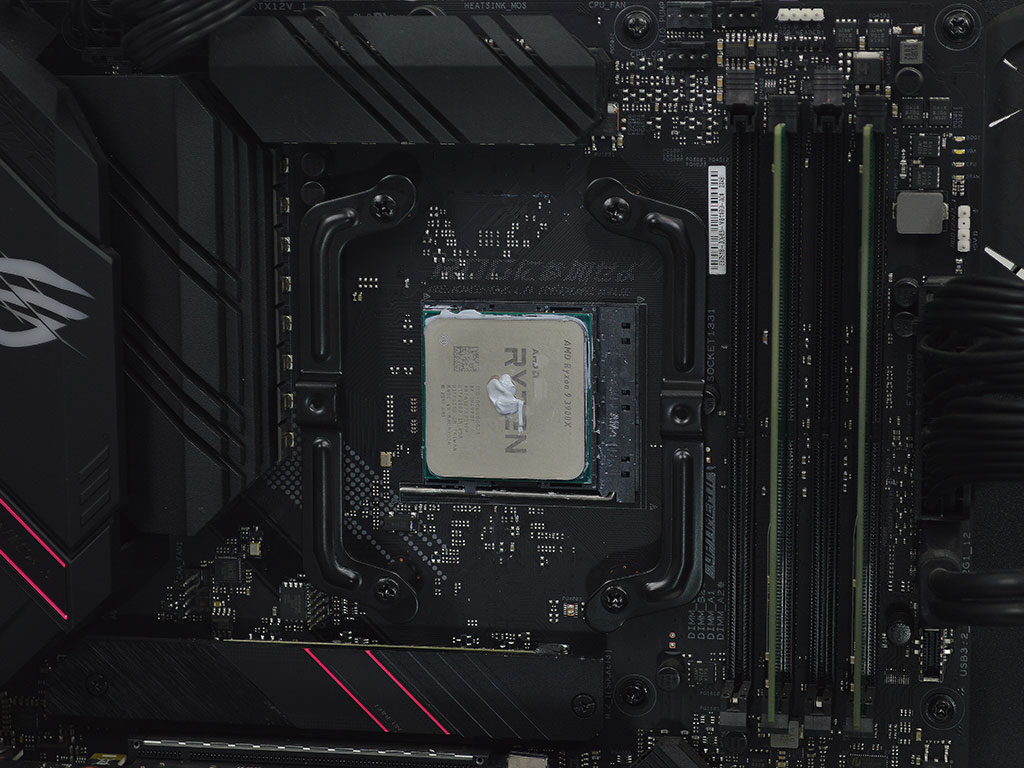
To install the be quiet! Pure Rock 2 FX on AMD's Socket AM4, you will need to remove the plastic retention brackets. To do so, unscrew the two screws securing one in place. Next, keep the AMD backplate on the board and position the plastic spacers over the mounting holes. Once done, place the screw through the mounting arm, slide it through the plastic spacer, and secure it to the backplate. Standoffs would be a better solution here, but thankfully, there is enough space inside the spacer along with enough screw length that you can focus on one screw at a time and slowly line everything up fairly easily. Once complete, you can apply a thermal paste of your choice or use the pre-applied paste on the heatsink itself.
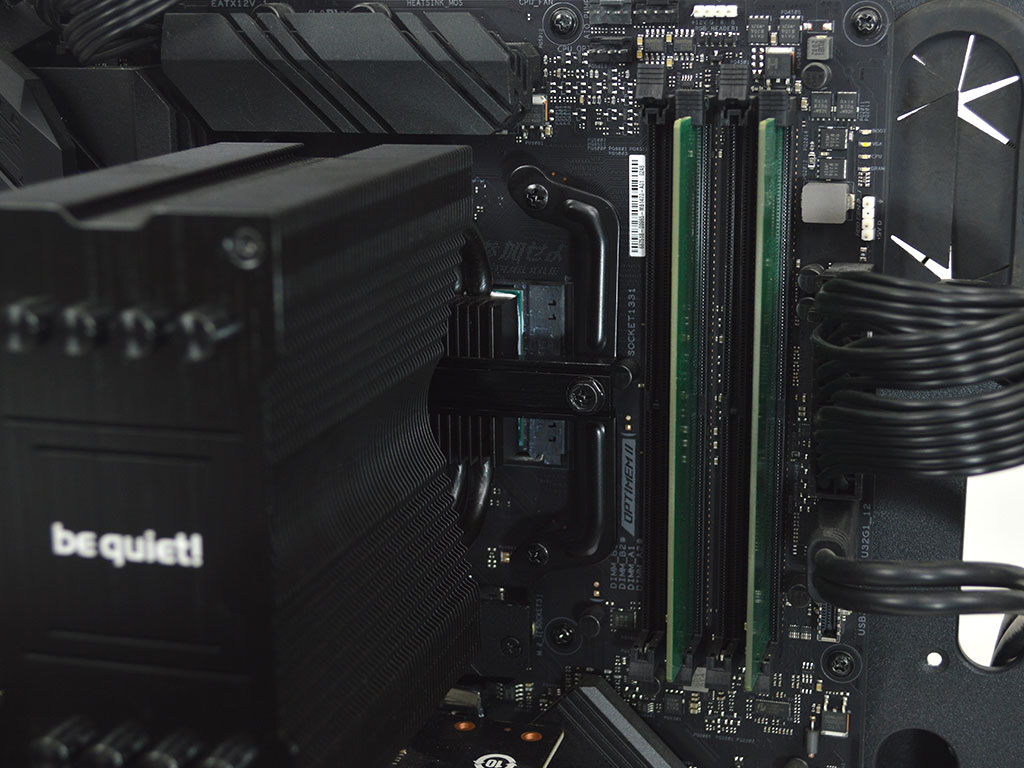

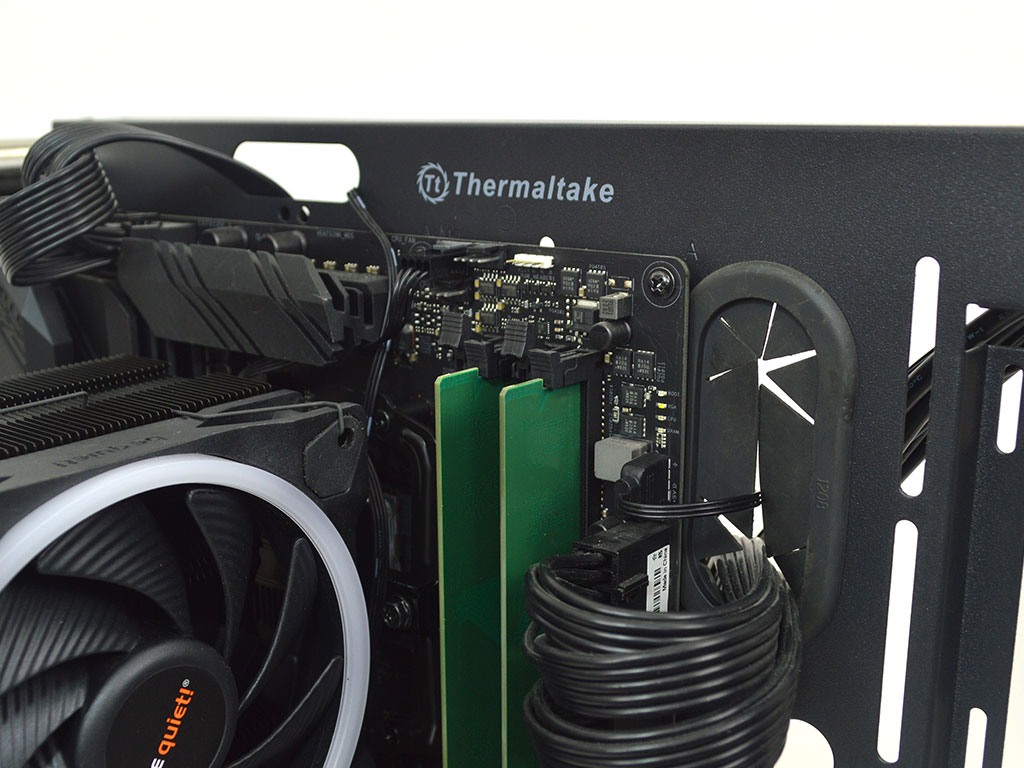
With all brackets in place and thermal paste applied, you can now position the crossbar on the heatsink, line it up with the mounting brackets, and then use the two screws to secure the cooler to the mounting brackets. I would have preferred an attached crossbar with captive screws, but this step was less troublesome in comparison to similar designs I have used. Regardless, with the heatsink secure, it is time to attach the fan and plug it into the CPU fan header. With that taken care of, the CPU cooler is good to go.
Compared to AMD, the Intel mounting process is slightly more involved due to the number of parts, but remains very straightforward. In fact, it is easier than the AMD procedure due to using standoffs, meaning you don't have to deal with as many parts at the same time. Regardless of Intel or AMD systems, be quiet!'s mounting hardware could still see further refinement.
Feb 28th, 2025 11:06 EST
change timezone
Latest GPU Drivers
New Forum Posts
- is hdmi port on my monitor damaged? vga is fine but flickering with hdmi (14)
- Asus ZenWifi BE14000 3pk or Orbi 770 3pk (0)
- Basic web browsing PC (11)
- Load Balance for Fail Over recomendation (0)
- Nvidia's GPU market share hits 90% in Q4 2024 (gets closer to full monopoly) (691)
- The TPU UK Clubhouse (25816)
- GameTechBench GPU benchmark is already out! (285)
- WB actually did it...They closed Monolith. :( (40)
- Windows 11 General Discussion (5731)
- X299 Owners Club (175)
Popular Reviews
- AMD Radeon RX 9070 Series Technical Deep Dive
- Montech HyperFlow Silent 360 Review
- ASUS GeForce RTX 5070 Ti TUF OC Review
- Gigabyte X870 Aorus Elite WiFi 7 Review
- Corsair Xeneon 34WQHD240-C Review - Pretty In White
- be quiet! Pure Base 501 DX Review
- AMD Ryzen 7 9800X3D Review - The Best Gaming Processor
- MSI GeForce RTX 5070 Ti Vanguard SOC Review
- MSI GeForce RTX 5070 Ti Ventus 3X OC Review
- ASUS ROG Harpe Ace Mini Review
Controversial News Posts
- NVIDIA GeForce RTX 50 Cards Spotted with Missing ROPs, NVIDIA Confirms the Issue, Multiple Vendors Affected (498)
- AMD Radeon 9070 XT Rumored to Outpace RTX 5070 Ti by Almost 15% (304)
- AMD Plans Aggressive Price Competition with Radeon RX 9000 Series (274)
- AMD Radeon RX 9070 and 9070 XT Listed On Amazon - One Buyer Snags a Unit (255)
- NVIDIA Investigates GeForce RTX 50 Series "Blackwell" Black Screen and BSOD Issues (244)
- AMD Mentions Sub-$700 Pricing for Radeon RX 9070 GPU Series, Looks Like NV Minus $50 Again (242)
- Edward Snowden Lashes Out at NVIDIA Over GeForce RTX 50 Pricing And Value (241)
- AMD Radeon RX 9070 and 9070 XT Official Performance Metrics Leaked, +42% 4K Performance Over Radeon RX 7900 GRE (191)