 2
2
BitFenix Nova TG Review
Value & Conclusion »Test System
| System Parts for Case Reviews | |
|---|---|
| Processor: | Intel Core i5-7600K |
| Motherboards: | ATX: MSI Z270 Tomahawk mATX: MSI H270M Mortar Arctic mini-ITX: MSI Z270I Gaming Pro Carbon AC Provided by: MSI |
| Graphic Card: | Long: NVIDIA GeForce GTX 280 OEM Short: HIS Radeon 5350 HD |
| Memory: | 16 GB ADATA XPG Dazzle DDR4 2800 MHz CL17-17-17 1.25V 16 GB ADATA XPG Z1 DDR4 3000 MHz CL18-18-18 1.35V 16 GB ADATA XPG Z1 DDR4 2400 MHz CL16-16-16 1.20V Provided by: ADATA |
| HDD: | Western Digital 320 GB 7200 RPM |
| SSD: | ADATA Premier Pro SP920 MLC 256 GB ADATA Ultimate SU800 3D TLC 256 GB ADATA Premier SP550 TLC 240 GB Provided by: ADATA |
| Power Supply: | Fractal Design Integra M 450W Provided by: Fractal Design |
| Cooling: | Air Cooling: be quiet! Pure Rock Provided by: be quiet! |
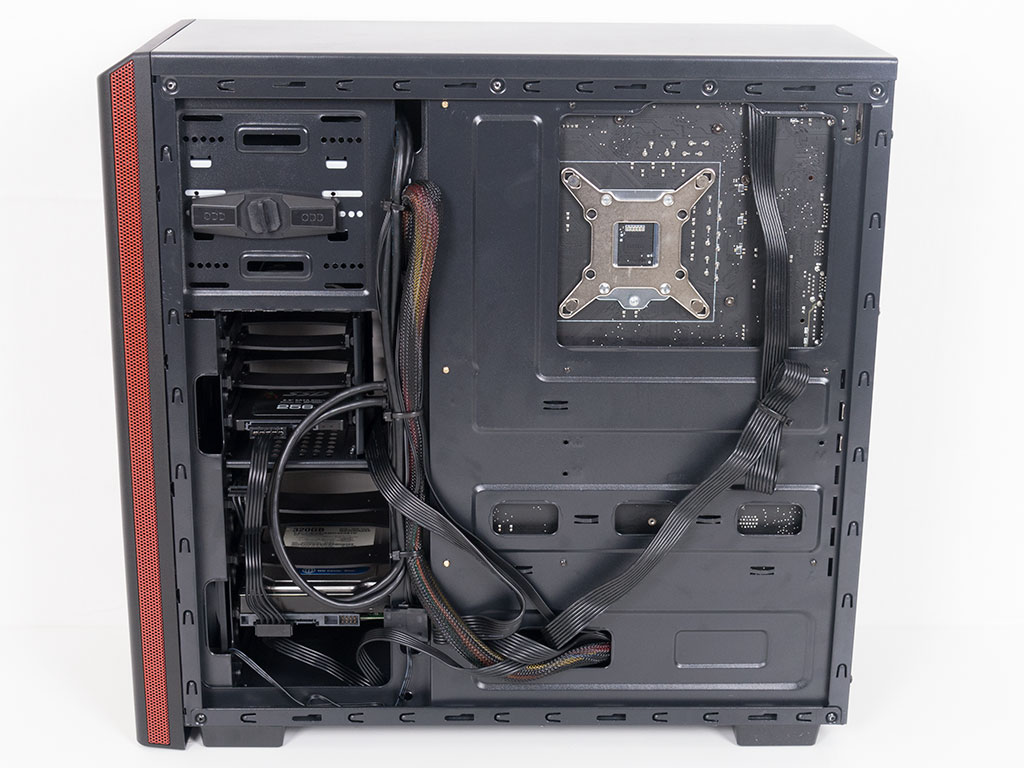
Assembly
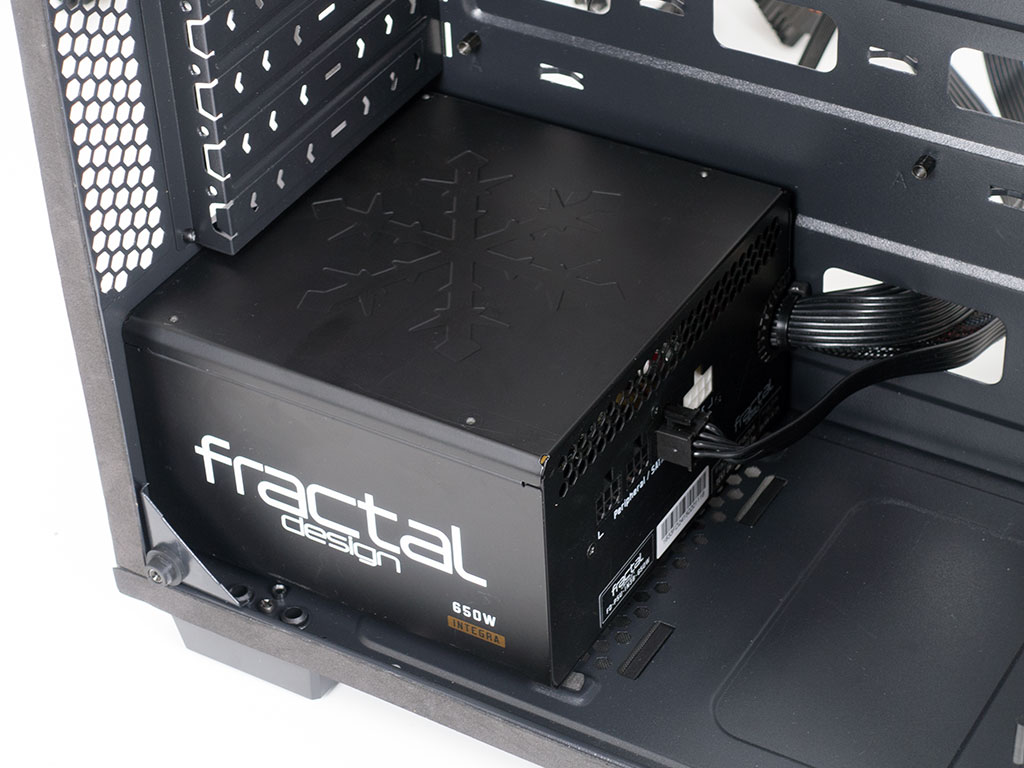
We usually start with the motherboard, but due to the fact that the Nova TG lacks large enough openings above the motherboard tray to route CPU power cables behind the tray once the board is installed, we will start with the power supply instead. This allows us to route the cable and then place the board over it so that the interior ends up being as clean as possible. The PSU is secured using traditional screws, and there is plenty of space for longer units - should the need arise.
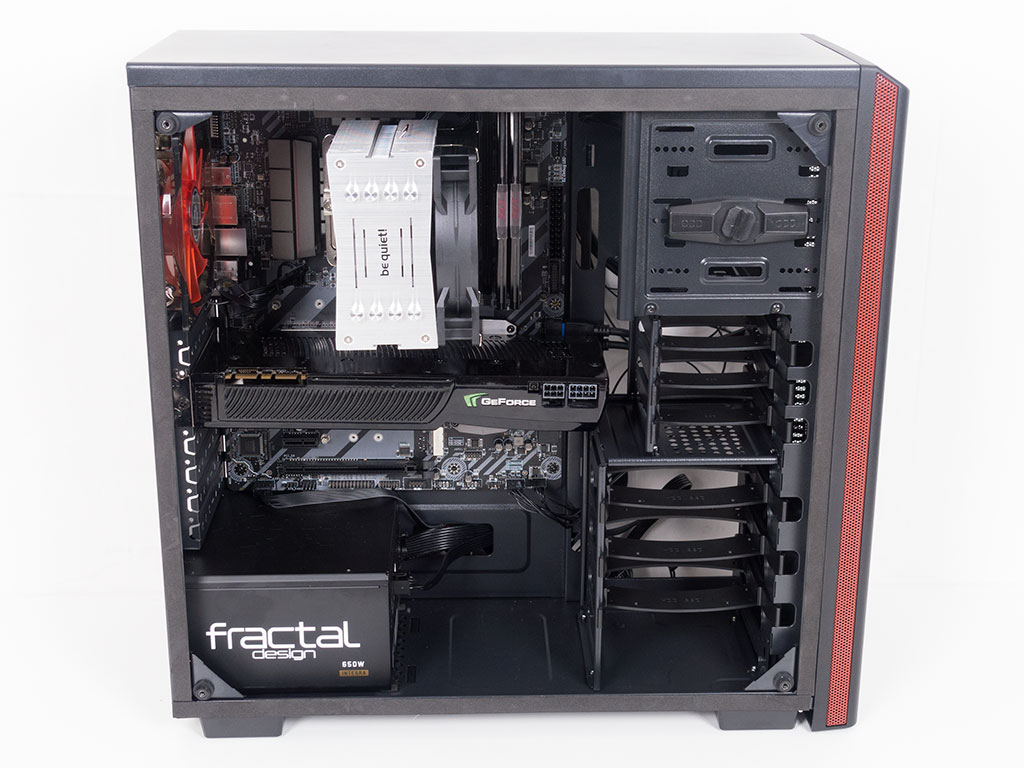
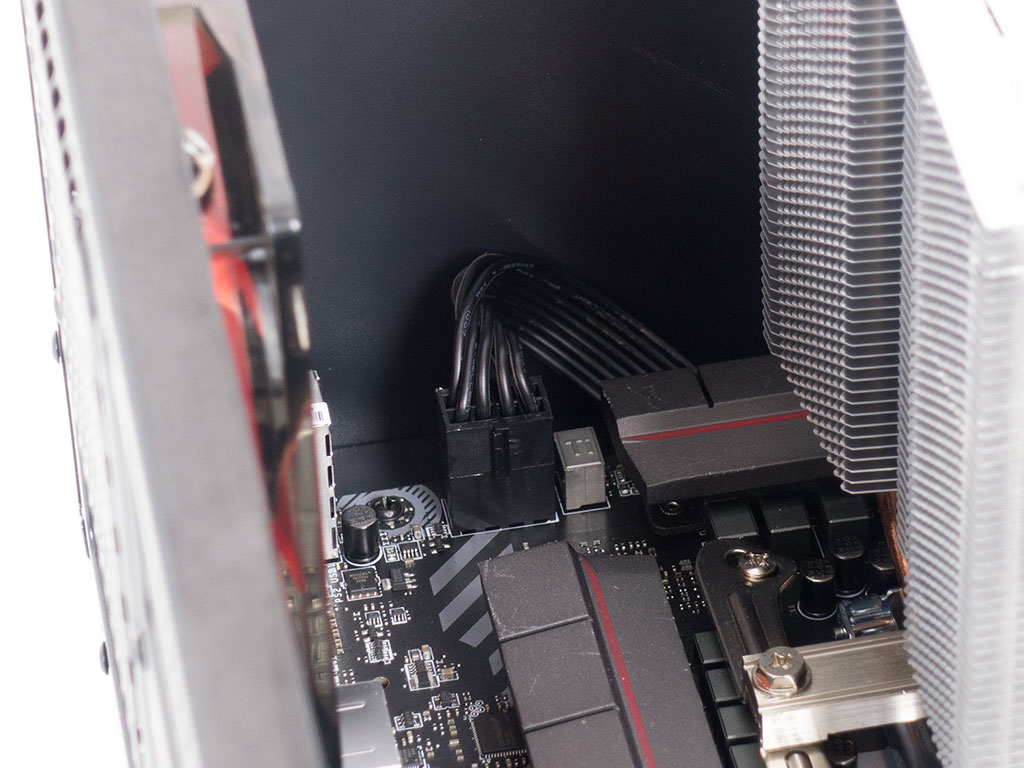
With the motherboard in place and the first bits of cable routed, it becomes apparent that everything within the Bitfenix Nova TG is sized to make sure those fairly large components will fit. The GPU can be 280 mm long and tower coolers of up to 120 mm tower in height will also fit - just barely. Bitfenix mentions 160 mm as a maximum for these type of coolers. The be quiet! Pure Rock comes in at 155 mm, and those just barely fits. As you can see, the CPU power cable comes out underneath the motherboard to achieve the cleanest possible look.
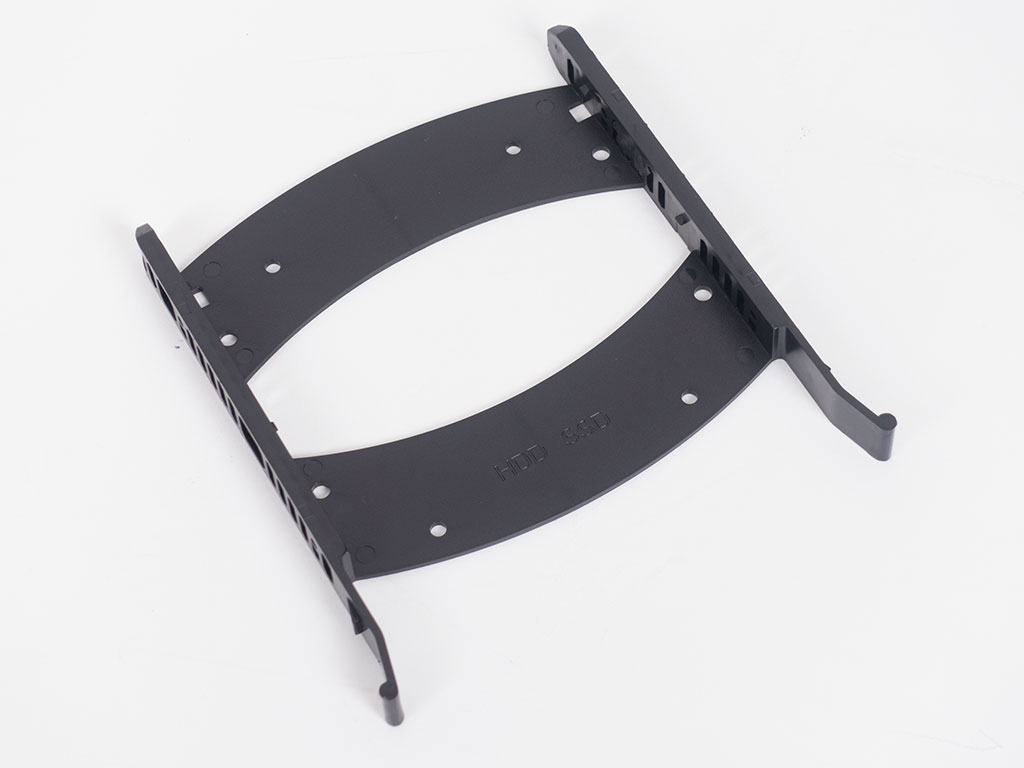

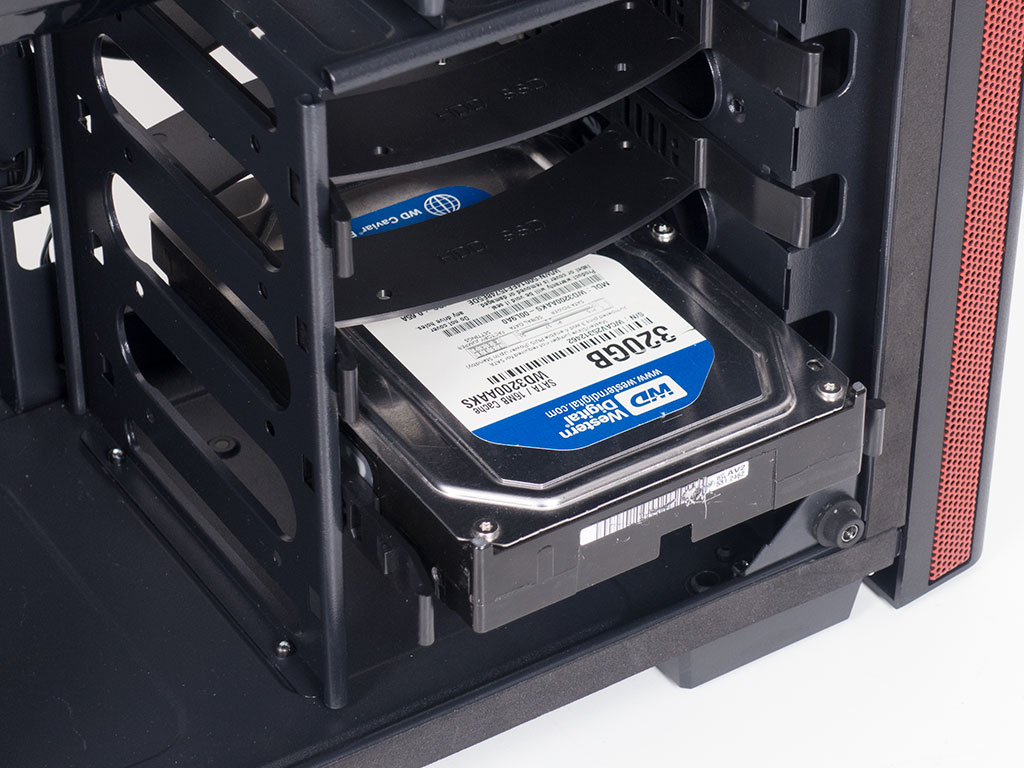
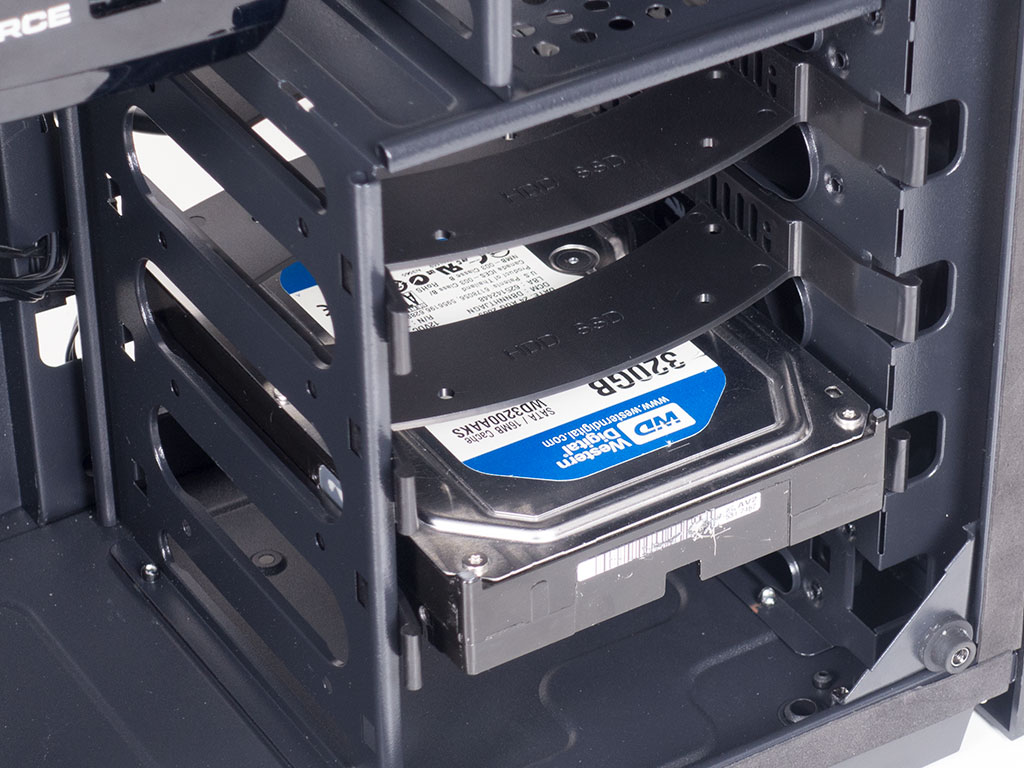
Installing a 3.5" hard drive does not require any screws or tools. Simply take the tray of your choice and insert a drive of your liking. Plastic pins will hold it in place somewhat. At this point, there is still a bit of wiggle room, and inserting it back into the cage does not change that fact. Luckily, you are able to add screws to the side of the cage to pin the tray itself down.
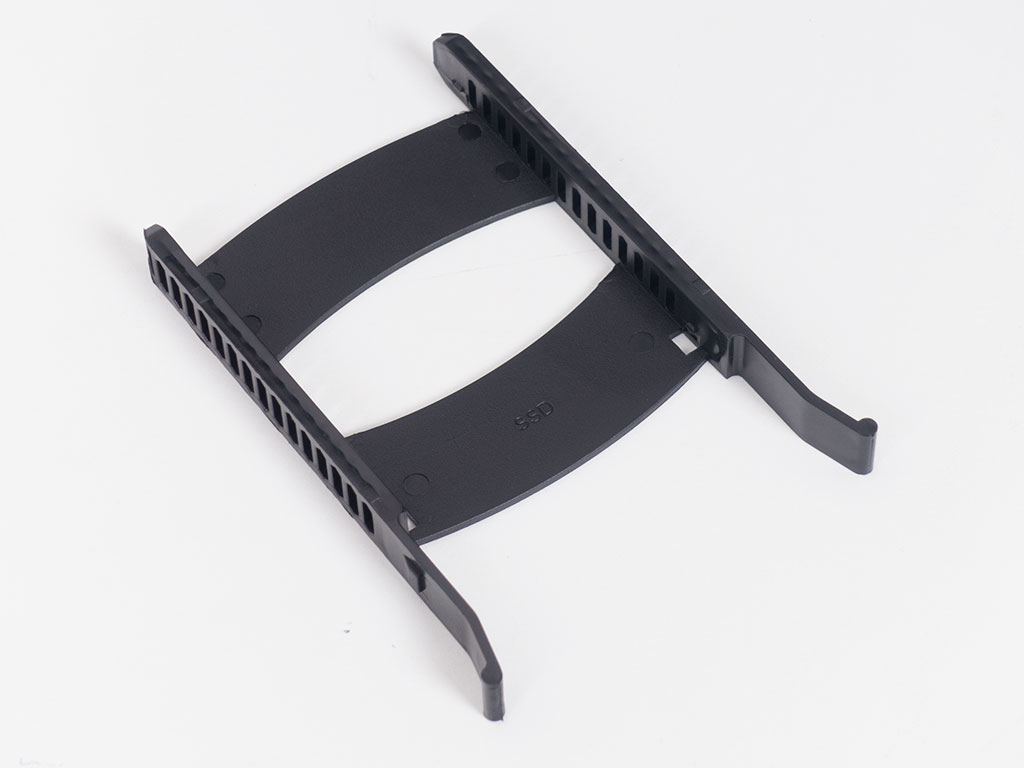
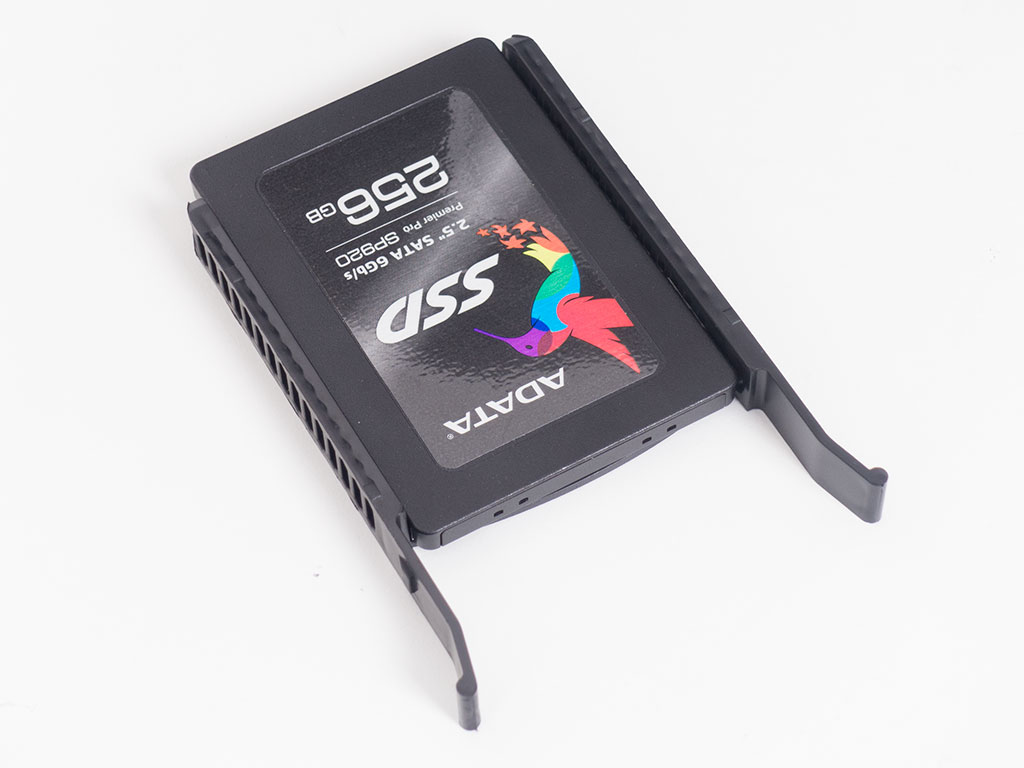
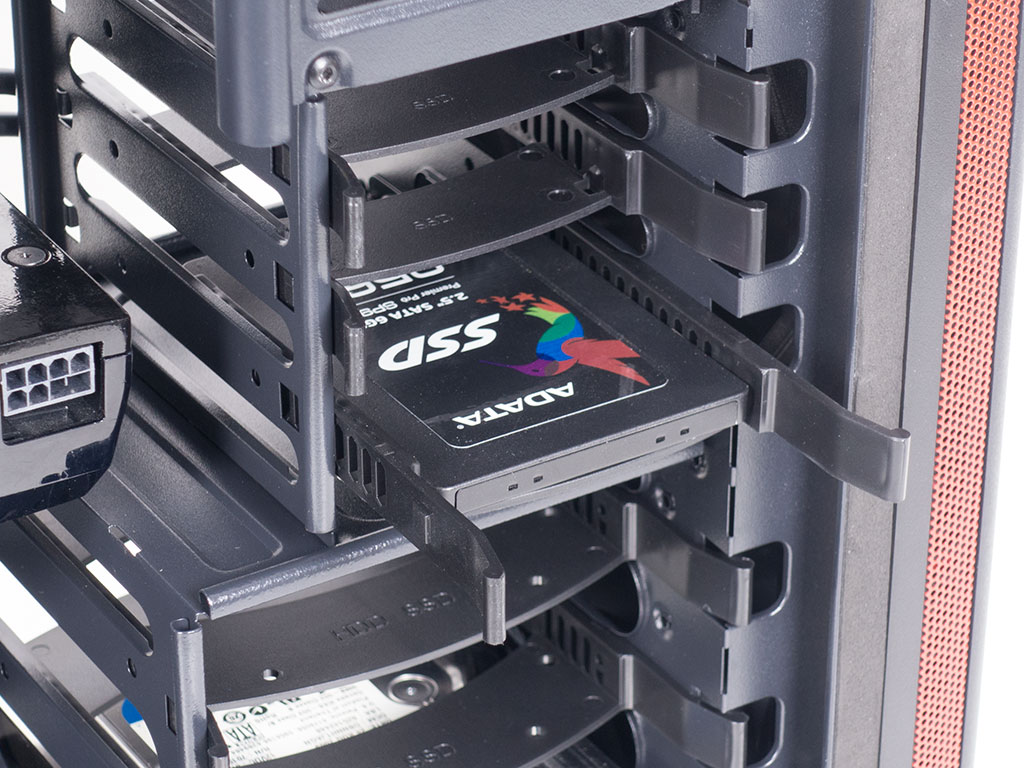
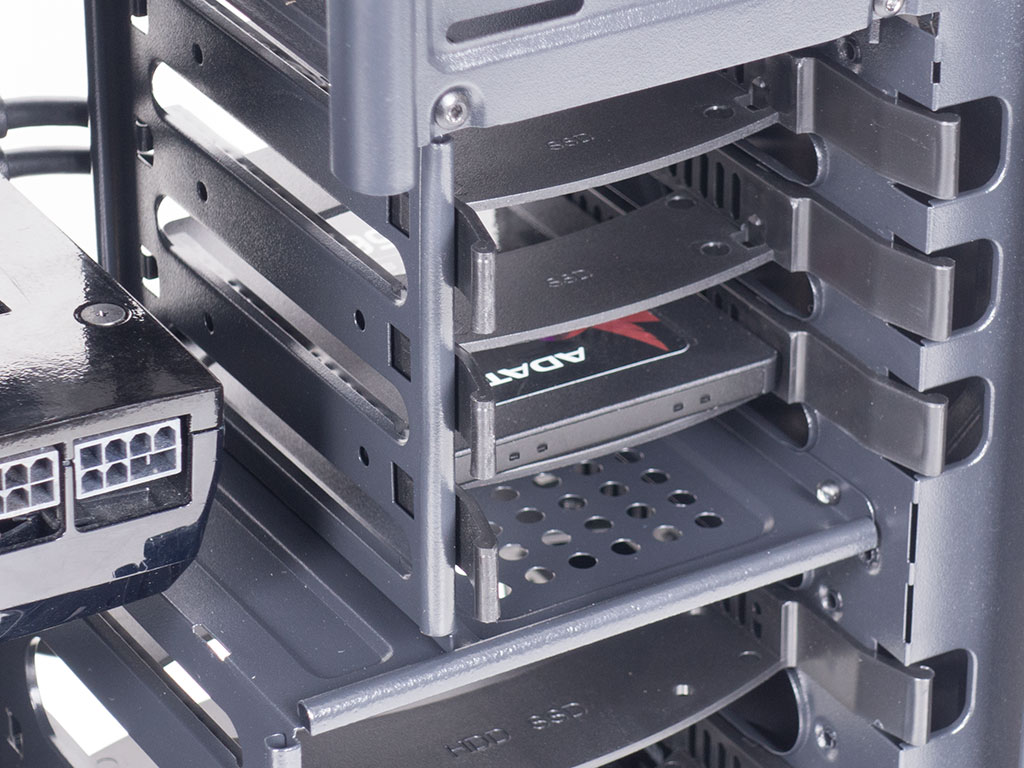
Interestingly enough, the SSD trays use the same method and work extremely well. There is no wiggle room or play here, and they fit snug inside the cage once filled. Looks like the 3.5" variant may just have become victim to some manufacturing variance.
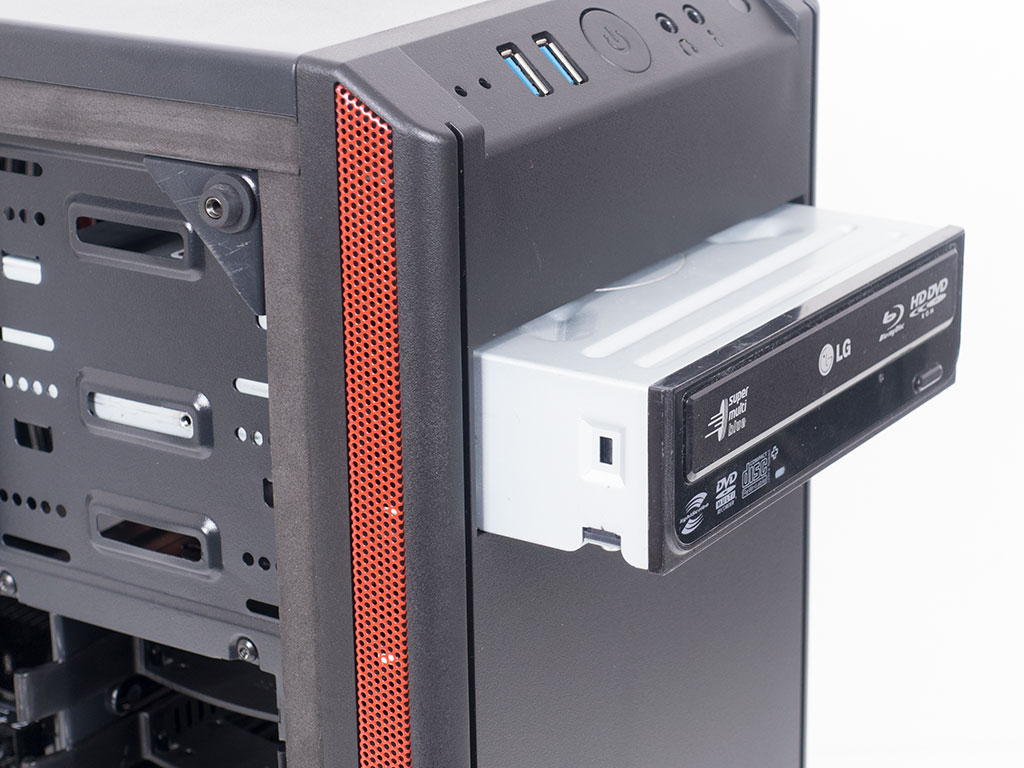
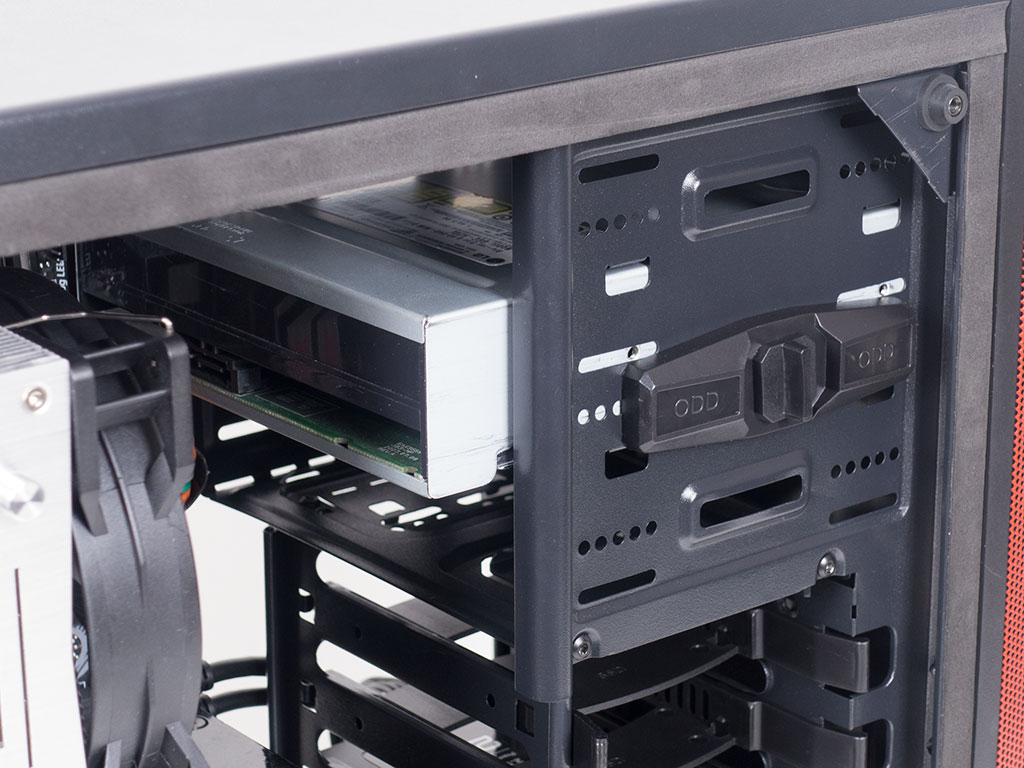
Something we have not seen in a while is an actual ODD bay. This is something the Nova TG has, which makes it especially appealing to system integrators. To add a drive, remove the cover and plastic locks and slide the drive in to secure it with the two plastic pieces. Needless to say, they don't work well at all. It is better to get rid of them and use traditional screws to hold the optical drive in place. While we are all for tool-less mechanisms, in the case of the Nova TG, this is just a marketing feature to woo a potential customer with. In reality, it is pretty useless.
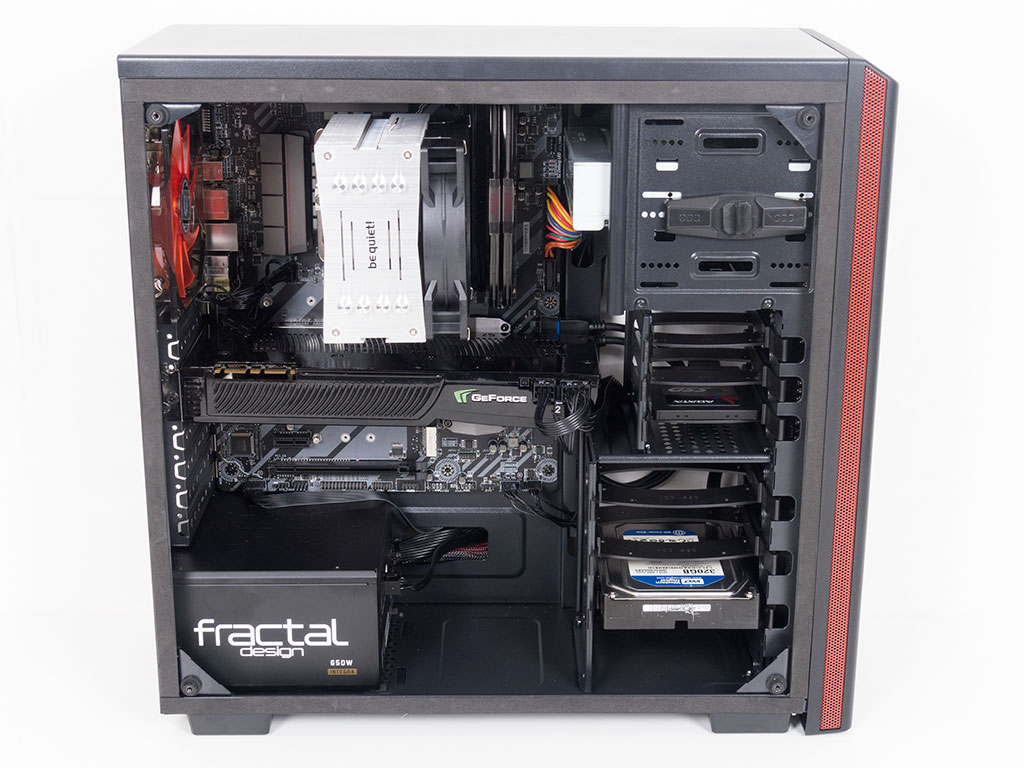
With everything in place and some creative cable routing, the interior of the Nova TG actually looks quite clean - a nice result for a chassis of this price point.
Finished Looks
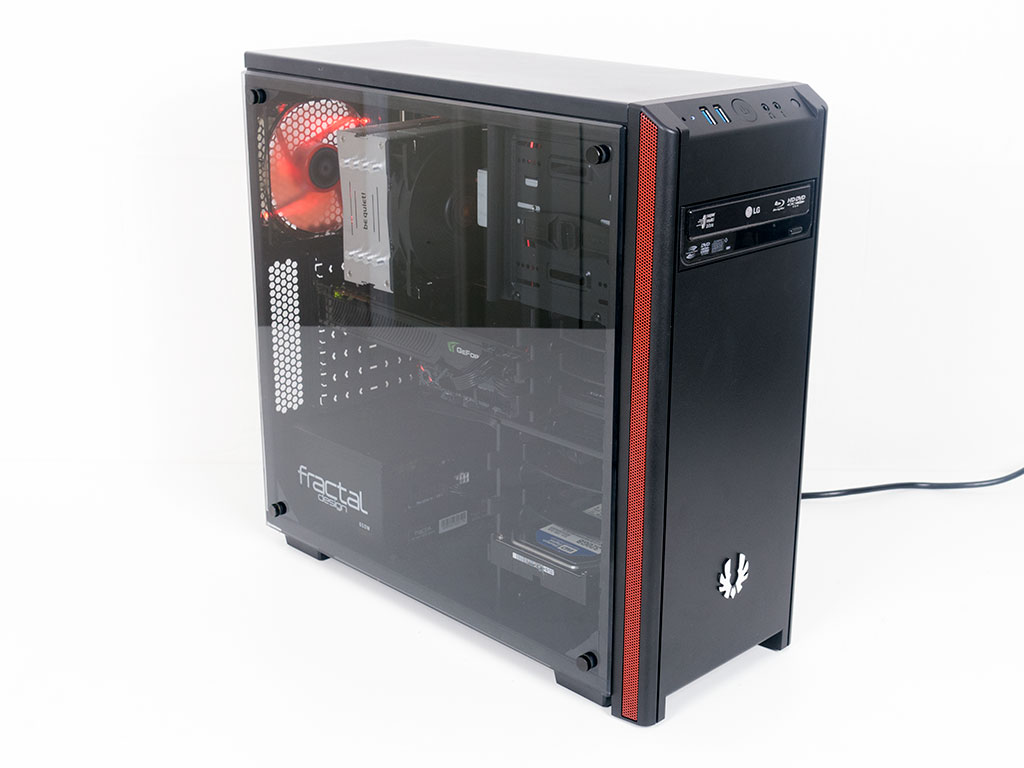
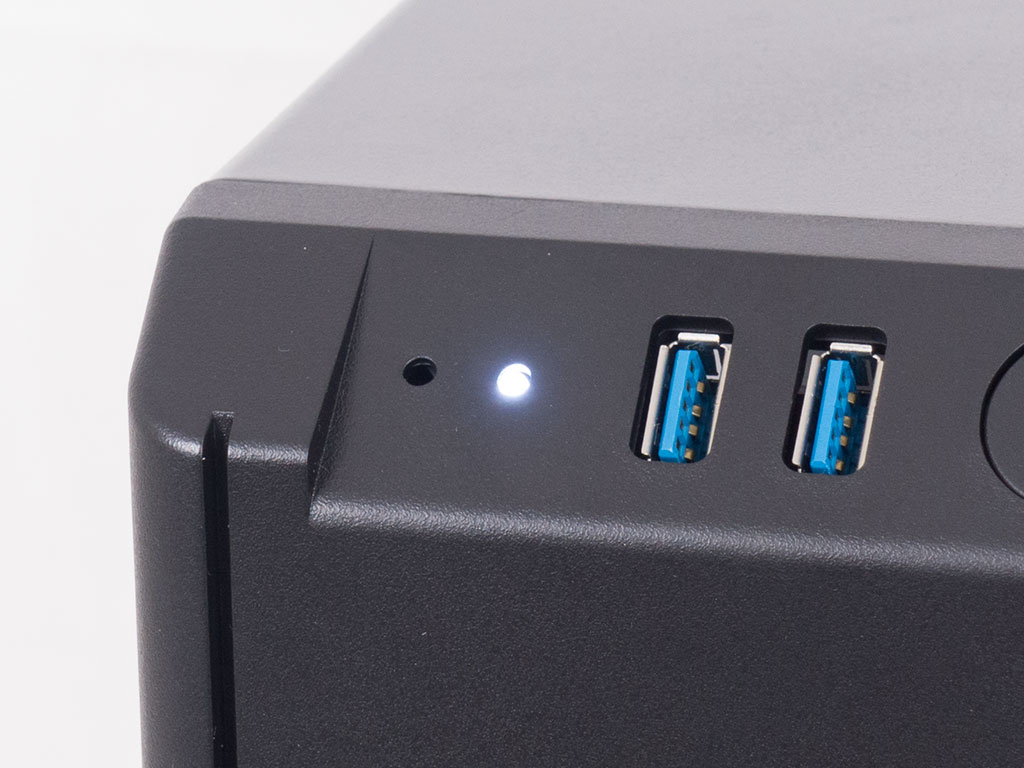
Once the system is put back together, the Nova TG makes a really nice impression. A bright white LED at the front denotes the system's power status.
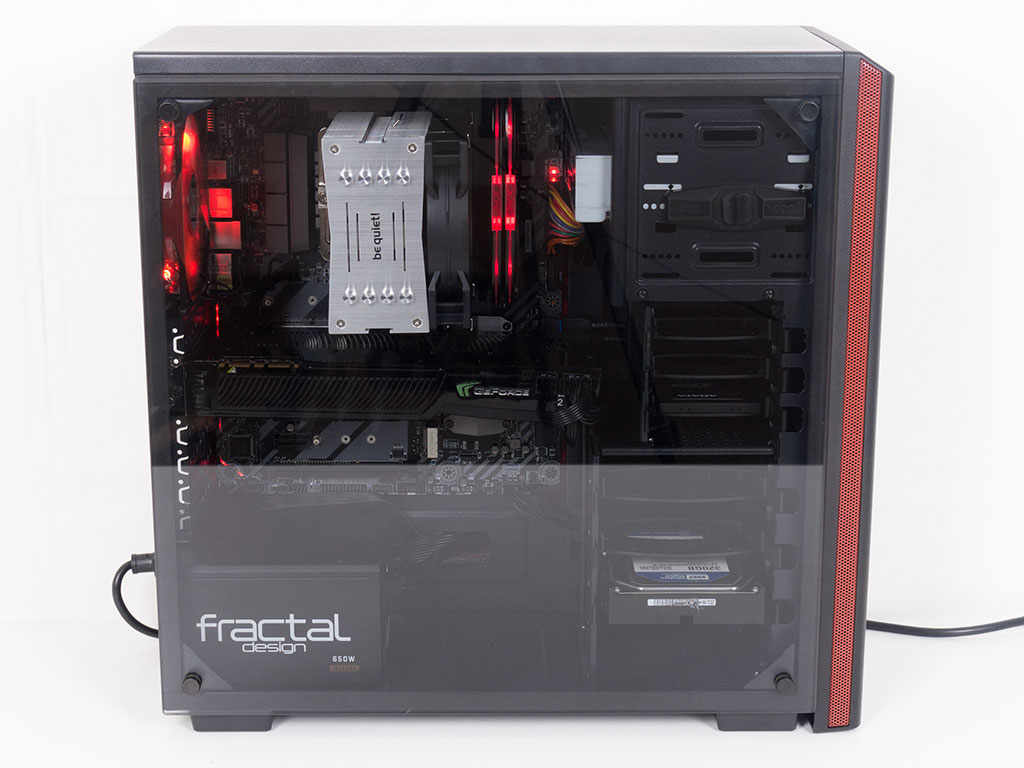
Thanks to the tempered glass side panel, you can clearly see the faint glow of the four LEDs in the fan, alongside all the separate components within. Some may argue that a shroud covering the PSU bay would have been nice, but considering the price tag and target audience of the case, the lack thereof may be forgiven.
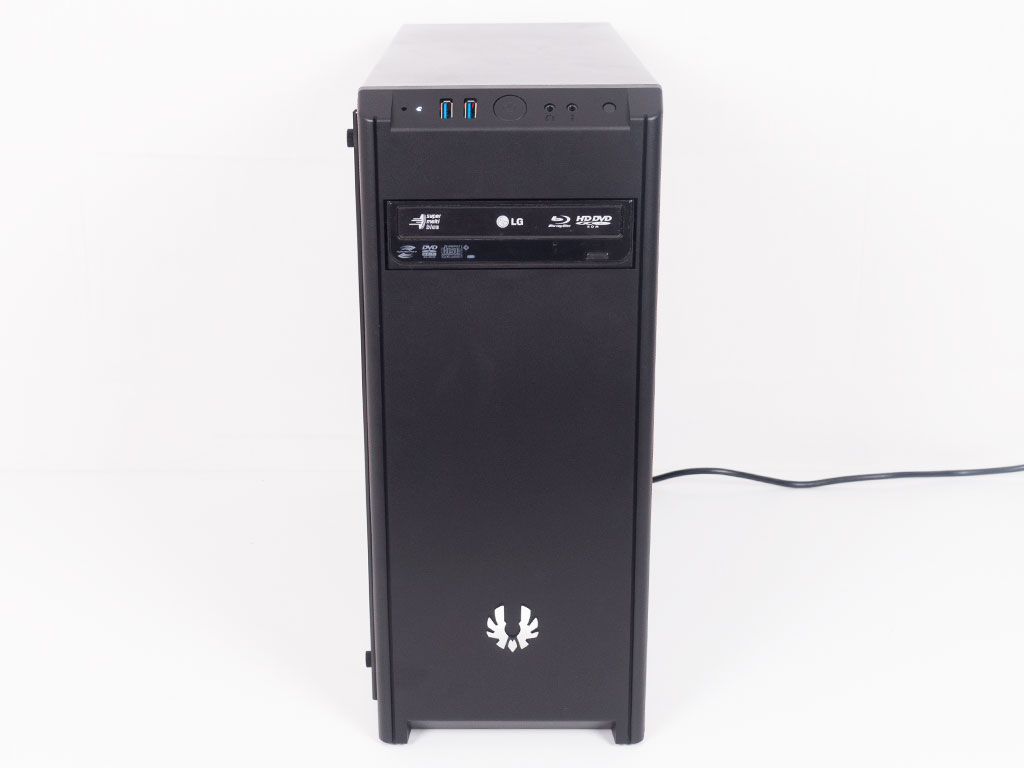
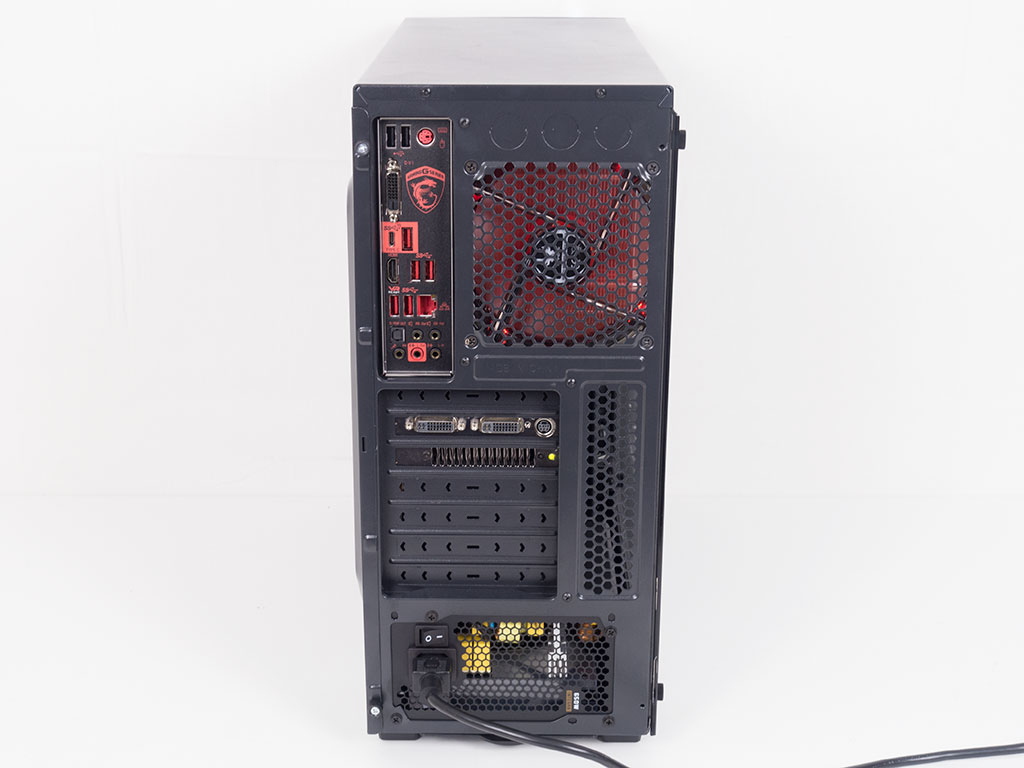
Looking at the front, the optical drive looks right at home due to the chassis' understated design. In the rear, everything is where you would expect it to be.
Oct 3rd, 2024 09:27 EDT
change timezone
Latest GPU Drivers
New Forum Posts
- Horizon Zero Dawn Remastered: Speculation, Assumptions? (129)
- AMD Processor ECC Memory Support: Why So Hinky? (19)
- Intel 0x12B Microcode Update Gimped / Wrecked my RL Overclock (7)
- A lesson on what not to do to, I hope TPU learns from sites like Ars Technica (14)
- VRAM doesn't downclock with 2 high refresh rate monitors (10)
- Ryzen 7600x with 2x8GB and 1x16GB is it possible to run? (14)
- Uninstall Google Chrome (11)
- 4090 hotspot temperature > 110C (21)
- can you help me x1950 crossfire (6)
- Mobo Rear Panel USB 2.0 Ports In 2025 (44)
Popular Reviews
- DDR5 Memory Performance Scaling with AMD Zen 5
- ASUS ROG Crosshair X870E Hero Review
- Alphacool Apex Skeleton Review
- 2024 Shenzhen International Audio Show Report
- Phison E31 PCIe 5.0 SSD Engineering Sample Preview - Impressive Efficiency
- NZXT H7 Flow (2024) Review
- Upcoming Hardware Launches 2024 (Updated Jul 2024)
- God of War Ragnarök Performance Benchmark Review - 35 GPUs Tested
- ASUS ROG Azoth Extreme Wireless Mechanical Keyboard Review
- Final Fantasy XVI Performance Benchmark Review - 35 GPUs Tested
Controversial News Posts
- AMD Confirms Retreat from the Enthusiast GPU Segment, to Focus on Gaining Market-Share (265)
- Sony Reveals the PlayStation 5 Pro, Launches November 7th (216)
- NVIDIA GeForce RTX 5090 and RTX 5080 Specifications Surface, Showing Larger SKU Segmentation (180)
- AMD Ryzen 9 9950X3D and 9900X3D to Feature 3D V-cache on Both CCD Chiplets (126)
- Cyberpunk 2077 Update Adds AMD FSR 3 and Frame Generation for PC Players (121)
- AMD Rushing in Ryzen 7 9800X3D, Expect Product Launch Late-October (115)
- NVIDIA RTX 5090 "Blackwell" Could Feature Two 16-pin Power Connectors (109)
- Qualcomm Said to Have Approached Intel About Takeover Bid (102)