 2
2
BitFenix Shadow Review
Conclusion »Assembly
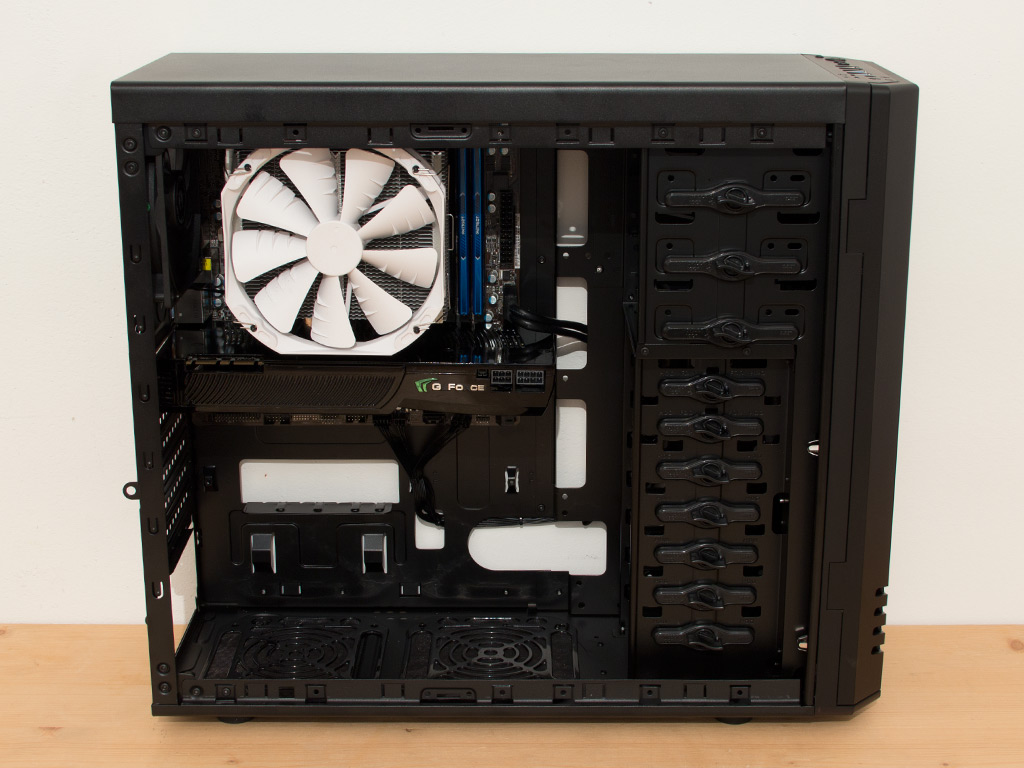
Installing the motherboard is done by traditional means, with the use of spacers and screws. There is very little space above the board, which makes connecting any cables at the upper edge nearly impossible if you already have a CPU cooler in place. There is also no space behind the motherboard tray; you will be forced to route the 4/8-pin CPU power cable across the interior of the case.
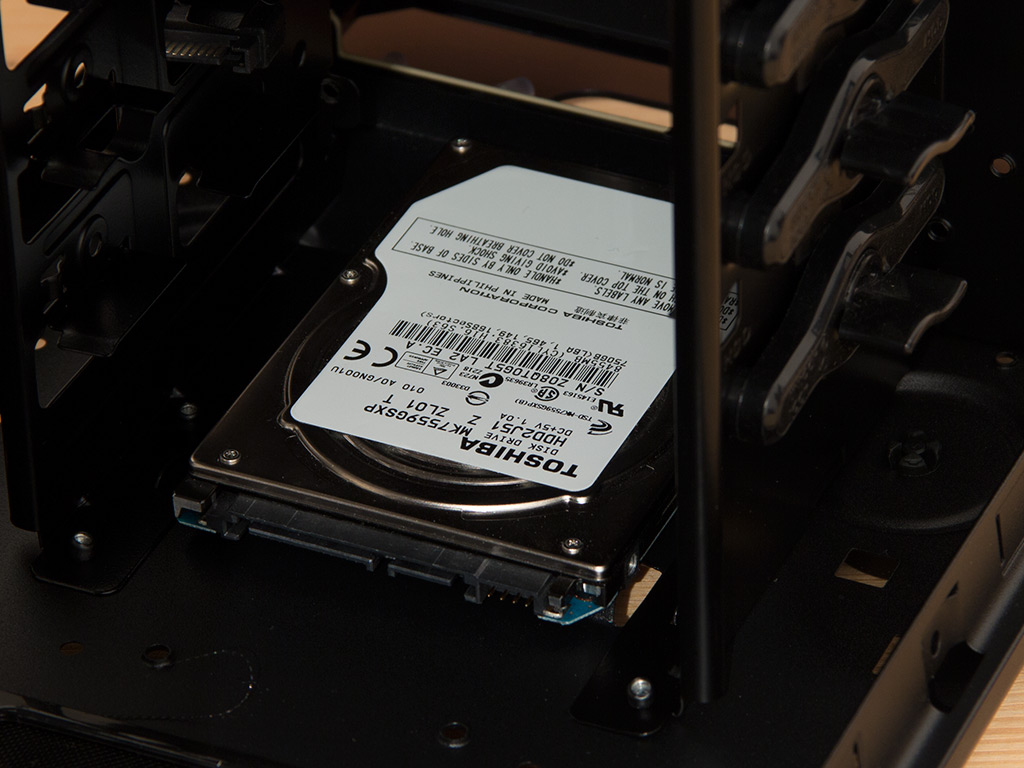
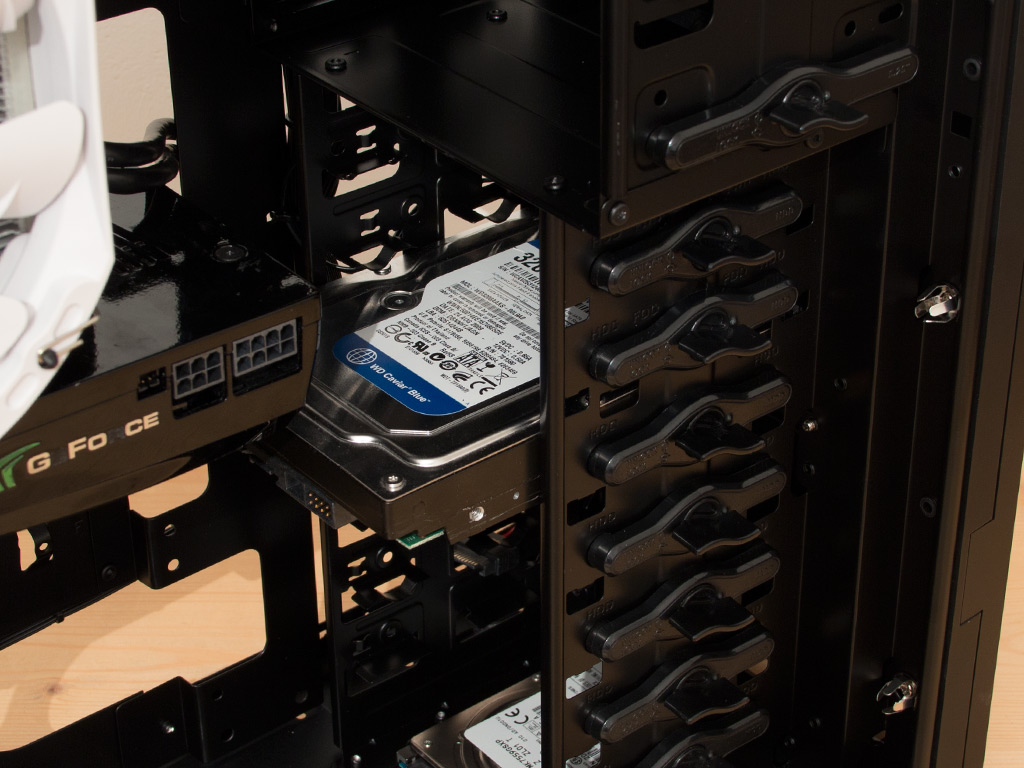
Installing the 2.5" drive onto the floor requires normal screws and the appropriate tool, while a 3.5" variant is completely tool-less; that is, in theory. While it is held in place, there is a lot of play, which forces you to sink a screw or two into the drive to really secure it properly. The chassis' compact dimensions will, on top of that, mean that long graphics cards will get in the way of these bays, which results in the loss of expandability with potent GPUs.
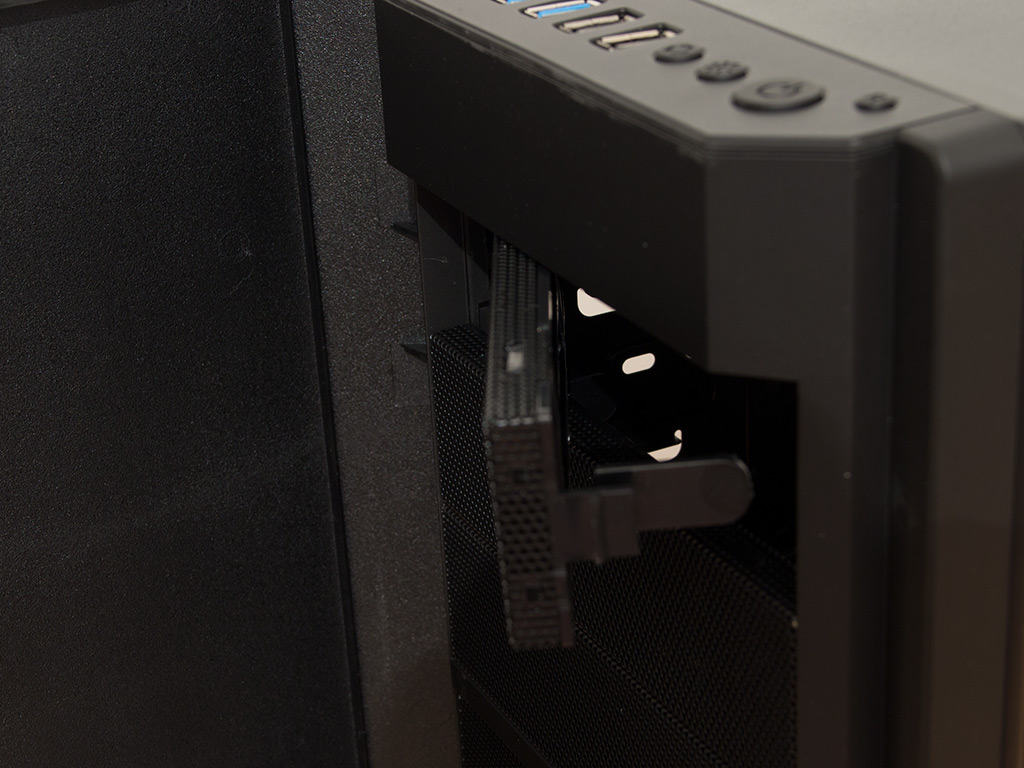
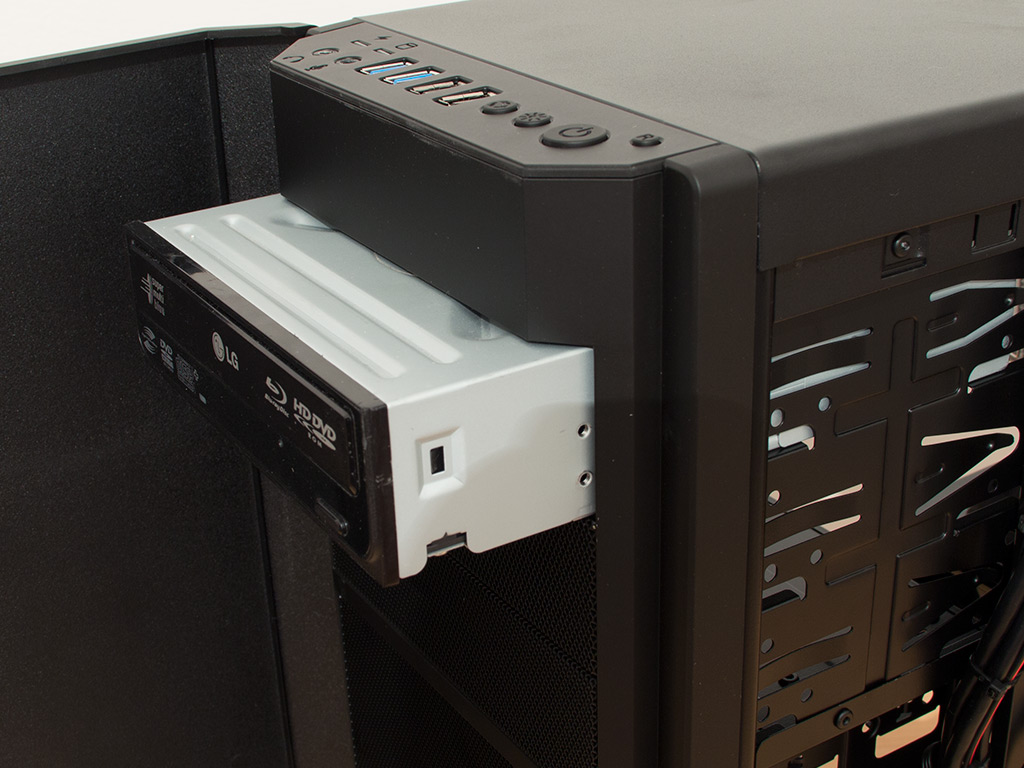
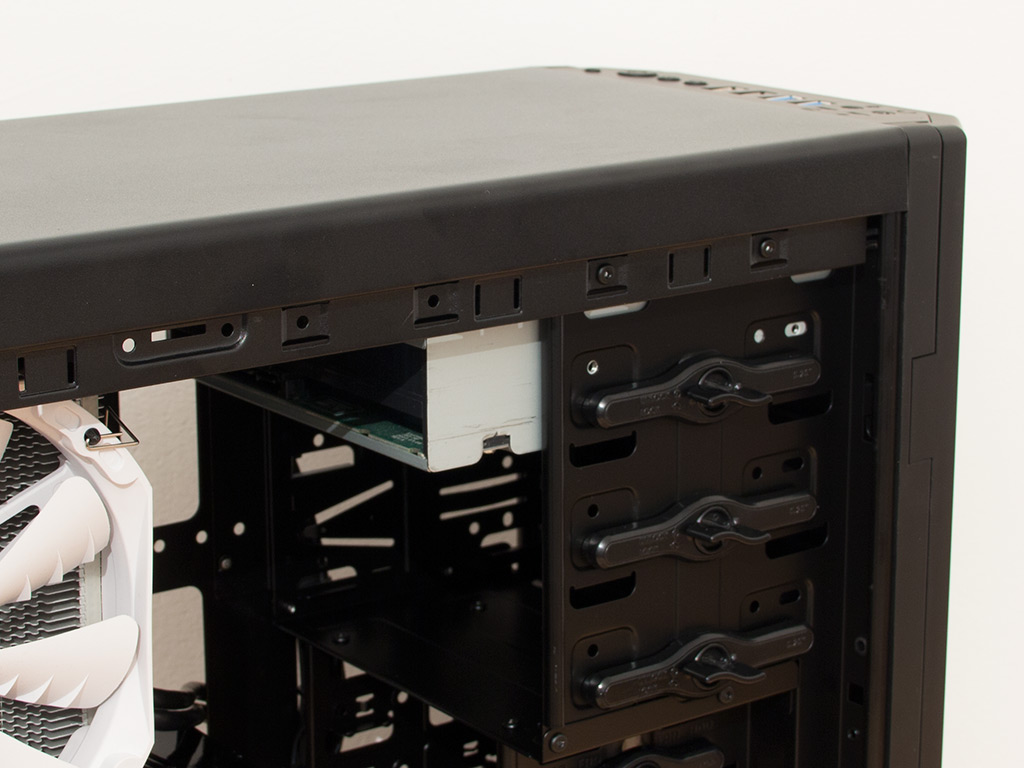
Adding an optical drive is done without tools as well. The large prongs on the drive bay covers make removing them quite easy, and does not require pulling off the entire front. Once freed, simply slide the drive into place and put the plastic lock back into place. As with the 3.5" drives, you should really apply screws to hold it in place properly.
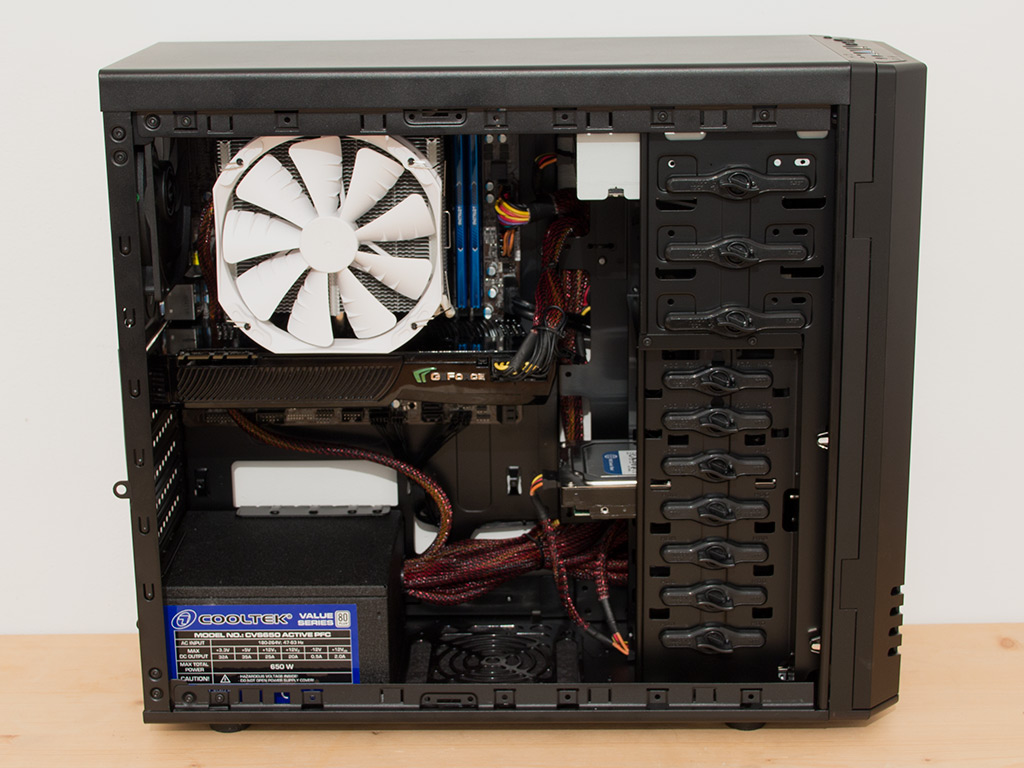
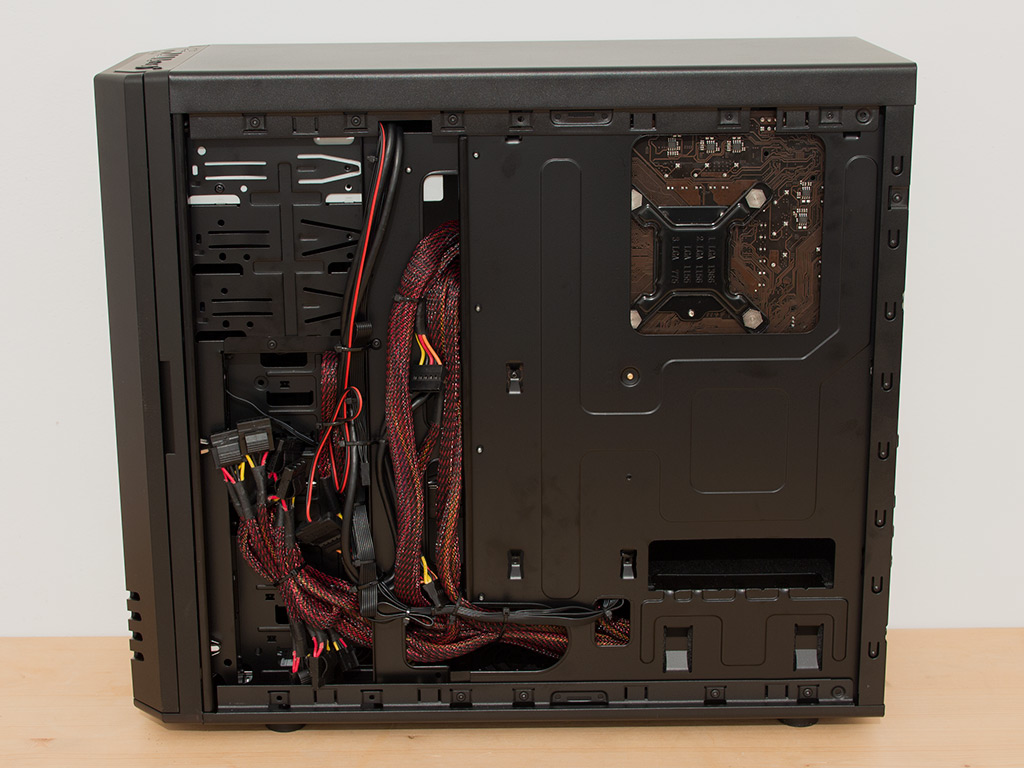
With everything installed, the interior of the BitFenix Shinobi does not make a clean impression. The lack of space and missing grommets make hiding cables incredibly difficult. Turn the unit around and you can clearly see what area one is limited to when hiding and routing cables. The opening in the motherboard tray is also too small, so you will have to install the cooler before putting the motherboard in place.
Finished Looks
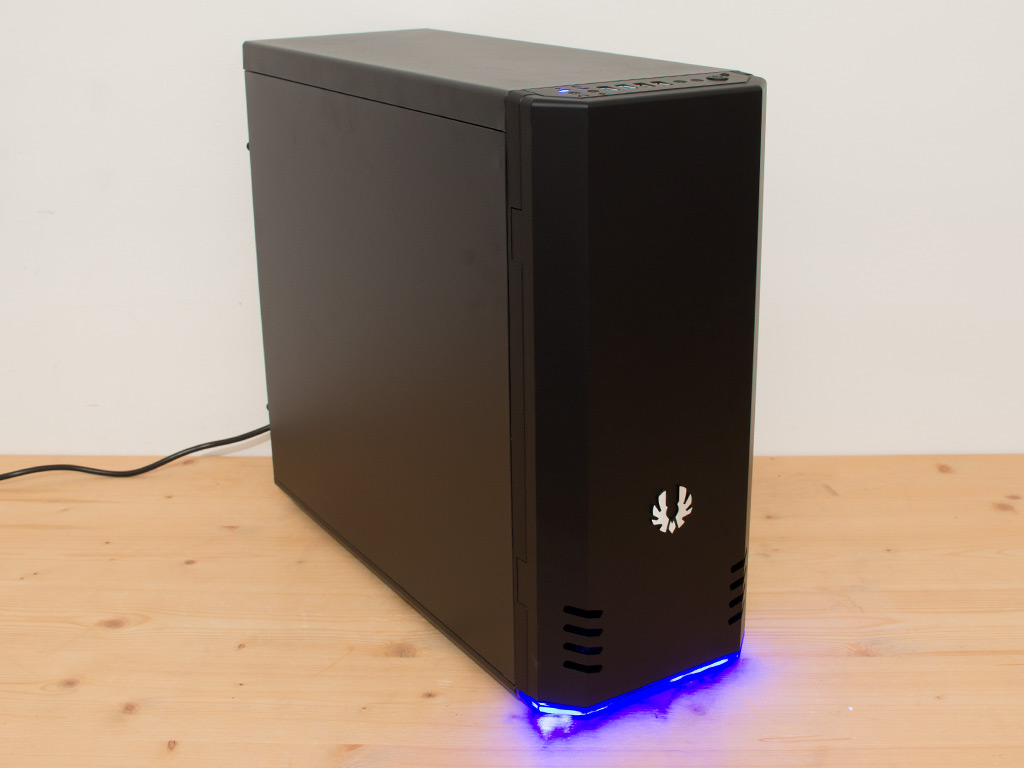
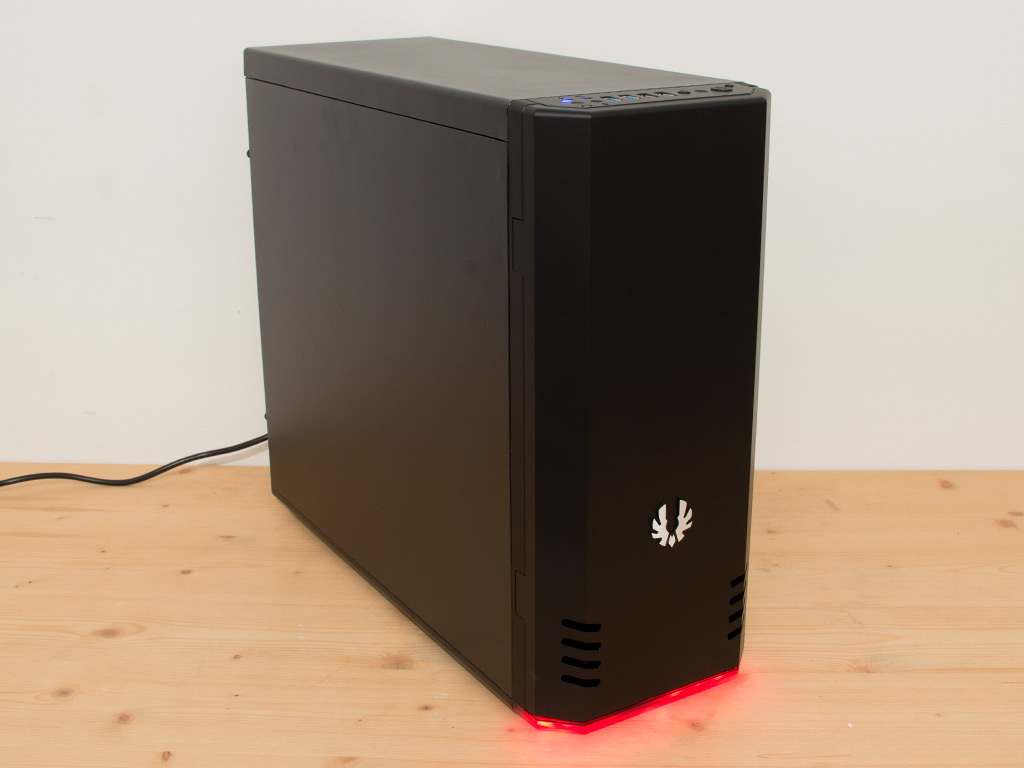
The big highlight and single major selling point of the BitFenix Shadow is its LED lighting in the front. You may rotate between off, blue, and red by pushing the appropriate button on top of the chassis, and it actually looks quite cool. It and the ability to turn it off completely are nice feature to have.
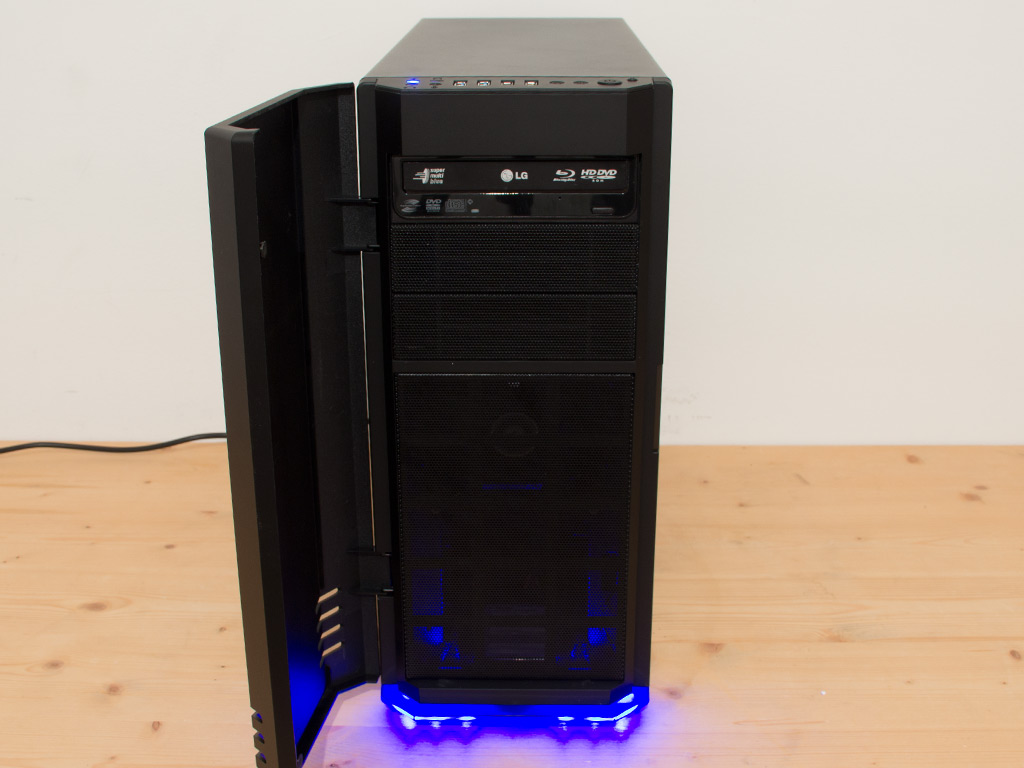
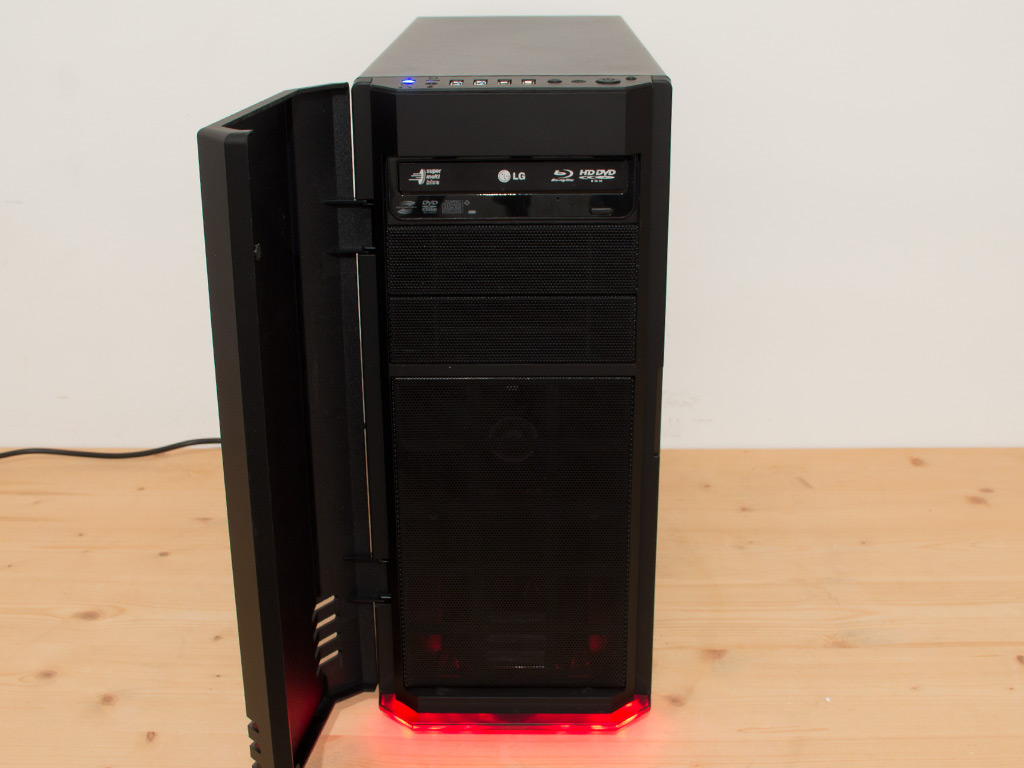
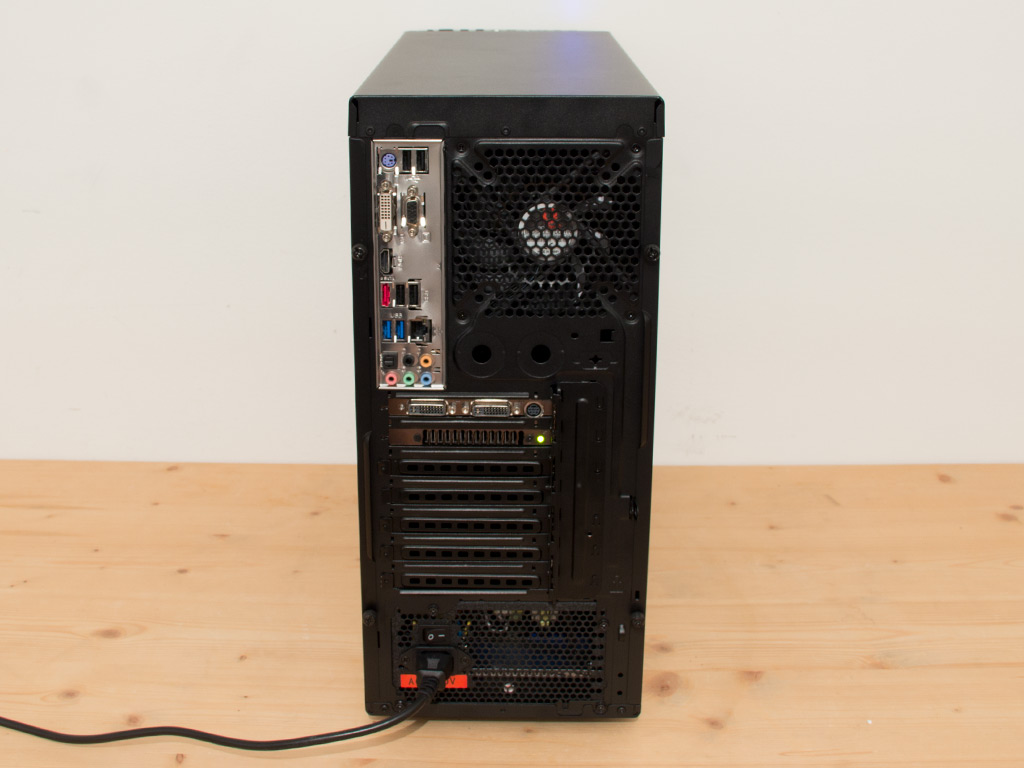
One can see the lighting element even better with the door open as the clear plastic part is visible. Everything in the rear is where you would expect it to be, and all the connectors in this area are also easily accessible.
Mar 10th, 2025 19:09 EDT
change timezone
Latest GPU Drivers
New Forum Posts
- Post Your TIMESPY, PCMARK10 & FIRESTRIKE SCORES! (2019) (271)
- AMD RX 7000 series GPU Owners' Club (1307)
- I need a BIOS for the "Rx580 8gb" chip 215-0876406 (6)
- Biostar RX 6700 XT OC BIOS (7)
- Nvidia's GPU market share hits 90% in Q4 2024 (gets closer to full monopoly) (774)
- What's your latest tech purchase? (23278)
- Wherein lies the difference (2)
- USB hard disk box capacity limits (14)
- RX 9000 series GPU Owners Club (41)
- Gaming PC instabiliity (22)
Popular Reviews
- Sapphire Radeon RX 9070 XT Nitro+ Review - Beating NVIDIA
- XFX Radeon RX 9070 XT Mercury OC Magnetic Air Review
- ASUS Radeon RX 9070 TUF OC Review
- MSI MAG B850 Tomahawk Max Wi-Fi Review
- NVIDIA GeForce RTX 5080 Founders Edition Review
- NVIDIA GeForce RTX 5070 Founders Edition Review
- Corsair Vengeance RGB CUDIMM DDR5-8800 48 GB CL42 Review
- AMD Ryzen 7 9800X3D Review - The Best Gaming Processor
- ASUS GeForce RTX 5070 Ti TUF OC Review
- MSI GeForce RTX 5070 Ti Gaming Trio OC+ Review
Controversial News Posts
- NVIDIA GeForce RTX 50 Cards Spotted with Missing ROPs, NVIDIA Confirms the Issue, Multiple Vendors Affected (513)
- AMD Plans Aggressive Price Competition with Radeon RX 9000 Series (277)
- AMD Radeon RX 9070 and 9070 XT Listed On Amazon - One Buyer Snags a Unit (261)
- AMD RDNA 4 and Radeon RX 9070 Series Unveiled: $549 & $599 (260)
- AMD Mentions Sub-$700 Pricing for Radeon RX 9070 GPU Series, Looks Like NV Minus $50 Again (248)
- NVIDIA Investigates GeForce RTX 50 Series "Blackwell" Black Screen and BSOD Issues (244)
- AMD Radeon RX 9070 and 9070 XT Official Performance Metrics Leaked, +42% 4K Performance Over Radeon RX 7900 GRE (195)
- AMD Radeon RX 9070-series Pricing Leaks Courtesy of MicroCenter (158)