 11
11
Bloody B945 Optical Gaming Keyboard Review
Disassembly »Closer Examination

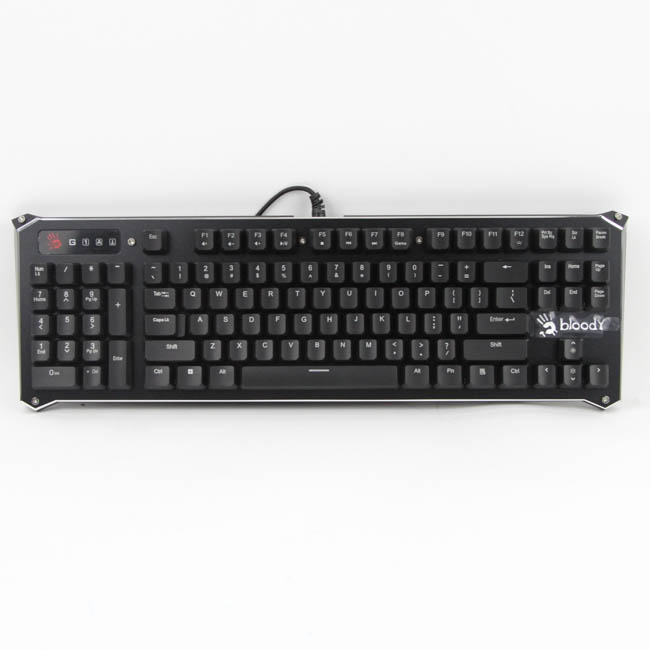
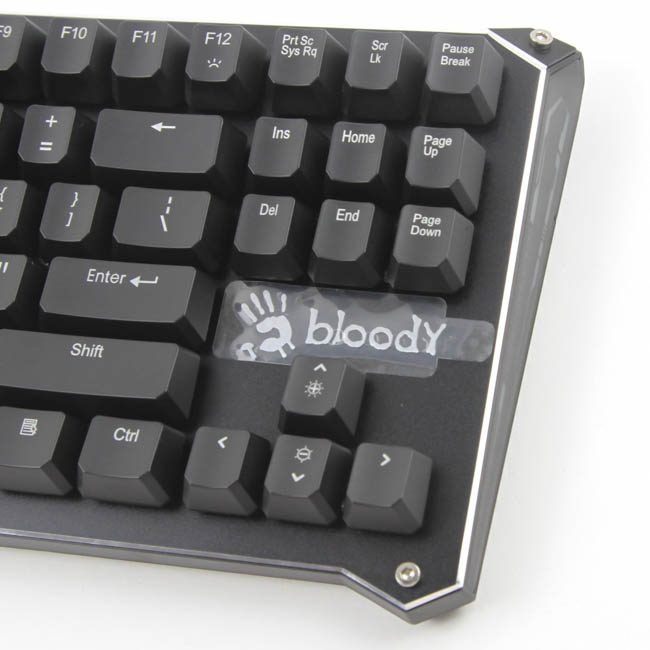
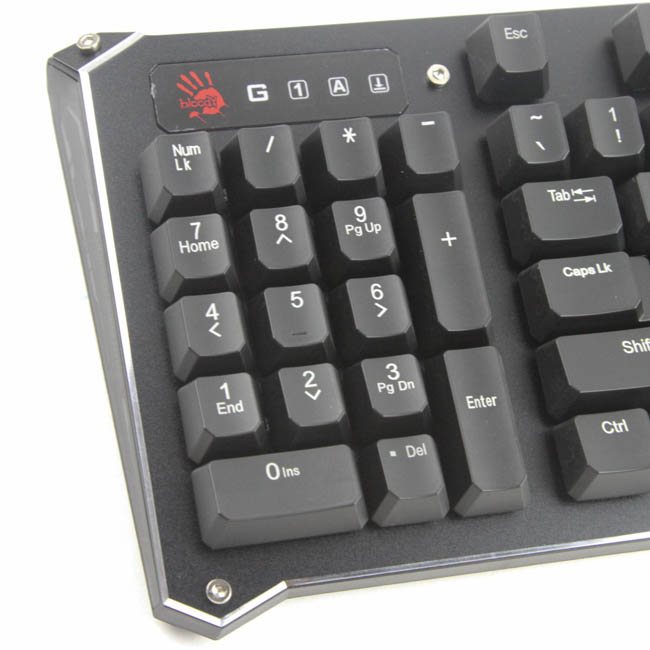
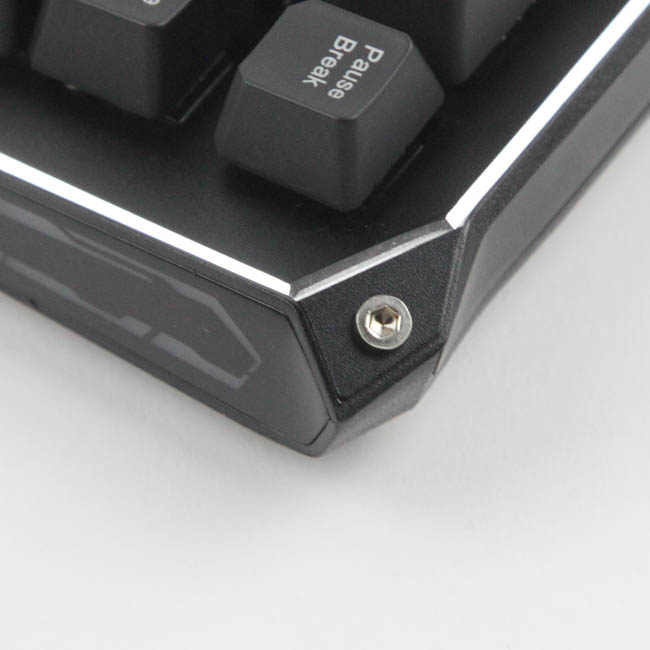
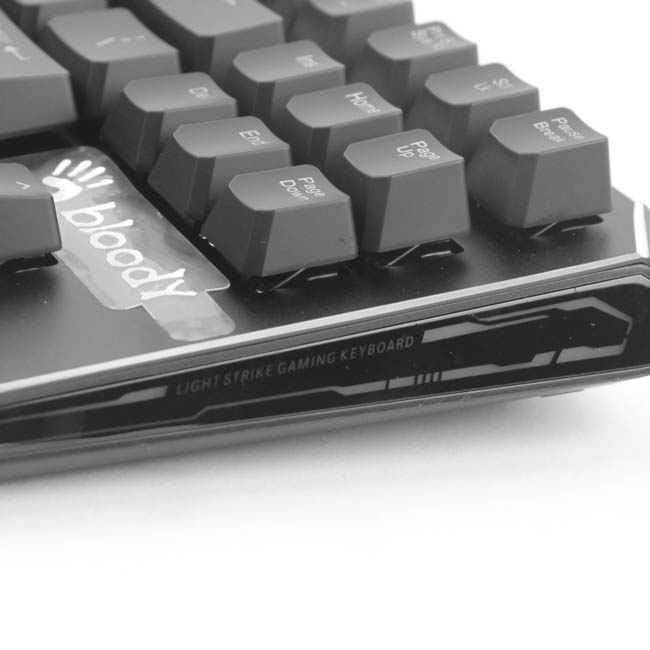
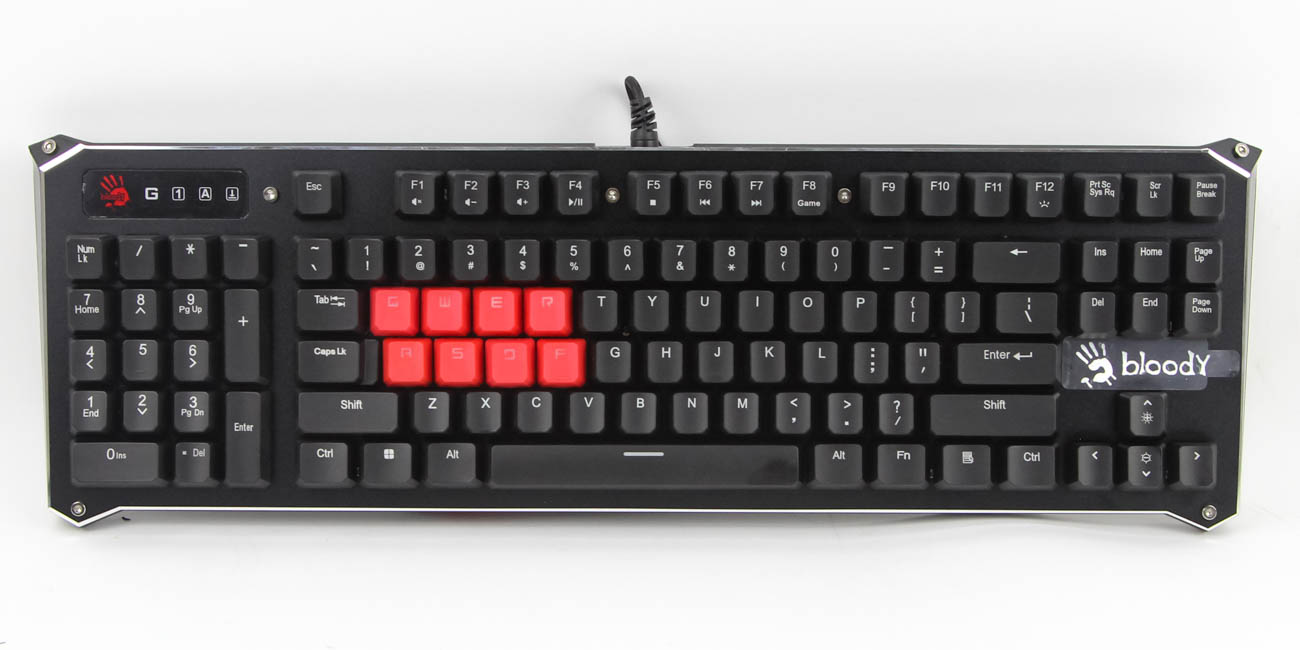
The Bloody Gaming B945 comes in a foam wrap for that extra bit of protection, and removing it, we see that the case is very similar to that of the B840 in that there is an aluminum alloy top plate held in place with hex screws, one with corners that jut out to provide beveled edges. There is a matte black finish instead of the gold-flake finish previously, which does mean this design is a lot less aggressive than most of Bloody's older keyboard designs. We still have the logo in white above the arrow keys, and another in red to accompany the indicator LEDs on the left as a result of this left-sided numpad integration. That aside, the keyboard employs a 104+3 key modified US ANSI layout, so treat it as a TKL keyboard with a numpad on the left. Bezels are on the larger side of average primarily because of the corners, but also because of side plates that light up and need the space for connections inside.
Single legend placement is in the top center for all keycaps, with dual legends having the primary or secondary legend at the top and the other placed below. The exact positioning of the two depends a lot on the specific keycap as well; for example, notice the Up and Down arrow keys in the image above. LEDs are presumably located at the top as with most keyboards, so there might be some discrepancy in the uniformity of backlighting with dual legend keycaps. The font size could have been larger for some keycaps, but there are no general complaints here, or for the typeface used. That said, with the two Bloody logos at the front, I personally will not be using this in a professional environment. With Bloody claiming to have a "nano-coating" on the aluminum alloy to add some hydrophobicity in case of fluid spills as well, this keyboard is also more at home for gaming.


Flipping the keyboard around, we see the usual certification sticker in the middle. There are rubber pads at the top and bottom corners for some friction against a desk's surface, which prevents the keyboard from sliding around. There are two large case feet at the top as well, and these can be raised to elevate the keyboard. Keeping up with the attention to detail here, the bottom half of each foot is a rubber pad as well, so they won't scratch when used.
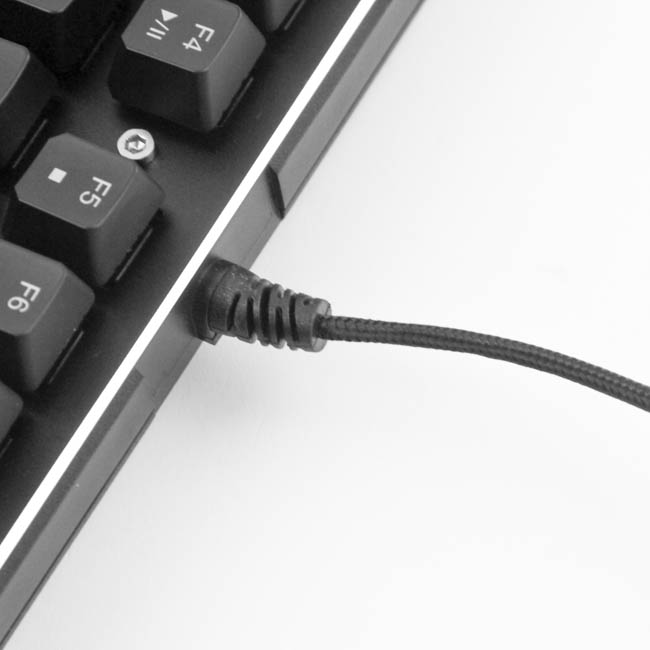

The keyboard has a non-removable, 6' long cable coming out the middle of the keyboard. The provided cable is nicely braided in black, does not feel as though the braiding will come off anytime soon, and terminates in a red-colored USB male Type-A connector. The keyboard requires a single USB Type-A port on your computer, and USB 2.0 (5V/500 mA) is sufficient here even with the RGB LEDs.

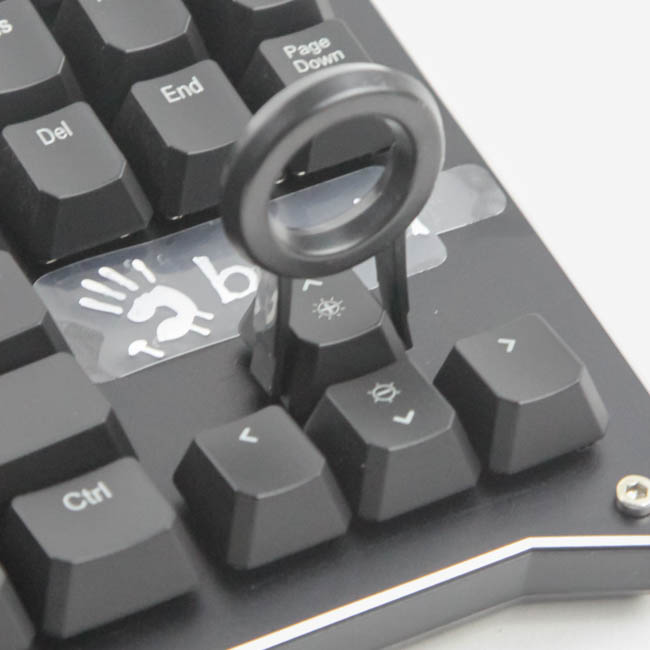
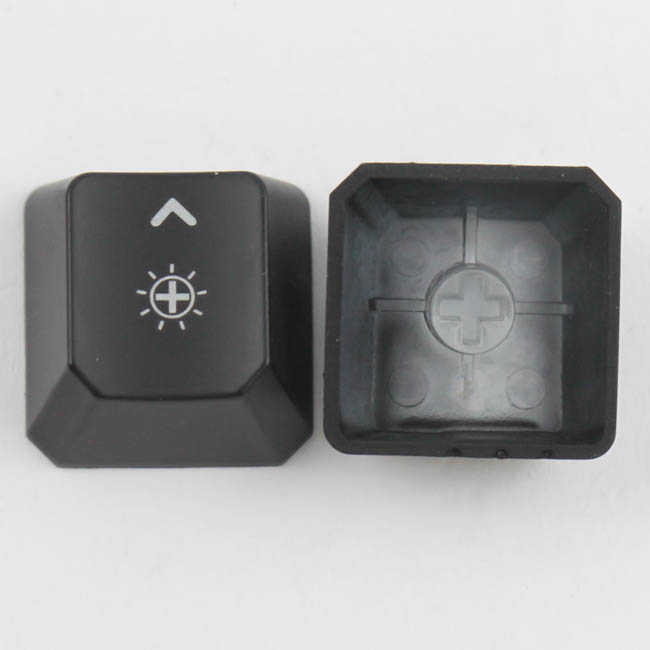

Bloody is using the tried and tested OEM profile with their keycaps here, which consists of the usual slanted rows and concave surfaces on top. The provided keycap puller works fine for removing the floating keycaps, which you would do to either swap them out or perhaps clean the keyboard. The keycaps are compatible with Cherry's MX stem design, and unfortunately, the stock keycaps took a hit compared to most of their other offerings. We have here thin ABS plastic with laser etched legends, which is a shame considering the standard full-size B975 keyboard comes with ABS doubleshot keycaps instead. As such, expect these to show signs of wear and tear sooner rather than later. With an LED located at the top, the keycaps with dual legends have the top legend backlit stronger than the bottom one.

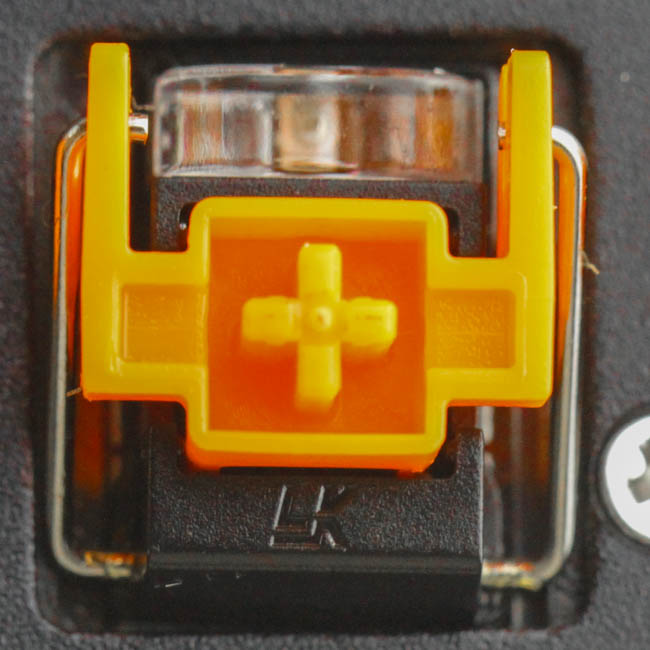


The sample I received had the tactile and clicky LK Orange switches, which can be identified also by the presence of a stabilizer bar on every single switch, including those for 1u keycaps. This does seem like overkill, but we will explore this further in due time. Larger keycaps, sans the space bar, use Cherry stabilizers as well. The space bar continues to use Bloody's own spring/enhanced screw stabilizer which makes it harder to remove or install the space bar keycap, but boy does it provide a satisfactory feeling when used!

Here is a look at the B945 with the two sets of replacement keycaps that come as accessories bundled in the box. The first set is more practical, with its rubber finish that makes distinguishing it easier when touch-typing and also having only the legends allow light through. The second set is more for show and when backlighting is off. Both have doubleshot injected legends as we saw on the previous page, which makes the stock keycaps seem all the worse by comparison from a longevity standpoint.
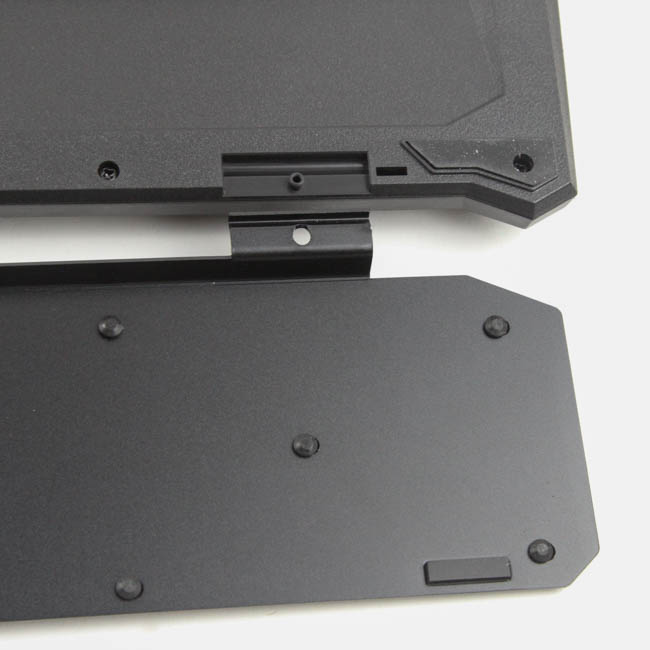


Installing the wrist rest is fairly simple if you have a precision Phillips head screwdriver. Simply turn both the keyboard and wrist rest over and place the wrist rest in place such that the hole in the extending tab in the wrist rest goes over the jutting point in the keyboard matching it. Screw both points down with both provided screws, and that should be it. Turning the entire assembly back over, we see how much larger this is compared to the keyboard by itself, and the noticeable gap between the two does not help either. In practice, the wrist rest works well and is quite comfortable to use.
Feb 28th, 2025 18:13 EST
change timezone
Latest GPU Drivers
New Forum Posts
- 9800X3D OC Limits? (16)
- What is your comfortable price range for a graphics card? (45)
- It's happening again, melting 12v high pwr connectors (964)
- Disabling MPO (MultiPlane Overlay) in 2025 (13)
- The TPU UK Clubhouse (25819)
- I5 10300H undervolting ,need to stop thermal throttle (7)
- MSI Vector 17 HX A14VIG "EDP OTHER" (18)
- Which model are running for code assistance? (8)
- [Feature request] Optional GFE Download (0)
- MSI Radeon RX 580 8GB ARMOR BIOS VGA FLASH (4)
Popular Reviews
- AMD Radeon RX 9070 Series Technical Deep Dive
- ASUS GeForce RTX 5070 Ti TUF OC Review
- Montech HyperFlow Silent 360 Review
- Gigabyte X870 Aorus Elite WiFi 7 Review
- Corsair Xeneon 34WQHD240-C Review - Pretty In White
- ASUS ROG Harpe Ace Mini Review
- be quiet! Pure Base 501 DX Review
- MSI GeForce RTX 5070 Ti Vanguard SOC Review
- AMD Ryzen 7 9800X3D Review - The Best Gaming Processor
- MSI GeForce RTX 5070 Ti Ventus 3X OC Review
Controversial News Posts
- NVIDIA GeForce RTX 50 Cards Spotted with Missing ROPs, NVIDIA Confirms the Issue, Multiple Vendors Affected (498)
- AMD Radeon 9070 XT Rumored to Outpace RTX 5070 Ti by Almost 15% (304)
- AMD Plans Aggressive Price Competition with Radeon RX 9000 Series (274)
- AMD Radeon RX 9070 and 9070 XT Listed On Amazon - One Buyer Snags a Unit (255)
- AMD Mentions Sub-$700 Pricing for Radeon RX 9070 GPU Series, Looks Like NV Minus $50 Again (248)
- NVIDIA Investigates GeForce RTX 50 Series "Blackwell" Black Screen and BSOD Issues (244)
- Edward Snowden Lashes Out at NVIDIA Over GeForce RTX 50 Pricing And Value (243)
- AMD Radeon RX 9070 and 9070 XT Official Performance Metrics Leaked, +42% 4K Performance Over Radeon RX 7900 GRE (191)