 7
7
CaseLabs MAGNUM M8 Review
A Closer Look - Inside »A Closer Look - Outside

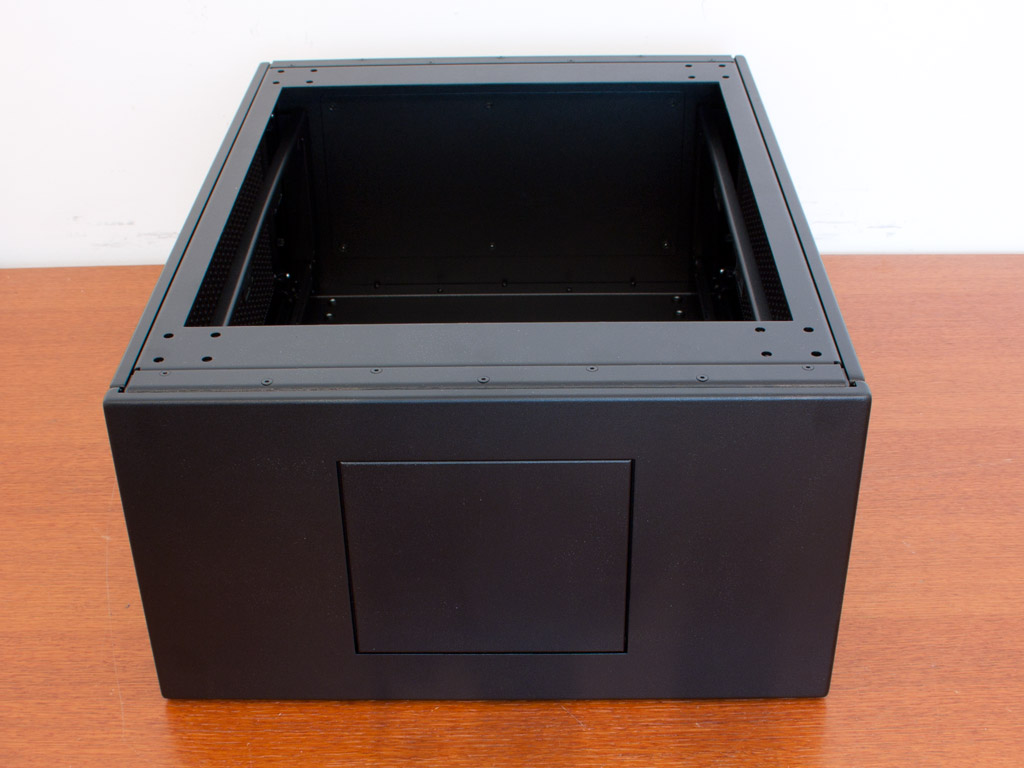
When taking a look at the case for the first time, two aspects really stick out. The unbelievably good construction quality and the nearly indestructible, rough paint job. Having reviewed a lot of cases in the years, this one definitely takes the top spot in terms of quality. The Aluminum parts are so study and thick, that you will not be able to bend anything out of shape, which also means that the case is a bit heavier than a normal chassis with this construction material. Nonetheless, the standard Magnum M8 clocks in at 19 pounds, which is perfectly fine for a chassis of this size.
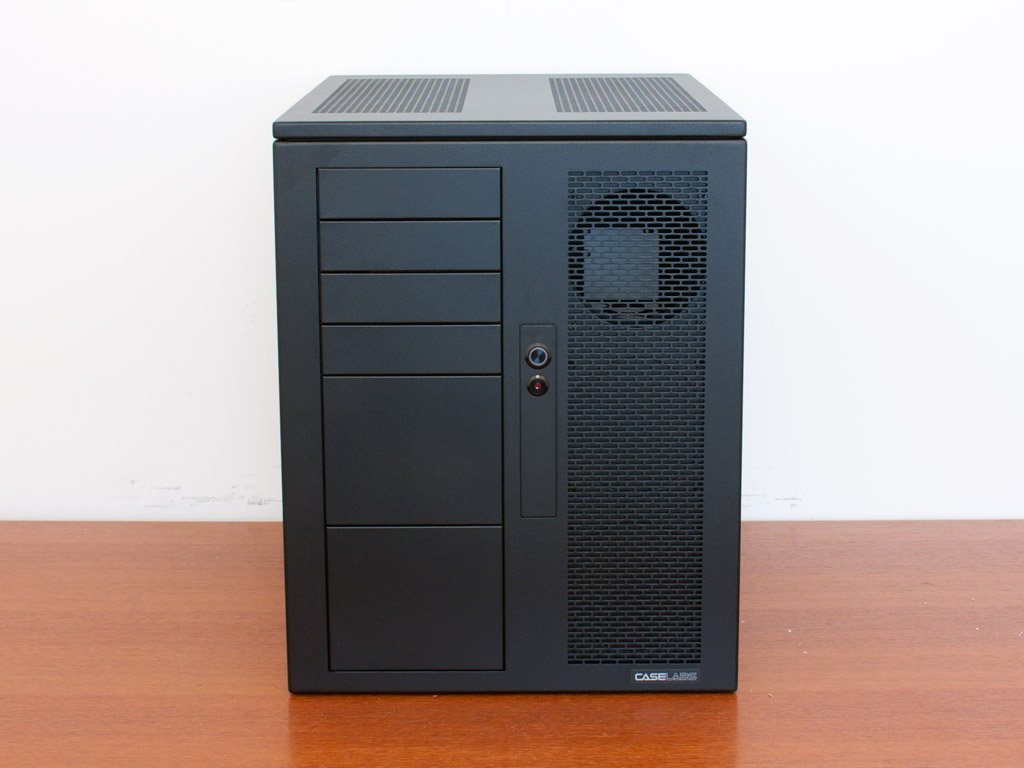
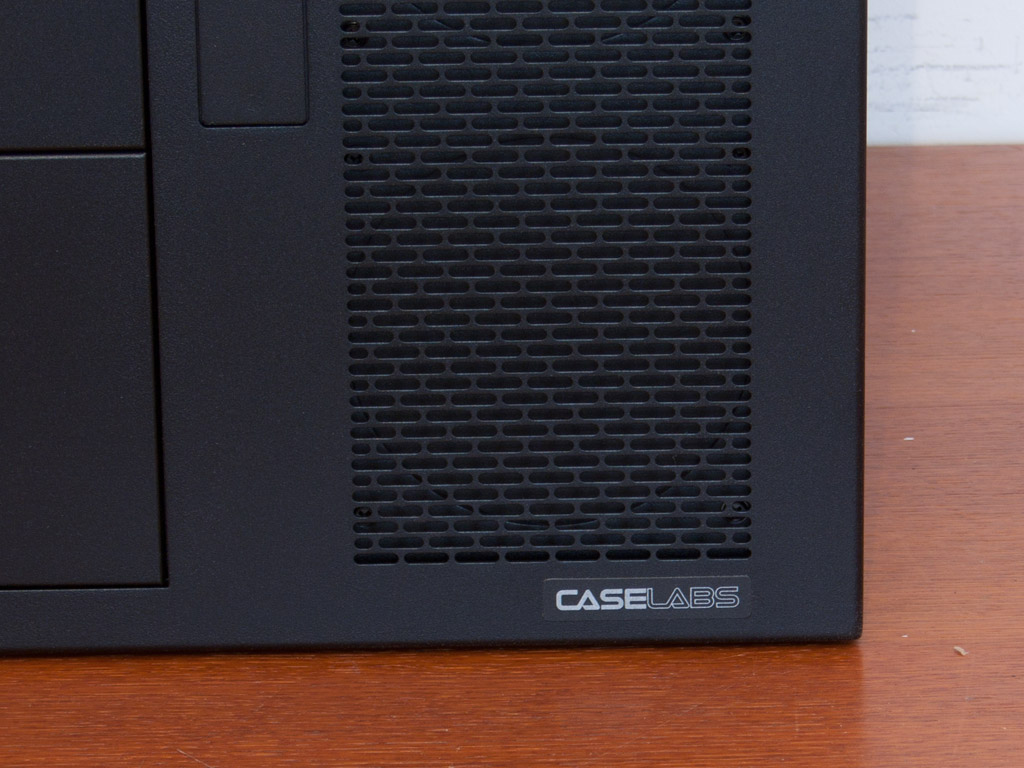
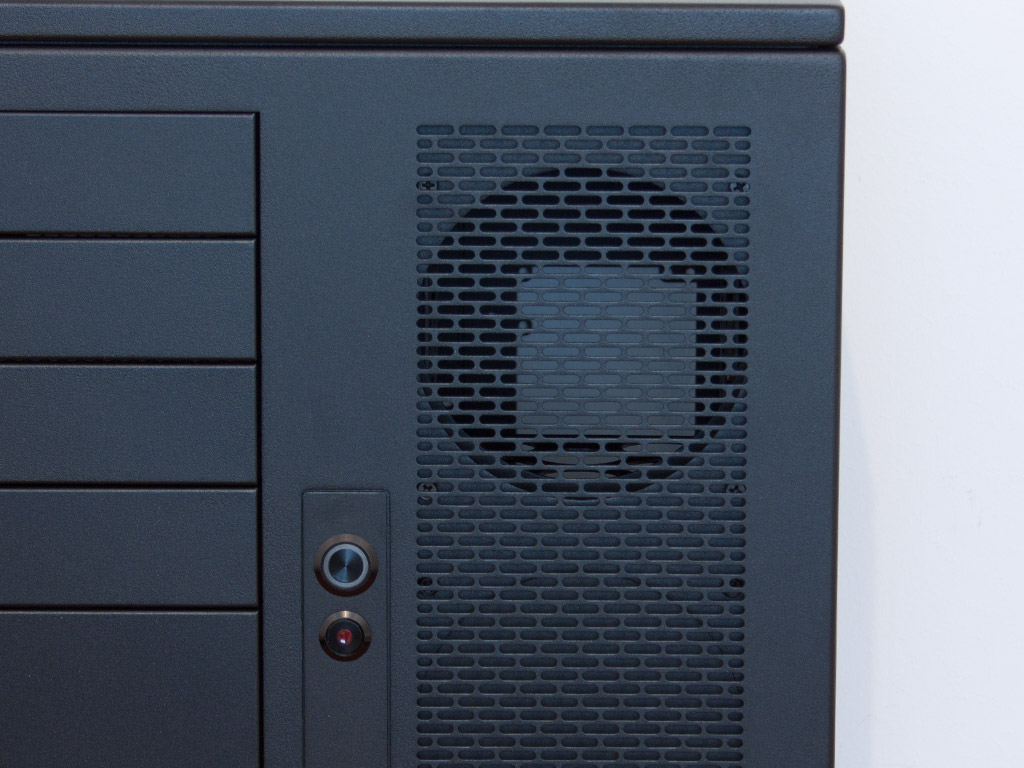
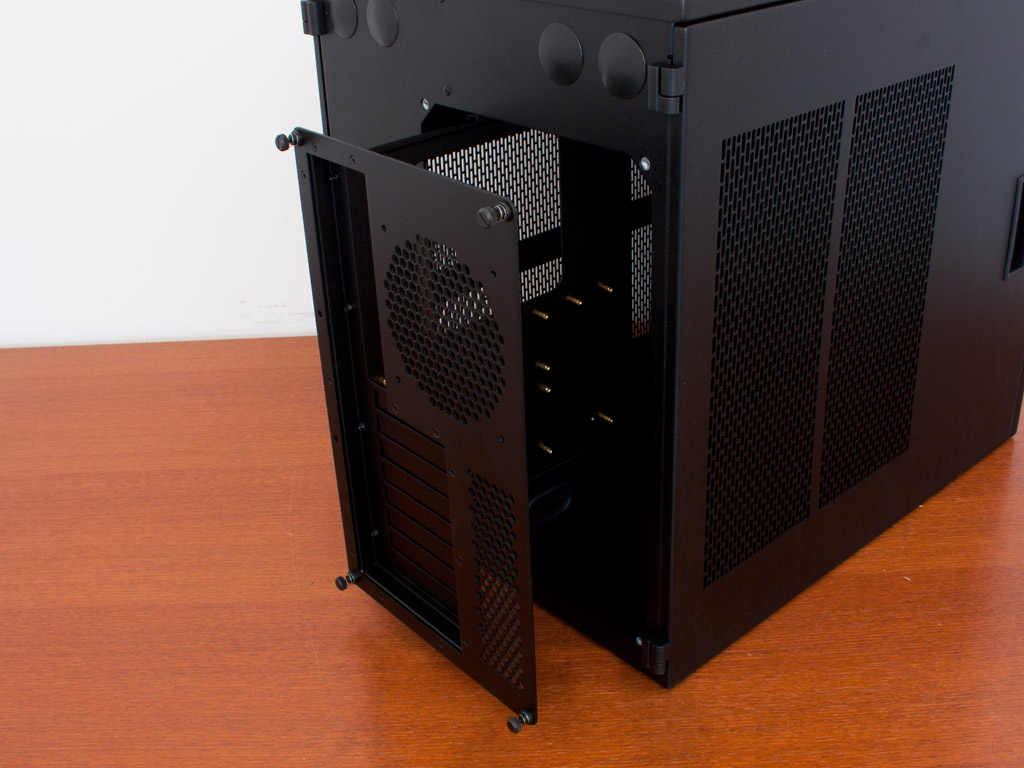
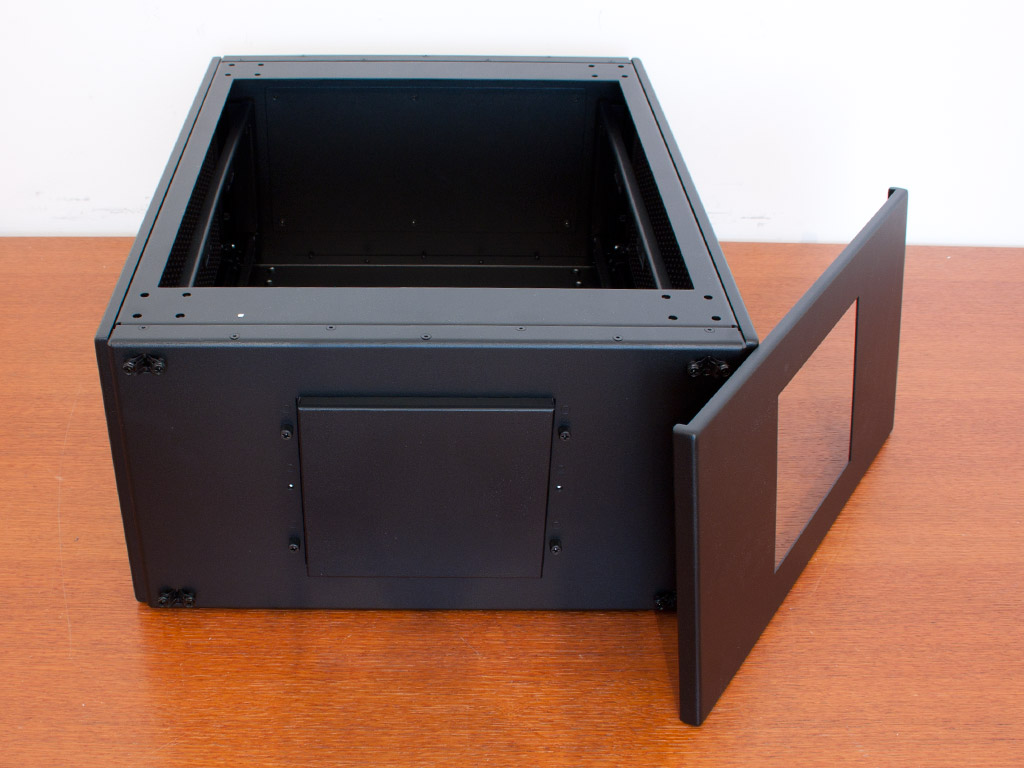
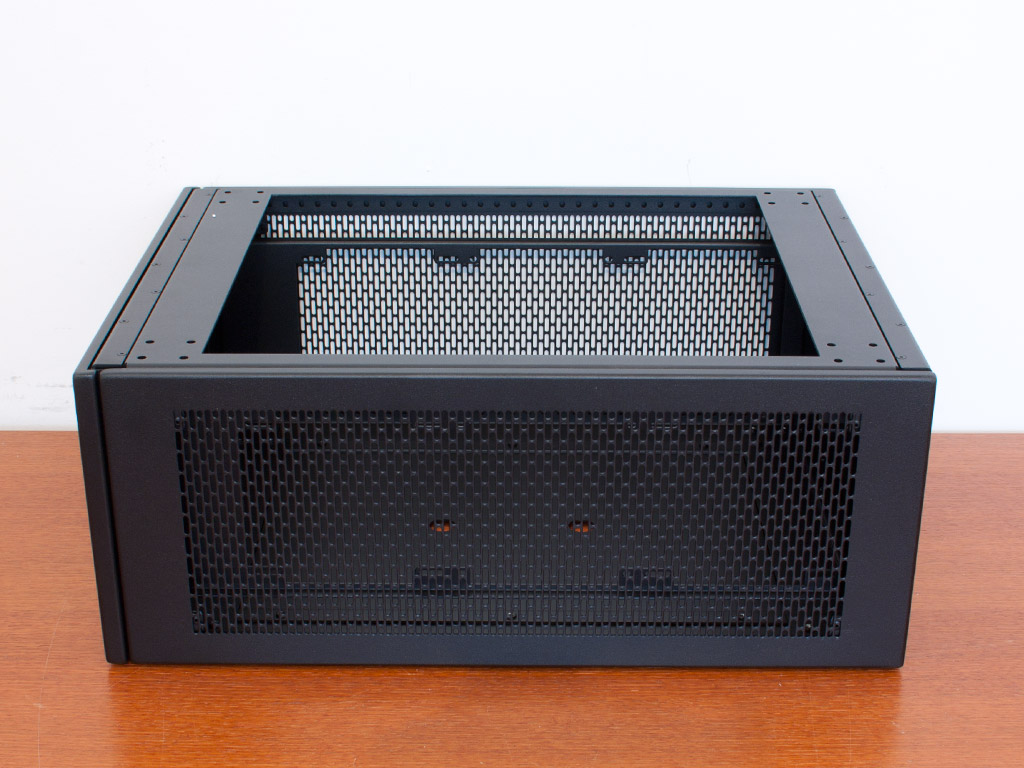
CaseLabs is going for functional design, so you will not see anything besides mostly straight and simple lines. One thing that is apparent is the lack of a dust filter in the elaborately cut front air vent. Maybe Caselabs can offer something like that as a future accessory at least. You may pull the cover in the front of the chassis off with a a firm tug. It is held in place by high-quality metal pins. All the separate parts of the chassis are held in place by black thumb screws, hidden nicely behind the front panel. In the rear there are two PSU bays on one side and the area for the motherboard on the other.
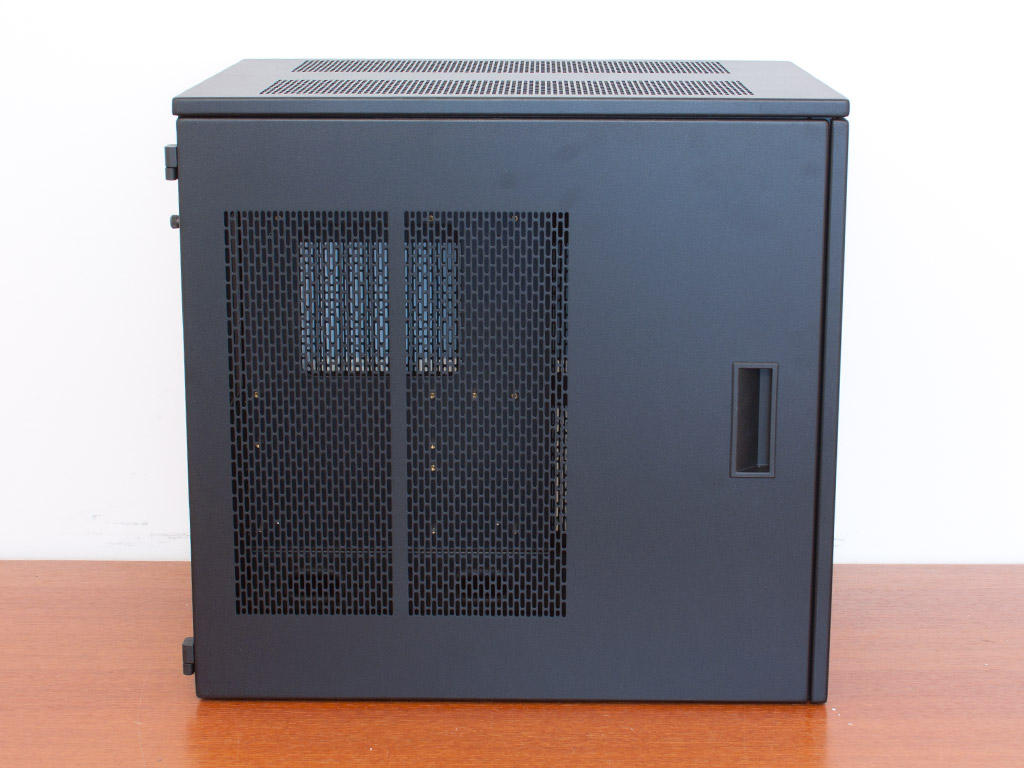
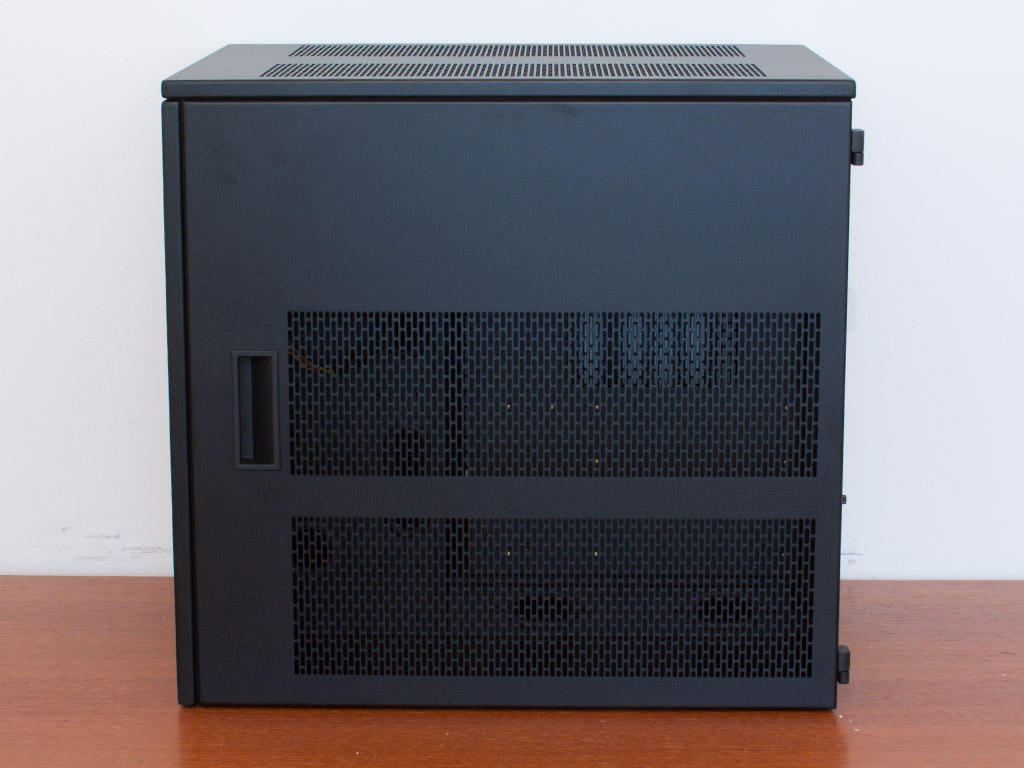
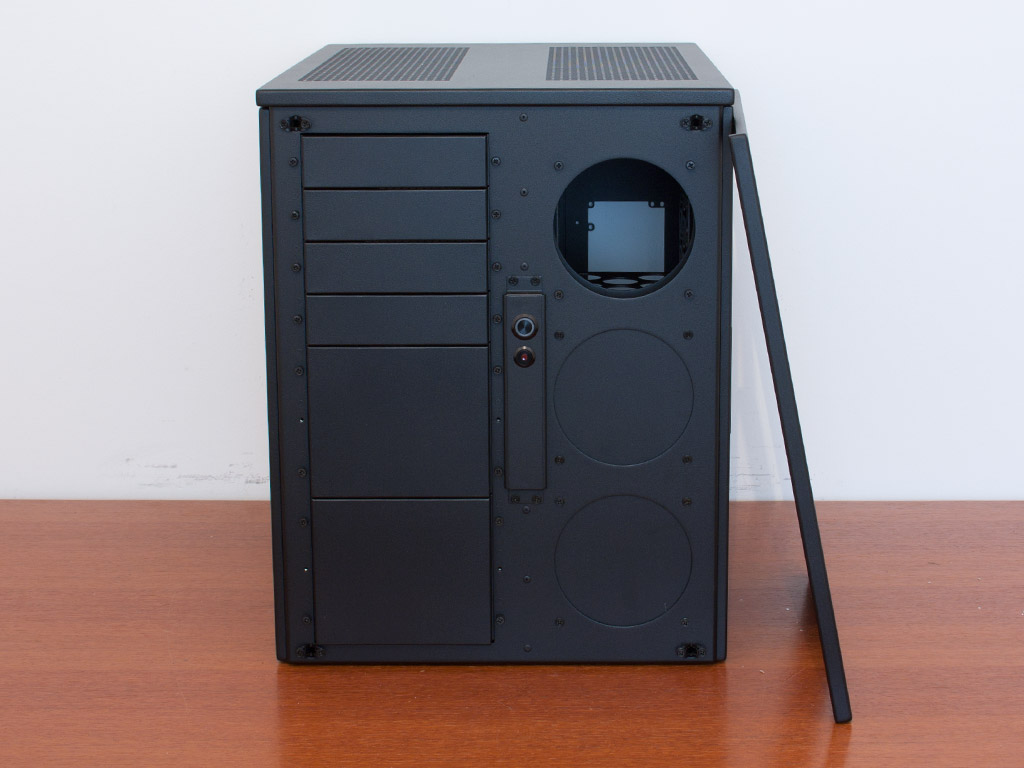
Both side panels of the chassis have two large air vents, placed in different locations for best results of each compartment. I would have liked to see the possibility to install fans here along with the option for dust filters as well. Each of the panels is held in place by a spring lock and may be opened up without any tools by pulling on the handle. CaseLabs should include a lock on each panel, so that users who take their system to a LAN party do not have to worry about having the insides pulled out of the case in their absence.
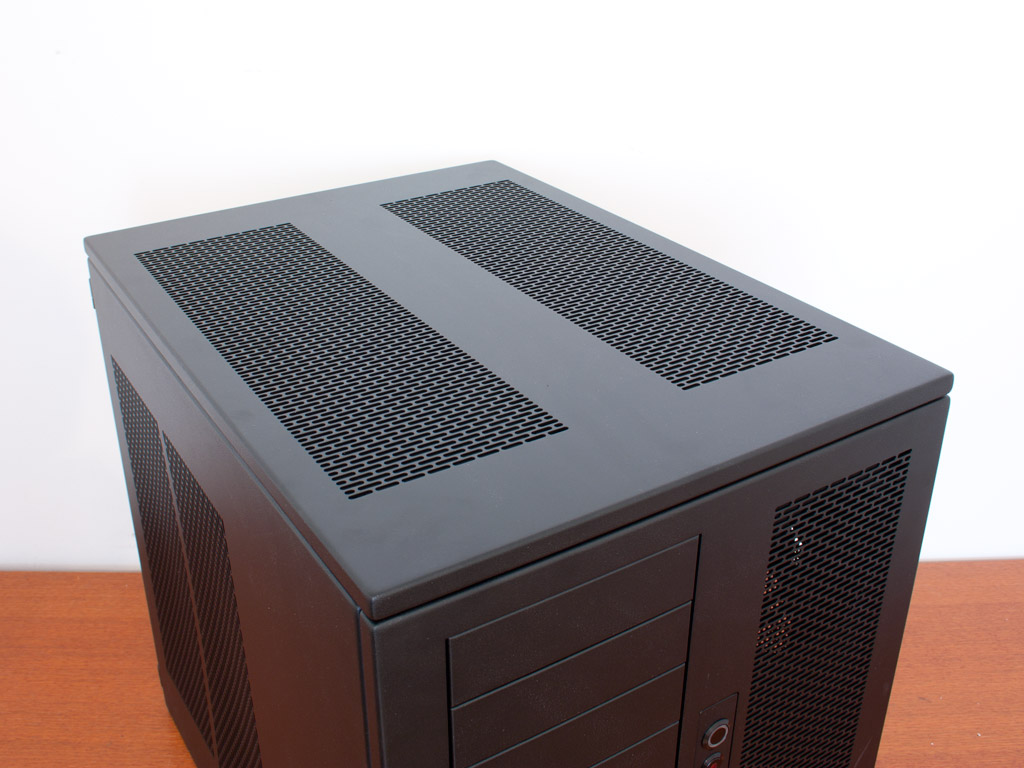
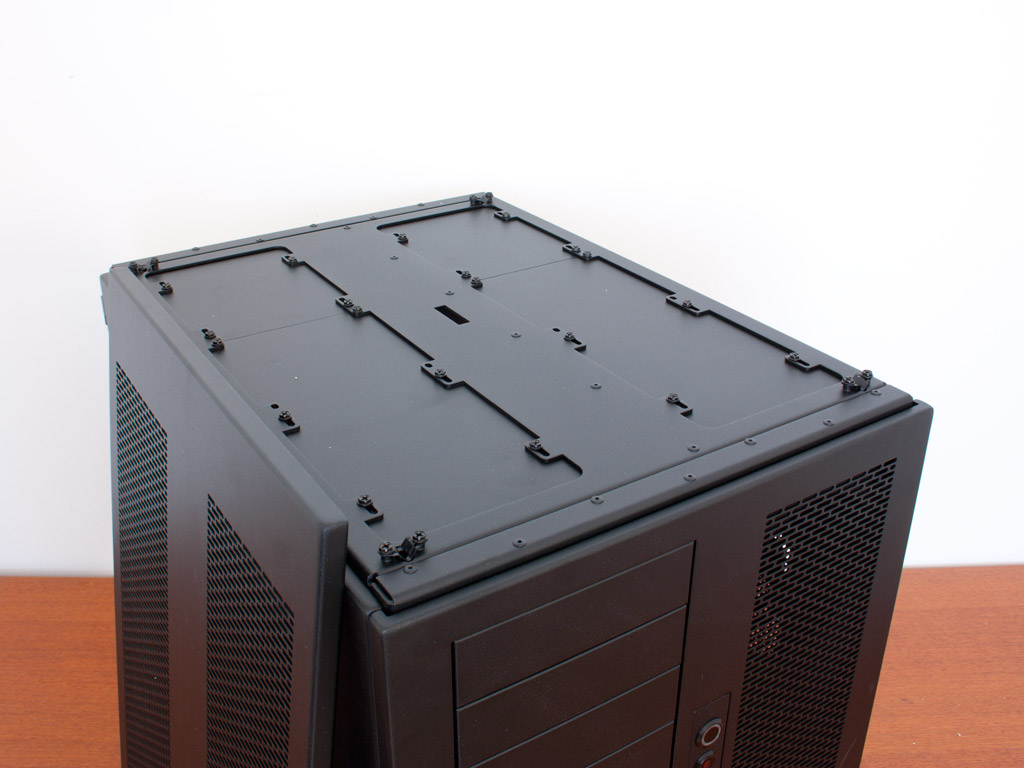
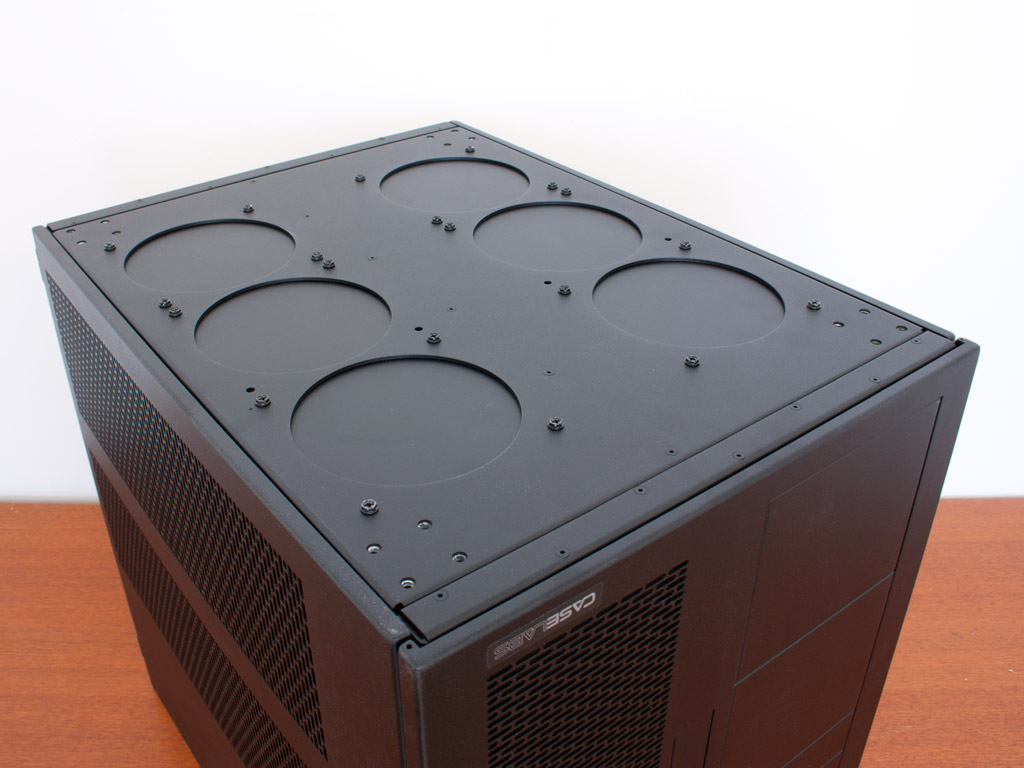
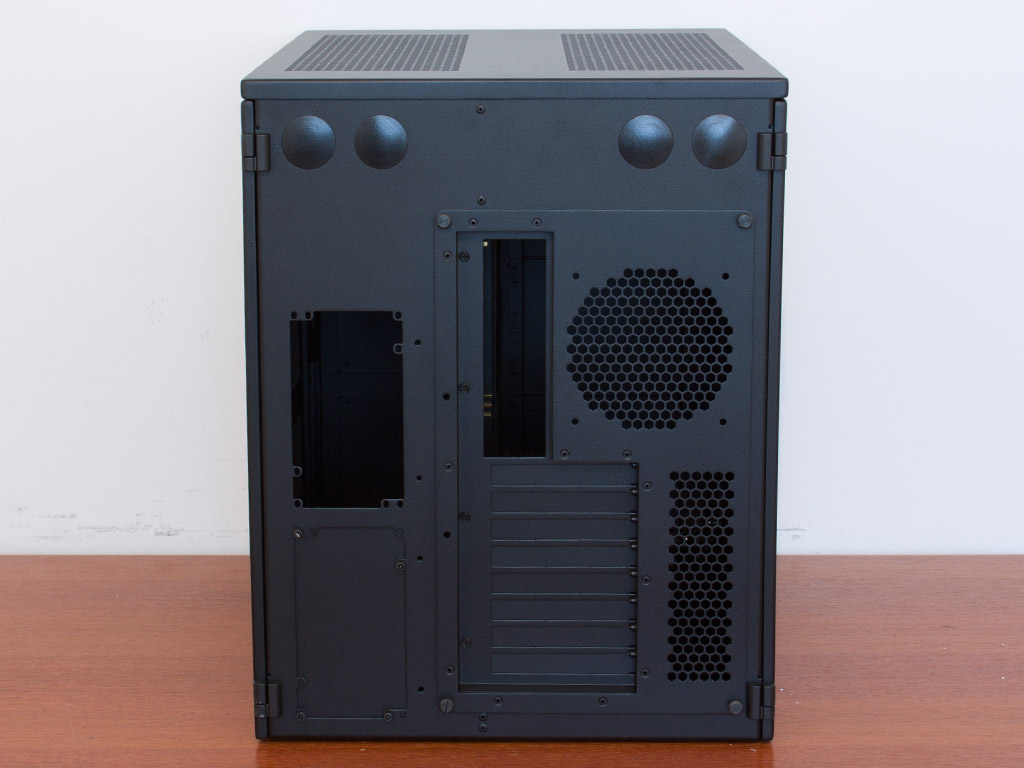
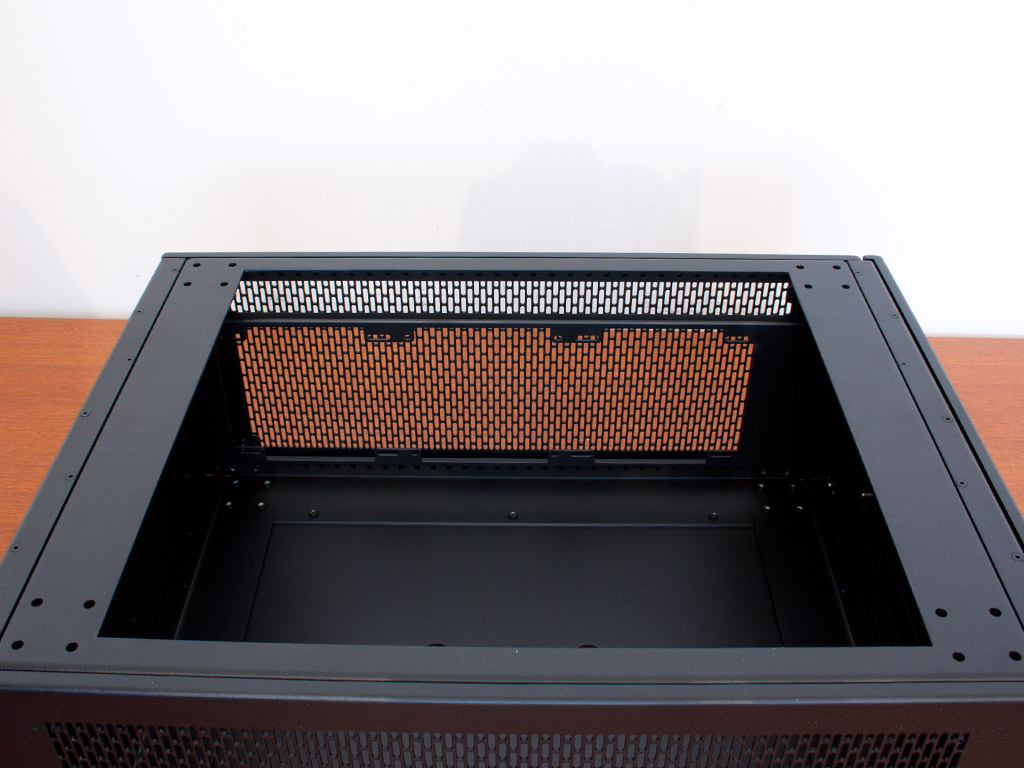
A top cover, similar to the front panel, has been placed on the ceiling of the Magnum M8. It features two large vents as well and covers the six spots for fans. You may install two 360 mm radiators here if you would like and CaseLabs offers a top with up to 85 mm space (we got the 64 mm version), so that you may even put the radiator in the top instead of hanging it from the ceiling - pretty cool. As you may mount the chassis on an optional pedestal, the underside of the M8 may hold up to six 120 mm fans or two more 360 mm radiators for example.

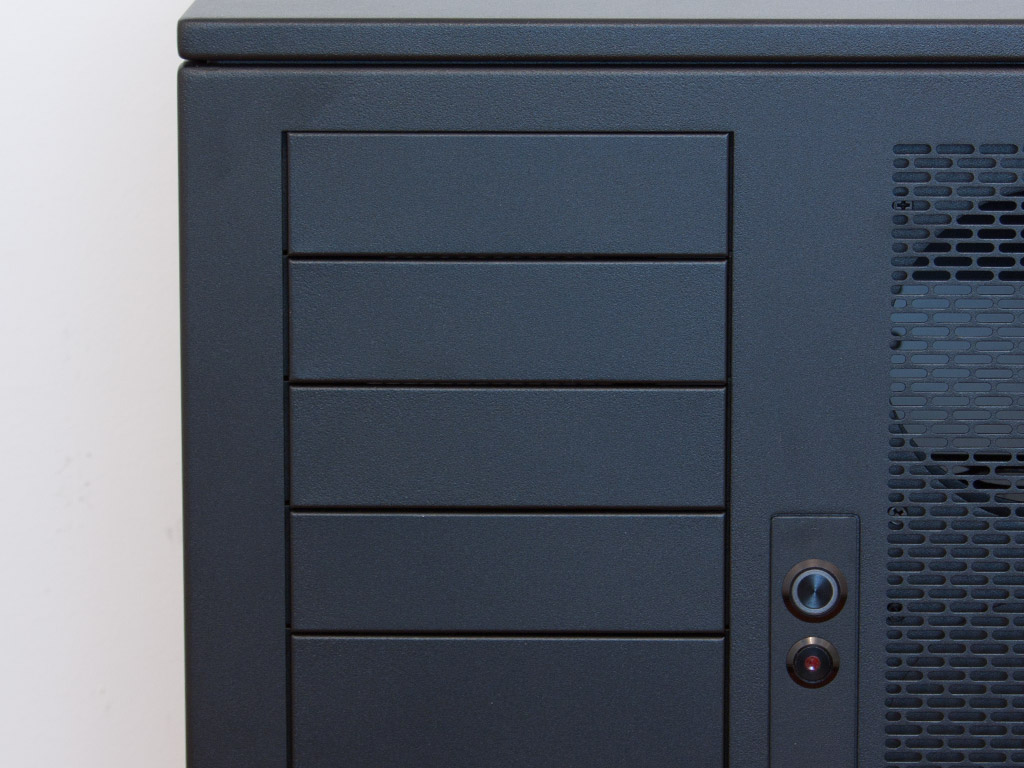
Since the chassis is made up of two compartments placed next to each other, all the external drive bays are place on the left side of the front. In the bottom are two covers, protecting the bottom six bays, while there are four separate ones above these. CaseLabs includes four separate mounting sets to go with these, but you may buy additional ones to fill the remaining six bays if need be.
The entire right side is lined with an air vent. In the very top is a special bracket which may hold up to four 3.5 inch hard drives. You may purchase two additional units to fill the bottom two spots for a total of 12 traditional 3.5" hard drives (or 24 2.5" ones with the optional SSD brackets). It should be clear at this point, that the chassis offers a "normal" set of features right out of the box, with the ability to go to extremes if needed.
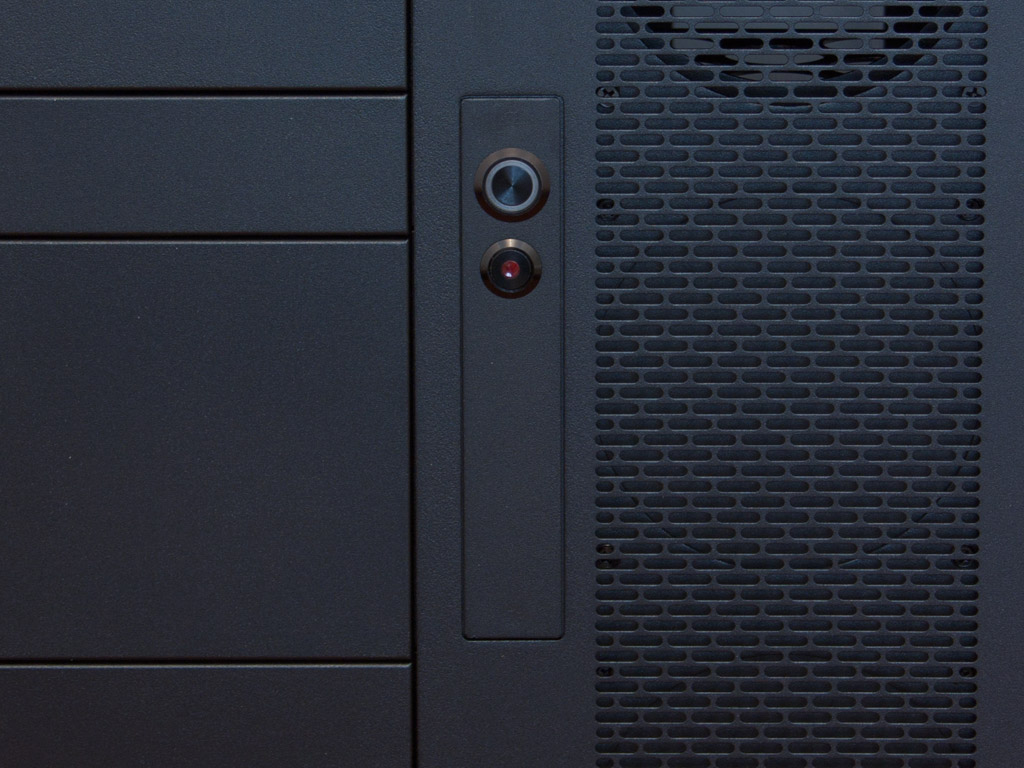
By default the M8 does not ship with any I/O, which is sorely missed. You may upgrade this part in the case configuration menu for 20 US Dollars, but I would have liked to see this as a default option instead. The majority of users - no matter how extreme - will require these for their daily operating tasks.
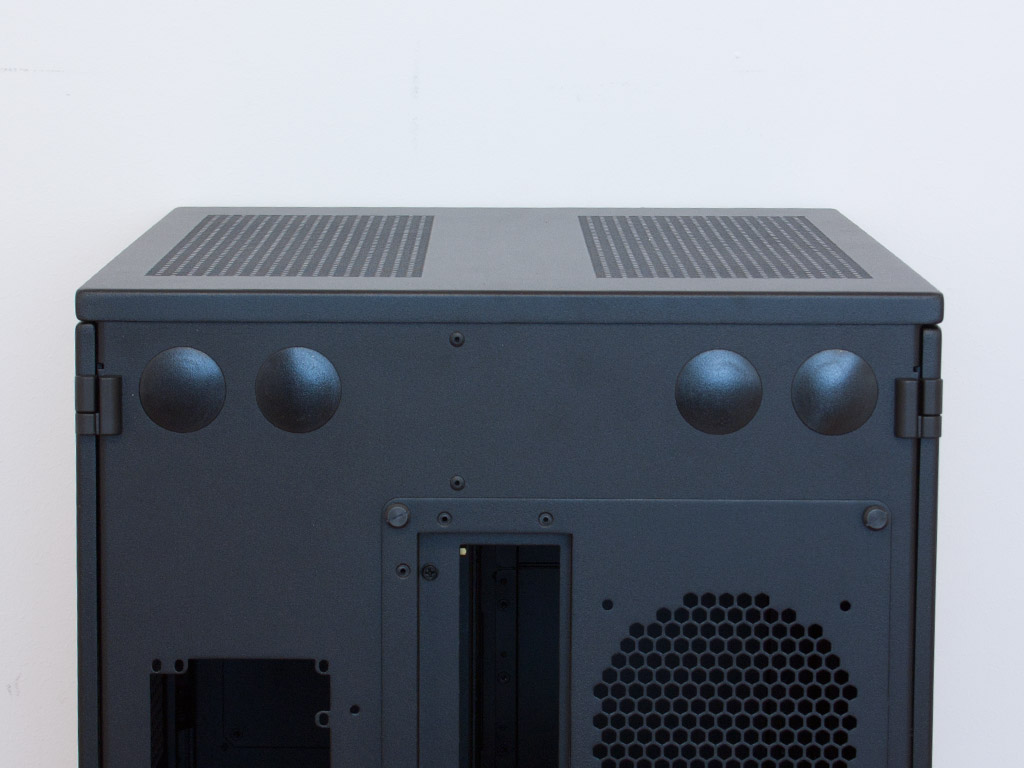

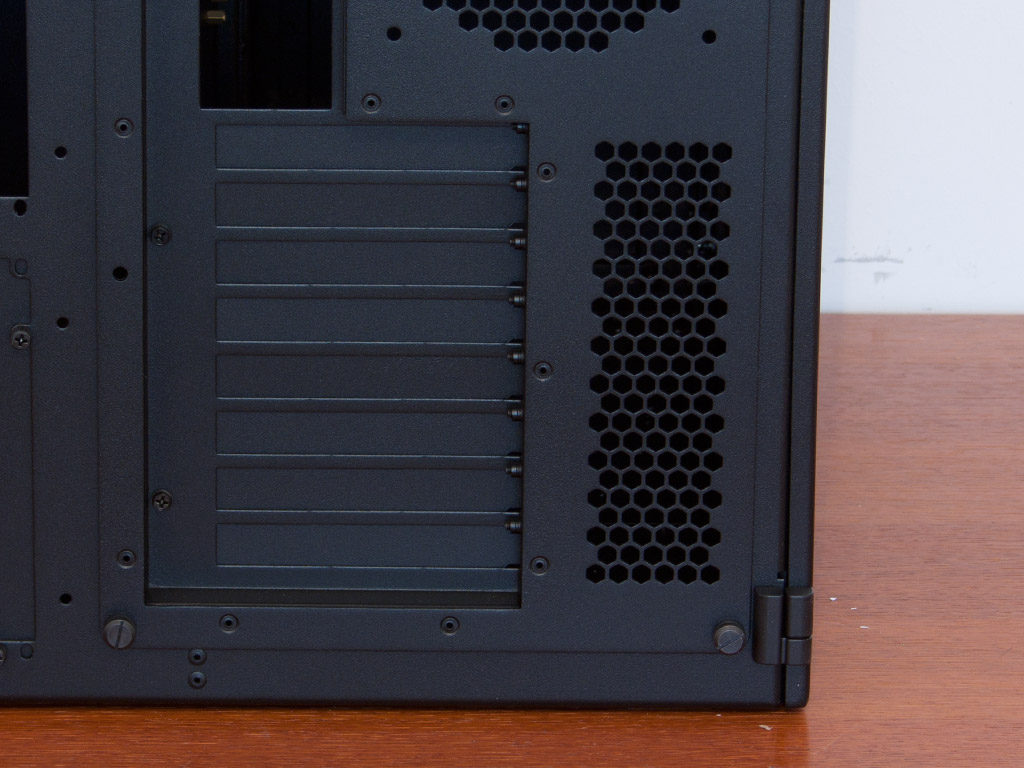
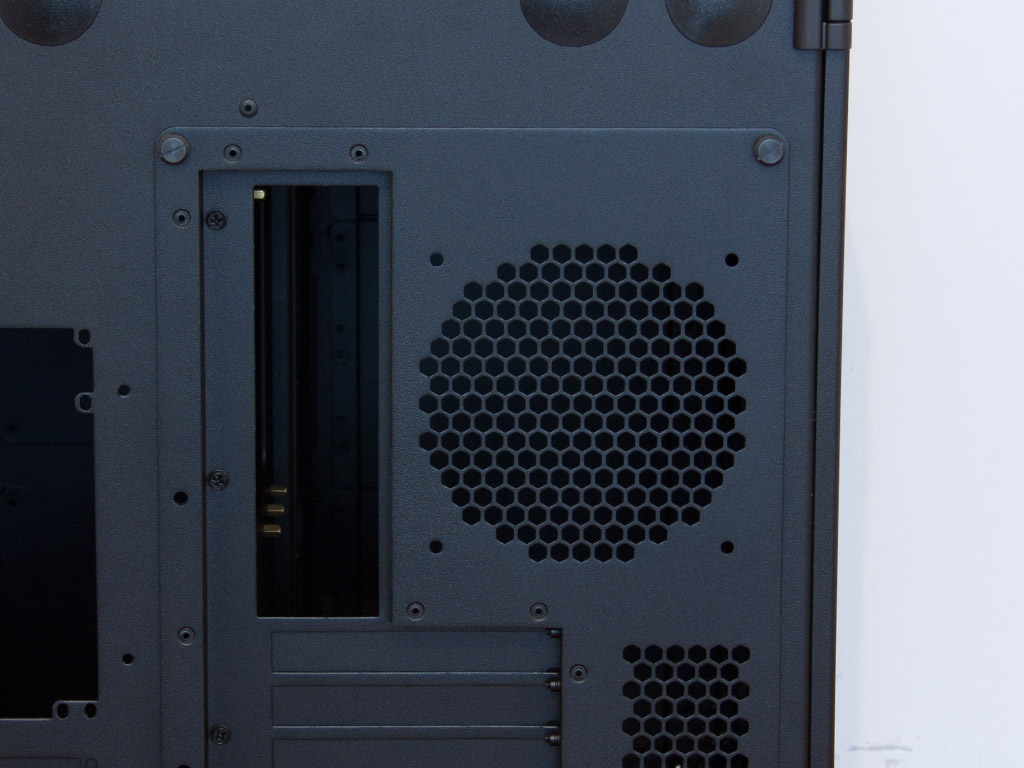
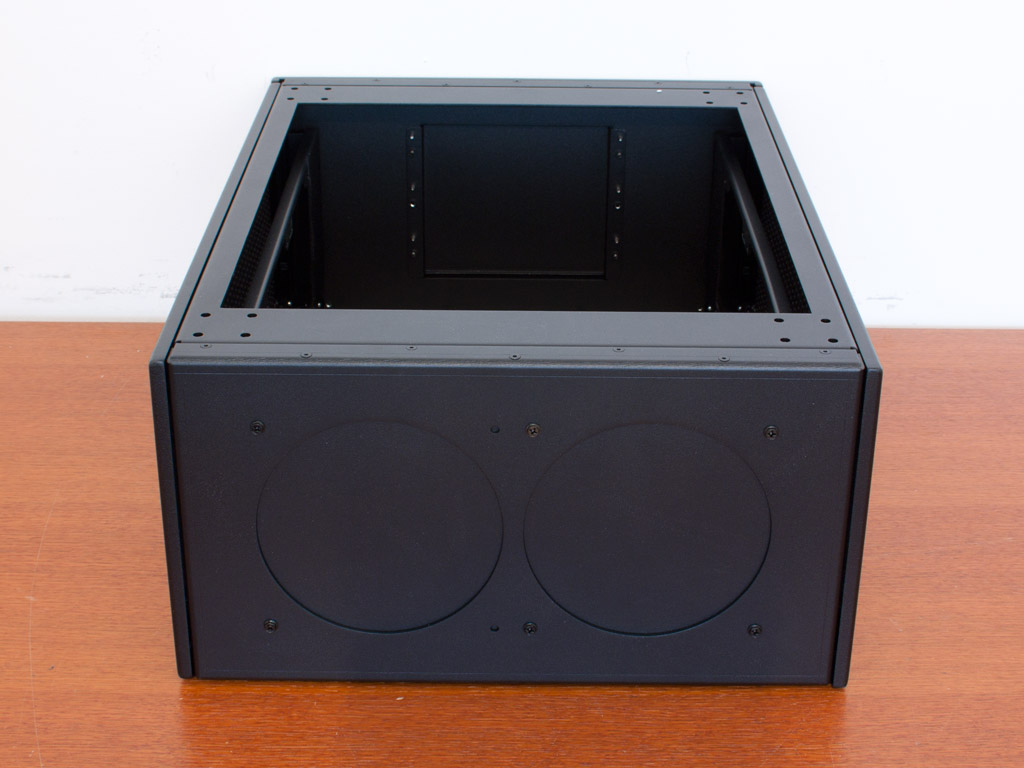
In the rear there are four large openings, protected by plastic covers on the top area. These are intended to be used to route water cooling tubing out the back of the case. CaseLabs provides rubber rings for these holes. To the left you have the two standard PSU bays, with the bottom one covered by default. To the right are the eight expansion slots of the motherboard and the 120 mm openings for an optional fan to pull air out the back of the chassis.
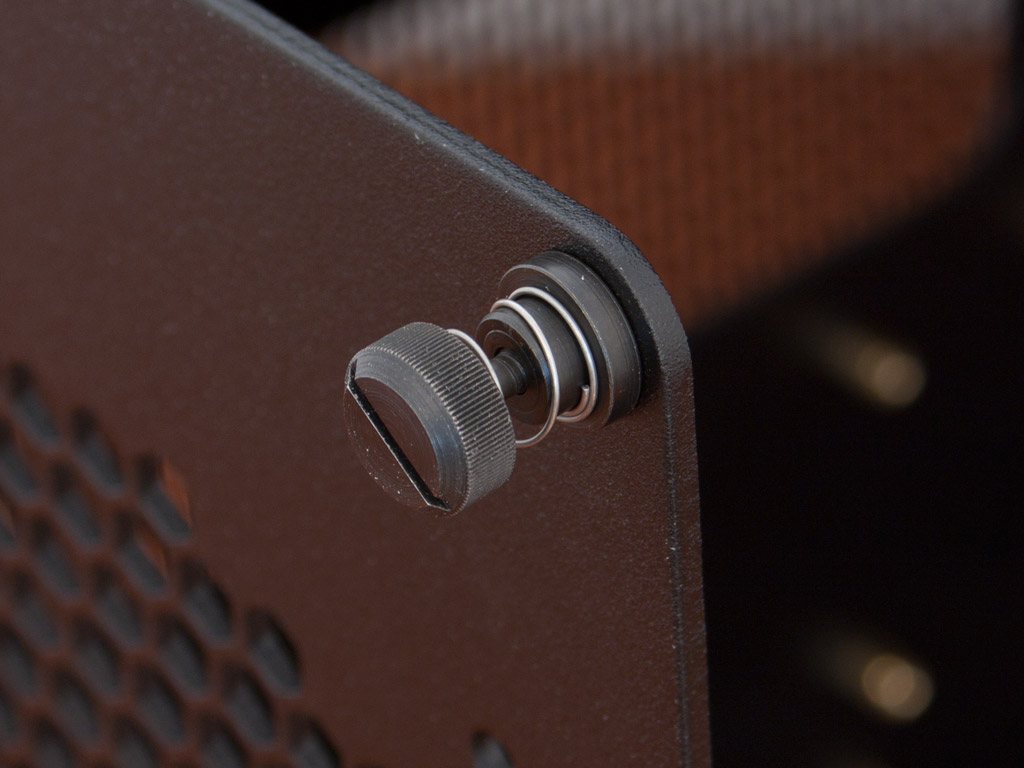
There are many details of he Magnum M8 which make it apparent where the company history lies. Take the thumb screws holding the motherboard tray for example. These are of excellent quality, spring loaded and engineered in such a way that they remain attached to the tray. The tray easily slides out once the four special thumb screws are loosened.
A Closer Look - The Pedestal
Even though the pedestal is an optional part, let us take a quick look at what it offers. Clocking in at 160 US Dollars, it costs as much as an aluminum ATX chassis and offers additional space for radiators and drives. Just like the M8, you may pull off the front cover of the pedestal. There are three drive bays in the front, theoretically allowing you to install additional hard drives or optical ones in this base. In the rear are two large cut-outs to place fans in.

Both sides of the device may hold a 360 mm radiator each, which is the main reason for the pedestal's existence. Thus, this part is only really needed for the most extreme users. I suggest going for the special top covers first before considering the pedestal. Of course if you do require that many radiators, there is no way around this part.
Apr 17th, 2025 01:41 EDT
change timezone
Latest GPU Drivers
New Forum Posts
- Need advice RAM for Asus Maximus hero z890 + core ultra 7 265k (33)
- Advice for DDR5 CU-DIMM 2 x 24gb 8400mhz (32)
- How to relubricate a fan and/or service a troublesome/noisy fan. (241)
- EVGA 3070ti hotspot is too high 107.7° (10)
- Windows 11 fresh install to do list (37)
- Will you buy a RTX 5090? (479)
- 5070 Ti power limit questions (42)
- 3DMARK "LEGENDARY" (298)
- Help needed OC on Intel 285k (0)
- Technical Issues - TPU Main Site & Forum (2025) (99)
Popular Reviews
- G.SKILL Trident Z5 NEO RGB DDR5-6000 32 GB CL26 Review - AMD EXPO
- ASUS GeForce RTX 5060 Ti TUF OC 16 GB Review
- ASUS GeForce RTX 5080 TUF OC Review
- NVIDIA GeForce RTX 5060 Ti PCI-Express x8 Scaling
- DAREU A950 Wing Review
- Palit GeForce RTX 5060 Ti Infinity 3 16 GB Review
- The Last Of Us Part 2 Performance Benchmark Review - 30 GPUs Compared
- ASUS GeForce RTX 5060 Ti Prime OC 16 GB Review
- Zotac GeForce RTX 5060 Ti AMP 16 GB Review
- Sapphire Radeon RX 9070 XT Pulse Review
Controversial News Posts
- NVIDIA GeForce RTX 5060 Ti 16 GB SKU Likely Launching at $499, According to Supply Chain Leak (182)
- NVIDIA Sends MSRP Numbers to Partners: GeForce RTX 5060 Ti 8 GB at $379, RTX 5060 Ti 16 GB at $429 (127)
- Nintendo Confirms That Switch 2 Joy-Cons Will Not Utilize Hall Effect Stick Technology (105)
- Over 200,000 Sold Radeon RX 9070 and RX 9070 XT GPUs? AMD Says No Number was Given (100)
- Nintendo Switch 2 Launches June 5 at $449.99 with New Hardware and Games (99)
- NVIDIA Launches GeForce RTX 5060 Series, Beginning with RTX 5060 Ti This Week (92)
- Sony Increases the PS5 Pricing in EMEA and ANZ by Around 25 Percent (85)
- NVIDIA PhysX and Flow Made Fully Open-Source (77)