 7
7
CaseLabs MAGNUM M8 Review
Assembly & Finished Looks »A Closer Look - Inside
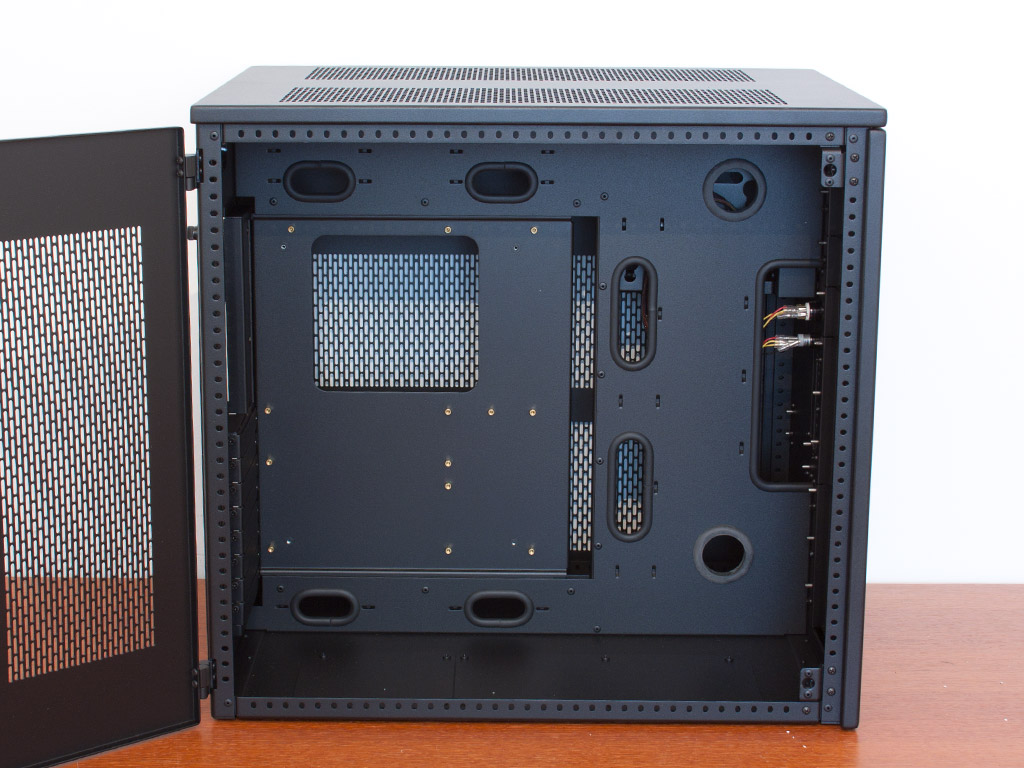
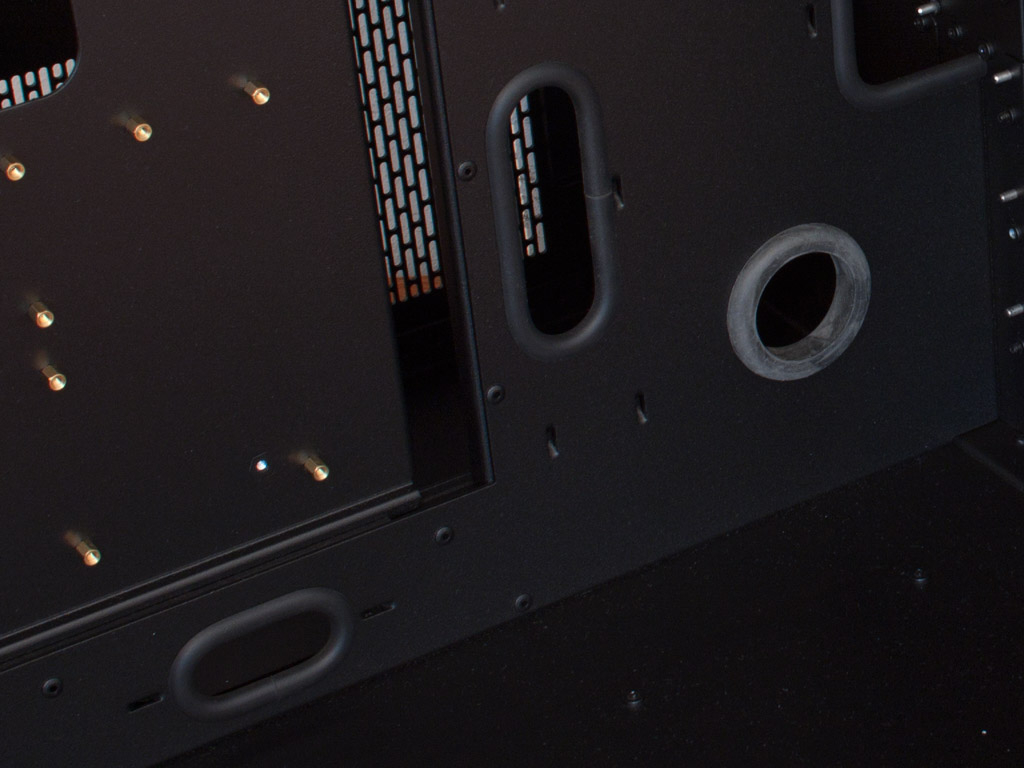
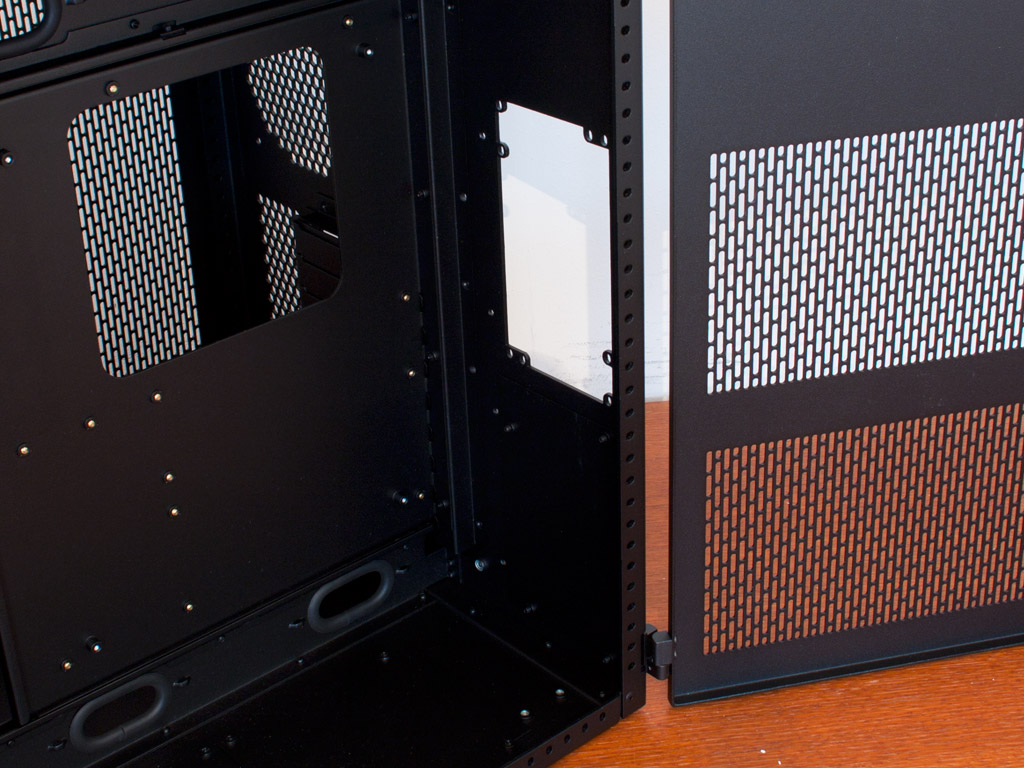
Gaining access to the interior of the cases is refreshingly easy: simply pull on the door to open it up. These panels use solid hinges, which use the weight of the part to stay in place, so while you cannot tip the case on its top as the doors would simply fall off when opened all the way, the easy detachment makes the assembly process much easier. As the case has two compartments, multiple holes around the mainboard tray allow for cable to be routed from one area to the other. These are lined with thick, industrial rings, so that you won't have to worry about cutting yourself or damaging any cables when doing so.
Taking a look at the main side which houses the motherboard tray and external drive bays. there is not really a lot of the latter to see upon first sight. The only thing that hints at these bays are the separate covers which are also visible from the outside. Each of these is held in place by tall thumb screws, hidden behind the front panel.
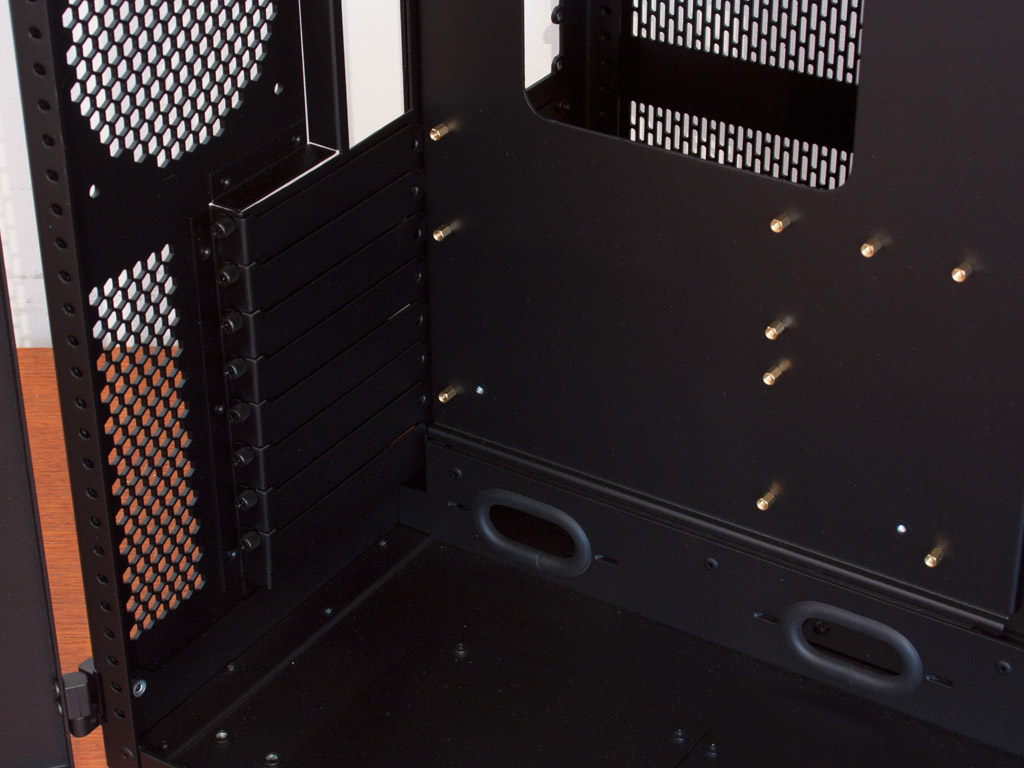
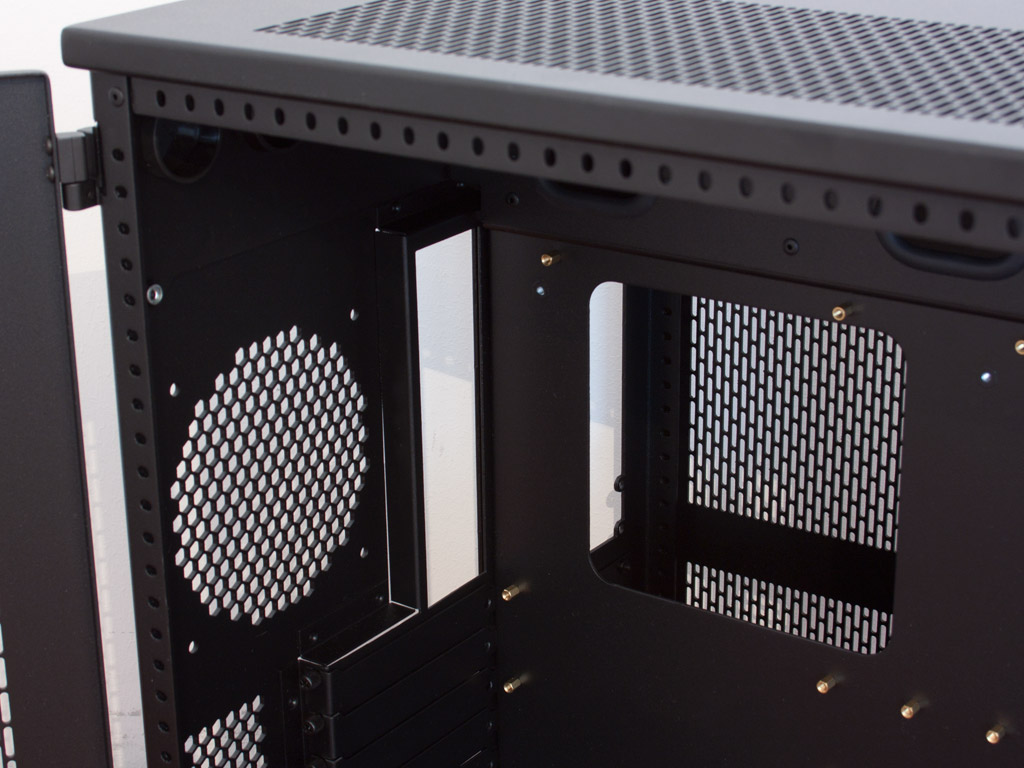
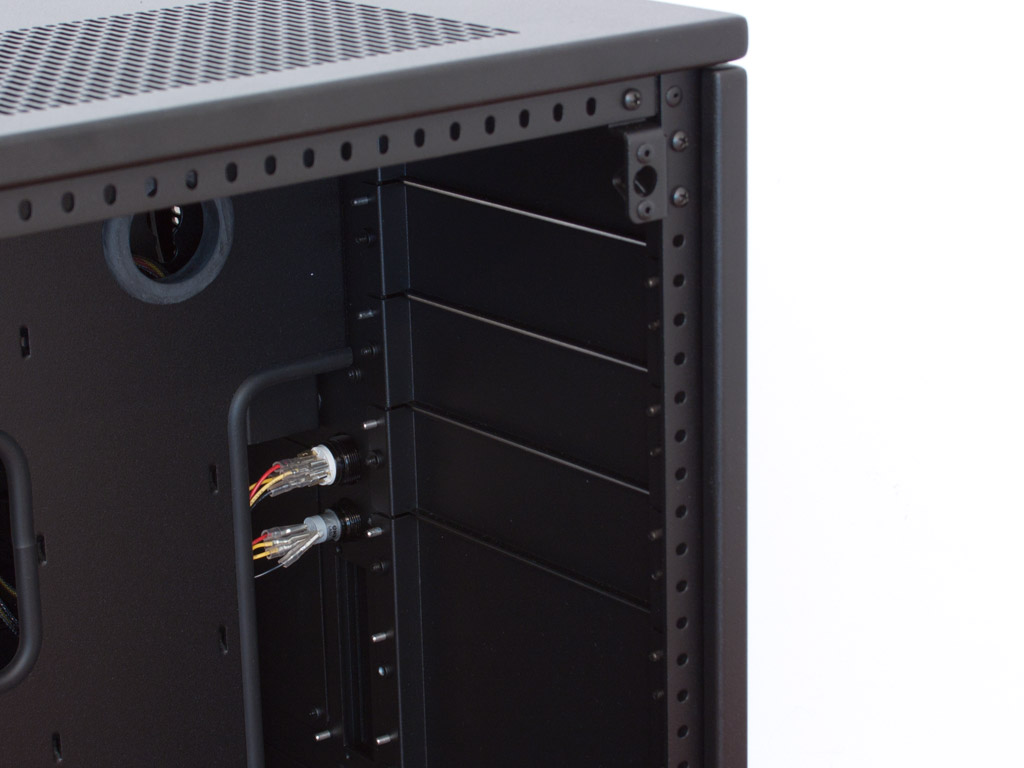
In the rear, the eight motherboard expansion slots are protected by solid covers, each held in place by a thumb screw. Thanks to the free space below these, it is possible to route cables through the bottom openings from the other compartment for a clean inner look. Interestingly enough, CaseLabs has pre-applied the motherboard spacers in the chassis. You just have to make sure that you remove the ones which you do not require, as those may end up causing a short when turning the system on. Above the bays is an opening for an 120 mm fan to push hot air out the back of the chassis. A large hole in the tray should give you access to the CPU cooler backplate without having to pull out the entire board in the process.
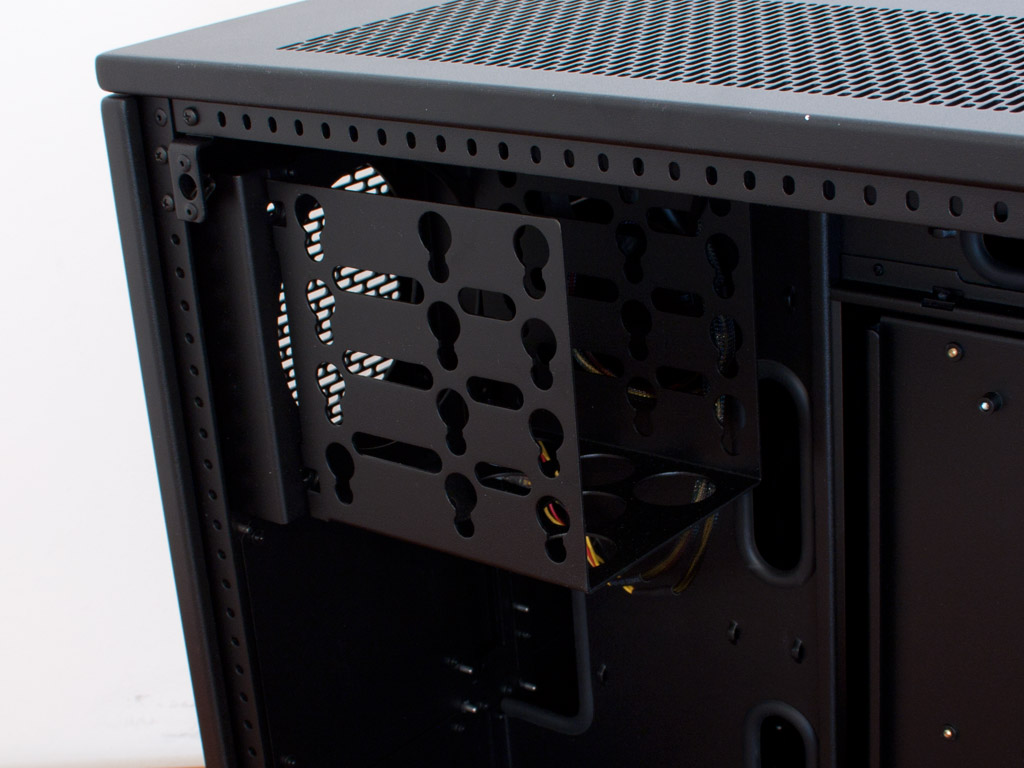
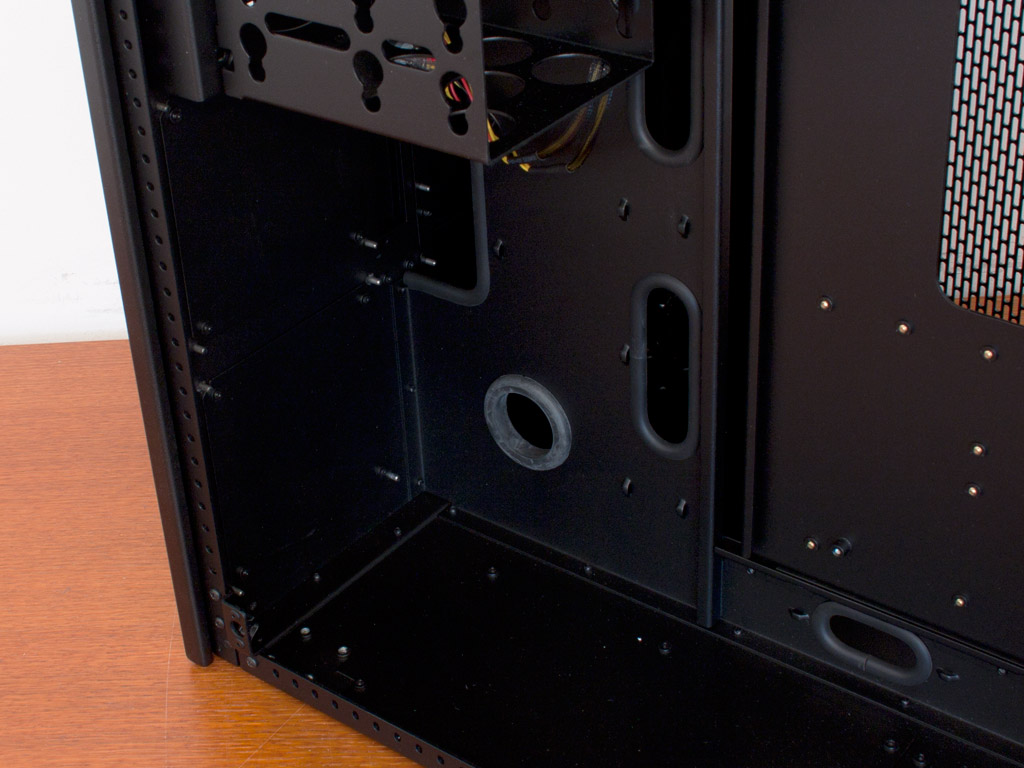
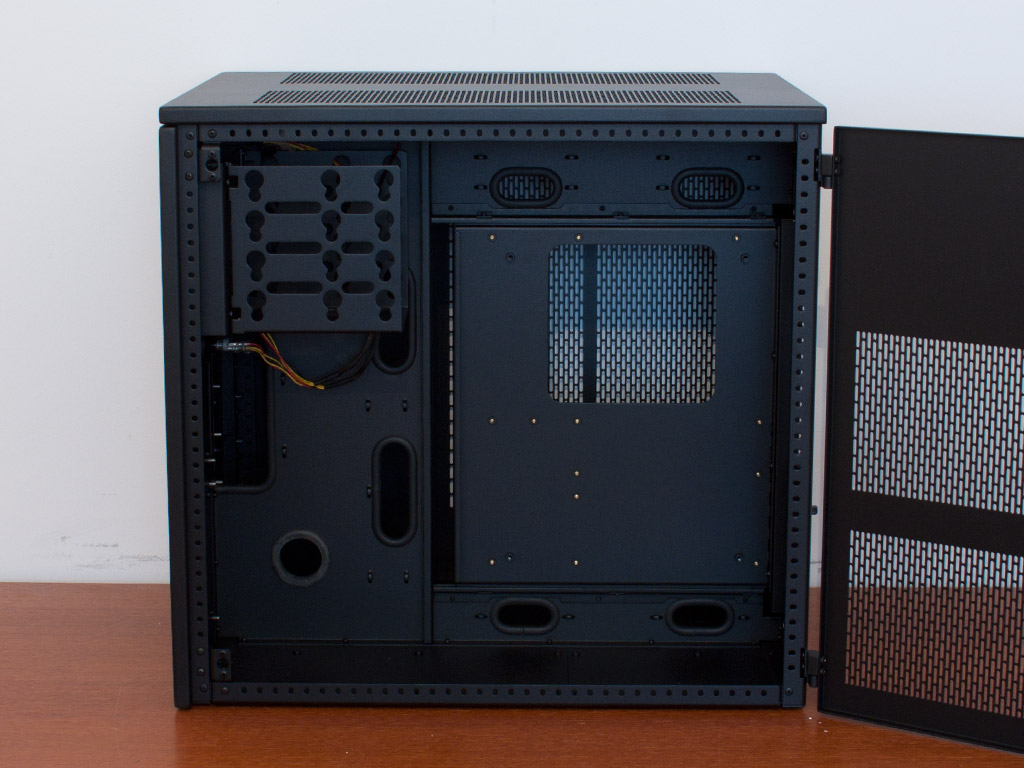
In the other compartment are the hard drive bays along with the openings for the PSUs. CaseLabs includes one contraption to hold up to four 3.5 inch hard drives. You may install up to eight 2.5 inch drives in here but require the optional brackets to do so. Below these bays are two more spots to install such units, for a total of 12 3.5" bays.
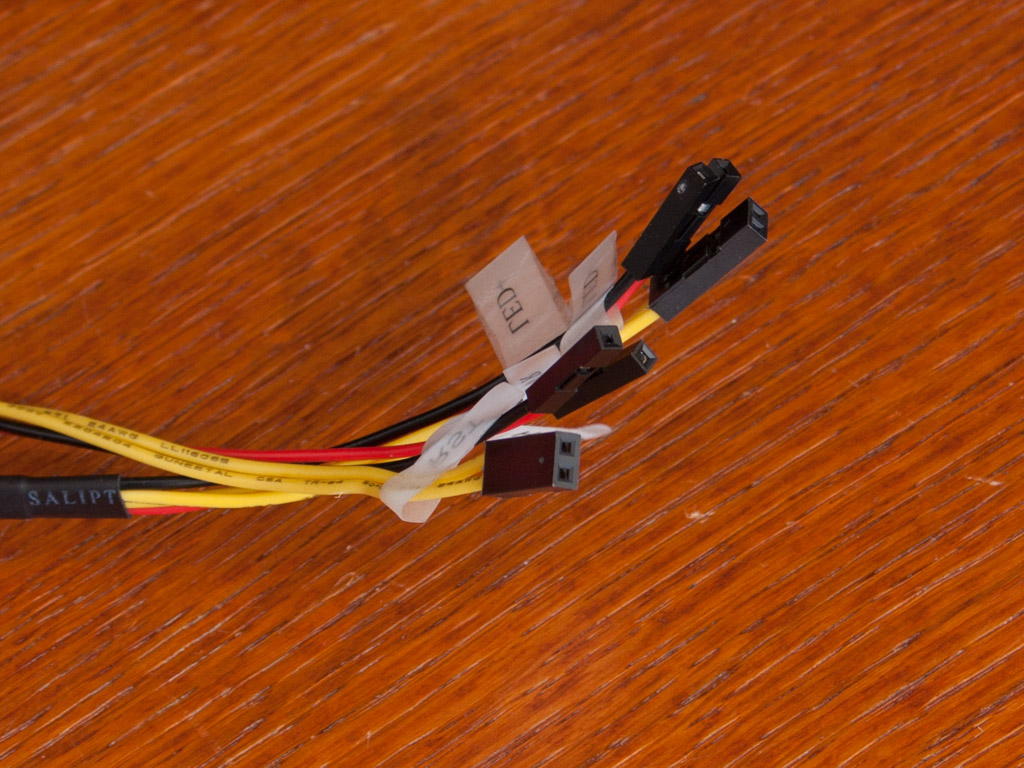
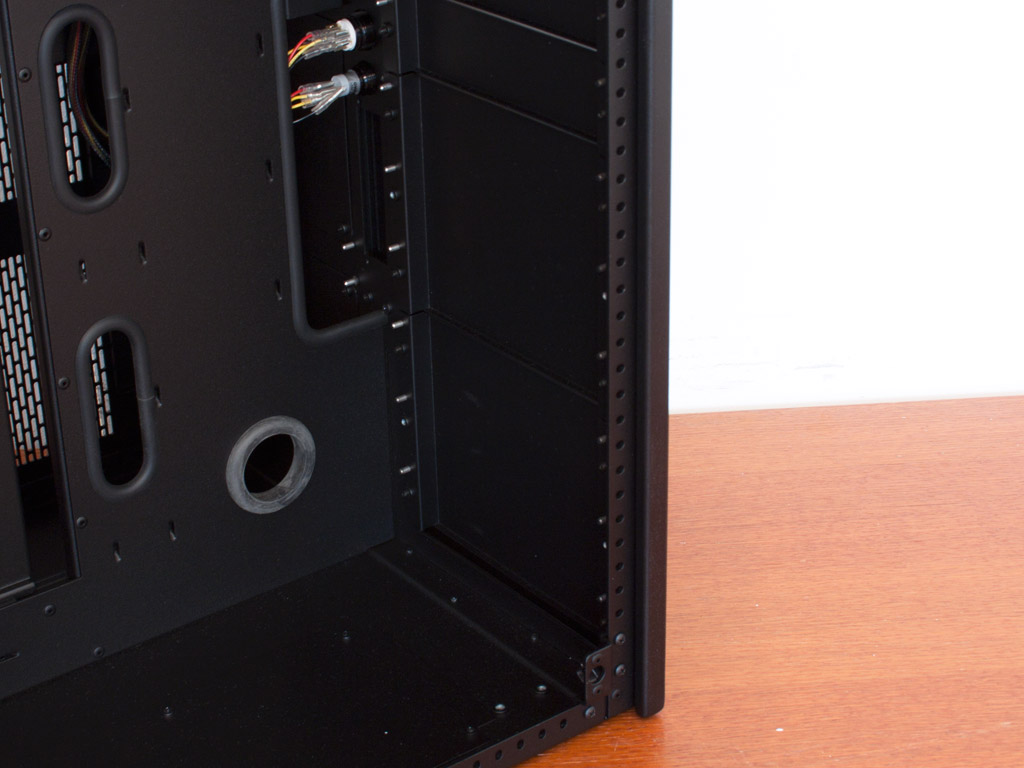
Before we dive into the assembly process, let us take a quick look at the cabling. As we do not have any I/O in the front, there are only the case headers for the power and reset buttons. Even though the cables are colored, CaseLabs has sleeved these with black mesh to go with the rest of the chassis.
Apr 8th, 2025 01:55 EDT
change timezone
Latest GPU Drivers
New Forum Posts
- Kindly help in Identifying GPU and Suitable bios (9)
- AMD RX 9070 XT & RX 9070 non-XT thread (OC, undervolt, benchmarks, ...) (84)
- 12v lines 0 reads occansionally (3)
- Asus X670E Crosshair Crashes (7)
- 9070XT or 7900XT or 7900XTX (122)
- USB case with dual USB-C and dual USB-A (7)
- The coffee and tea drinkers club. (247)
- The easiest way to connect the BOOTSEL test metal terminal and the GND terminal.... (1)
- Anyone with true HDDs still around here? (337)
- is it worth using ssd with usb2? (12)
Popular Reviews
- The Last Of Us Part 2 Performance Benchmark Review - 30 GPUs Compared
- UPERFECT UStation Delta Max Review - Two Screens In One
- ASUS Prime X870-P Wi-Fi Review
- PowerColor Radeon RX 9070 Hellhound Review
- Upcoming Hardware Launches 2025 (Updated Apr 2025)
- MCHOSE L7 Pro Review
- Sapphire Radeon RX 9070 XT Pulse Review
- Corsair RM750x Shift 750 W Review
- Sapphire Radeon RX 9070 XT Nitro+ Review - Beating NVIDIA
- DDR5 CUDIMM Explained & Benched - The New Memory Standard
Controversial News Posts
- NVIDIA GeForce RTX 5060 Ti 16 GB SKU Likely Launching at $499, According to Supply Chain Leak (161)
- MSI Doesn't Plan Radeon RX 9000 Series GPUs, Skips AMD RDNA 4 Generation Entirely (146)
- Microsoft Introduces Copilot for Gaming (124)
- AMD Radeon RX 9070 XT Reportedly Outperforms RTX 5080 Through Undervolting (119)
- NVIDIA Reportedly Prepares GeForce RTX 5060 and RTX 5060 Ti Unveil Tomorrow (115)
- Over 200,000 Sold Radeon RX 9070 and RX 9070 XT GPUs? AMD Says No Number was Given (100)
- NVIDIA GeForce RTX 5050, RTX 5060, and RTX 5060 Ti Specifications Leak (97)
- Nintendo Switch 2 Launches June 5 at $449.99 with New Hardware and Games (92)