 21
21
Chieftec Pro Cube CI-02B-OP Review
Thermal Stress Test »Review System
| System Parts for Case Reviews | |
|---|---|
| Processor: | Intel Core i5-12600K Provided by: Intel |
| Motherboards: | ATX: ASUS ROG Strix Z690-E Gaming WiFi mATX: ASUS TUF Gaming B660M-PLUS WiFi D4 ITX: ASUS ROG STRIX Z690-I Gaming WiFi Provided by: ASUS |
| Graphics Card: | Gigabyte Radeon RX 6600 Eagle Provided by: Gigabyte ZOTAC GAMING GeForce RTX 3060 Ti Twin Edge OC Provided by: Zotac |
| Memory: | 32 GB XPG LANCER RGB DDR5 6000 MHz 32 GB XPG CASTER DDR5 6400 MHz 32 GB XPG HUNTER DDR5 5200 MHz Provided by: ADATA |
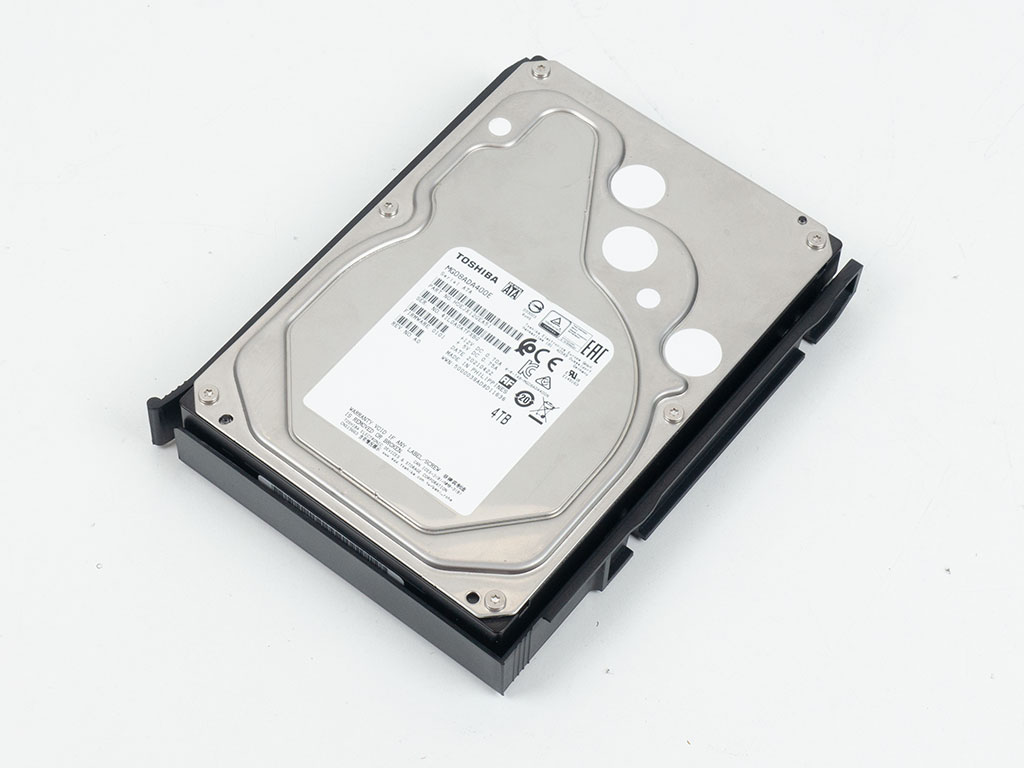
| HDD: | Toshiba MG08ADA400E 7200 RPM SATA III Provided by: Toshiba |
| SSD: | ATX:XPG GAMMIX S70 BLADE 1 TB mATX: ADATA LEGEND 840 512 GB ITX: XPG SPECTRIX S20G 500 GB ADATA Ultimate SU800 512 GB ADATA Ultimate SU720 500 GB Provided by: ADATA |
| Power Supply: | ATX: Fractal Design ION+ 650W 80 Plus Gold SFX: Fractal Design ION SFX-L 650W 80 Plus Gold Provided by: Fractal Design |
| Cooling: | be quiet! Pure Loop 120/Pure Loop 2 FX 240/280/360 Provided by: be quiet! |
Assembly
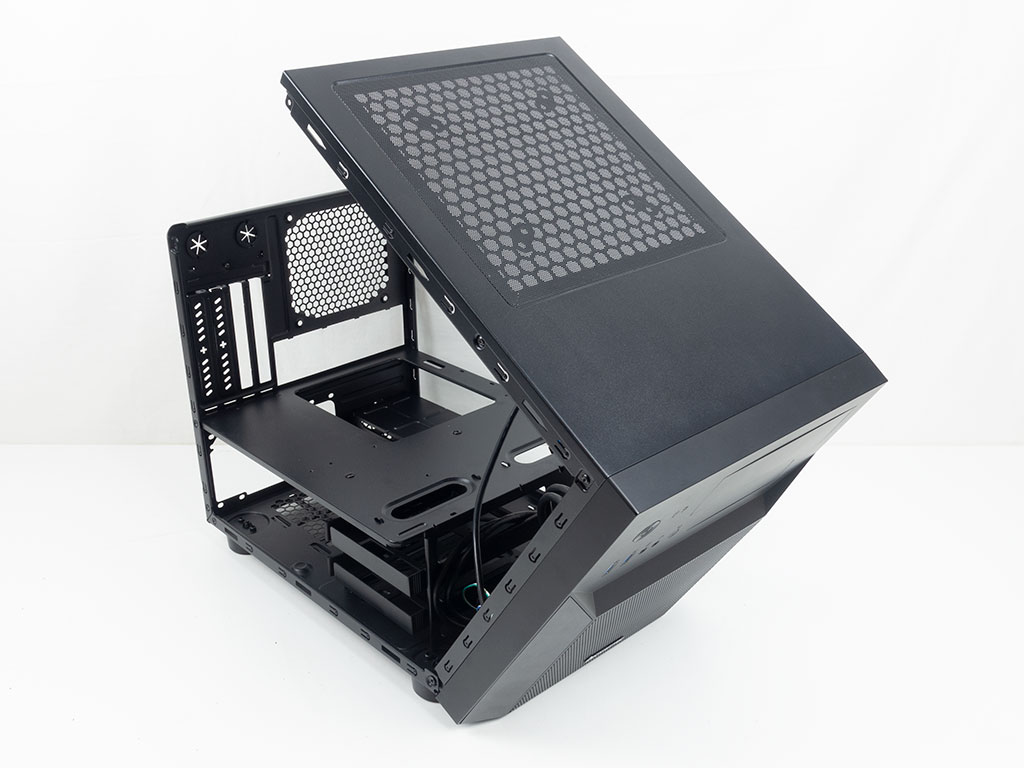
We hinted at the fact that removing the side panels is the first step in gaining access to the interior of the Chieftec Pro Cube CI-02B-OP. The second step is to remove the thumb screws in the back and two traditional ones on the side, which then allows you to flip forward the whole top and front of the chassis. This gives you all the room you will need for component installation, and is certainly a nice way to implement accessibility.
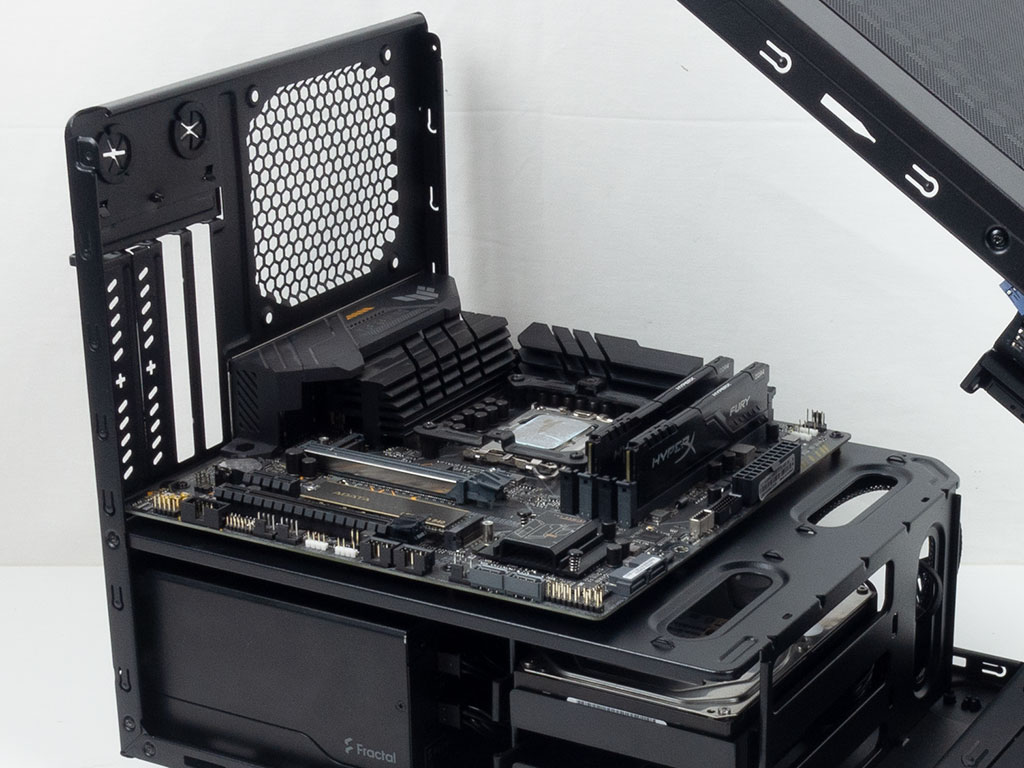
Installing the motherboard is done via traditional means using the screws and golden spacers provided. There is the additional step of having to mount the spacers first, as Chieftec does not ship the chassis with them pre-installed. The two cable management openings line up nicely with the forward facing edge of the motherboard and Chieftec has done an excellent job, with plenty of hooks for zip ties in this area as well.

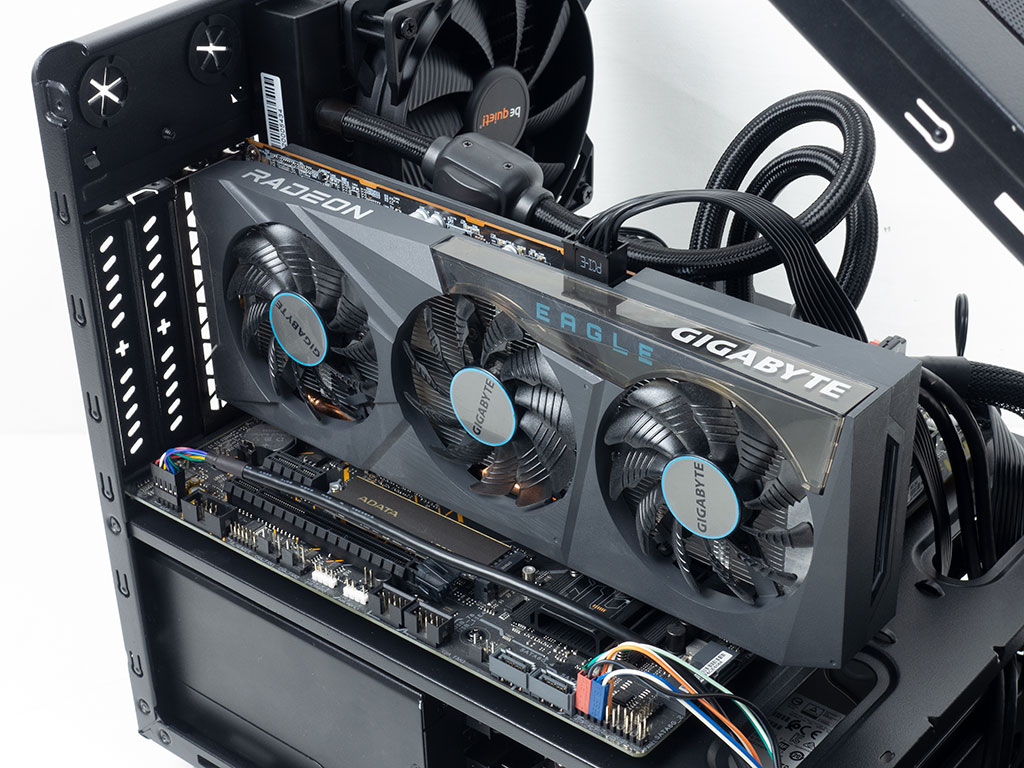
While it is actually encouraged by Chieftec to use the Pro Cube with air cooling, and it is not advertised, you may easily install a 120 mm AIO in the back of the enclosure. The GPU also fits nicely, with room for extra wide units or even triple slot ones. The only limiting factor is length at up to 320 mm, which is further shortened if you opt for a front intake fan.
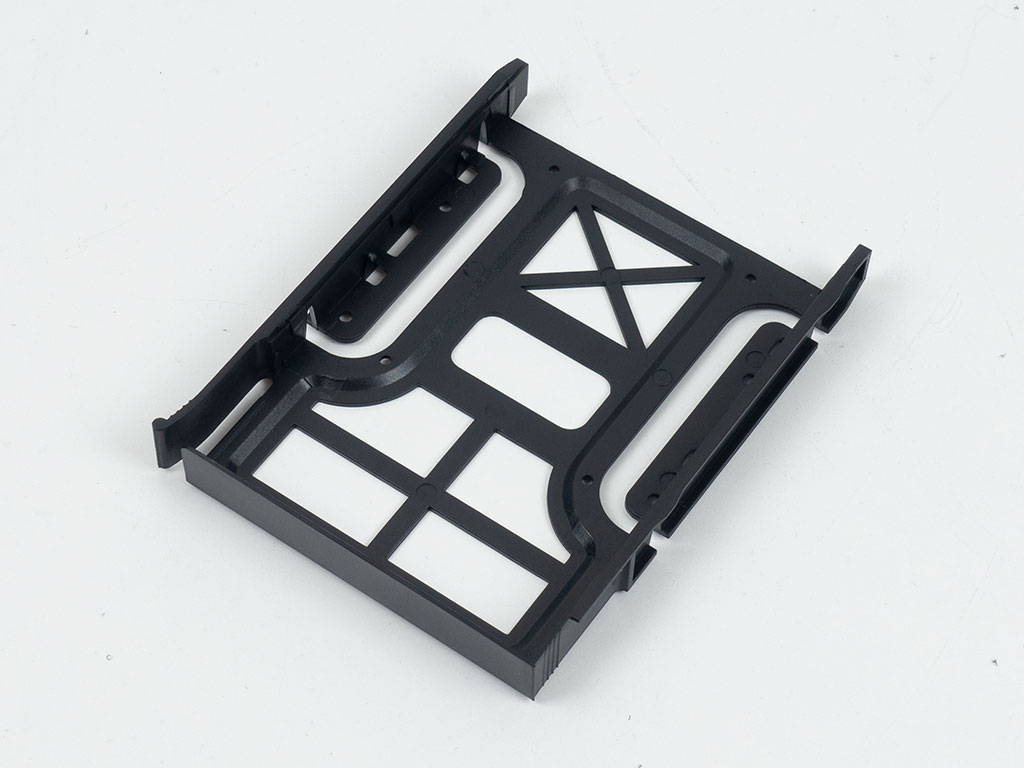
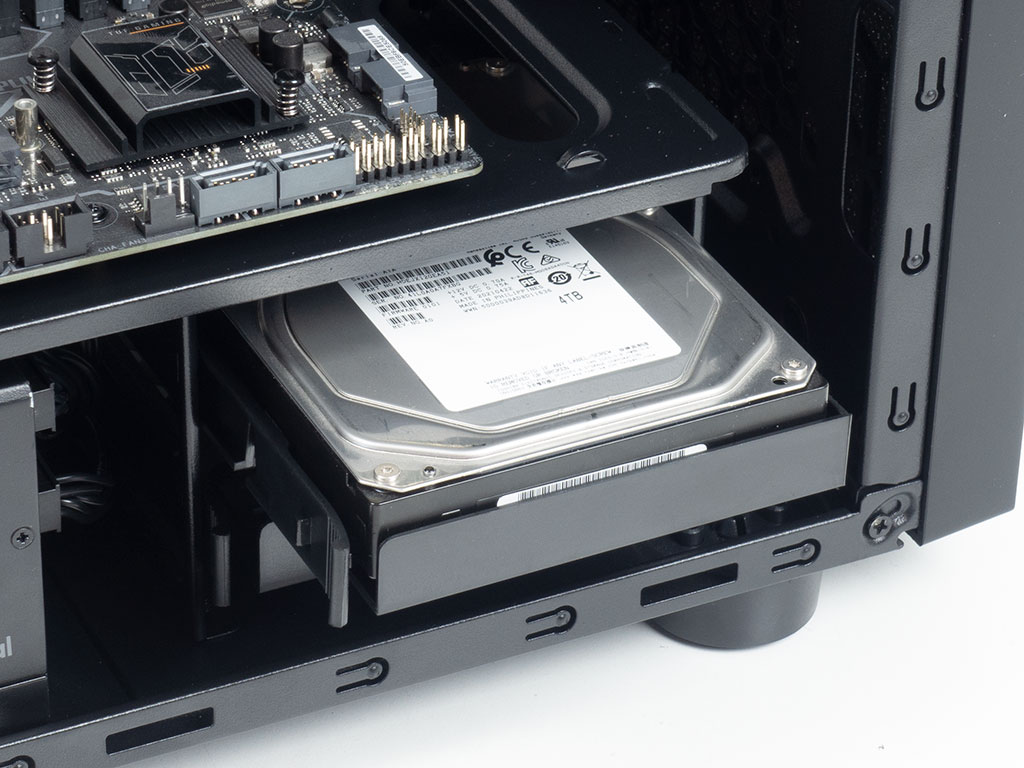
The 3.5" drive trays are made of plastic and are tool-less, you may also install 2.5" drives here, but that requires the use of classic screws. Once the tray is filled, simply slide it back into the chassis until it snaps into place.
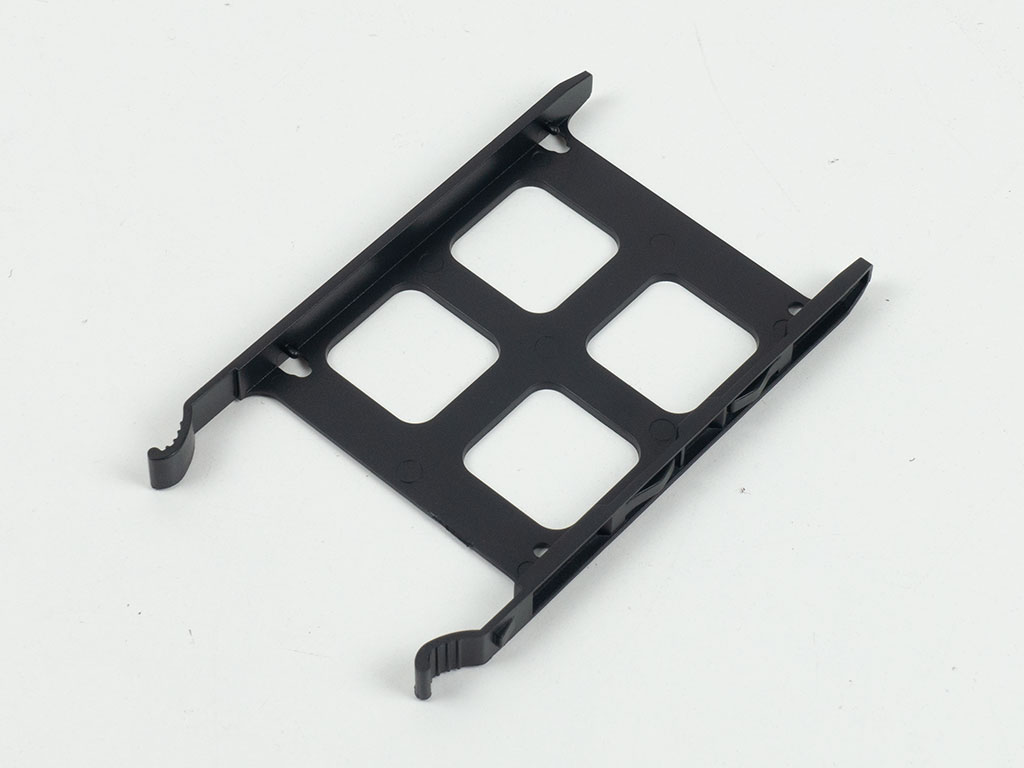
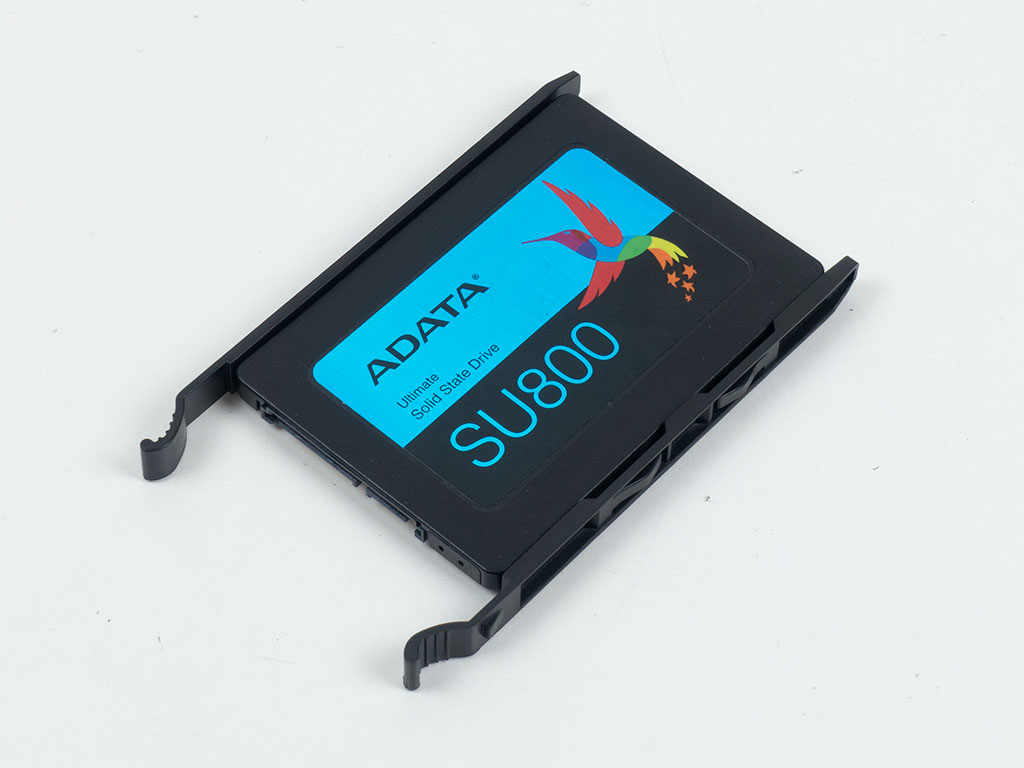
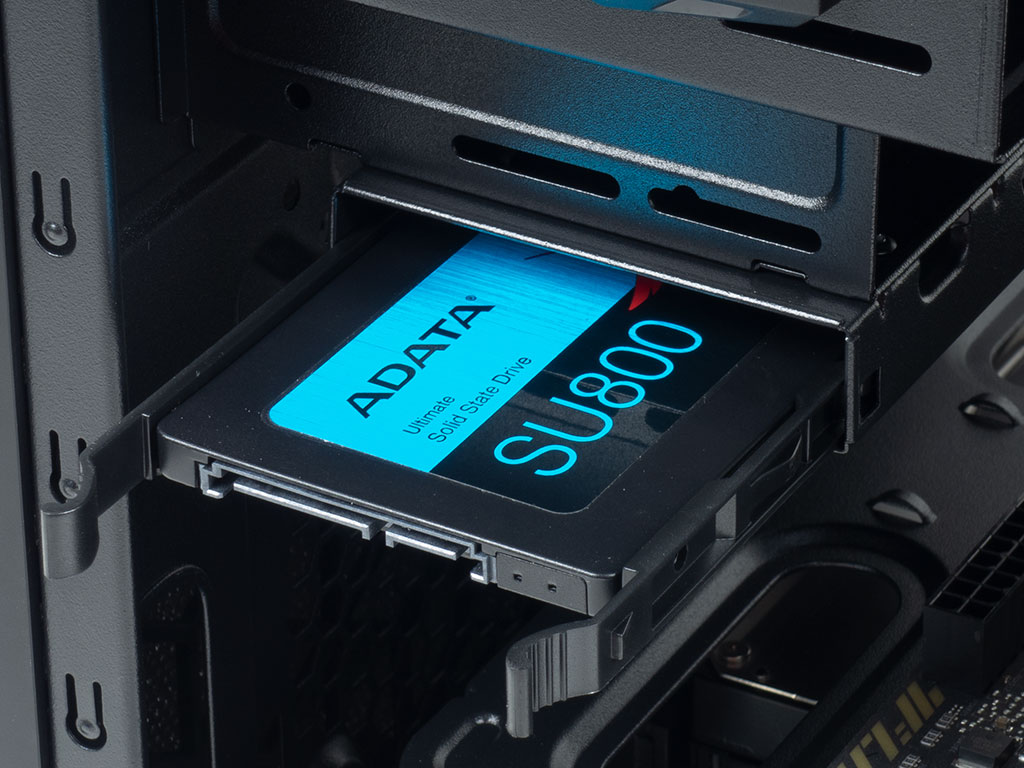
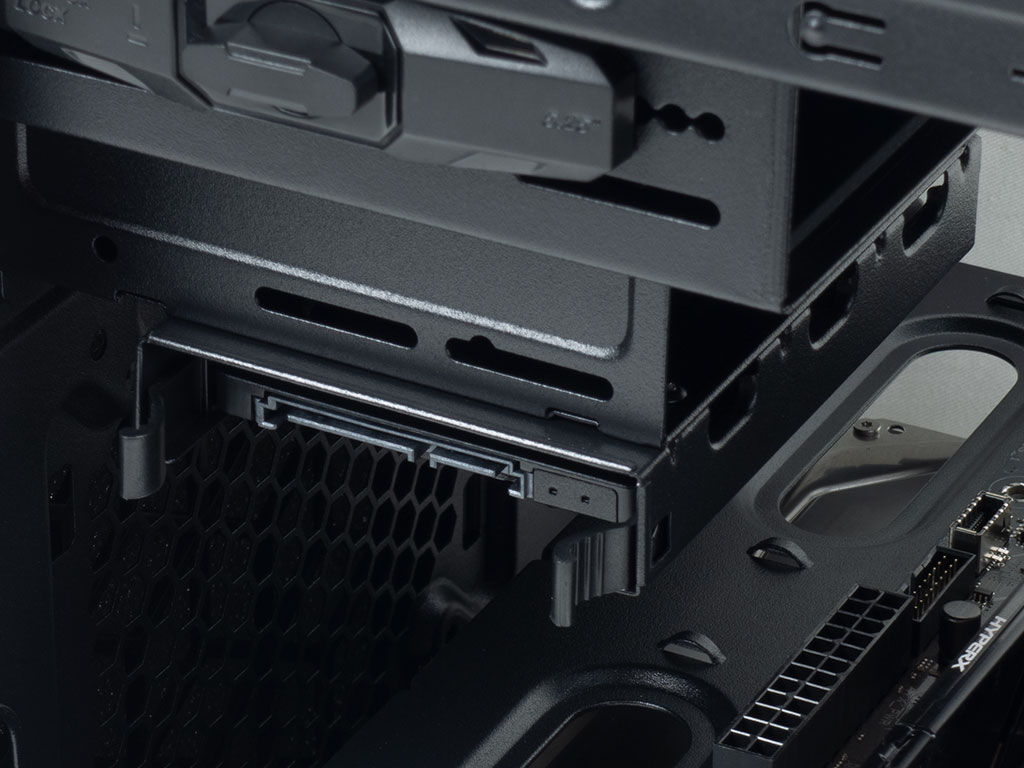
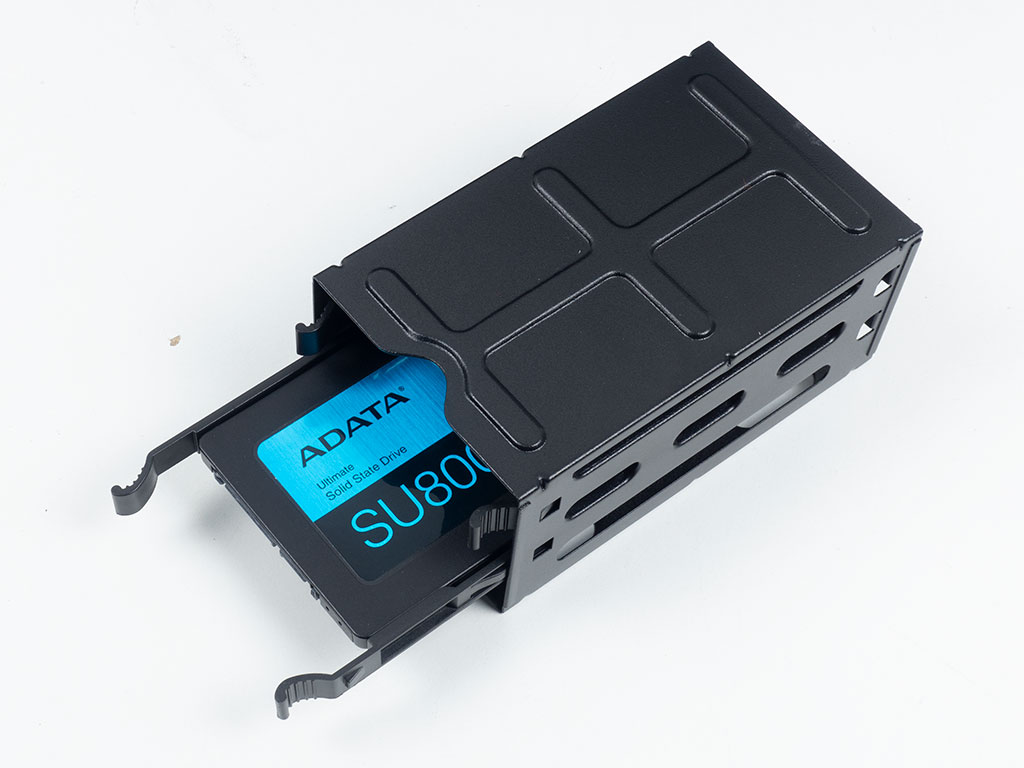
Adding any 2.5" drive using one of the three plastic 2.5" trays is completely tool-less as well. You may slide the drive into position below the external 3.5" drive bay easily, even if the system is filled completely.
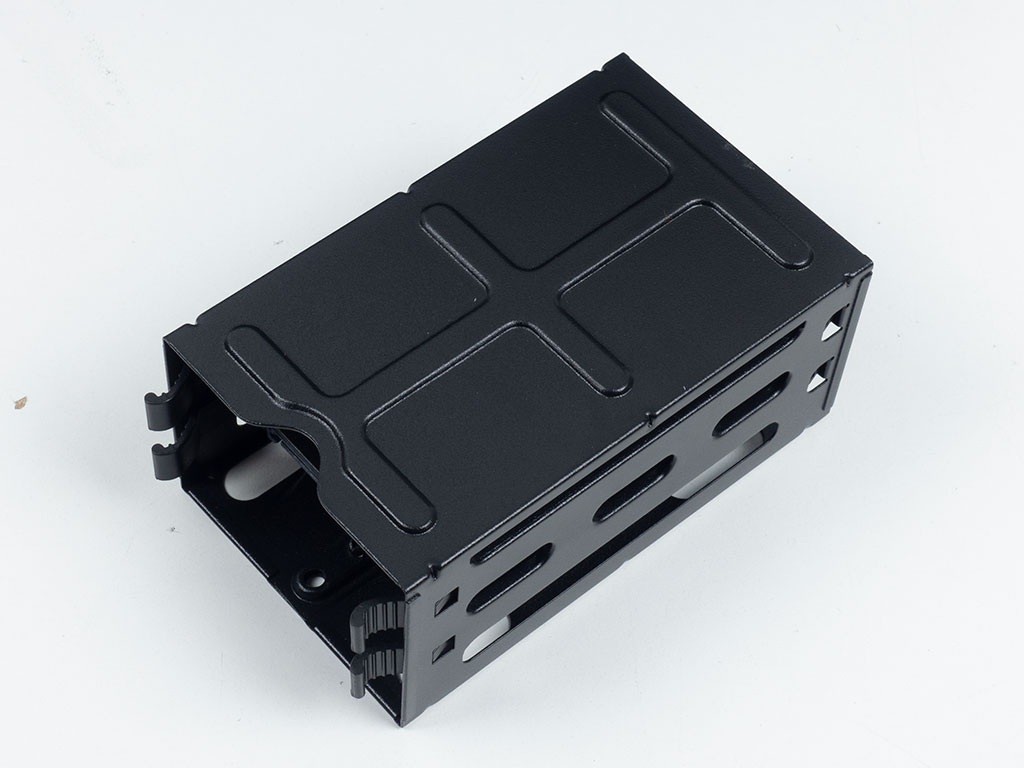
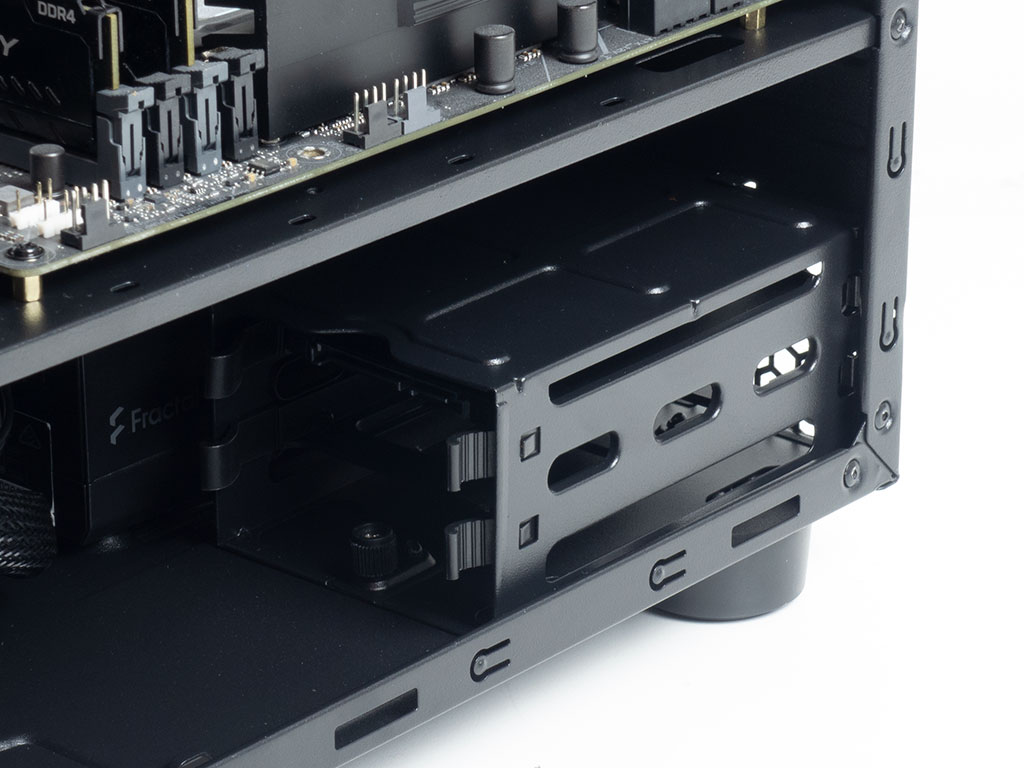
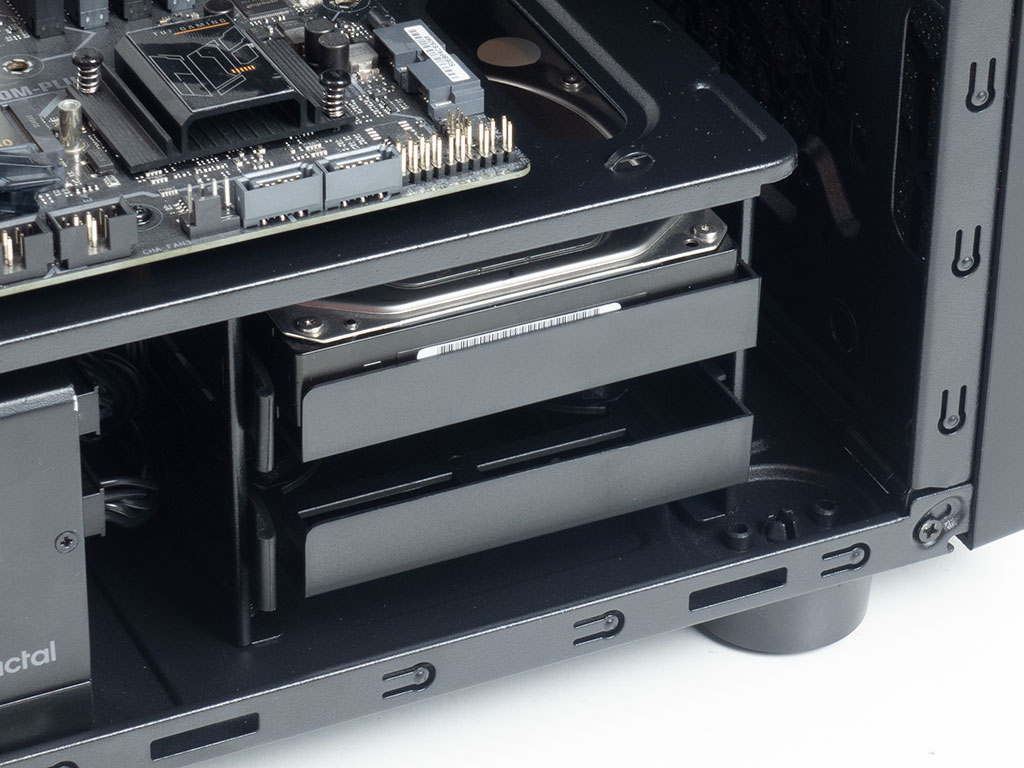
Alternatively, you may pull out the small cage underneath the motherboard tray and then slide up to two drives in, which then goes back into the case and is secured by a single thumb screw.
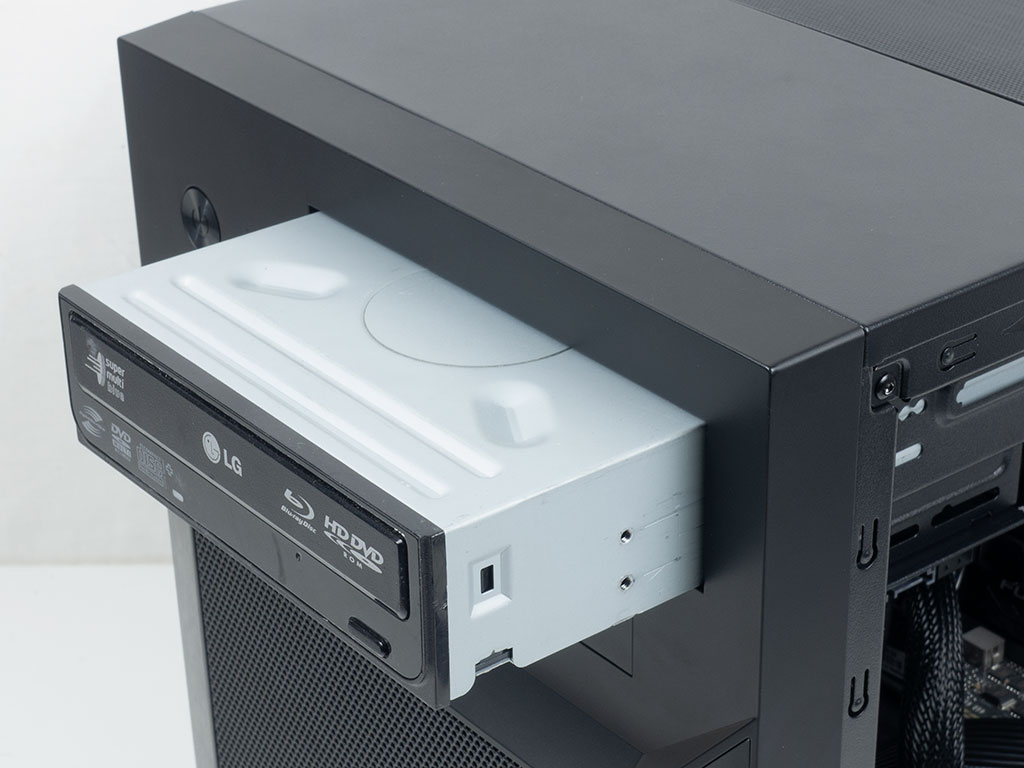

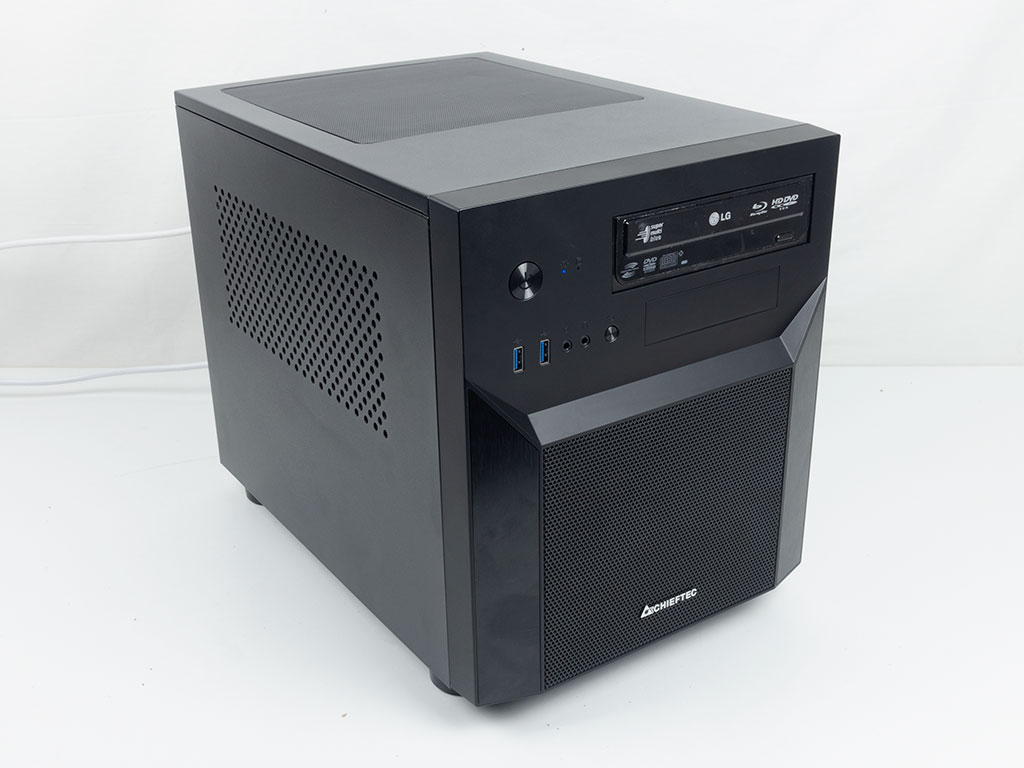
Adding an optical drive is straight forward as well. Simply pop the cover off the front and slide the drive into place. the plastic lock secures the unit well enough on one side, but you should still use one or two screws on the opposite side to eliminate any possible vibration of the device when in use. While our optical drive is rather long by today's standards, it fits perfectly and the GPU clears it just fine as well.
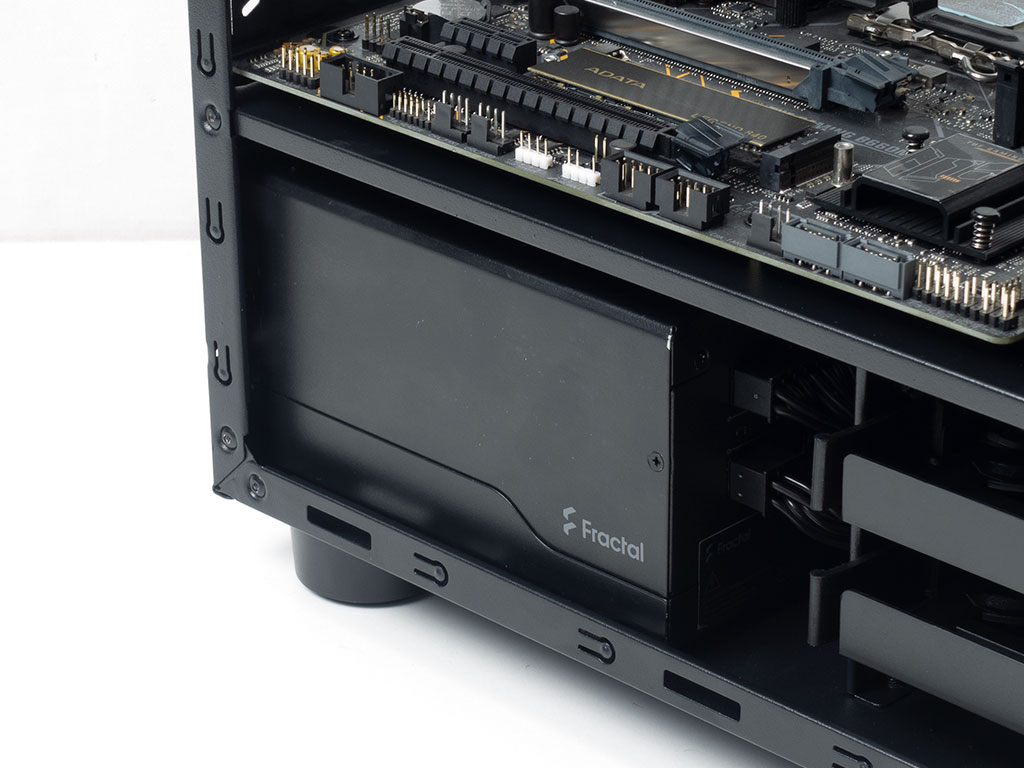
Our mainstream 660 Watt PSU fits inside the bay like a glove, even with the fully detachable cables. That said, you should really plan and connect them before squeezing the whole unit in there, as you won't have access to any wiring once it is in place. As such, you may want to pre-attach SATA or PCIe wires in case you plan to add or upgrade components in the future.
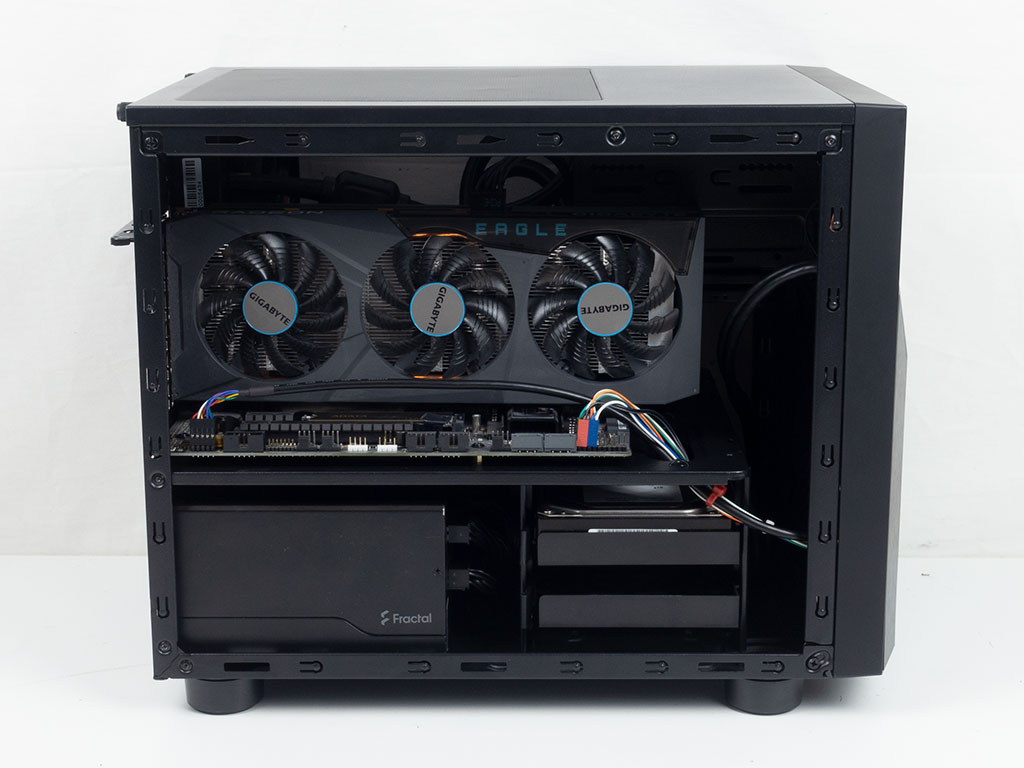
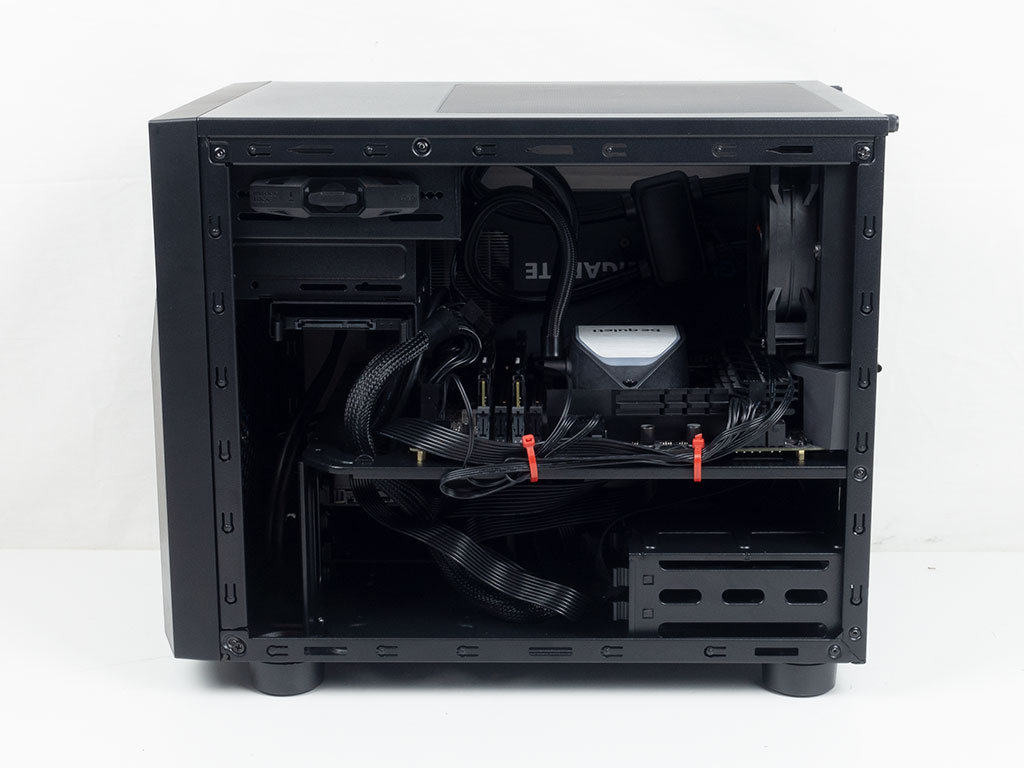
With everything installed, the Chieftec Pro Cube CI-02B-OP makes a very clean impression. The USB and audio leads come through the opening in the motherboard tray and are far enough away from the GPU as well. However, should you fill the expansion slots up to the rim, it would have been nice to have those same row of holes in the motherboard tray as the opposite side to secure cables to. As you can see from that other angle, those are quite a bit of difference in terms of keeping the wiring secure. As there is plenty of room underneath the motherboard tray, any excessive or unused PSU wiring can be stored here without issue.
Finished Looks
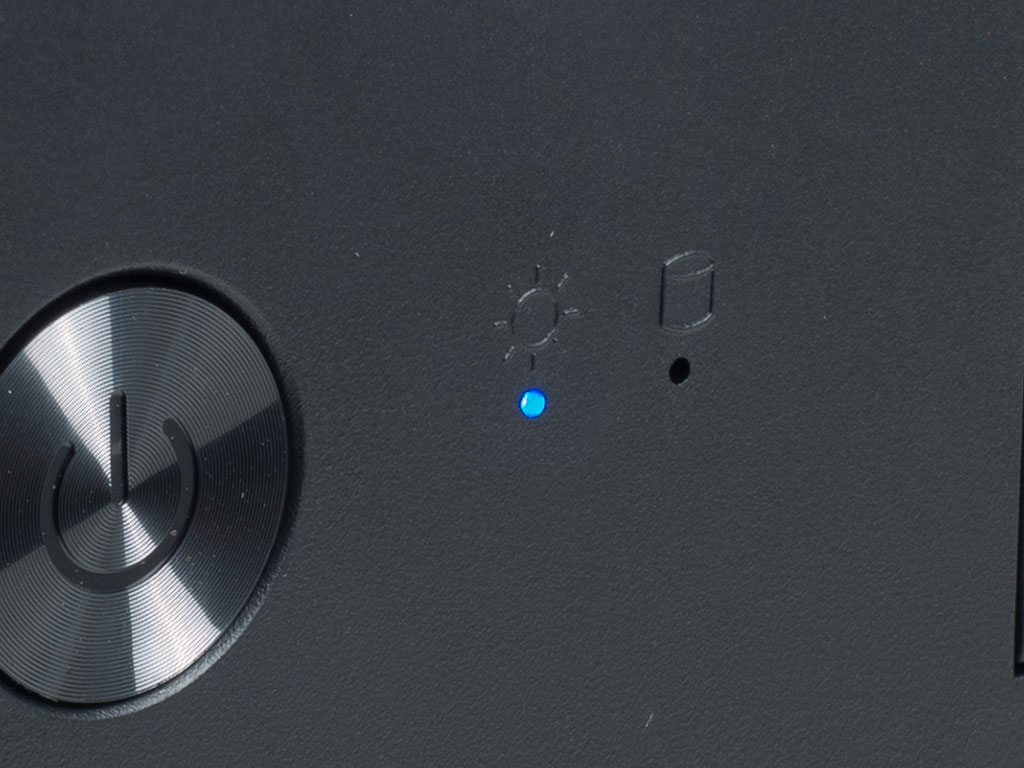
Turning the system on, there is nothing but that small blue LED to let you know that everything is up and running. As expected, the Chieftec Pro Cube CI-02B-OP makes a very understated impression.
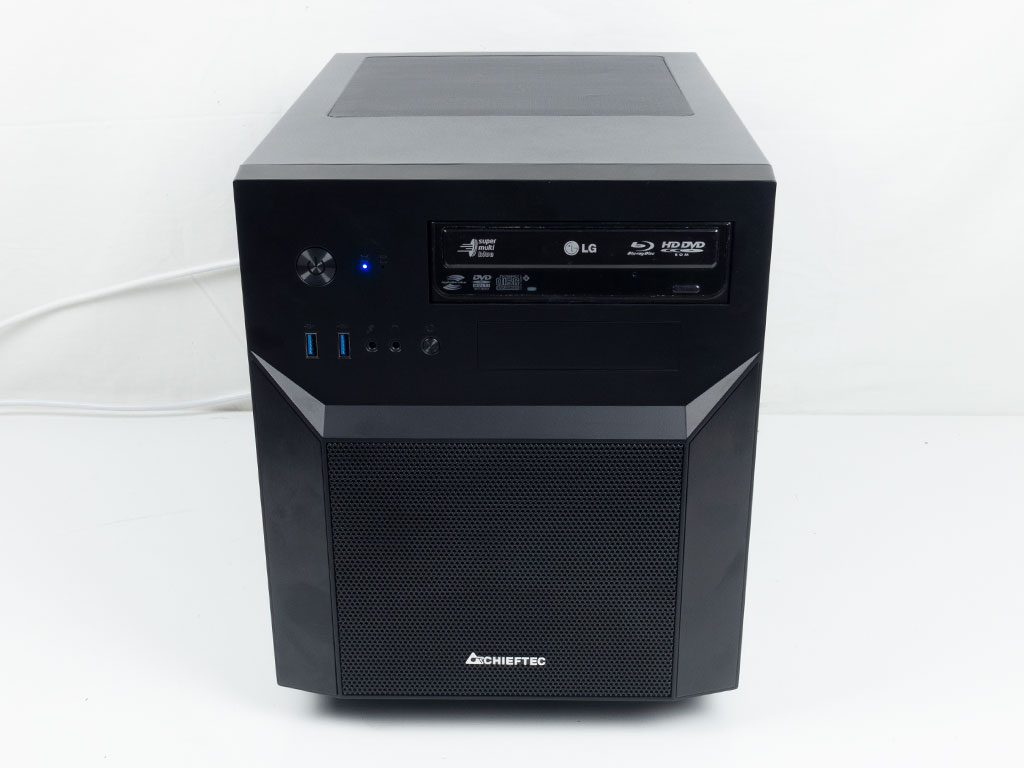
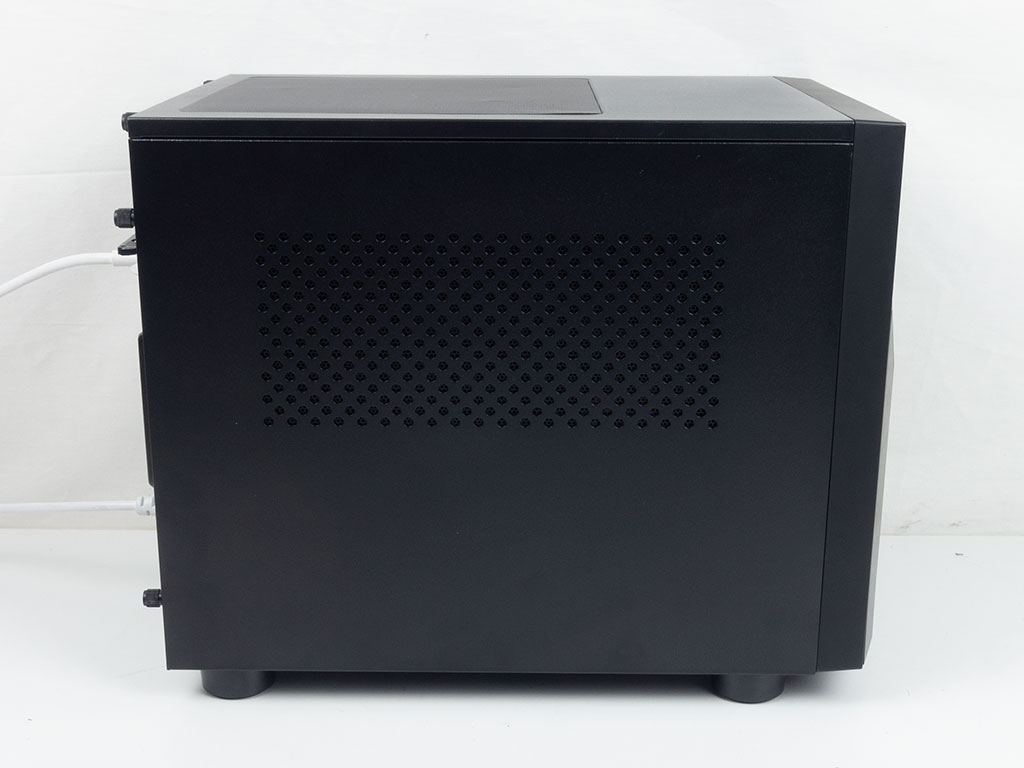
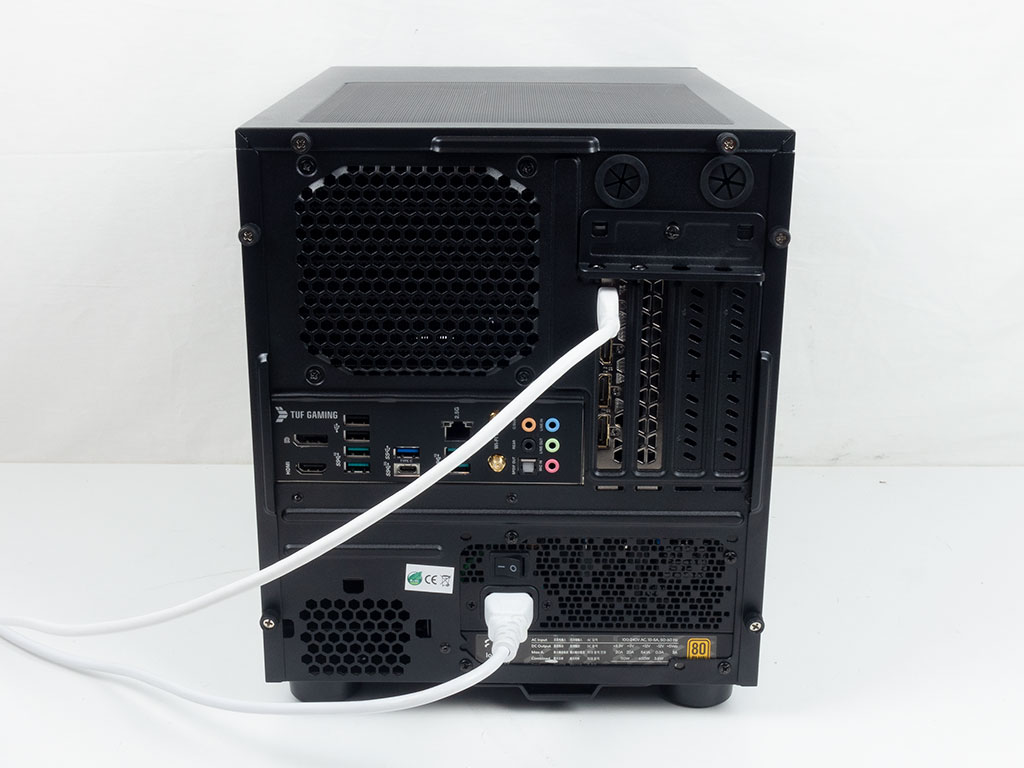
Looking at the front, the optical drive fits right into the straight and flat design of the Pro cube. The vent on the GPU side of the motherboard is right in line with that system component, but you won't see much in our build. Those using a pixel pusher that has lots of ARGB may get to see a shimmer of that lighting element thought the metal mesh covered opening. In the rear, everything is easily accessible, with the PSU lead on the bottom.
Mar 10th, 2025 18:30 EDT
change timezone
Latest GPU Drivers
New Forum Posts
- USB hard disk box capacity limits (13)
- Gaming PC instabiliity (22)
- Msi 5090 DOA? (30)
- RX 9070 availability (170)
- Biostar RX 6700 XT OC BIOS (2)
- Wherein lies the difference (1)
- Maxsun RX580 graphics card crashes (30)
- Please I need help with the poor performance that my PC is giving me (32)
- I'm looking for a good tool to make the 3D scanning of my mini-pc using the photogrammetry and my Kinect 2. (53)
- What is a good real price for the RTX 5090? (23)
Popular Reviews
- Sapphire Radeon RX 9070 XT Nitro+ Review - Beating NVIDIA
- XFX Radeon RX 9070 XT Mercury OC Magnetic Air Review
- ASUS Radeon RX 9070 TUF OC Review
- MSI MAG B850 Tomahawk Max Wi-Fi Review
- NVIDIA GeForce RTX 5080 Founders Edition Review
- NVIDIA GeForce RTX 5070 Founders Edition Review
- Corsair Vengeance RGB CUDIMM DDR5-8800 48 GB CL42 Review
- AMD Ryzen 7 9800X3D Review - The Best Gaming Processor
- ASUS GeForce RTX 5070 Ti TUF OC Review
- MSI GeForce RTX 5070 Ti Gaming Trio OC+ Review
Controversial News Posts
- NVIDIA GeForce RTX 50 Cards Spotted with Missing ROPs, NVIDIA Confirms the Issue, Multiple Vendors Affected (513)
- AMD Plans Aggressive Price Competition with Radeon RX 9000 Series (277)
- AMD Radeon RX 9070 and 9070 XT Listed On Amazon - One Buyer Snags a Unit (261)
- AMD RDNA 4 and Radeon RX 9070 Series Unveiled: $549 & $599 (260)
- AMD Mentions Sub-$700 Pricing for Radeon RX 9070 GPU Series, Looks Like NV Minus $50 Again (248)
- NVIDIA Investigates GeForce RTX 50 Series "Blackwell" Black Screen and BSOD Issues (244)
- AMD Radeon RX 9070 and 9070 XT Official Performance Metrics Leaked, +42% 4K Performance Over Radeon RX 7900 GRE (195)
- AMD Radeon RX 9070-series Pricing Leaks Courtesy of MicroCenter (158)