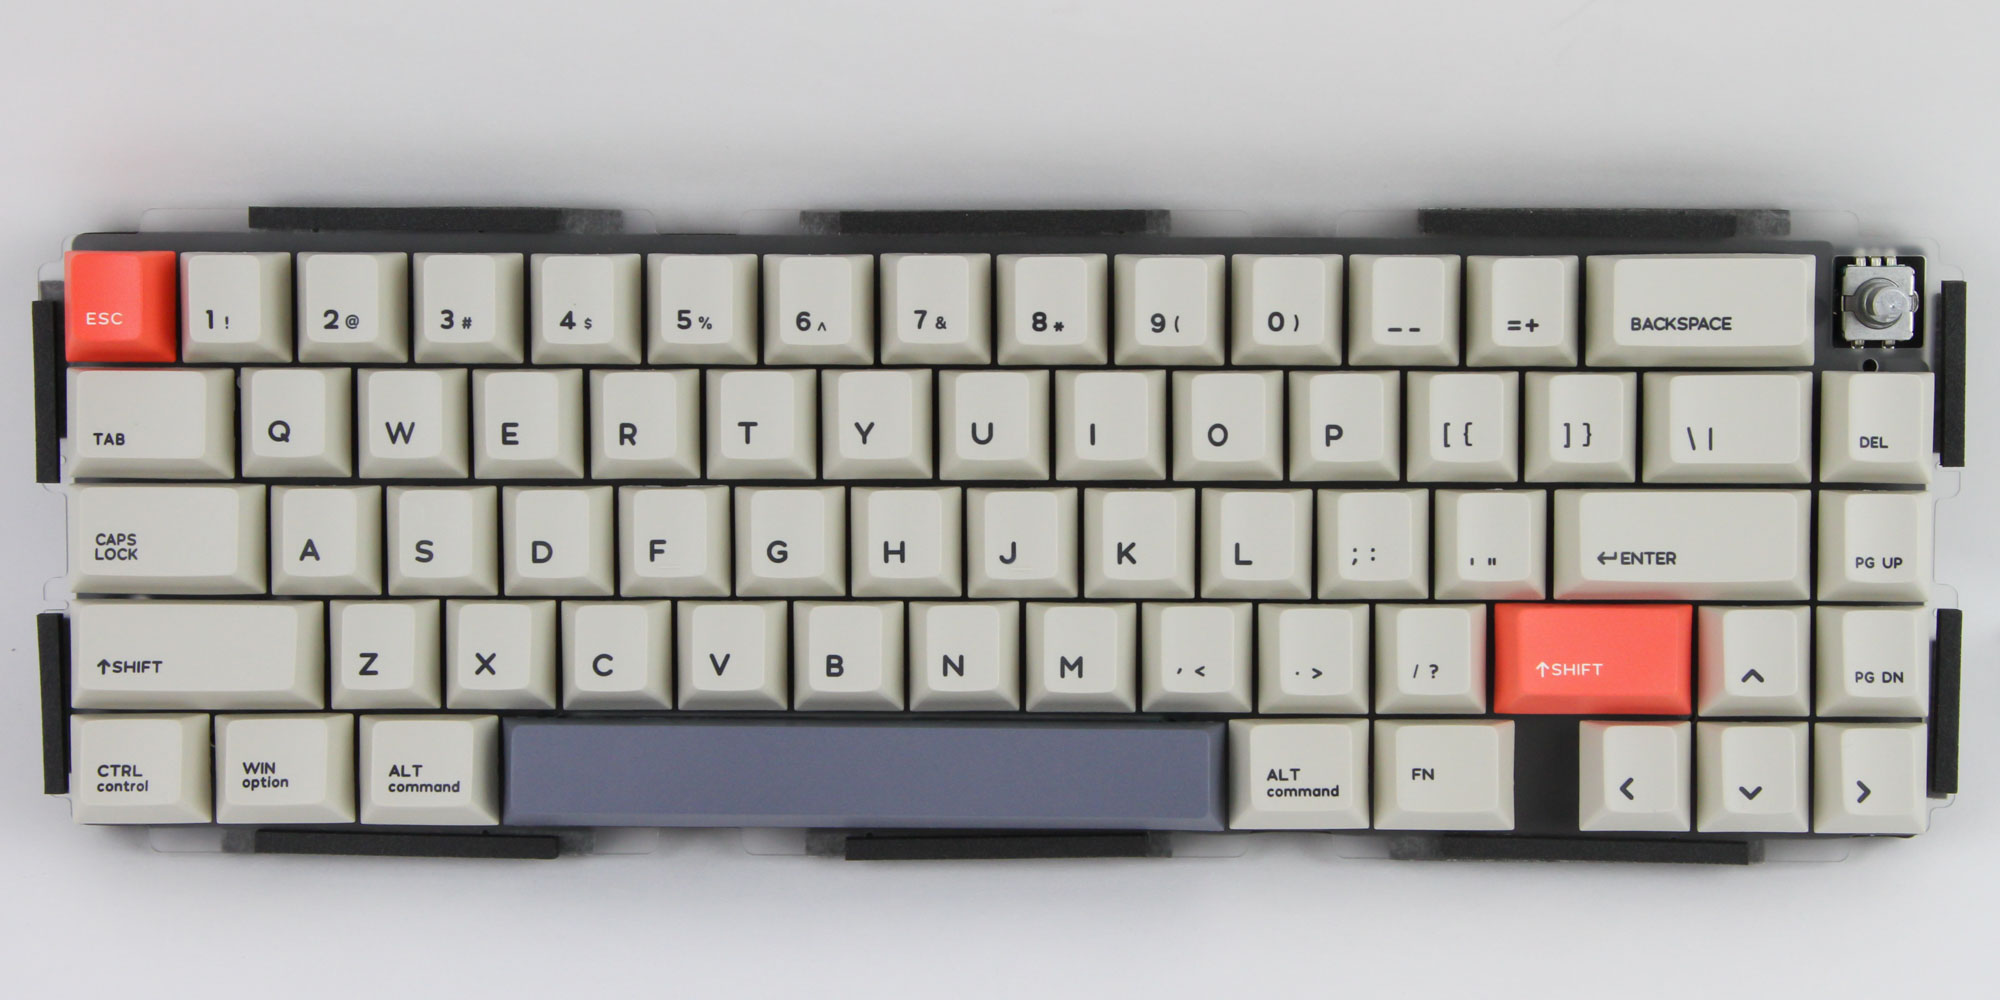
 2
2
CIDOO V65 Wireless Mechanical Keyboard Review
Software »Disassembly
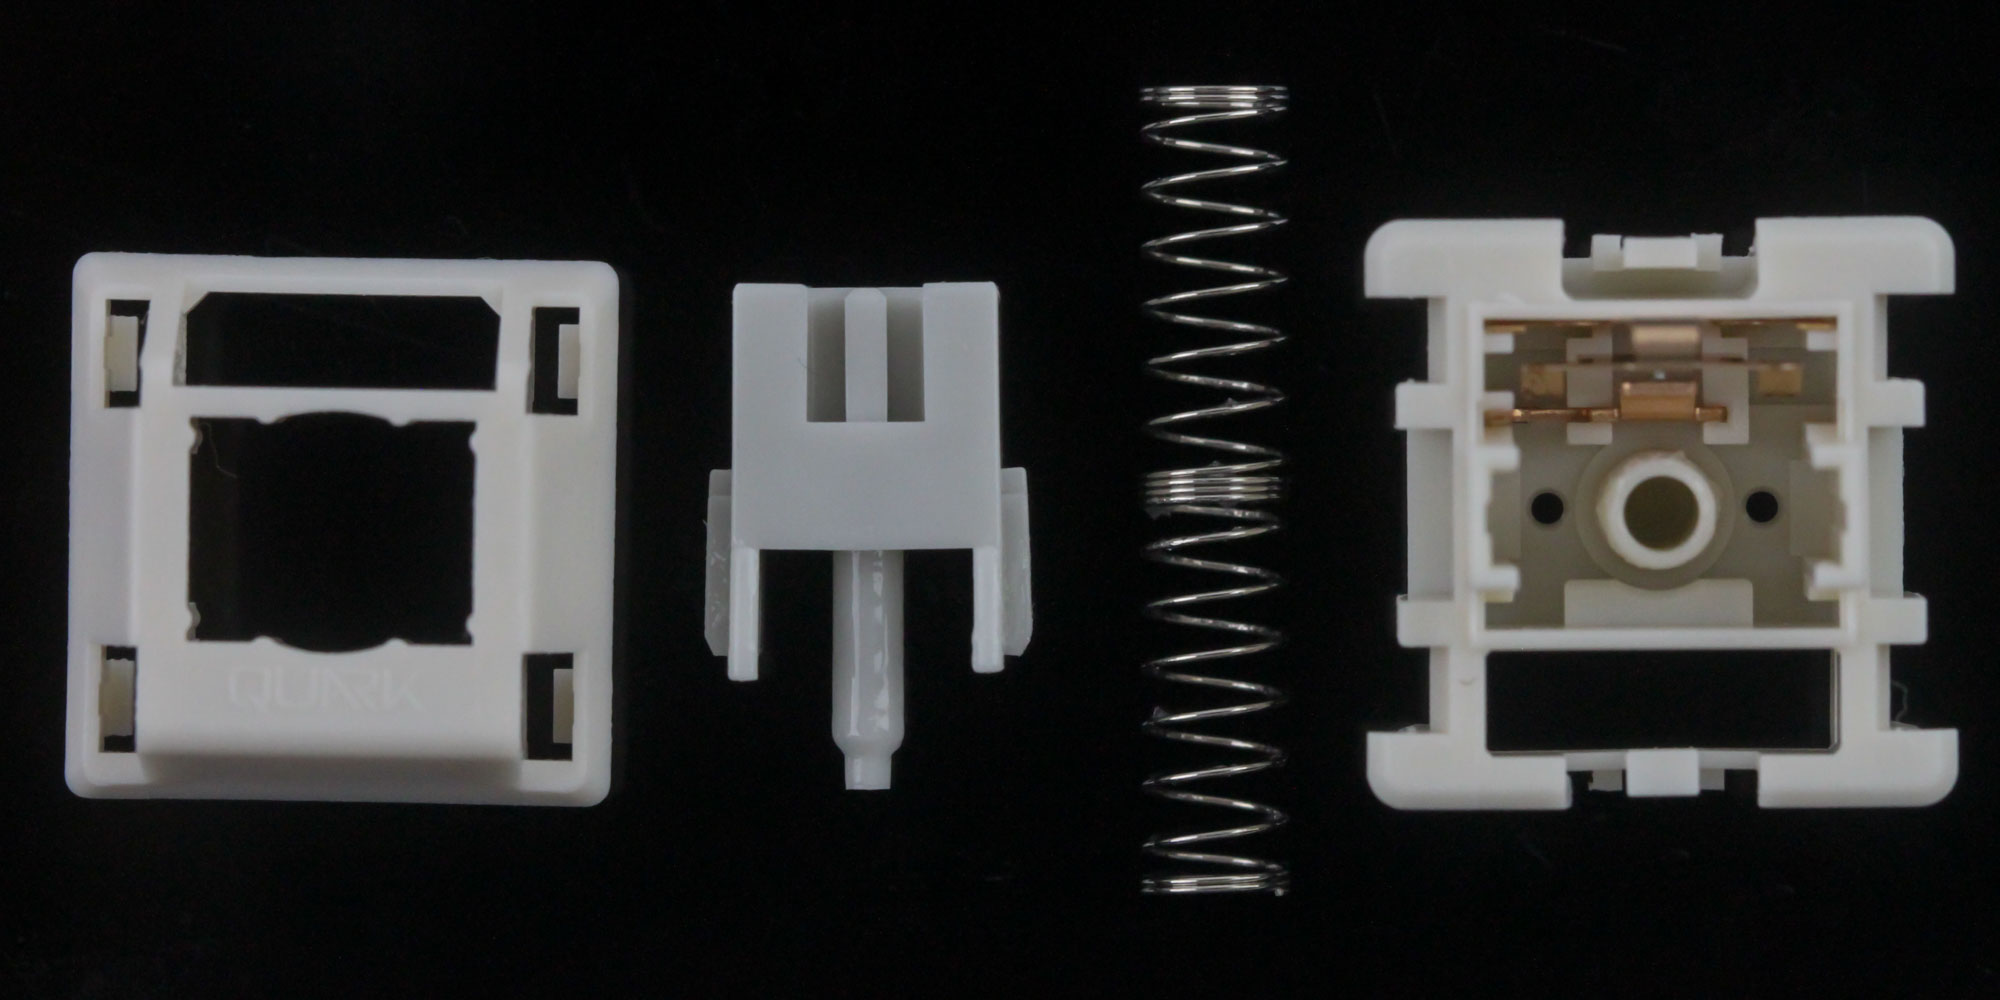
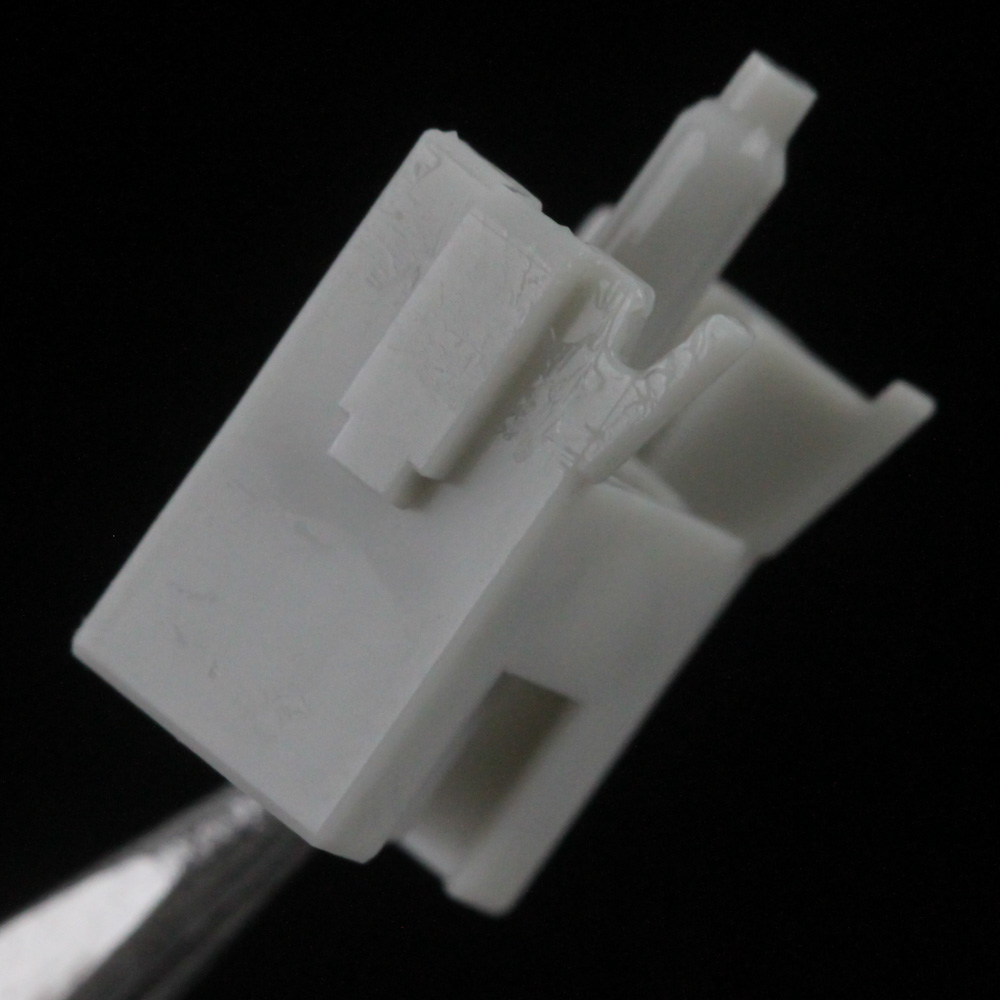
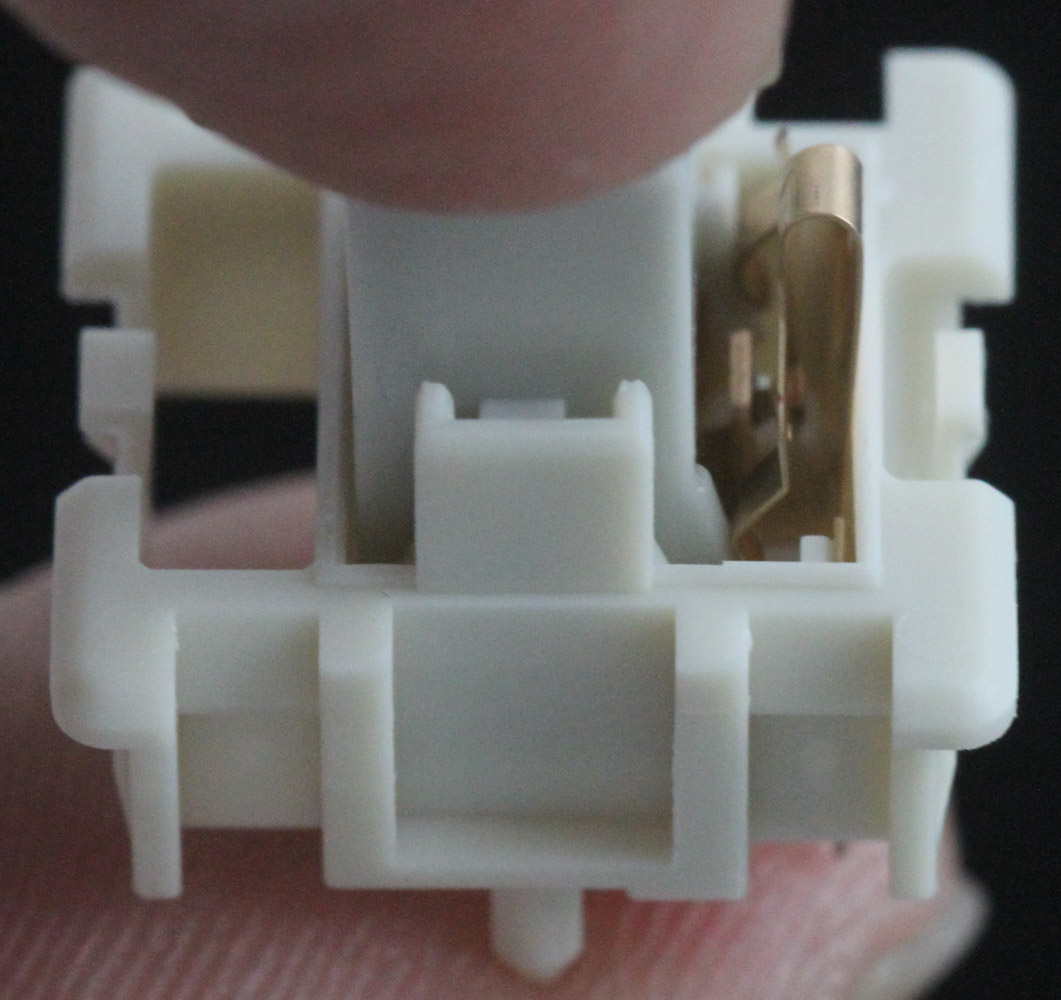
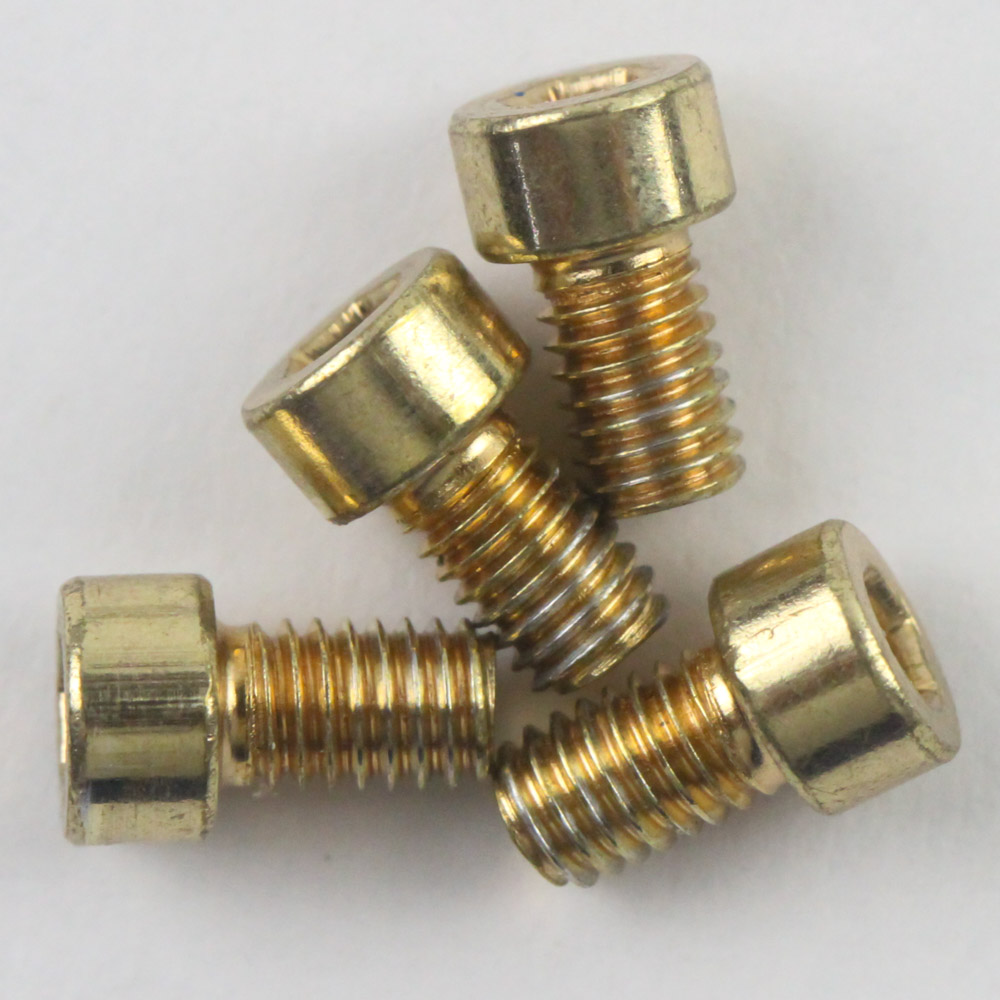
Given the hot-swappable switch feature on the CIDOO V65 and this being my first time with these new Quark Matte switches, I wanted to begin this section with a look inside one of these switches. We see it's held together with plastic clips on the top and bottom housing as usual. Use a thin flat screwdriver to pry one side off before the other, but not by too much. The top has compatibility with SMD or 2/4-pin surface-mount LEDs and is made of smooth nylon as with the bottom housing. The POM stem comes lightly lubed already and we see this is clearly a linear switch in the absence of any other bumps along the travel path of the stem. The actuation point feels placed similar to the likes of the Cherry MX red and the actuation mechanism is the same as other such metal contact switches. I don't see anything particular special here, even the longer two-stage spring is found in many switches already on the market.

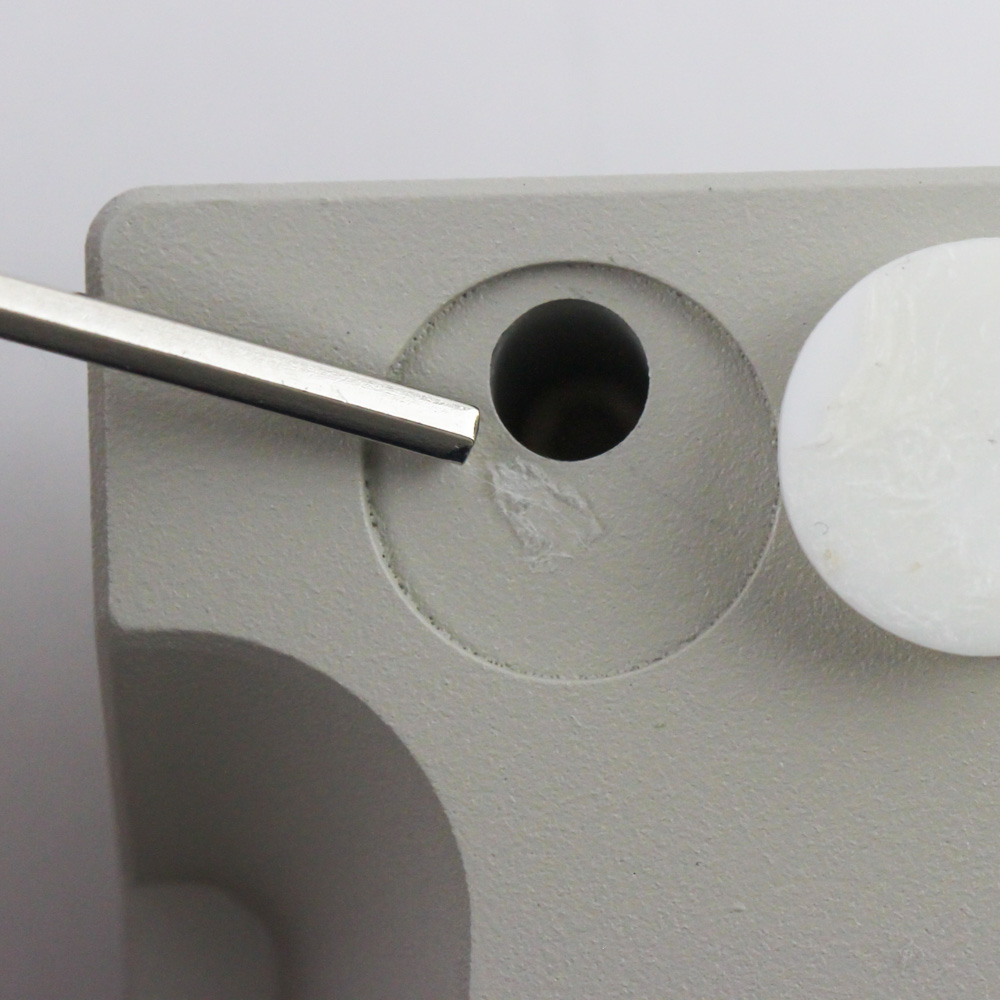
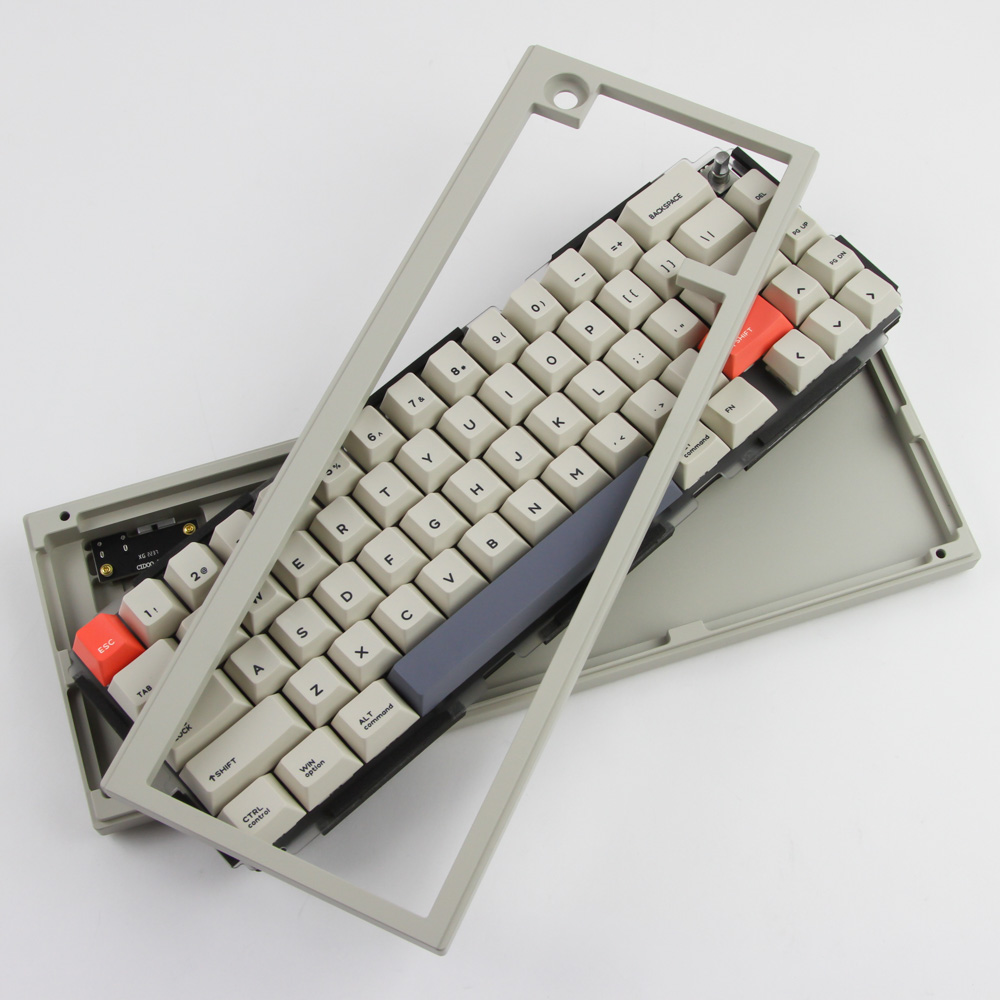
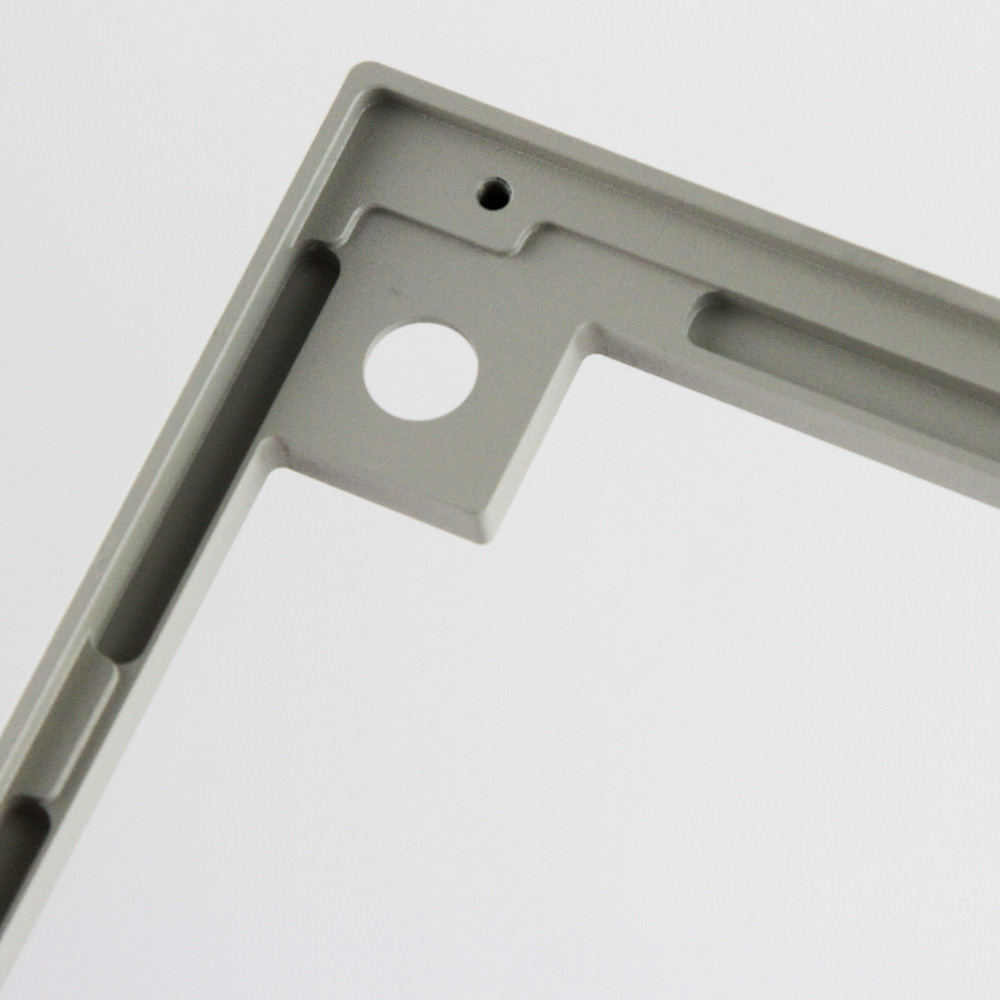
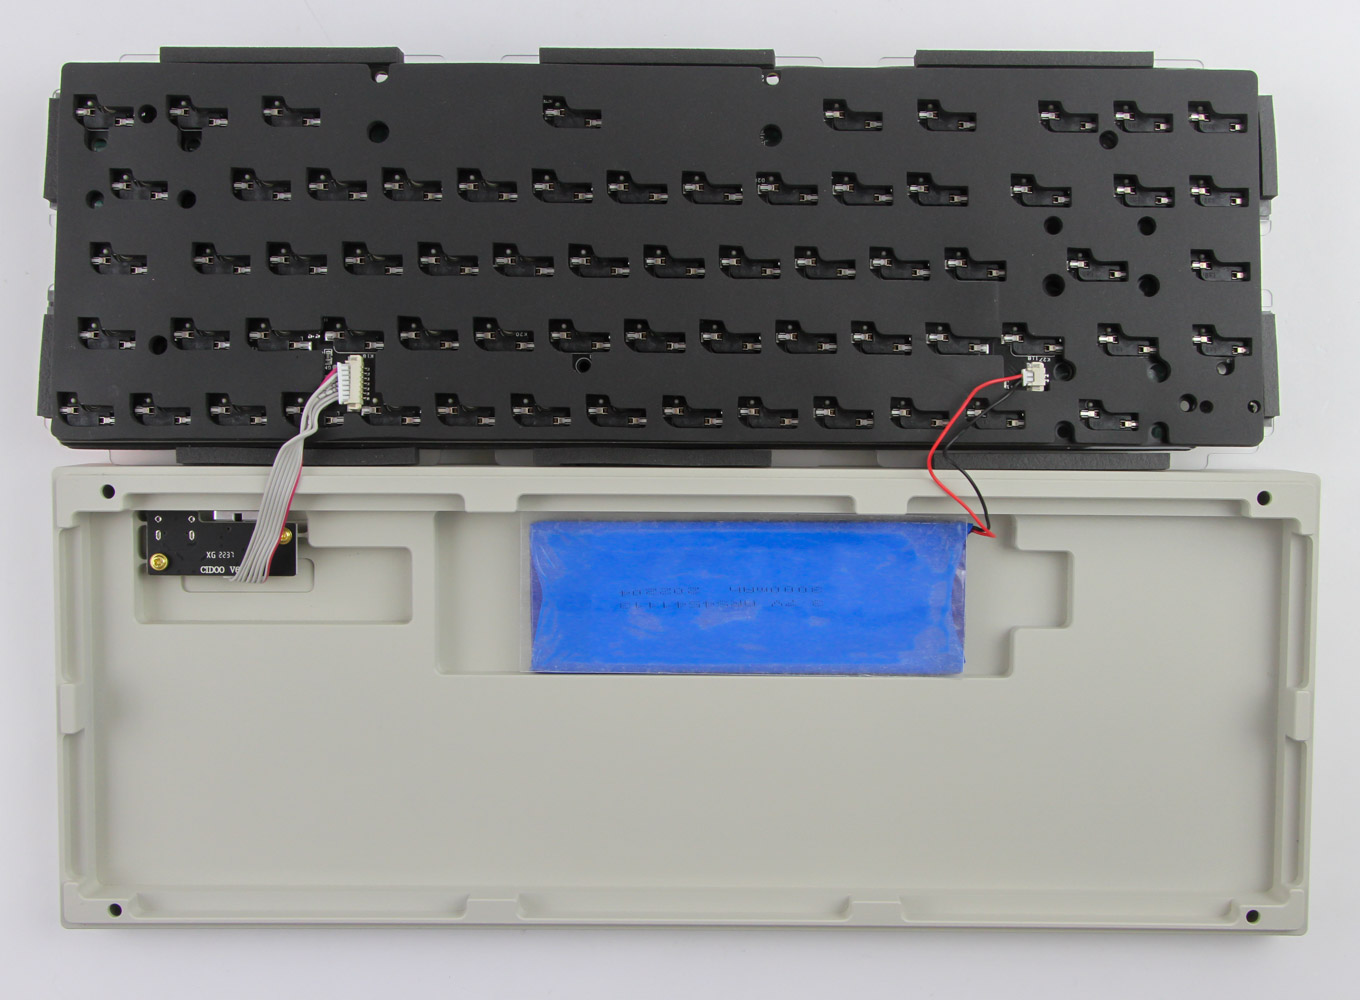
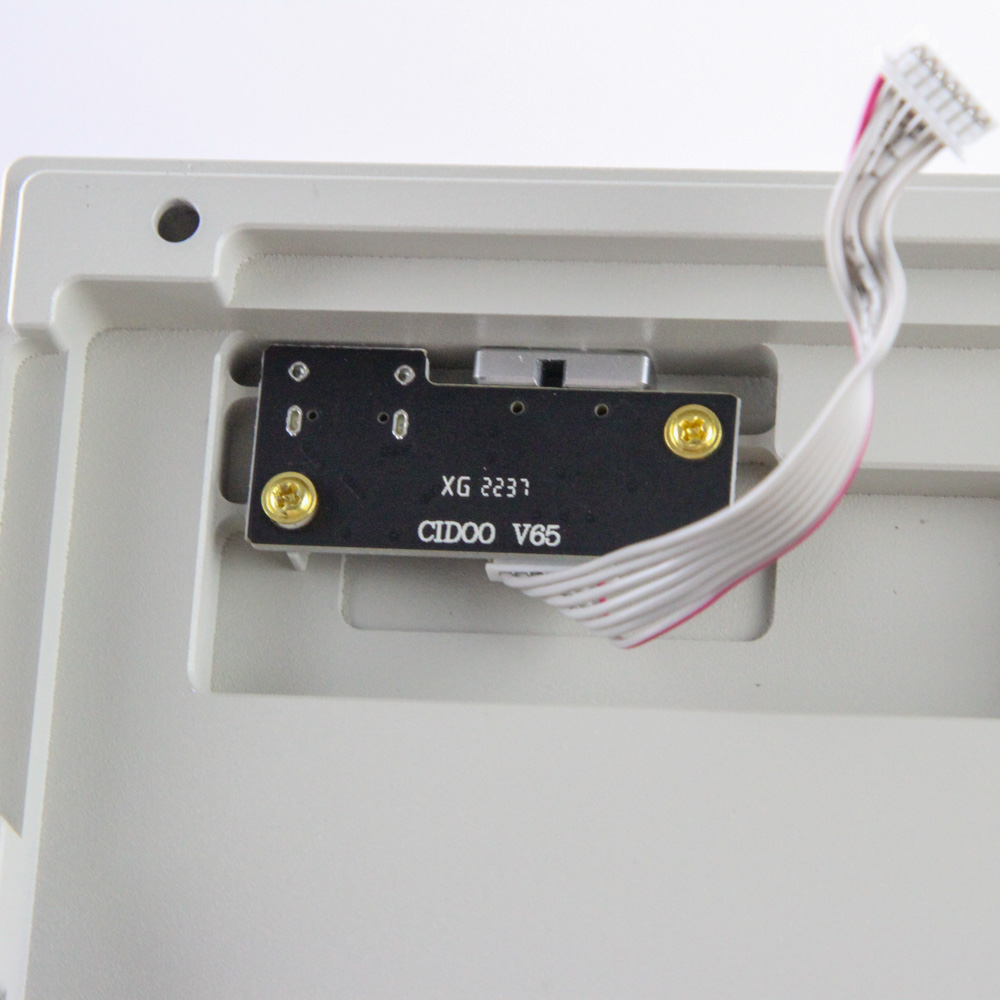
Disassembly of the keyboard itself is quite simple, albeit it did take my fingers more effort to remove the metal knob cover than anything else. There are four socket-head screws on the back underneath the rubber feet and the provided Allen key comes in handy here. At this point the top case panel separates completely and we see the machining and finish has been done to a high standard. There are also grooves cut to accommodate the gaskets used in the keyboard assembly. Removing the bottom case panel requires dislodging two internal cables connecting the battery and daughter PCB hosting the switch and Type-C connector to the primary PCB. There is a 3000 mAh battery used in the CIDOO V65—not great, not terrible. It's about average for enthusiast wireless keyboards today, including smaller form factor units such as this very keyboard.
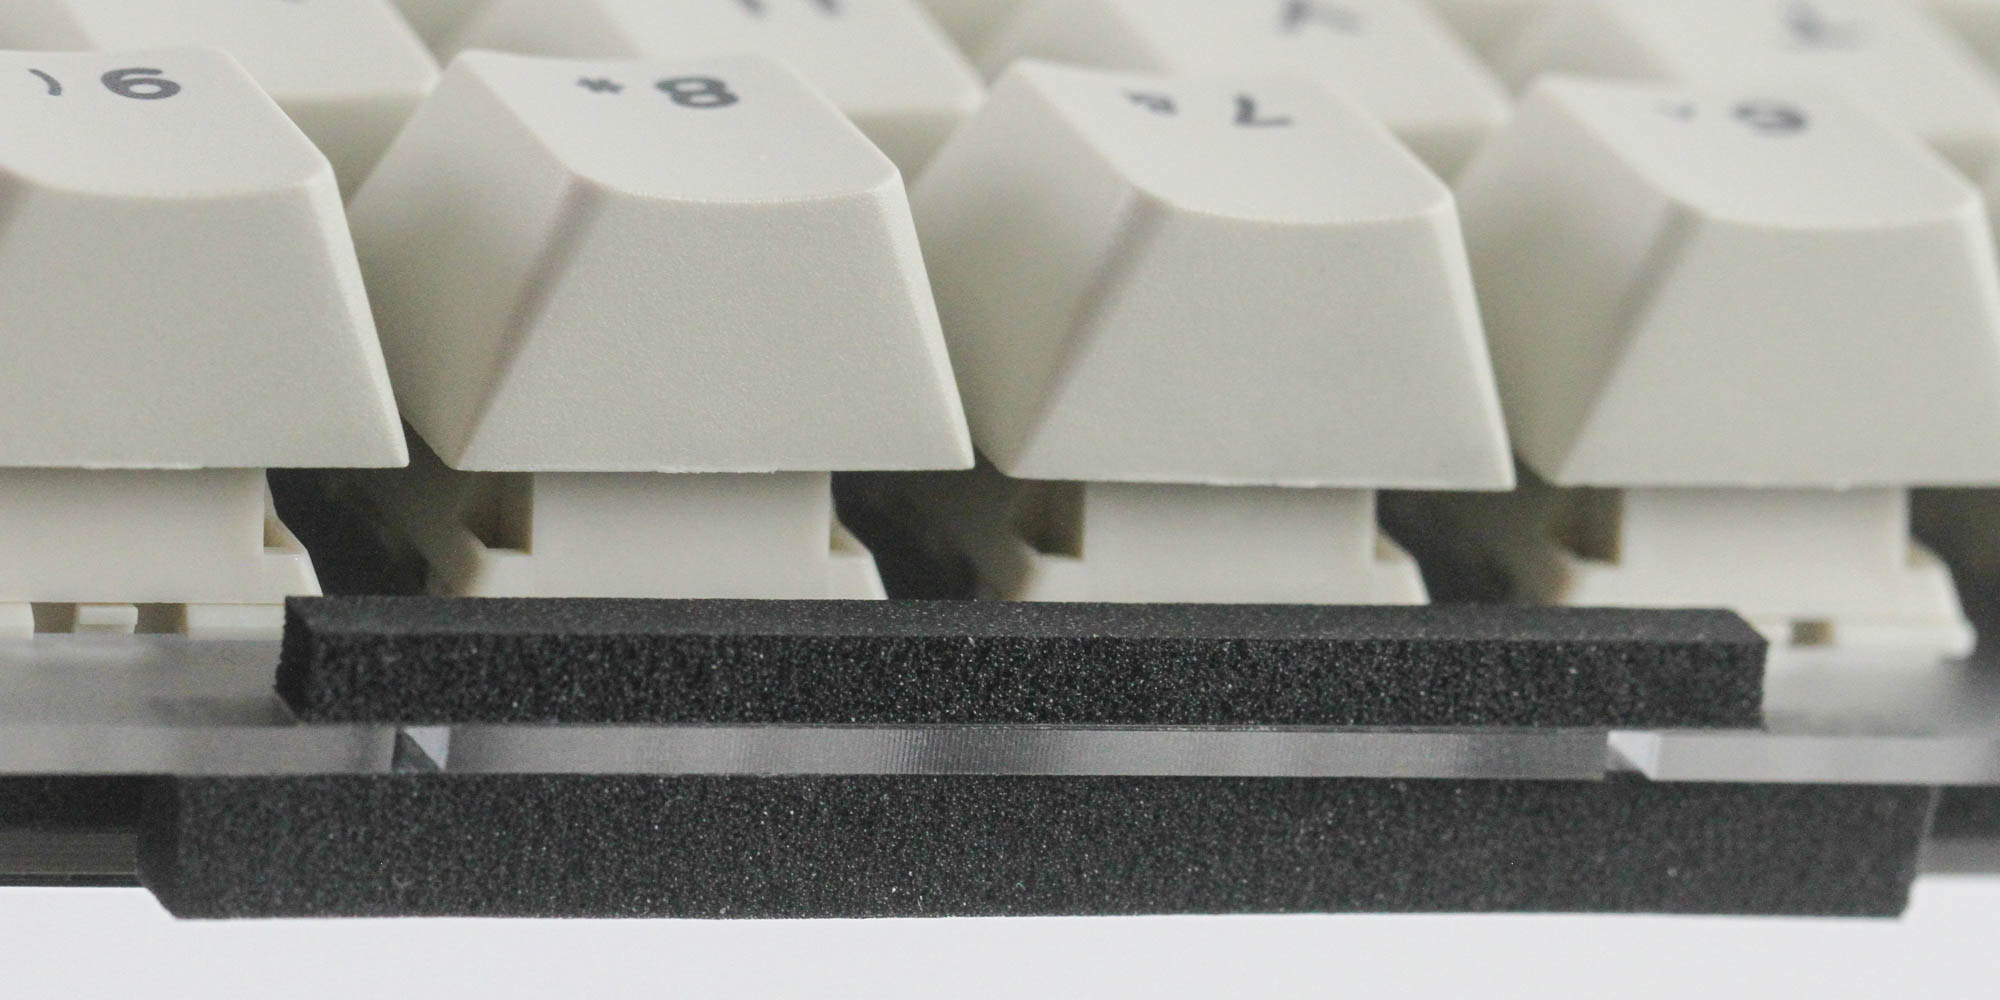
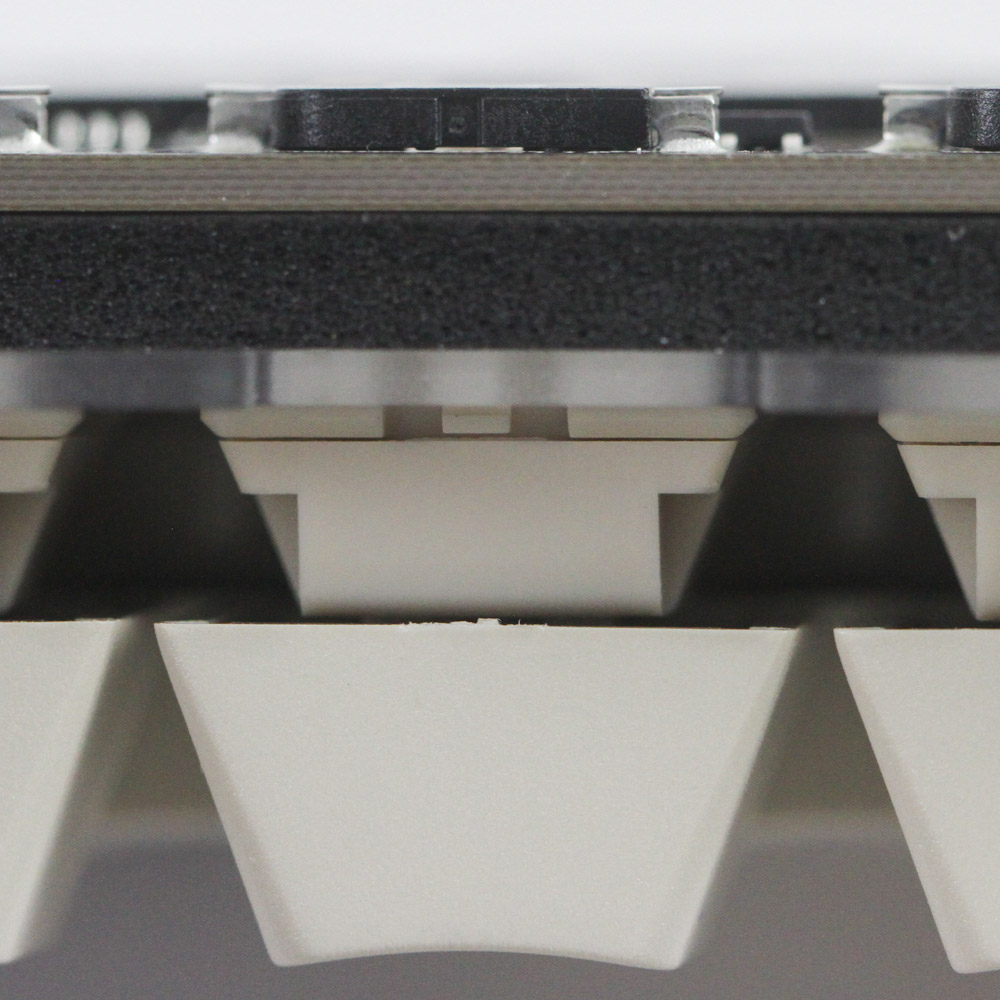
The bottom case panel also has similar cutouts for the gaskets which we can now better examine on the plate/PCB section. CIDOO is using poron foam gaskets on either side of the plate with two long strips on the shorter sides and three on the longer sides. This helps absorb the typing force and also decoupled the plate/PCB from the case. It can add in some dampening to the typing experience while also making you feel more supported if you are a heavy typist. The foam is dense enough to work well here, especially given the uniform application, although personally I still prefer silicone gaskets.
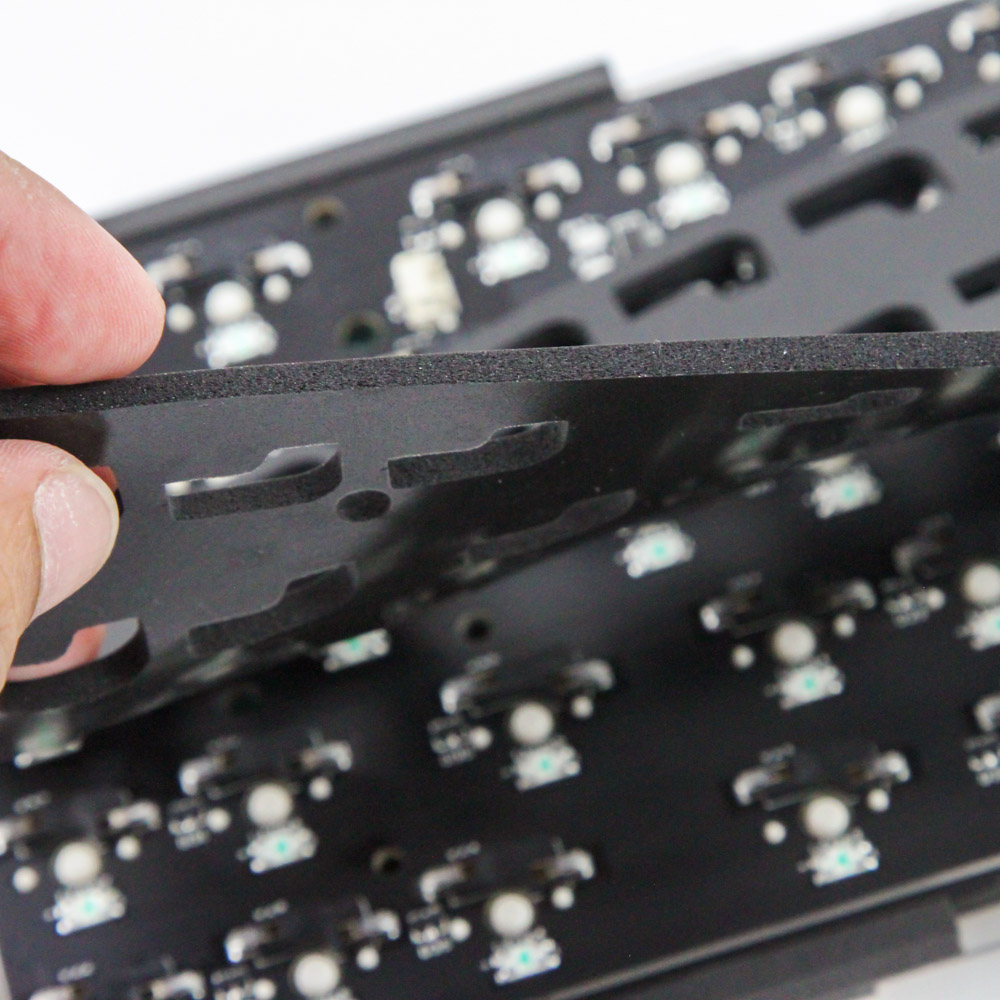
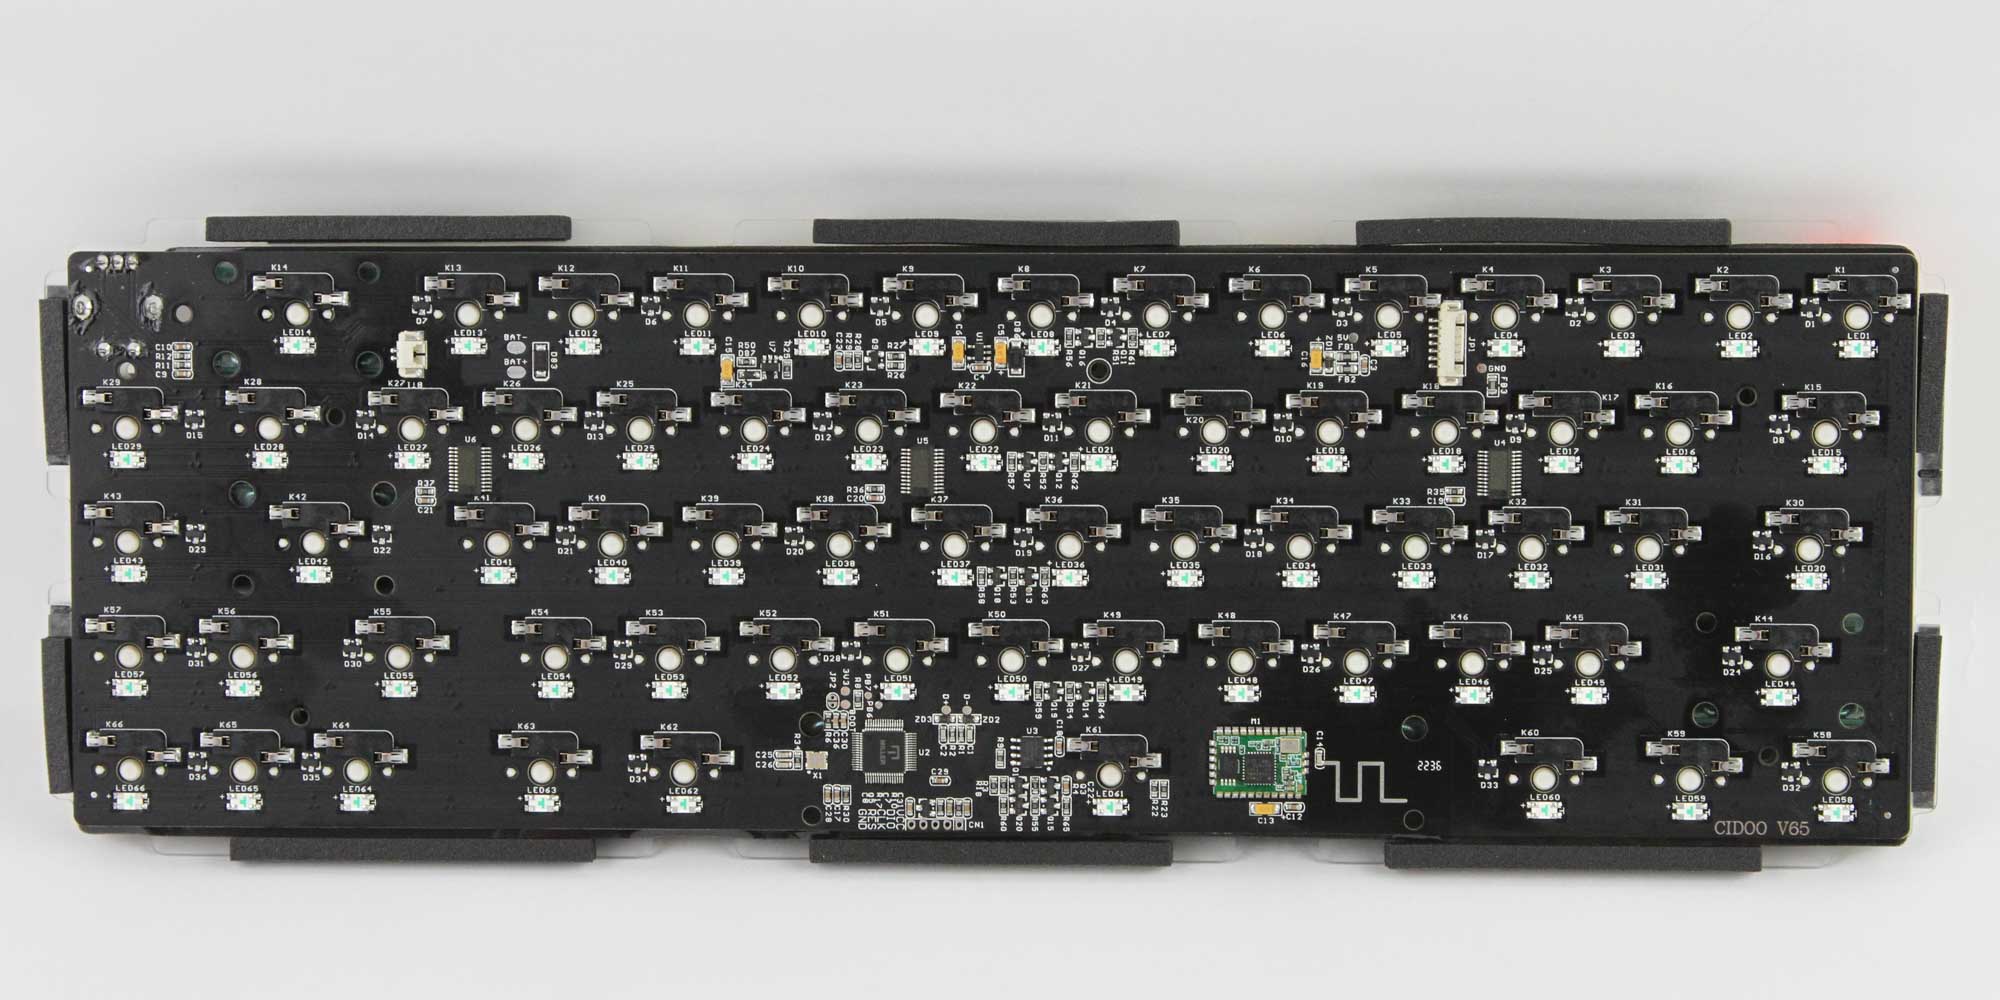
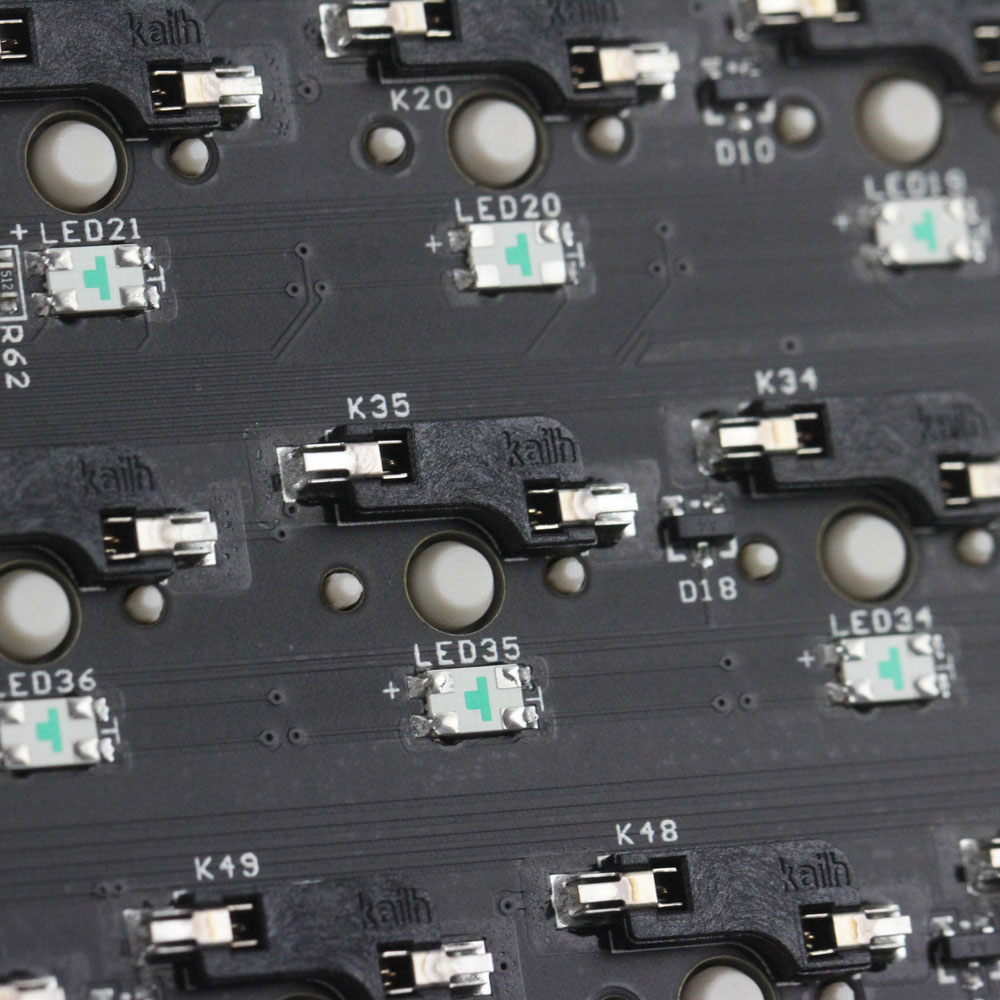
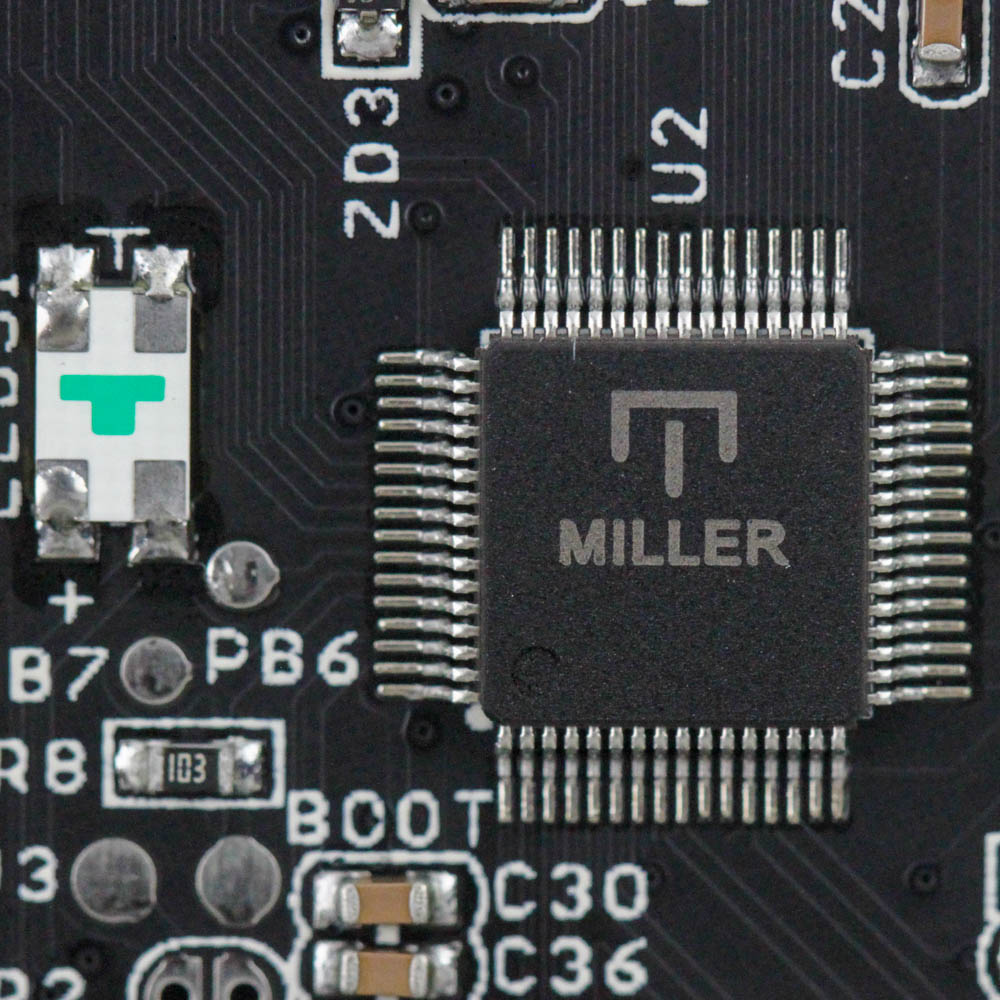
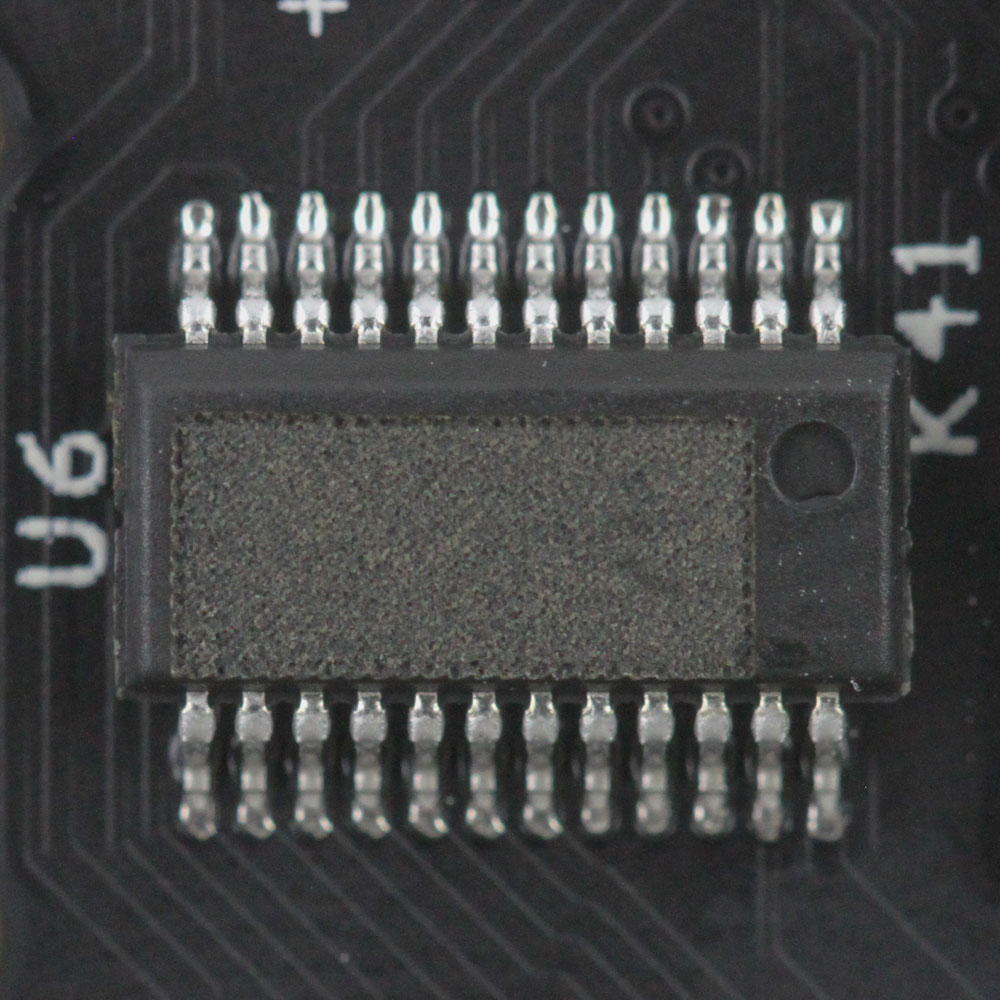
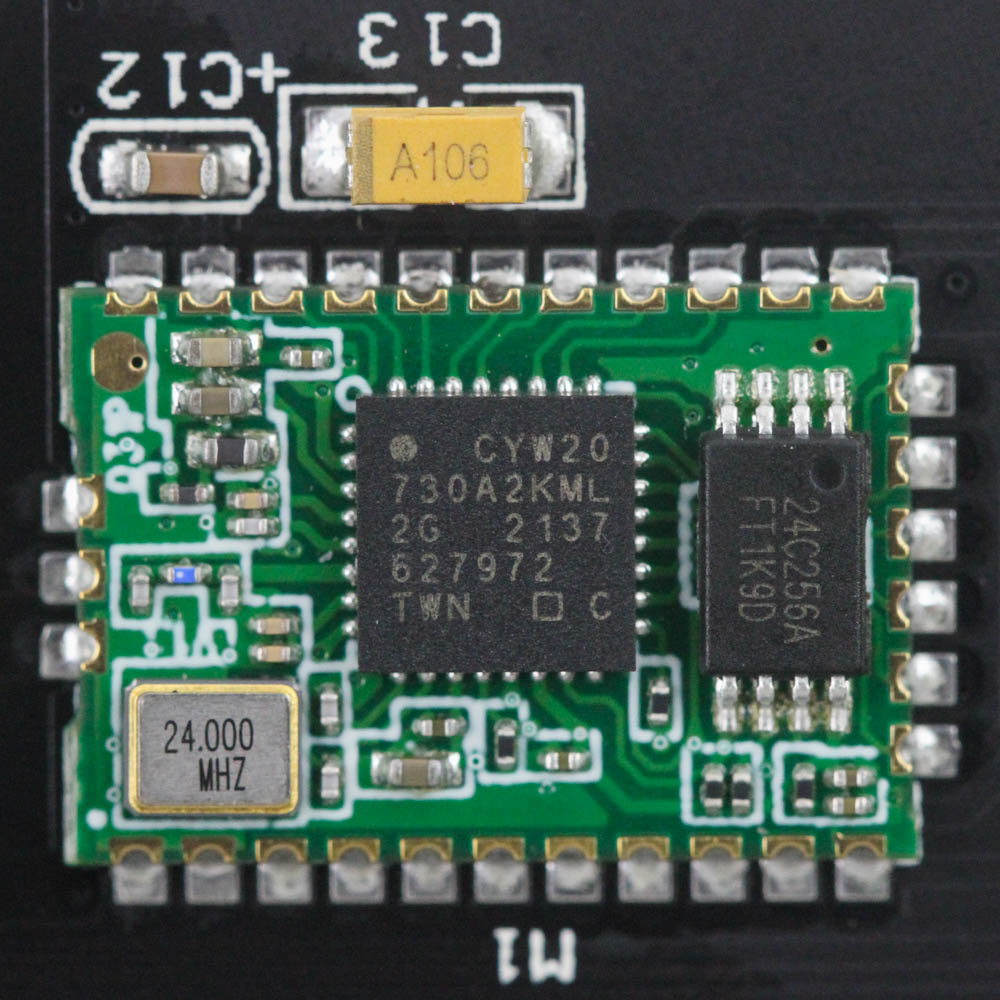
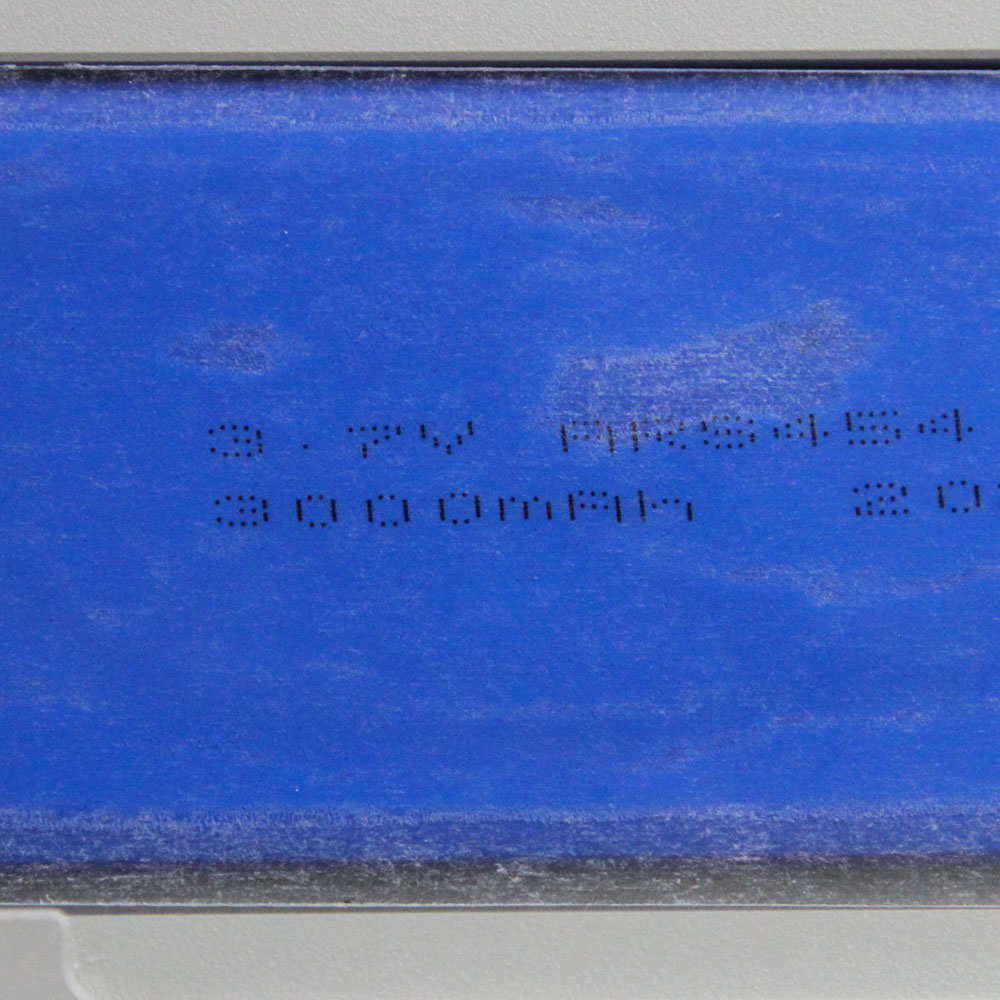
Now we get to the primary PCB itself which is also black in color to match the daughter board. There is a sticky foam sheet on the underside of the PCB which adds further dampening to keystrokes from switches bottoming out and hitting the plate. This sheet fills in the gap between the PCB and the bottom case panel. The polycarbonate plate can be removed from the PCB if you take off all the switches and keycaps. This can help gain access to the stabilizers if you wish to replace/mod them. The keyboard uses good quality Kailh hot-swap switch sockets and solder quality is excellent throughout. Powering the keyboard is an unidentified "Miller" USB microcontroller as well as a set of three more hardware LED drivers that CIDOO has deliberately removed the markings of—blame corporate espionage or paranoia. A Cypress CYW20730 Bluetooth 5.1 transceiver helps with the wireless connectivity feature on the CIDOO V65. All the components, including the switch sockets and SMD LEDs, are soldered to a multi-layered PCB.
May 9th, 2025 05:32 EDT
change timezone
Latest GPU Drivers
New Forum Posts
- Need a 4U case recommendation (6)
- It's happening again, melting 12v high pwr connectors (1130)
- Gigabyte graphic cards - TIM gel SLIPPAGE problem (12)
- 1440p gaming pc. (20)
- The TPU UK Clubhouse (26233)
- which cooler CPU is better? (25)
- 5070 Ti power limit questions (91)
- My PCIe5 SSD is slow. Samsung 9100 PRO (1)
- RX 9000 series GPU Owners Club (734)
- Free Games Thread (4672)
Popular Reviews
- Arctic Liquid Freezer III Pro 360 A-RGB Review
- SCYROX V6 Review
- ASRock Radeon RX 9070 Steel Legend OC Review
- Clair Obscur: Expedition 33 Performance Benchmark Review - 33 GPUs Tested
- ASUS Radeon RX 9070 XT TUF OC Review
- NVIDIA GeForce RTX 5060 Ti PCI-Express x8 Scaling
- Upcoming Hardware Launches 2025 (Updated Apr 2025)
- Sapphire Radeon RX 9070 XT Nitro+ Review - Beating NVIDIA
- AMD Ryzen 7 9800X3D Review - The Best Gaming Processor
- NVIDIA GeForce RTX 5070 Founders Edition Review
Controversial News Posts
- AMD Radeon RX 9060 XT to Roll Out 8 GB GDDR6 Edition, Despite Rumors (142)
- NVIDIA Launches GeForce RTX 5060 Series, Beginning with RTX 5060 Ti This Week (115)
- Microsoft Forces Automatic Windows 11 24H2 Update on Pro and Home PCs (97)
- Parts of NVIDIA GeForce RTX 50 Series GPU PCB Reach Over 100°C: Report (85)
- Sony Increases the PS5 Pricing in EMEA and ANZ by Around 25 Percent (84)
- Intel "Bartlett Lake-S" Gaming CPU is Possible, More Hints Appear for a 12 P-Core SKU (78)
- NVIDIA Reportedly Working on GeForce RTX 5080 SUPER 24 GB & RTX 5070 SUPER 18 GB Designs (74)
- NVIDIA GeForce RTX 5060 Ti 8 GB Variant Benched by Chinese Reviewer, Lags Behind 16 GB Sibling in DLSS 4 Test Scenario (73)