 9
9
Cooler Master Cosmos C700M Review
Value & Conclusion »Test System
| System Parts for Case Reviews | |
|---|---|
| Processor: | Intel Core i7-8600K |
| Motherboards: | ATX: MSI Z370 GAMING PRO CARBON AC mATX: Z370M GAMING PRO CARBON mini-ITX: MSI Z370i GAMING PRO CARBON Provided by: MSI |
| Graphics Card: | Long: ASUS Radeon RX580 Short: HIS Radeon 5350 HD |
| Memory: | 16 GB XPG Dazzle DDR4 2800 MHz CL17-17-17 1.25 V 32 GB GB XPG SPECTRIX D40 3000 MHz. CL16-18-18 1.35 V 16 GB XPG GAMMIX D10 DDR4 2400 MHz CL16-16-16 1.20 V Provided by: ADATA |
| HDD: | Western Digital 320 GB 7200 RPM |
| SSD: | ADATA Ultimate SU900 TLC 256 GB ADATA Ultimate SU800 3D TLC 256 GB ADATA Ultimate SU700 TLC 240 GB Provided by: ADATA |
| Power Supply: | Antec HCG High Current Gamer 650 W Provided by: Antec |
| Cooling: | be quiet! Dark Rock 4 be quiet! Pure Slim be quiet! Shadow Rock 2 be quiet! Shadow Rock LP Provided by: be quiet! |
Assembly


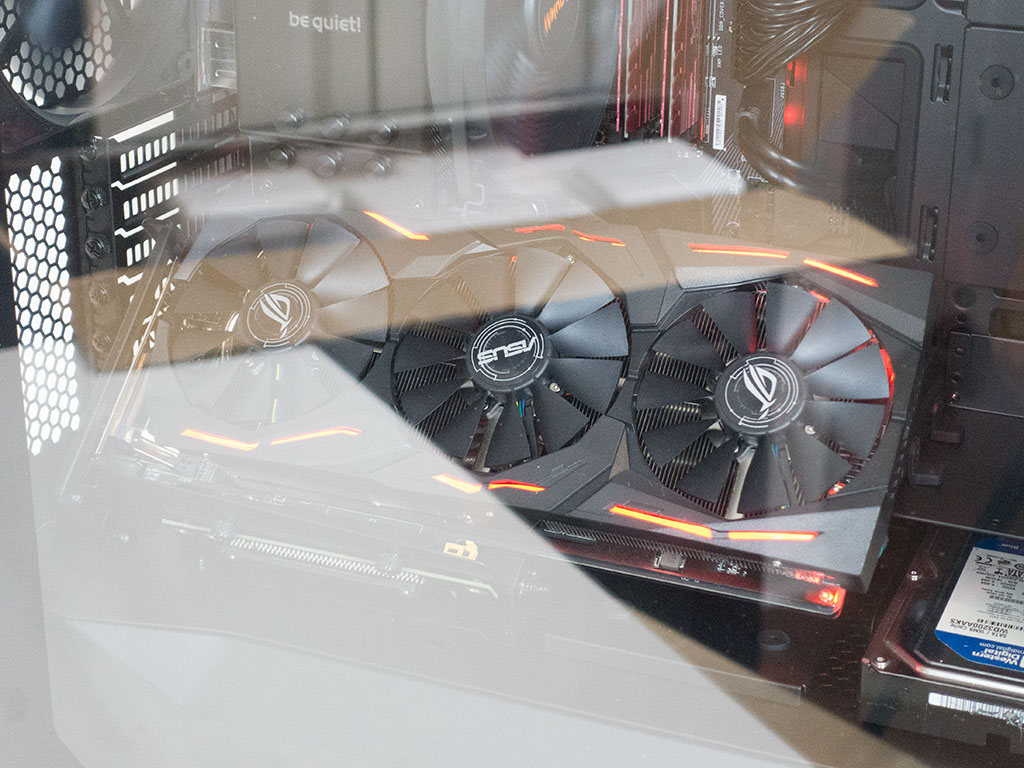
The Cooler Master Cosmos C700M sports the same type of functional modularity as in the C700P, so be sure to check out the disassembly here. This allows you to install your system's motherboard upside down or rotated by 90°, which would have your GPUs face upward, for example. While you can certainly install your motherboard with the whole tray set outside of your system, you may not need to. In our case, as only a GPU was used, I was able to skip that step and place the board directly without having to use any of the traditional expansion slots. Instead, as I used the GPU stand, the ribbon cable was used. This is a pretty cool spot for a GPU, but you want to make sure you do not block the HDD tray unless you are willing to move the tray above the graphics card, which may not end up looking very sexy.
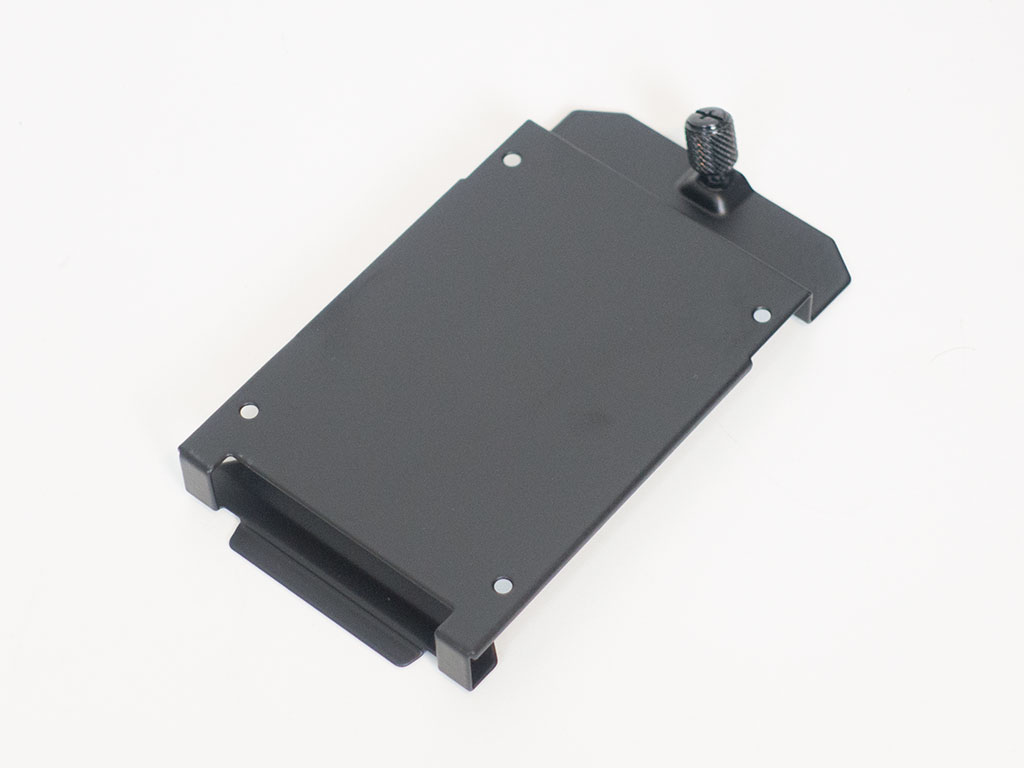
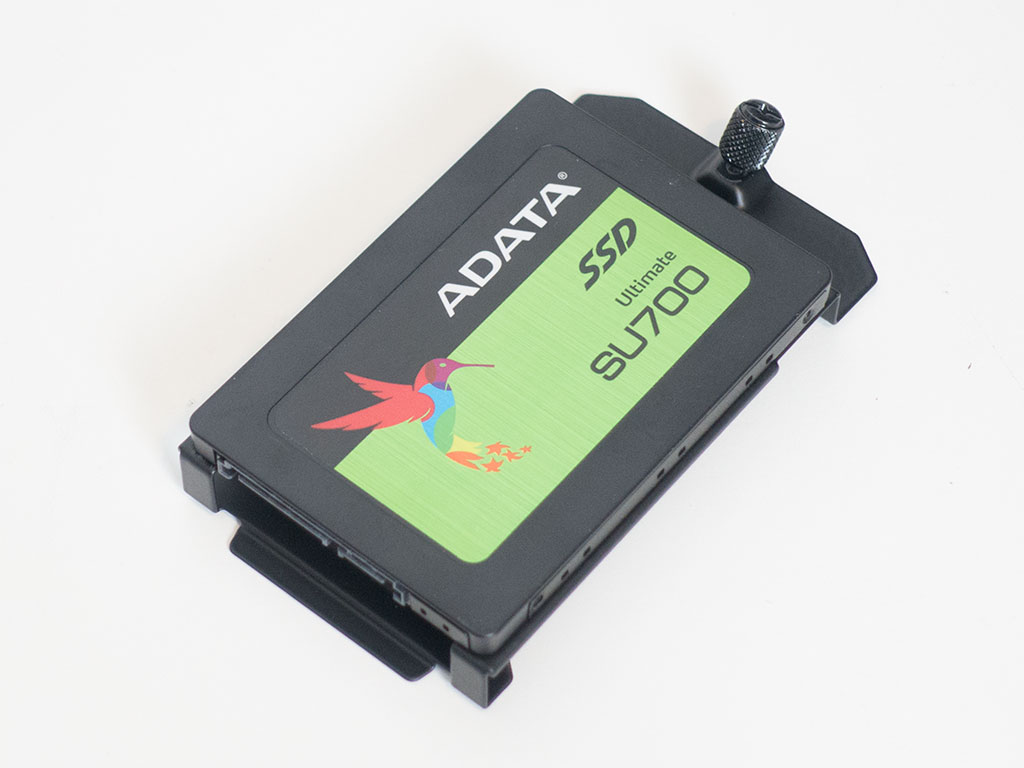
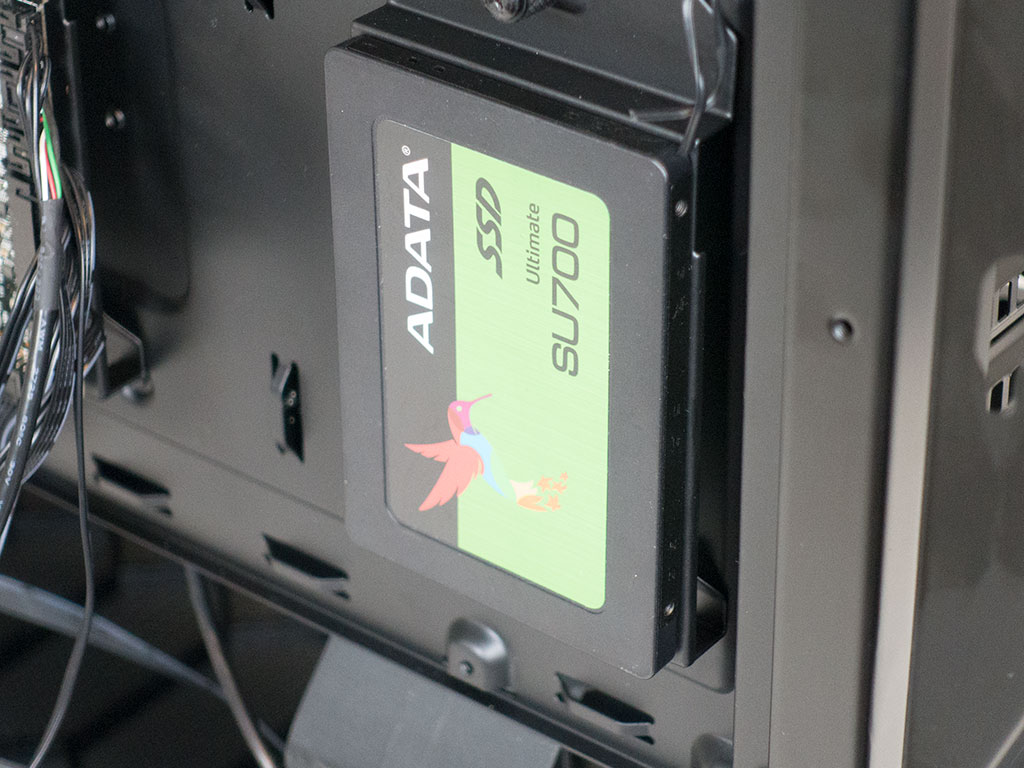
To add a 2.5" drive, you first have to pick where you want to place the unit: behind the motherboard, underneath the 3.5" tray, or on the metal shroud to show it off. I chose the more understated location behind the motherboard tray. Here, simply take the bracket off the motherboard tray, slide the drive into place, and screw it down. It sits behind the metal cover instead of on top, which means you won't see the SSD once the bracket is back in place.


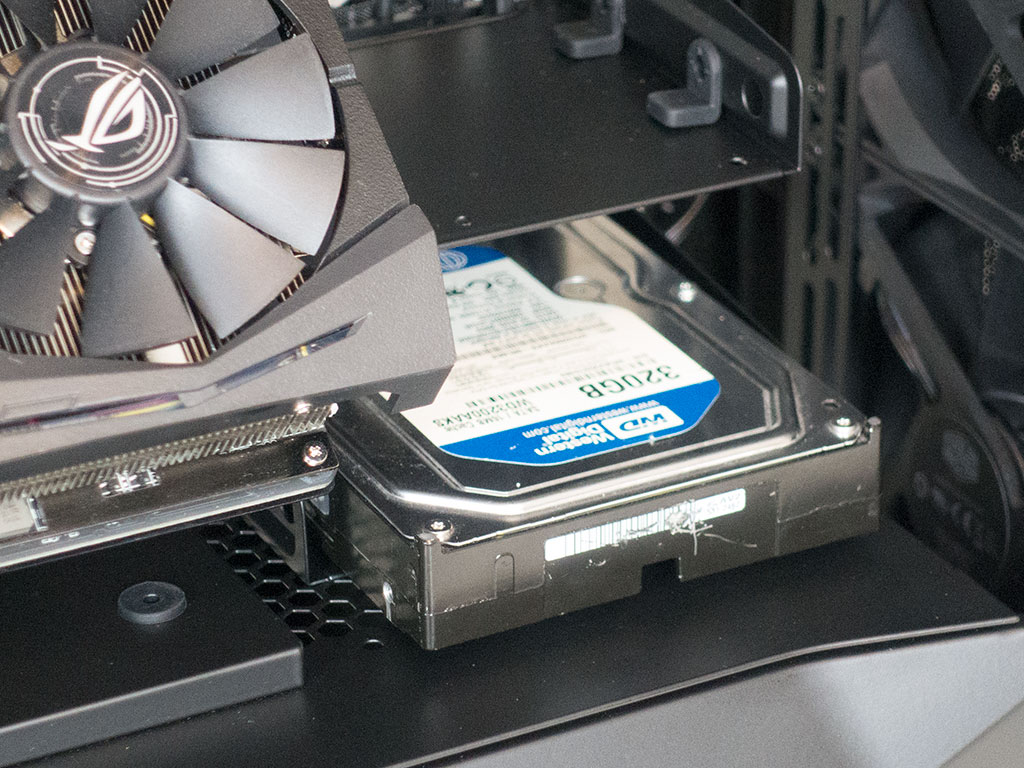
Adding a 3.5" drive to the tray is done with the use of special screws. Simply place the drive on the rubber cushions, secure it with the long screws and place the tray in any of the many possible positions on the hard-drive plate.
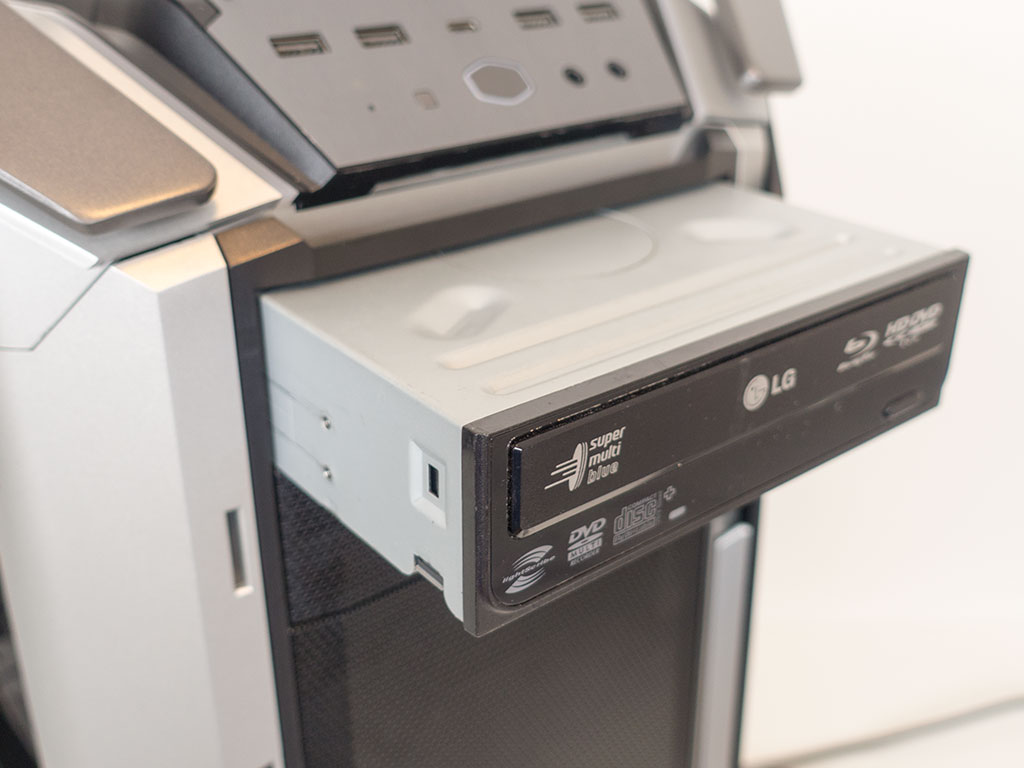

With all the innovation within the Cosmos C700M, the optical drive bay keeps things simple and traditional. Just take off the drive bay cover, slide the ODD in, secure it with two screws and you are done.
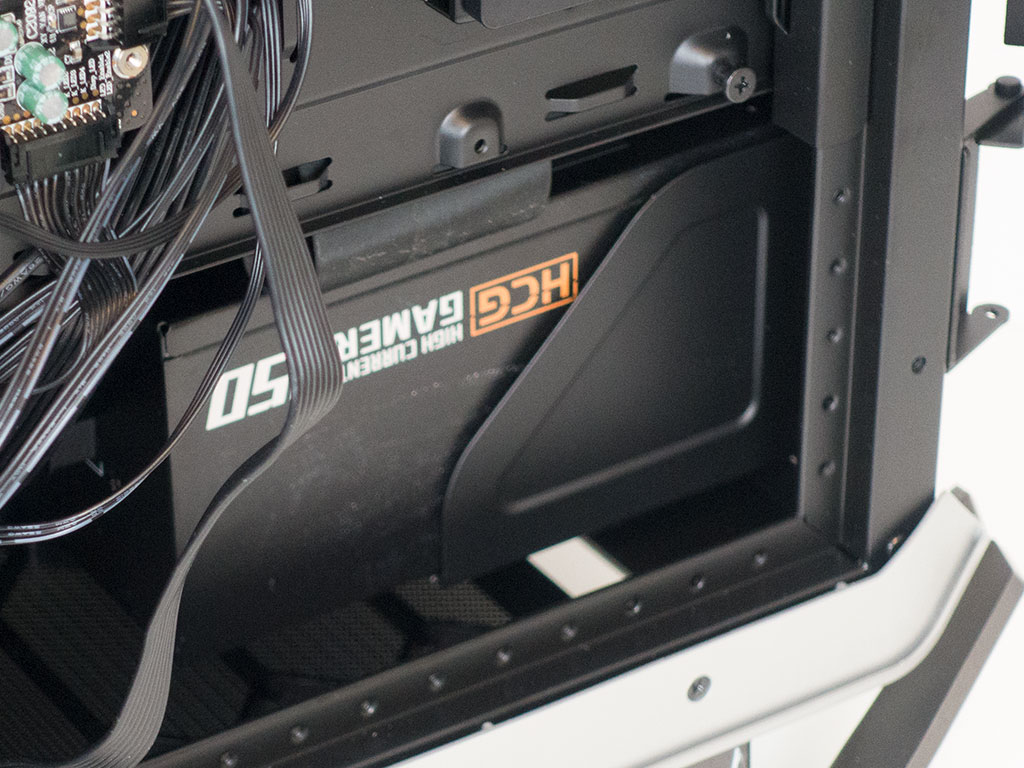
Due to the massive size, you are free to add any power supply of your choosing. It sits on the sturdy tray and is secured with four screws, just like in any other chassis out there. You can easily reach the bay by sliding the PSU in underneath the shroud or, if need be, can also take that cover off to give you an unobstructed angle of access.

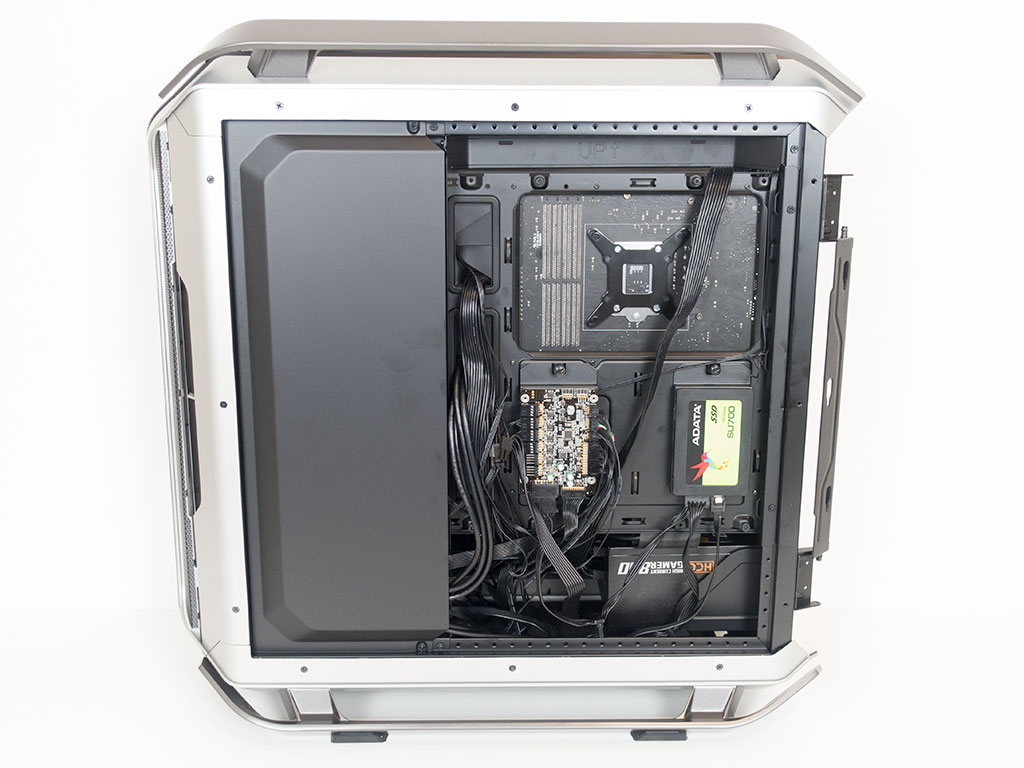
With all the parts installed, the case looks gorgeous and clean when viewed from the main side. Even the backside of the motherboard tray is fine due to the metal cover. I did not end up using any zip ties just to make a point: you don't really need any. Fully assembled, the C700M looks pretty darn sexy, albeit a bit empty due to its sheer size.
Finished Looks
RGB Color Gallery
The Cooler Master Cosmos C700M does not only come with a built-in addressable RGB controller as you may also use any motherboard with the functionality to sync up all the lights from the board, fans, strips, memory, and case. There are seven distinct colors without the built-in controller, or you may set the chassis to breathe through all the various hues. However, the main attraction is RGB mode, which looks very sexy.


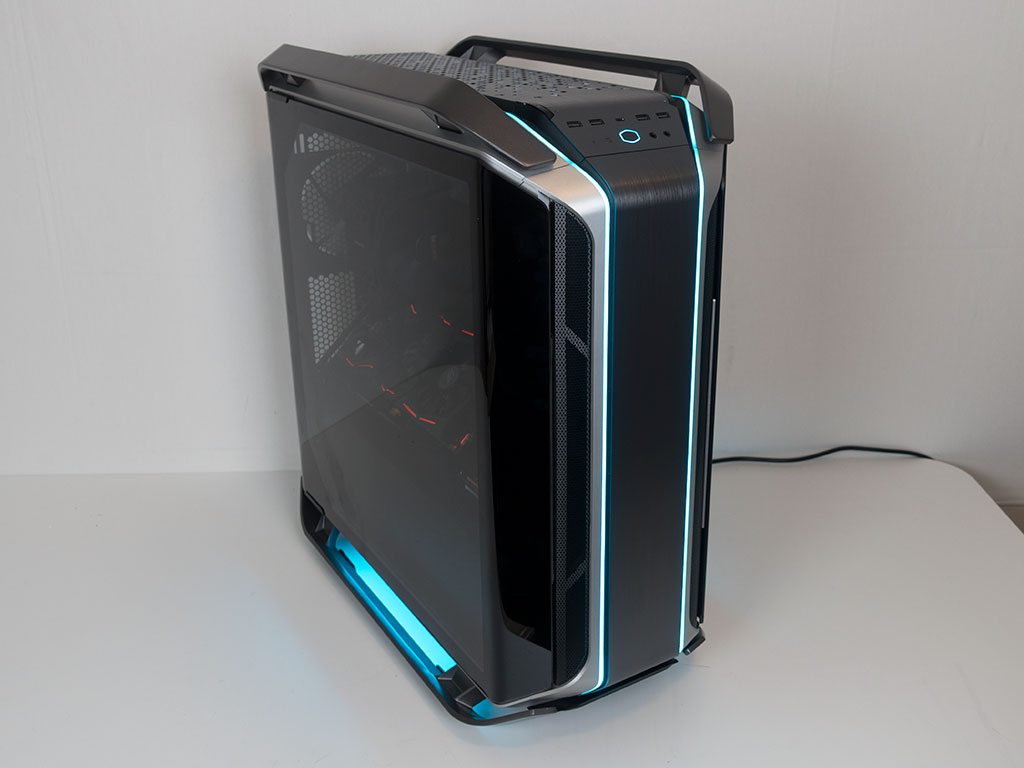
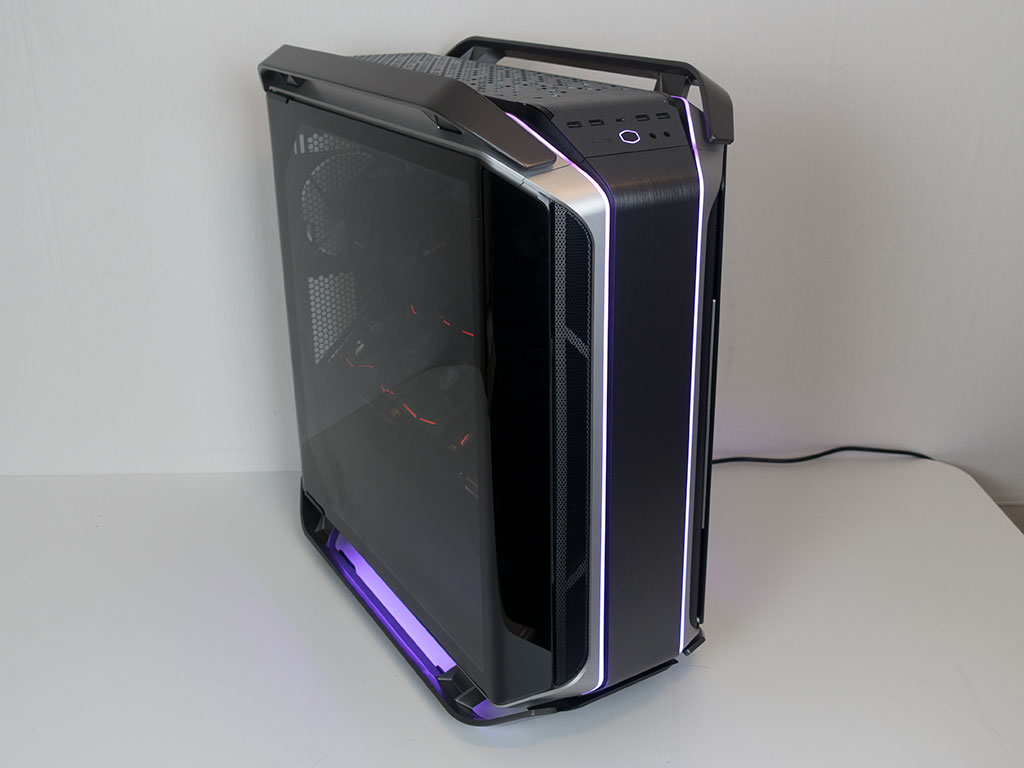
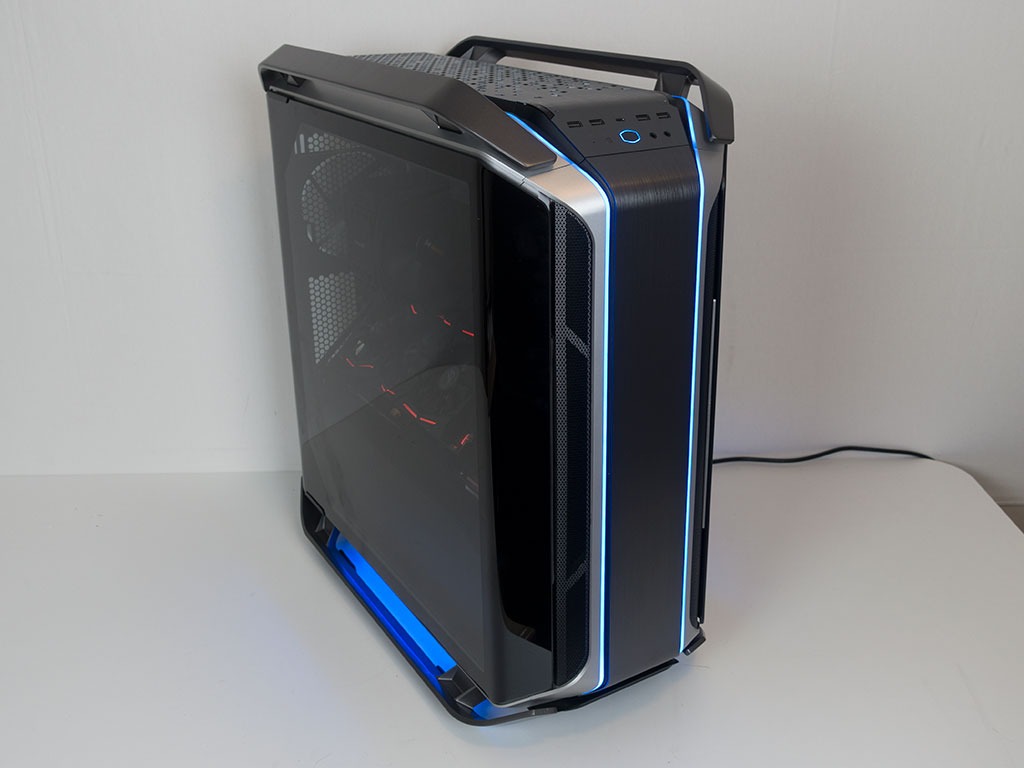
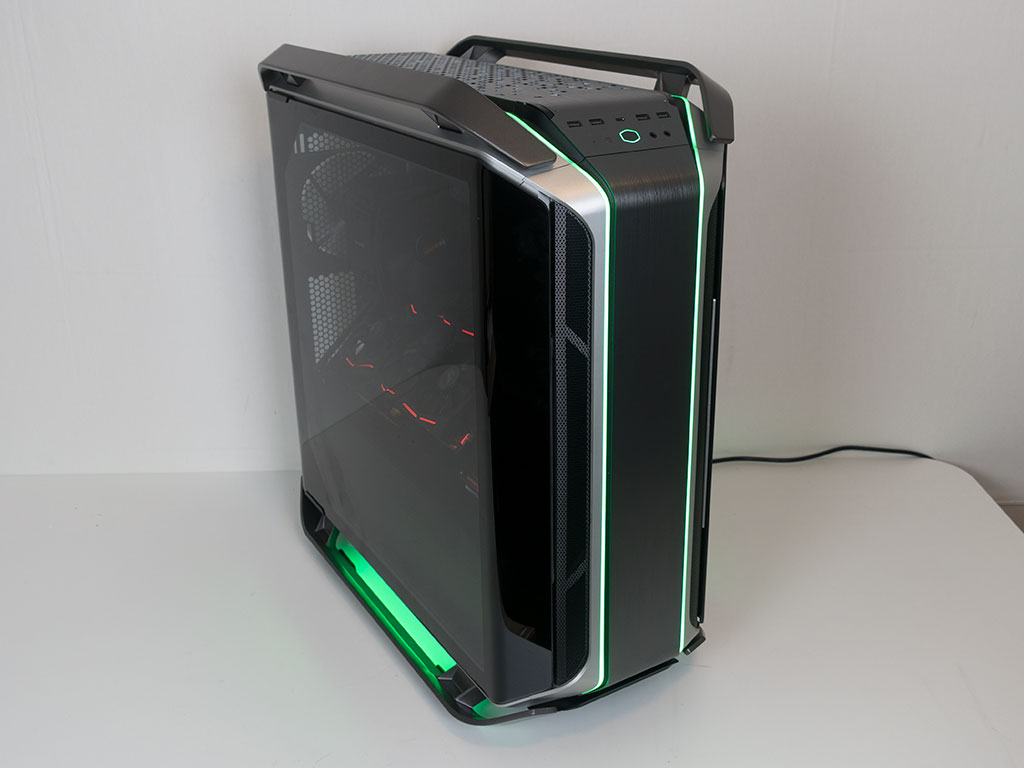
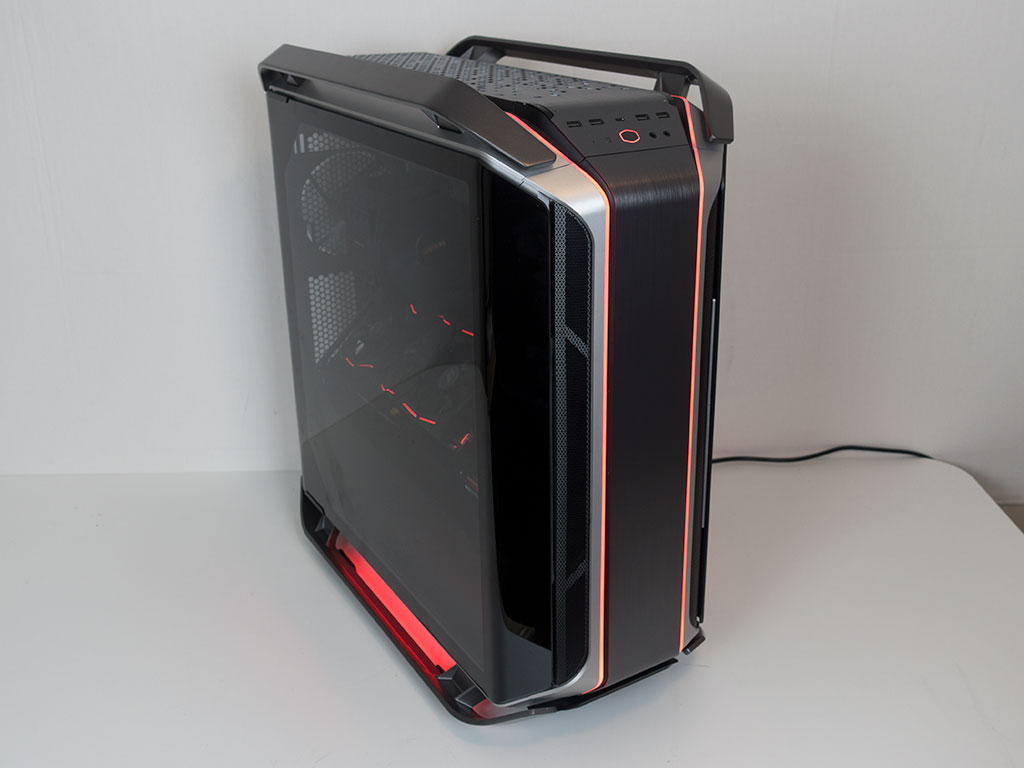
Cooler Master has done an excellent job in slimming down the lighting elements when designing the Cosmos C700M, so that none of it feels overwhelming, unlike in the C700P. On top of that, the power button now lights up in the same colors as the rest of the chassis.
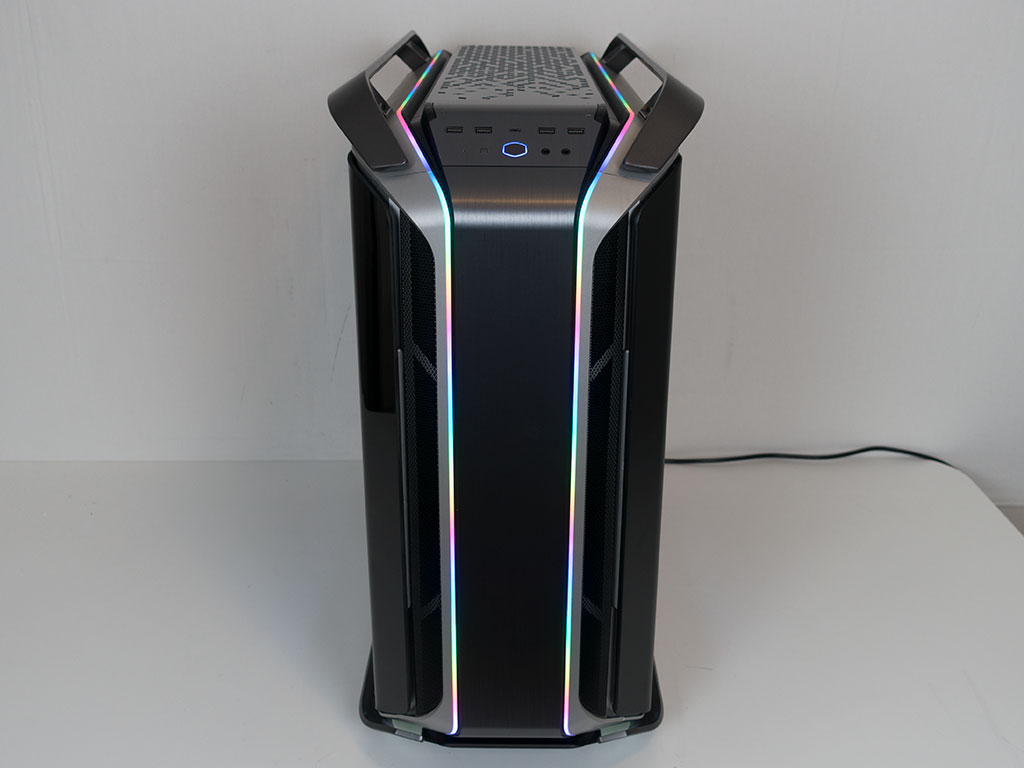
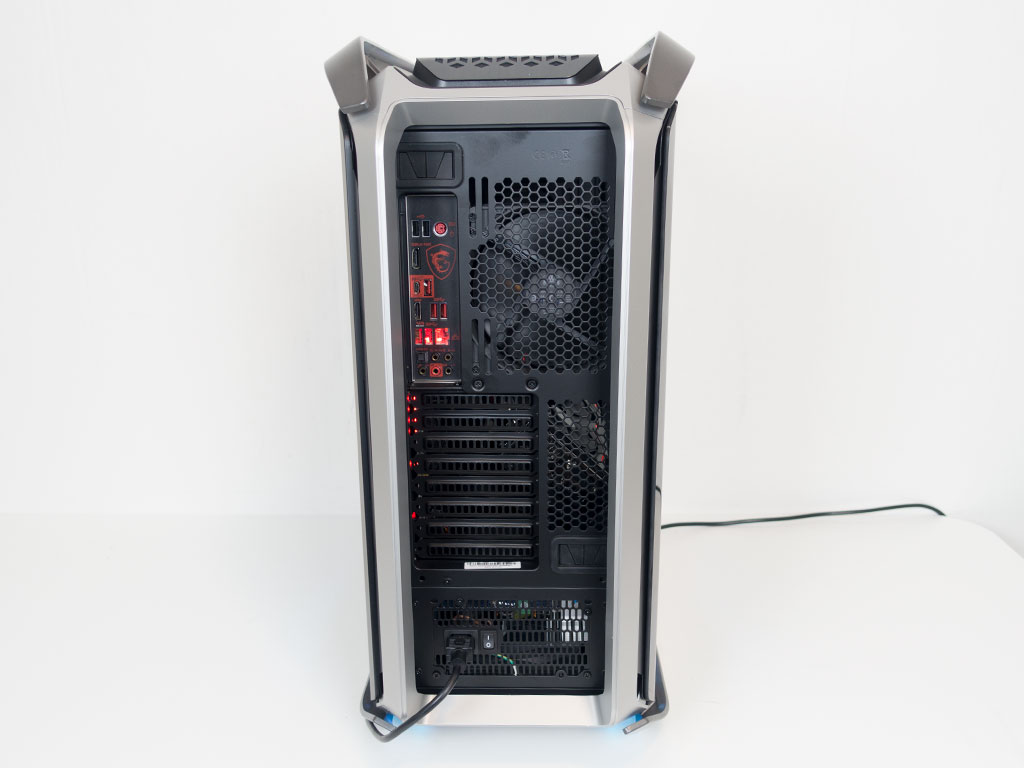

Looking at the rear, the Cosmos C700M makes a pretty normal impression, and you could forget for a second that this is one massive chassis. However, looking at the curved, tinted glass panel, you are brought back to reality. The tint is nice and light, so you should have no issues showing off all your cool hardware.
Jan 20th, 2025 16:58 EST
change timezone
Latest GPU Drivers
New Forum Posts
- Cryptocoin Value and Market Trend Discussion (1586)
- MSI Z690 SSD standoff detached from motherboard (9)
- RX580 not stable... (9)
- Laptop fan cable touching top of heatsink and ssd. (0)
- It is 2025, you have a PCI slot you really want to fill, what do you stick in it? (28)
- RTX 5090 ridiculous price! (82)
- What are you playing? (22631)
- Can wireless keyboard / mouse be recycled without receiver? (2)
- Game of the year 2024 (87)
- Very inconsistent frames (11)
Popular Reviews
- NVIDIA GeForce RTX 5090 Founders Edition Unboxing
- Fosi Audio K7 Gaming Desktop DAC/Headphone Amplifier Review
- NVIDIA GeForce RTX 50 Technical Deep Dive
- ASRock Arc B570 Challenger OC Review
- Montech Heritage Pro Review - The Leather Case
- Sparkle B570 Guardian OC Review
- AMD Ryzen 7 9800X3D Review - The Best Gaming Processor
- be quiet! Light Loop 360 mm AIO Review
- NZXT C1500 Review
- G-Wolves Hati-S2 8K Review
Controversial News Posts
- NVIDIA 2025 International CES Keynote: Liveblog (468)
- AMD Debuts Radeon RX 9070 XT and RX 9070 Powered by RDNA 4, and FSR 4 (349)
- NVIDIA GeForce RTX 5090 Features 575 W TDP, RTX 5080 Carries 360 W TDP (217)
- AMD Radeon RX 9070 XT & RX 9070 Custom Models In Stock at European Stores (214)
- AMD Radeon RX 9070 XT Alleged Benchmark Leaks, Underwhelming Performance (204)
- Potential RTX 5090 and RTX 5080 Pricing in China Leaks (173)
- AMD Radeon RX 9070 XT Tested in Cyberpunk 2077 and Black Myth: Wukong (169)
- AMD Radeon RX 9070 XT Boosts up to 3.10 GHz, Board Power Can Reach up to 330W (167)