 7
7
Cooler Master Masterbox NR400 Review
Assembly & Finished Looks »A Closer Look - Inside
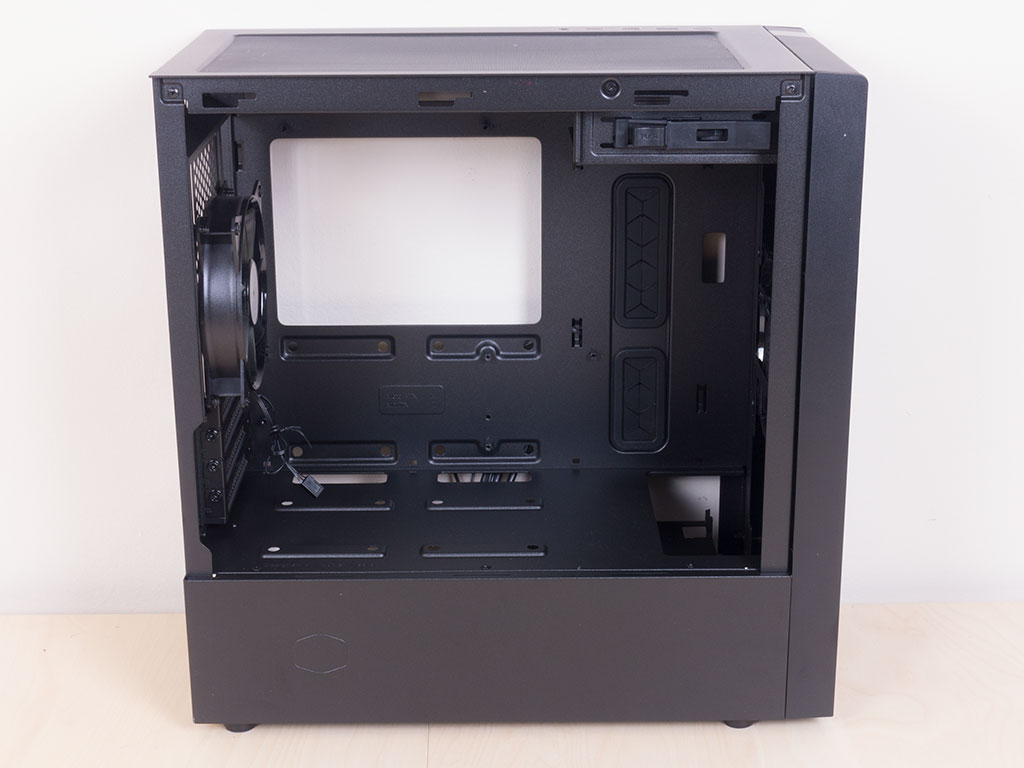

To gain access to the Masterbox NR400, simply remove the thumb screws holding each panel in place. The interior is all black and there are fairly compact, slightly angled grommets for you to route your cables through. Cooler Master has included plenty of zip tie hooks for easy and clean cable management. There are two 2.5" hard-drive mounting location here for drives you don't want to show off.
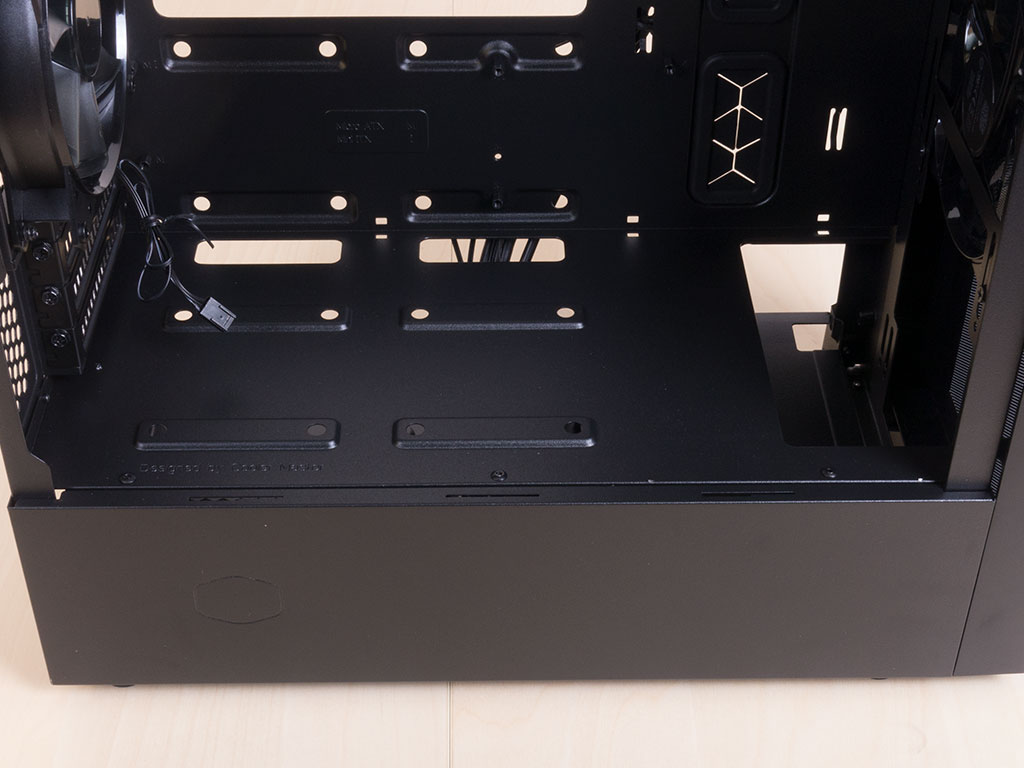
On top of that, the shroud allows for two more 2.5" drives, which can then easily be seen when looking at the internals through the windowed side.
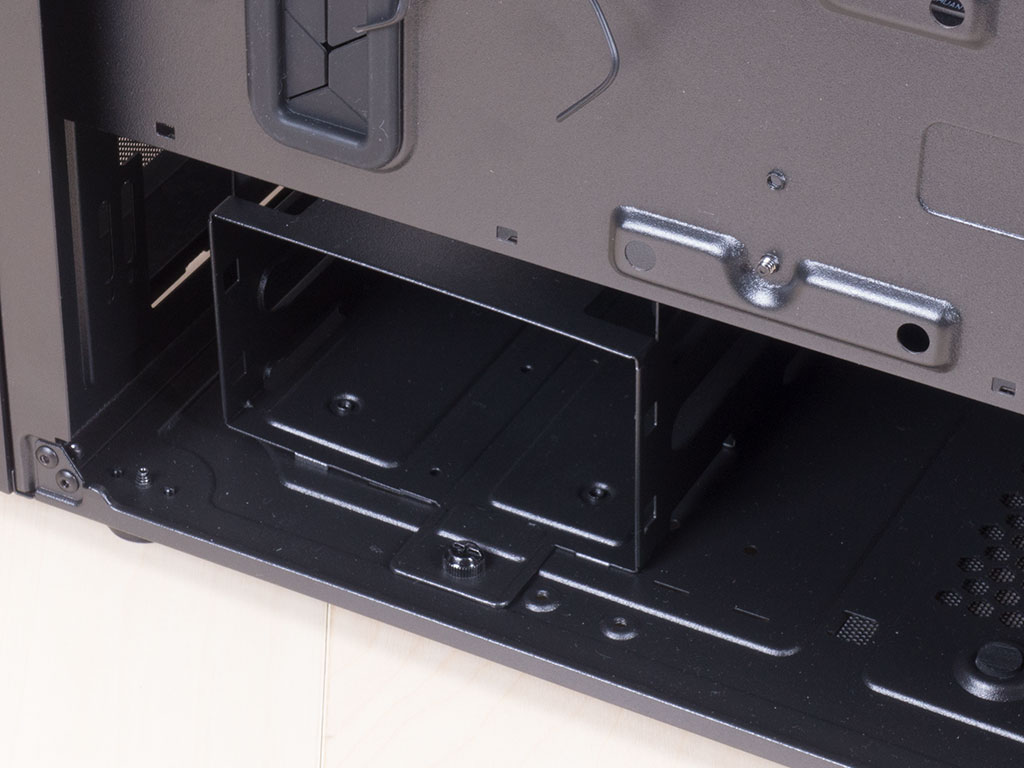
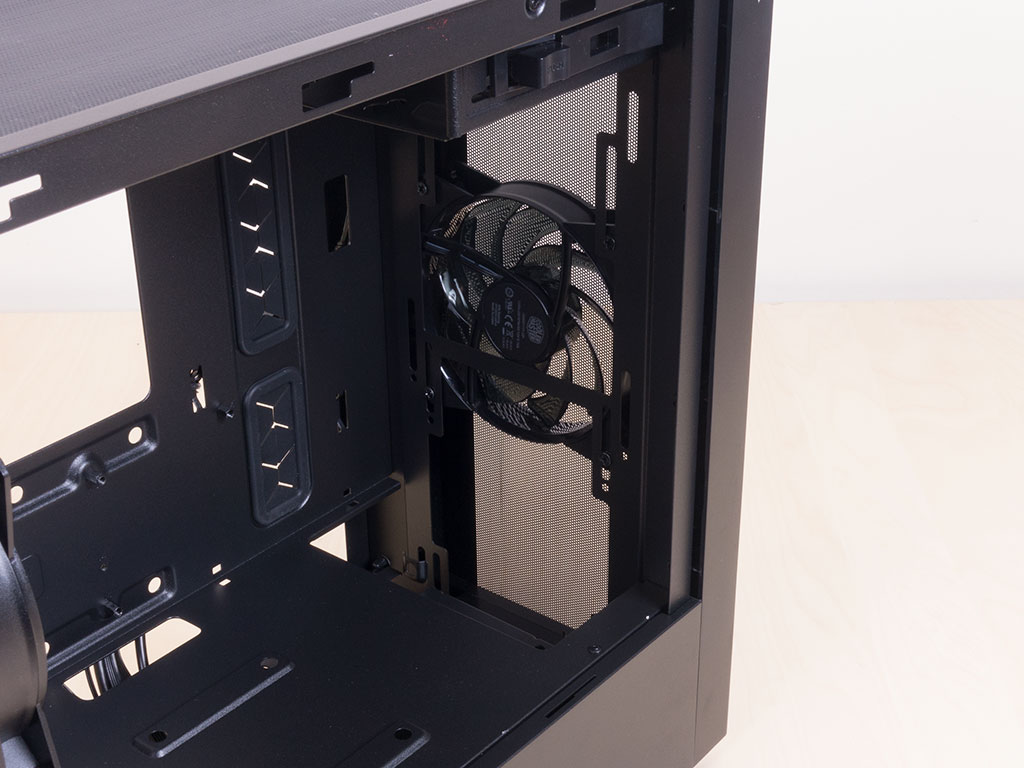
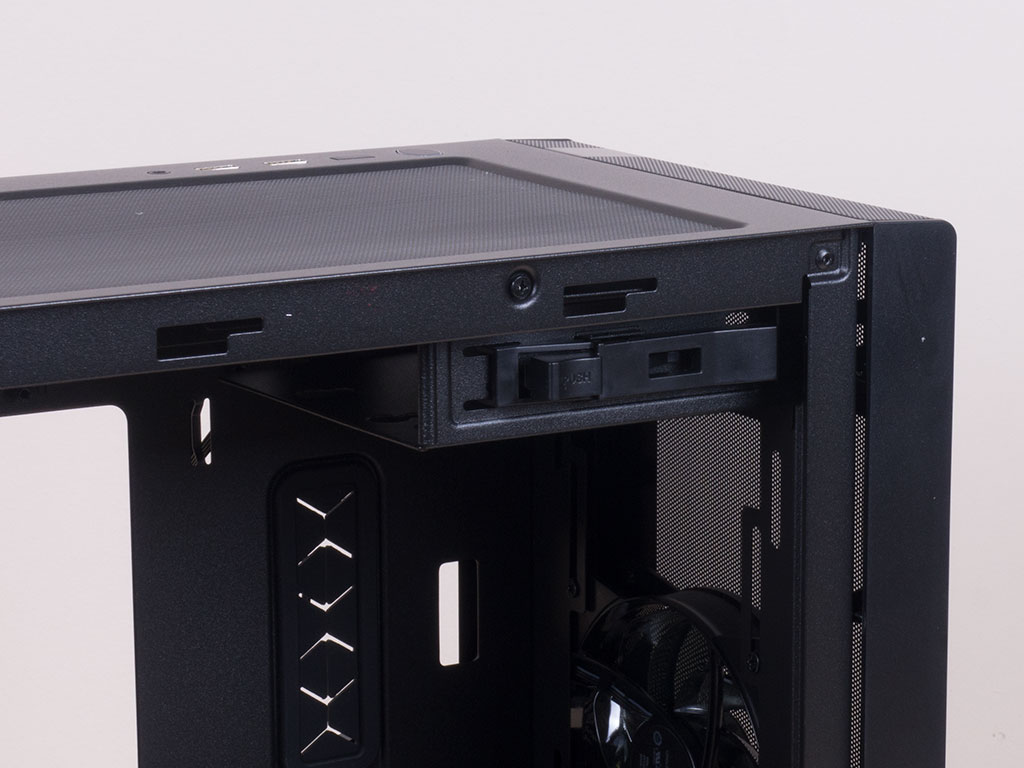
Last but not least, there are two additional 3.5" hard-drive bays underneath the shroud, bringing the total up to six storage drive locations, which is plenty for most users. Above that, in the front, it is all about cooling. You may install two additional 120 mm fans here or place a 360 mm radiator in the front without sacrificing any expandability. The removable 5.25" bay in the top comes with a tool-less locking mechanism.
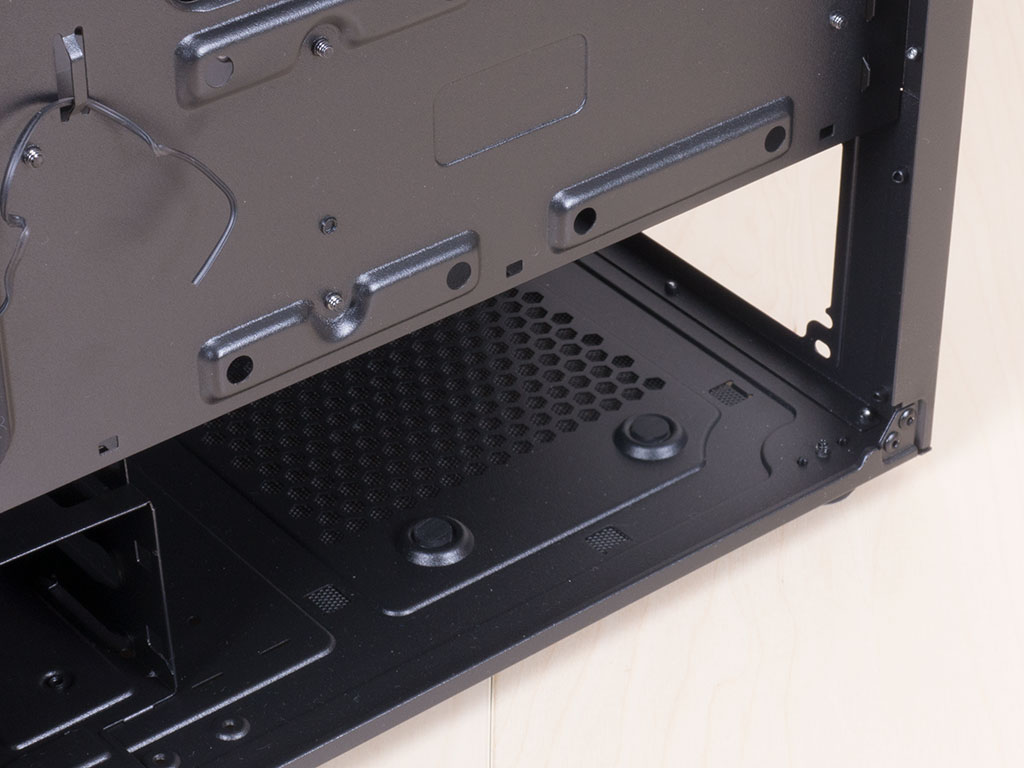
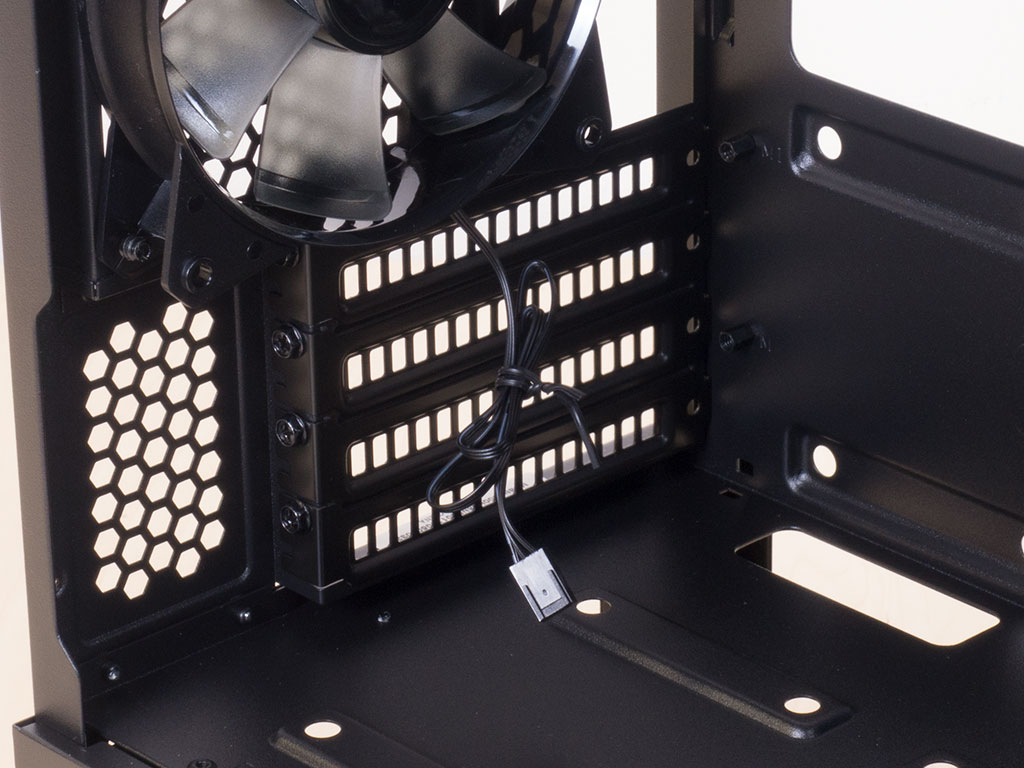
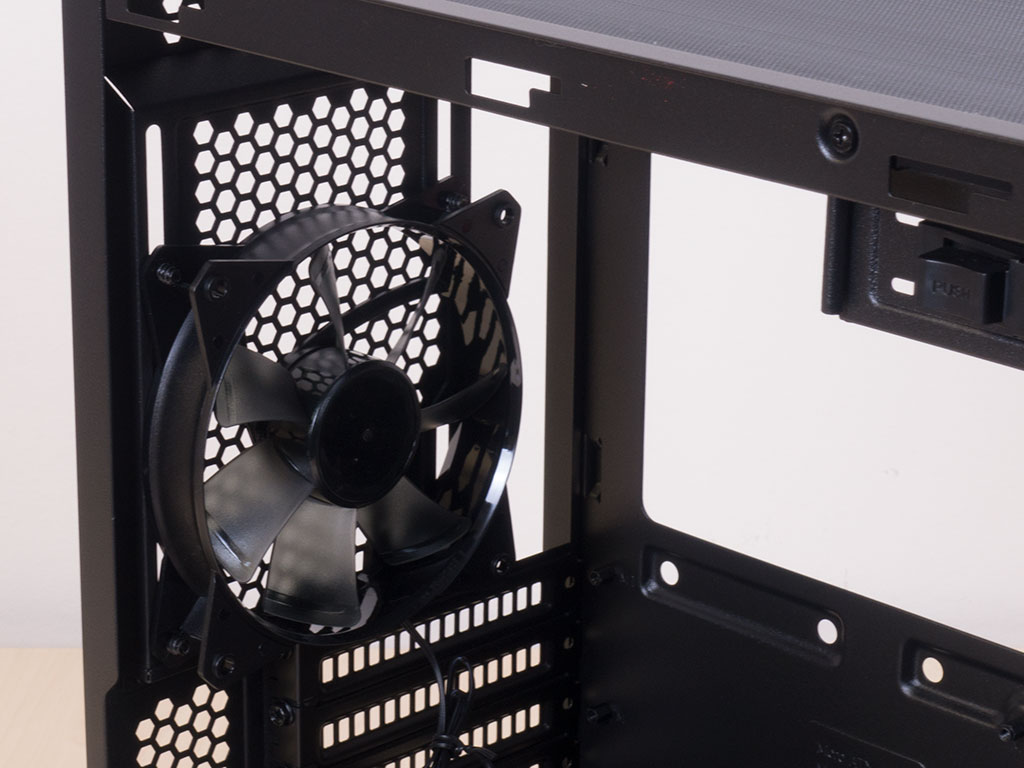
The PSU bay underneath the shroud is pretty basic, with foam tips to minimize vibrations moving on to the chassis frame. Above that are the four expansion slots, with each cover held in place by a traditional screw. In the very top, the height-adjustable 120 mm fan with its 3-pin fan header is set to push air out the back.
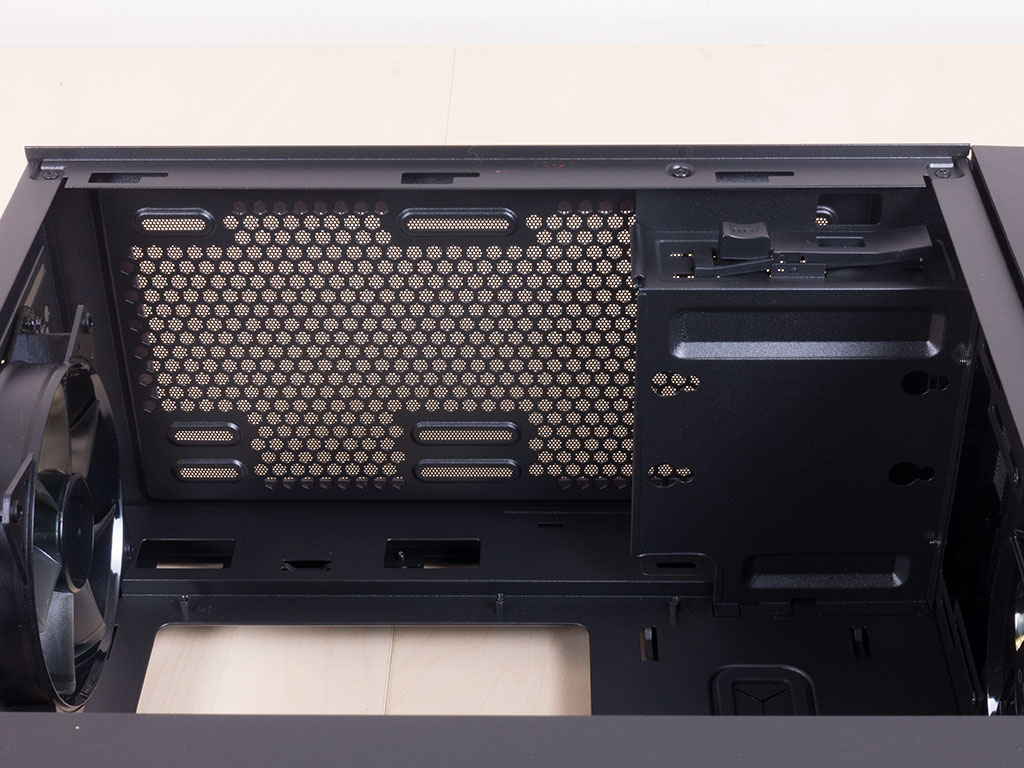
In the ceiling, you can clearly see the mounting holes for fans or a radiator. Watch out if using a thick 280 mm rad as it may clash with components on the installed motherboard. However, if you are going that route, odds are you will spend more on a chassis as well.
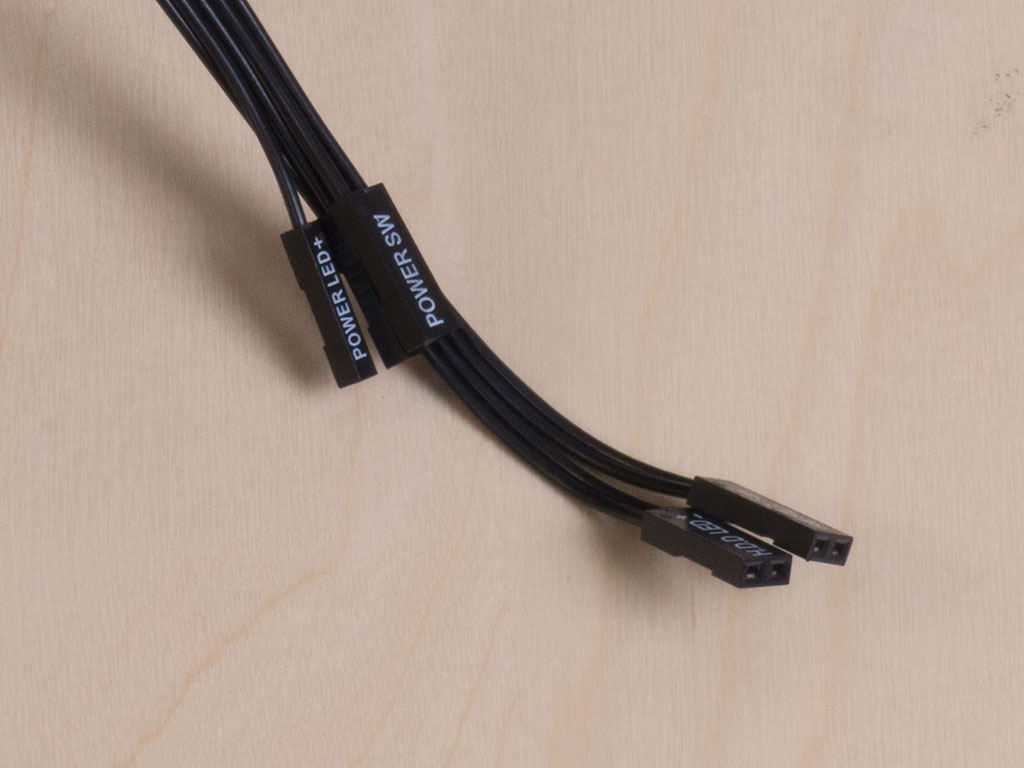
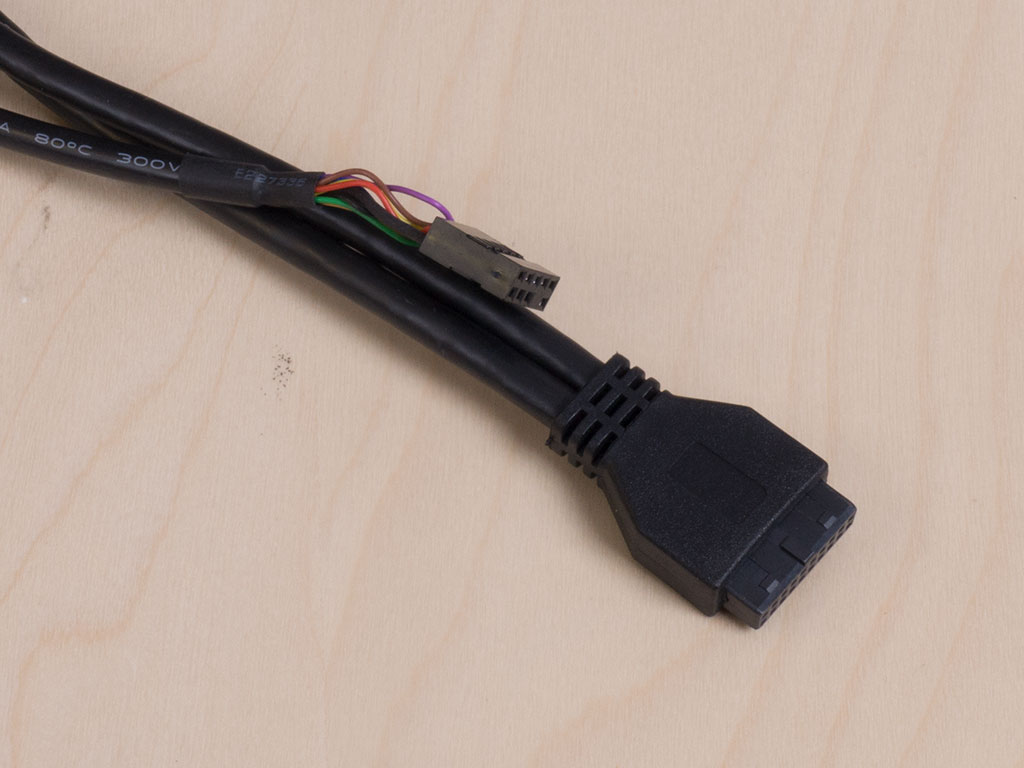
All the cables within the NR400 are of the default variety and completely black.
Jun 30th, 2025 22:43 CDT
change timezone
Latest GPU Drivers
New Forum Posts
- GravityMark v1.89 GPU Benchmark (303)
- Post your Cinebench 2024 score (658)
- GPU PerfCap Reason PWR (8)
- Laptop overclocking adventures (1238)
- [INTEL]-How To Update Your Microcode for Intel HX 13/14th Gen. CPUs Laptops/Mobile Easily. (172)
- Will you buy a RTX 5090? (584)
- The TPU UK Clubhouse (26530)
- Optane and "enable write caching " (27)
- Question about Intel Optane SSDs (87)
- Do you use Linux? (664)
Popular Reviews
- ASUS ROG Crosshair X870E Extreme Review
- Sapphire Radeon RX 9060 XT Pulse OC 16 GB Review - Samsung Memory Tested
- AVerMedia CamStream 4K Review
- Lexar NQ780 4 TB Review
- AMD Ryzen 7 9800X3D Review - The Best Gaming Processor
- Upcoming Hardware Launches 2025 (Updated May 2025)
- Sapphire Radeon RX 9070 XT Nitro+ Review - Beating NVIDIA
- AMD Ryzen 9 9950X3D Review - Great for Gaming and Productivity
- NVIDIA GeForce RTX 5060 8 GB Review
- ASRock Phantom Gaming Z890 Riptide Wi-Fi Review
TPU on YouTube
Controversial News Posts
- Intel's Core Ultra 7 265K and 265KF CPUs Dip Below $250 (288)
- NVIDIA Grabs Market Share, AMD Loses Ground, and Intel Disappears in Latest dGPU Update (204)
- Some Intel Nova Lake CPUs Rumored to Challenge AMD's 3D V-Cache in Desktop Gaming (140)
- NVIDIA Launches GeForce RTX 5050 for Desktops and Laptops, Starts at $249 (105)
- Microsoft Partners with AMD for Next-gen Xbox Hardware (105)
- Intel "Nova Lake‑S" Series: Seven SKUs, Up to 52 Cores and 150 W TDP (100)
- NVIDIA GeForce RTX 5080 SUPER Could Feature 24 GB Memory, Increased Power Limits (94)
- Reviewers Bemused by Restrictive Sampling of RX 9060 XT 8 GB Cards (88)