 10
10
Cooler Master Masterbox NR600 Review
Assembly & Finished Looks »A Closer Look - Inside
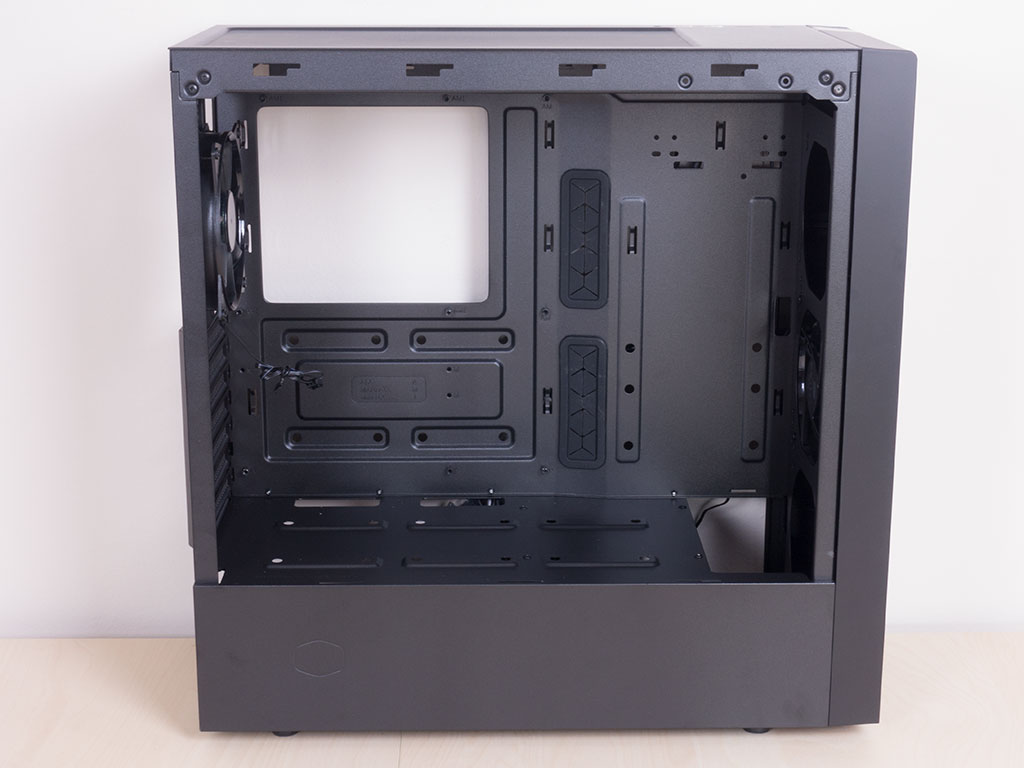
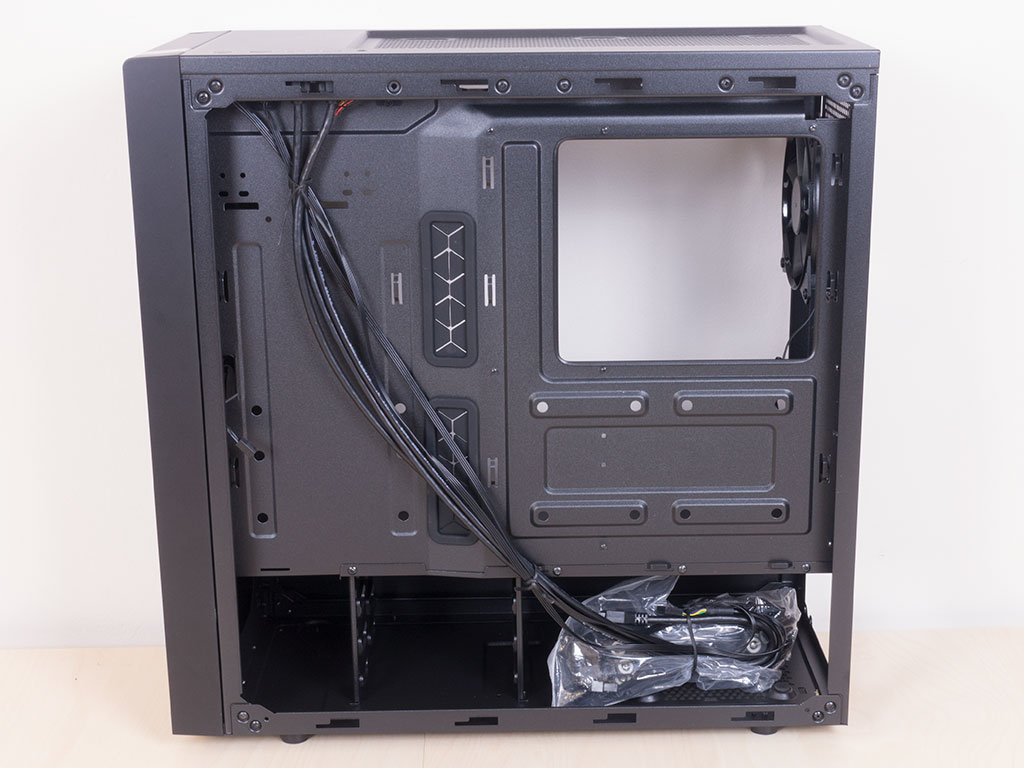
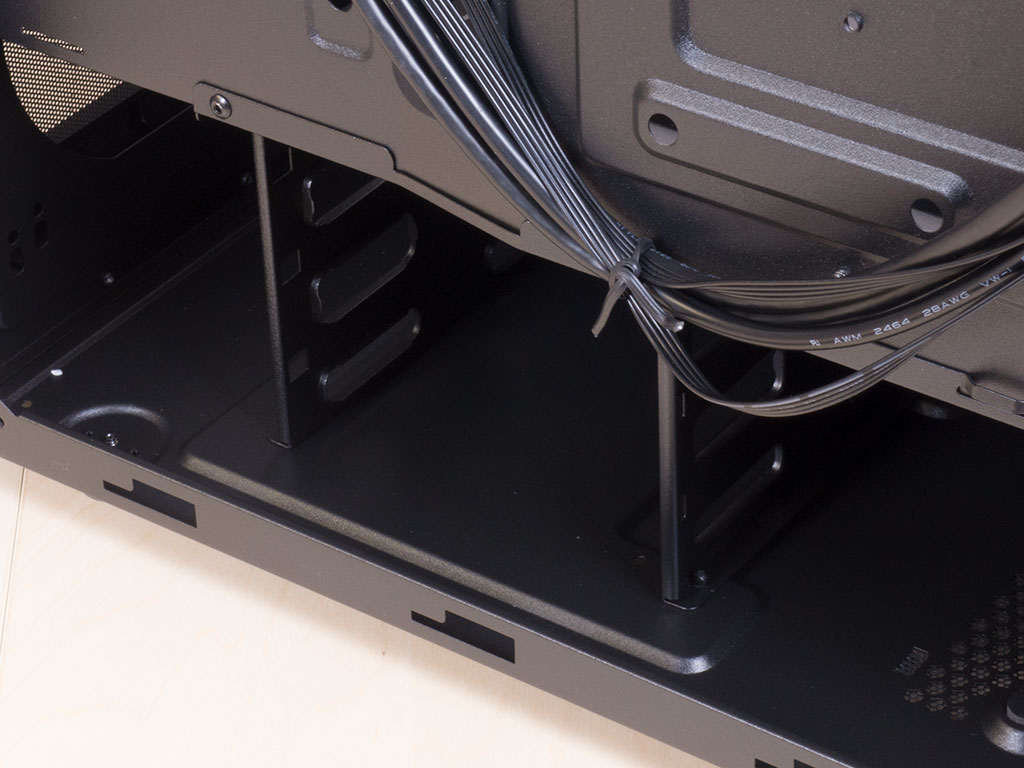
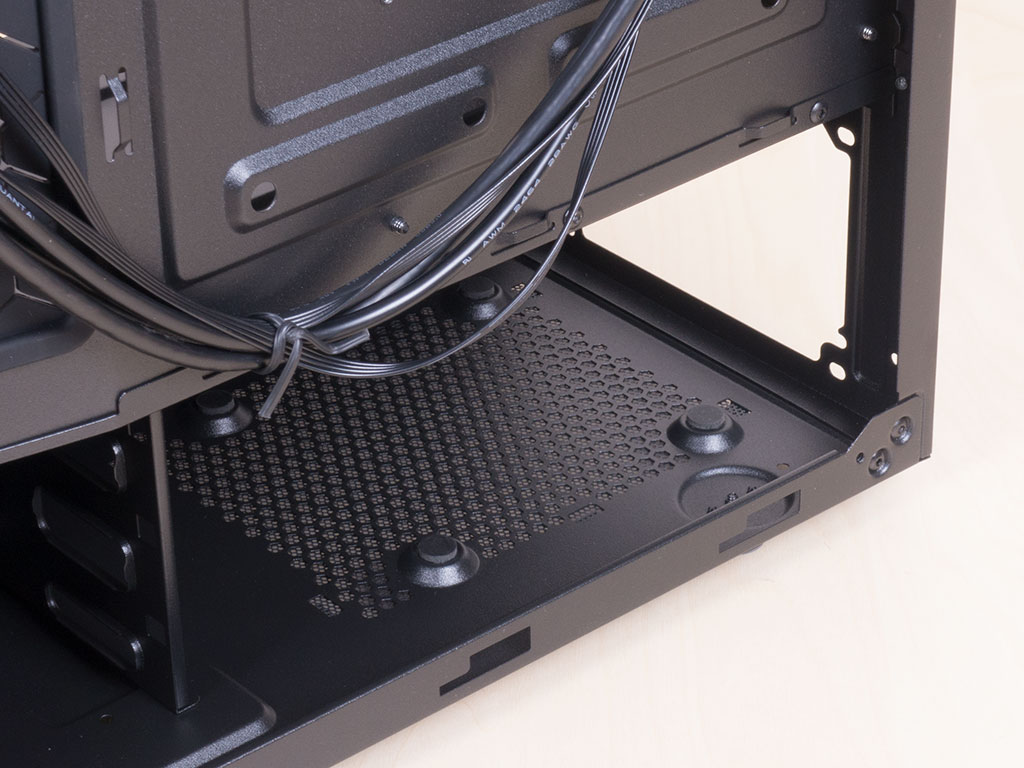
To gain access to the Masterbox NR600, simply remove the thumb screws holding each panel in place. The interior is all black and there are fairly compact, slightly angled grommets for you to route your cables through. Cooler Master has included plenty of zip tie hooks for easy and clean cable management. There are two 2.5" hard-drive mounting location along with a single 3.5" one on the motherboard tray itself.

On top of that, the shroud allows for three more 2.5" drives, which can then easily be seen when looking at the internals through the windowed side.
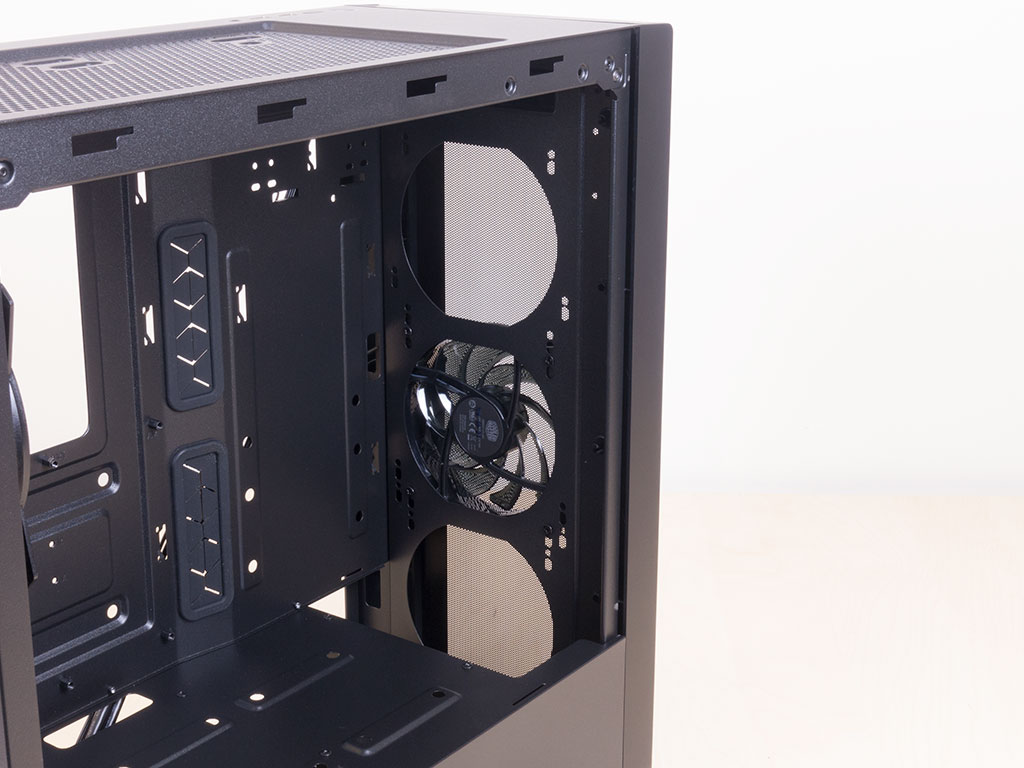
Last but not least, there are three additional 3.5" hard-drive bays underneath the shroud, bringing the total up to four 3.5" and five 2.5" drives, which is plenty for most users. Above that, in the front, it is all about cooling. You may install two additional 120 mm fans here or place a 360 mm radiator in the front without sacrificing any expandability.
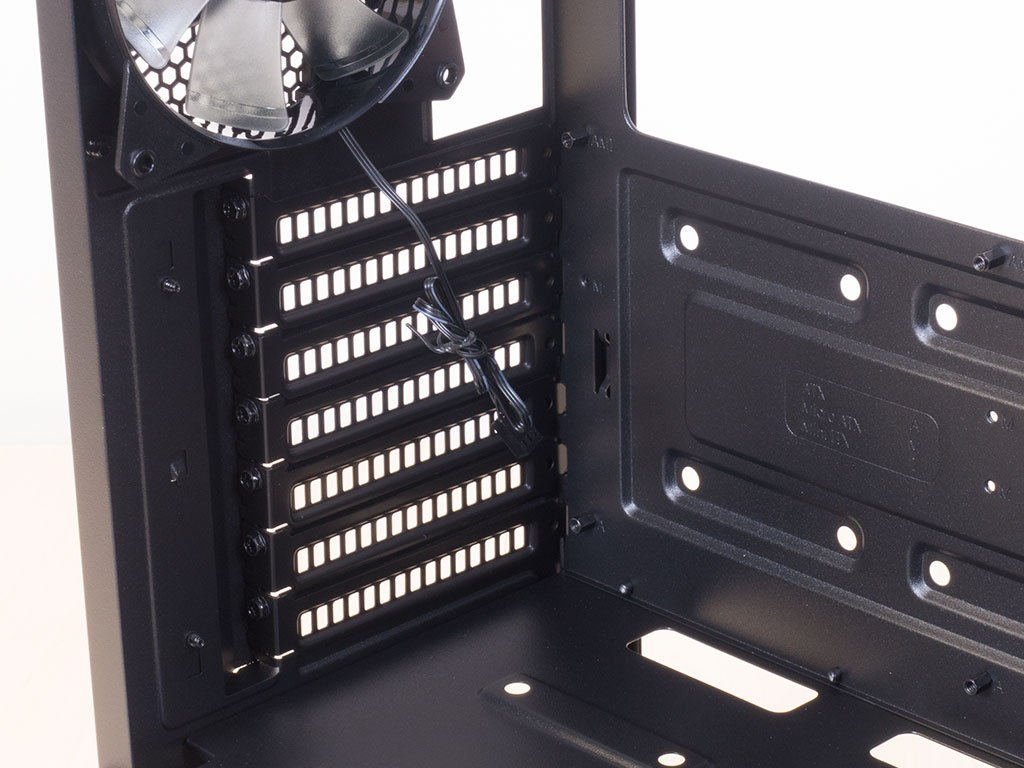
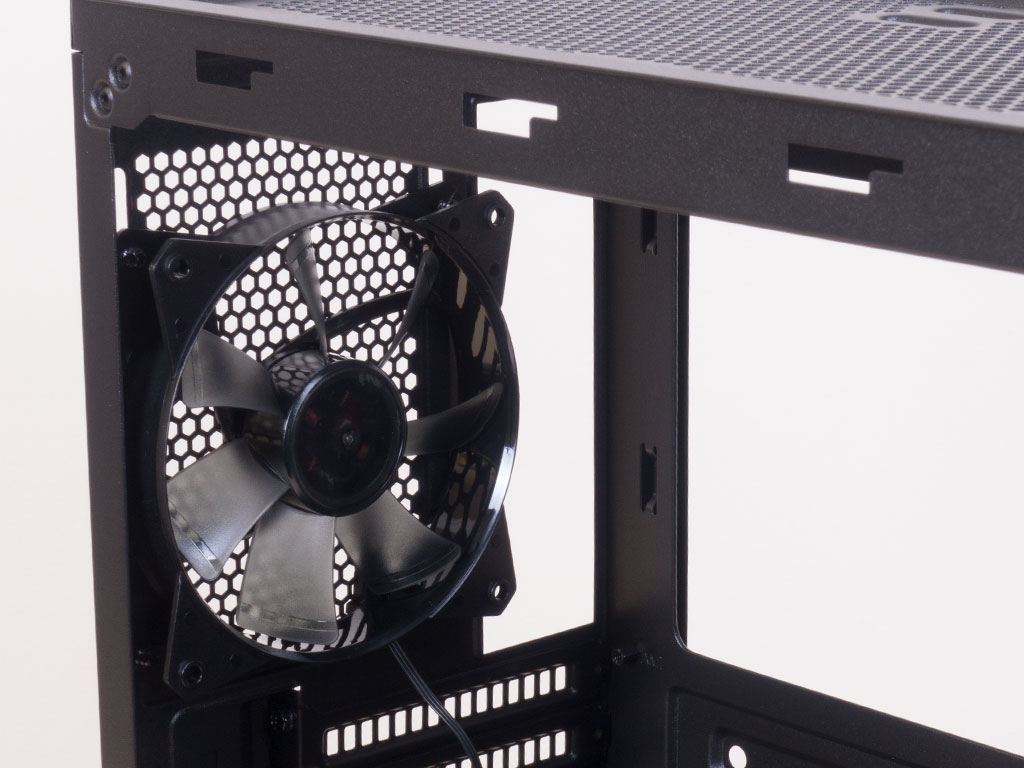
The PSU bay underneath the shroud is pretty basic, with foam tips to minimize vibrations moving on to the chassis frame. Above that are the eight expansion slots, with each cover held in place by a traditional screw. In the very top, the height-adjustable 120 mm fan with its 3-pin fan header is set to push air out the back.
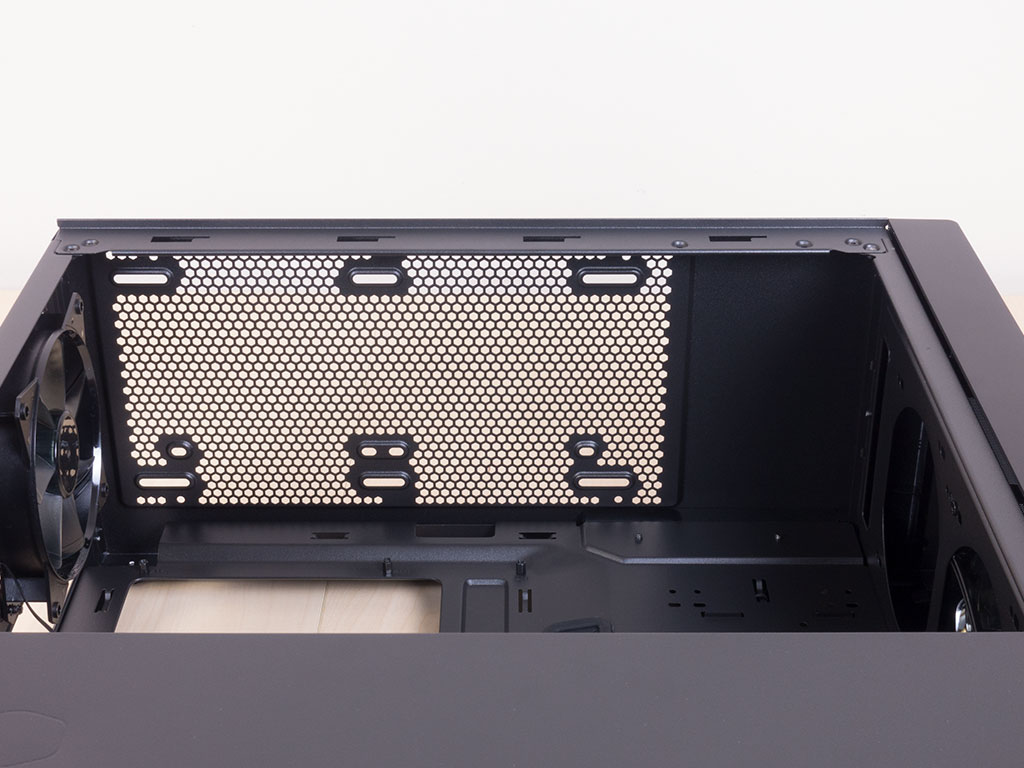
In the ceiling, you can clearly see the mounting holes for fans or a radiator. Watch out if using a thick 280 mm rad as it may clash with components on the installed motherboard. However, if you are going that route, odds are you will spend more on a chassis as well.
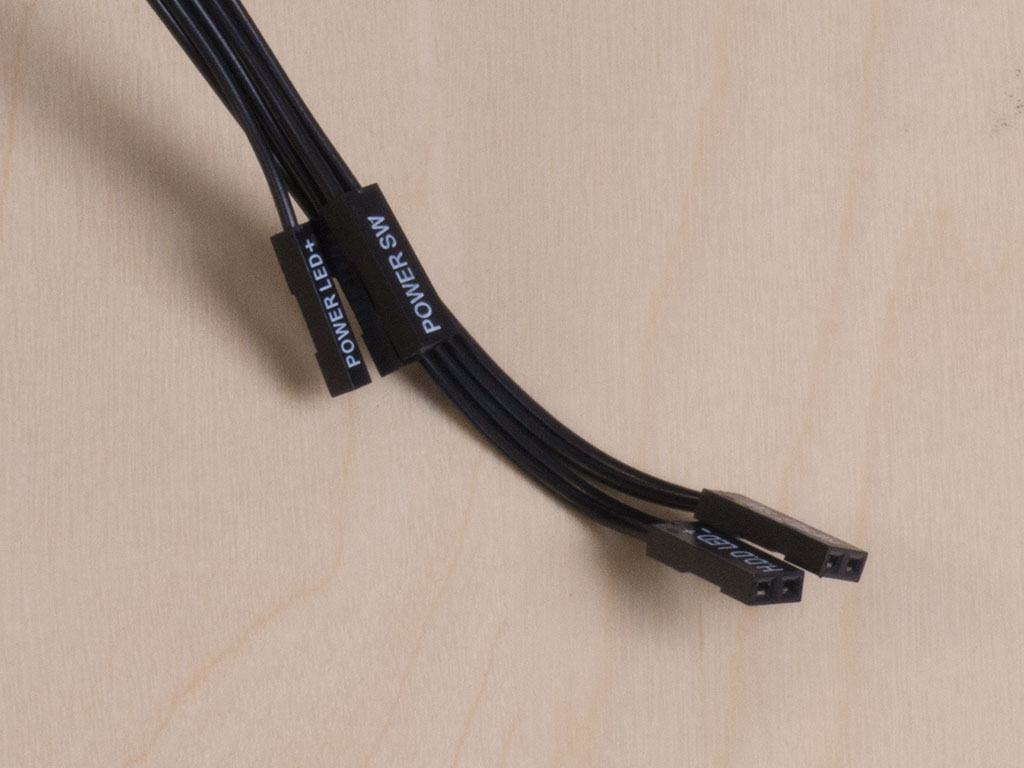
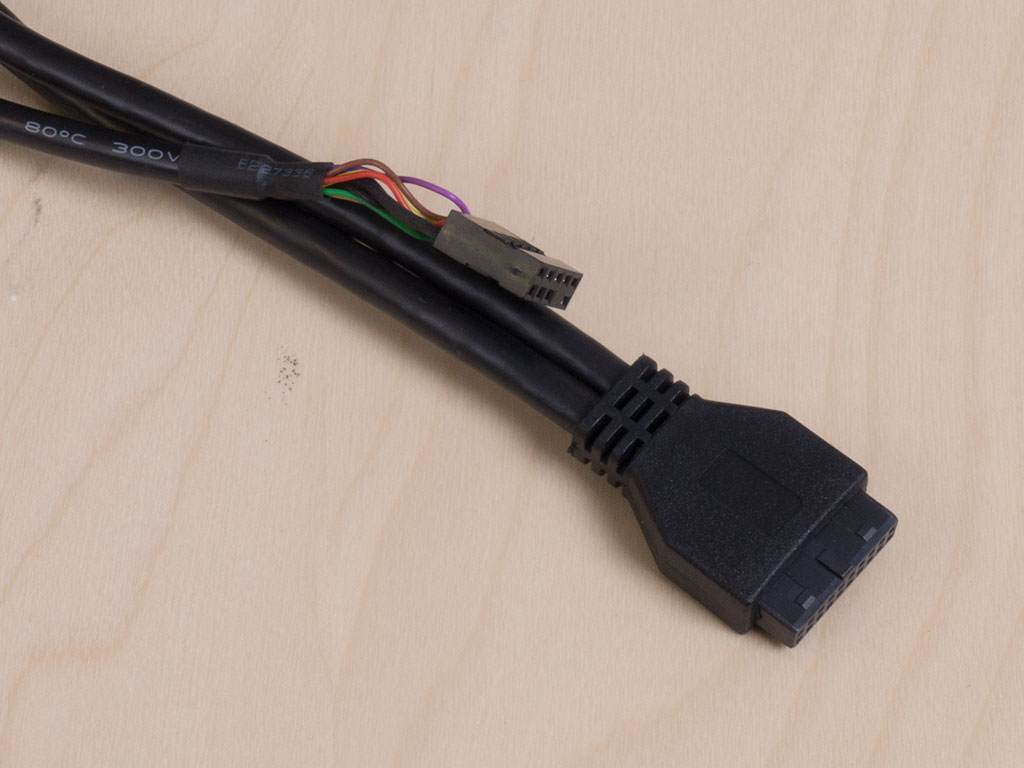
All the cables within the NR600 are of the default variety and completely black.
Apr 10th, 2025 05:46 EDT
change timezone
Latest GPU Drivers
New Forum Posts
- Looking for input on fan placement for my Define R5 (2)
- Will you buy a RTX 5090? (478)
- Downgrading bios on asrock A320 board (1)
- Star Citizen (2515)
- ## [Golden Sample] RTX 5080 – 3300 MHz @ 1.020 V (Stock Curve) – Ultra-Stable & Efficient (45)
- RX 9000 series GPU Owners Club (276)
- random system shutdown with fans running at full speed (17)
- Shadow of the Tomb Raider benchmark (555)
- Do you use Linux? (573)
- [Update] FanControl (and other different monitoring software) blocked by Defender due to Winring0 vulnerability (2)
Popular Reviews
- The Last Of Us Part 2 Performance Benchmark Review - 30 GPUs Compared
- ASRock Z890 Taichi OCF Review
- MCHOSE L7 Pro Review
- Sapphire Radeon RX 9070 XT Pulse Review
- PowerColor Radeon RX 9070 Hellhound Review
- Upcoming Hardware Launches 2025 (Updated Apr 2025)
- Sapphire Radeon RX 9070 XT Nitro+ Review - Beating NVIDIA
- Acer Predator GM9000 2 TB Review
- ASUS GeForce RTX 5080 Astral OC Review
- UPERFECT UStation Delta Max Review - Two Screens In One
Controversial News Posts
- NVIDIA GeForce RTX 5060 Ti 16 GB SKU Likely Launching at $499, According to Supply Chain Leak (174)
- MSI Doesn't Plan Radeon RX 9000 Series GPUs, Skips AMD RDNA 4 Generation Entirely (146)
- Microsoft Introduces Copilot for Gaming (124)
- AMD Radeon RX 9070 XT Reportedly Outperforms RTX 5080 Through Undervolting (119)
- NVIDIA Reportedly Prepares GeForce RTX 5060 and RTX 5060 Ti Unveil Tomorrow (115)
- Nintendo Confirms That Switch 2 Joy-Cons Will Not Utilize Hall Effect Stick Technology (100)
- Over 200,000 Sold Radeon RX 9070 and RX 9070 XT GPUs? AMD Says No Number was Given (100)
- Nintendo Switch 2 Launches June 5 at $449.99 with New Hardware and Games (99)