 12
12
Cooler Master Masterbox TD500 Mesh Review - Airflow for the Masses
Temperature & Noise Testing »Test System
| System Parts for Case Reviews | |
|---|---|
| Processor: | Intel Core i5-9600K |
| Motherboards: | ATX: MSI Z390 GAMING EDGE AC MATX: Z370M GAMING EDGE AC Mini-ITX: MSI Z370I GAMING EDGE AC Provided by: MSI |
| Graphics Card: | ATX/mATX: Palit GeForce RTX 2080 Gaming Pro OC ITX: EVGA GTX 1650 SC Ultra Black 4 GB |
| Memory: | 16 GB XPG GAMMIX D30 DDR4 2666 MHz CL16-18-18 1.20 V 16 GB XPG SPECTRIX D60G DDR4 3000 MHz CL16-18-18 1.35 V Provided by: ADATA |
| HDD: | Western Digital 320 GB 7200 RPM |
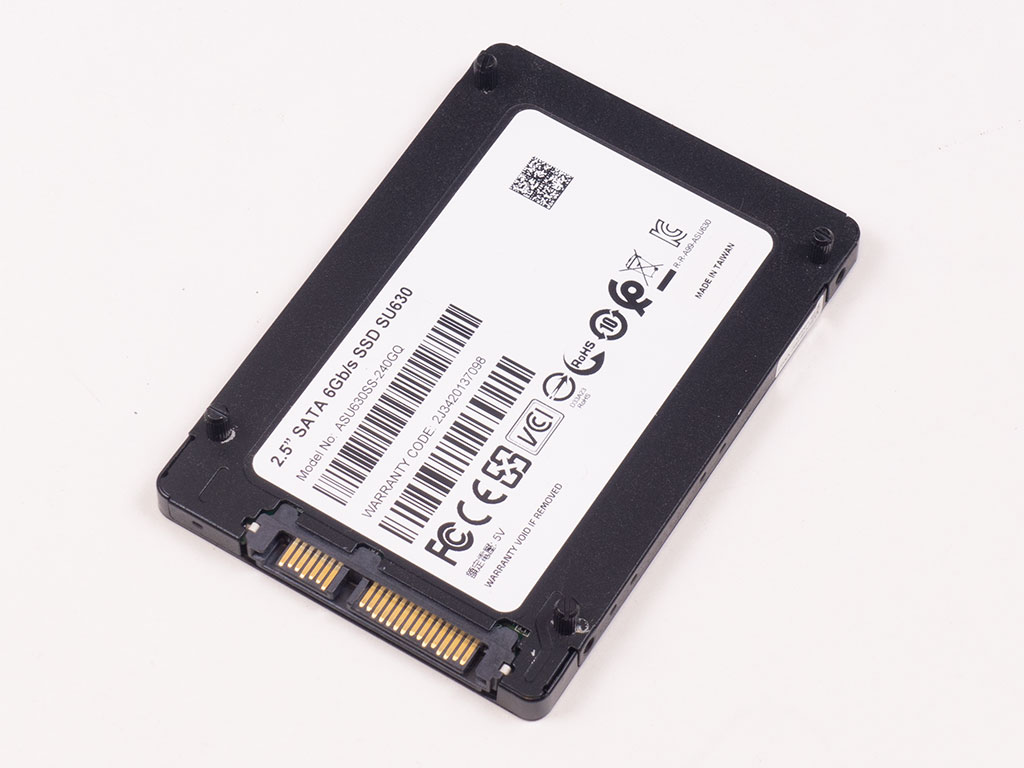
| SSD: | ITX: ADATA SX6000 Pro M.2 256 GB mATX: ADATA GAMMIX S11 Pro M.2 256 GB ATX: ADATA SPECTRIX S40G M.2 256 GB ADATA XPG SX850 256 GB ADATA Ultimate SU630 240 GB ADATA Ultimate SU750 256 GB Provided by: ADATA |
| Power Supply: | Fractal Design ION+ 750W 80 Plus Platinum |
| Cooling: | be quiet! Dark Rock 4 be quiet! Dark Rock Slim be quiet! Shadow Rock LP Provided by: be quiet! |
Assembly
Installing the motherboard takes classic screws. The bottom edge of the board doesn't leave much of a gap, which makes the routing holes in the shroud quite important for cable management.
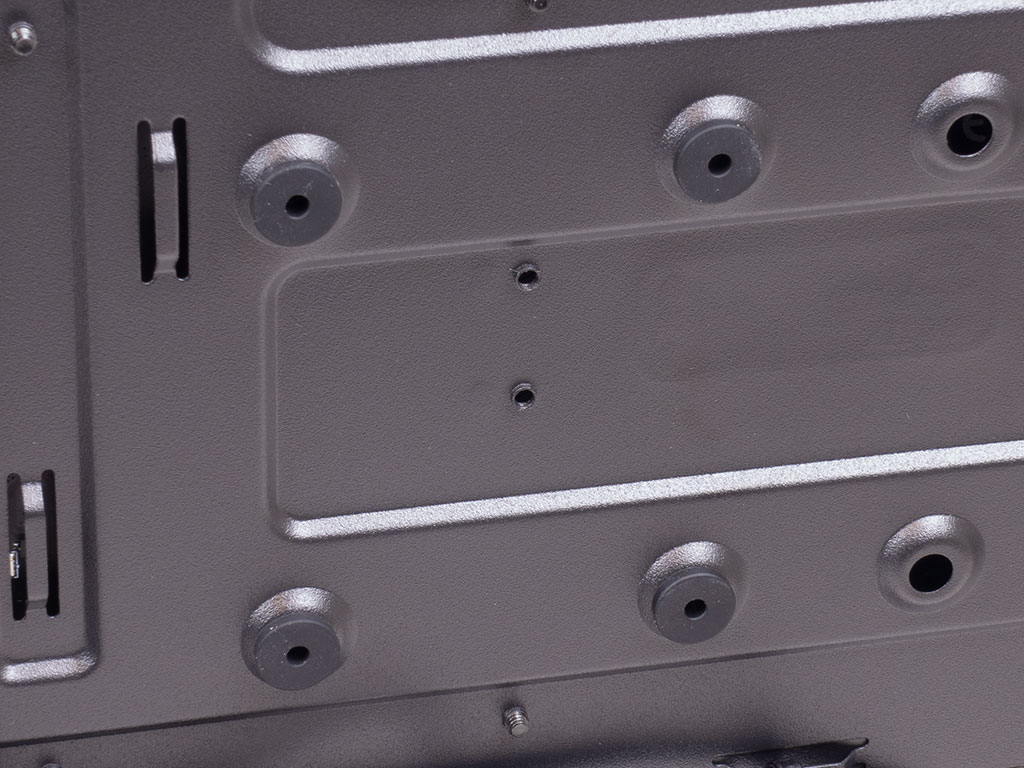
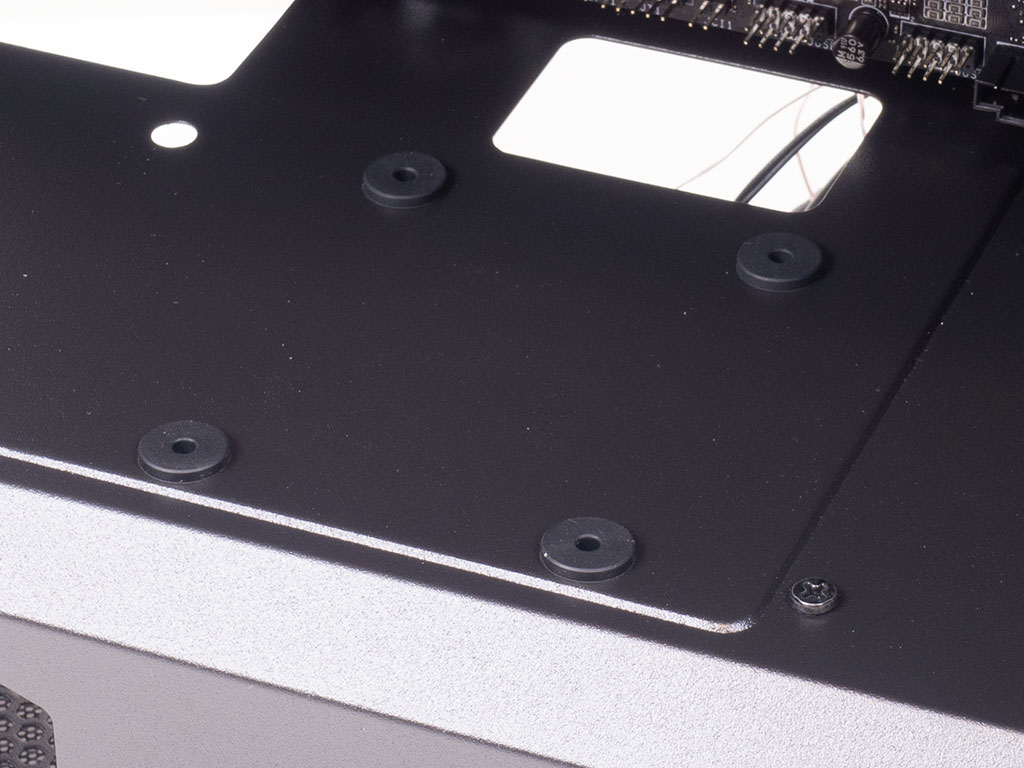
As mentioned previously, you may install 2.5" drives on either the shroud or out of sight behind the motherboard by placing rubber rings where appropriate. The drives are then pushed into them with the metal pins that are screwed into the SSD housing.
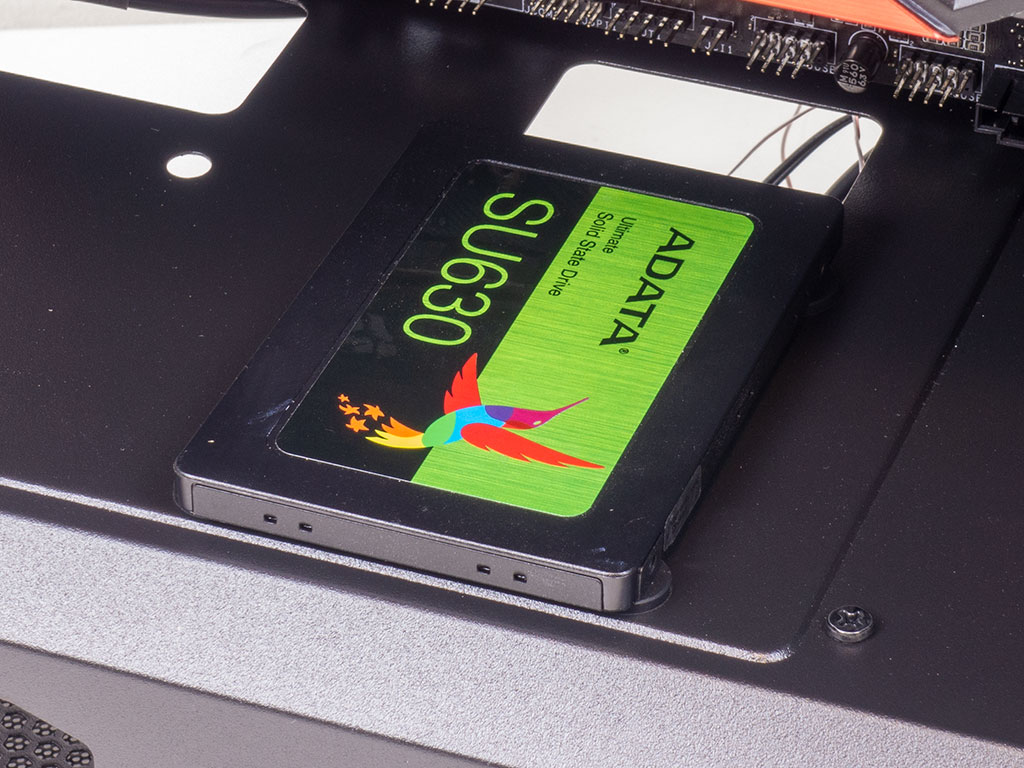
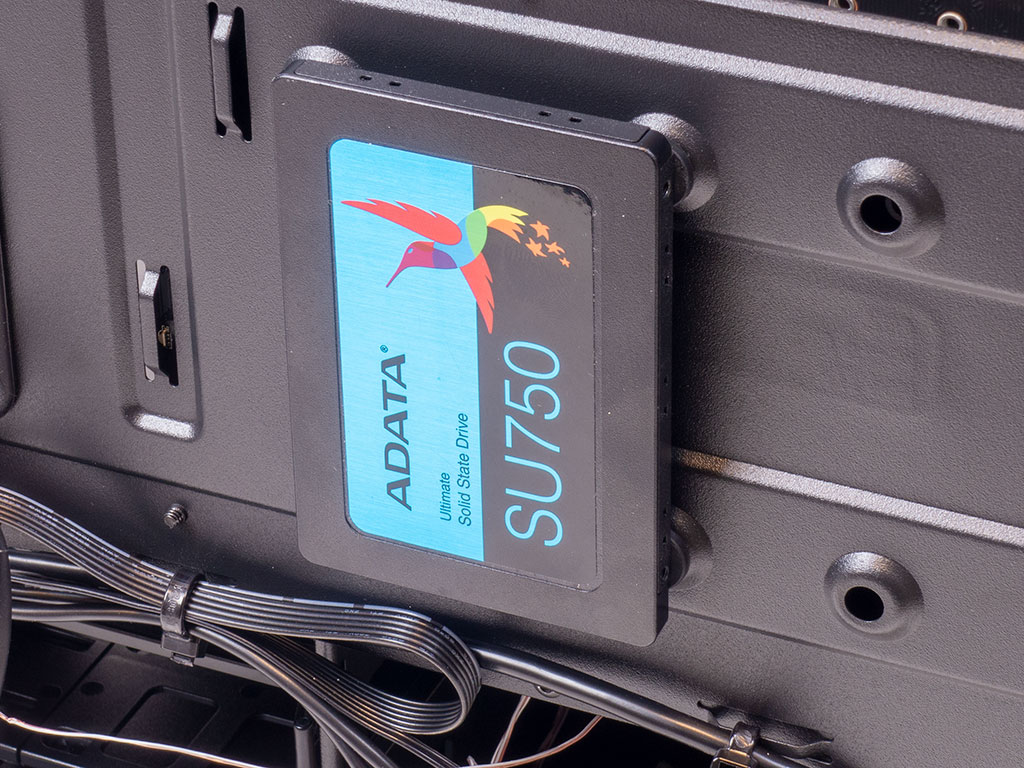
This is simple but actually works quite well. Again, eight more of each of these pieces would mean you could have two more drives within your system!
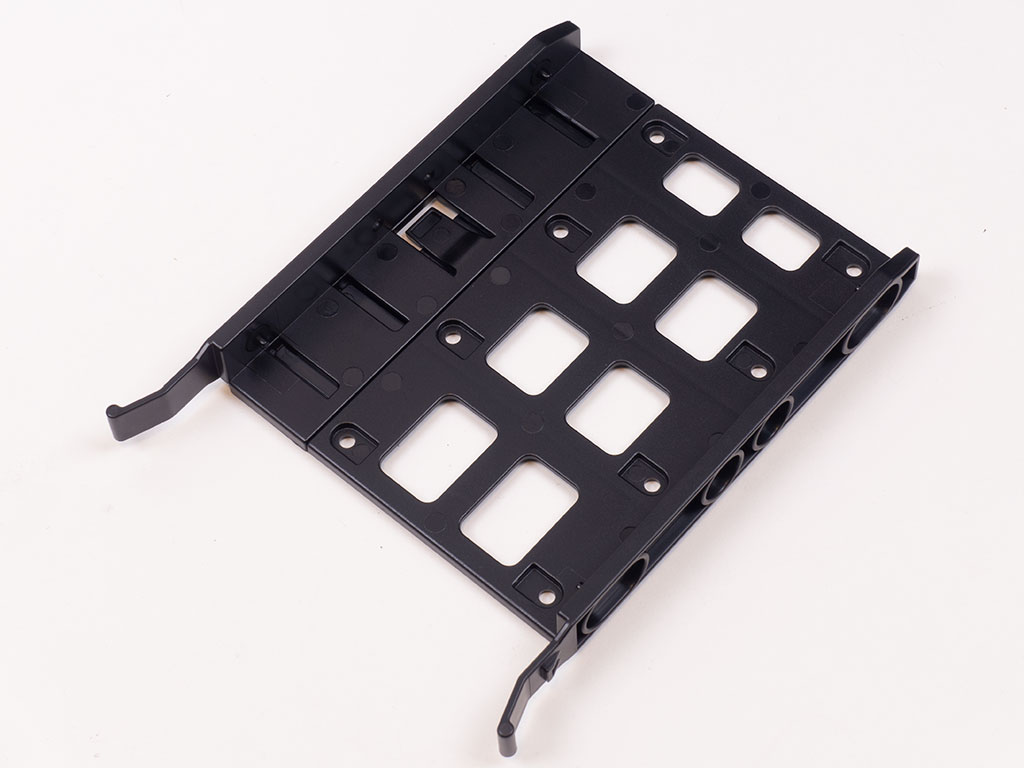
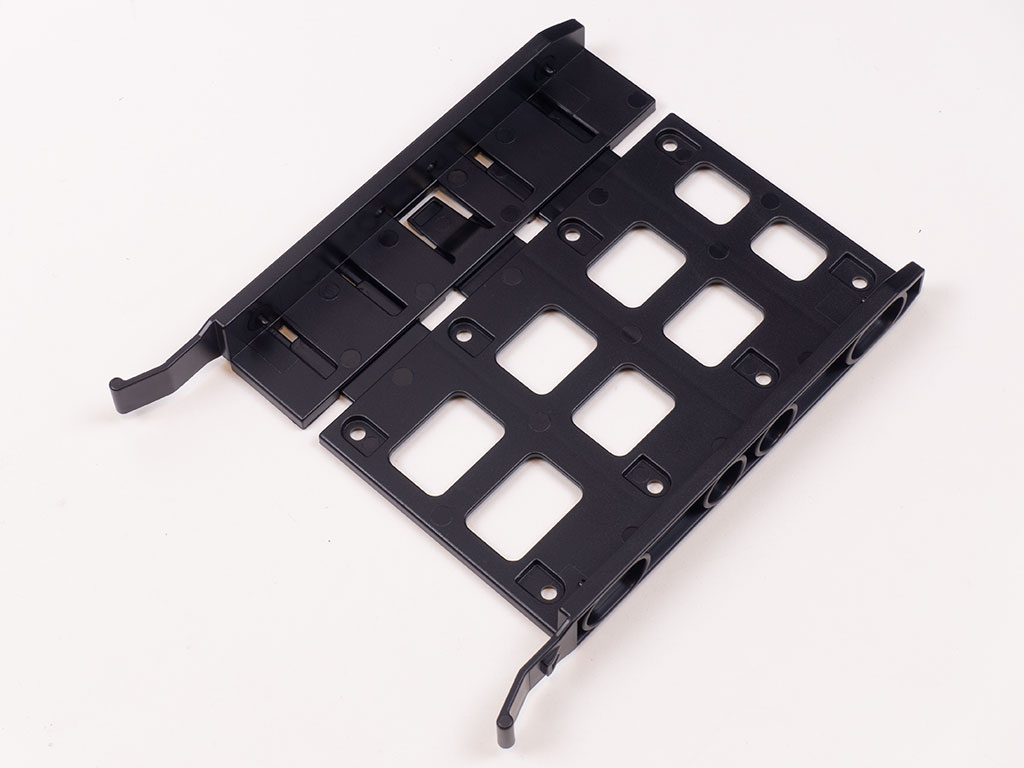

The 3.5" drive trays may also hold SSDs, but if you want to install a traditional storage drive, you may just pull it apart, place the drive into it, and squeeze it back together, which has the plastic pins secure the whole drive nicely.

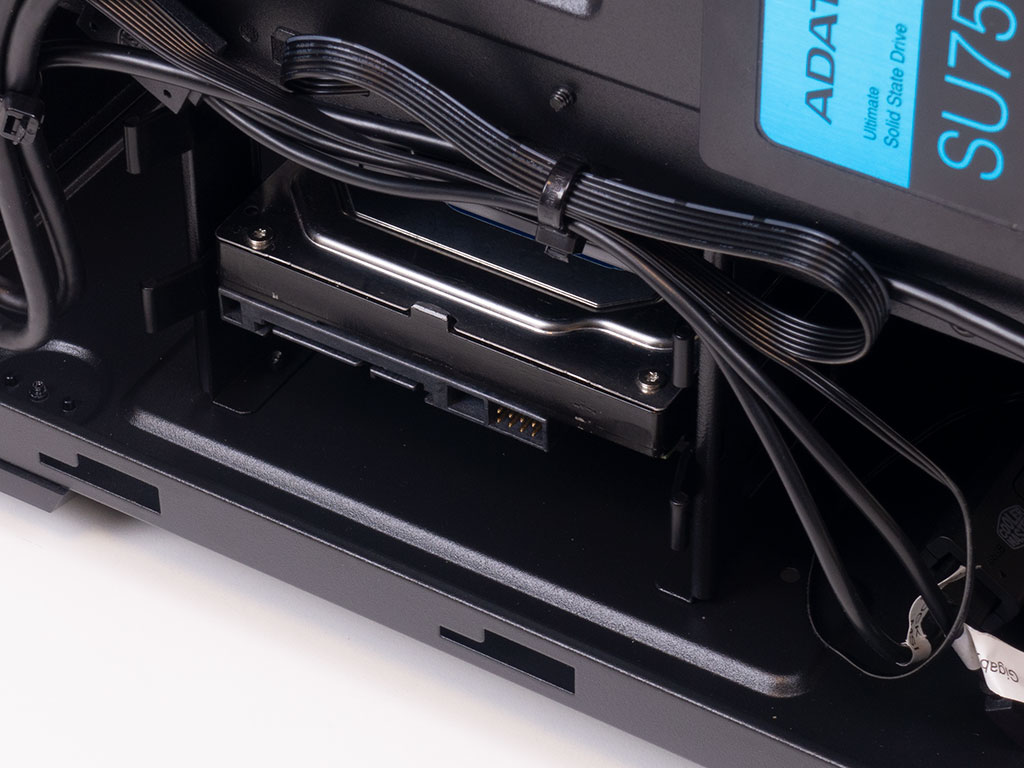
Lastly, simply slide the filled tray into place until it snaps down to hold everything within the metal cage.

Adding a power supply simply means sliding it through the side underneath the shroud and securing it in place with four screws.

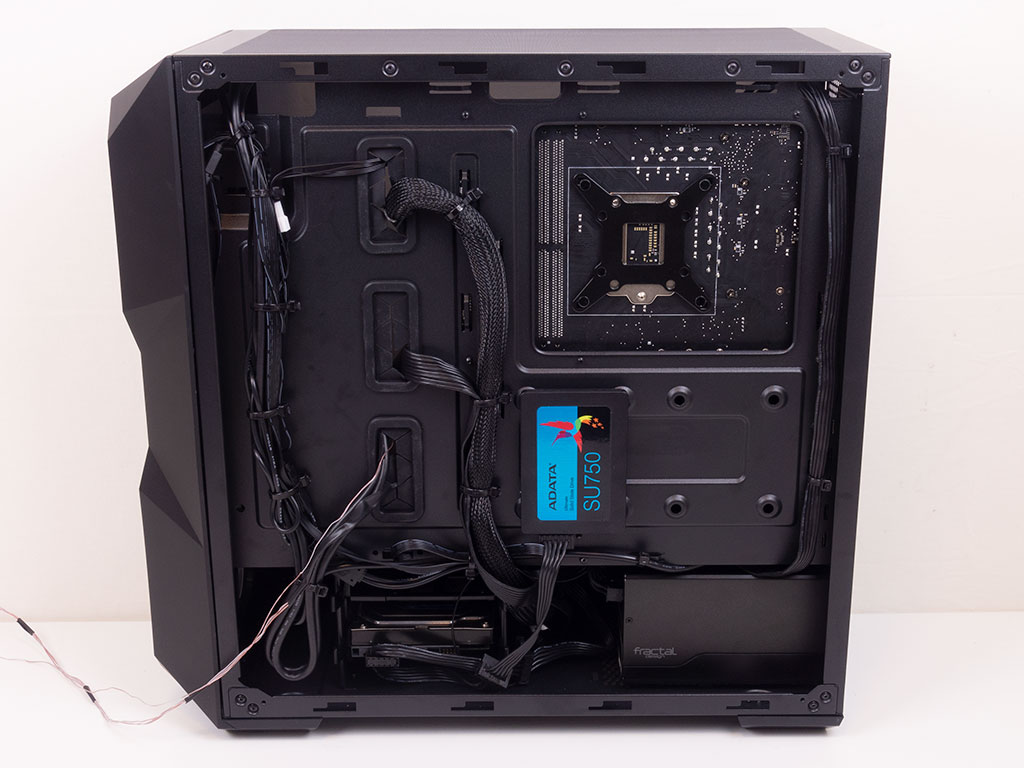
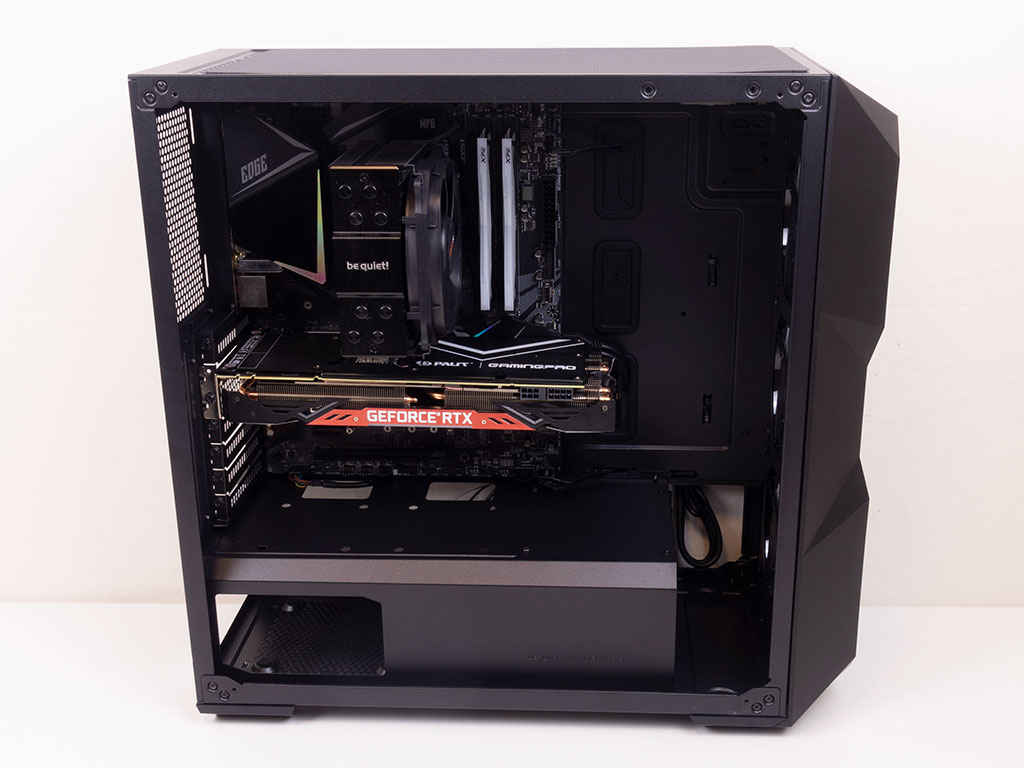
With everything installed, the Cooler Master TD500 Mesh makes a great, clean impression because of well-placed grommets. On top of that, the thoughtful zip-tie hooks on the motherboard tray allow for clean cable-routing behind the scenes as well.
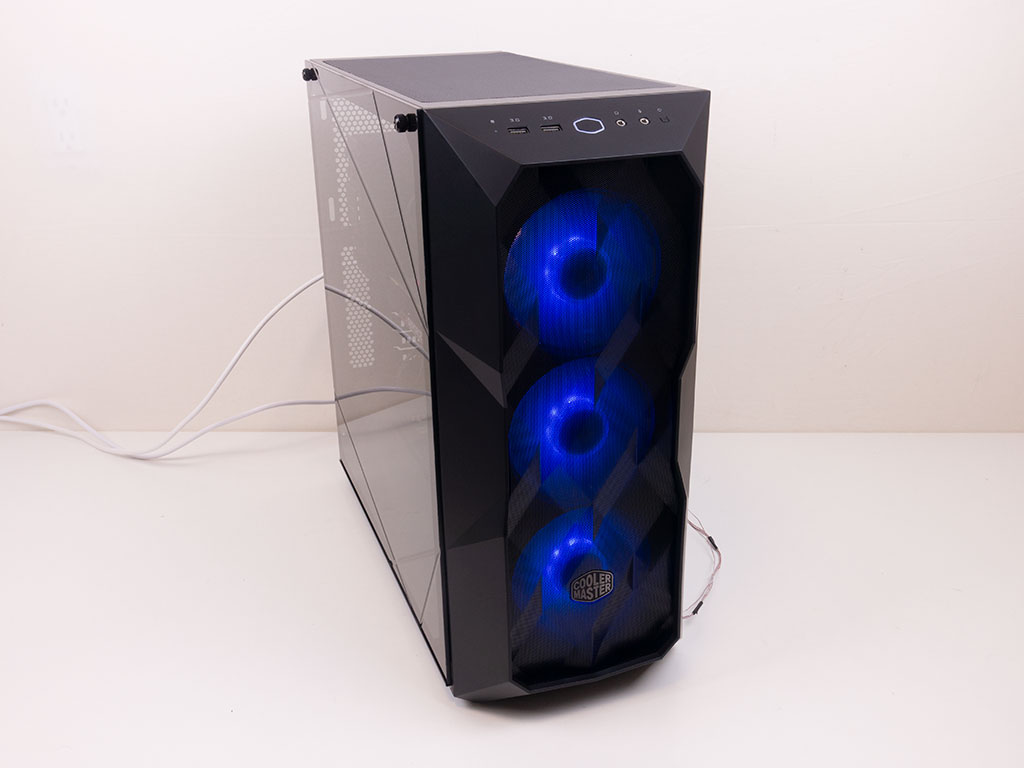
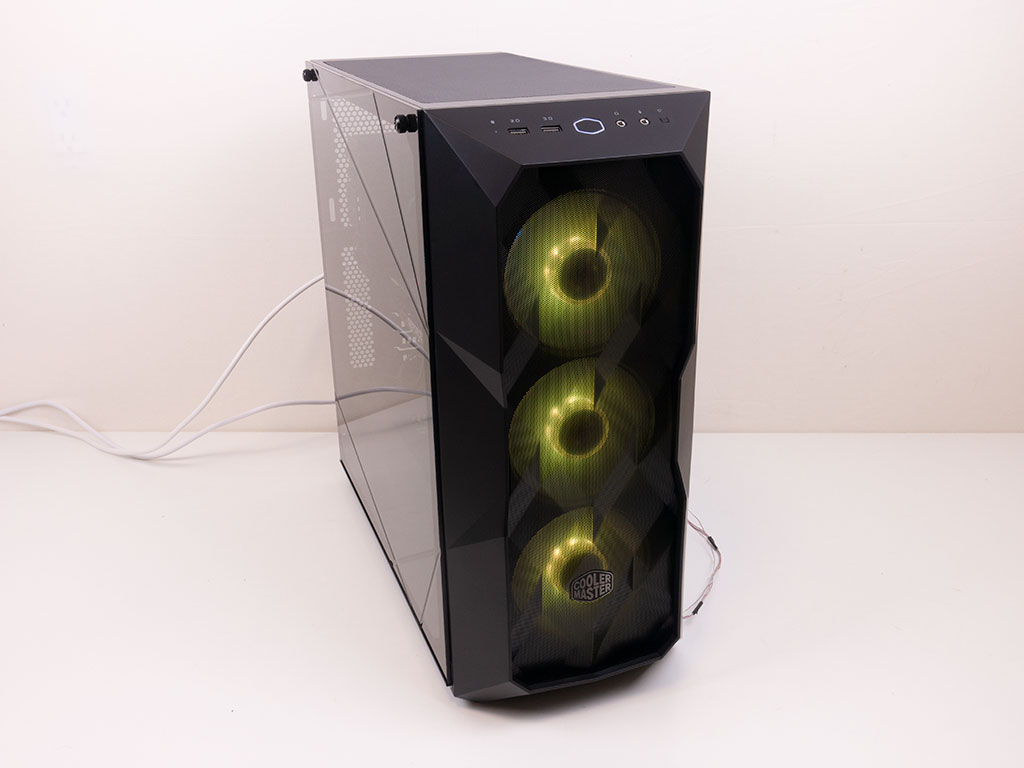
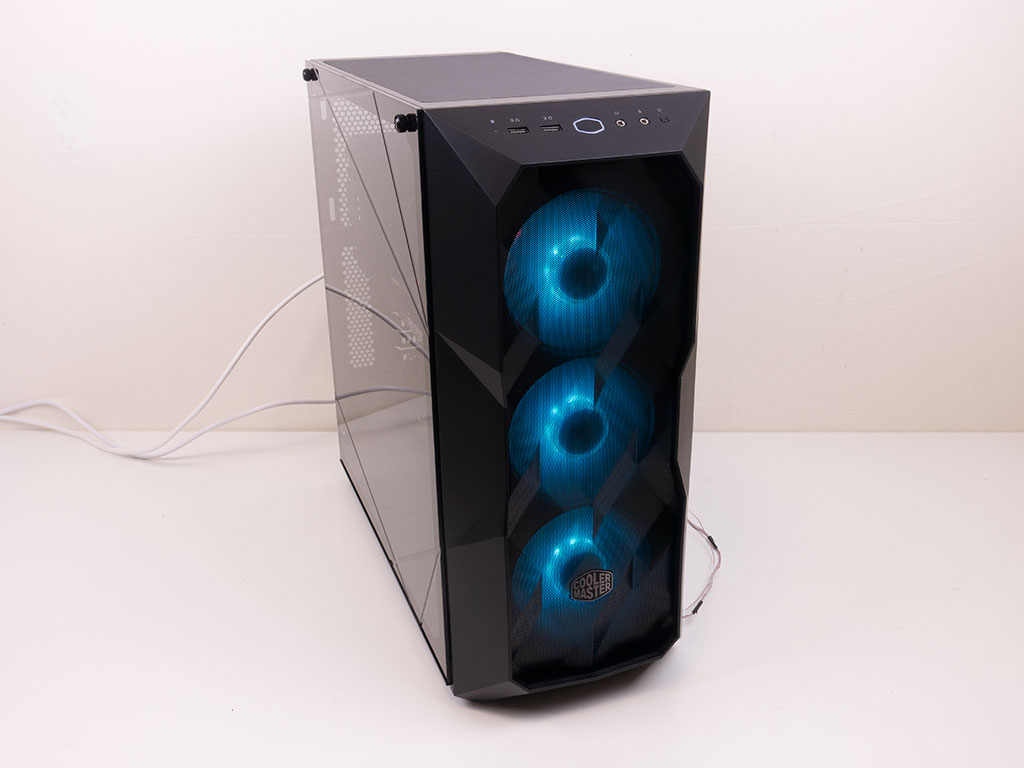
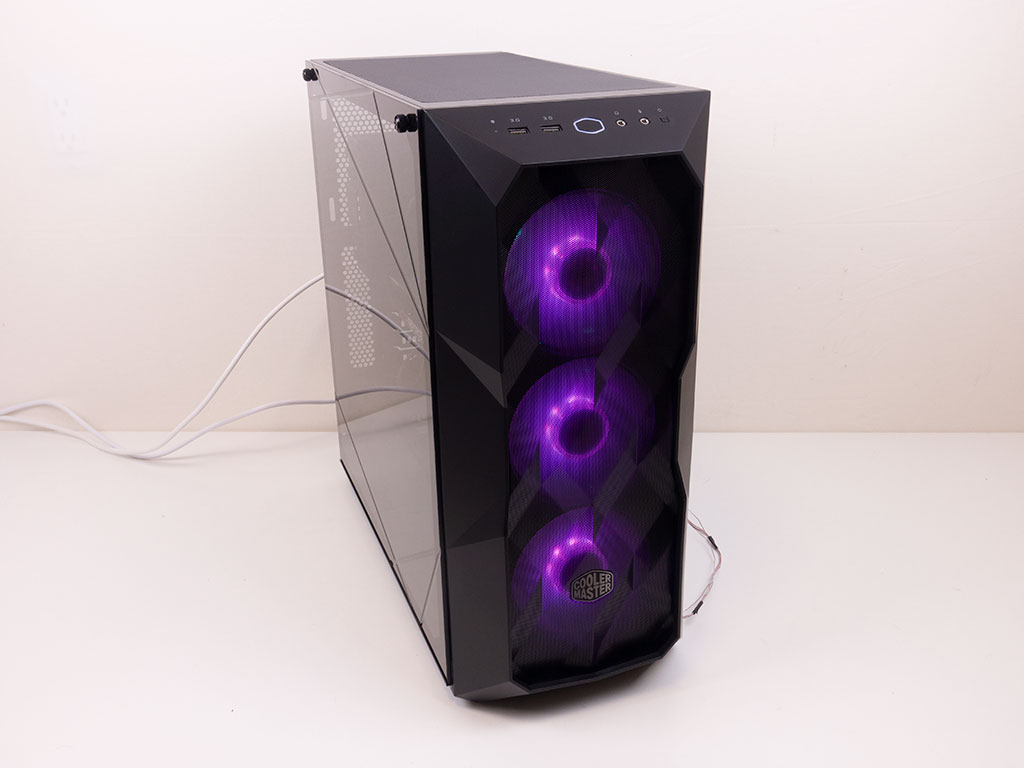
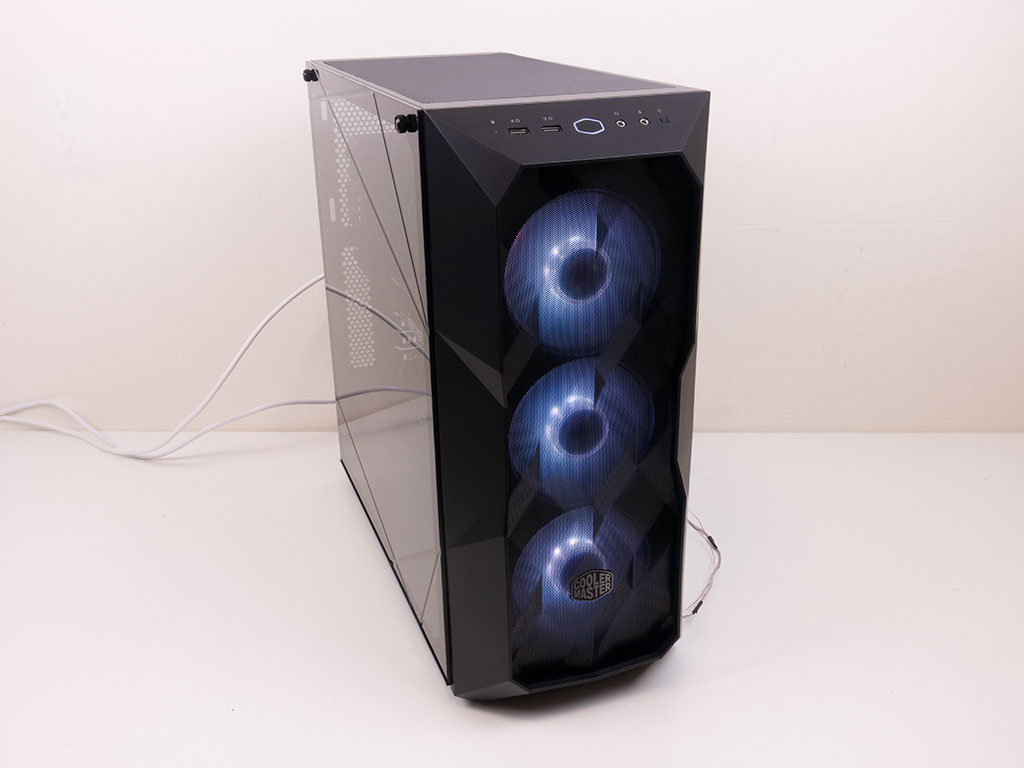
Finished Looks
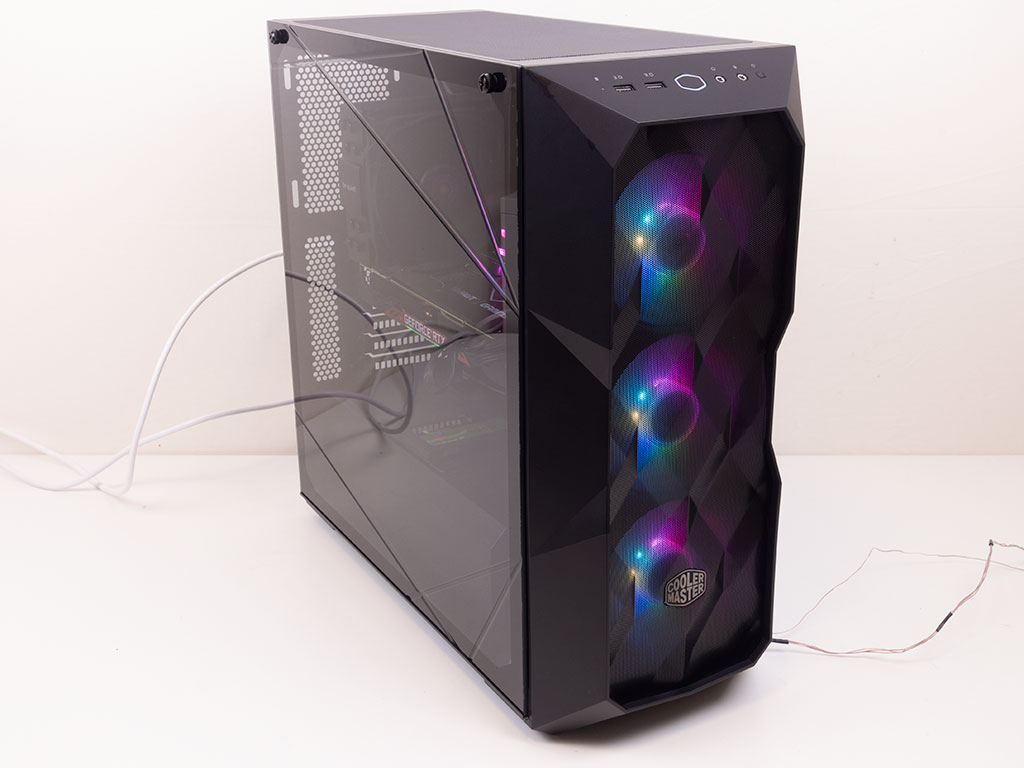
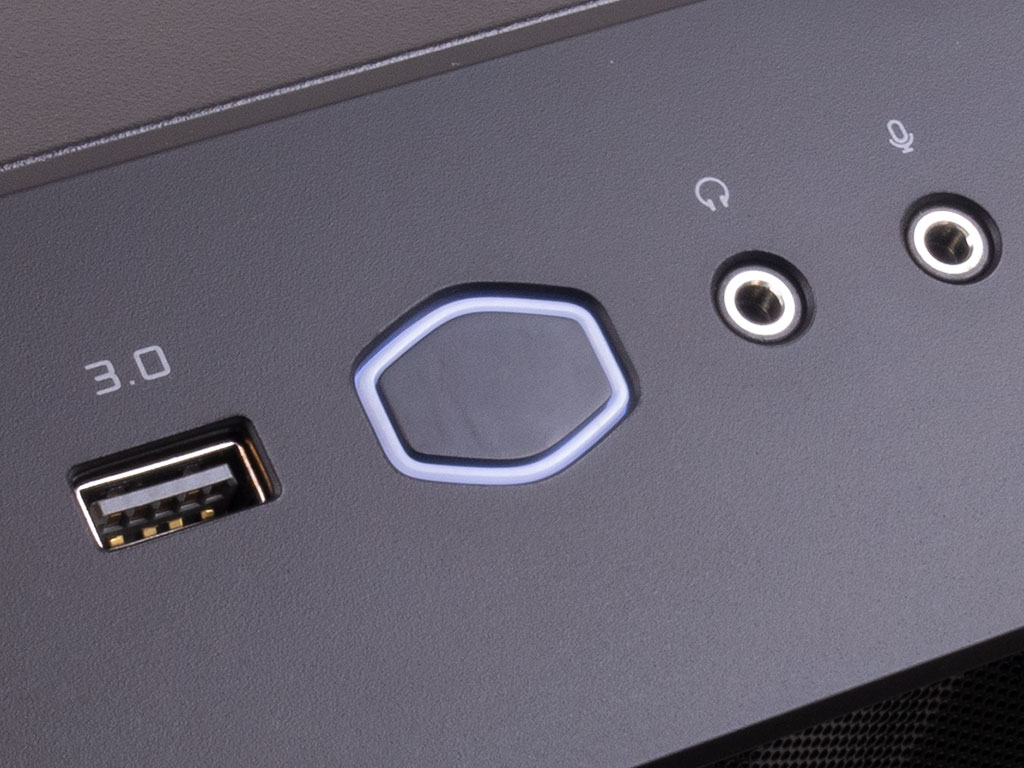
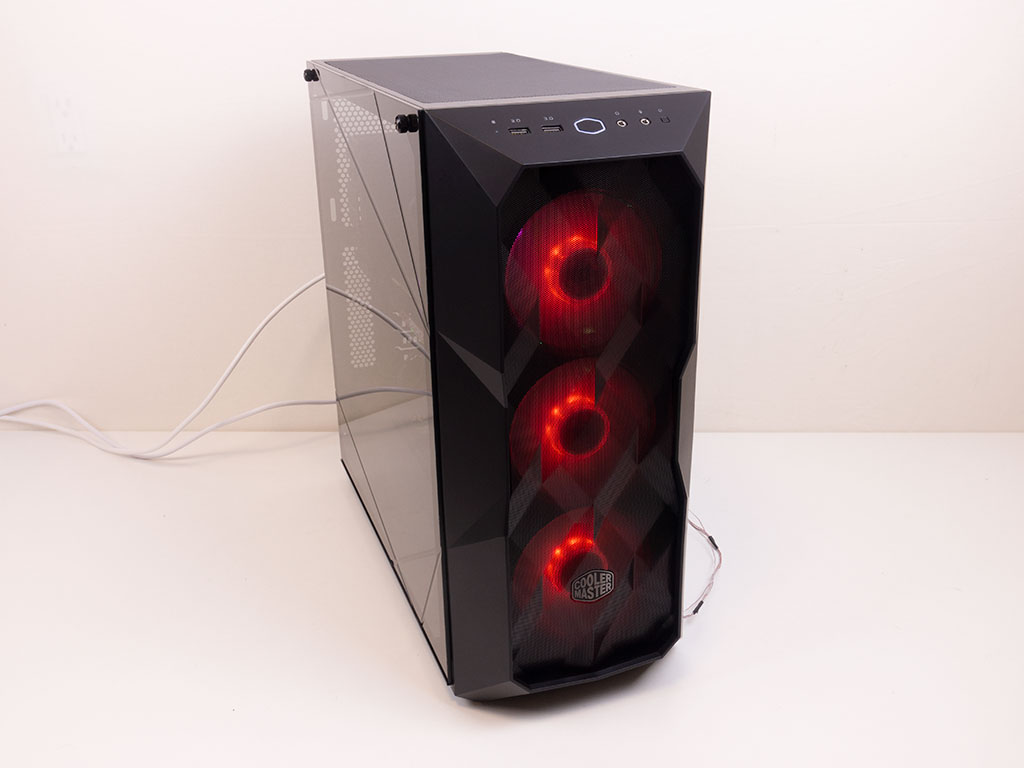
Once the side panels are back in place and the system is turned on, you will see a while LED light up around the power switch. The RGB fans in the front emit a nice, gentle glow because of the hub-mounted LEDs.
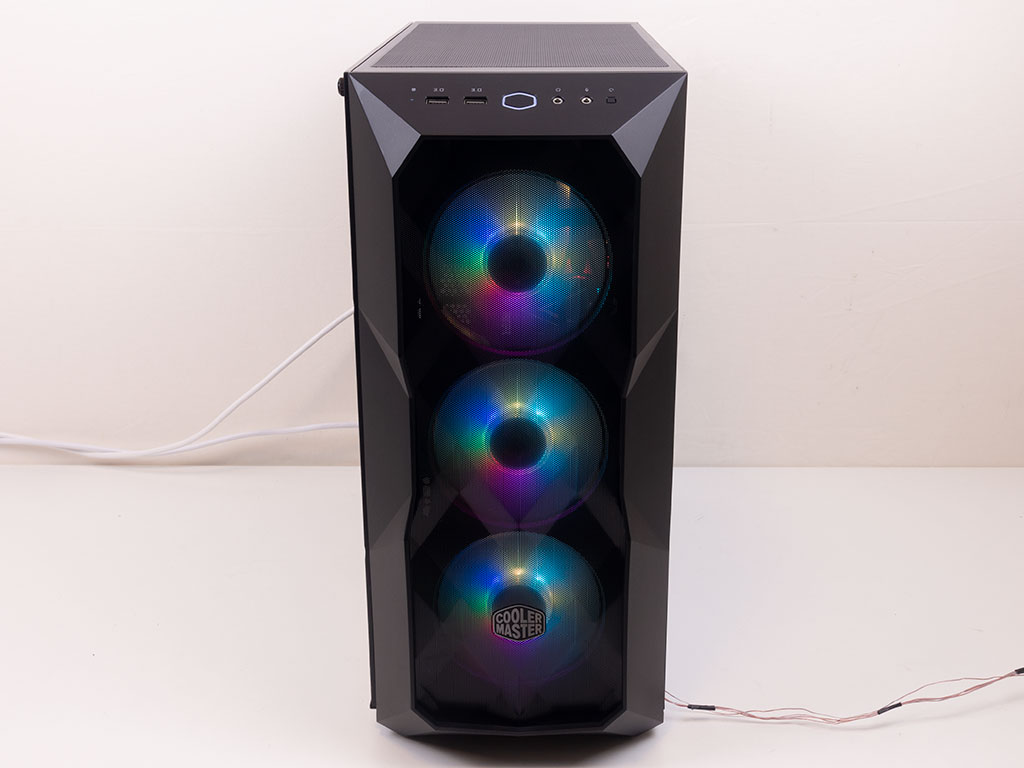
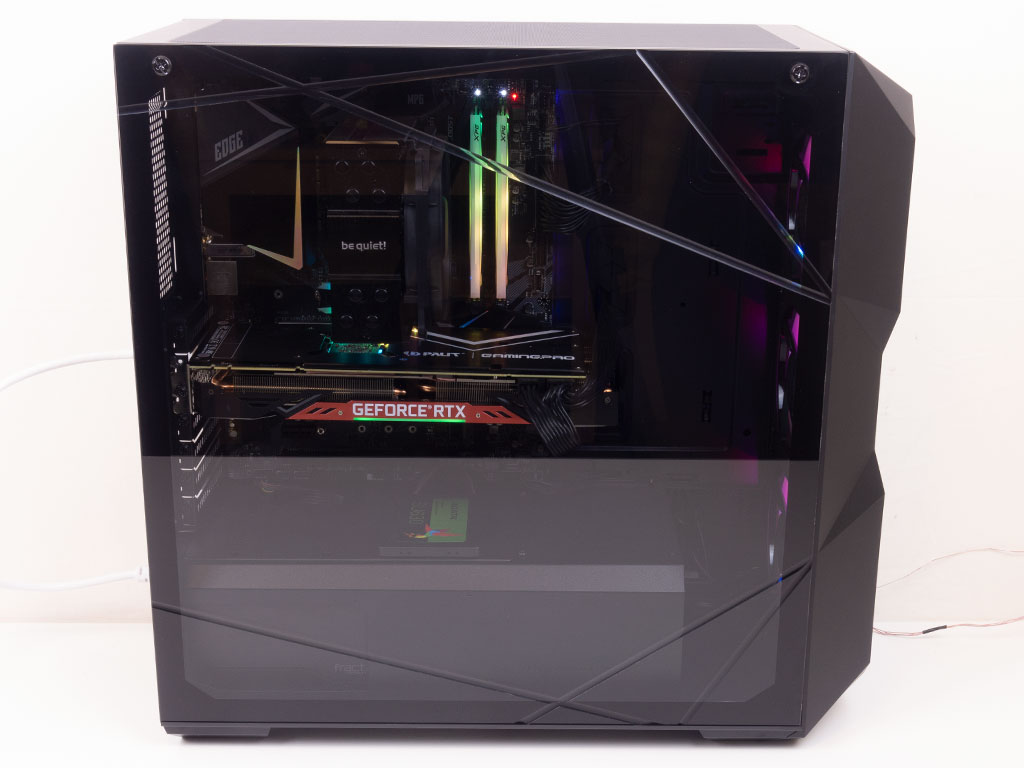
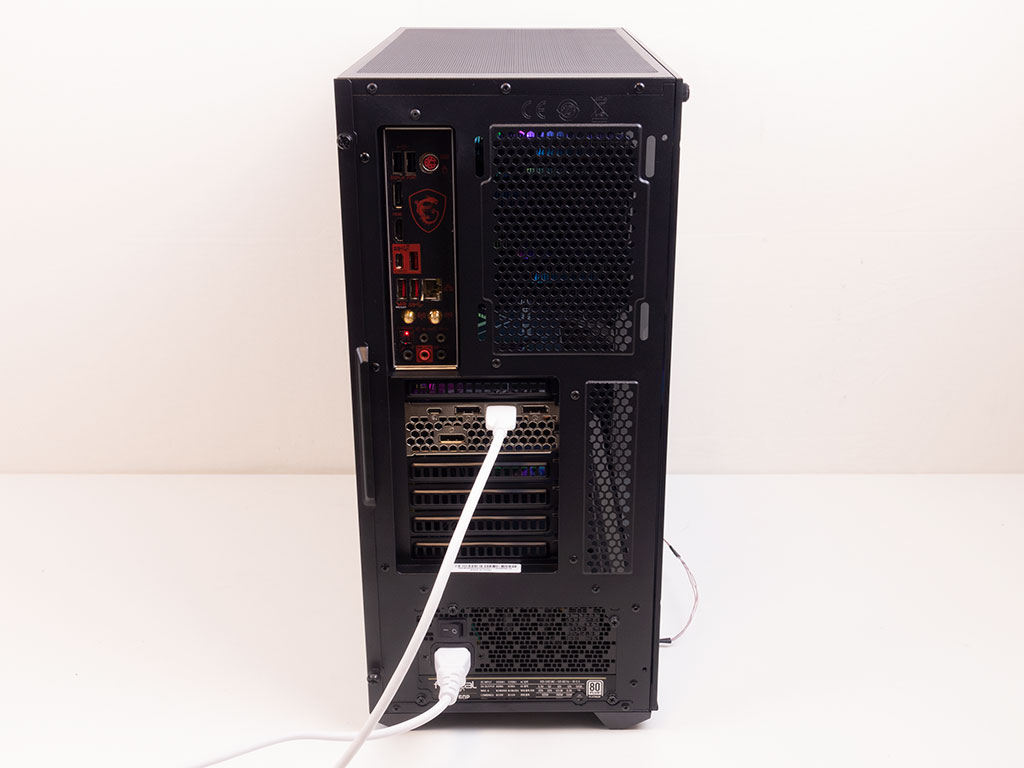
From a visual perspective, the Cooler Master TD500 Mesh is a beautiful chassis with the fans and mesh in the front and the "sliced" glass on the side of the chassis. Naturally, the rear looks pretty traditional—no surprises there.
You may also cycle through various color modes, but interestingly enough, the controller doesn't allow you to trigger a solid color. The closest I could get was a gentle pulsating of a single hue. Naturally, controlling the RGB elements through the motherboard will give you all the usual flexibility.

Jan 20th, 2025 14:03 EST
change timezone
Latest GPU Drivers
New Forum Posts
- i have beeping issues in my geraphic card (1long beep and 3 short beep) (46)
- Asus Proart PA602 Compatibility with Corsair RM1200X Shift (16)
- Slot for a TPM module (0)
- Very inconsistent frames (10)
- Cryptocoin Value and Market Trend Discussion (1578)
- ThrottleStop 9.7 - V/F Point (3)
- RX580 not stable... (8)
- Game of the year 2024 (86)
- What's your latest tech purchase? (22921)
- for those who think 12gb vram can max out everything (116)
Popular Reviews
- Fosi Audio K7 Gaming Desktop DAC/Headphone Amplifier Review
- NVIDIA GeForce RTX 50 Technical Deep Dive
- ASRock Arc B570 Challenger OC Review
- NVIDIA GeForce RTX 5090 Founders Edition Unboxing
- Montech Heritage Pro Review - The Leather Case
- Sparkle B570 Guardian OC Review
- AMD Ryzen 7 9800X3D Review - The Best Gaming Processor
- be quiet! Light Loop 360 mm AIO Review
- G-Wolves Hati-S2 8K Review
- NZXT C1500 Review
Controversial News Posts
- NVIDIA 2025 International CES Keynote: Liveblog (468)
- AMD Debuts Radeon RX 9070 XT and RX 9070 Powered by RDNA 4, and FSR 4 (349)
- NVIDIA GeForce RTX 5090 Features 575 W TDP, RTX 5080 Carries 360 W TDP (217)
- AMD Radeon RX 9070 XT & RX 9070 Custom Models In Stock at European Stores (214)
- AMD Radeon RX 9070 XT Alleged Benchmark Leaks, Underwhelming Performance (204)
- Potential RTX 5090 and RTX 5080 Pricing in China Leaks (173)
- AMD Radeon RX 9070 XT Tested in Cyberpunk 2077 and Black Myth: Wukong (169)
- AMD Radeon RX 9070 XT Boosts up to 3.10 GHz, Board Power Can Reach up to 330W (167)