 6
6
Cooler Master Mastercase H500M Review
Assembly & Finished Looks »A Closer Look - Inside


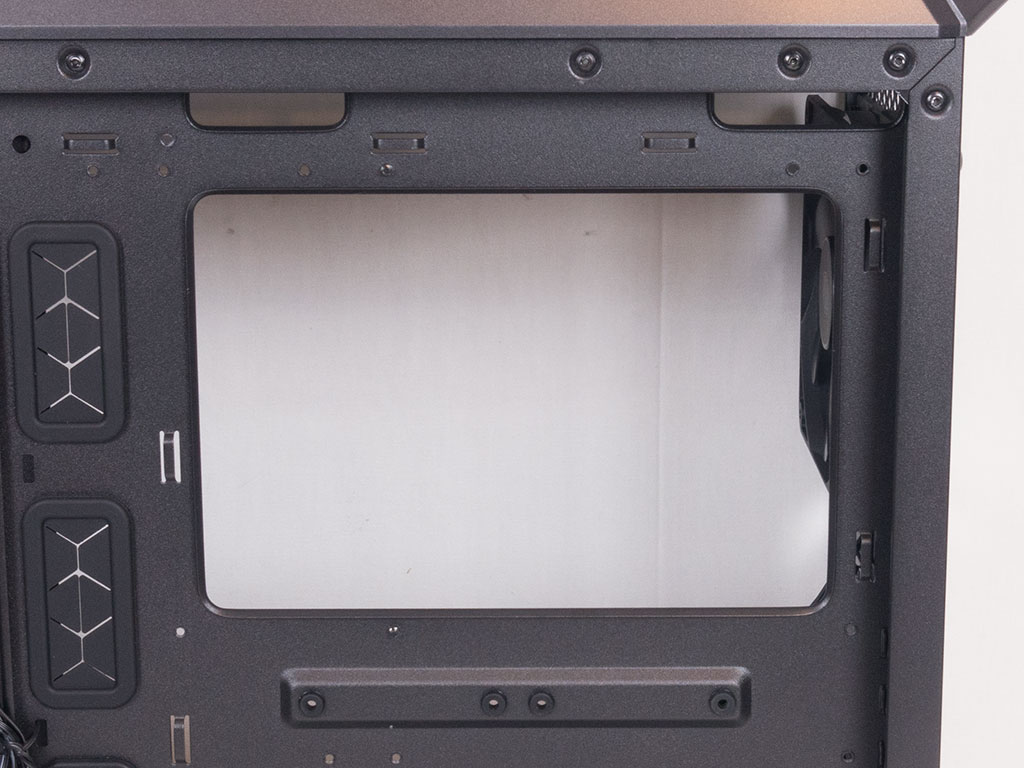
To gain access to the interior, simply turn the silver screws to allow for the glass panels to be removed. Looking into the Mastercase H500M, some design elements remind us of the P variant, but it quickly becomes apparent that the plastic shroud is gone, replaced by a metal one. On top of that, there is a third cover behind the motherboard tray to ensure the cleanest possible look. This is certainly necessary as you have that glass panel on this side as well. The only exposed elements are two 2.5" drive bays, perfect for showing off your cool SSDs.
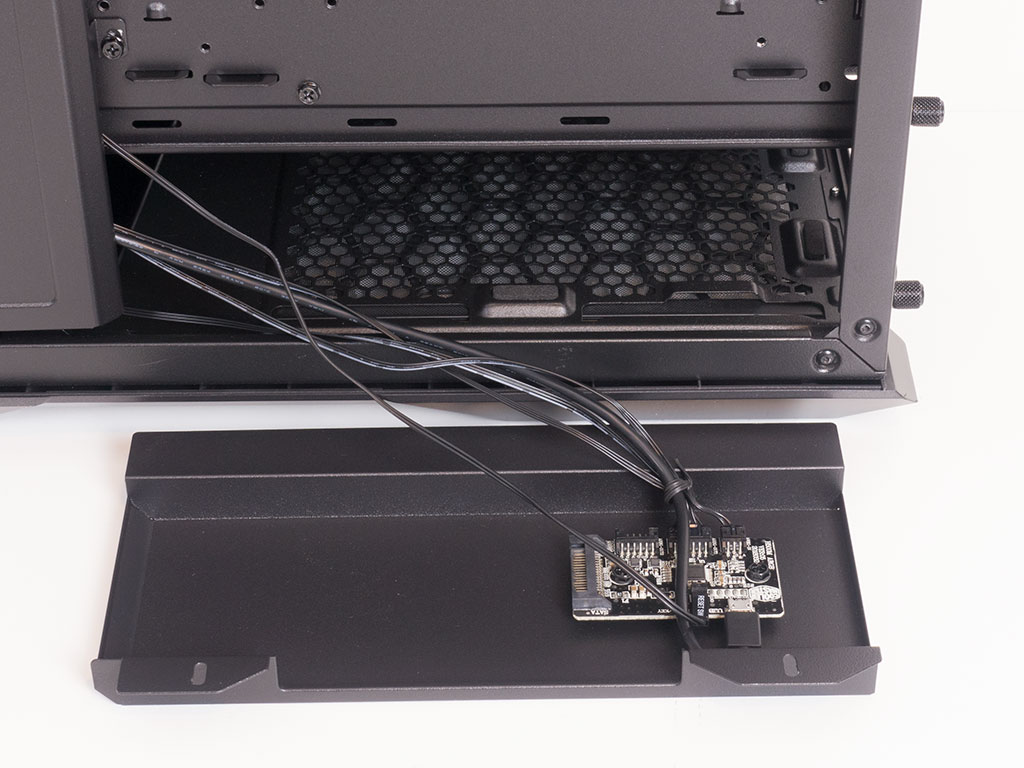
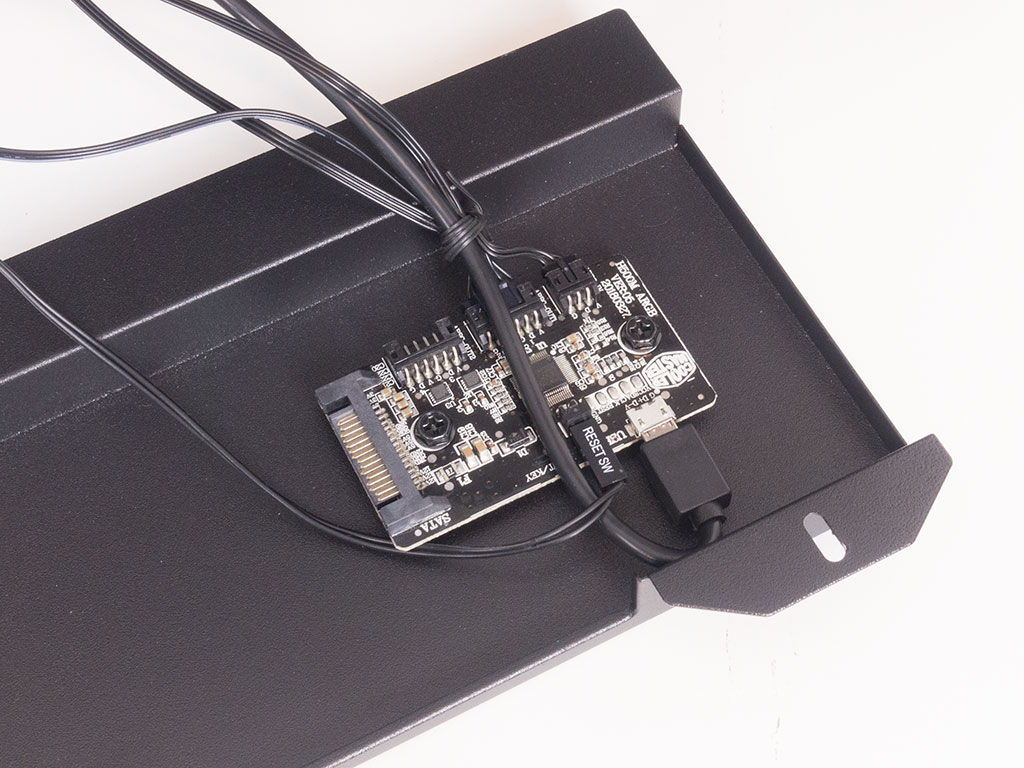
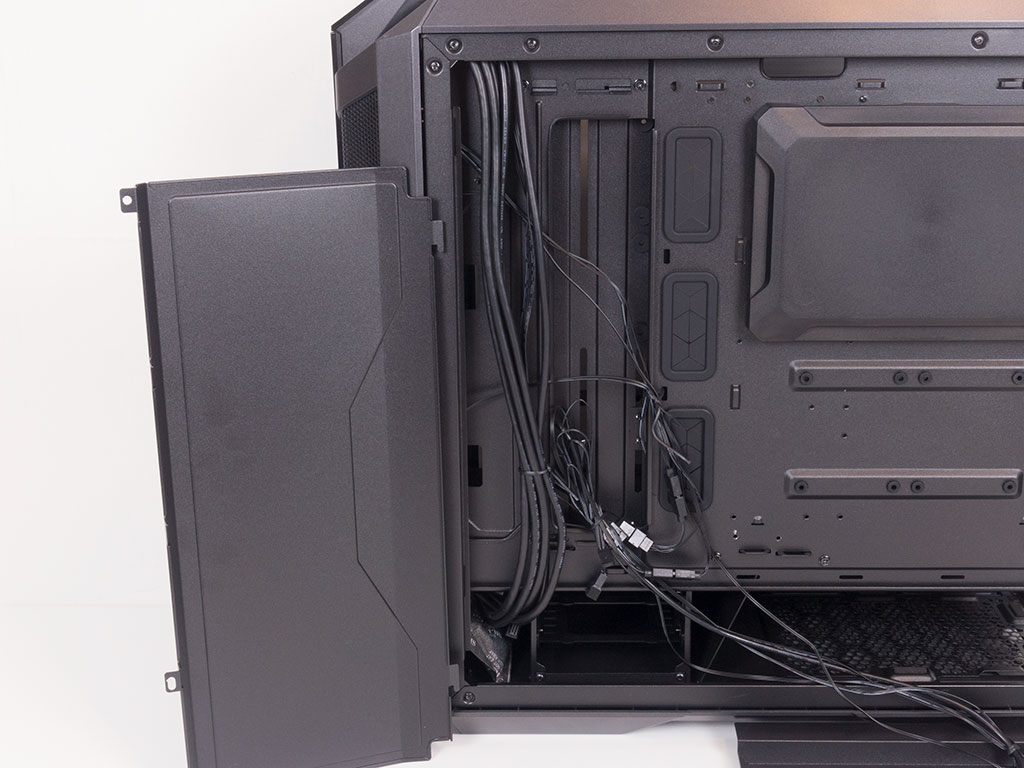
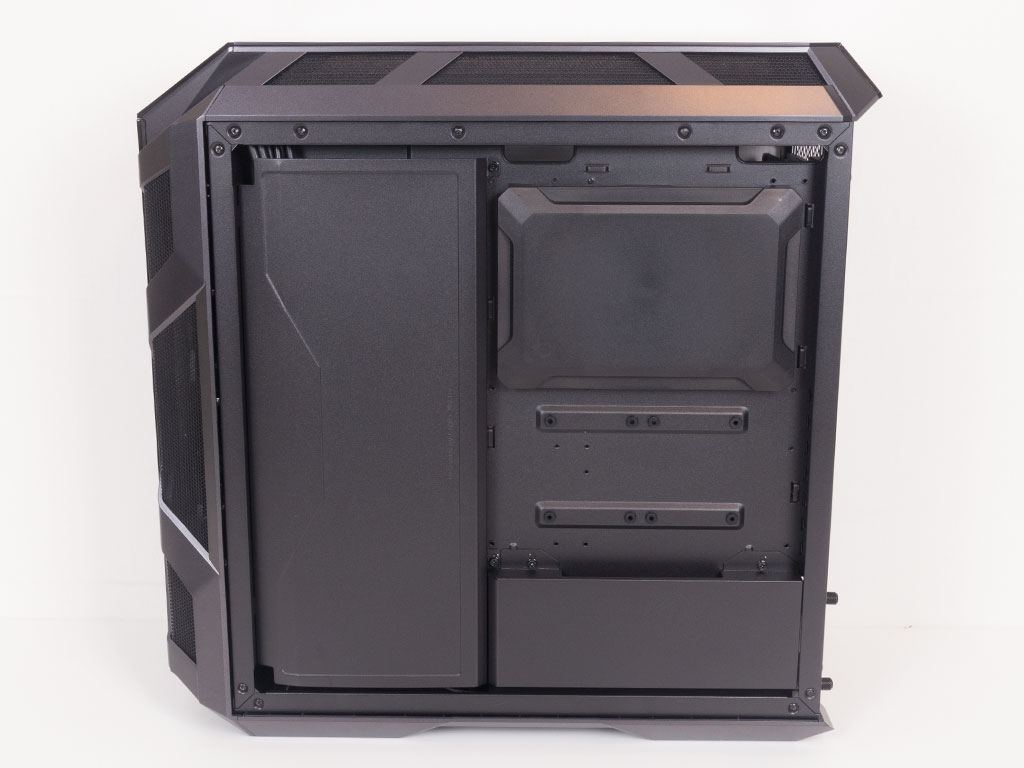
The smallest panel on the bottom hides the PSU bay. Here, Cooler Master has also placed a PCB that controls the color of the fans or any other RGB elements you may want to add thanks to the use of standard 4-pin connectors. It is powered by a SATA connector, and a USB 2.0 plug allows you to adjust the color settings within Windows as well. Cooler Master simply utilizes the reset button of the chassis as a toggle switch by default. The second panel covers the front half of this side of the chassis and will effectively hide all the cables that run to the motherboard. Last but not least, a cover for the CPU cooler's underside is also present—just like with the H500P.
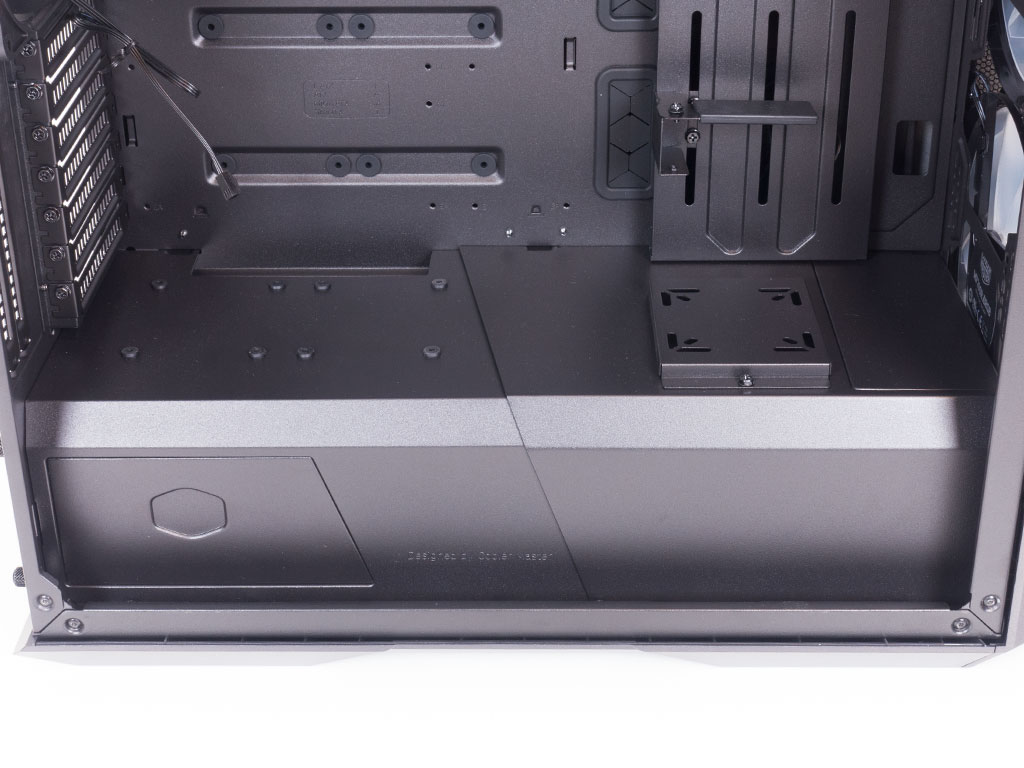
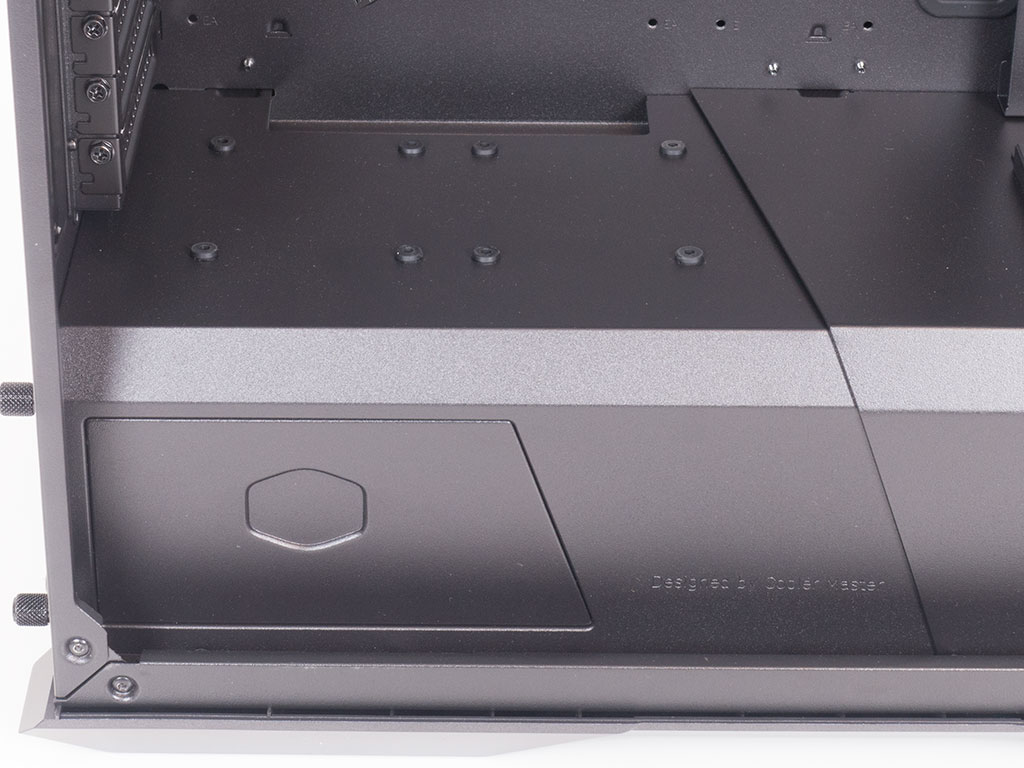
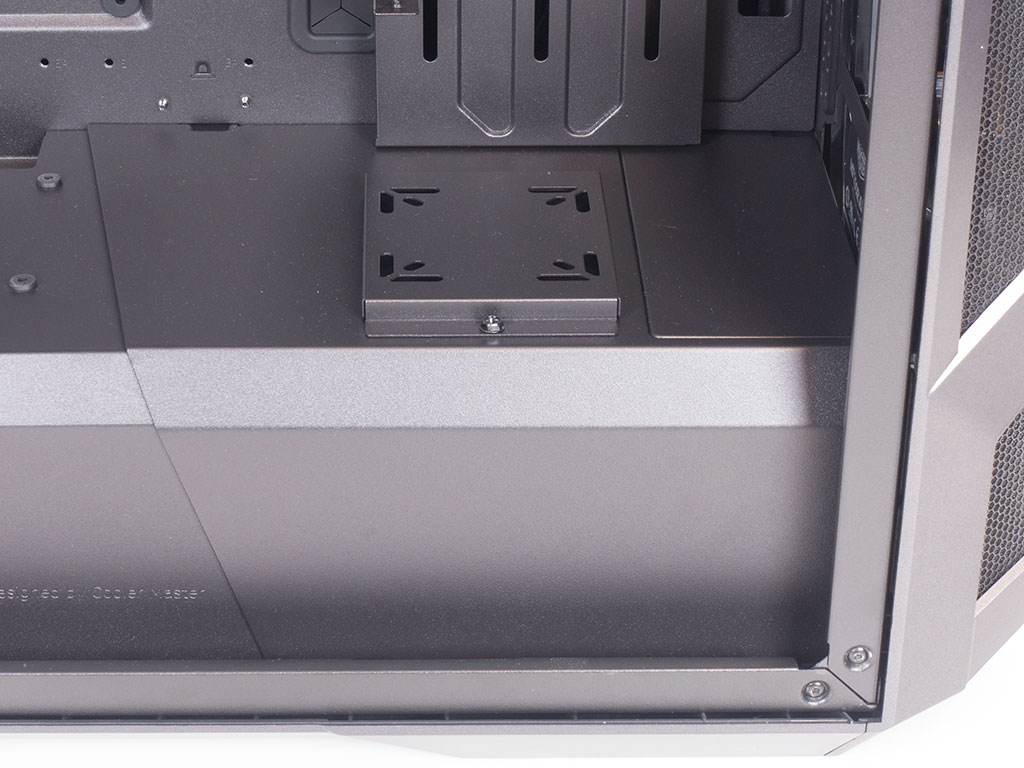
The shroud in the H500M has also been updated when compared to the P variant. Cooler Master has redesigned it; the system looks better even with the right half of the cover off. There are two 2.5" mounting spots above the PSU area, and you will now find a pump mounting plate on the front part.
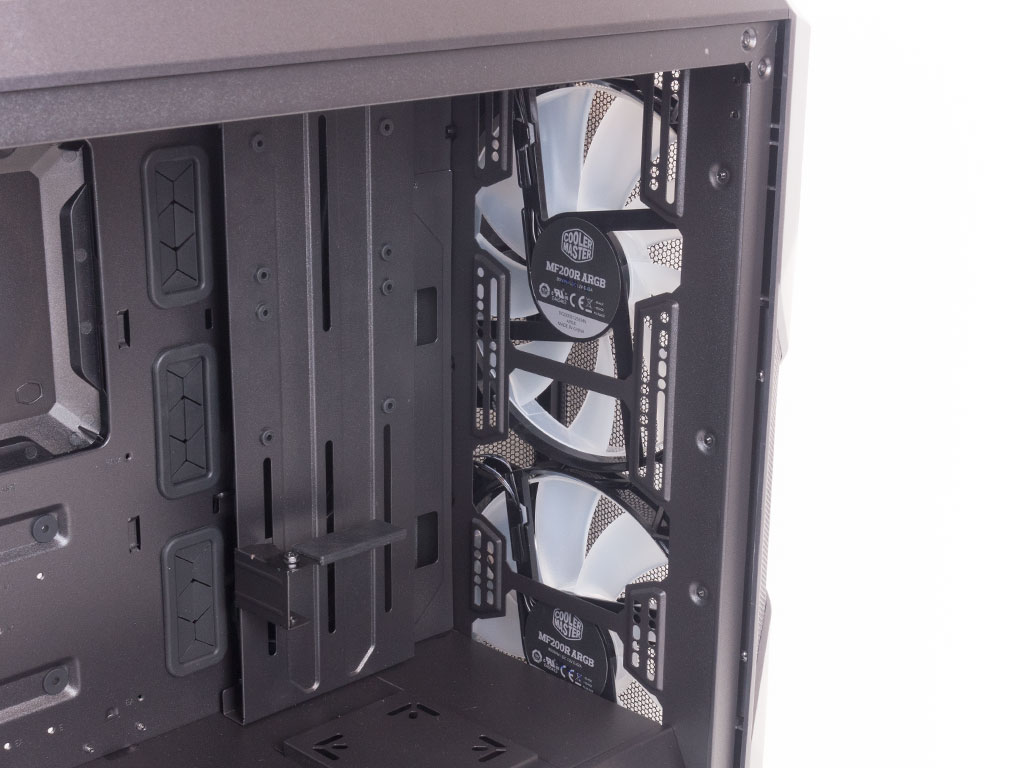
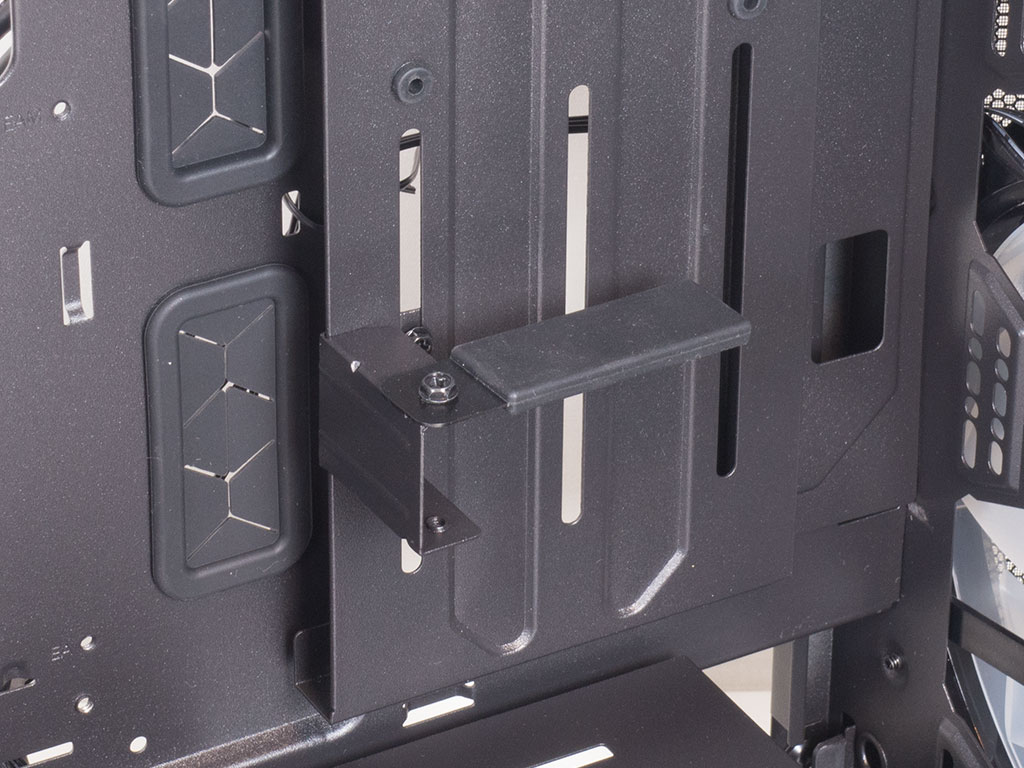


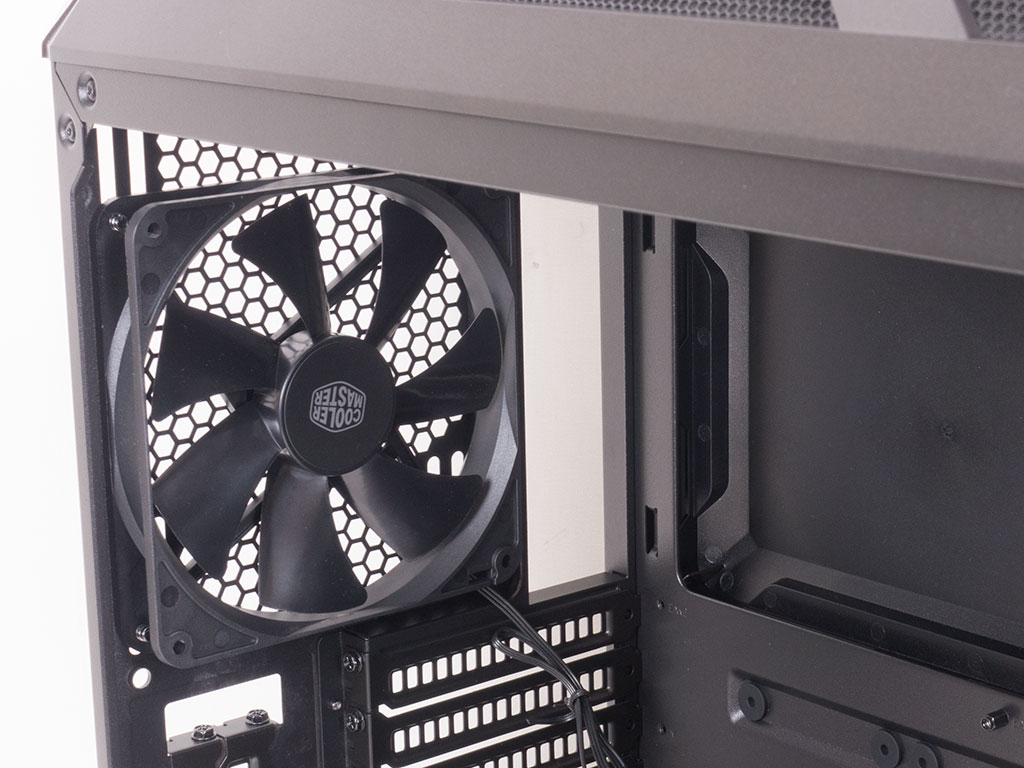
In the front, the two massive 200 mm fans are set to push air across the interior and towards the rear. You may now mount two SSDs on the cable-management cover tray, and thanks to numerous mounting holes, a reservoir will fit here instead. On top of that, there is a GPU support beam out of metal and covered with a rubber lining. It is great to see that someone finally made a simple but functional unit of steel as the weight of modern graphics cards should not be underestimated. The aforementioned 3.5" hard-drive cage is underneath the cover and may be reached by removing three screws as this allows you to take off half of the shroud cover. Thanks to the angled design, you are free to leave the drives exposed without the Mastercase H500M looking any worse.
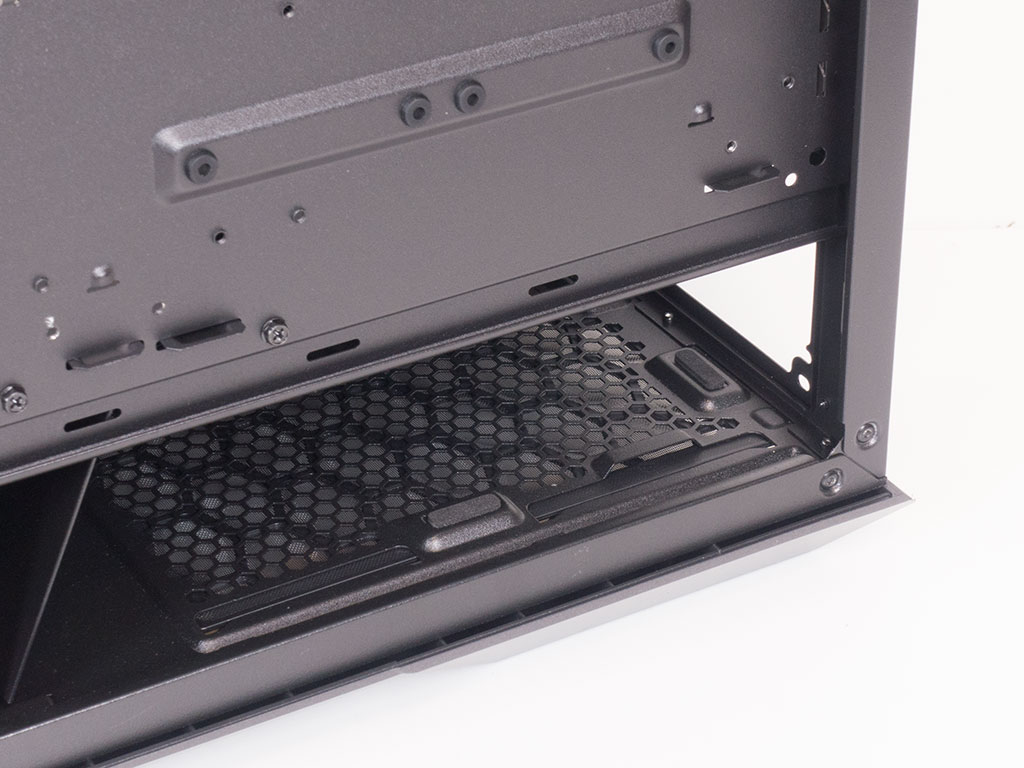
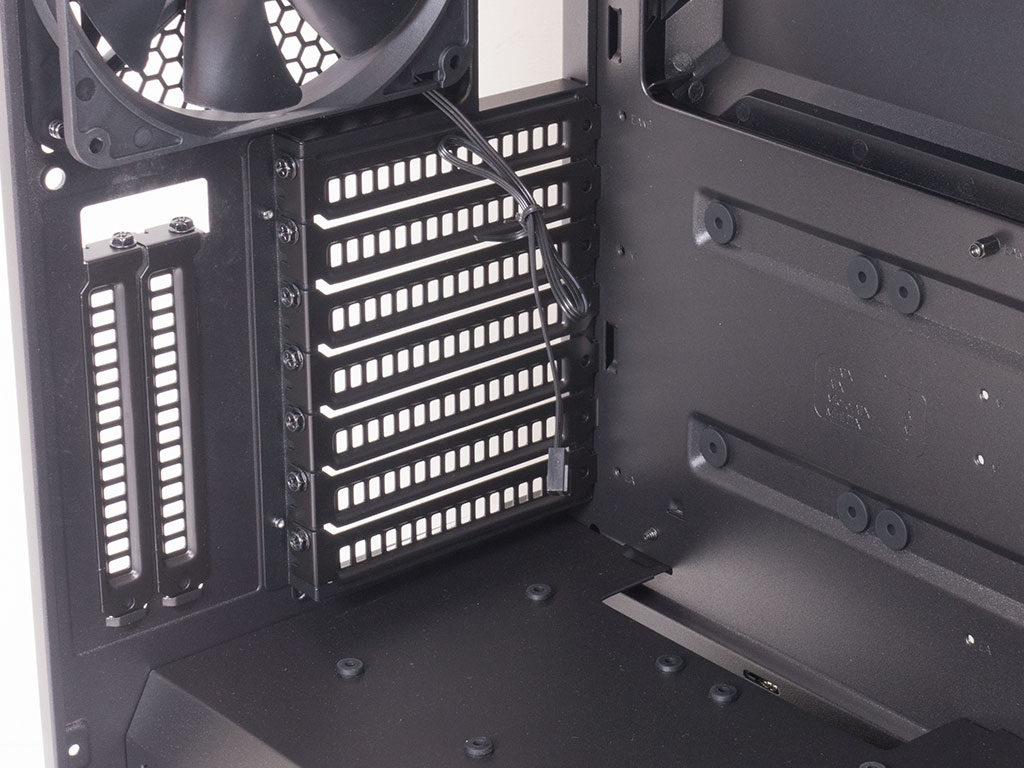
In the rear, looking at the PSU bay from the backside of the motherboard tray, you can clearly see the foam-covered stands on which the power supply will rest. Above that, once again above the shroud, the 7+2 expansion slots utilize standard screws on all the covers. While this is just fine, thumbscrews would have been a nice touch, especially as they are usually found in most cases these days.


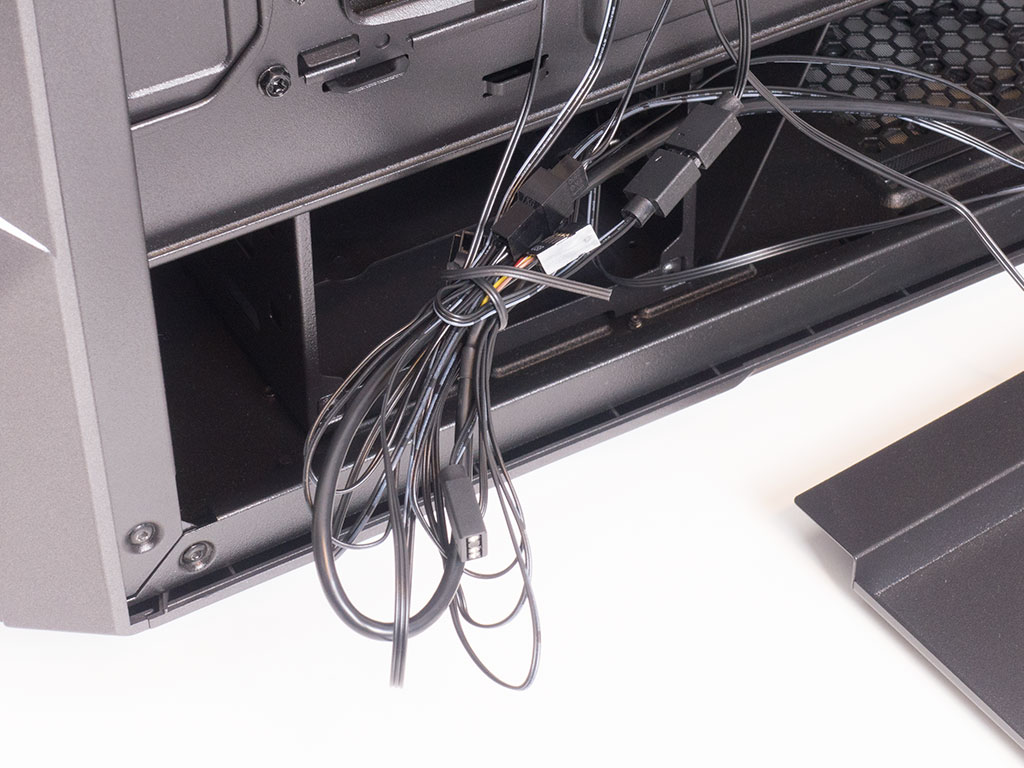
All the cables within the Mastercase H500M are of the standard variety. You will now find two USB 3.0 cables and that proper USB 3.1 connector. The one oddity here is the shortness of that cable as it is a good 20 cm shorter than the other leads. On top of that, the PCB offers you 4-pin RGB connections which are partially used by the fans as the cooling units are equipped with addressable RGB LEDs. To adjust fan speed and power, they feature a second cable with a 3-pin header. Cooler Master includes a 3 to 1 cable that allows you to plug up to three fans in through one motherboard header, which is a nice touch as most boards max out at 4–5 plugs. This means you have plenty left to add more units or go for liquid cooling.
Mar 11th, 2025 21:42 EDT
change timezone
Latest GPU Drivers
New Forum Posts
- Dell Precision 5820 H950EF-00 Power Supply output (4)
- Yellow boxes in limit reasons, what do they mean? (6)
- The TPU UK Clubhouse (25873)
- Please I need help with the poor performance that my PC is giving me (34)
- Is ARC SLI friendly? (7)
- intel 1700 with high speed ram,memory (50)
- 2006 Macbook Pro Modern Sleeper Project (4)
- Nvidia's GPU market share hits 90% in Q4 2024 (gets closer to full monopoly) (848)
- Someone run games on AMD BC-250 under Linux * Cut down PS5 die to 6 CPU cores 24 GPU cores for use in crypto mining (76)
- Looking for suggestions on a vertical gaming mouse? (0)
Popular Reviews
- XFX Radeon RX 9070 XT Mercury OC Magnetic Air Review
- AMD Ryzen 9 9950X3D Review - Great for Gaming and Productivity
- Sapphire Radeon RX 9070 XT Nitro+ Review - Beating NVIDIA
- ASUS Radeon RX 9070 TUF OC Review
- MSI MAG B850 Tomahawk Max Wi-Fi Review
- AMD Ryzen 7 9800X3D Review - The Best Gaming Processor
- NVIDIA GeForce RTX 5070 Founders Edition Review
- Corsair Vengeance RGB CUDIMM DDR5-8800 48 GB CL42 Review
- Dough Spectrum Black 32 Review
- XPG Starker Air BTF Review
Controversial News Posts
- NVIDIA GeForce RTX 50 Cards Spotted with Missing ROPs, NVIDIA Confirms the Issue, Multiple Vendors Affected (513)
- AMD Radeon RX 9070 and 9070 XT Listed On Amazon - One Buyer Snags a Unit (261)
- AMD RDNA 4 and Radeon RX 9070 Series Unveiled: $549 & $599 (260)
- AMD Mentions Sub-$700 Pricing for Radeon RX 9070 GPU Series, Looks Like NV Minus $50 Again (248)
- NVIDIA Investigates GeForce RTX 50 Series "Blackwell" Black Screen and BSOD Issues (244)
- AMD Radeon RX 9070 and 9070 XT Official Performance Metrics Leaked, +42% 4K Performance Over Radeon RX 7900 GRE (195)
- AMD Radeon RX 9070-series Pricing Leaks Courtesy of MicroCenter (158)
- AMD Radeon RX 9070 XT Could Get a 32 GB GDDR6 Upgrade (100)