 10
10
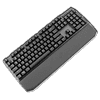
Cooler Master MasterKeys MK750 Keyboard Review
Driver »Disassembly


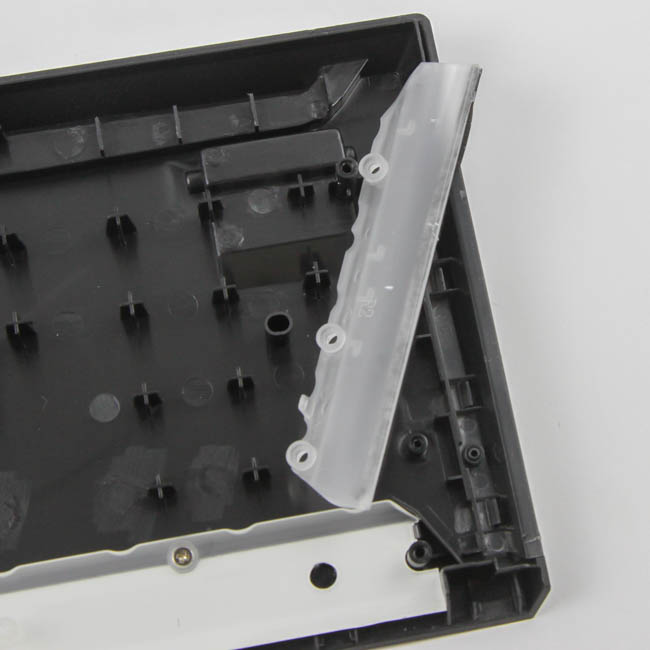
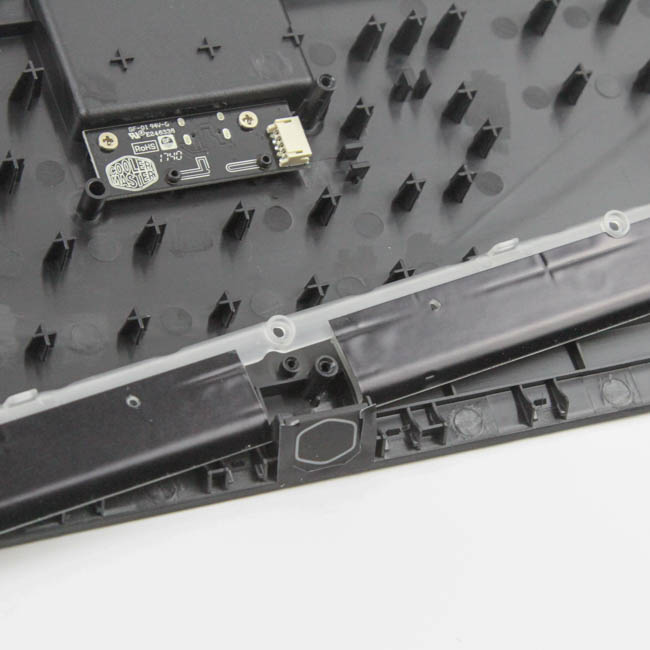
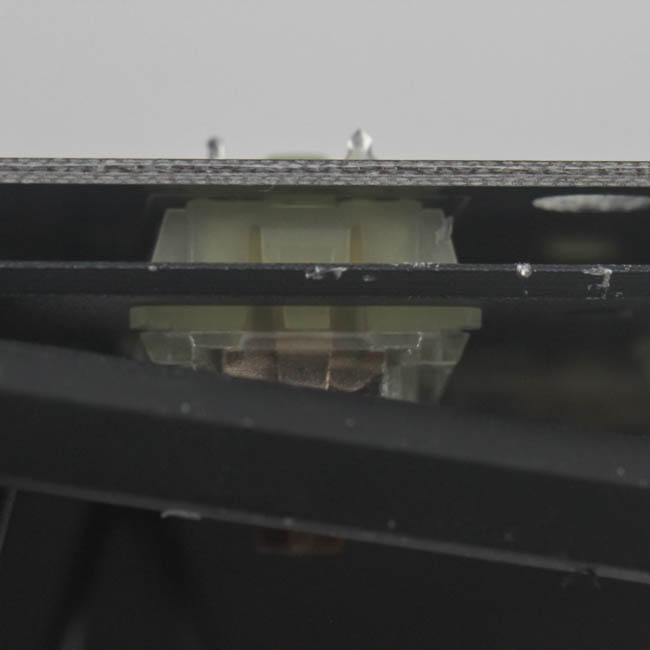
Disassembly of the Cooler Master MasterKeys MK750 is more intensive than with most keyboards. As with most metal-plate keyboards, you have to remove some keycaps to access the screws holding the keyboard together. Once located, a precision Phillips head driver will help remove the 17 screws and separate the top plate from the rest. At this point, there is still the smoked acrylic piece in the bottom which needs to be removed, and here, you have to use a thin, flat object to pry it out by separating interlocking tabs on the interface between the metal plate and the acrylic. I left some irreversible scratches here, but once you have 1-2 tabs out, you will have enough give to be able to lift the metal plate upward, which reveals two pieces of U-channel rubber trim for some friction to prevent an easy separation of the pieces. We also see the magnetic piece that helps keep the wrist rest in place here.
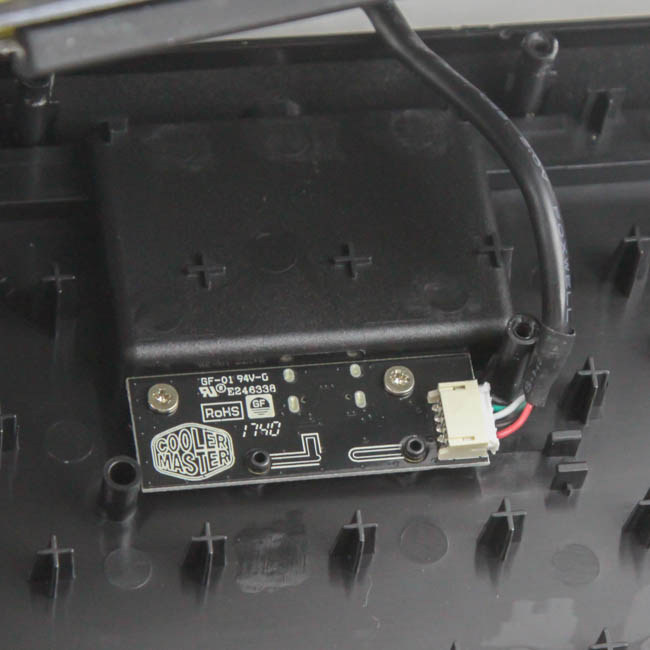

The bottom panel is made out of ABS plastic and houses the I/O PCB with the Type-C port soldered on to it. This PCB design was finalized on August 21, 2017 as per the marking we see, which is not too far off from the release date of the product itself. Dislodge the internal USB cable from the header that transfers the signals over to the primary PCB and back and you can separate this panel piece from the other entirely. We also see that three plastic diffusers are screwed in place here - on the sides and bottom - to help diffuse light into those directions on the keyboard in addition to the backlighting for the keys.

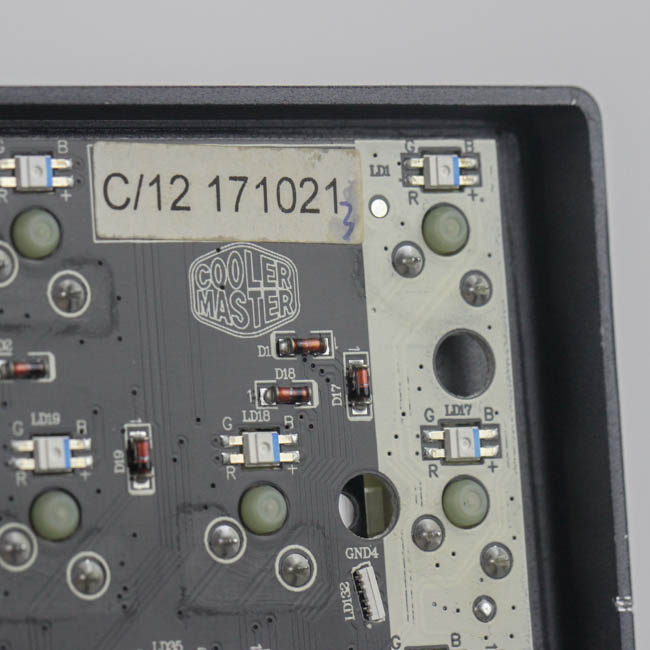
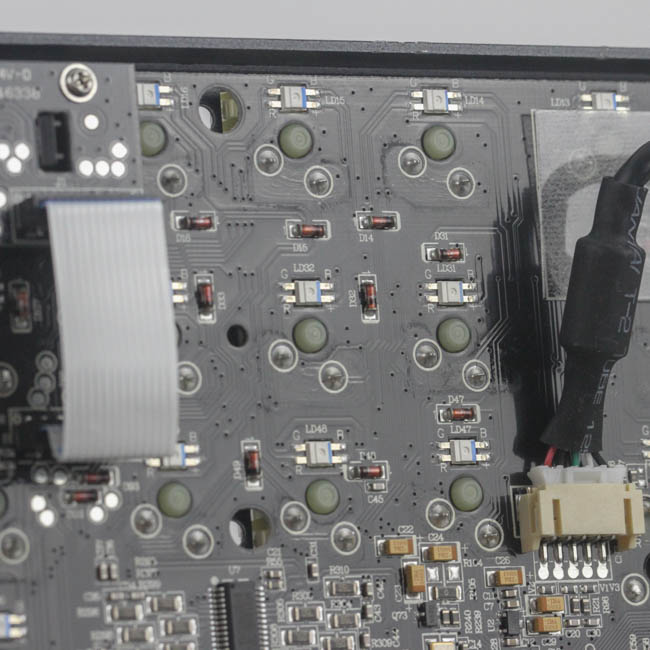
The MasterKeys MK750 has plate-mounted switches that are soldered into the PCB, so these are all one piece unless you want to de-solder switches. A look at the PCB reveals clearly where the LEDs for lighting the keyboard on the sides and bottom are, with a contrasting beige color on the PCB to the black elsewhere. This PCB design was finalized (probably, rather, the date when this PCB was manufactured in this particular case) on October 21, 2017, which is right before Cooler Master announced the keyboard. There is another daughter PCB used for the media keys, which is connected via a ribbon cable to the primary PCB. Solder quality is exceptional - so much so that I daresay it was machine-manufactured.
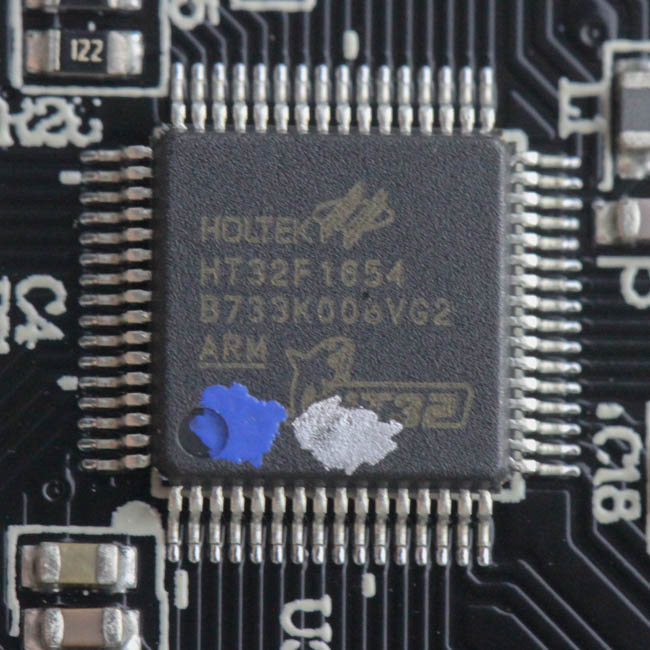
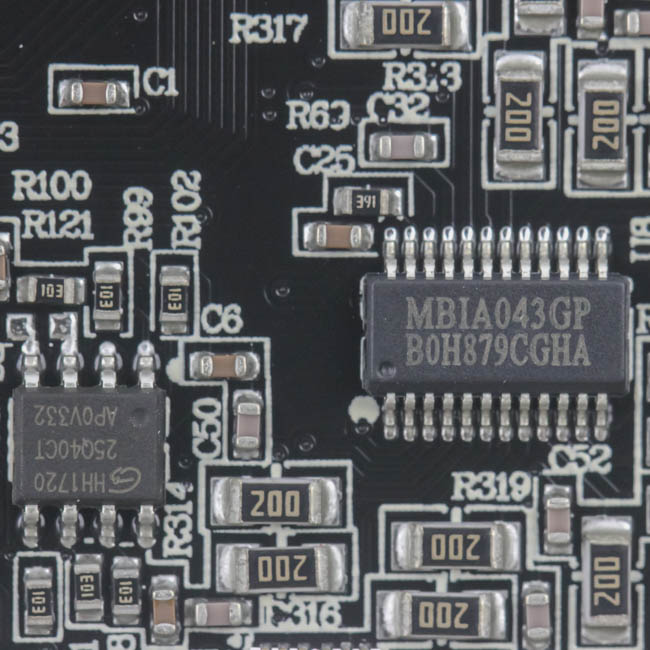
The Cooler Master MasterKeys MK750 is powered by a Holtek HT32F1634 32-bit ARM Cortex-M3 microcontroller with up to 64 KB of programmable flash memory onboard, and 16 KB of SRAM. Cooler Master also added dedicated flash modules for a total of 512 KB of onboard storage for the pre-programmed functions and user-defined profiles. There are also three Macroblock MBIA043GP LED drivers for the RGB lighting control, and all of these are soldered onto a multi-layered PCB.
Before we move on, be advised that disassembly will void the warranty and that TechPowerUp is not liable for any damages incurred if you decided to go ahead and do so anyway.
Jan 10th, 2025 01:14 EST
change timezone
Latest GPU Drivers
New Forum Posts
- upgrade rtx 4090 for an Rtx 5080 (18)
- Are people planning an upgrade? (176)
- TPU's Nostalgic Hardware Club (19764)
- The TPU UK Clubhouse (25553)
- Technical Issues - TPU Main Site & Forum (2024) (510)
- AAF Optimus Modded Driver For Windows 10 & Windows 11 - Only for Realtek HDAUDIO Chips (273)
- TPU CES NVIDIA 5000 series YT Shorts (1)
- RTX 2070 Super build (21)
- What's your latest tech purchase? (22828)
- How many are using 24h2? Problems still? (188)
Popular Reviews
- ASUS ROG Strix B850-F Gaming WiFi Review
- AMD Ryzen 7 9800X3D Review - The Best Gaming Processor
- Royal Kludge S85 TKL Wireless Mechanical Keyboard Review
- HEDDphone TWO GT Air Motion Transformer Headphones Review
- DDR5 Thermal Testing & Analysis
- GPU Test System Update for 2025
- LAMZU Maya X Review
- Call of Duty: Black Ops 6 Performance Benchmark Review - AMD FTW
- Upcoming Hardware Launches 2024 (Updated Nov 2024)
- Intel Arc B580 Review - Excellent Value
Controversial News Posts
- NVIDIA 2025 International CES Keynote: Liveblog (449)
- AMD Debuts Radeon RX 9070 XT and RX 9070 Powered by RDNA 4, and FSR 4 (340)
- NVIDIA GeForce RTX 5090 Features 575 W TDP, RTX 5080 Carries 360 W TDP (211)
- AMD Radeon RX 9070 XT Alleged Benchmark Leaks, Underwhelming Performance (204)
- 32 GB NVIDIA RTX 5090 To Lead the Charge As 5060 Ti Gets 16 GB Upgrade and 5060 Still Stuck With Last-Gen VRAM Spec (173)
- Potential RTX 5090 and RTX 5080 Pricing in China Leaks (173)
- AMD Radeon RX 9070 XT Boosts up to 3.10 GHz, Board Power Can Reach up to 330W (167)
- NVIDIA GeForce RTX 5070 Ti Leak Tips More VRAM, Cores, and Power Draw (161)