 16
16
Cooler Master MM711 Review
Sensor & Performance »Build Quality
Overall build quality is quite solid. There is no rattle when shaking the mouse. When applying lateral pressure, some creaking of the shell can be observed. Using above average force, it is possible to actuate the side buttons by applying lateral pressure to the left side. Lastly, when slamming the mouse down, no accidental clicks can be observed.Buttons

Main buttons on the MM711 are very good. There is low pre-travel and moderate post-travel, which results in a firm and satisfying click feel. On my copy, there is only minor horizontal button wiggle. Button stiffness is light to medium. Omron D2FC-F-7N (20M) (China) switches are used.
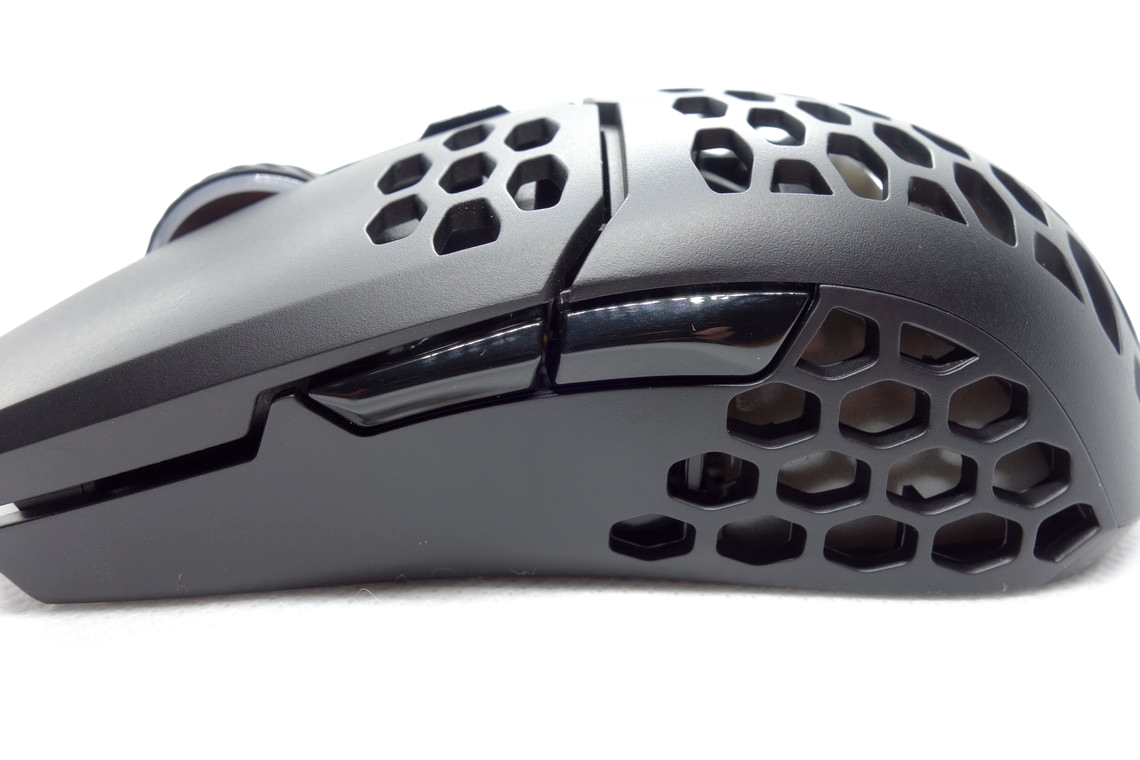
Side buttons are excellent. Pre-travel is virtually non-existent and post-travel low. The pressure point is even across the entire button, and the click feel is satisfying. Button size and placement is quite good as it's possible to actuate these rather easily by rolling one's thumb over them. Two non-branded square switches are used for these.
At the top of the mouse is a single button for cycling through the set CPI levels. Its click feel is decent. A Kailh (white dot) switch is used for this one.
Scroll Wheel
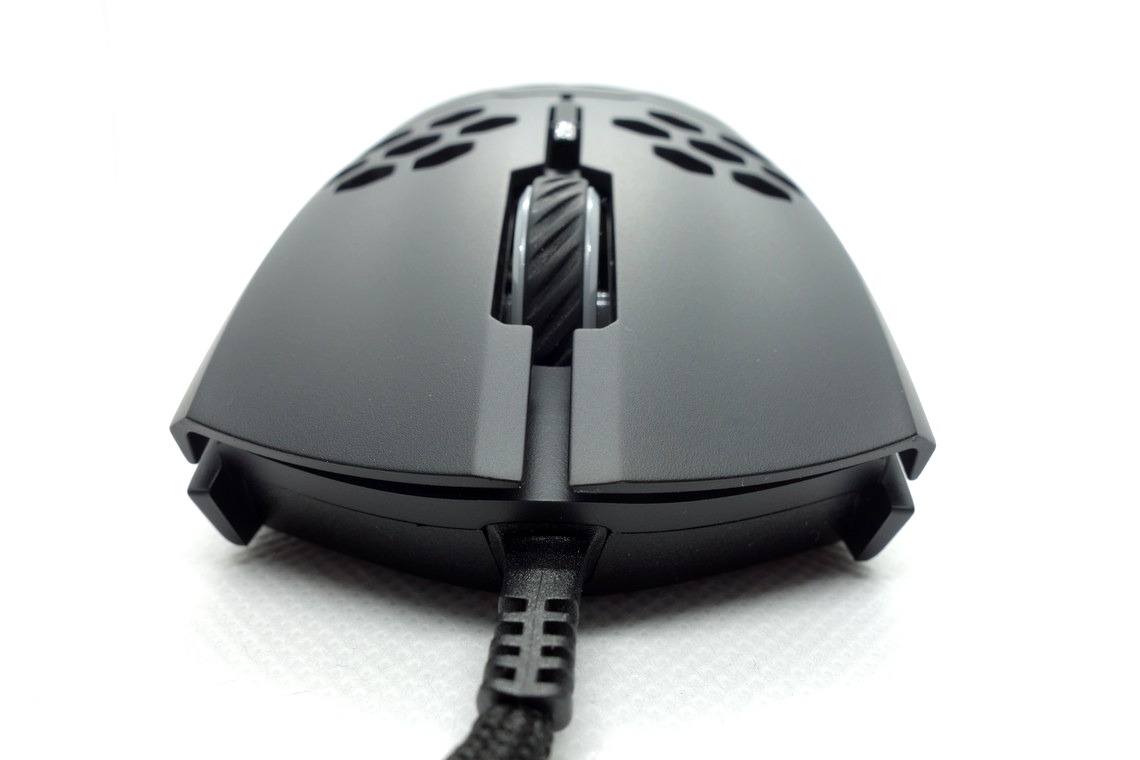
The scroll wheel is very good. It's very quiet when scrolling up and down, and the individual steps are well-defined and tactile. The middle (scroll wheel) click requires little force for actuation. A Huano (green dot) switch is used here.
Coating
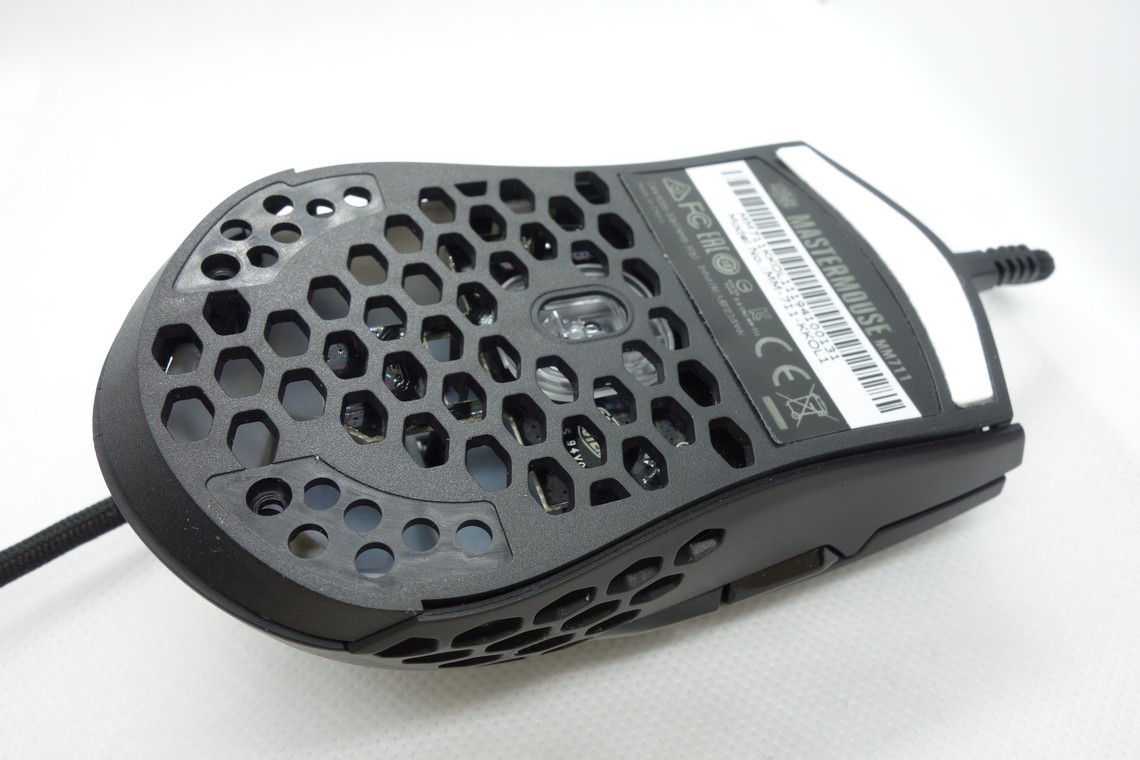
The MM711 has a black UV matte coating. It's very grippy and doesn't attract fingerprints, dirt, or the likes too much. It's easy to clean, and there are no signs of wear left after doing so. All in all, an excellent coating.Button Sound Test
Disassembly
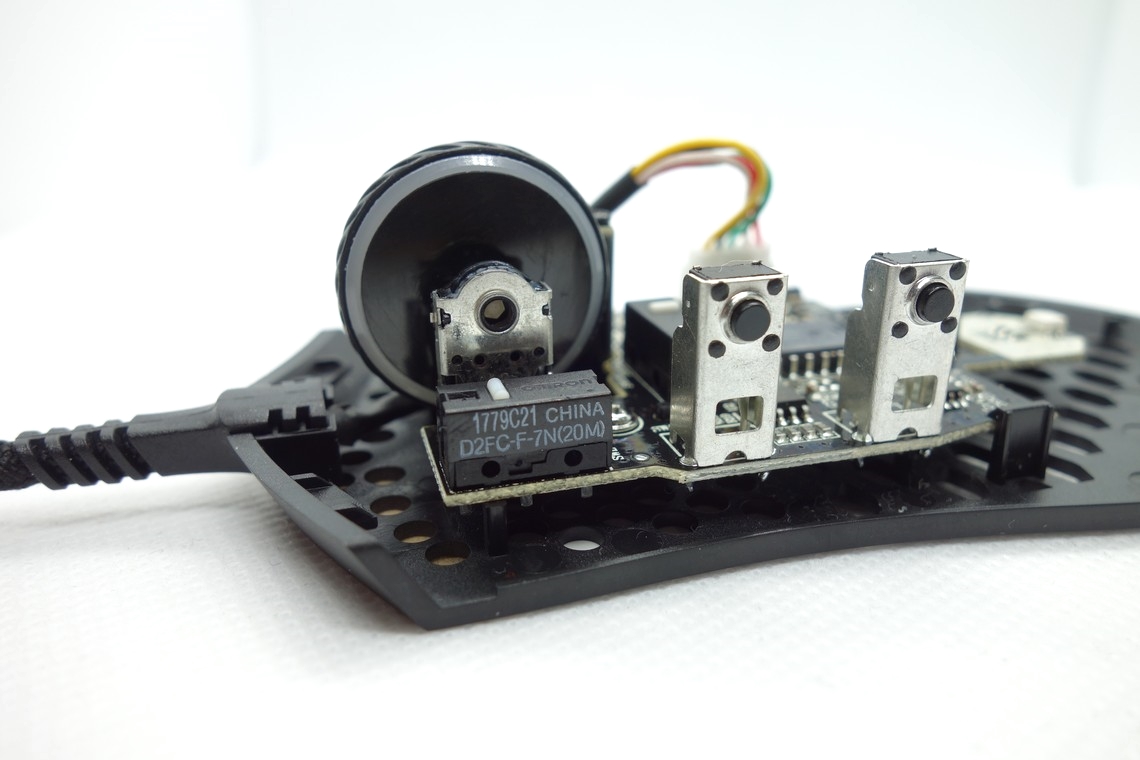
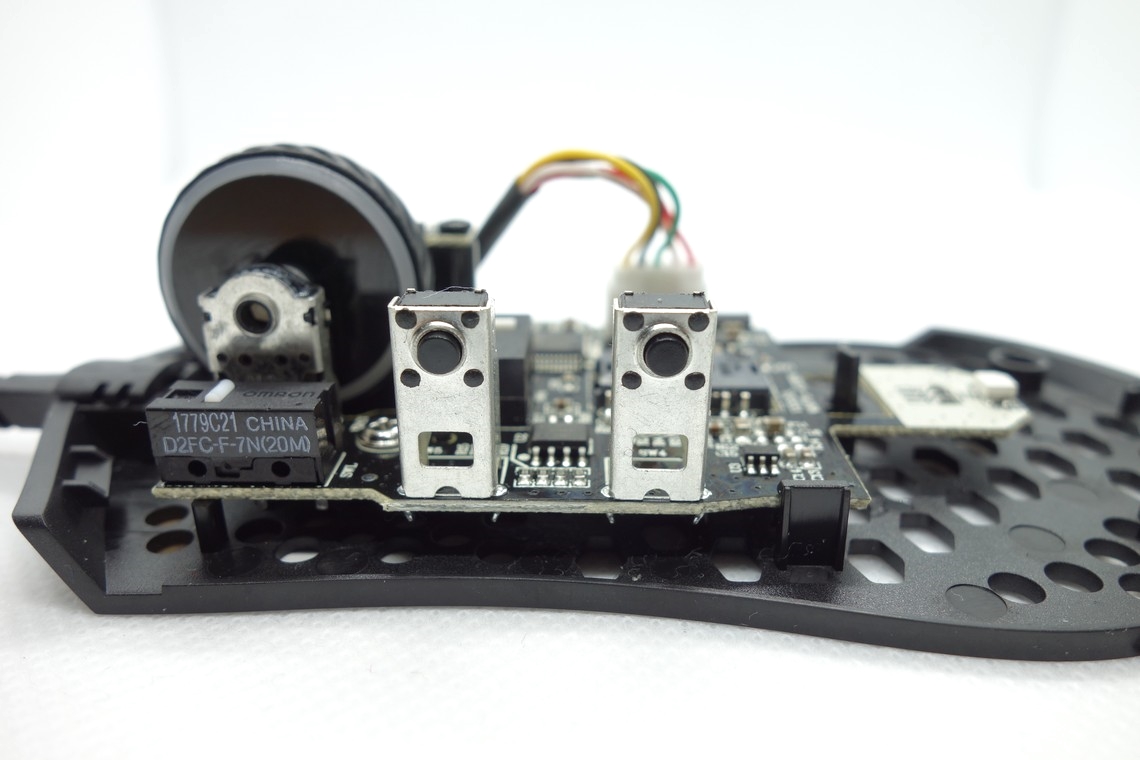
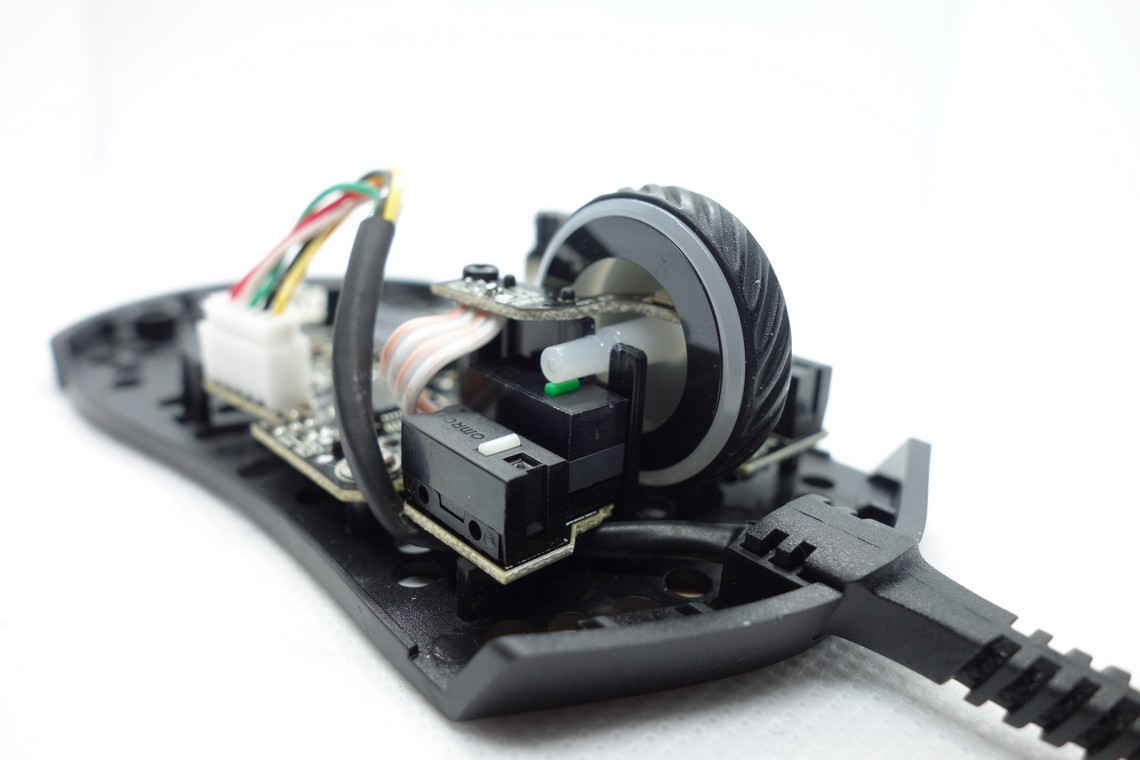
Disassembling the MM711 is very straightforward. Remove the two bottom feet and the two screws underneath before gently pushing the bottom shell forward. The top shell should then come off without any issue. The interior design is impressively simple. Everything sits on a single PCB, including the side buttons, which are mounted directly onto the PCB. LEDs are positioned at the back and on a small elevated PCB that illuminates the scroll wheel. The PCB is held by three screws and two clips at the bottom end. Due to this, there is some vertical play (none horizontally, though). The PCB is actually somewhat thick, so going with a thinner PCB would've been a viable solution to shave off a few additional grams. The MCU is a Holtek HT32F52352, which is a 32-bit ARM Cortex MCU. Please refer to this for the datasheet.
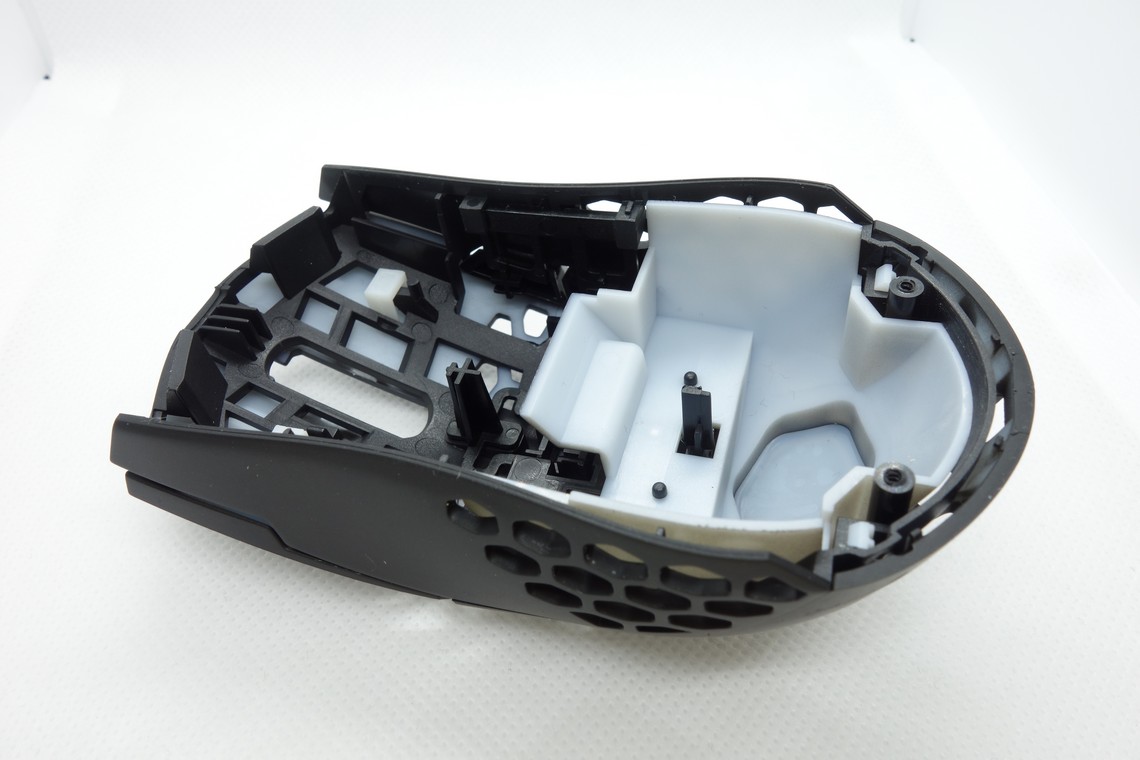
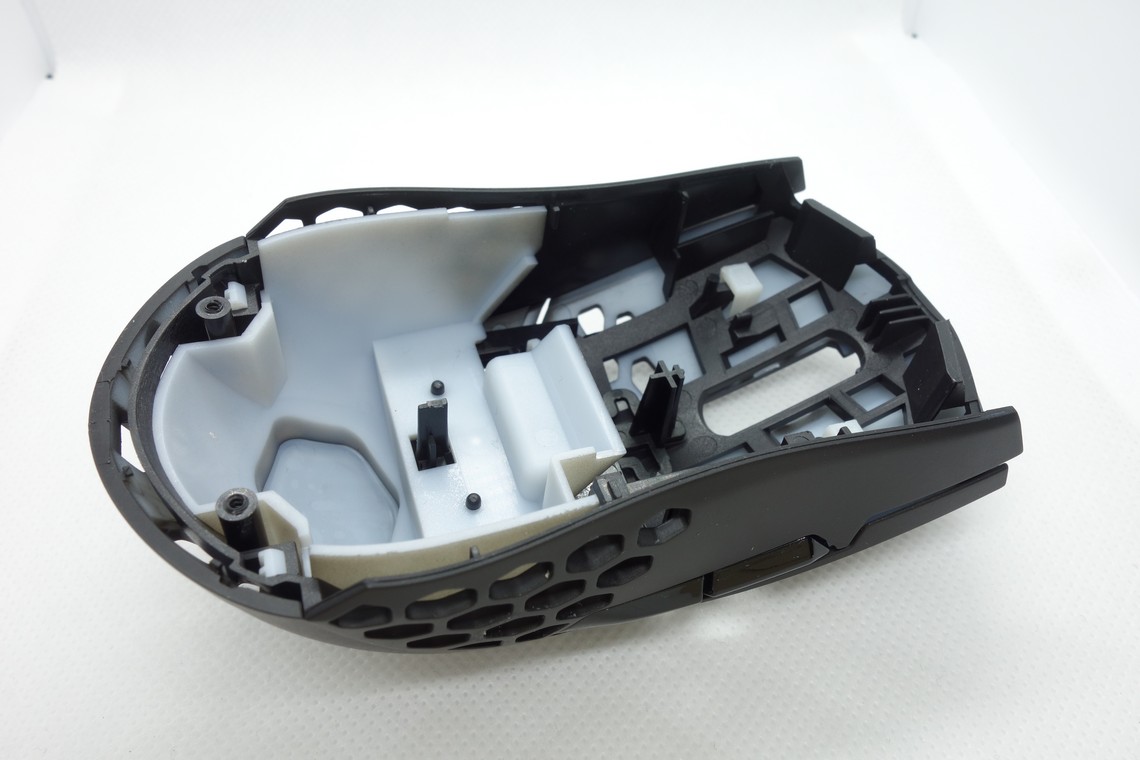
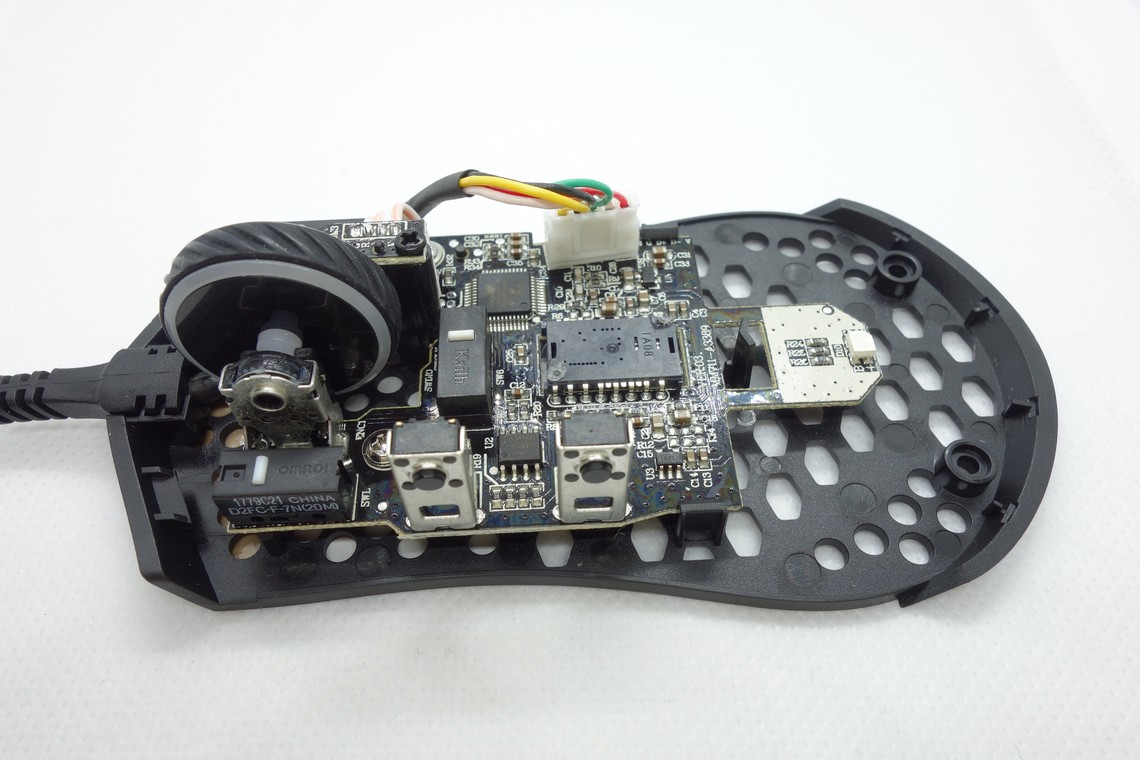
In the top shell pictures, we can see the massive diffusor for the PCB-mounted rear LED. The side button stem construction is clipped directly into the top shell. We can also see that the side walls are fairly thin, so it's no surprise that actuating the side buttons just by applying lateral pressure is possible. In fact, both the bottom shell and the side walls are quite thin and surprisingly bendable, which is why some degree of creaking is inevitably to be expected with this design.
As for the soldering and general quality of the PCB, I'm unable to find any noteworthy flaws.
Apr 8th, 2025 19:53 EDT
change timezone
Latest GPU Drivers
New Forum Posts
- TPU's Nostalgic Hardware Club (20190)
- 9070XT or 7900XT or 7900XTX (156)
- issue with restart after changing throttlestop settings (3)
- Help me pick a UPS (98)
- Show us your backside! (26)
- Razer Blade 2023 - i9 13950hx + RTX 4090 - Temperatur Problems (6)
- RX 9000 series GPU Owners Club (258)
- I have a bricked XFX Radeon RX 580 8GB GPU. HELP! (23)
- The Official Thermal Interface Material thread (1701)
- Is RX 9070 VRAM temperature regular value or hotspot? (338)
Popular Reviews
- The Last Of Us Part 2 Performance Benchmark Review - 30 GPUs Compared
- UPERFECT UStation Delta Max Review - Two Screens In One
- MCHOSE L7 Pro Review
- PowerColor Radeon RX 9070 Hellhound Review
- Upcoming Hardware Launches 2025 (Updated Apr 2025)
- ASUS Prime X870-P Wi-Fi Review
- Sapphire Radeon RX 9070 XT Pulse Review
- Sapphire Radeon RX 9070 XT Nitro+ Review - Beating NVIDIA
- Corsair RM750x Shift 750 W Review
- DDR5 CUDIMM Explained & Benched - The New Memory Standard
Controversial News Posts
- NVIDIA GeForce RTX 5060 Ti 16 GB SKU Likely Launching at $499, According to Supply Chain Leak (164)
- MSI Doesn't Plan Radeon RX 9000 Series GPUs, Skips AMD RDNA 4 Generation Entirely (146)
- Microsoft Introduces Copilot for Gaming (124)
- AMD Radeon RX 9070 XT Reportedly Outperforms RTX 5080 Through Undervolting (119)
- NVIDIA Reportedly Prepares GeForce RTX 5060 and RTX 5060 Ti Unveil Tomorrow (115)
- Over 200,000 Sold Radeon RX 9070 and RX 9070 XT GPUs? AMD Says No Number was Given (100)
- Nintendo Switch 2 Launches June 5 at $449.99 with New Hardware and Games (97)
- NVIDIA GeForce RTX 5050, RTX 5060, and RTX 5060 Ti Specifications Leak (97)