 11
11
Cooltek RM1 Review
Value & Conclusion »Test System
| System Parts for Case Reviews | |
|---|---|
| Processor: | Intel Core i7-4770K @ 4.2 GHz (Haswell, 8192 KB Cache) |
| Motherboards: | ATX: Gigabyte GA-Z97X-Gaming 7 mATX: Gigabyte GA-Q87M-D2H mini-ITX: GA-H97N-WIFI Provided by: Gigabyte |
| Graphic Card: | Long: NVIDIA GeForce GTX 280 OEM Short: HIS Radeon 5350 HD |
| Memory: | Crucial Ballistix Tactical DIMM Kit 8GB @ DDR3-1600, CL8-8-8-24 Provided by: Crucial |
| HDD: | Western Digital 320 GB 7200 RPM |
| SSD: | Crucial MX100 256GB SATA 6Gbps Provided by: Crucial |
| Power Supply: | Fractal Design Edison M 550W Provided by: Fractal Design |
| Cooling: | Air Cooling Mini-ITX: Thermalright AXP-100R Air Cooling mATX: Thermalright Macho 90 Air Cooling ATX: Thermalright Macho 120 Provided by: PC-COOLING.de Liquid Cooling: Fractal Design Kelvin T12 & S24 |
Assembly

Cooltek recommends that you install a mATX board inside the RM1 since it also allows for an ODD to be installed as well. As the chassis is extremely compact for a full ATX enclosure, we went for the largest possible board because optical drives are becoming less and less important nowadays. The Gigabyte board fits perfectly once the two parts for the ODD bay are removed, and the large graphics card has plenty of space as well. Only the CPU cooler needs to be fairly compact since the PSU will cover it.


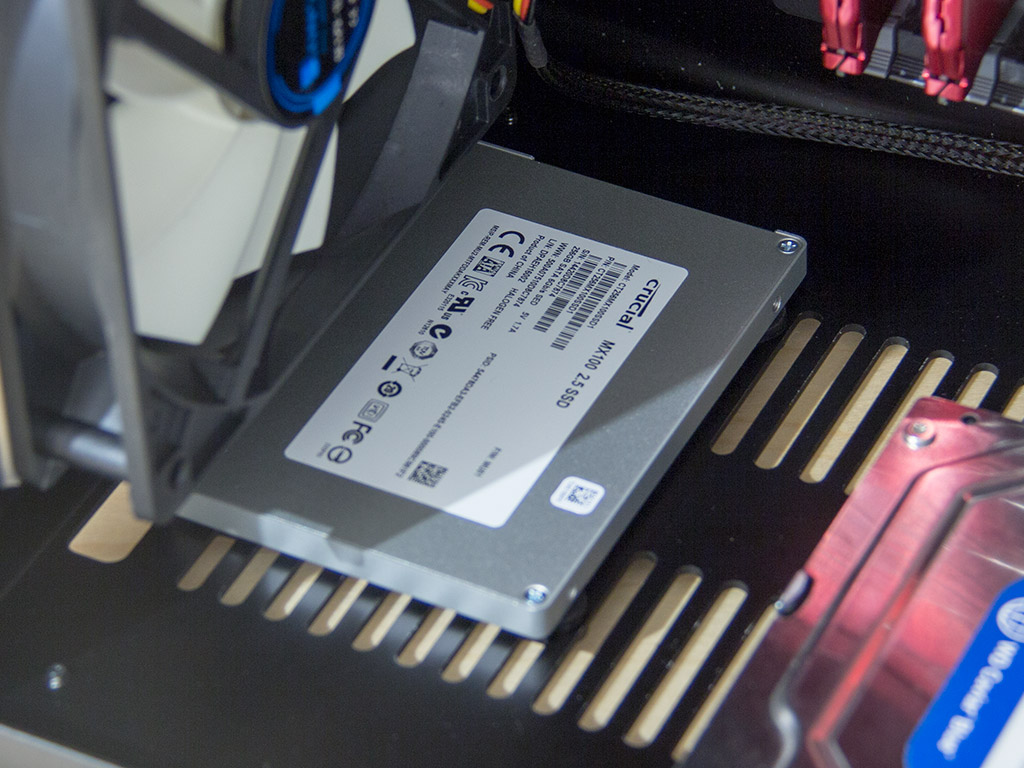
You should go for the hard drives on the floor before installing the power supply. First, you have to install the rubber rings, followed by the drives themselves, which screws through the obverse side secure to the floor. Also make sure to connect everything you can before adding more parts to the system.
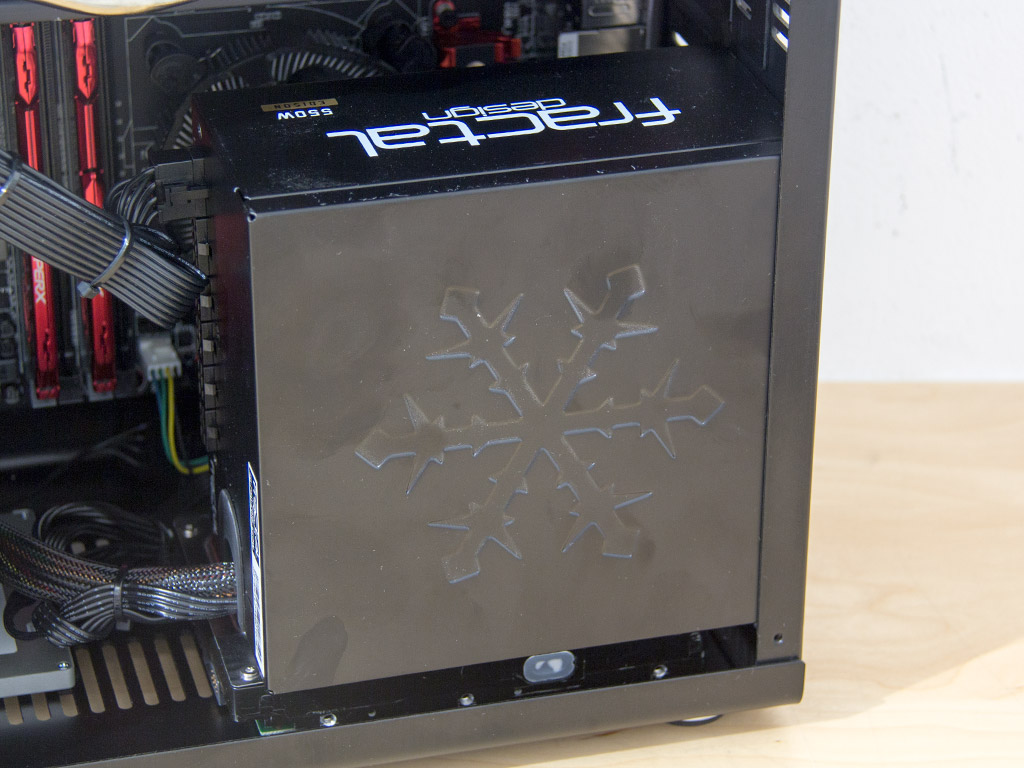
The last step is to place the PSU inside the chassis. It should be installed with its fan facing the motherboard because there is no opening in the side panel to allow for proper airflow.

With everything in place and some creative cable management, the RM1 actually makes a very good impression. Even so, you could place a window on the side panel to show things off to curious onlookers.
Finished Looks

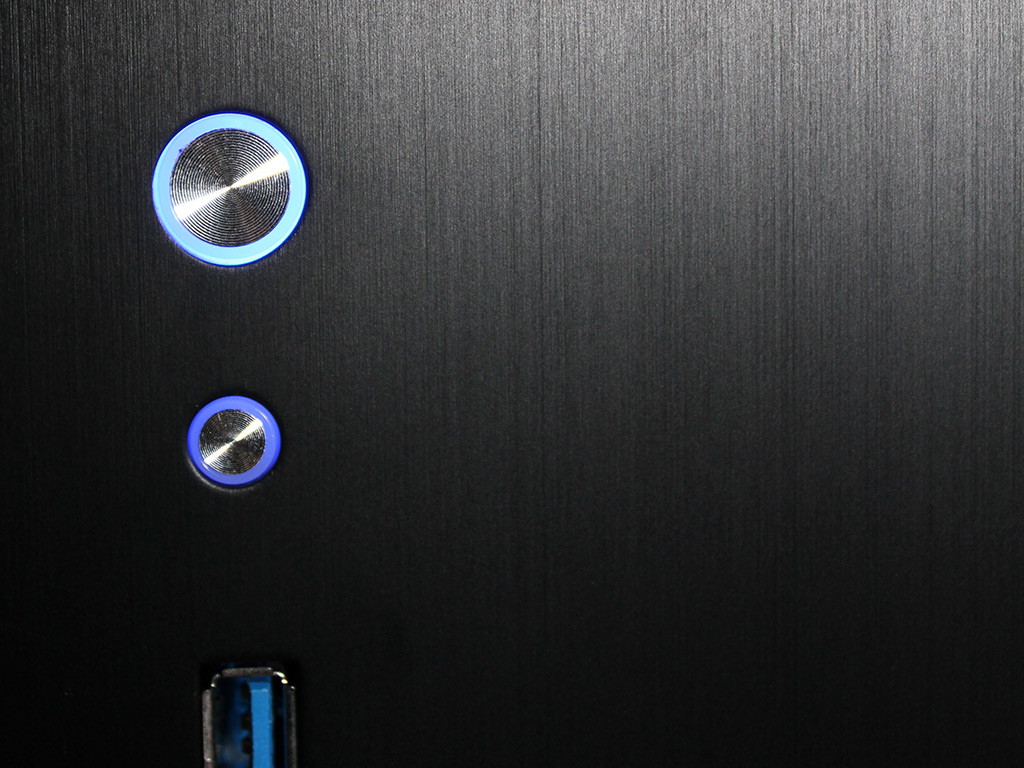
Put the side panel back in place and the only thing to let you know that the system is up and running, aside from some low operating noise, is the blue LED around the power button.
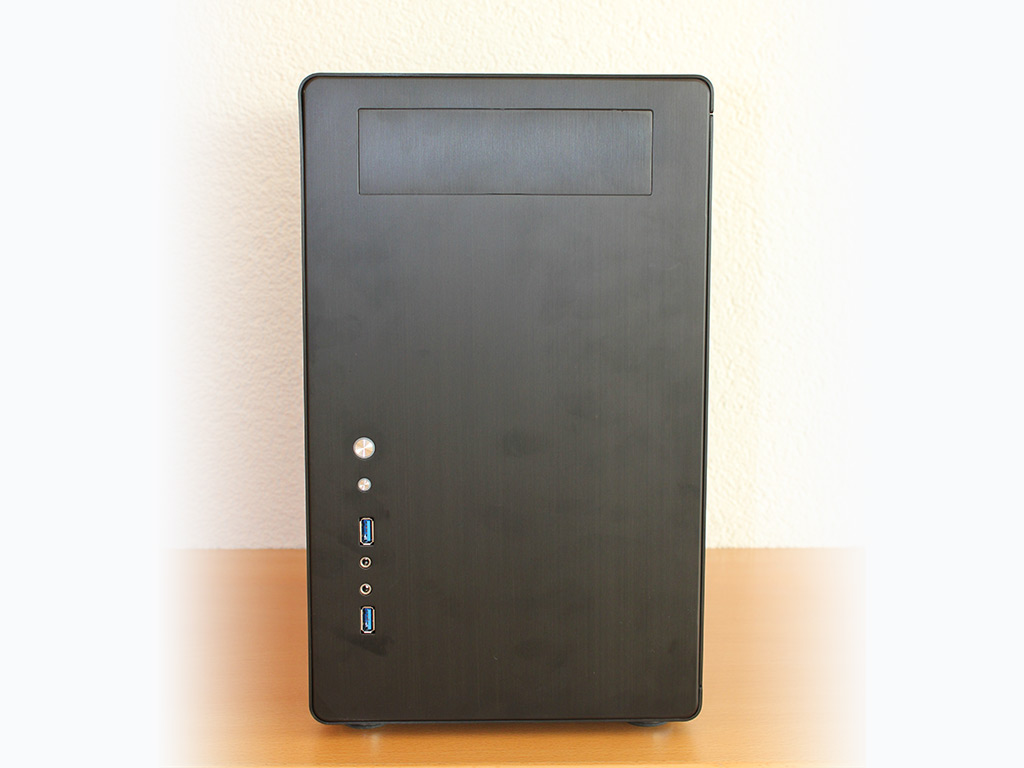
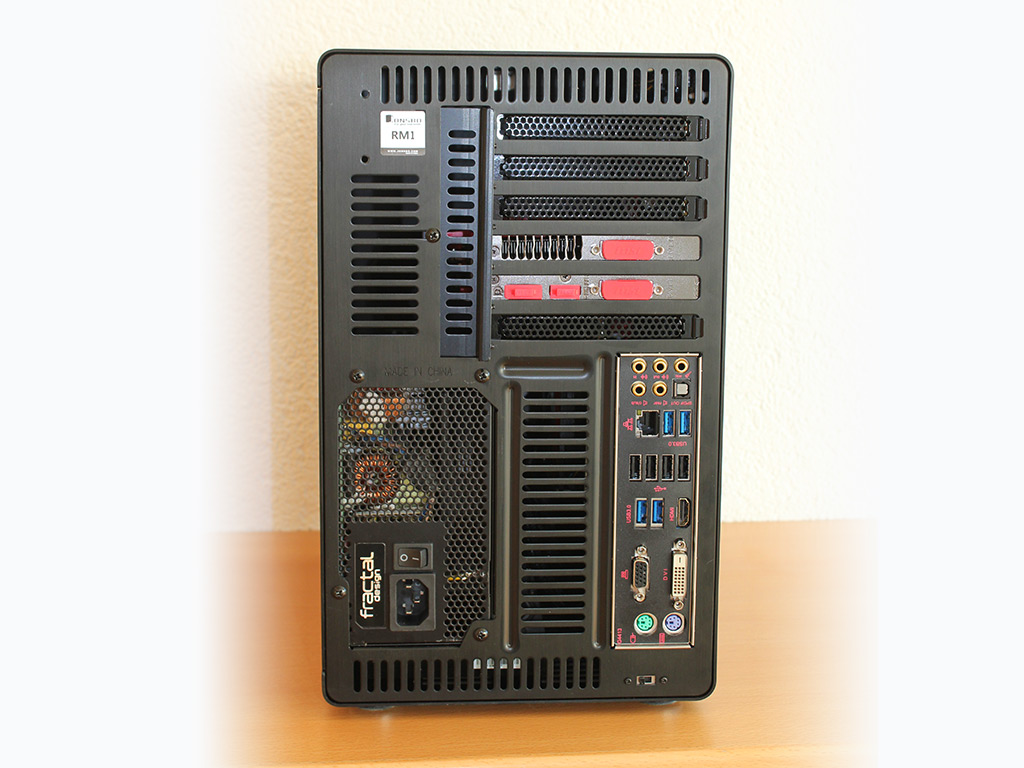
As there is no optical drive bay in our review build, the front looks like it did when we unpacked the chassis. If you had an ODD within, it would be visible and easily accessible. In the rear, everything is easily accessible as well, but the PSU cable may get in the way of the motherboard I/O, and that tiny fan switch will be hard to reach. There are better spots for that little switch. Above the PSU bay, for example.
Jan 13th, 2025 01:26 EST
change timezone
Latest GPU Drivers
New Forum Posts
- Are people planning an upgrade? (285)
- Postulation: Is anyone else concerned with the proliferation of AI? (192)
- Beter recommendations than Tt View 51? (3)
- Help with ThrottleStop (i7-9750H) (4)
- Windows 11 24h2 has worse latency than Windows 10 22h2! (35)
- This is my bad 3080ti situation (11)
- Advice please - AMD Radeon RX 5700 XT - PC Restarts (7)
- Last game you purchased? (614)
- pc keeps shutting down. on boot, fans turn on and off and on and off (2)
- Best time to sell your used 4090s is now. (187)
Popular Reviews
- AMD Ryzen 7 9800X3D Review - The Best Gaming Processor
- LAMZU Maya X Review
- Royal Kludge S85 TKL Wireless Mechanical Keyboard Review
- ASUS ROG Strix B850-F Gaming WiFi Review
- HEDDphone TWO GT Air Motion Transformer Headphones Review
- GPU Test System Update for 2025
- Upcoming Hardware Launches 2024 (Updated Nov 2024)
- Intel Arc B580 Review - Excellent Value
- Arrow Lake Retested with Latest 24H2 Updates and 0x114 Microcode
- Call of Duty: Black Ops 6 Performance Benchmark Review - AMD FTW
Controversial News Posts
- NVIDIA 2025 International CES Keynote: Liveblog (466)
- AMD Debuts Radeon RX 9070 XT and RX 9070 Powered by RDNA 4, and FSR 4 (348)
- NVIDIA GeForce RTX 5090 Features 575 W TDP, RTX 5080 Carries 360 W TDP (212)
- AMD Radeon RX 9070 XT Alleged Benchmark Leaks, Underwhelming Performance (204)
- 32 GB NVIDIA RTX 5090 To Lead the Charge As 5060 Ti Gets 16 GB Upgrade and 5060 Still Stuck With Last-Gen VRAM Spec (173)
- Potential RTX 5090 and RTX 5080 Pricing in China Leaks (173)
- AMD Radeon RX 9070 XT Boosts up to 3.10 GHz, Board Power Can Reach up to 330W (167)
- NVIDIA GeForce RTX 5070 Ti Leak Tips More VRAM, Cores, and Power Draw (161)