Mar 7th, 2025 03:03 EST
change timezone
Latest GPU Drivers
New Forum Posts
- The future of RDNA on Desktop. (97)
- Postulation: Is anyone else concerned with the proliferation of AI? (295)
- Get 9070 or 9070 XT (117)
- 12 pin GPU connector survey (11)
- [Intel AX1xx/AX2xx/AX4xx/AX16xx/BE2xx/BE17xx] Intel Modded Wi-Fi Driver with Intel® Killer™ Features (285)
- Will I benefit from changing the thermal pad? (29)
- I'm looking for a good tool to make the 3D scanning of my mini-pc using the photogrammetry and my Kinect 2. (4)
- Youtube, Discord, Visual Studio Code are flickering with black checkered squares/vertical lines. Partial solutions to this issue. (455)
- Nvidia's GPU market share hits 90% in Q4 2024 (gets closer to full monopoly) (698)
- Windows 11 General Discussion (5845)
Popular Reviews
- Sapphire Radeon RX 9070 XT Nitro+ Review - Beating NVIDIA
- NVIDIA GeForce RTX 5070 Founders Edition Review
- ASUS Radeon RX 9070 TUF OC Review
- AMD Radeon RX 9070 Series Technical Deep Dive
- Corsair Vengeance RGB CUDIMM DDR5-8800 48 GB CL42 Review
- AMD Ryzen 7 9800X3D Review - The Best Gaming Processor
- ASUS GeForce RTX 5070 Ti TUF OC Review
- be quiet! Pure Base 501 DX Review
- EIZO FlexScan EV4340X Review - A Multitasking Powerhouse
- MSI GeForce RTX 5070 Ti Ventus 3X OC Review
Controversial News Posts
- NVIDIA GeForce RTX 50 Cards Spotted with Missing ROPs, NVIDIA Confirms the Issue, Multiple Vendors Affected (513)
- AMD Plans Aggressive Price Competition with Radeon RX 9000 Series (277)
- AMD Radeon RX 9070 and 9070 XT Listed On Amazon - One Buyer Snags a Unit (261)
- AMD Mentions Sub-$700 Pricing for Radeon RX 9070 GPU Series, Looks Like NV Minus $50 Again (248)
- AMD RDNA 4 and Radeon RX 9070 Series Unveiled: $549 & $599 (245)
- NVIDIA Investigates GeForce RTX 50 Series "Blackwell" Black Screen and BSOD Issues (244)
- AMD Radeon RX 9070 and 9070 XT Official Performance Metrics Leaked, +42% 4K Performance Over Radeon RX 7900 GRE (195)
- AMD Radeon RX 9070-series Pricing Leaks Courtesy of MicroCenter (158)
 36
36
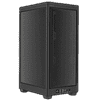
Corsair 2000D Airflow Review
Thermal Stress Test »Assembly
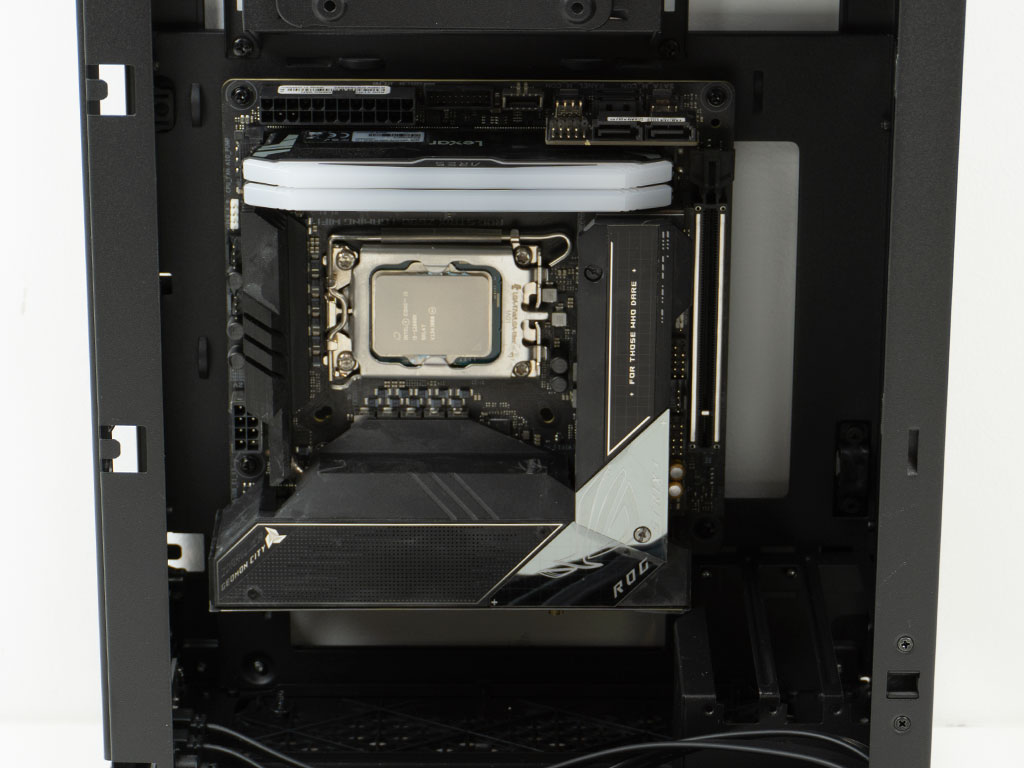
Installing the motherboard is straight forward and there is actually ample room to do so. You don't have to be too mindful in terms of cable management either as long as you have a PSU with reasonably short wires and go fully modular. The 24-pin ATX power is right at the top next to the PSU bay and the CPU power is on the forward facing edge. Both these areas have plenty oh gooks to attach zip ties to. This means you could go in stages to install and zip tie each down as you go along. Adding a GeForce RTX 4080, which happens to ship with a dual slot backplate, but is actually considered a 3.1-slot high unit, fits perfectly fine within the chassis as well.
Corsair has designed the PSU bay so that you may slide the unit into the bay from the outside, meaning it also remains accessible with having to disassemble the whole system should you need to change it up. The SFX-L sized 1000 W unit fits perfectly, but you would have considerable more room with a classic SFX unit, which may be the way to go if you want that extra space for cable management.
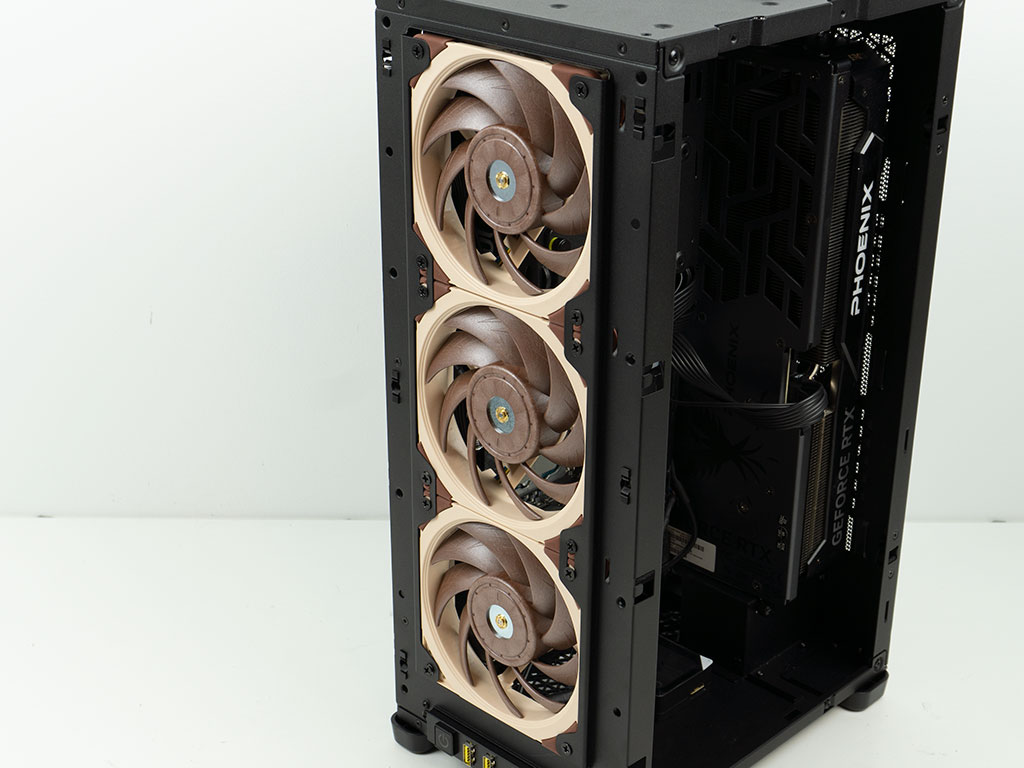
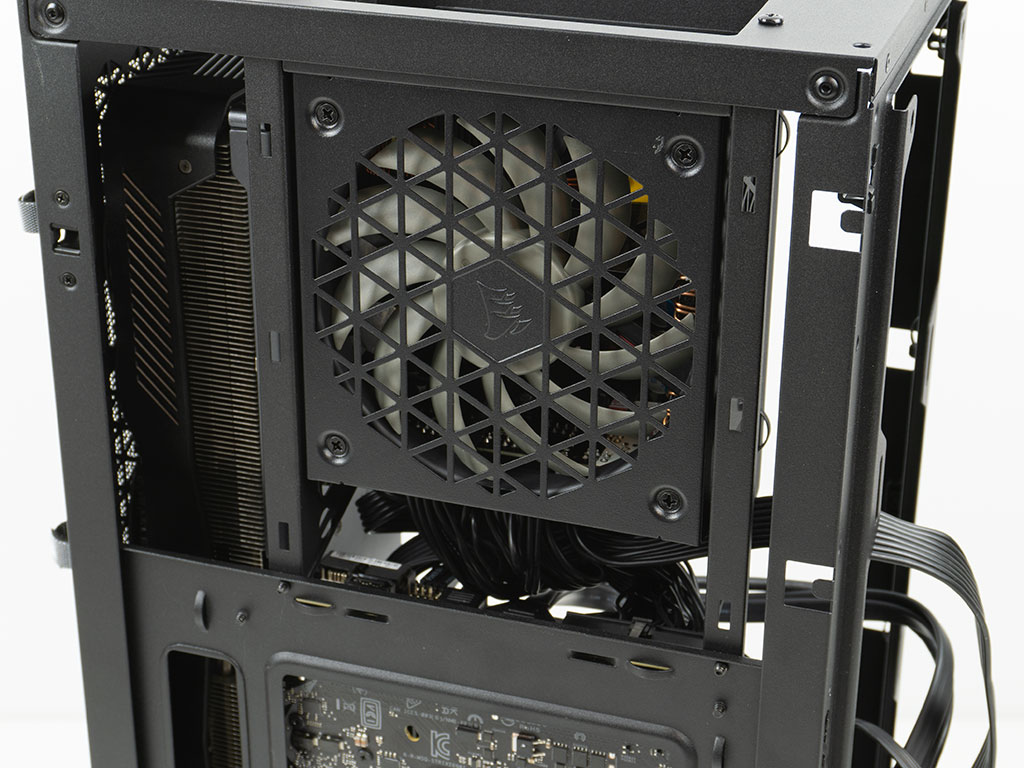
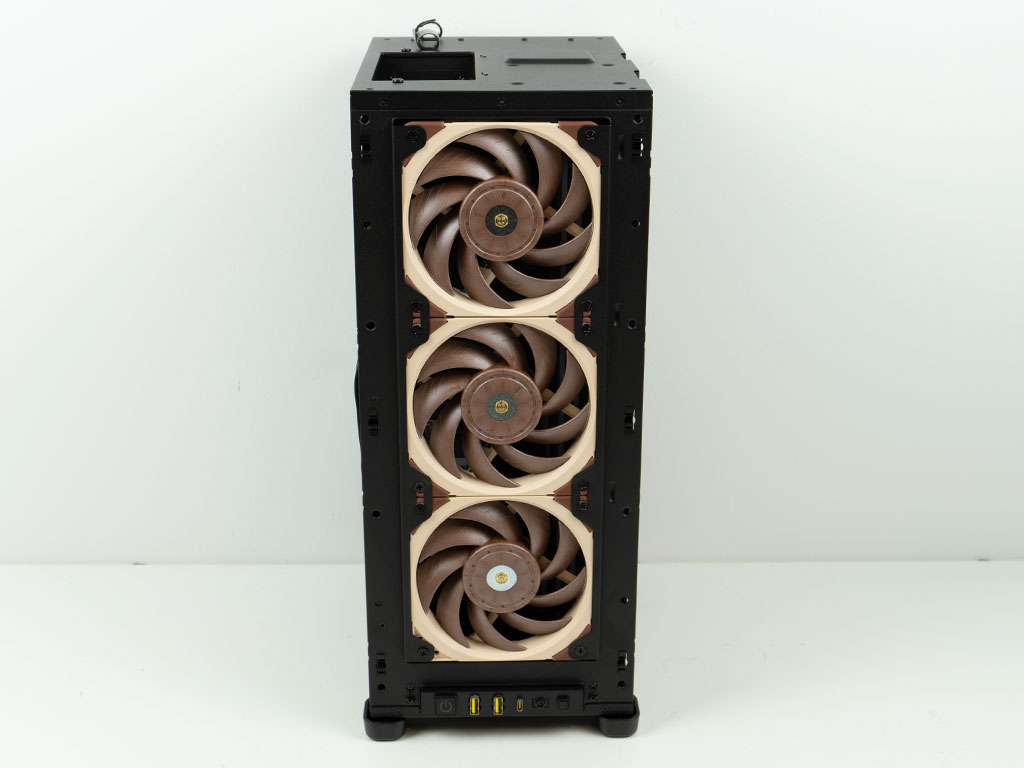
As the Corsair 2000D Airflow does not ship with any fans, we went ahead and installed three of our own into the sample. If you look really closely, the bottom left rubber spacers of the fan had to be removed, because there was simply not enough room between the bulky heatsink of the Asus motherboard and the front of the chassis for it to fit otherwise. Also, worth noting is the fact, that you are able to cable manage the three units quite nicely, but running the wires down the left front corner of the case. If you go for the 2000D RGB Airflow variant, Corsair bundles three AF120 RGB Slim fans and the required controller with the chassis which seems like quite the value-add at just $40 more vs. the non-RGB version.
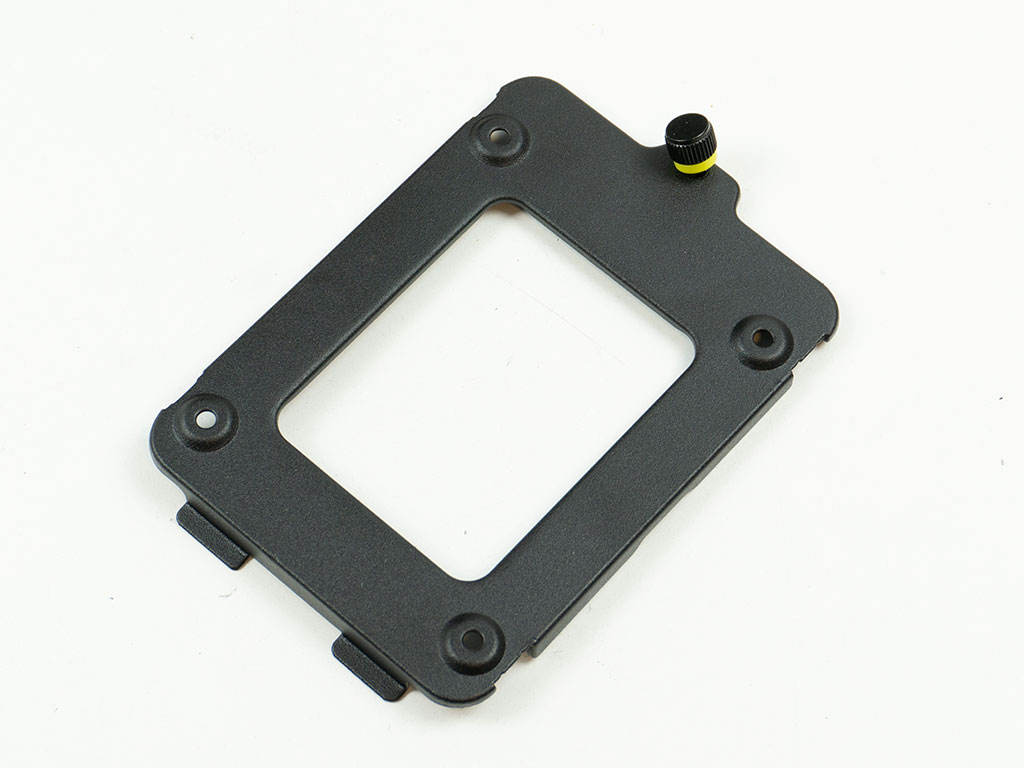
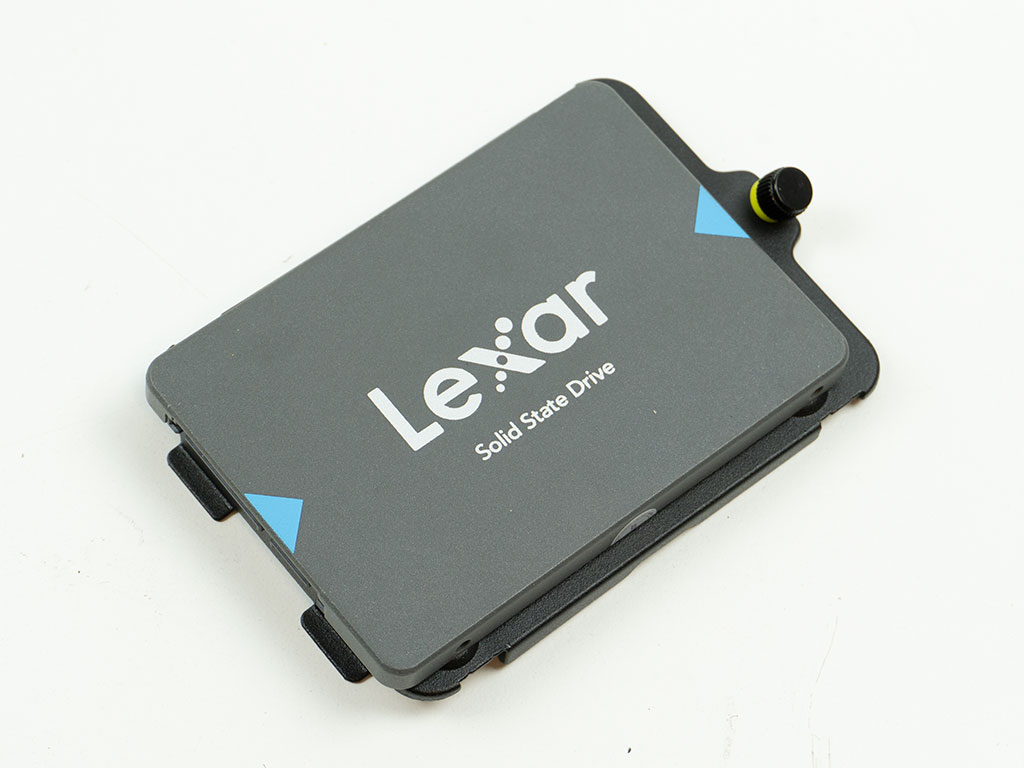
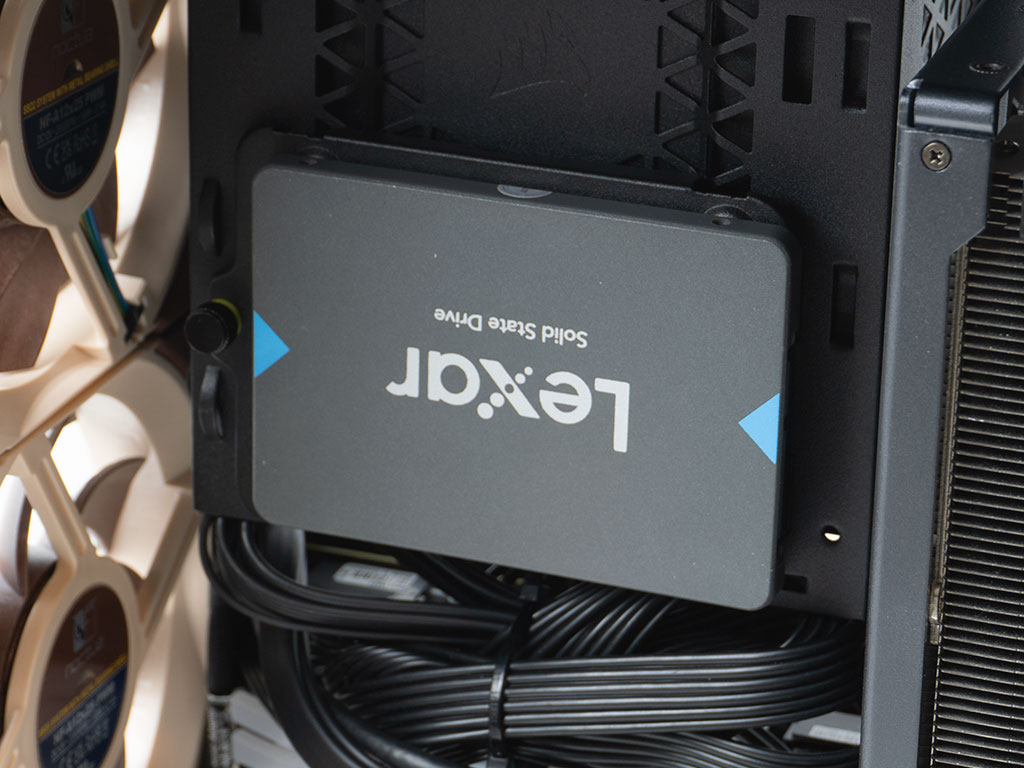
Adding your SSD with the use of the bracket is straight forward as well, as you simply secure it to the plate and then put the plate back unto the frame of the PSU bay. This area should always remain completely accessible, making it easy to add more or upgrade in the future.
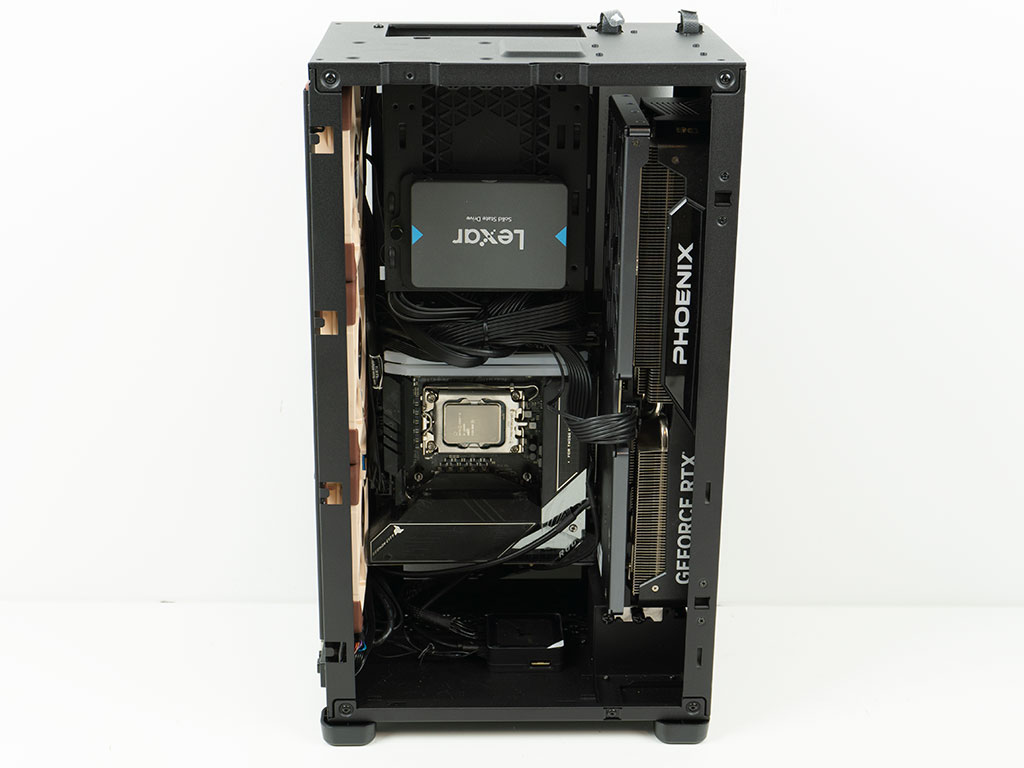
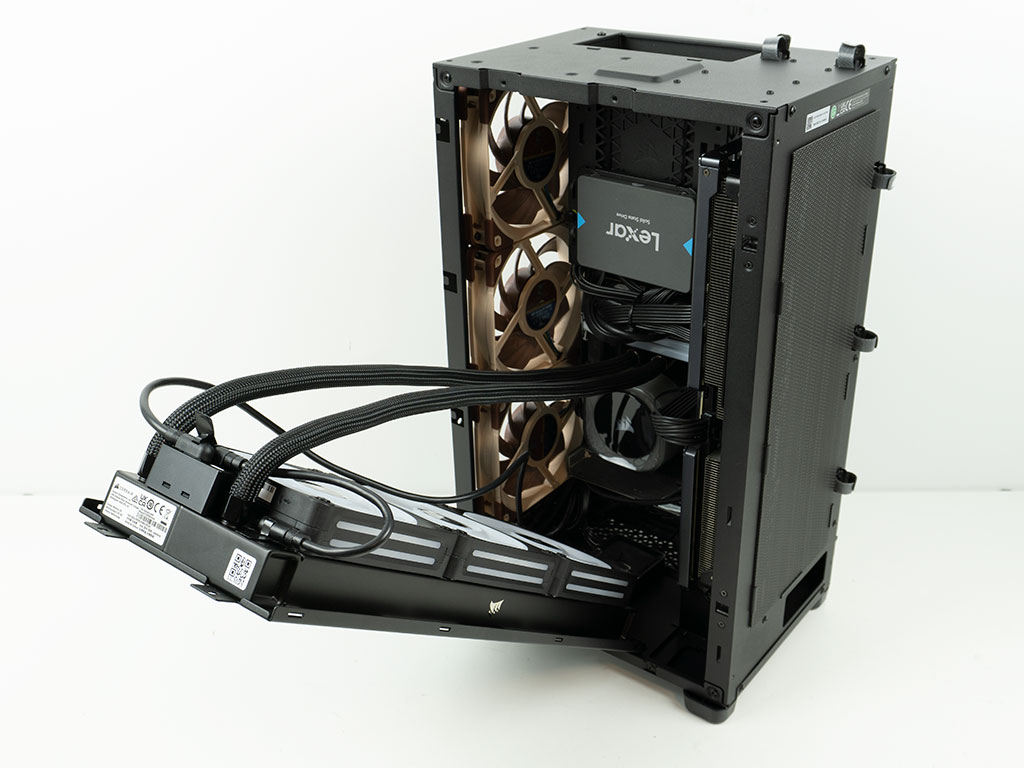
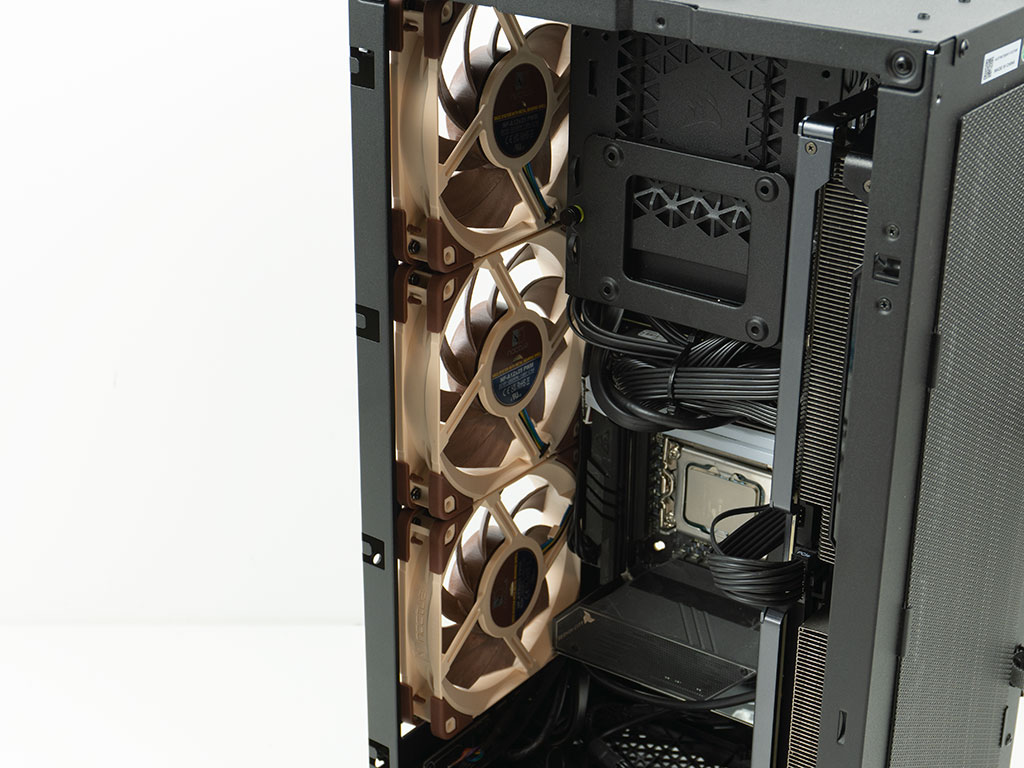
With everything except the cooling in place, you can see how little cable clutter there is around the CPU area. Most of the cable management was a bit of lackluster zip tying in layers between the memory and the PSU. This means that your USB I/O wiring would be the only difficult aspect to reach once removing your AIO. Thanks to the depth of the case, you could also go for a potent tower cooler instead. As we will be using the Corsair H150i AIO, its hub has been placed on the floor of the chassis. Once everything is attached, you may lift the 360 AIO up using the frame and simply secure it with two screws at the top. We chose to run the tubing up past the SSDs to organically use as much of their length as possible.
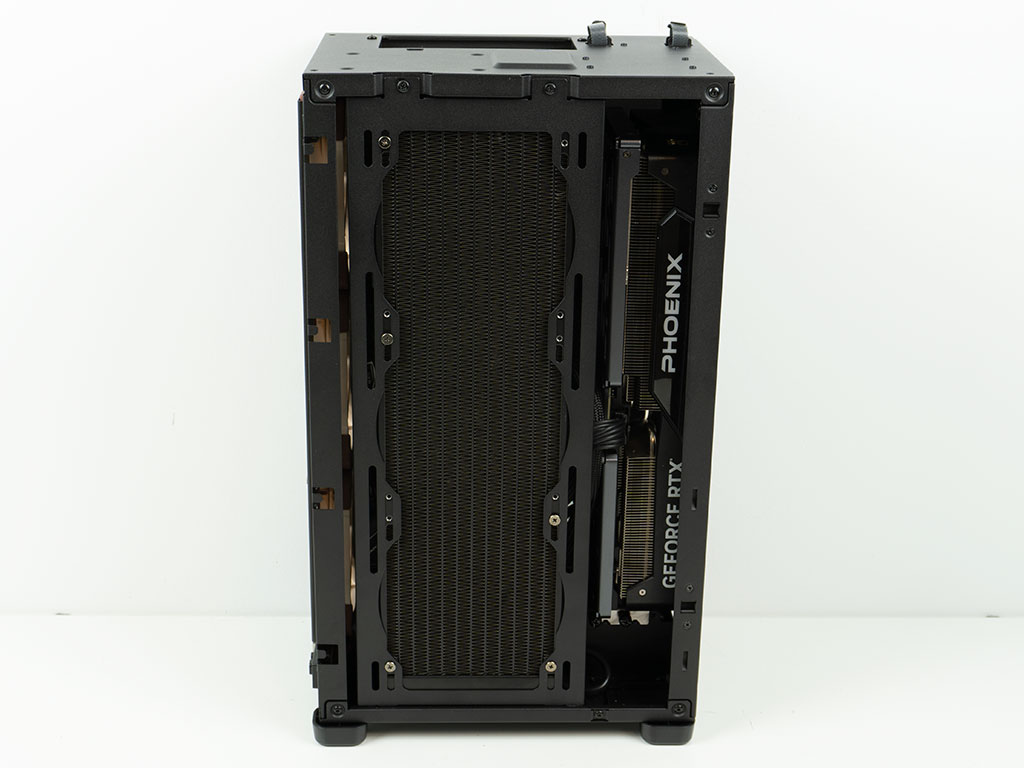
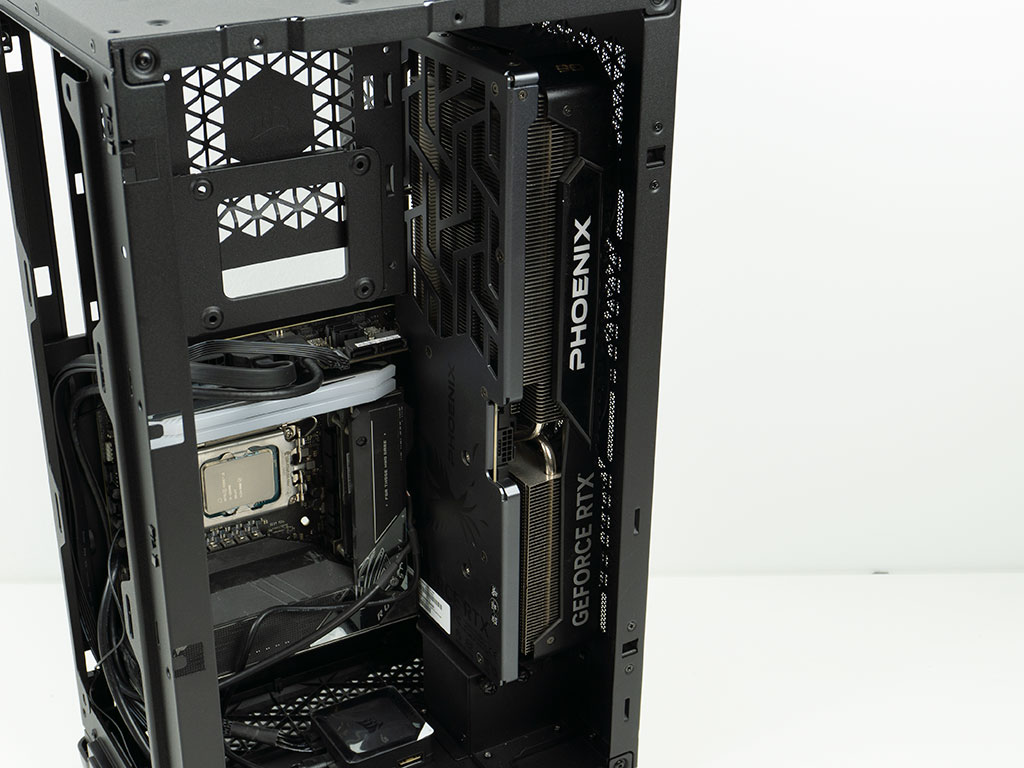
As there are hooks on the backside of the motherboard, thanks to a little air gab between the motherboard mounting plate and the side panel we actually ran one of the power wires down the outside where it had no effect on aesthetics or thermal performance. In the front, every free millimeter is taken up by the three intake fans, while the side with the AIO manages to co-exist with the GPU perfectly as well. This setup gives you a void in the center of the chassis, so that air may move freely and wires or tubing don't collide with moving components like blades. The AIO expels air outward in this scenario, with the front fans creating a front to back airflow that which moves air across the motherboard components and to the GPU.
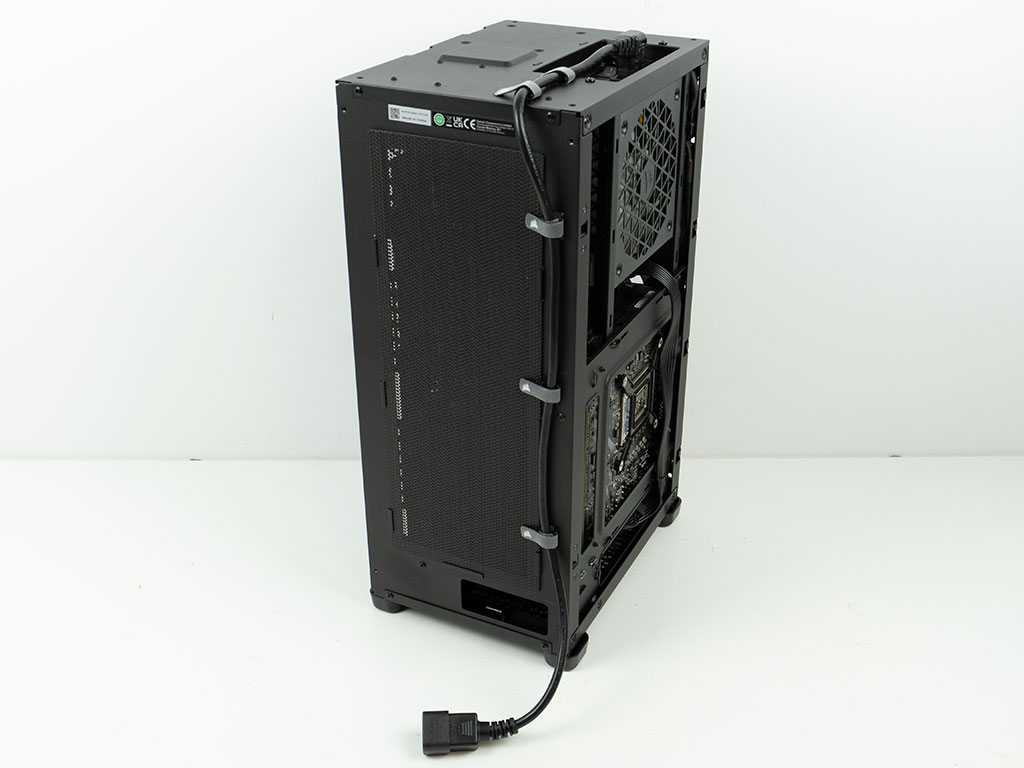
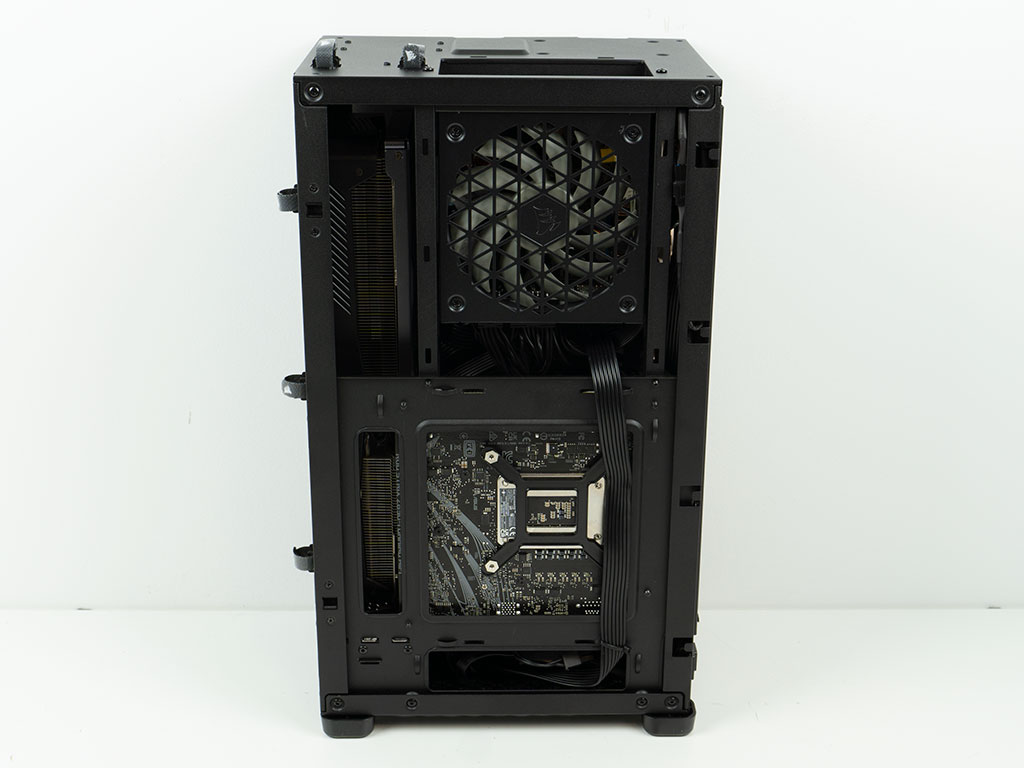
Taking a look at the rear, you can clearly see the GPU fans which will pull air into the fins through the rear vent. The mesh offers ample protection from dust and grime. Lastly, before putting the covers back into place, you may run the included PSU extension cable down the rear of the chassis, using the Velcro strips to secure it.
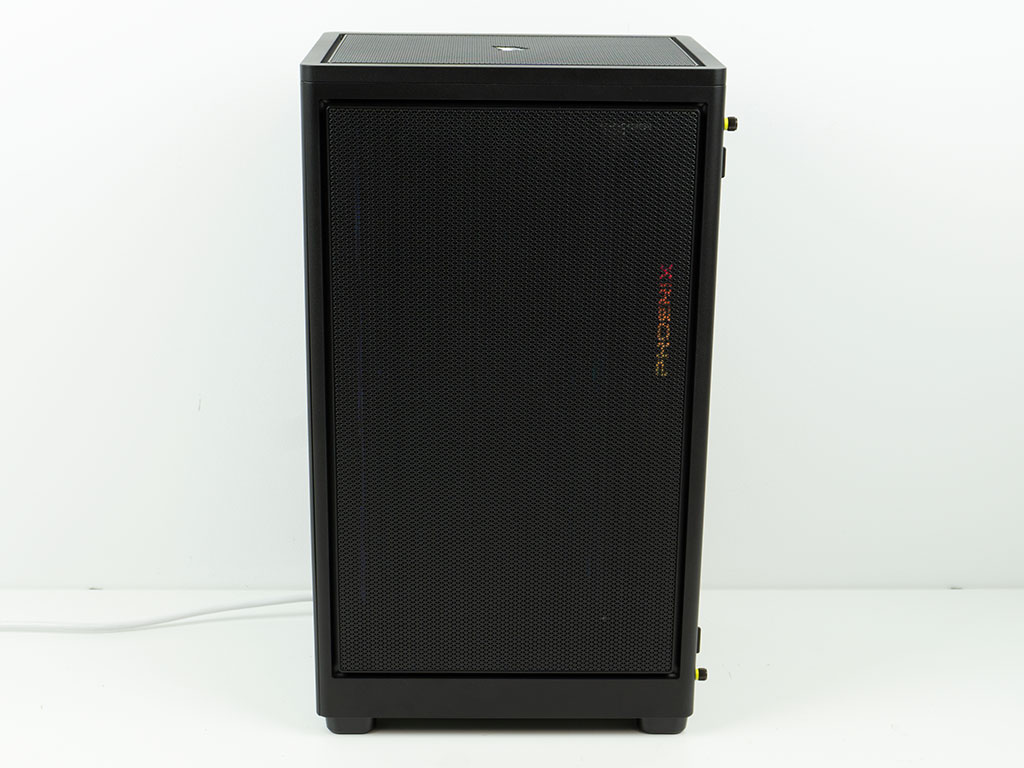
Finished Looks
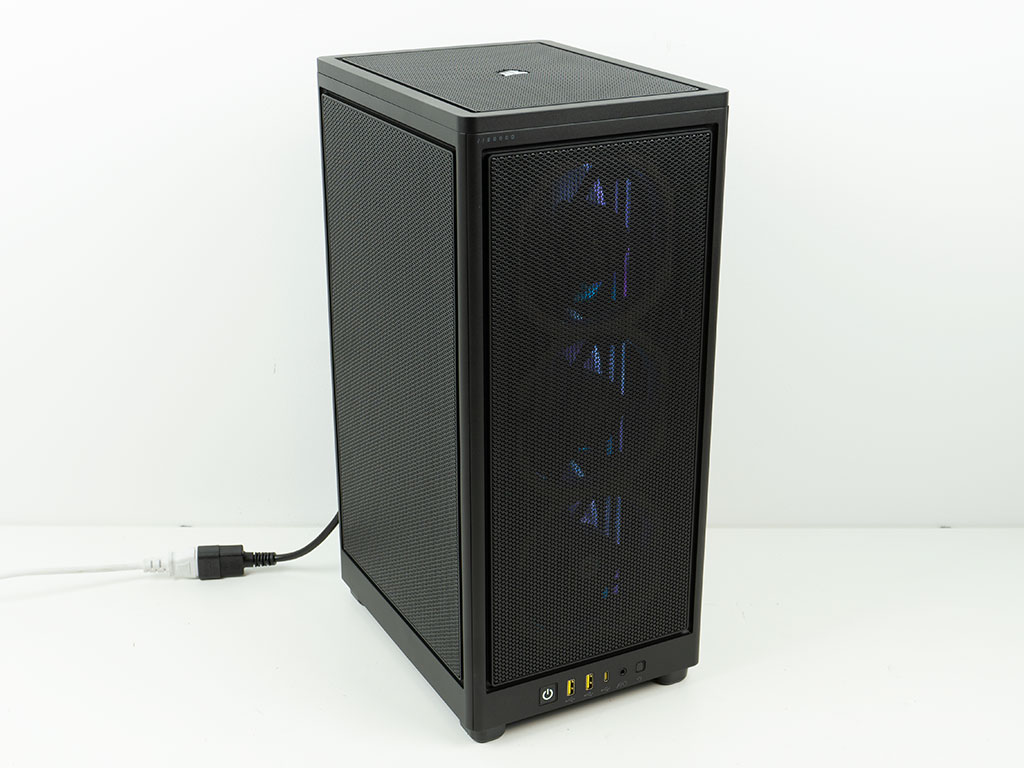

With the panels back in place and the system powered up, you can see the glow of the iCUE fans in the center of the chassis through the front. The power button lights up in white as well, letting you know your system is up and running.

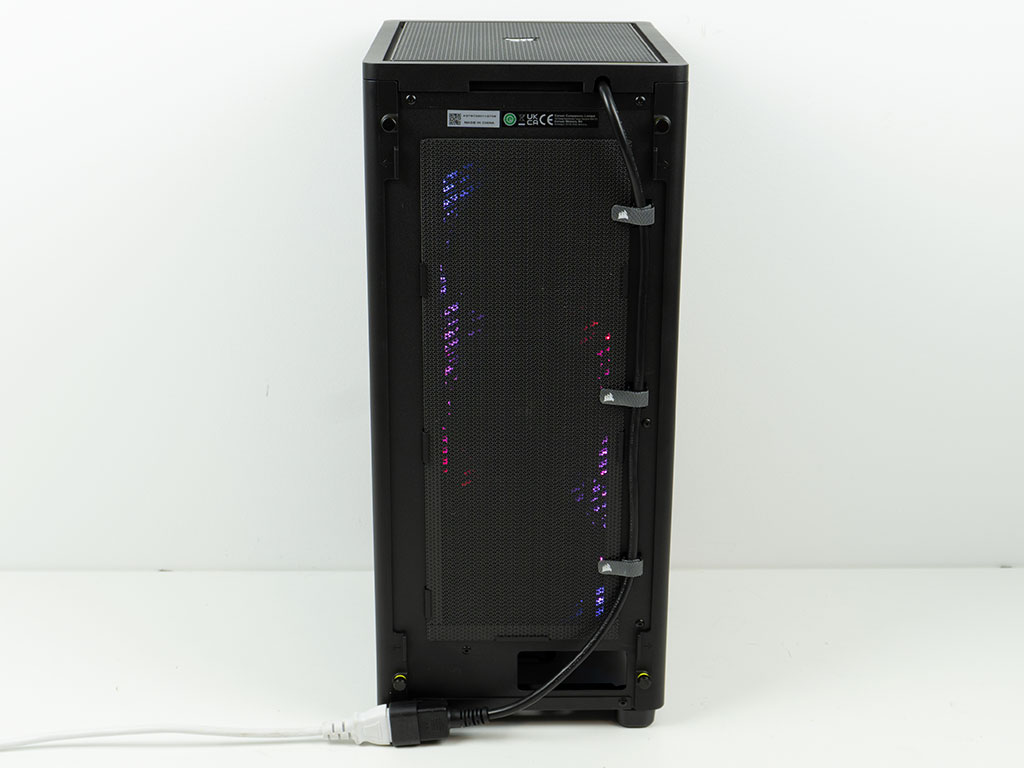
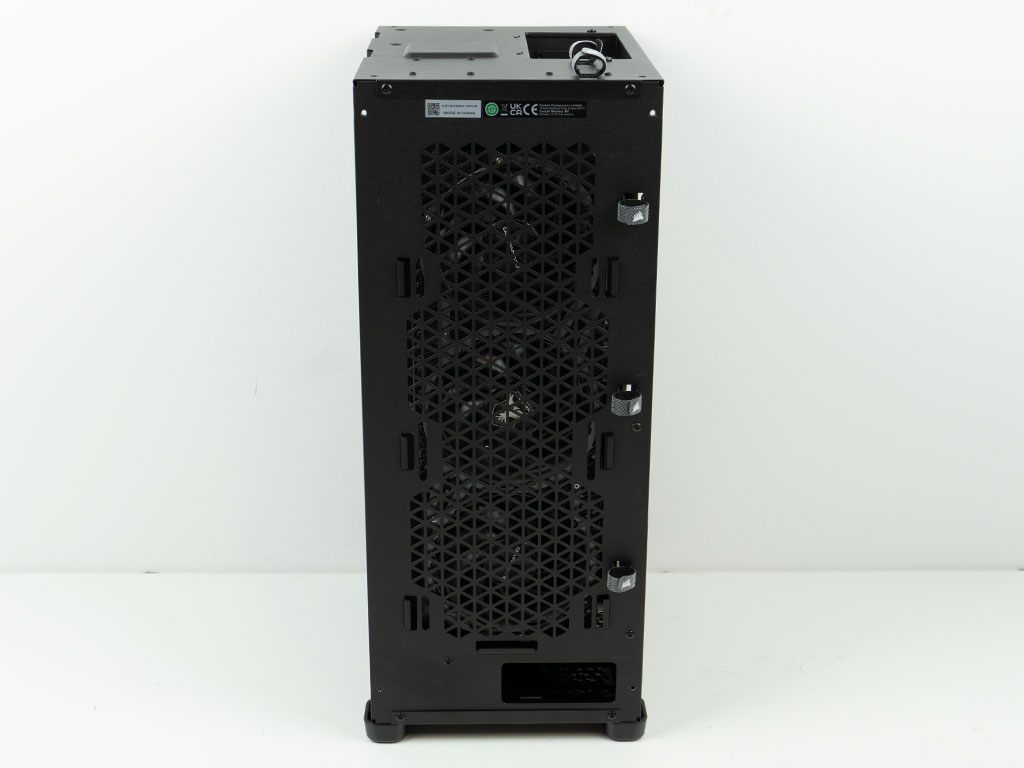
Thanks to the mesh panel in the front, you can not only see the ARGB glow, but also the metal hubs of the front intake fans. That is a good sign as it should translate to good air flow as well. In the rear, the glow of the embedded RGB components of the GPU can also clearly be seen behind the magnetic dust filter.
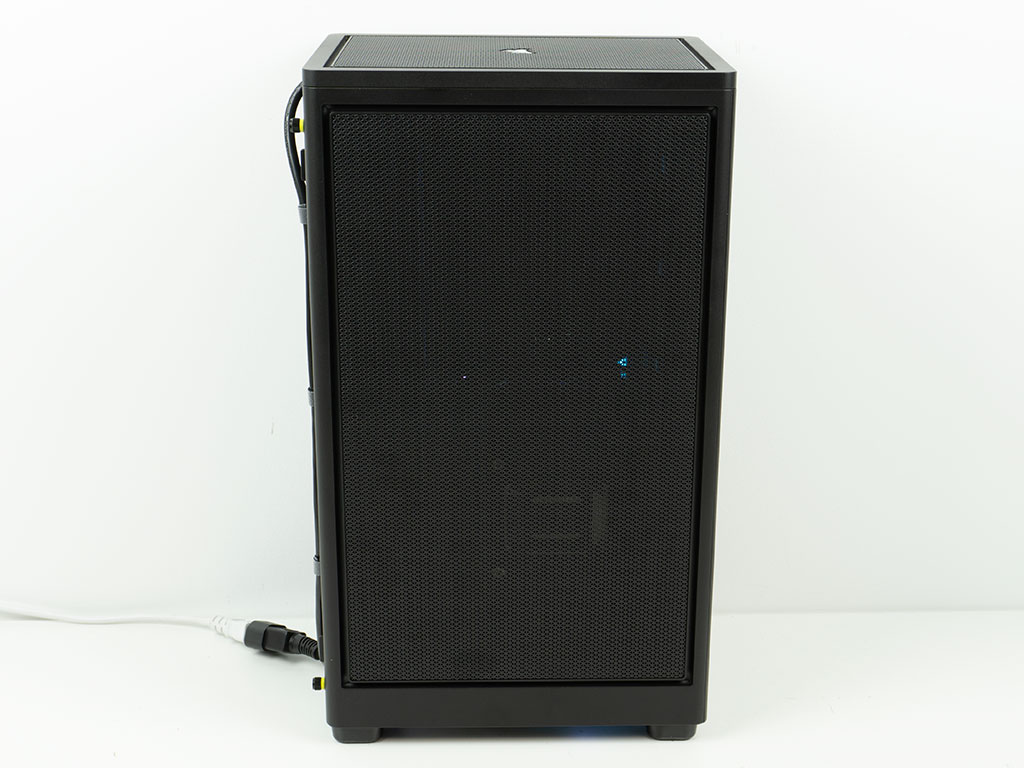
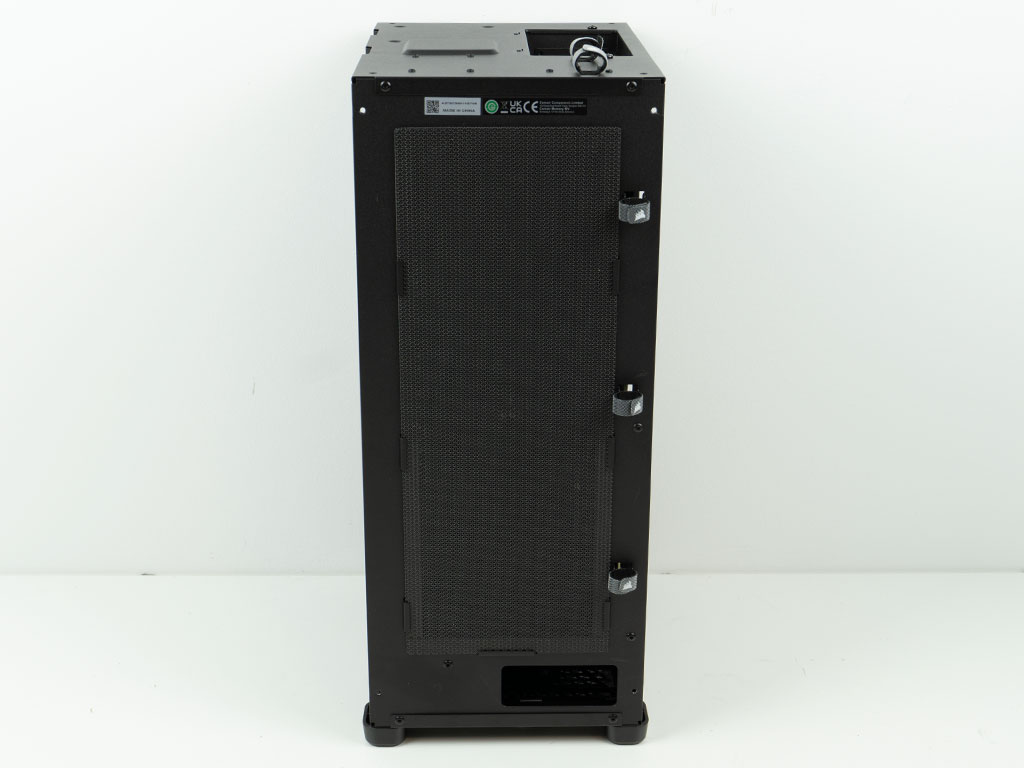
As both side panels are functionally identical, so is the ability to see some components through them thanks to illumination from within. The Corsair 2000D Airflow seems to be one of the few cases which manages to minimize air flow restrictions in this type of form factor.
Mar 7th, 2025 03:03 EST
change timezone
Latest GPU Drivers
New Forum Posts
- The future of RDNA on Desktop. (97)
- Postulation: Is anyone else concerned with the proliferation of AI? (295)
- Get 9070 or 9070 XT (117)
- 12 pin GPU connector survey (11)
- [Intel AX1xx/AX2xx/AX4xx/AX16xx/BE2xx/BE17xx] Intel Modded Wi-Fi Driver with Intel® Killer™ Features (285)
- Will I benefit from changing the thermal pad? (29)
- I'm looking for a good tool to make the 3D scanning of my mini-pc using the photogrammetry and my Kinect 2. (4)
- Youtube, Discord, Visual Studio Code are flickering with black checkered squares/vertical lines. Partial solutions to this issue. (455)
- Nvidia's GPU market share hits 90% in Q4 2024 (gets closer to full monopoly) (698)
- Windows 11 General Discussion (5845)
Popular Reviews
- Sapphire Radeon RX 9070 XT Nitro+ Review - Beating NVIDIA
- NVIDIA GeForce RTX 5070 Founders Edition Review
- ASUS Radeon RX 9070 TUF OC Review
- AMD Radeon RX 9070 Series Technical Deep Dive
- Corsair Vengeance RGB CUDIMM DDR5-8800 48 GB CL42 Review
- AMD Ryzen 7 9800X3D Review - The Best Gaming Processor
- ASUS GeForce RTX 5070 Ti TUF OC Review
- be quiet! Pure Base 501 DX Review
- EIZO FlexScan EV4340X Review - A Multitasking Powerhouse
- MSI GeForce RTX 5070 Ti Ventus 3X OC Review
Controversial News Posts
- NVIDIA GeForce RTX 50 Cards Spotted with Missing ROPs, NVIDIA Confirms the Issue, Multiple Vendors Affected (513)
- AMD Plans Aggressive Price Competition with Radeon RX 9000 Series (277)
- AMD Radeon RX 9070 and 9070 XT Listed On Amazon - One Buyer Snags a Unit (261)
- AMD Mentions Sub-$700 Pricing for Radeon RX 9070 GPU Series, Looks Like NV Minus $50 Again (248)
- AMD RDNA 4 and Radeon RX 9070 Series Unveiled: $549 & $599 (245)
- NVIDIA Investigates GeForce RTX 50 Series "Blackwell" Black Screen and BSOD Issues (244)
- AMD Radeon RX 9070 and 9070 XT Official Performance Metrics Leaked, +42% 4K Performance Over Radeon RX 7900 GRE (195)
- AMD Radeon RX 9070-series Pricing Leaks Courtesy of MicroCenter (158)