 11
11
Corsair 7000D Airflow Review
Thermal Stress Test »Review System
| System Parts for Case Reviews | |
|---|---|
| Processor: | ATX: Intel Core i5-11600K mATX/ITX: Intel Core i5-10600K Provided by: Intel |
| Motherboards: | ATX: Gigabyte Z590 AORUS PRO AX ITX: Gigabyte Z590I Vision D Provided by: Gigabyte mATX: ASRock B560M Steel Legend Provided by: ASRock |
| Graphics Card: | Palit GeForce RTX 2080 Gaming Pro OC Provided by: Palit ZOTAC GAMING GeForce RTX 3060 Ti Twin Edge OC Provided by: Zotac |
| Memory: | 16 GB XPG SPECTRIX D50 3200 MHz 16 GB XPG SPECTRIX D60G DDR4 3000 MHz 16 GB XPG GAMMIX D20 DDR4 3200 MHz Provided by: ADATA |
| HDD: | Toshiba MG08ADA400E 7200 RPM SATA III Provided by: Toshiba |
| SSD: | ATX:XPG SPECTRIX S20G 500 GB mATX: XPG GAMMIX S50 Lite 1 TB ITX: ADATA Falcon 512 GB ADATA Ultimate SU800 512 GB ADATA Ultimate SU720 500 GB Provided by: ADATA |
| Power Supply: | ATX: Fractal Design ION+ 650W 80 Plus Gold SFX: Fractal Design ION SFX-L 650W 80 Plus Gold Provided by: Fractal Design |
| Cooling: | be quiet! Pure Loop 120/240/280/360 Provided by: be quiet! |
Assembly
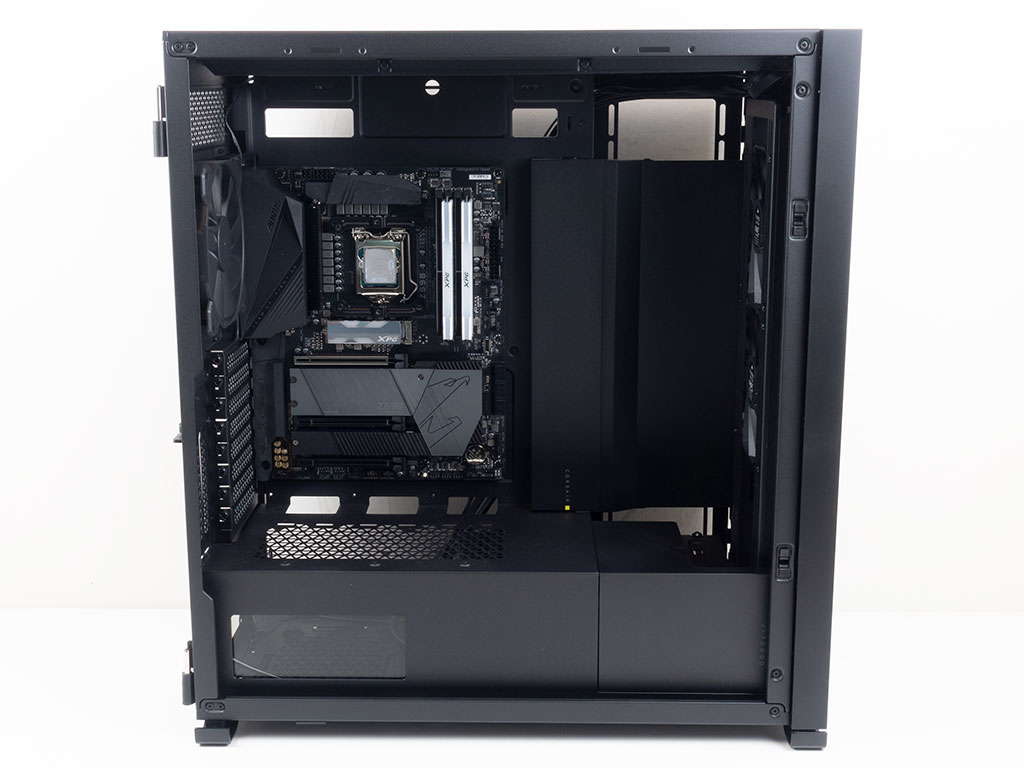
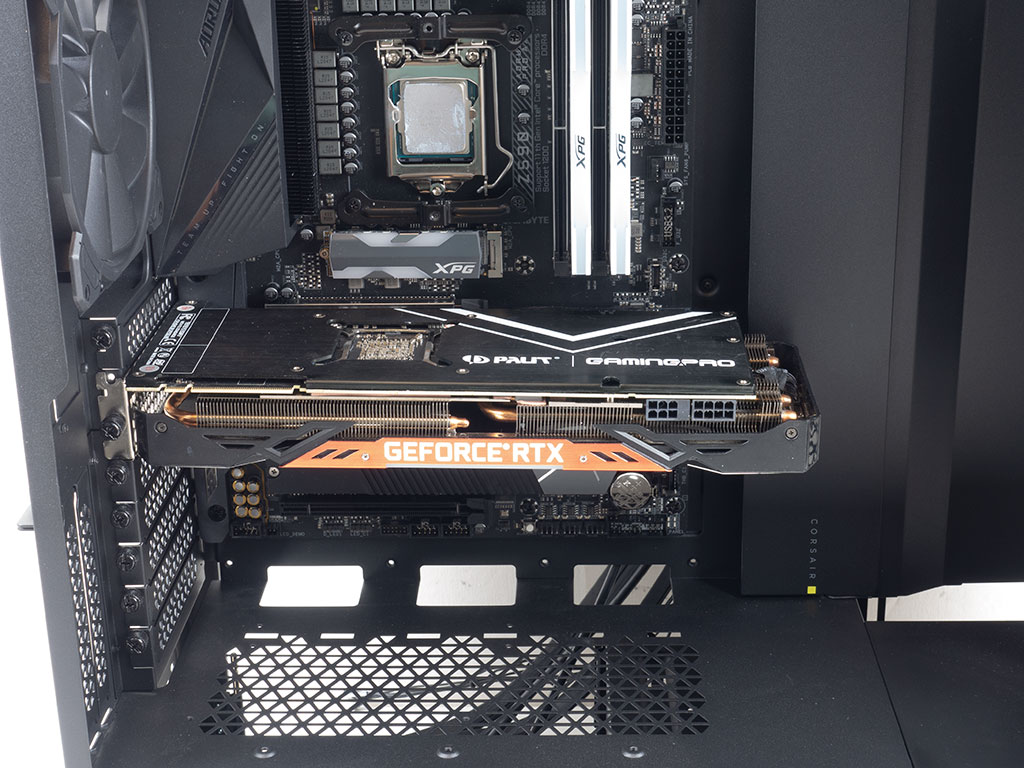
Installing a motherboard is done by traditional means, with spacers and screws. Corsair has pre-installed the spacers, including one with an alignment pin in the center to prevent any issues with placing the board properly. There is loads of space above and towards the front of the board, with the two large routing holes in the shroud also nicely lining up with the connectors on the motherboard's bottom edge. That said, with a somewhat compact cable channel, things are a bit tight on the front-facing right edge, so odds are you will take it off just like we have. The GPU does not interfere with the cover, and even a standard AIO setup should fit just fine. In reality, the Corsair 7000D Airflow is so large that most GPUs are not long enough to even get close to the side intake area anyways.
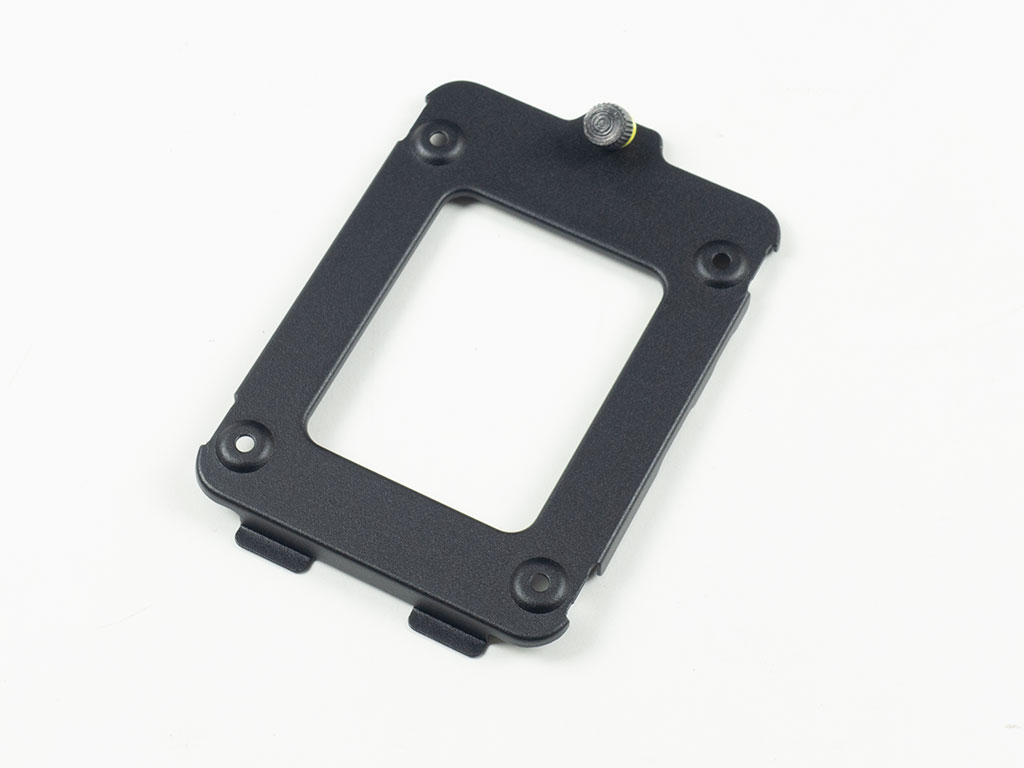
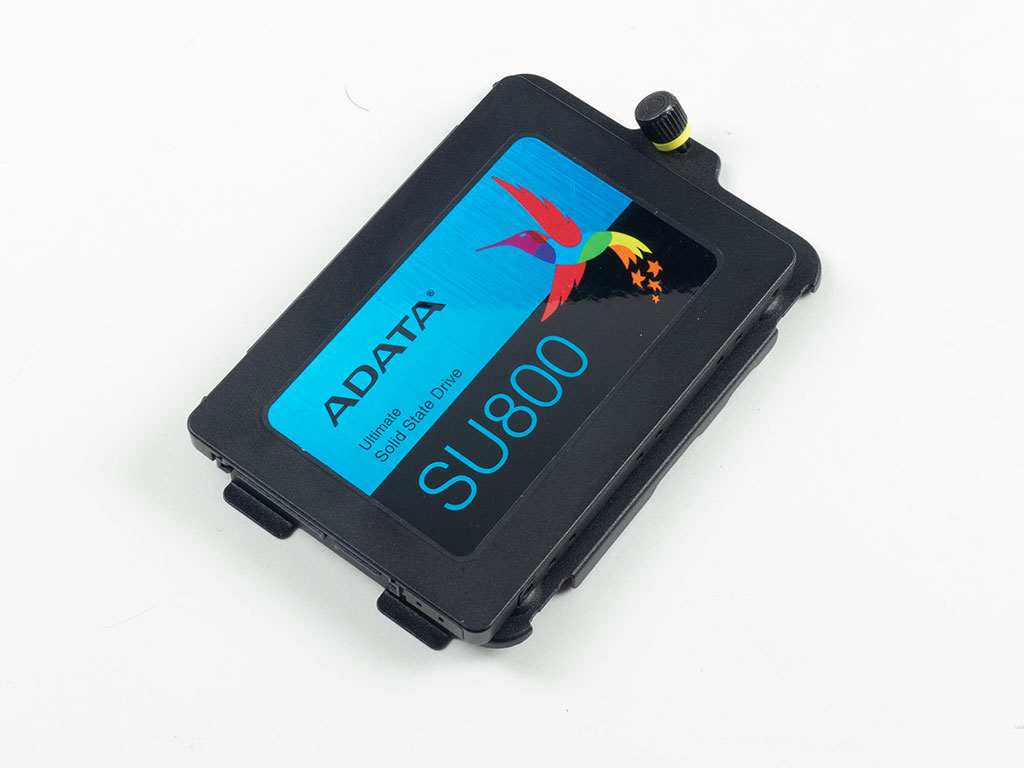

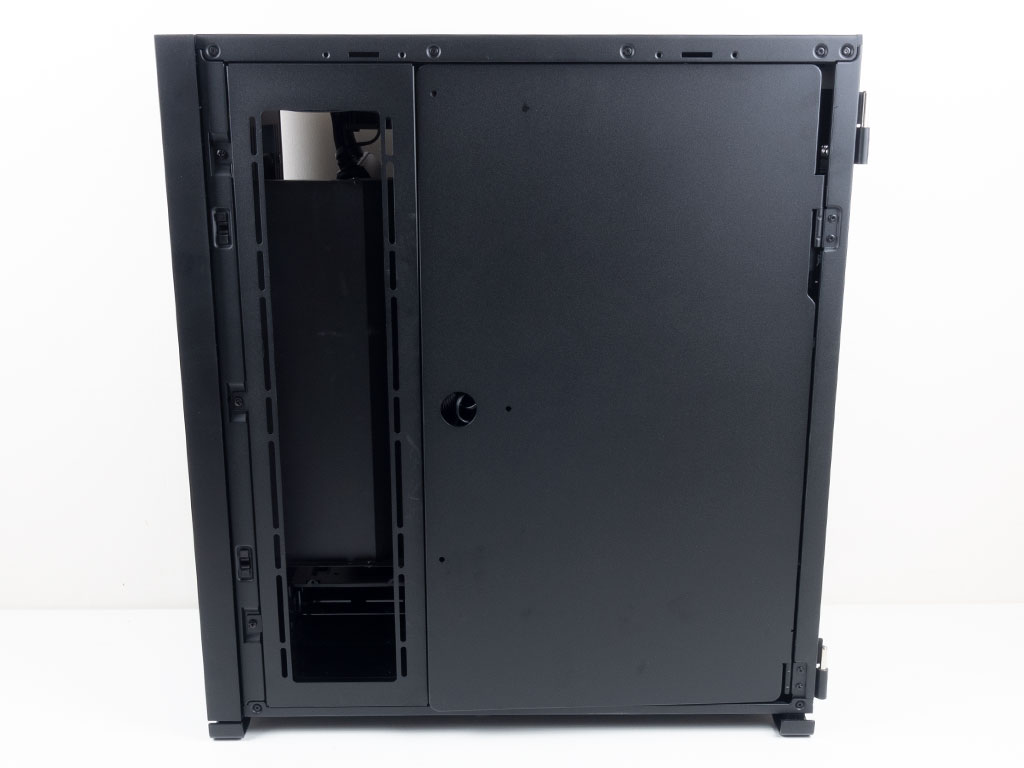
Adding an SSD to the 7000D Airflow is done by simply taking the frame off the case and screwing the drive down. Once filled, just pop it back into one of four possible locations.
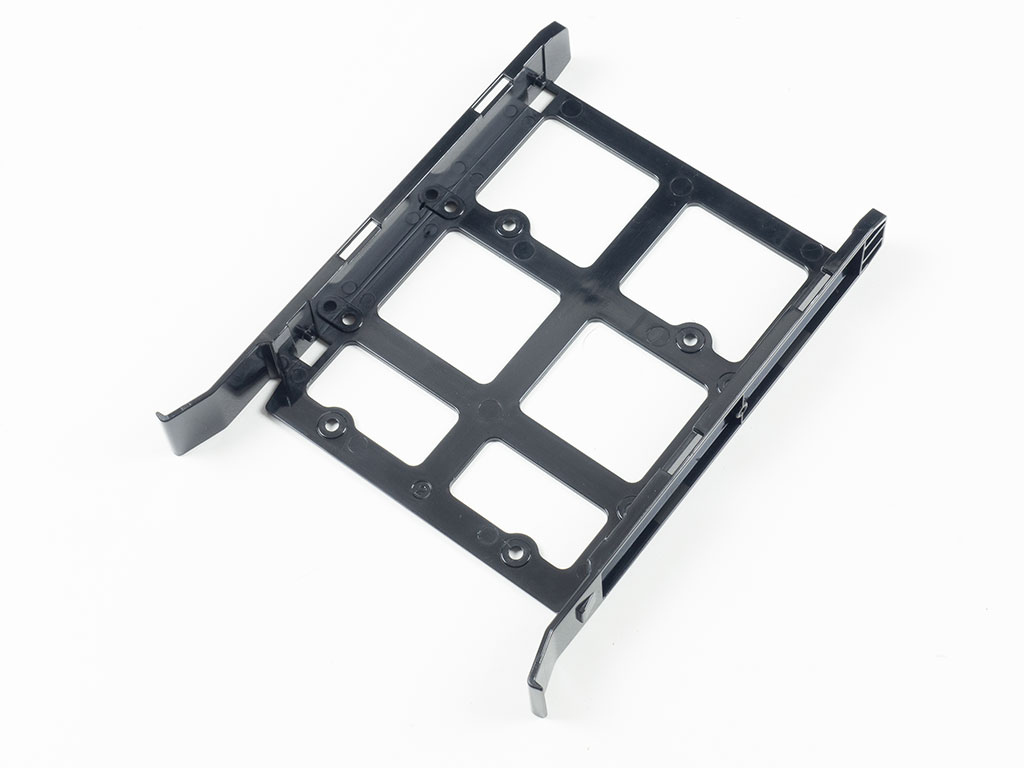
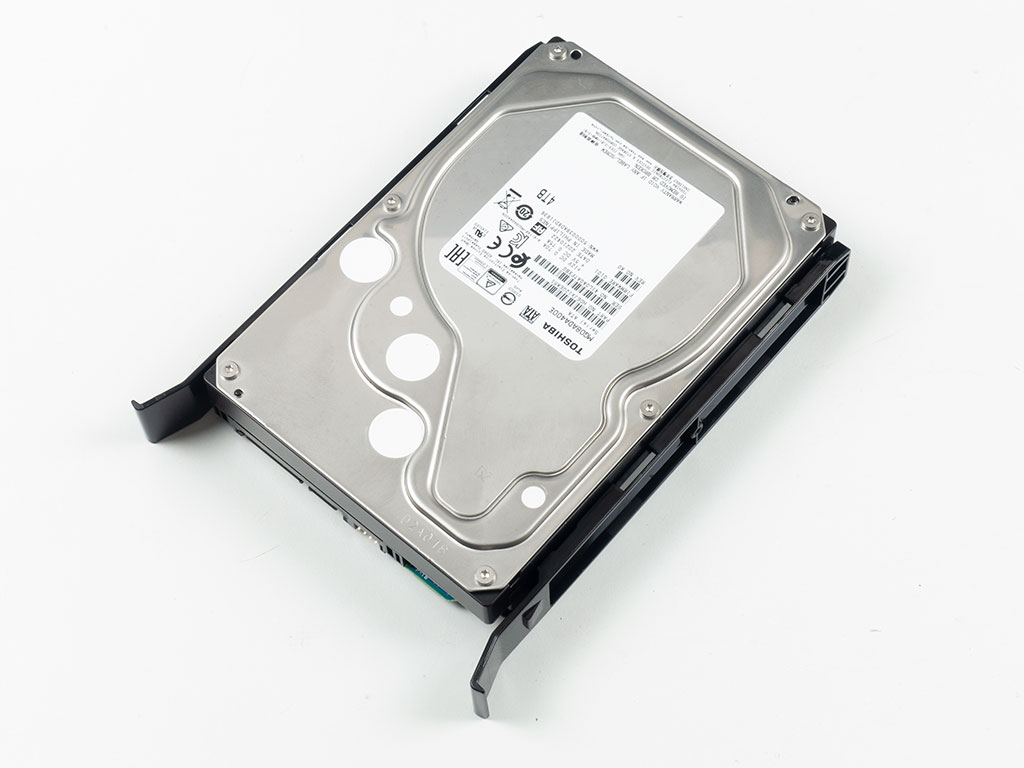


You do not need any tools for a 3.5" drive as you can snap it into place before sliding it back into the cage underneath the shroud until the two latches on either side of the tray snap down to secure the drive.
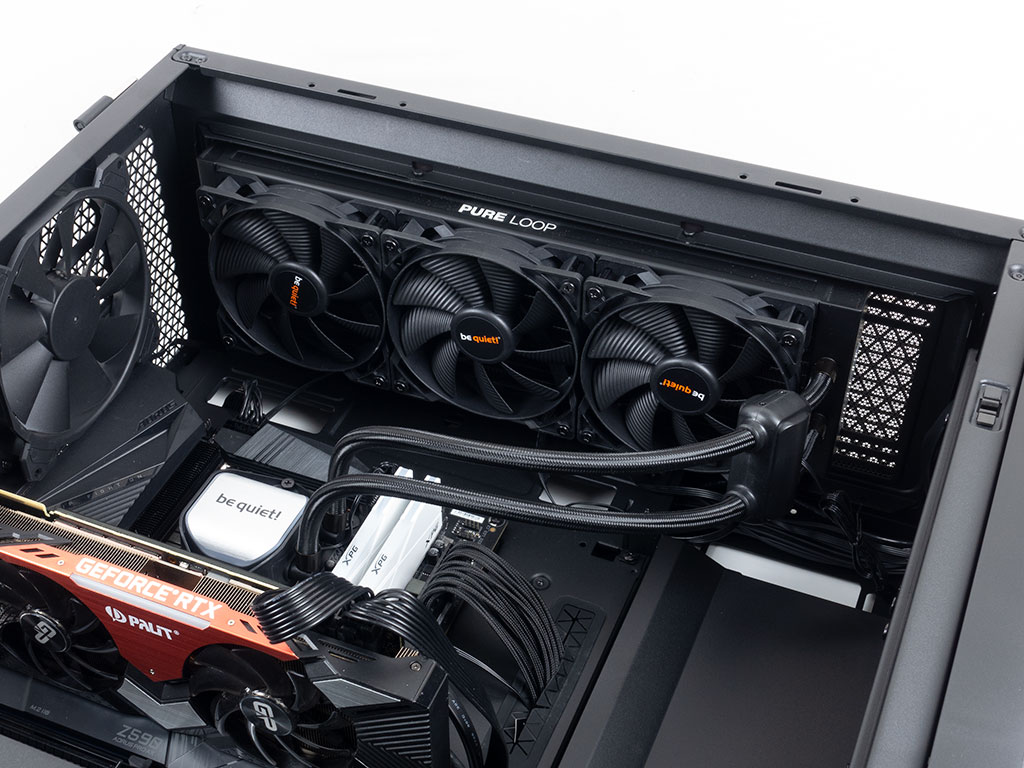
Adding a 360 mm AIO is a breeze simply because there is so much space. As you can see, there is a large gap to the motherboard edge and AIO fans.
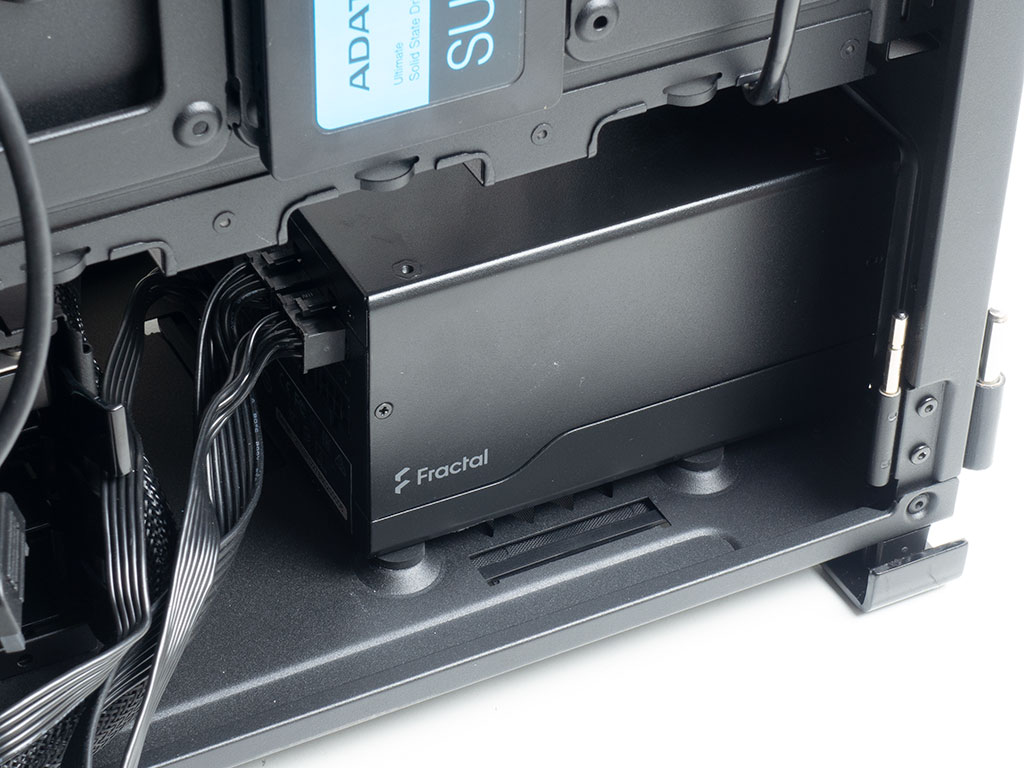
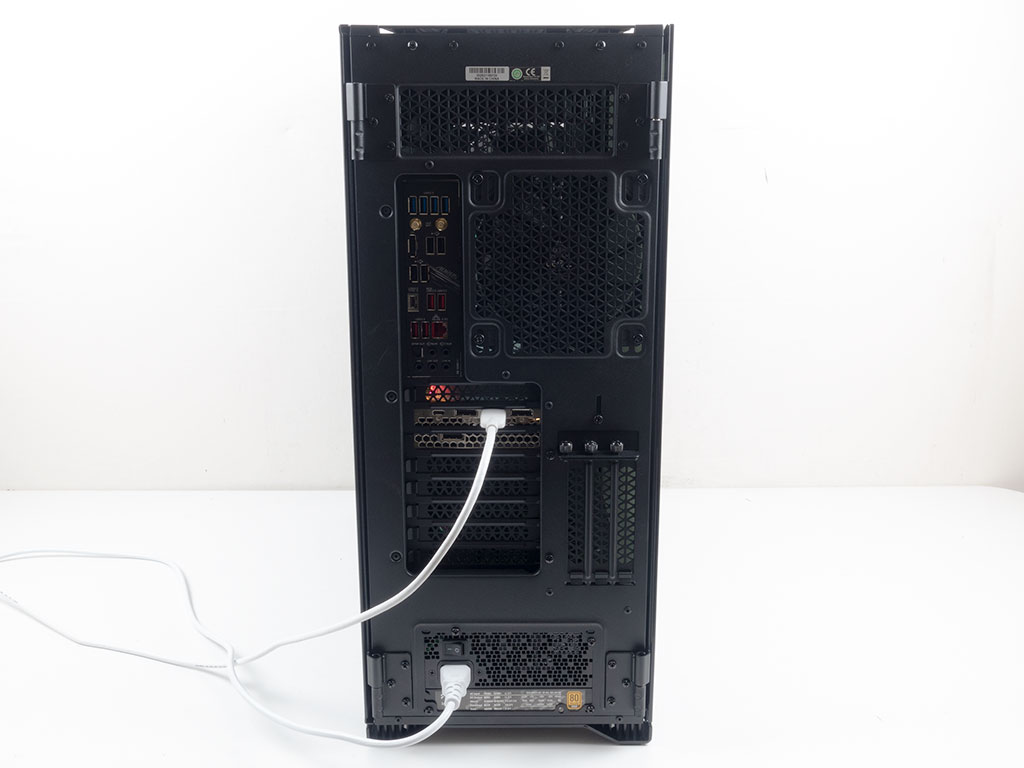
To add your PSU, slide it underneath the metal shroud and screw it down through the rear of the chassis, which is pretty straightforward as well. There is plenty of space, so fitting a potent unit to power all your gaming gear shouldn't be a problem.
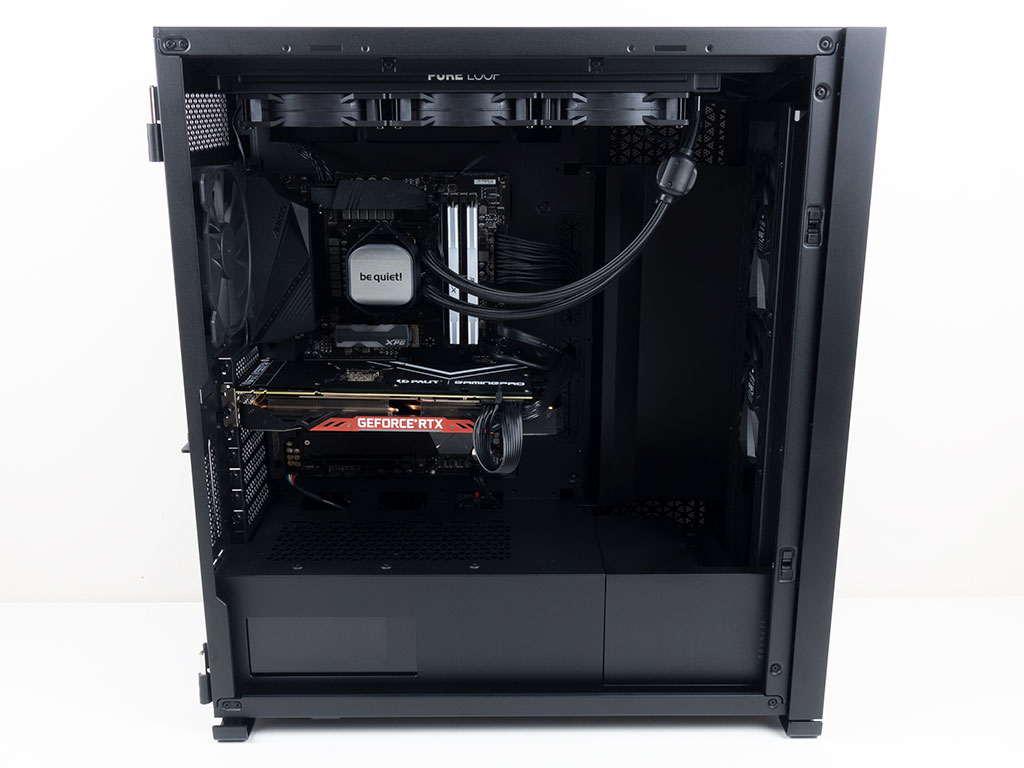

With everything installed, the Corsair 7000D Airflow looks very clean on the inside, and all the wiring behind the motherboard tray has its proper place for the most part. Corsair could have moved the 2.5" trays up and added another cable trench along the bottom, just as an additional extra to the 7000D. We had to use a 24-pin power cable extension to reach the motherboard nicely and did not end up using the metal cover over the rubber-grommet-equipped routing hole.
Placing the inner cover on the backside of the motherboard works, but the pressure of the cables pops it off the magnets on the bottom. It would have been better had Corsair instead gone with screws or some sort of clipping system. This could become a little annoying for those with the iCUE 7000X variant of the chassis—the 7000D Airflow just covers it up with its actual metal side panel.
Finished Looks
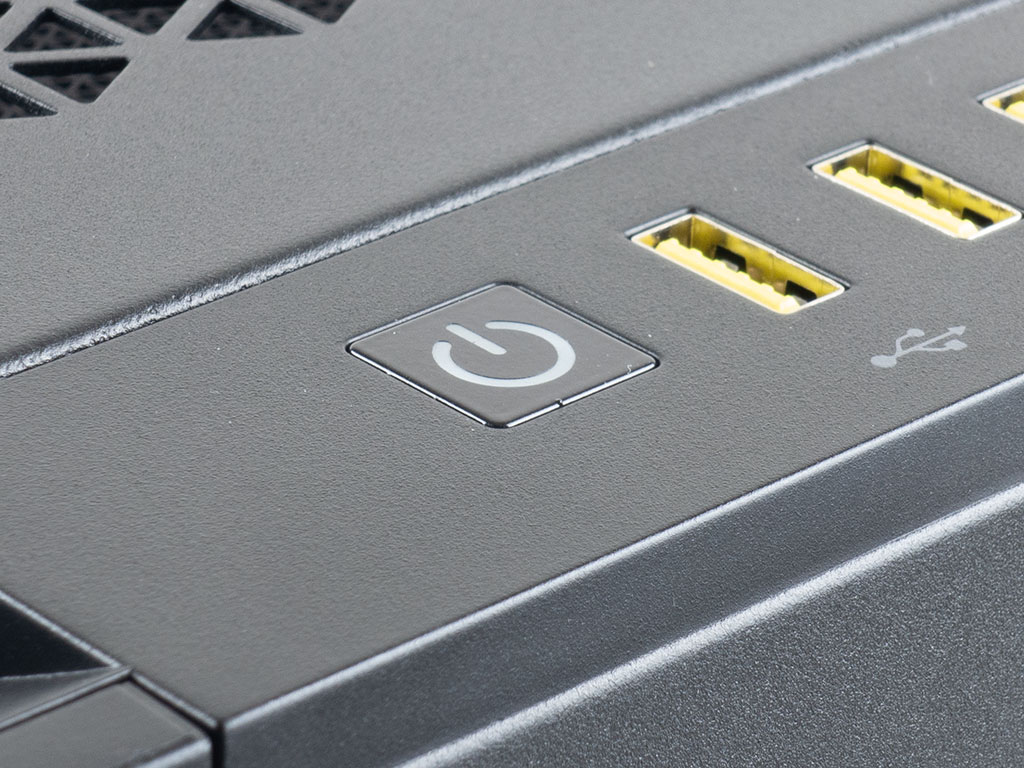
With the system turned on, there is really not much to see. A clean, white power LED also lights up right underneath the button to let you know the system is up and running. Naturally, if you opt for the RGB variant of the chassis, you will have slightly more to play around with visually.
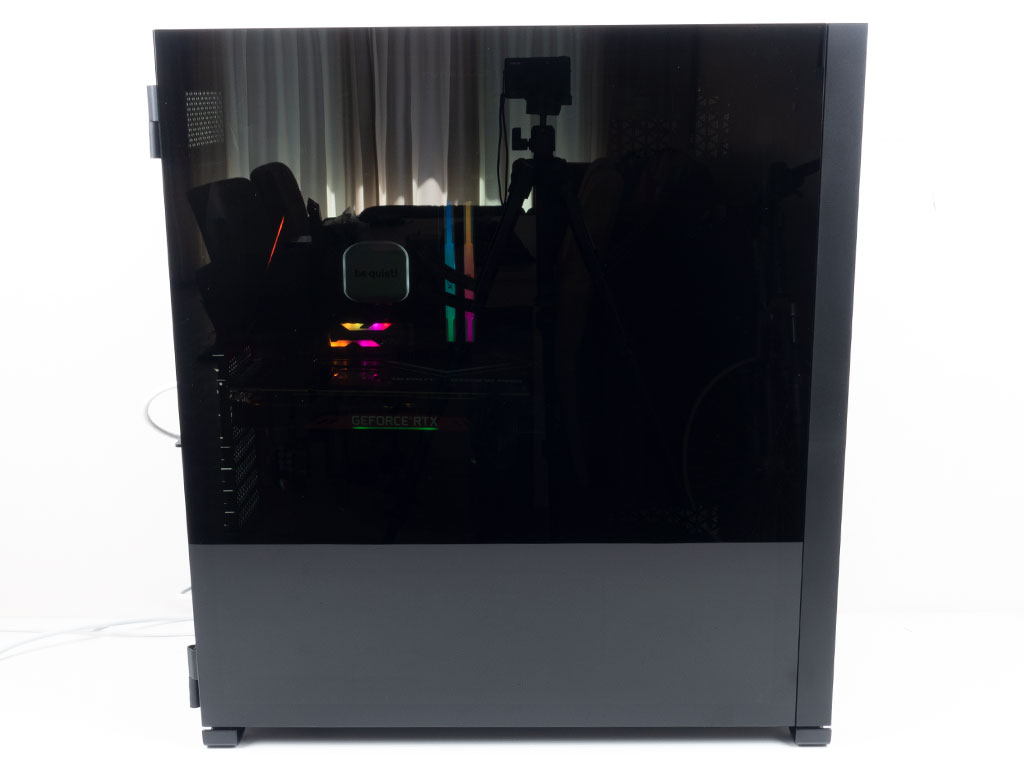
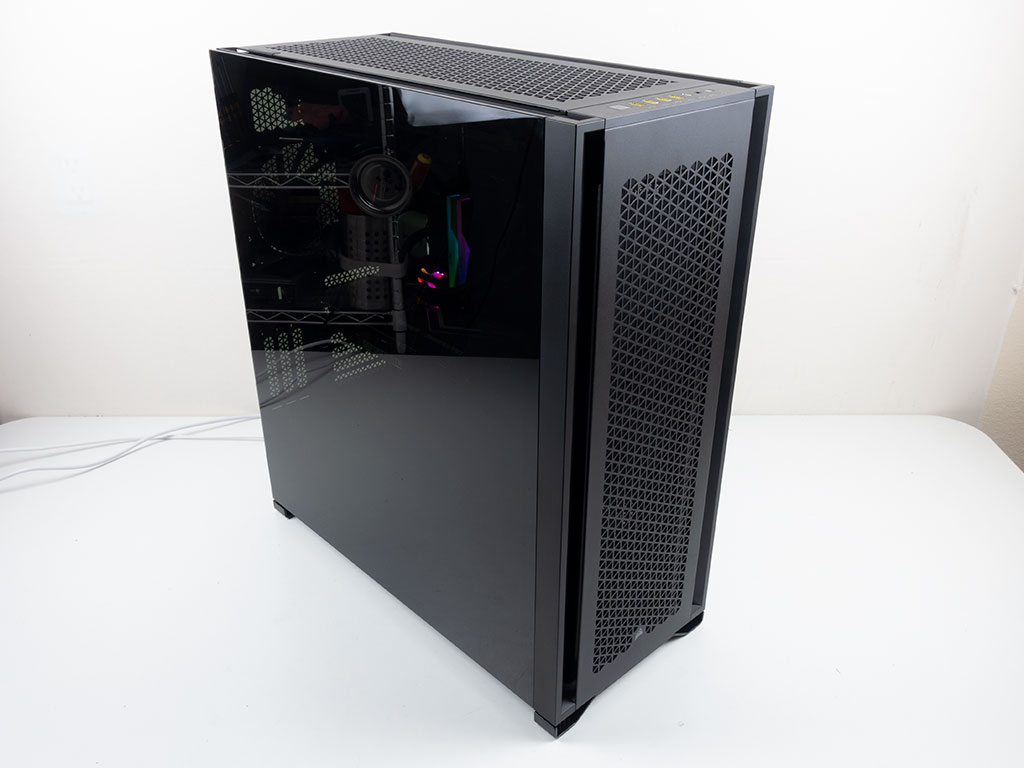
The subtle glow of the RGB components shines through the air vents of the case. These RGB-lit parts are also somewhat visible through the heavily tinted side panels. Some brands do go as far as offering different intensities for the tint of their glass side panel, but I think Corsair easing off on the tint just a bit for the hardware inside to show more would have been enough.
Apr 8th, 2025 23:13 EDT
change timezone
Latest GPU Drivers
New Forum Posts
- 9070XT or 7900XT or 7900XTX (161)
- TPU's Nostalgic Hardware Club (20192)
- Comet Lake vs Rocket Lake Lga1200. (19)
- (Some of) What I'd like to See From a Final Fantasy IX Remake (1)
- Cache Ratio stuck at 600hz lower than Turbo Cores with Ring Down Bin on (0)
- Sexy Hardware Close-Up Pic Clubhouse. (10273)
- Cyberpunk 2077 Game Discussion (2169)
- Have you got pie today? (16654)
- ThrottleStop - 14900HX, 4090RTX MSI laptop (7)
- Post your cooling. (207)
Popular Reviews
- The Last Of Us Part 2 Performance Benchmark Review - 30 GPUs Compared
- MCHOSE L7 Pro Review
- UPERFECT UStation Delta Max Review - Two Screens In One
- PowerColor Radeon RX 9070 Hellhound Review
- Sapphire Radeon RX 9070 XT Pulse Review
- Upcoming Hardware Launches 2025 (Updated Apr 2025)
- Sapphire Radeon RX 9070 XT Nitro+ Review - Beating NVIDIA
- ASUS Prime X870-P Wi-Fi Review
- AMD Ryzen 7 9800X3D Review - The Best Gaming Processor
- DDR5 CUDIMM Explained & Benched - The New Memory Standard
Controversial News Posts
- NVIDIA GeForce RTX 5060 Ti 16 GB SKU Likely Launching at $499, According to Supply Chain Leak (164)
- MSI Doesn't Plan Radeon RX 9000 Series GPUs, Skips AMD RDNA 4 Generation Entirely (146)
- Microsoft Introduces Copilot for Gaming (124)
- AMD Radeon RX 9070 XT Reportedly Outperforms RTX 5080 Through Undervolting (119)
- NVIDIA Reportedly Prepares GeForce RTX 5060 and RTX 5060 Ti Unveil Tomorrow (115)
- Over 200,000 Sold Radeon RX 9070 and RX 9070 XT GPUs? AMD Says No Number was Given (100)
- Nintendo Switch 2 Launches June 5 at $449.99 with New Hardware and Games (97)
- NVIDIA GeForce RTX 5050, RTX 5060, and RTX 5060 Ti Specifications Leak (97)